Best Ways to Package Homemade Cookies and Fudge for Sale or as Thoughtful Gifts

This post contains affiliate links.
Every holiday season, I find myself in the kitchen, knee-deep in flour and surrounded by the warm scents of freshly baked Gingerbread Cookies with Royal Icing and rich, creamy Classic Chocolate Fudge. My kitchen might look like a cookie tornado hit it, but I wouldn’t have it any other way. This annual baking marathon has become a tradition I cherish deeply—whipping up sweet treats to share with the people I care about most. Over the years, this simple (and slightly chaotic) act of giving has become one of my favorite ways to express love and gratitude to friends and family.
The joy I get from creating these goodies is only half the fun; the other half comes from packaging them up in a way that makes each person feel truly special. There’s something magical about seeing a loved one’s face light up when they receive a beautifully wrapped box of Ice Skate Sugar Cookies or Chocolate Hazelnut Fudge, knowing that it was made just for them. And let’s be honest, half the fun is trying to resist eating it all before it even makes it into the box!
Every detail matters to me, from selecting the perfect tin or box to adding a personal touch with ribbons and tags. It’s these small touches that transform a simple gift into something memorable and meaningful. Over the years, I’ve learned that how you present your homemade treats, whether it’s Pumpkin Spice Fudge or Holiday Peppermint White Chocolate Cookies, can be just as important as the treats themselves—because nothing says “I love you” like perfectly placed sprinkles.
I also love involving my daughter in this tradition. We make smaller boxes for her to give to her friends, and it’s heartwarming to see how excited they get when they receive their special treats. It’s a fun way to teach her the joy of giving and to spread a little extra holiday cheer with gifts like Grinch Fudge or Pistachio Fudge. Plus, it’s a great way to bond—if we can keep our hands off the goodies long enough to wrap them!
This blog post is my way of sharing that joy with you—offering tips and ideas on how to package your own homemade cookies and fudge, like Chocolate Macadamia Fudge or Candy Cane Fudge, for gifting. I hope these ideas inspire you to get creative with your gifts, and to make your loved ones feel as special as mine do each holiday season. Just remember: the real challenge is not eating all the treats before they’re wrapped!


Choosing the Perfect Packaging: Metal Tin Boxes, Paper Boxes, and Cellophane Bags
When it comes to packaging my homemade cookies and fudge, I’ve experimented with just about every option out there. Through trial and error (and a few squished cookies), I’ve discovered that the type of packaging you choose can make a big difference in how your treats are presented and preserved. Here’s how I decide between metal tin boxes, paper boxes, and cellophane bags, depending on the occasion and the type of treats I’m giving.
1. Metal Tin Boxes
Metal tin boxes are my go-to for a classic, durable, and festive look. I love using these for gifts during the holiday season or for special occasions where I want the packaging to feel a bit more substantial. Tins are perfect for cookies like Gingerbread Cookies with Royal Icing or Ice Skate Sugar Cookies because they offer sturdy protection and help keep the cookies from breaking or crumbling. Plus, they often come in holiday-themed designs that add a charming touch to the gift. You can find some beautiful options like these decorative metal tins.
I also use metal tins when I’m gifting a mix of different treats, like pairing Classic Chocolate Fudge with Holiday Peppermint White Chocolate Cookies. The compartments or layers in some tins make it easy to keep everything separate and organized. The best part? These tins are reusable, so the recipient can use them again, making them a gift that keeps on giving.

2. Paper Boxes
Paper boxes are another favorite of mine, especially for gifts that need to be a bit more personalized or elegant. These boxes are incredibly versatile and come in all sorts of sizes, colors, and patterns, which makes them perfect for birthdays, anniversaries, or other special events where you want to add a personal touch. I often choose paper boxes for treats like Chocolate Macadamia Fudge or Pumpkin Spice Fudge, where I can line the box with parchment paper and add a custom label or ribbon. These kraft paper boxes are perfect for adding that personal touch.
Paper boxes are also great for smaller portions or single servings of cookies or fudge. They’re lightweight and easy to stack, which makes them ideal for packaging multiple gifts at once. Plus, they’re disposable, which is convenient if you’re giving out a large number of gifts or if the packaging itself isn’t meant to be part of the keepsake.

3. Cellophane Bags
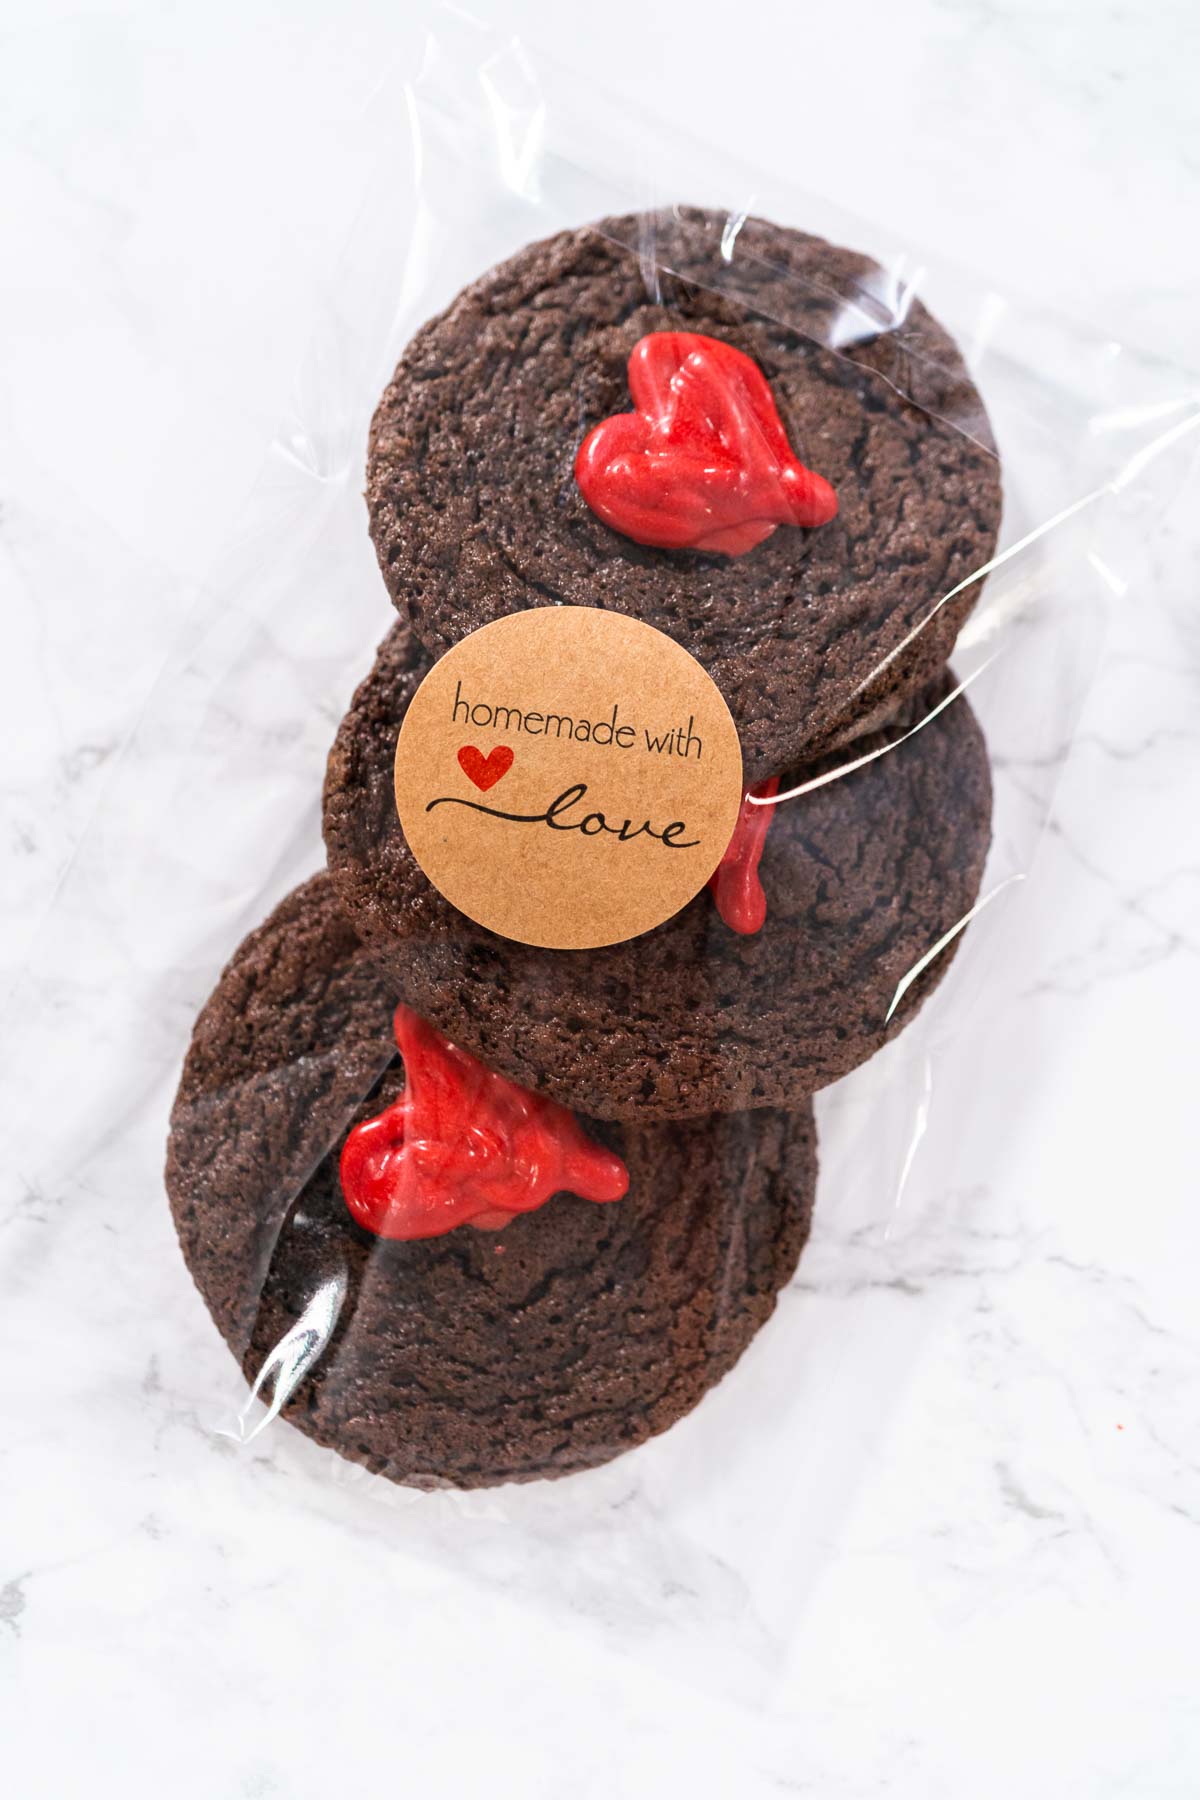
When I’m looking for something quick, simple, and still visually appealing, I turn to cellophane bags. These are perfect for more casual gifts or when I want to show off the treats inside, like brightly colored Candy Cane Fudge or beautifully decorated Holiday Peppermint White Chocolate Cookies. The transparency of the bags lets the recipient see exactly what they’re getting, which adds to the anticipation and excitement. These clear cellophane bags are my go-to for a polished look.
I also use cellophane bags a lot when I need to individually wrap cookies in self-sealable bags. This is perfect for sharing with coworkers, classmates, or at parties. There’s something so satisfying about handing out these neatly packaged, individually wrapped treats—they’re easy to distribute, keep the cookies fresh, and look adorable with a simple ribbon or bow. These self-sealable bags are perfect for this purpose.
Choosing the Right Option for Your Gift
Deciding between metal tin boxes, paper boxes, and cellophane bags really comes down to the occasion, the type of treat, and the overall feel you want to convey with your gift. For something more formal or traditional, metal tins are the way to go. If you’re aiming for a personalized touch or need something lightweight, paper boxes are ideal. And for quick, casual, or visually appealing packaging, cellophane bags are a perfect choice.
No matter which option you choose, the key is to make sure your packaging enhances the gift and makes the recipient feel special. After all, the presentation is just as much a part of the gift as the cookies and fudge inside!

How to Individually Package Cookies for Gifts

Packaging Ideas Inside Boxes for Fudge
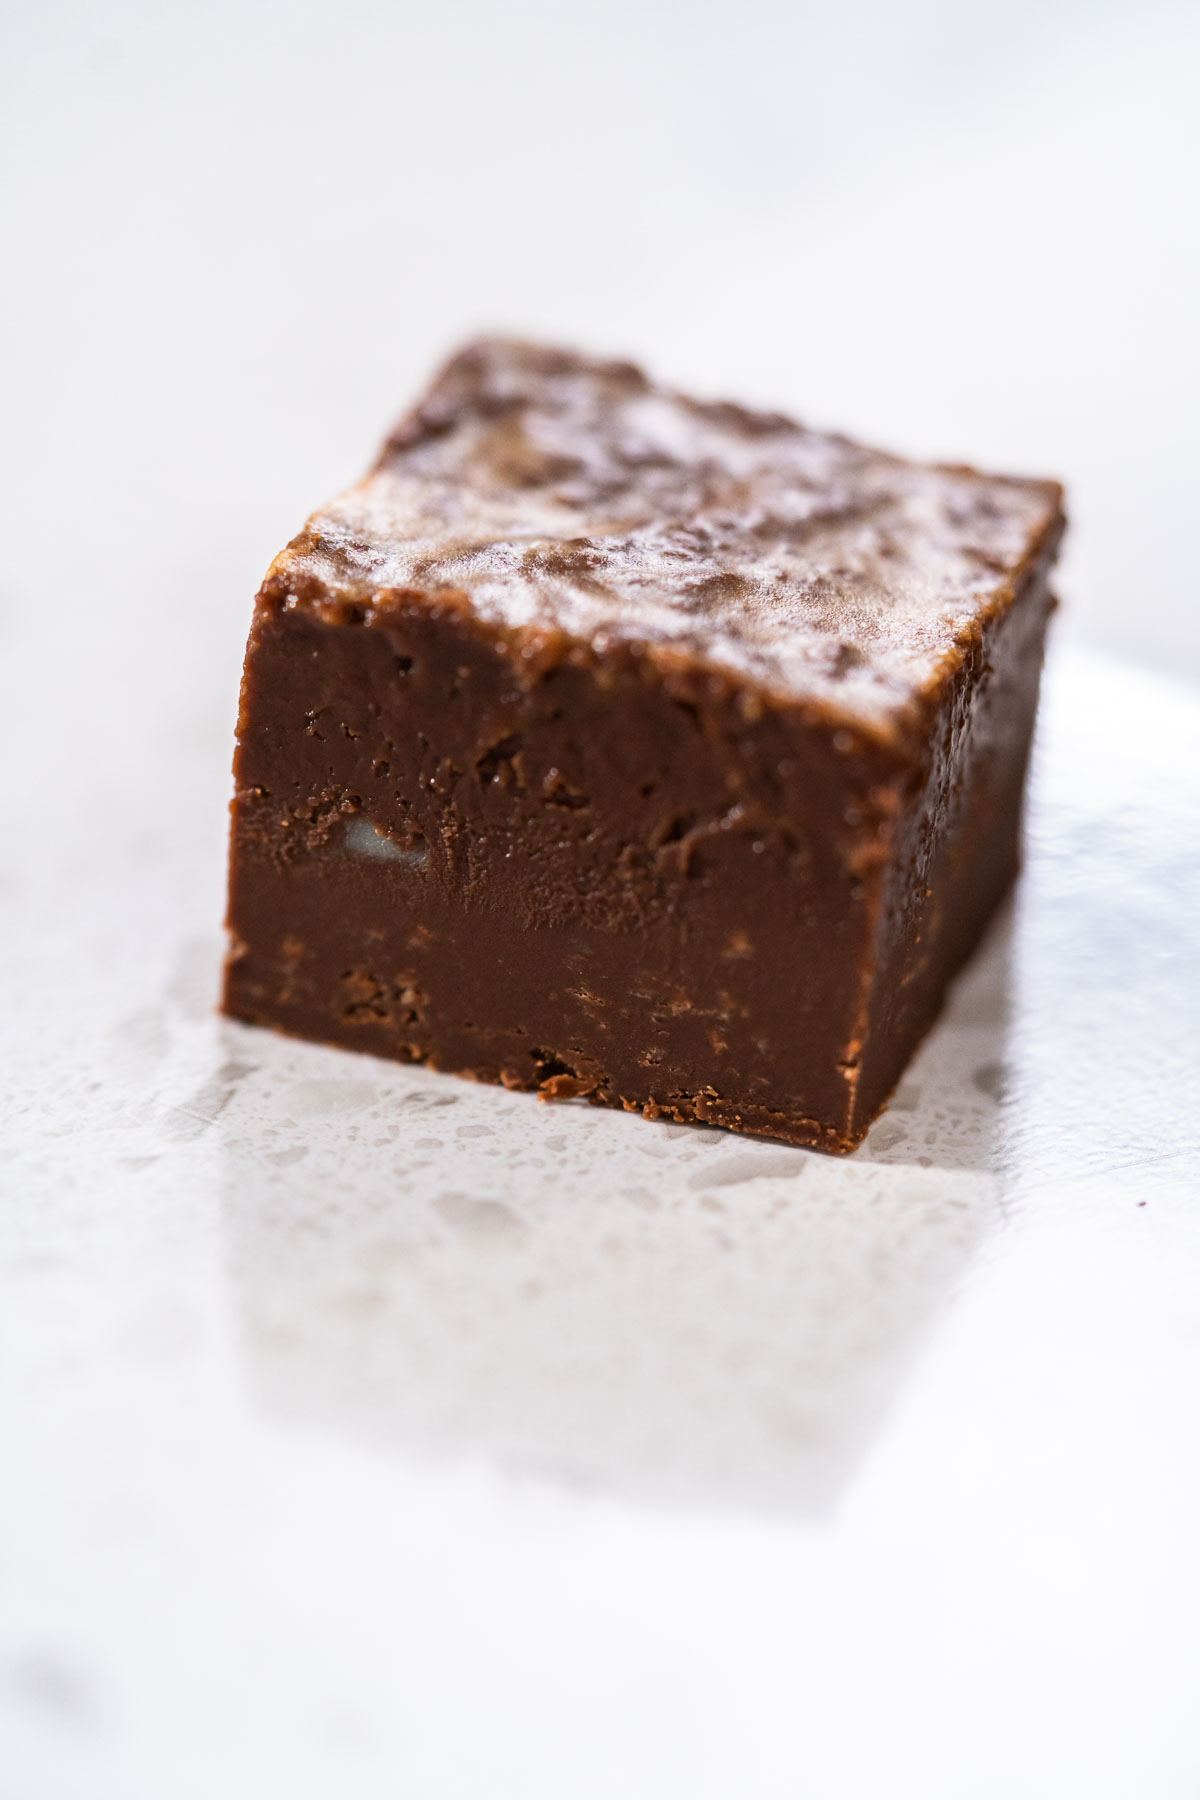
When it comes to packaging fudge inside boxes, I love to get a little creative with how I arrange and present each piece. The inside of the box is just as important as the outside, and using the right materials can make your fudge look even more special. Here are some of my favorite ways to package fudge inside boxes, using parchment paper and paper cupcake liners to add a polished touch.
Using Parchment Paper
Parchment paper is a simple yet versatile tool for packaging fudge inside boxes. I often use plain white parchment paper when I want a clean, classic look. It’s perfect for wrapping each piece of fudge individually or for lining the bottom of the box to give it a neat, tidy appearance. The smooth surface of parchment paper also prevents the fudge from sticking, which is a must when you’re dealing with rich, gooey treats like Chocolate Peanut Butter Fudge.
But when I’m feeling a bit more festive, I reach for parchment paper sheets with decorative prints—these are my absolute favorite. Whether it’s snowflakes for the holidays or colorful patterns for a birthday, decorative parchment paper adds a fun and personal touch to the presentation. I love how it instantly brightens up the inside of the box and makes the fudge feel like an extra-special gift. Plus, it’s a great way to add a little flair without going overboard.

Paper Cupcake Liners
Another trick I’ve found incredibly useful is using paper cupcake liners to hold individual pieces of fudge inside the box. This not only keeps the fudge neatly separated but also adds a charming, professional look to the presentation. My go-to is simple white paper cupcake liners—they give a clean, elegant appearance that lets the fudge take center stage. I often use these liners when I’m packaging a variety of fudge flavors, like White Chocolate Cranberry Pecan Fudge and Pistachio Fudge, to keep everything in place and looking pristine.
When I want to add a bit more personality to the box, I opt for paper cupcake liners with prints. Just like with the decorative parchment paper, these liners come in all sorts of designs, from seasonal patterns to playful prints. They’re a fun way to tie the packaging theme together, especially if you’re celebrating a particular holiday or event. Whether you choose plain white or printed, cupcake liners are an easy and effective way to elevate the look of your fudge inside the box.
These little touches—parchment paper and cupcake liners—really make a difference in how your fudge is presented. They show that you’ve put thought into every detail, making the gift feel all the more special.

How to Cut Fudge into Smooth Perfect Pieces

Combining Cookies and Fudge in One Gift
One of my favorite ways to create a truly memorable gift is by combining cookies and fudge in a single package. It’s like giving a little box of joy, filled with a variety of sweet treats that complement each other perfectly. However, combining different types of goodies requires a bit of thought to ensure they stay fresh and look beautiful when presented together. Here’s how I like to arrange cookies and fudge in one gift box.
How to Arrange Multiple Treats
When it comes to arranging cookies and fudge together, the key is to keep the flavors and textures from mingling too much. I like to use decorative parchment paper sheets to separate the different treats. Not only does this keep the flavors distinct, but it also adds a lovely visual element to the package. I usually layer the fudge at the bottom and place the cookies on top, using the parchment paper as a barrier between the layers. This method works especially well with more delicate cookies like my Ice Skate Sugar Cookies, which I don’t want to get squished by the denser fudge.
Using Dividers or Separate Sections
To ensure a neat and organized presentation, I sometimes use dividers or create separate sections within the box. This is particularly useful if I’m including a variety of cookies and fudge flavors. Dividers can be made from cardboard, or you can purchase boxes that come with built-in sections. I like how this method keeps everything in its place, preventing the cookies from getting crumbly or the fudge from sticking together. It’s an especially handy technique when gifting multiple flavors like Chocolate Macadamia Fudge and Holiday Peppermint White Chocolate Cookies together in one box.
Decorative Accents
The final touch that really makes the gift stand out is adding decorative accents. I’m a big fan of using ribbons, tags, and other little details to make the package feel complete. I’ll often tie a ribbon around the entire box and add a handwritten tag with a sweet message or a note about the treats inside. Sometimes I’ll even tuck in a sprig of greenery or a small ornament during the holidays to give it that extra festive flair. These finishing touches not only enhance the look of the gift but also show that you’ve put thought and care into every detail, making the cookies and fudge feel even more special.


Christmas food gift ideas
- Layered Caramel Fudge – Chocolate and Caramel in Every Bite
- Holiday Grinch Fudge with Red Candy Hearts – Perfect for Gifting
- Chocolate Cookies with Peppermint Chips
- No Bake Christmas Wreath Made with Chocolate Covered Pretzels
- Swirled Chocolate and Peanut Butter Fudge – No Bake Treat
- How to Wrap Homemade Fudge for Christmas and Birthdays


Food Photography & Video Tips from My Studio
Here’s a peek at the tools, gear, and camera setups I use to film my recipe videos and photograph food at home. Over the years, I’ve tested dozens of different setups, and now I’m sharing what actually works for me—whether I’m filming overhead shots for YouTube or styling still photos for my blog. If you’re curious about how I create the content you see here, these posts are a great place to start.

What is in my toolbox?

3 ways camera setup for Tasty-style video recipes

Best camera for cooking videos


Leave a Reply