How to cleanly cut fudge into perfect squares every time!
This post contains affiliate links.
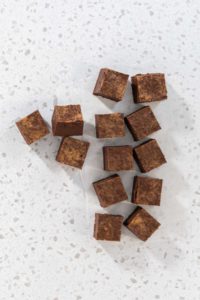
If you’ve ever tried making a batch of homemade fudge, then you already know how challenging it can be to cut the fudge into clean, evenly-sized squares. Sometimes the fudge wants to stick to the knife, and sometimes the fudge comes out in uneven pieces that aren’t exactly the best looking.
Now for just snacking around the house, this is no big deal. But if you want to make a batch of fudge to send out as a holiday gift, or birthday gift, or feature it on a sweet charcuterie board, then you want the treats to be as presentable as possible. Here’s more on How to Assemble a Charcuterie Board!
Well, today is your lucky day because I have the perfect method for How to Cut Fudge into Perfect Squares every time! My simple method just involves making a parchment paper template and using it to score (or outline) the fudge before cutting into it.
After recording my clean fudge cutting results, I did come across a few tools that would make the whole process even easier and quicker. So, if you have a square cheesecake pan or a multi-wheel pastry cutter, then you can skip a few of these steps and save yourself some time.
However, my simple template method just requires the use of common baking materials and kitchen tools, so it’s perfect for anyone! After breaking down my template process, I’ll cover how to use those tools to skip some of these steps.
Ready to get perfectly presentable, evenly-sized square results for your homemade fudge from now on? Then, let’s get started! Here’s my easy method on How to Cut Fudge into Perfect Squares!
Fudge Cutting Equipment
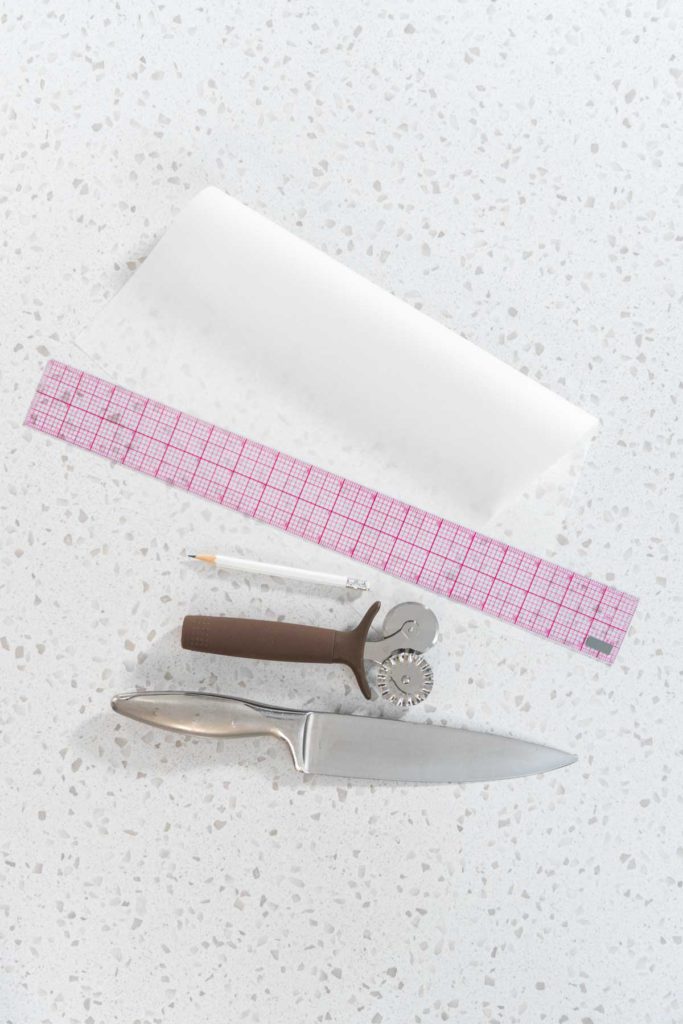
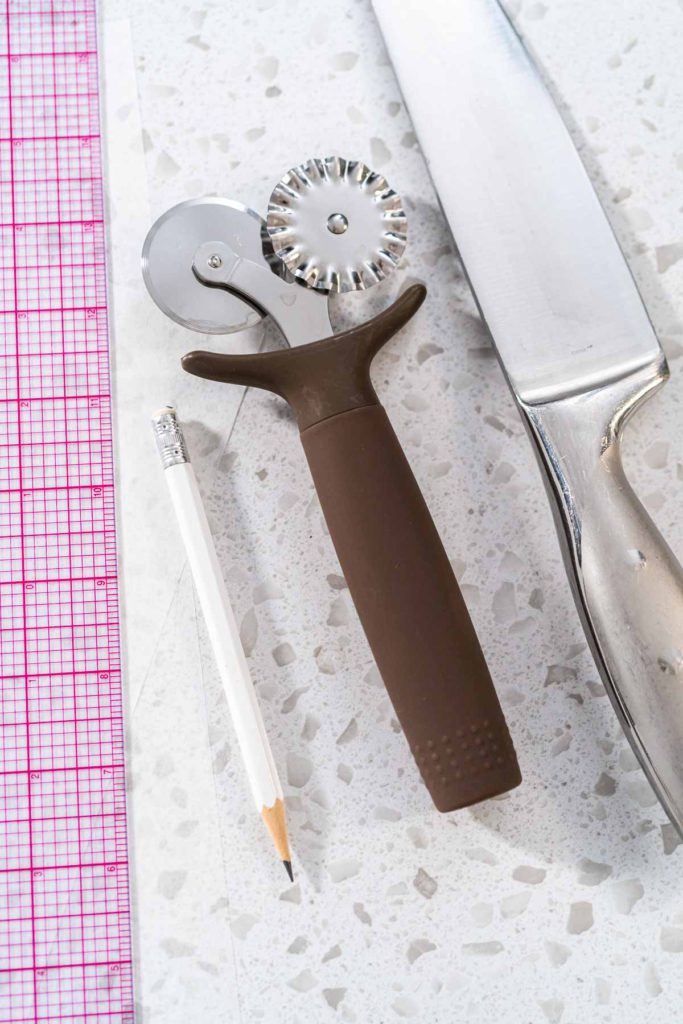
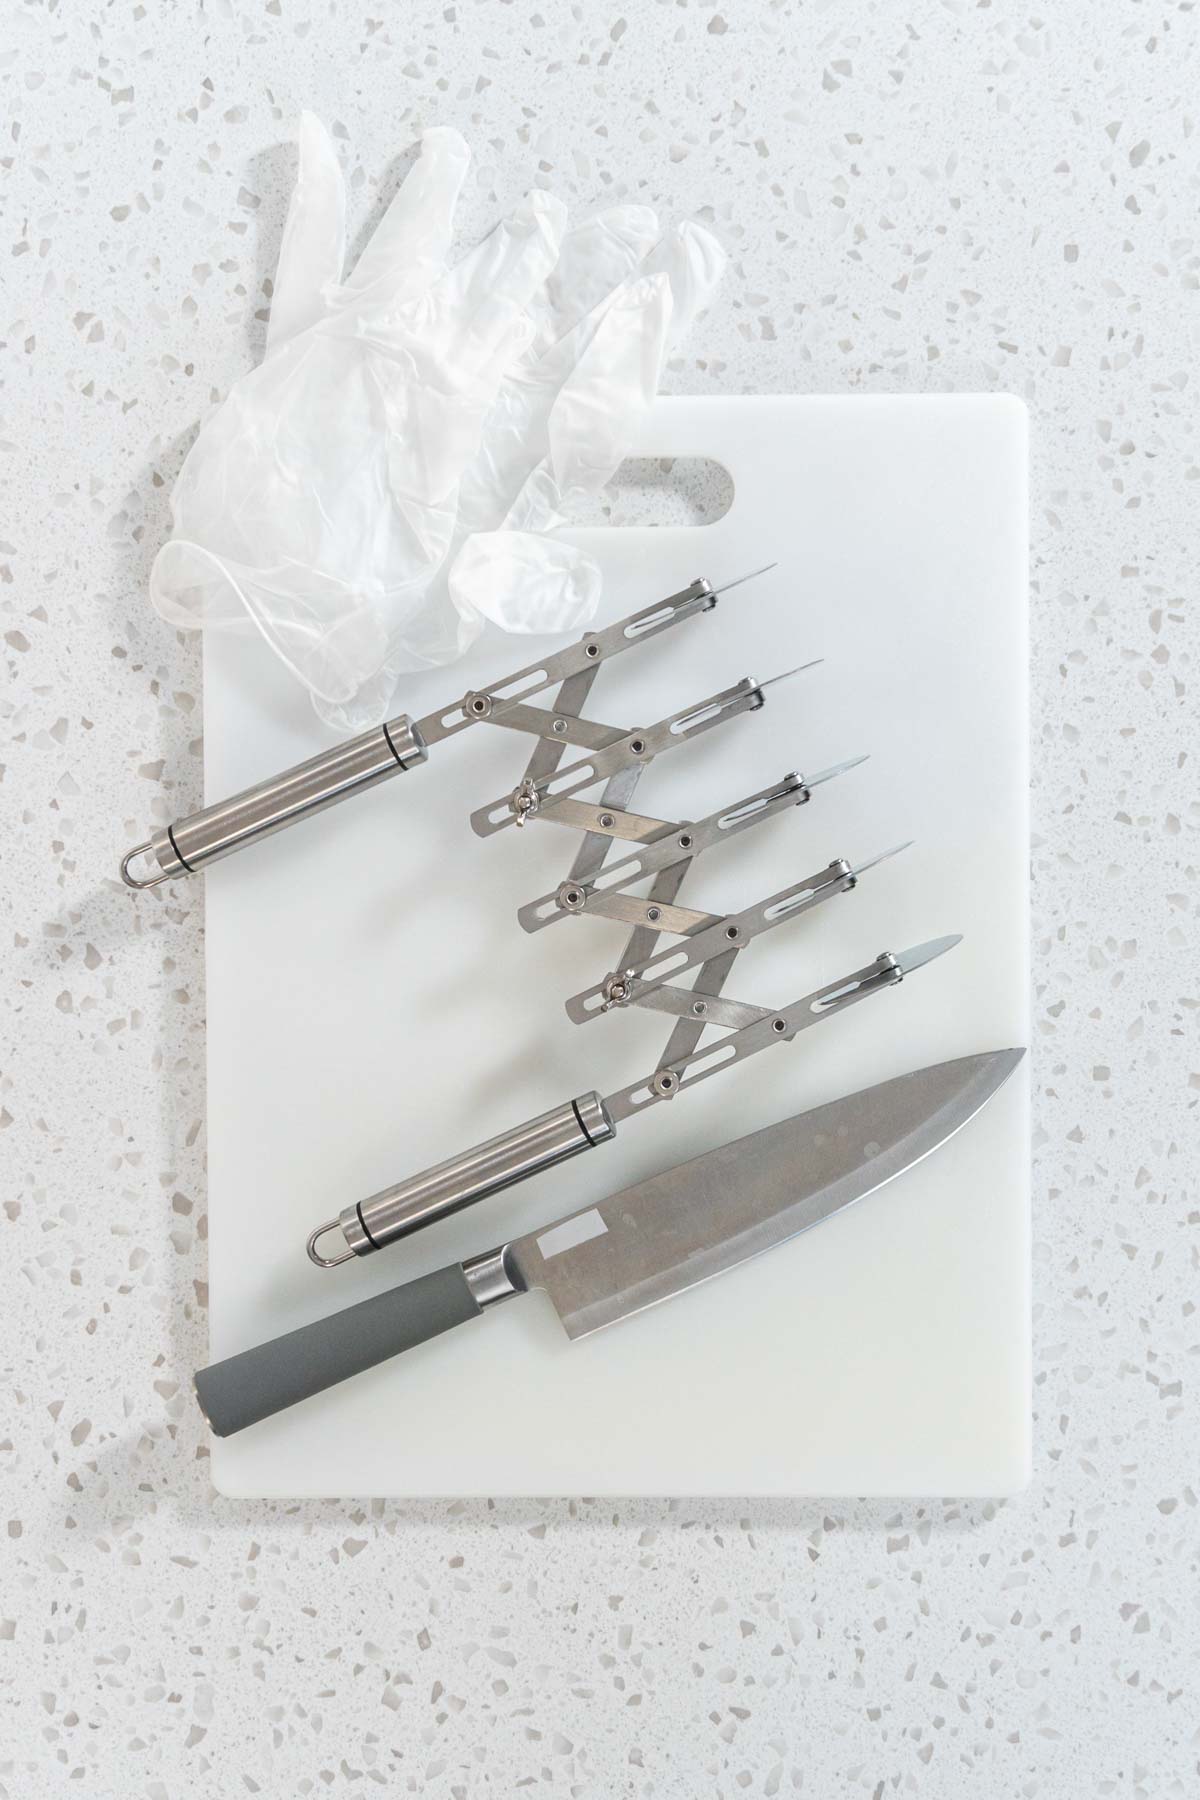
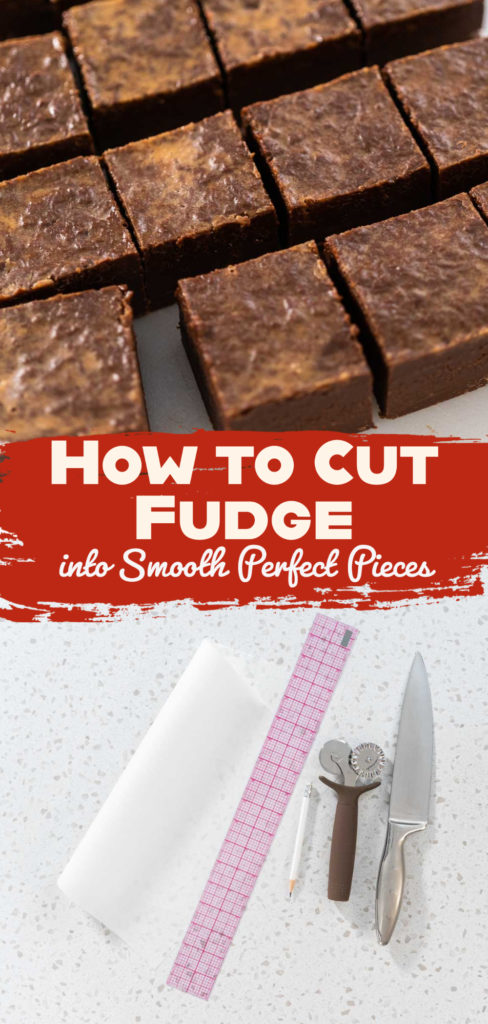
First, let me break down my template materials and cutting equipment. Nothing out of the ordinary to worry about here, just some typical baking materials and common kitchen equipment. Here’s everything I use to cut fudge into even squares:
Equipment:
Materials:
How to Cleanly Cut Fudge into Perfect Squares
Now I’ll break down my template process step-by-step, so you can be on your way to perfectly presentable fudge squares and sensational snacking! Here’s how to make a template to cut fudge squares perfectly:
- First, grab your fudge-cutting materials and tools.
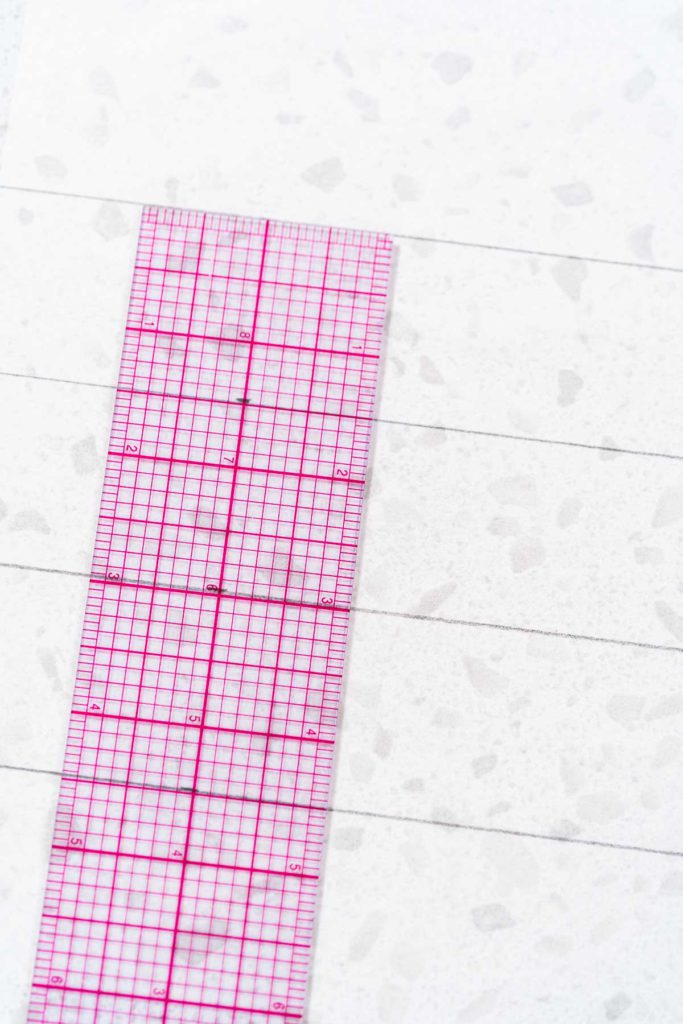
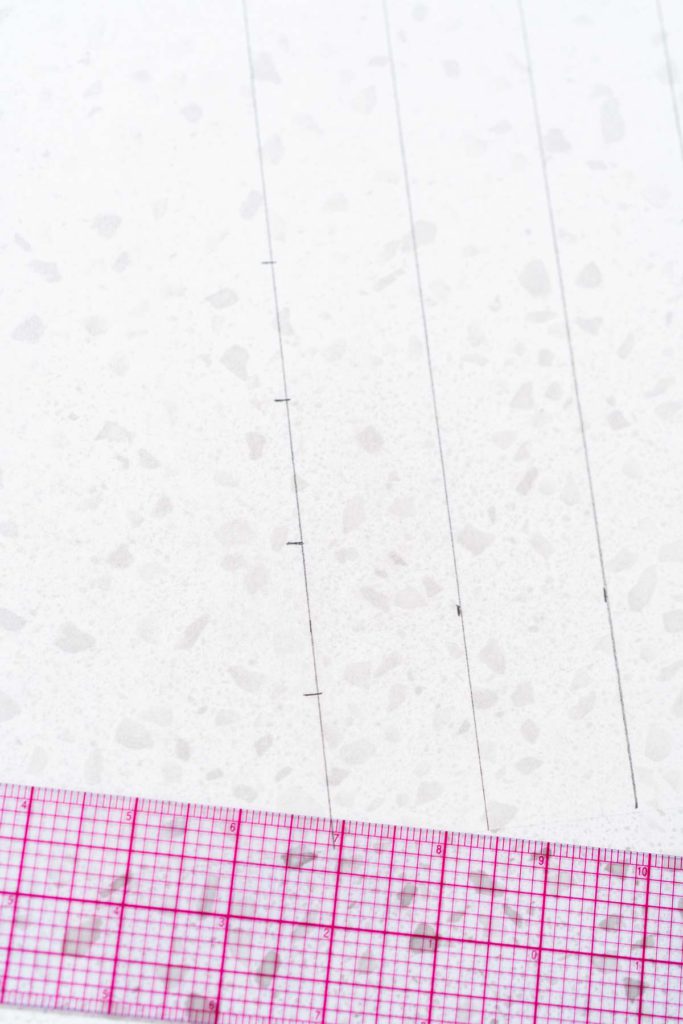
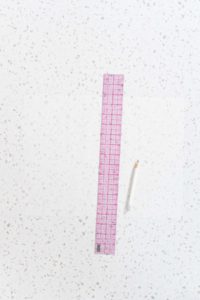
- Then, use the ruler to help mark out several 1.5-inch spaces on opposite ends of a sheet of parchment paper.
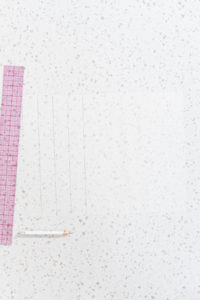
- Using the edge of the ruler, draw parallel lines at the marks that go all the way from top to bottom.
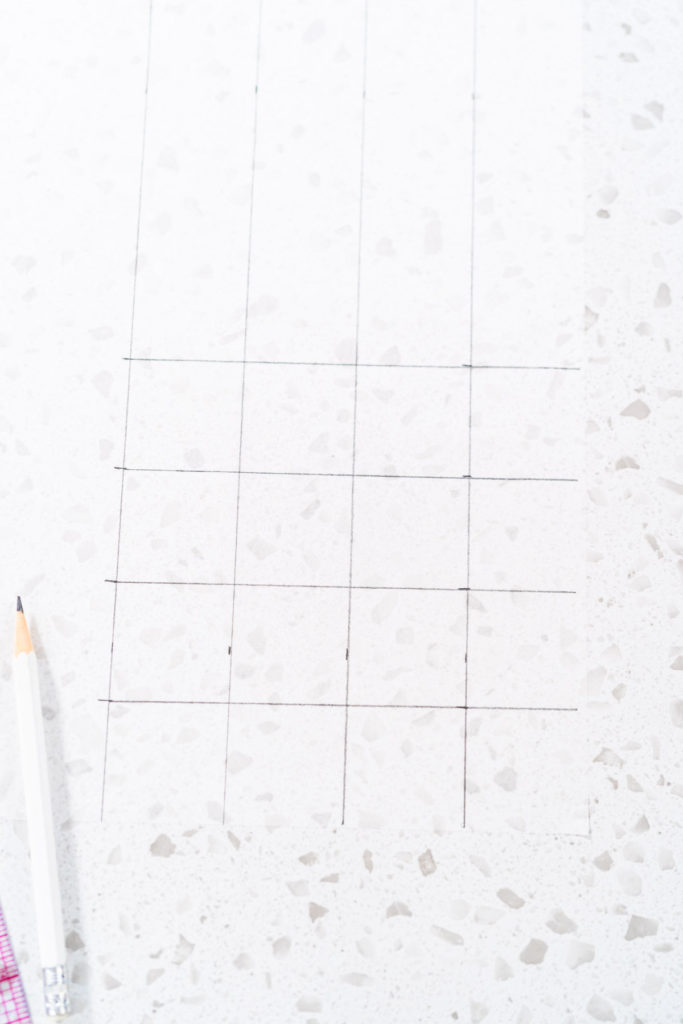
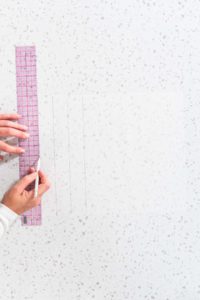
- Then, mark 1.5-inch spaces on the other opposing edges of the parchment paper.
- Using the edge of the ruler, draw parallel lines at the marks that go all the way from one side to the other.
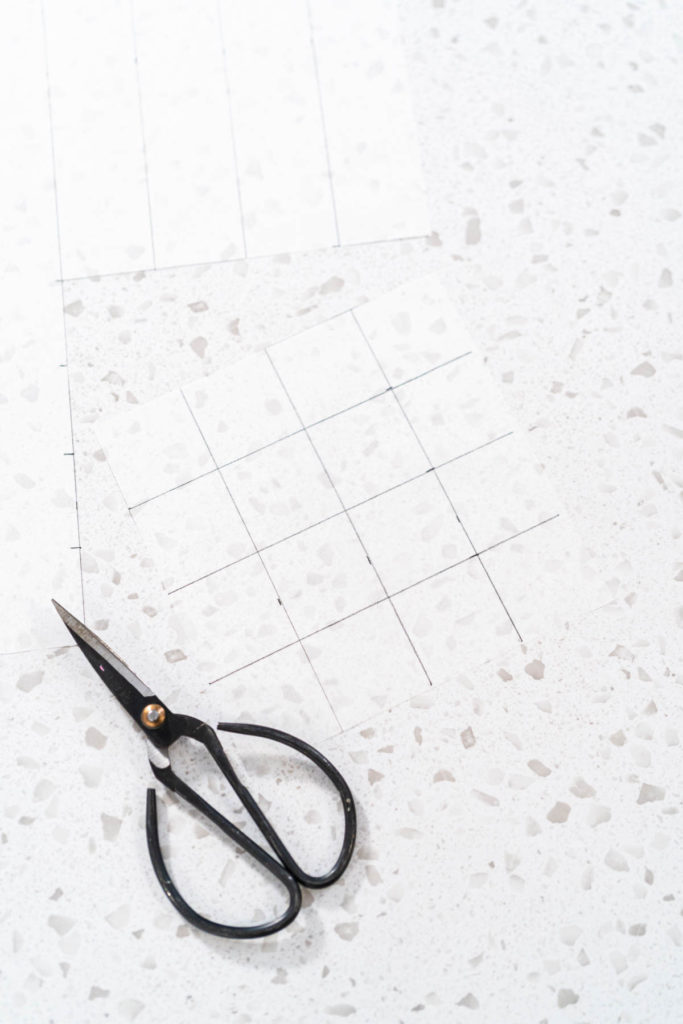
- You should have a sheet of perfect 1.5”x 1.5” squares that look like a grid. This is your template.
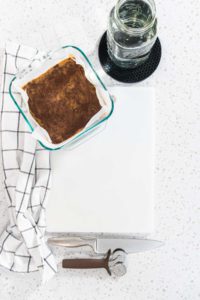
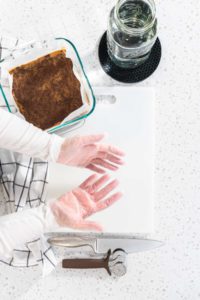
- Next, grab the fudge, a jar of hot water, and paper towels for cleaning the knife after each cut.
- Protect your hands (and the fudge) by putting on a pair of disposable vinyl gloves.
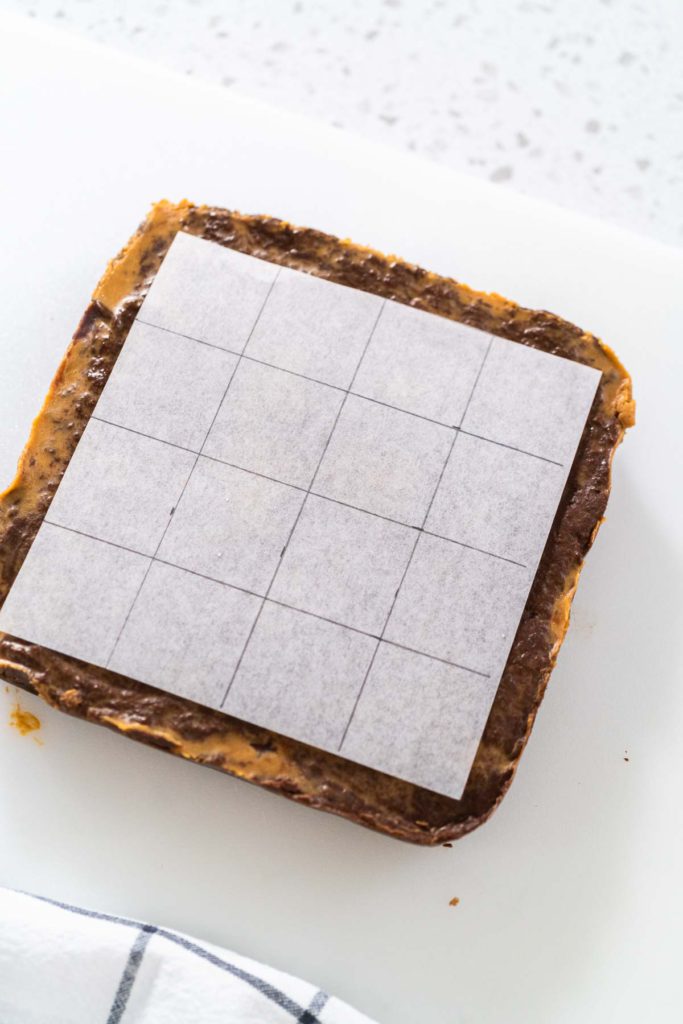
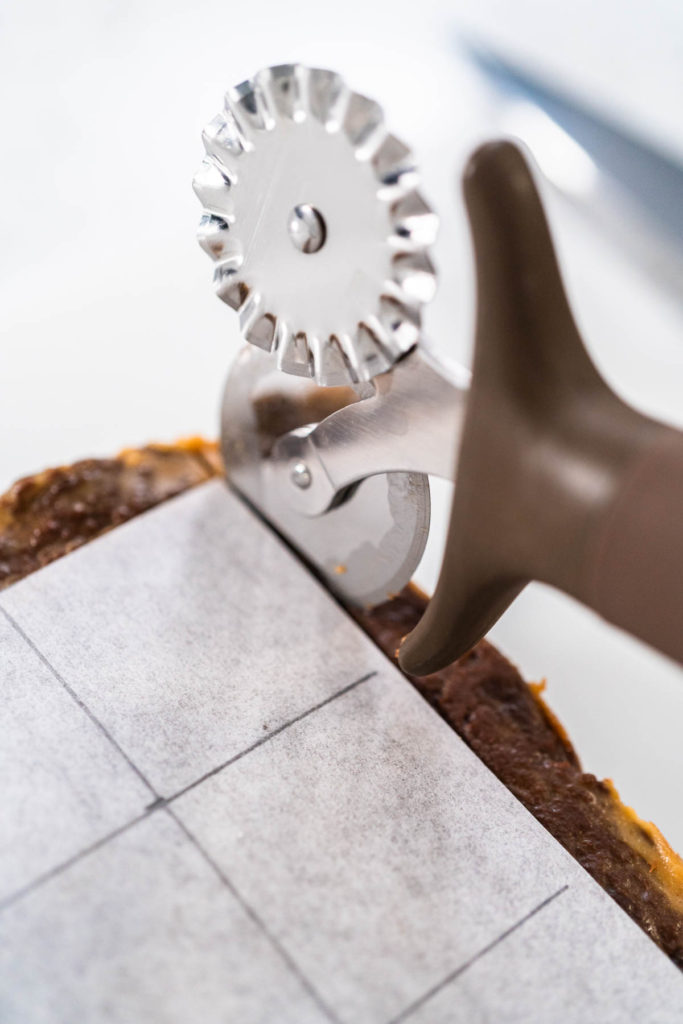
- Place your parchment paper template on top of the fudge.
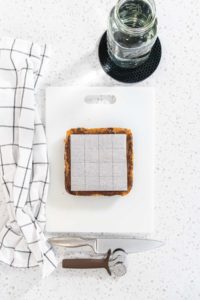
- Then, use the pastry cutter to score (or mark) the edges of the fudge at all of the 1.5” marks, going across all 4 edges. Don’t cut the fudge yet, just mark out the columns like when you started marking out the template.
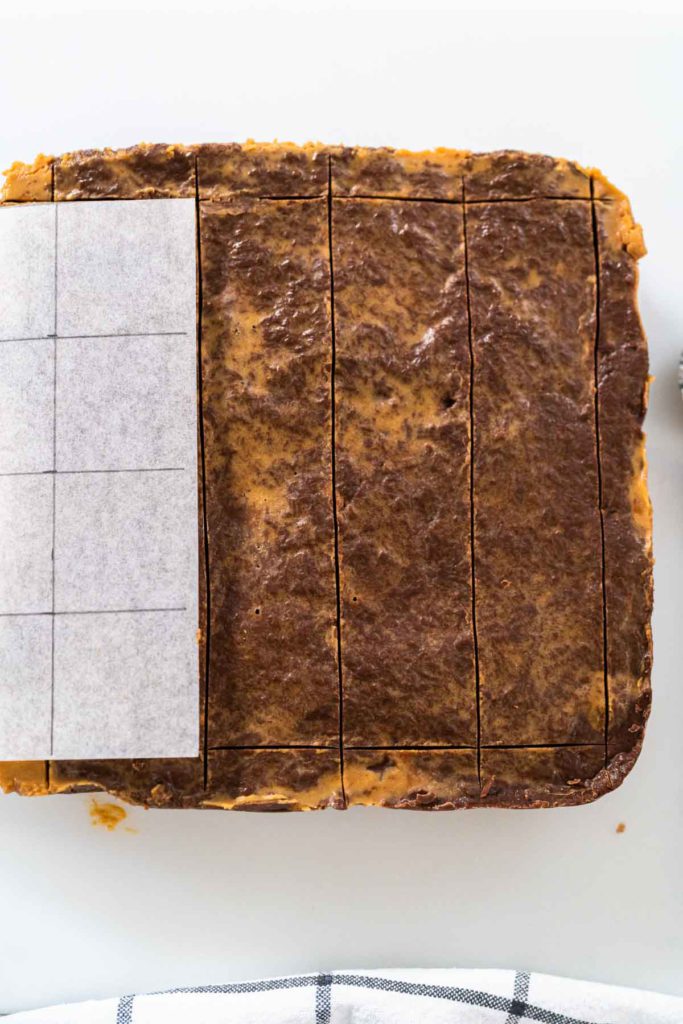
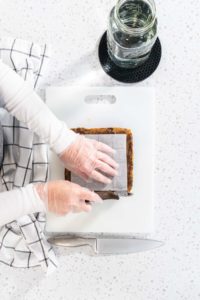
- Next, move the template so that the edge of the paper aligns with the first set of scored 1.5 marks going from top to bottom on the fudge. Run the pastry cutter along this line from top to bottom to score it again and create the first vertical column.
- In this step, you’re using the template edge just like the ruler edge to make perfect lines.
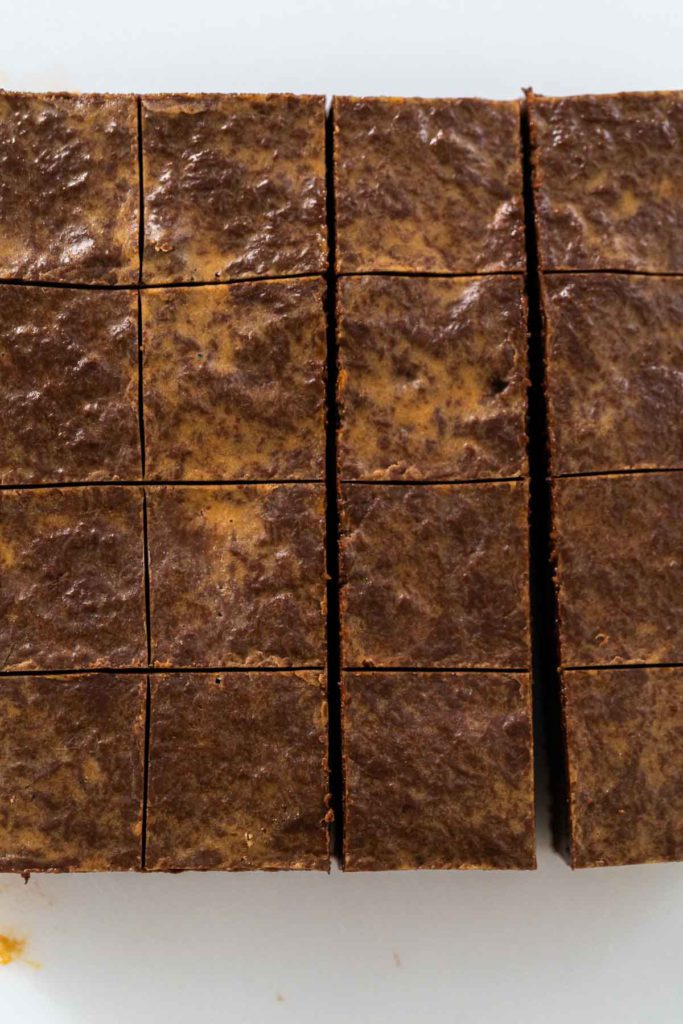
- Repeat this process for the rest of the columns running vertically, then again along the other sides to create columns going horizontal. At the end, you should have a perfect grid of fudge squares scored out.
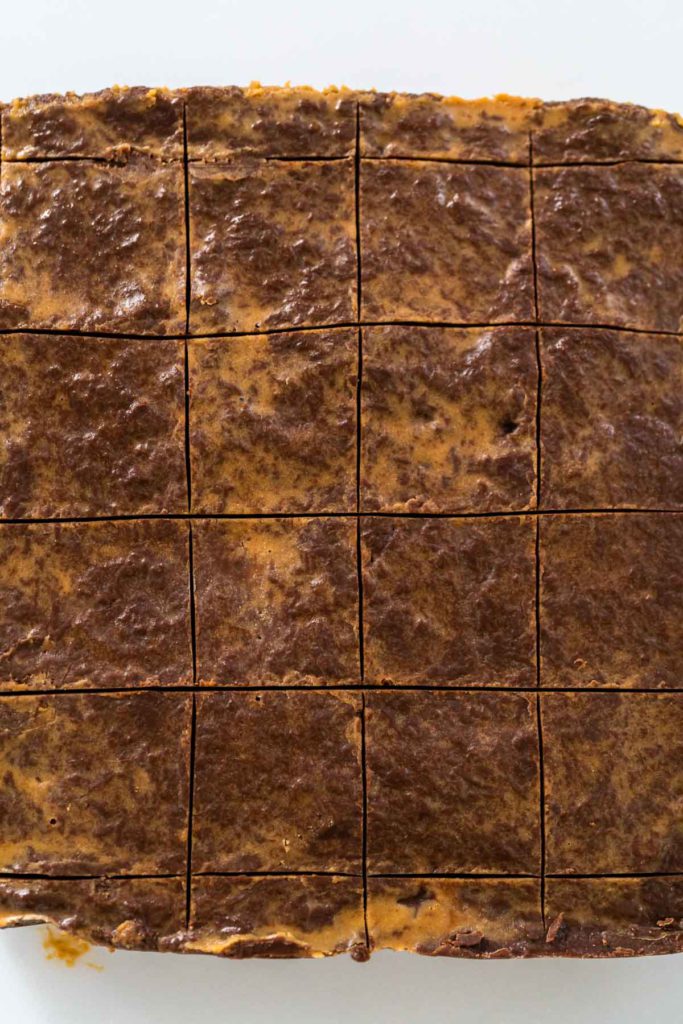
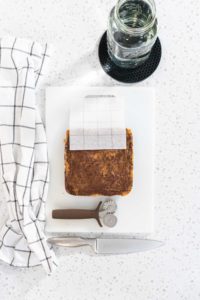
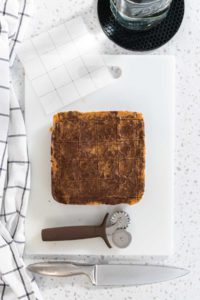
- Next, dip a large knife in hot water, wipe it dry, and cut off the outer rounded edges to create perfectly flat edges along the outside edges of the fudge. Repeat the hot water process before each cut.
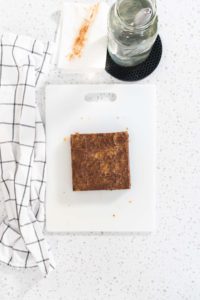
- You should have a perfectly square block of scored fudge.
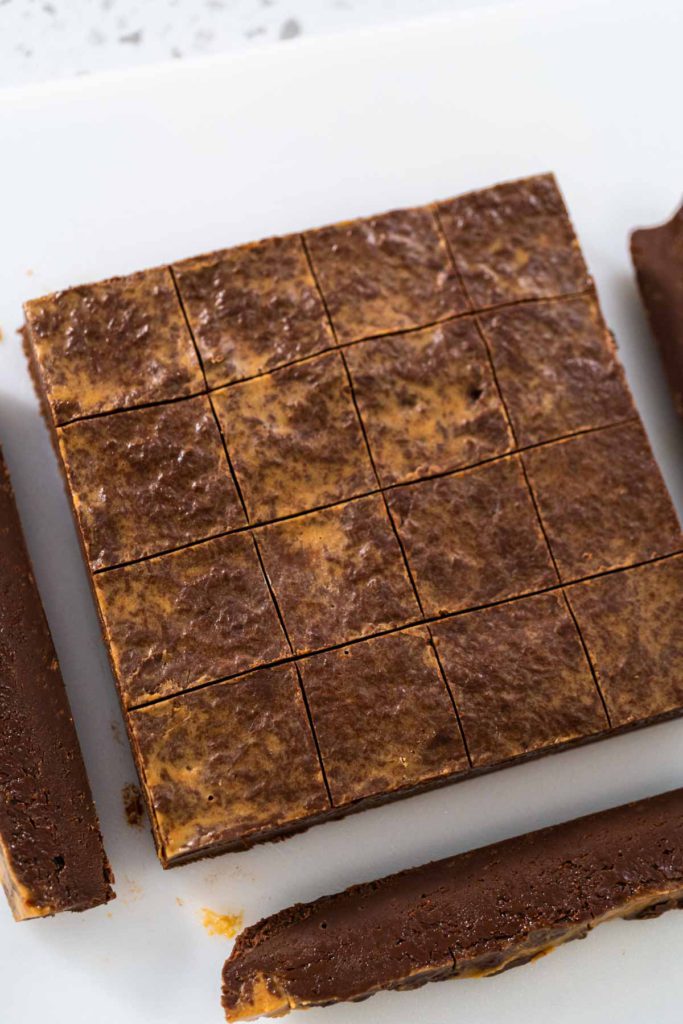
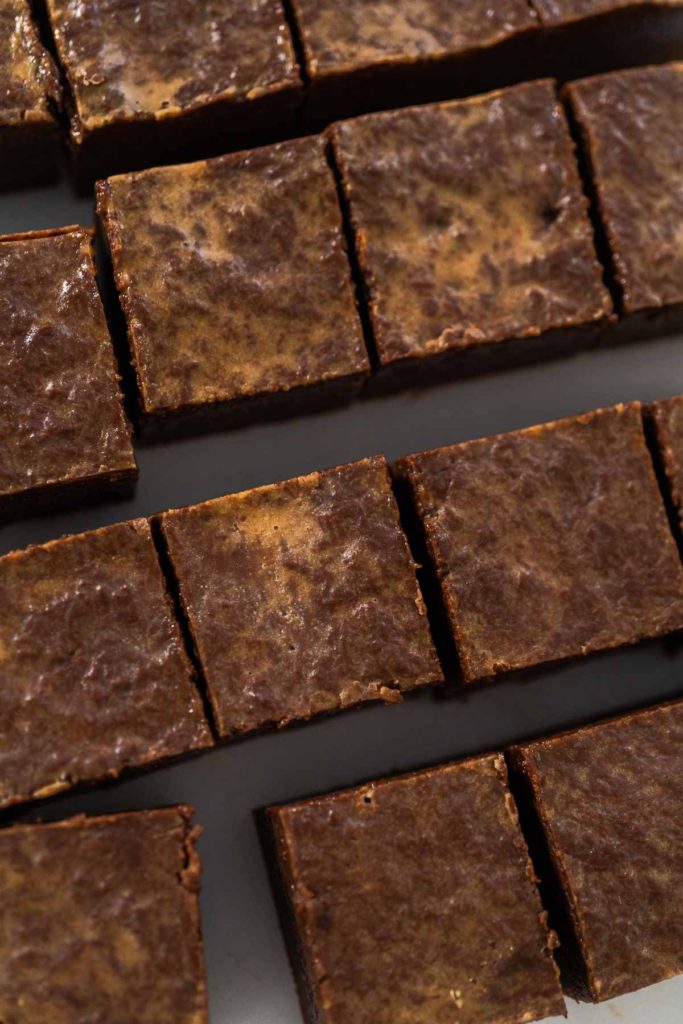
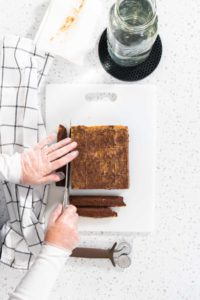
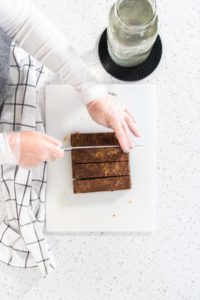
- Next, dip the knife in hot water, wipe dry, and cut the first set of columns going vertically.
- Repeat the process for the horizontal columns.
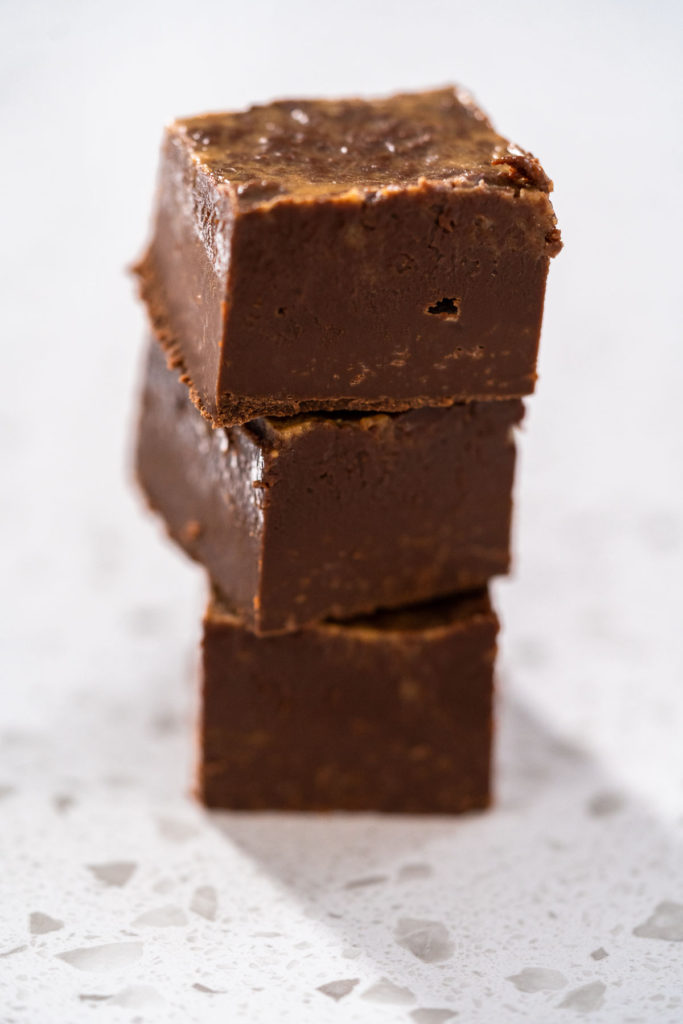
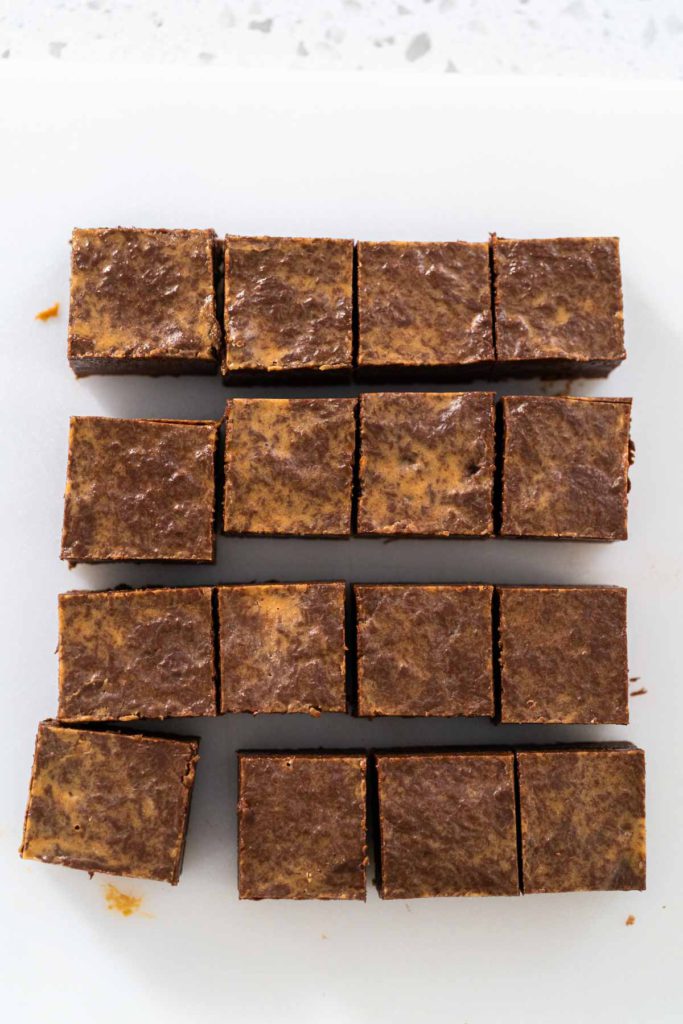
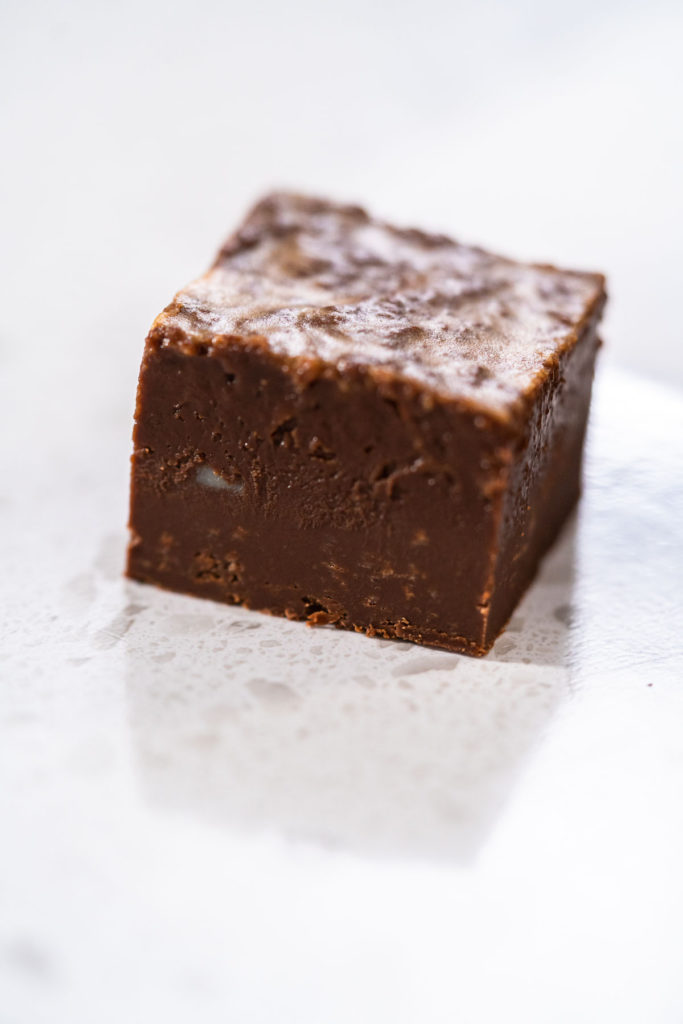
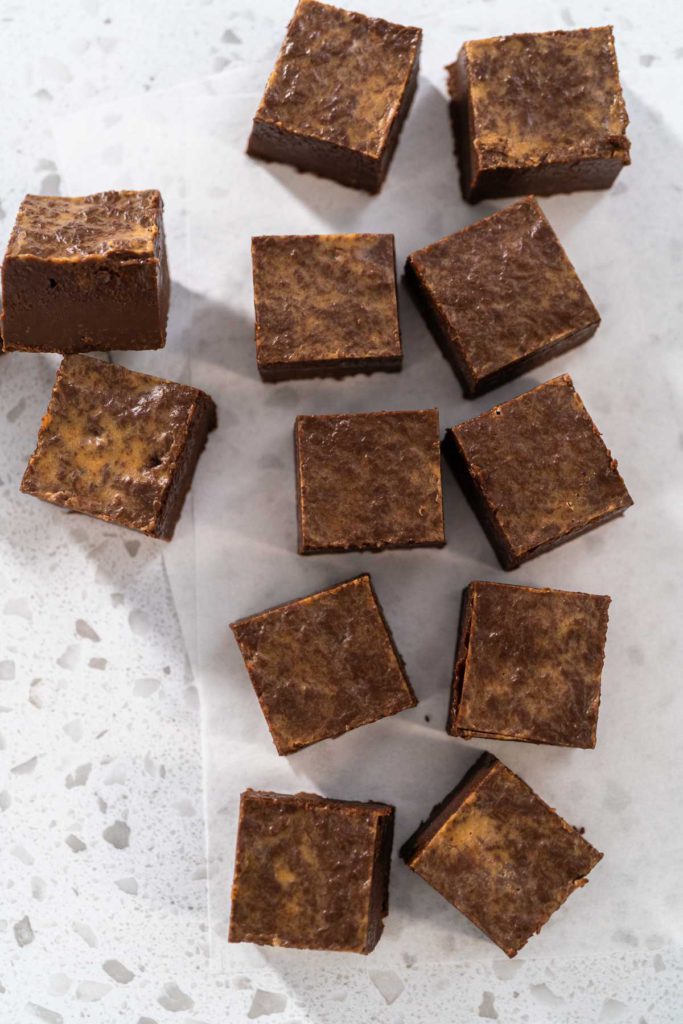
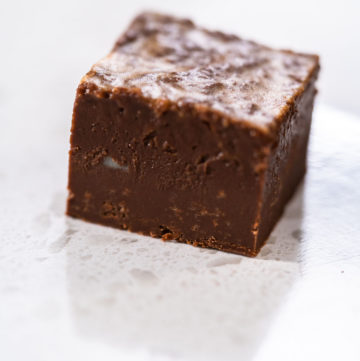
- Finally, you should have about 16 perfect, clean-cut, smooth, fudge squares!
Easy Perfect Fudge Tips
- To save yourself from having to cut off rounded edges, I recommend opting for a Square Cheesecake Pan. This pan has perfect 90° corners, so you don't have to worry about uneven or rounded corners and edges.
- If you work with pastries a lot then I recommend checking out one of these Adjustable 5 Wheel Dough Cutters. This would save you a ton of time since you would not have to make a parchment paper template.
Storing Fudge
To store fudge: first, wrap it securely in parchment paper or transfer it to an airtight container. Then, label the date on the outside of the wrapping and store it at room temperature for up to 2-3 weeks.
To freeze uncut fudge: first, grab a freezer-safe Ziploc bag and label the date on the outside. Transfer the block of fudge to the bag and release the extra air while sealing the bag closed. Store the fudge in the freezer for 2-3 months. Move the frozen fudge to the fridge to thaw for 2 days before cutting and serving.
More Fudge Recipes
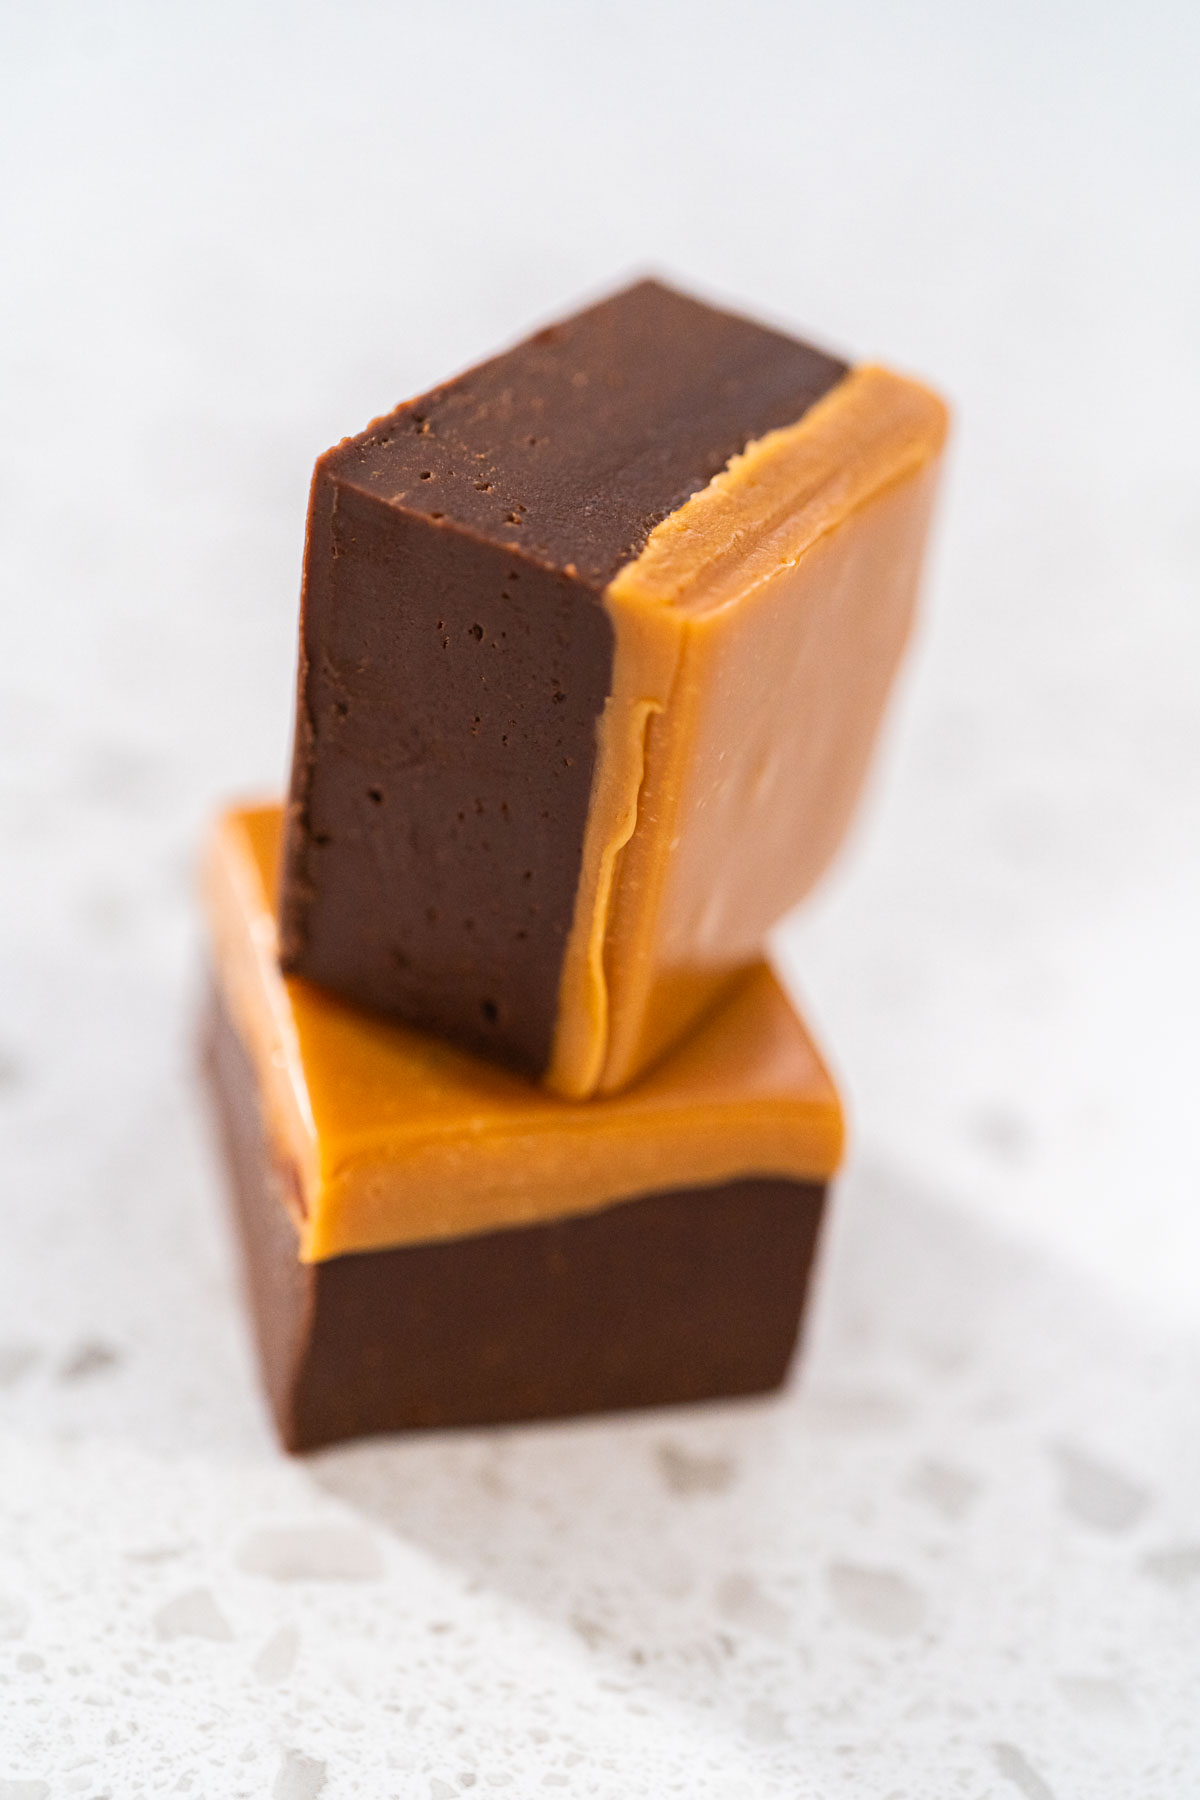
- Layered Caramel Fudge – Chocolate and Caramel in Every Bite
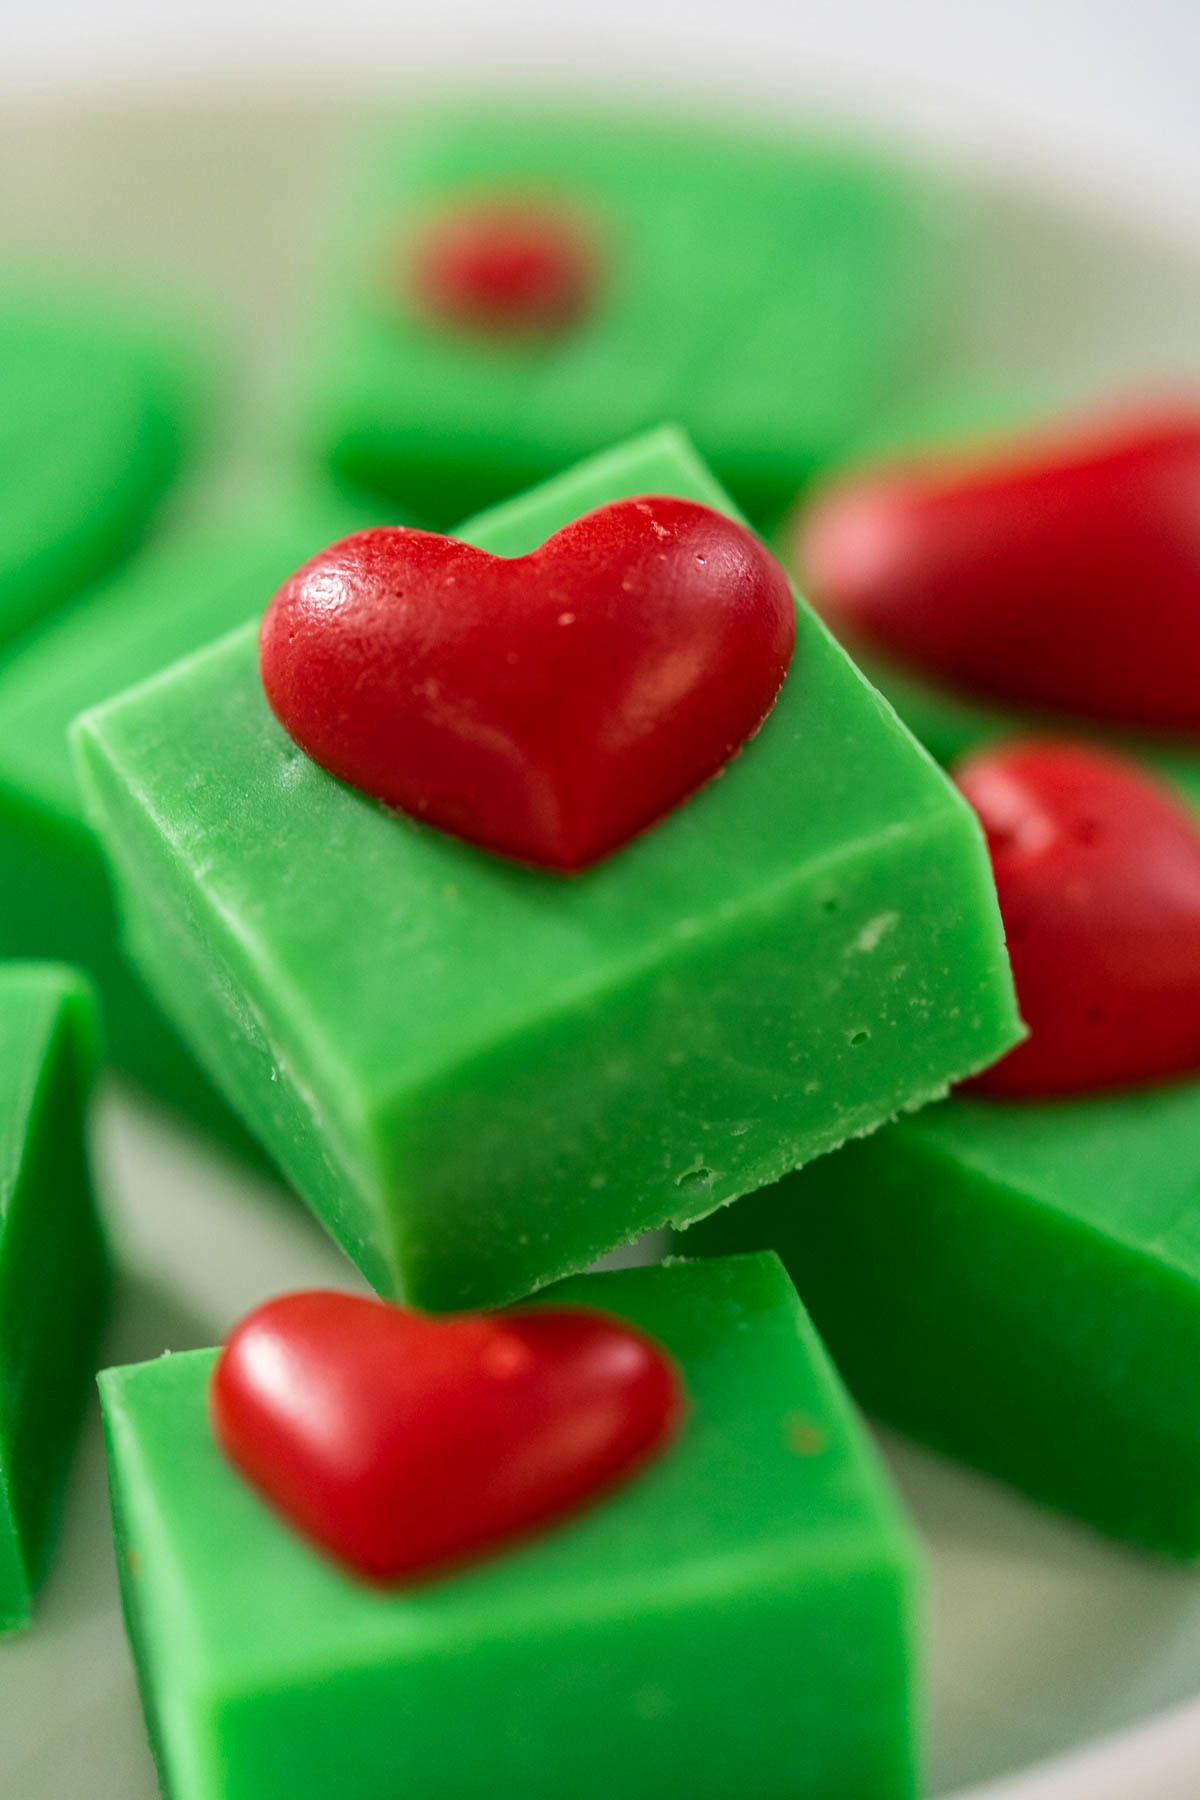
- Holiday Grinch Fudge with Red Candy Hearts – Perfect for Gifting
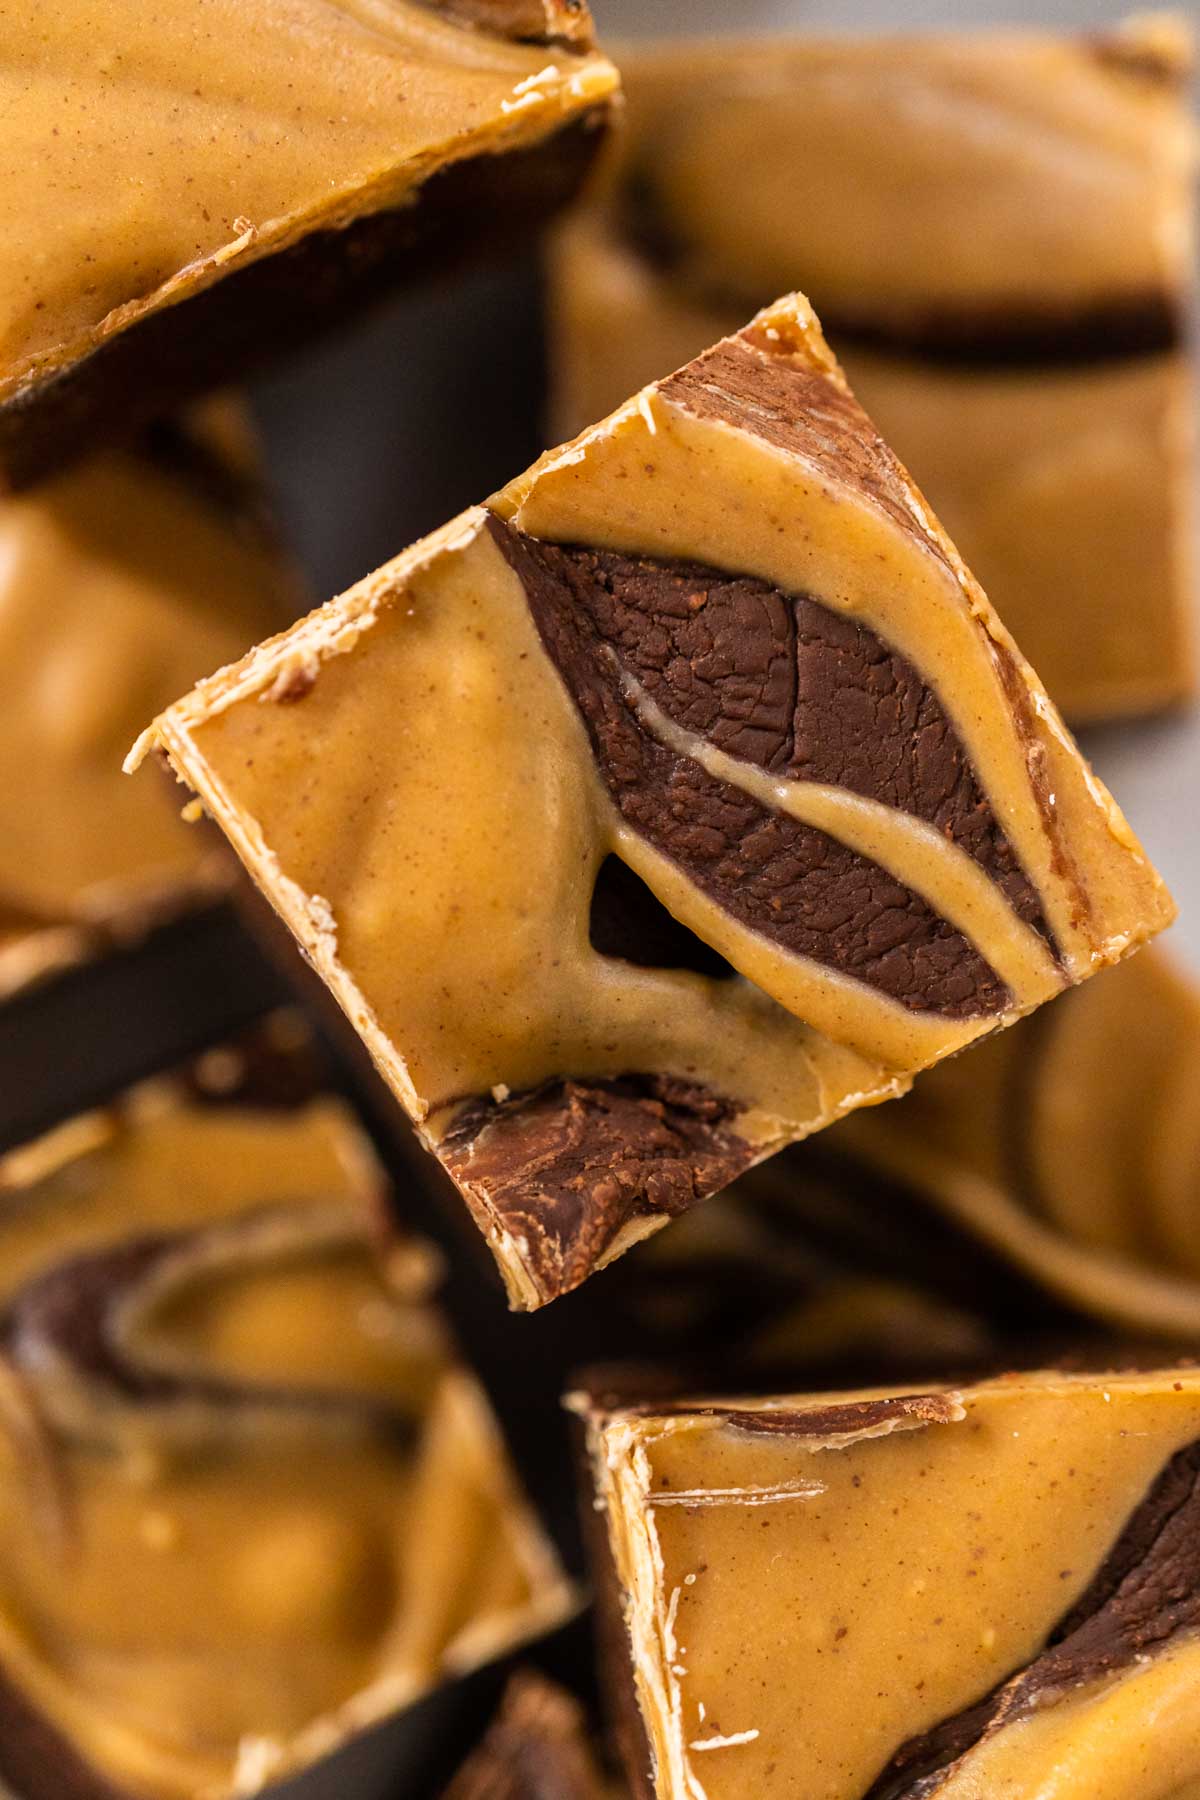
- Swirled Chocolate and Peanut Butter Fudge – No Bake Treat
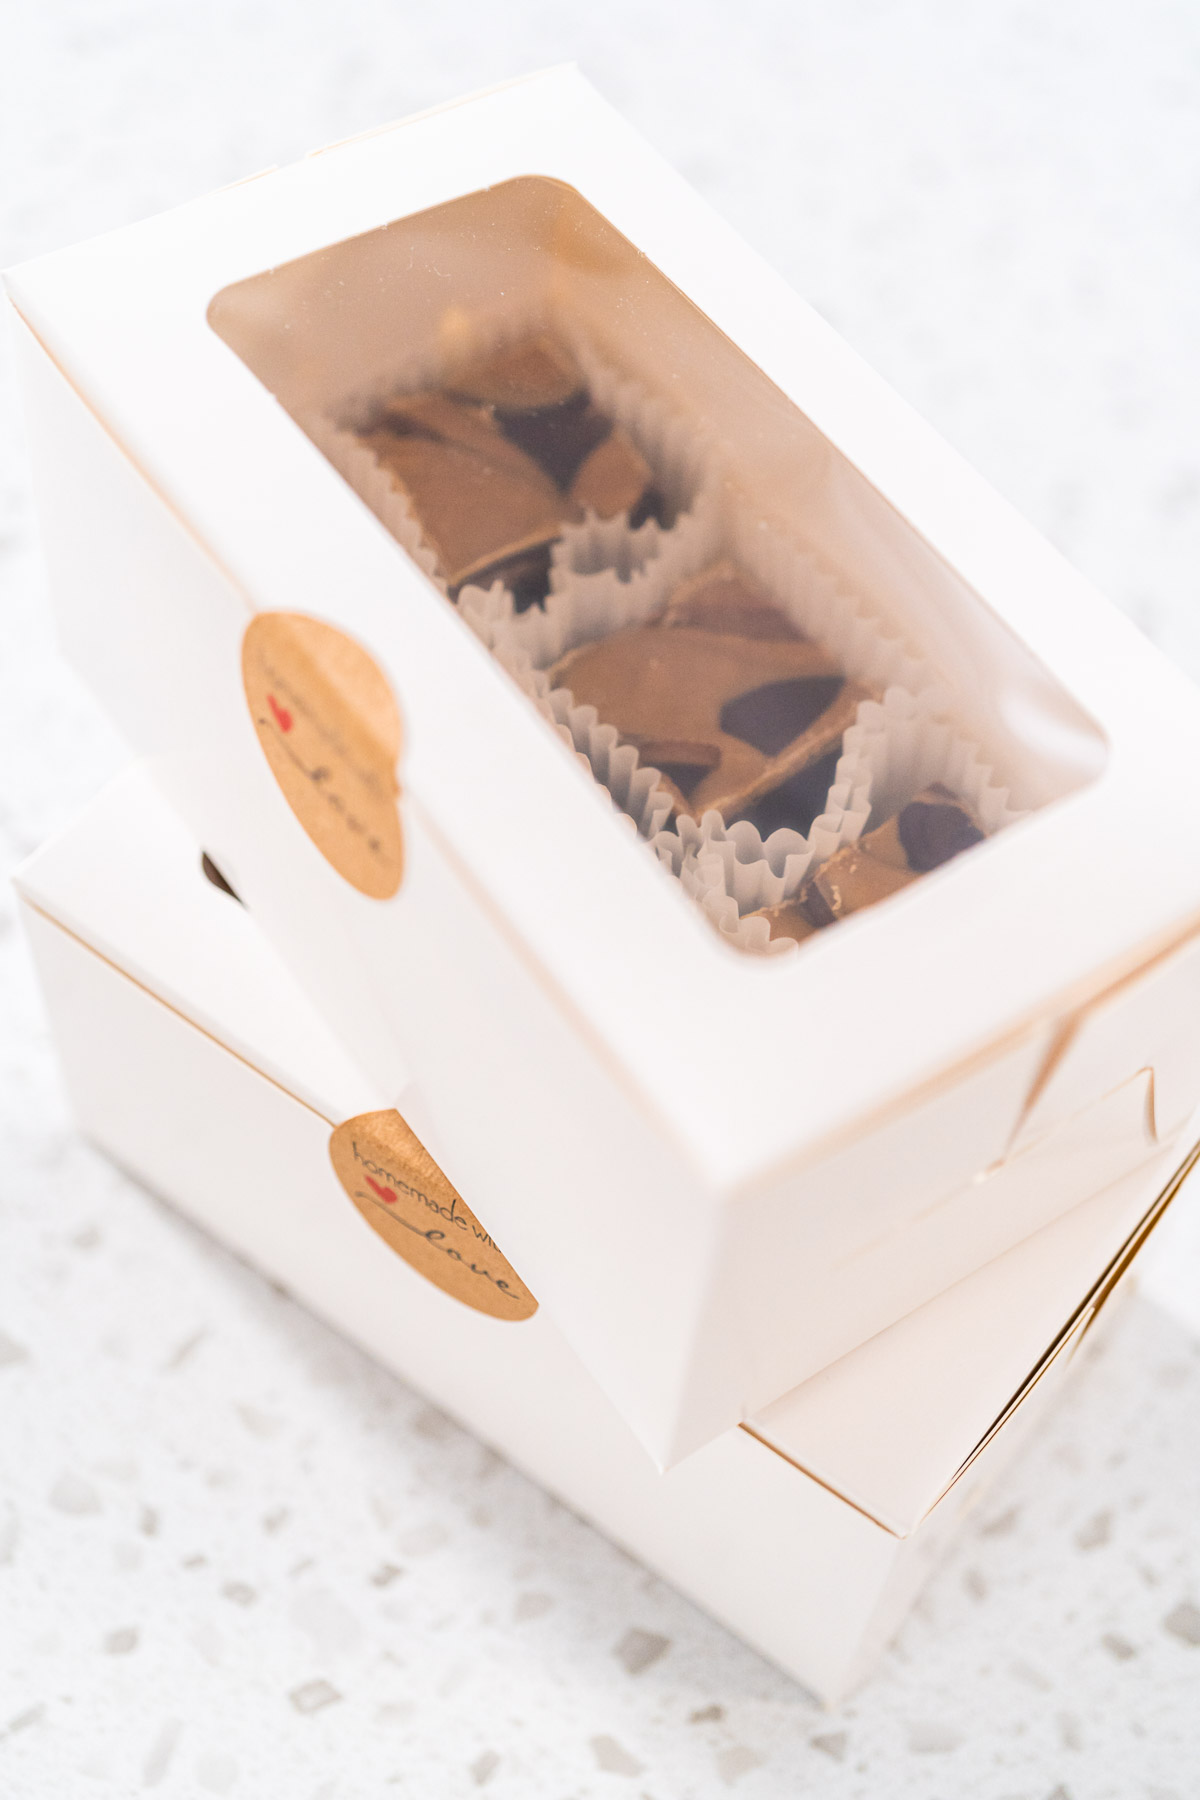
- How to Wrap Homemade Fudge for Christmas and Birthdays
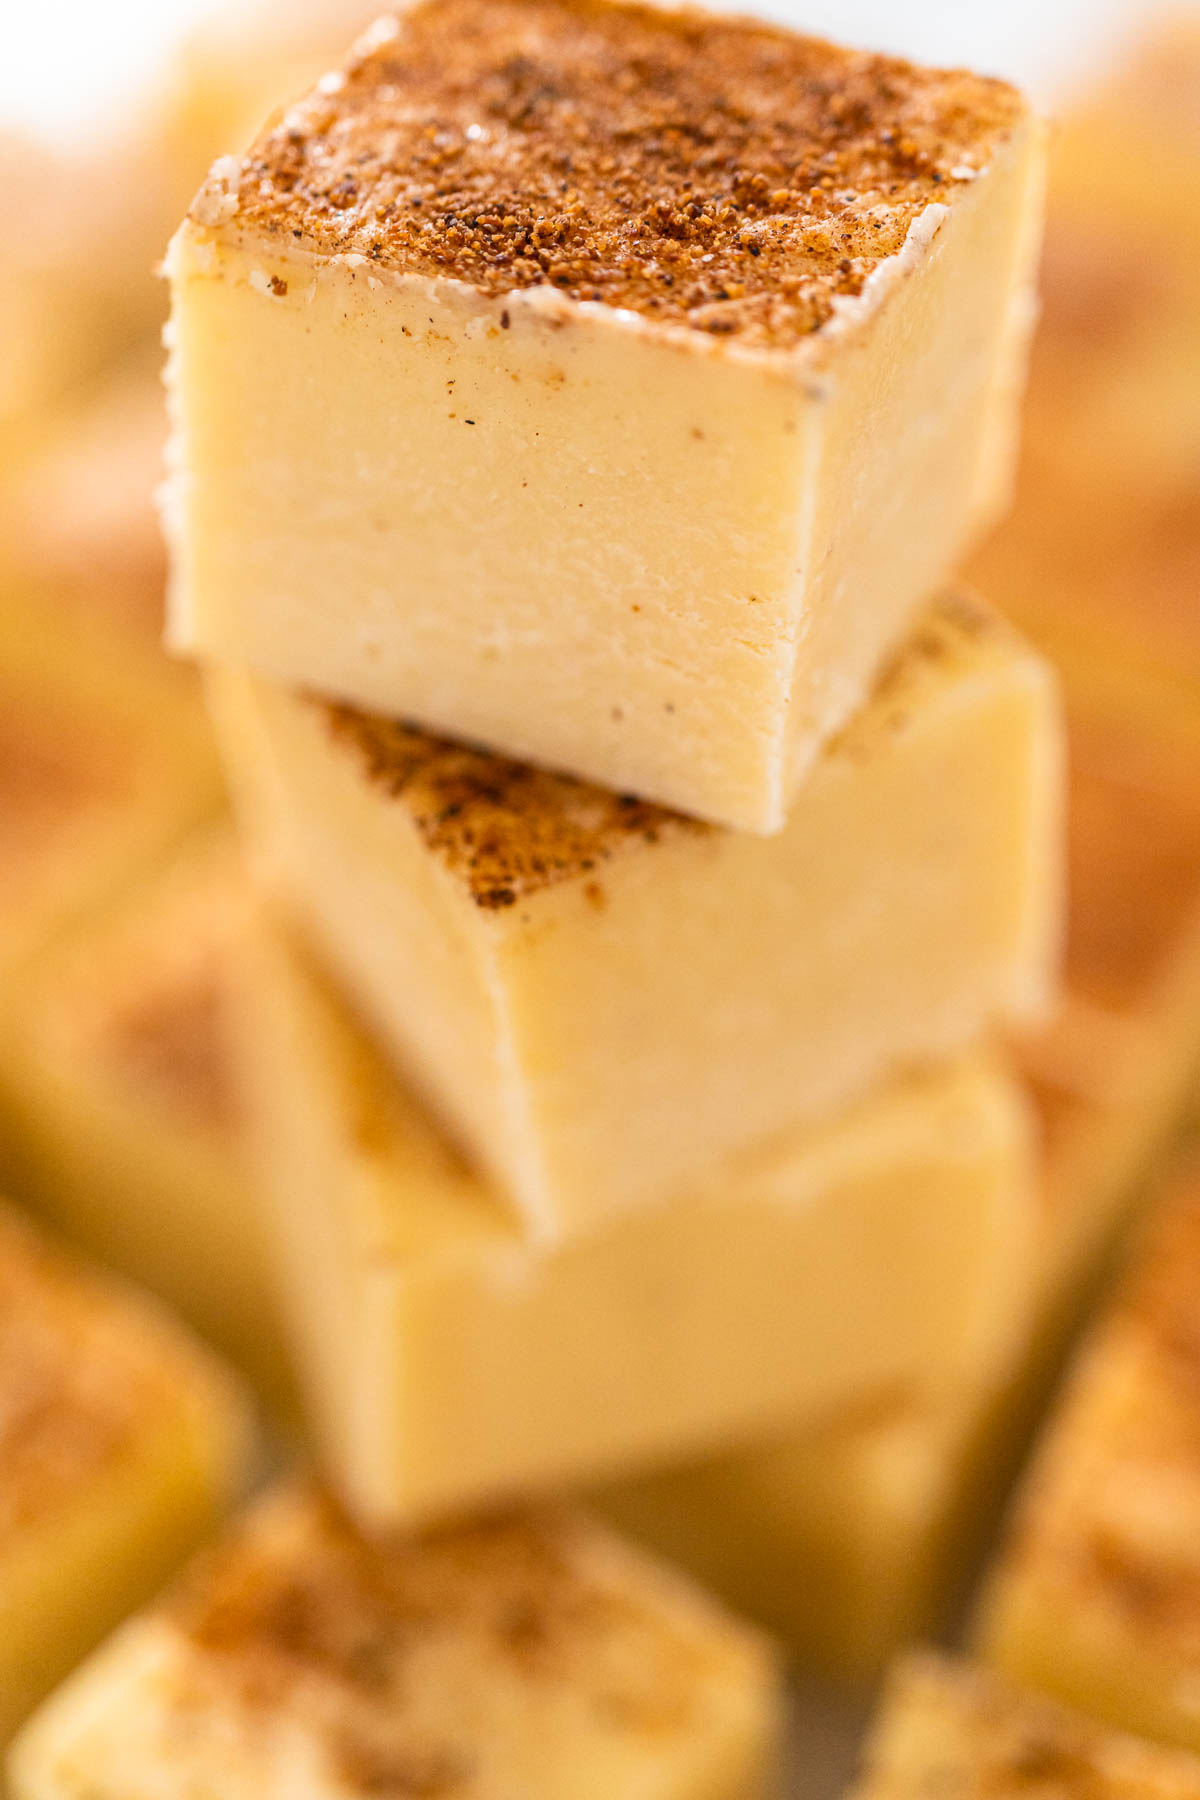
- How to Make Eggnog Fudge (Easy Holiday No Bake Recipe)
- How to Perfectly Cut Fudge Without a Template (Clean Squares by Hand)
Helpful Kitchen Tips
Loved having this helping hand around the kitchen? Then stick around and check out more of my helpful kitchen tips and fabulous fudge recipes to try this method out on.
Fabulous Fudge Recipes:
- Classic Chocolate Fudge
- Chocolate Fudge with Peanut Butter Swirl
- White Chocolate Cranberry Pecan Fudge
- Chocolate Peanut Butter Fudge
Kitchen Help:
- How to Freeze Fudge
- How to Line a Baking Pan with Parchment Paper
- 10 Busy Mom Tips on Saving Time in the Kitchen
- Plastic Piping Bag Tips
- How To Use Luster With Chocolate
- When to Use Parchment Paper vs. A Silicone Mat
- Pre-cut vs. Rolled Parchment Paper
- Silicone vs. Metal Baking Pans
- How to Grease A Pan
- How to Test Yeast
- How to Clean Enamel Cast Iron Cookware
- How to Easily Melt Candy Melts
- How to Assemble a Charcuterie Board
- How to Crush Candies
- How to Keep Strawberries Fresh
How to Cut Fudge into Smooth Perfect Pieces
Video
Equipment
Ingredients
Instructions
- First, grab your fudge-cutting materials and tools.

- Then, use the ruler to help mark out several 1.5-inch spaces on opposite ends of a sheet of parchment paper.
- Using the edge of the ruler, draw parallel lines at the marks that go all the way from top to bottom.
- Then, mark 1.5-inch spaces on the other opposing edges of the parchment paper.
- Using the edge of the ruler, draw parallel lines at the marks that go all the way from one side to the other.

- You should have a sheet of perfect 1.5”x 1.5” squares that look like a grid. This is your template.

- Next, grab the fudge, a jar of hot water, and paper towels for cleaning the knife after each cut.
- Protect your hands (and the fudge) by putting on a pair of disposable vinyl gloves.
- Place your parchment paper template on top of the fudge.
- Then, use the pastry cutter to score (or mark) the edges of the fudge at all of the 1.5” marks, going across all 4 edges. Don’t cut the fudge yet, just mark out the columns like when you started marking out the template.
- Next, move the template so that the edge of the paper aligns with the first set of scored 1.5 marks going from top to bottom on the fudge. Run the pastry cutter along this line from top to bottom to score it again and create the first vertical column.In this step, you’re using the template edge just like the ruler edge to make perfect lines.
- Repeat this process for the rest of the columns running vertically, then again along the other sides to create columns going horizontal. At the end, you should have a perfect grid of fudge squares scored out.
- Next, dip a large knife in hot water, wipe it dry, and cut off the outer rounded edges to create perfectly flat edges along the outside edges of the fudge. Repeat the hot water process before each cut.
- You should have a perfectly square block of scored fudge.
- Next, dip the knife in hot water, wipe dry, and cut the first set of columns going vertically.
- Repeat the process for the horizontal columns.
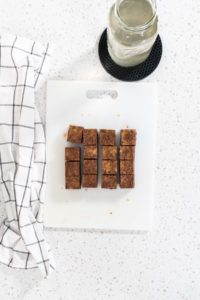
- Finally, you should have about 16 perfect, clean-cut, smooth, fudge squares!
Notes
- To save yourself from having to cut off rounded edges, I recommend opting for a Square Cheesecake Pan. This pan has perfect 90° corners, so you don't have to worry about uneven or rounded corners and edges.
- If you work with pastries a lot then I recommend checking out one of these Adjustable 5 Wheel Dough Cutters. This would save you a ton of time since you would not have to make a parchment paper template.
Food Photography & Video Tips from My Studio
Here’s a peek at the tools, gear, and camera setups I use to film my recipe videos and photograph food at home. Over the years, I’ve tested dozens of different setups, and now I’m sharing what actually works for me—whether I’m filming overhead shots for YouTube or styling still photos for my blog. If you’re curious about how I create the content you see here, these posts are a great place to start.

What is in my toolbox?

3 ways camera setup for Tasty-style video recipes

Best camera for cooking videos


Leave a Reply