|
This post contains affiliate links.
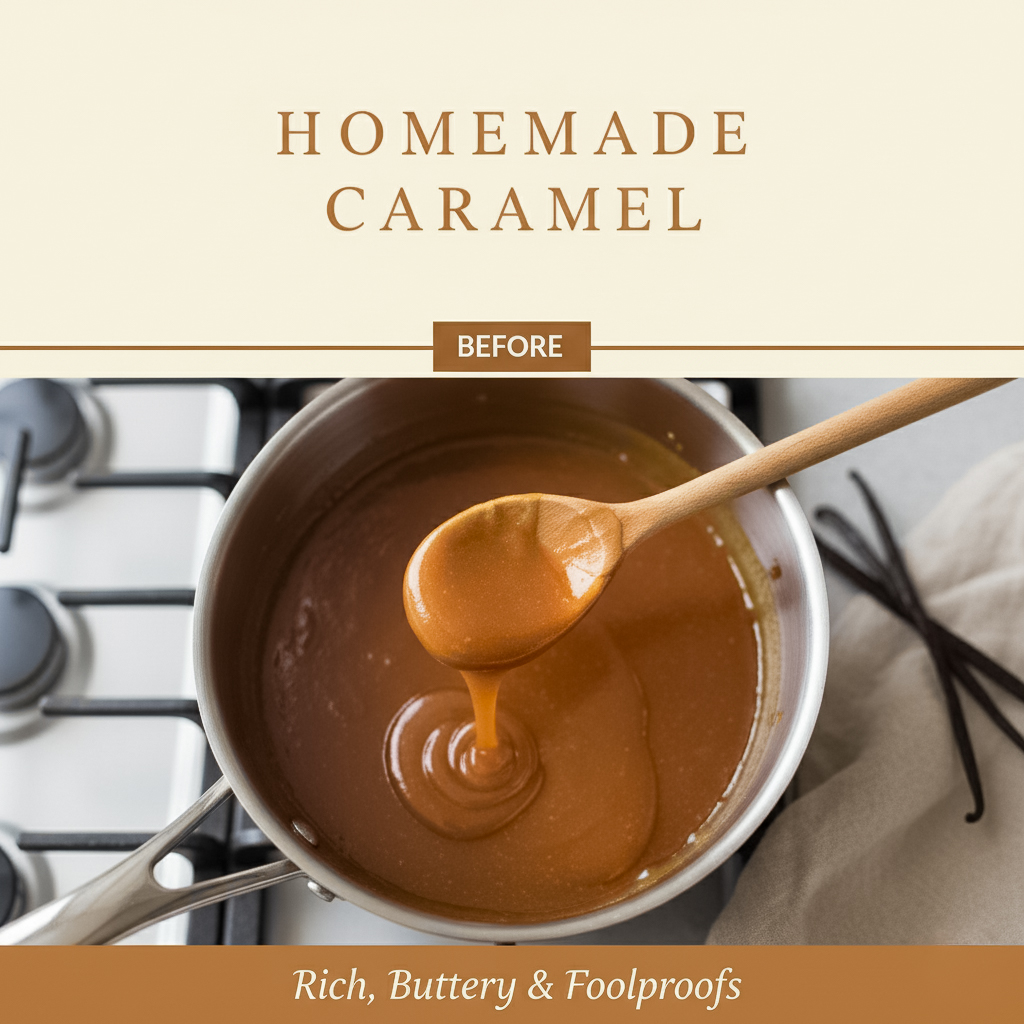
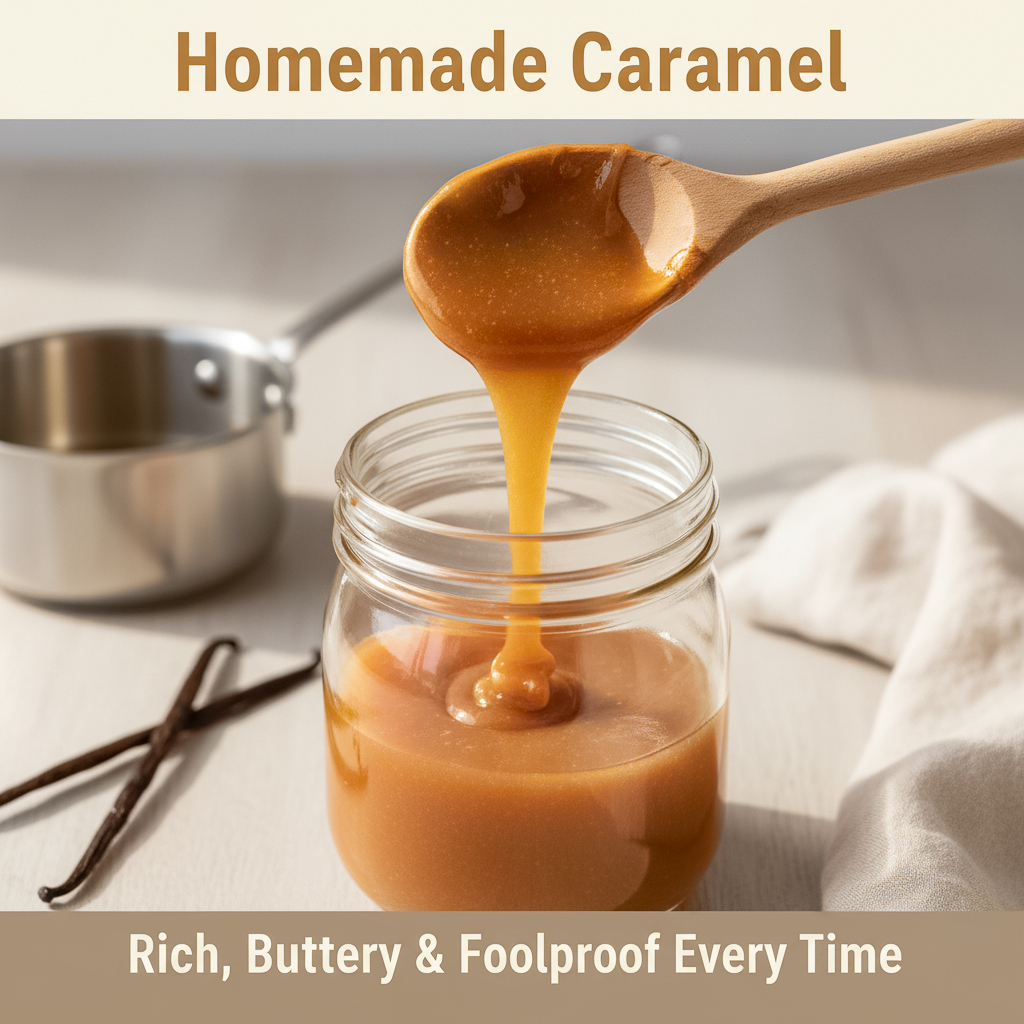
There’s something incredibly satisfying about making homemade caramel — that golden, bubbling sweetness that perfumes the kitchen and brings instant warmth to any day. When I first started experimenting with caramel, I remember standing nervously over the stove, worried I’d burn it. But after a few tries, I realized how simple (and fun!) it actually is. Once you get the hang of watching the color and trusting your instincts, it becomes one of the most rewarding little kitchen rituals.
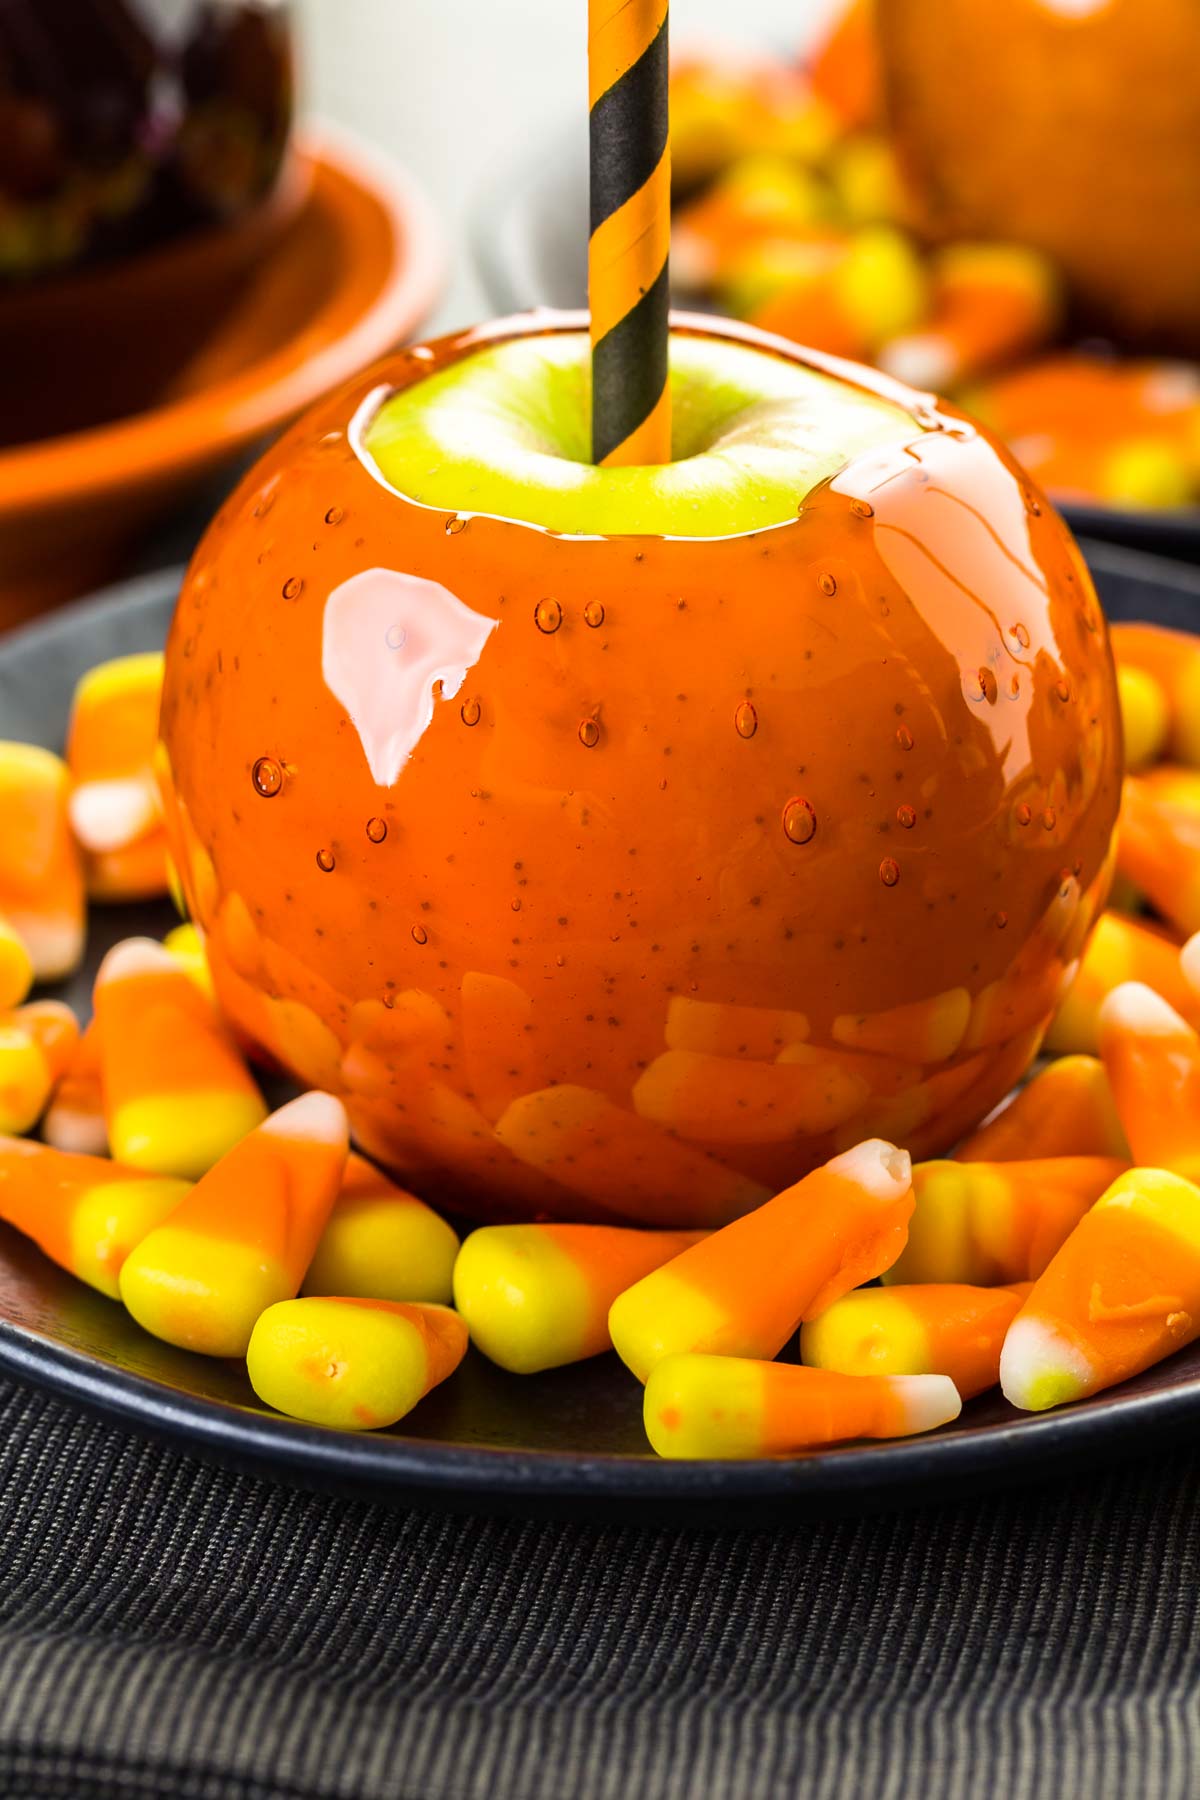
Now, I make it all the time — especially in the fall — for drizzling over my Apple Bundt Cake with Caramel Glaze, dipping apples for Black Caramel Apples, or adding a finishing touch to Pumpkin Bread with Vanilla Glaze. It’s silky, buttery, and a little bit addictive. Once you’ve tasted your own homemade caramel, the store-bought versions just can’t compete.
Watch how I make this recipe
Why You’ll Love This Recipe
If you’ve ever wanted that perfect smooth and creamy caramel without the fuss, this recipe is for you! You don’t need any fancy tools or candy-making experience — just a saucepan, some sugar, and a little patience. Here’s why I love this version:
- Quick and easy: Ready in just 15 minutes from start to finish.
- No corn syrup needed: Just real ingredients — sugar, butter, cream, and salt.
- Versatile: Perfect for drizzling over desserts like Pumpkin Pancakes, French Toast, or Caramel Banana Muffins.
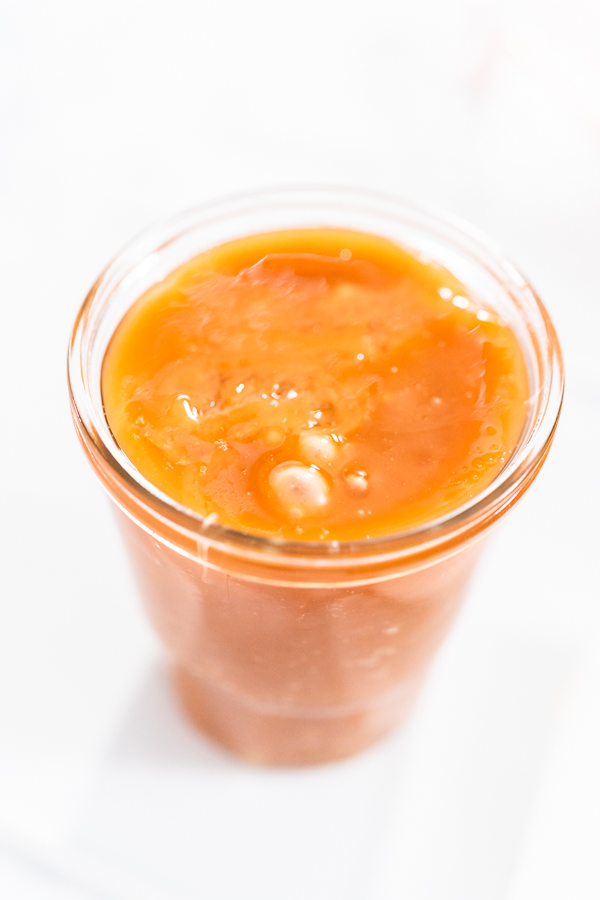
- Restaurant-quality texture: Thick, glossy, and beautifully rich — ideal for photography or gifting.
Tools That Make It Easier
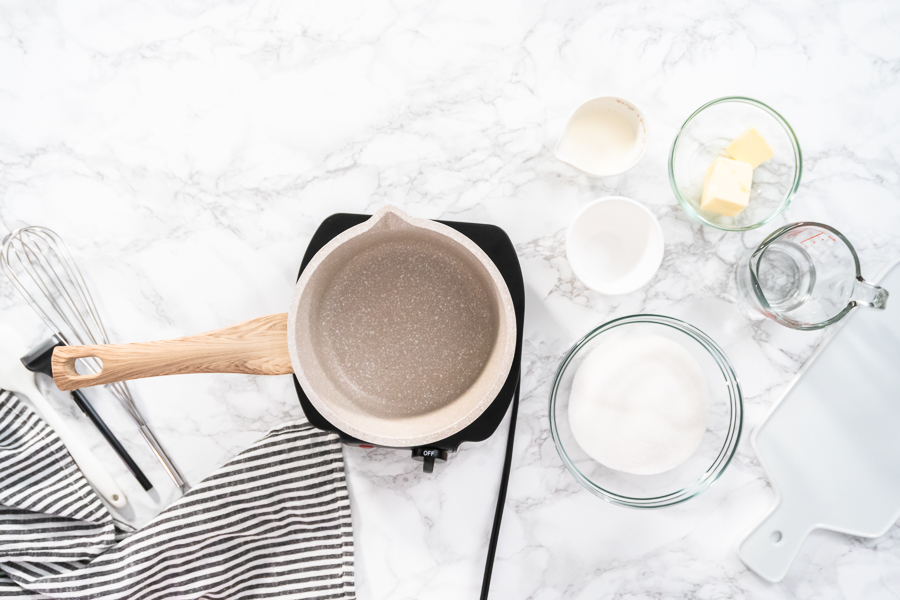
You’ll need only a few kitchen tools that you probably already have on hand:
- Saucepan: Use a small, heavy-bottomed one for even heating.
- Silicone Pastry Brush: Helps prevent sugar crystals on the sides.
- Candy Thermometer: Optional, but great for accuracy.
- Silicone Spatula: Perfect for gentle stirring and scraping every drop.
What You’ll Need From Your Pantry
- 1 cup Granulated Sugar
- ¼ teaspoon Kosher Salt
- ¼ cup Water
- ¼ cup Heavy Cream
- 4 tablespoons Butter, cubed
Before You Start: My Quick Tip
- Always use room temperature cream and butter — cold dairy can cause the caramel to seize.
- Avoid multitasking while making caramel — it changes color in seconds.
- For salted caramel, add a pinch of flaky sea salt at the end.
- Store in a glass jar in the fridge for up to 3 weeks.
- To reheat, warm it gently in the microwave or over low heat — never boil again.
When I photograph desserts, I often make an extra batch of caramel because it doubles as both a topping and a glaze. It creates those irresistible, glossy drips on cakes and bundt pans — like I did for my Pumpkin Bread with Vanilla Glaze photo shoot.
Latest Video
Let’s Make It Together
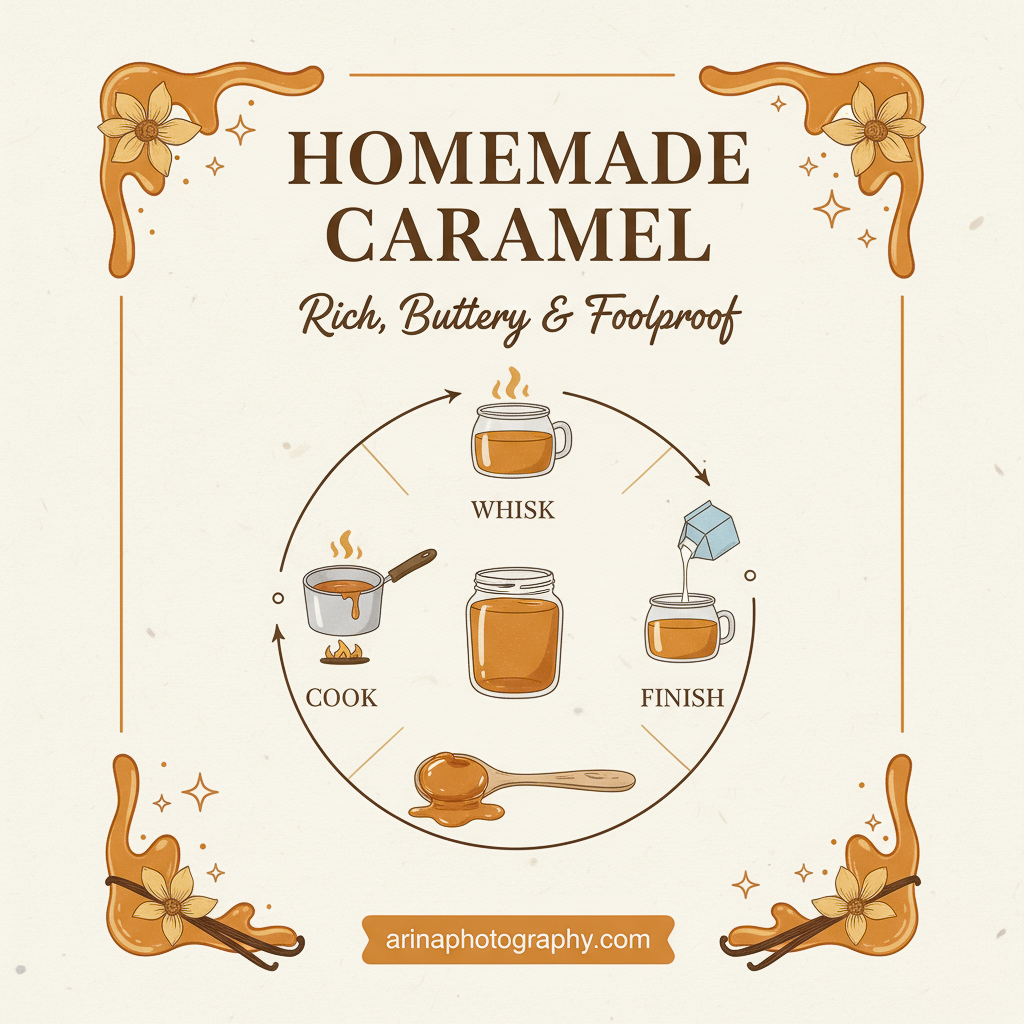
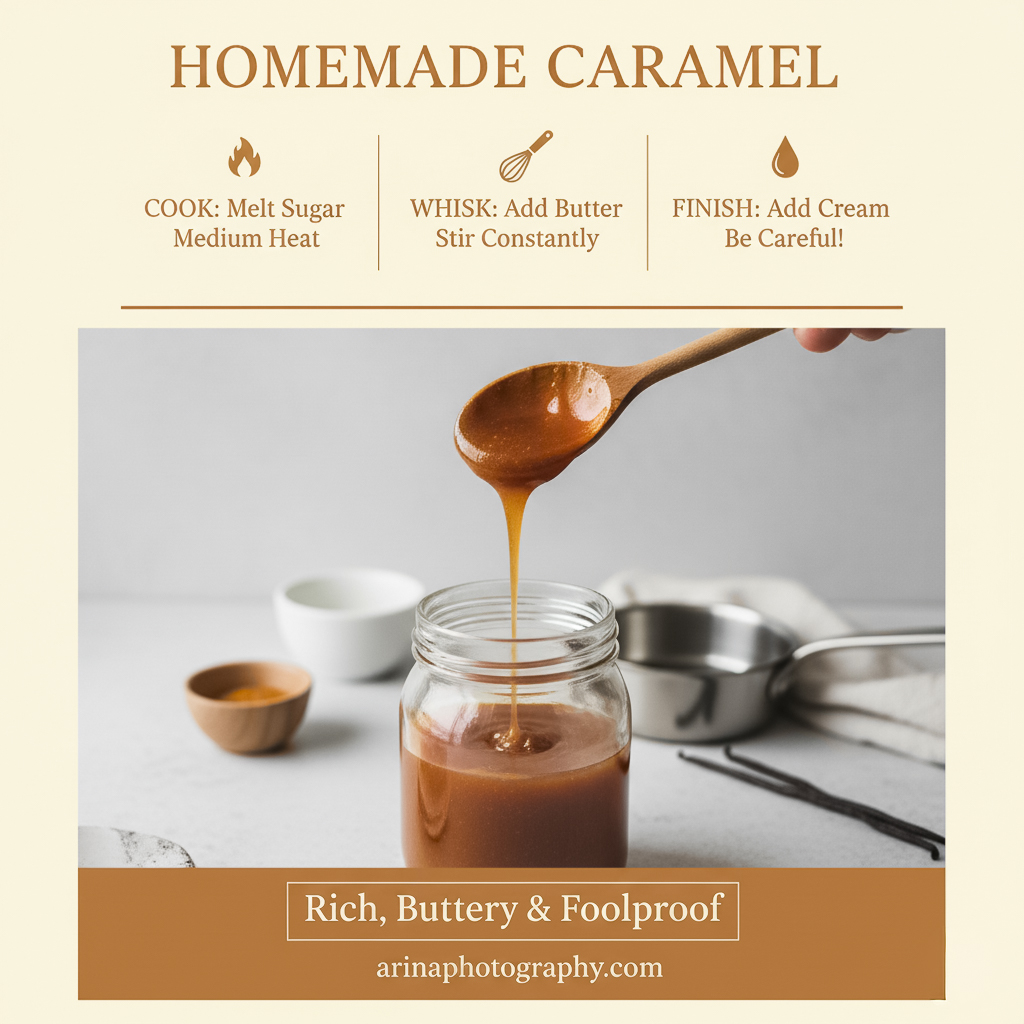
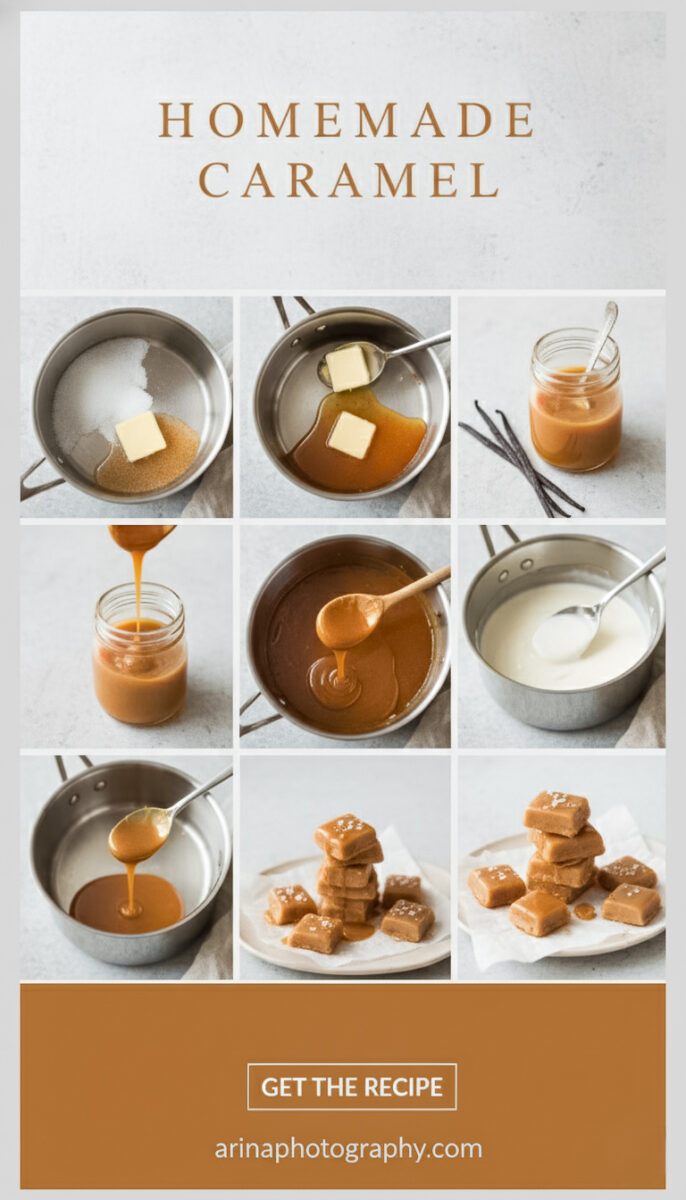
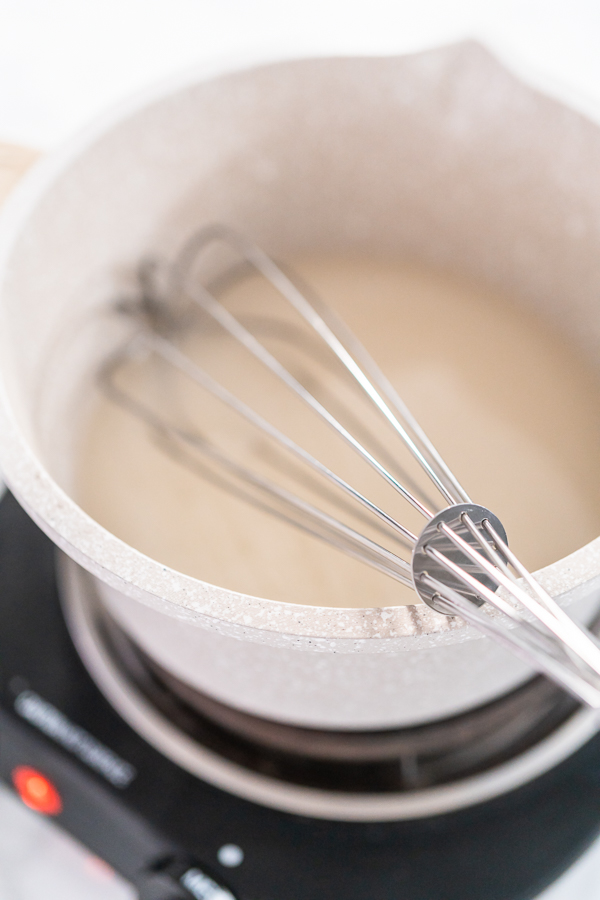
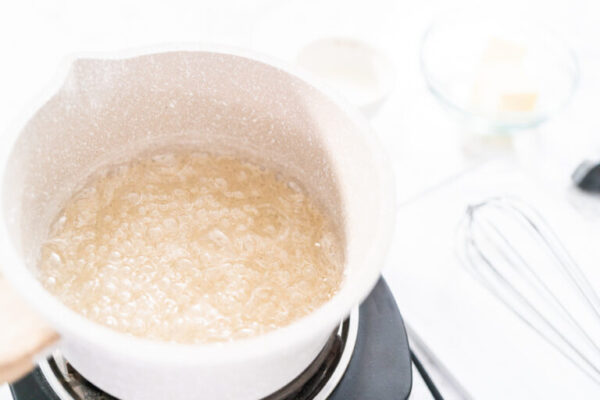
- Preheat a small saucepan over medium heat and add in the sugar and salt. Pour in the water so that it covers the sugar evenly.
- Bring the mixture to a gentle simmer for about 5 minutes, stirring only occasionally with a silicone spatula until the sugar is completely dissolved.
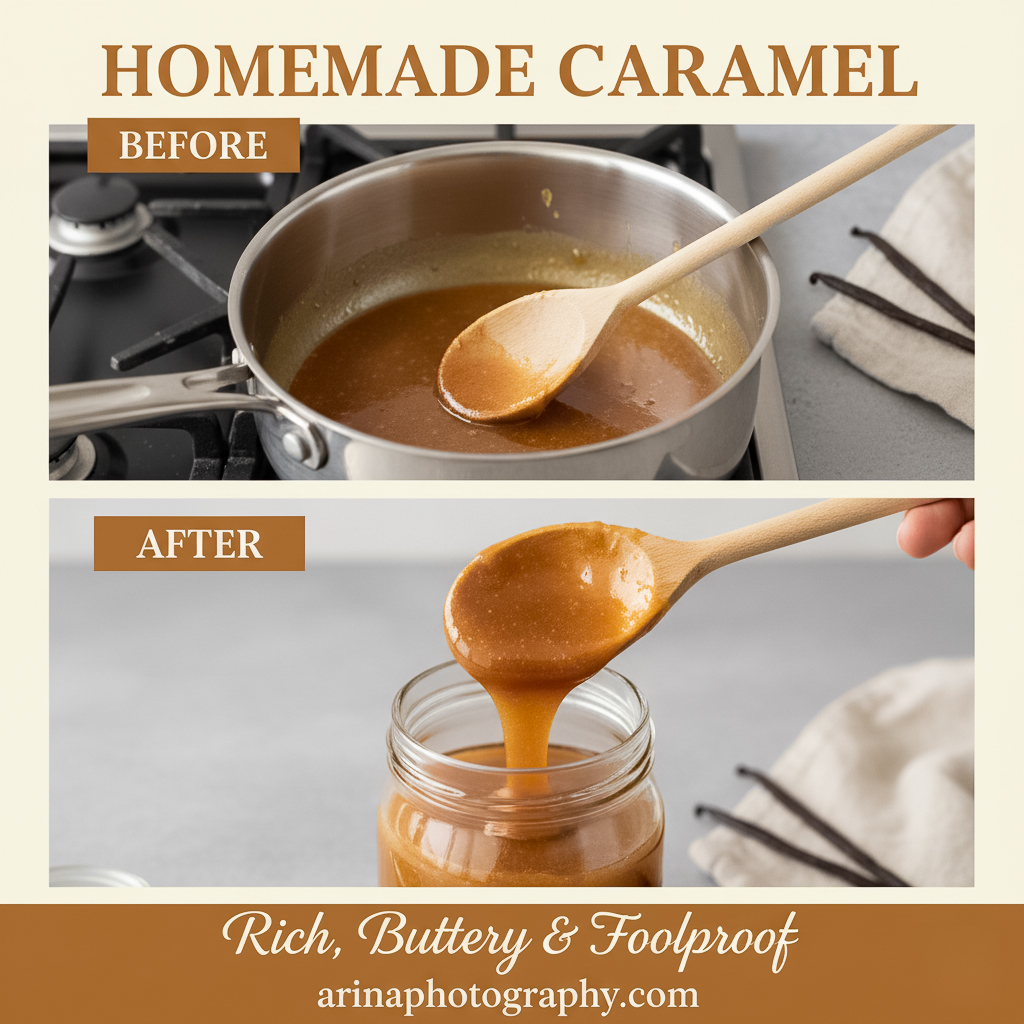
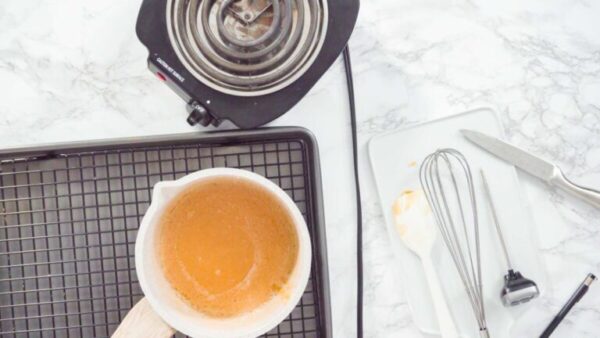
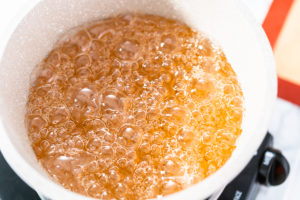
- Increase the heat to medium-high and continue cooking without stirring until the caramel turns a deep golden color.
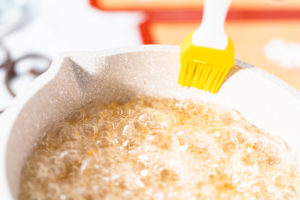
- Brush the sides of the pan with a little water using your silicone brush to prevent the caramel from hardening on the edges.
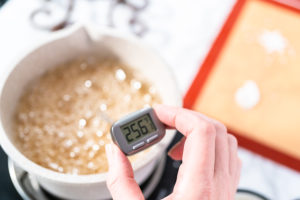
- If using a candy thermometer, cook until the caramel reaches 350°F (177°C).
- Turn off the heat immediately and carefully whisk in the heavy cream — it will bubble vigorously.
- Stir in the cubed butter until smooth and glossy.
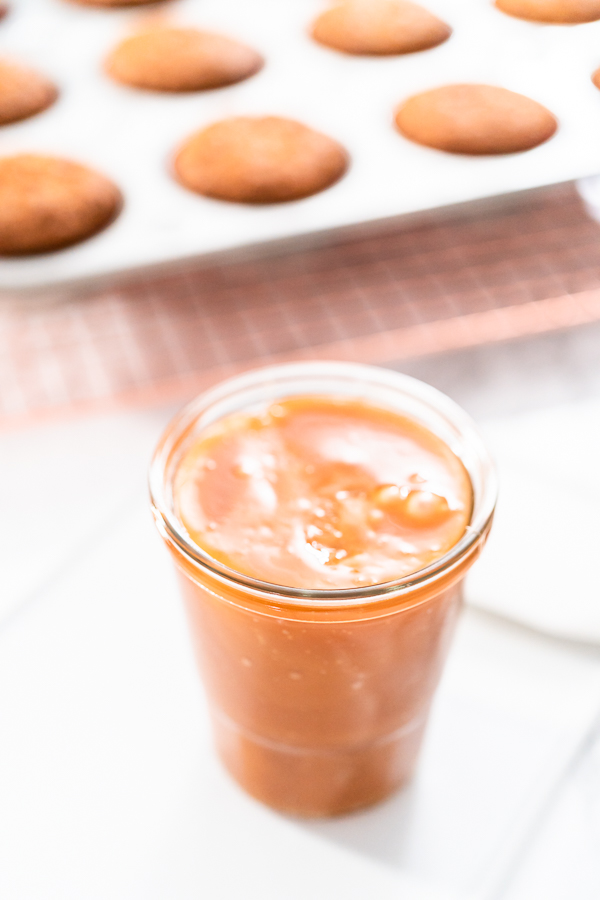
- Let the caramel cool slightly in the pan, then pour it over your favorite pastries or desserts before it starts to firm up.
Tip from Arina: Caramel hardens quickly! Let it cool just until it’s safe to touch, then pour it right away. If it thickens too much, you can rewarm it gently over low heat.
Recipe variations
Homemade caramel is a great base recipe to customize! Here are some of my favorite twists you can try:
- Salted Caramel: Add a sprinkle of flaky sea salt at the end for that perfect sweet-salty balance. It pairs beautifully with Chocolate Bundt Cake or even Brownie Cookies.
- Vanilla Bean Caramel: Stir in ½ teaspoon of vanilla bean paste or extract after removing from heat for a deeper flavor.
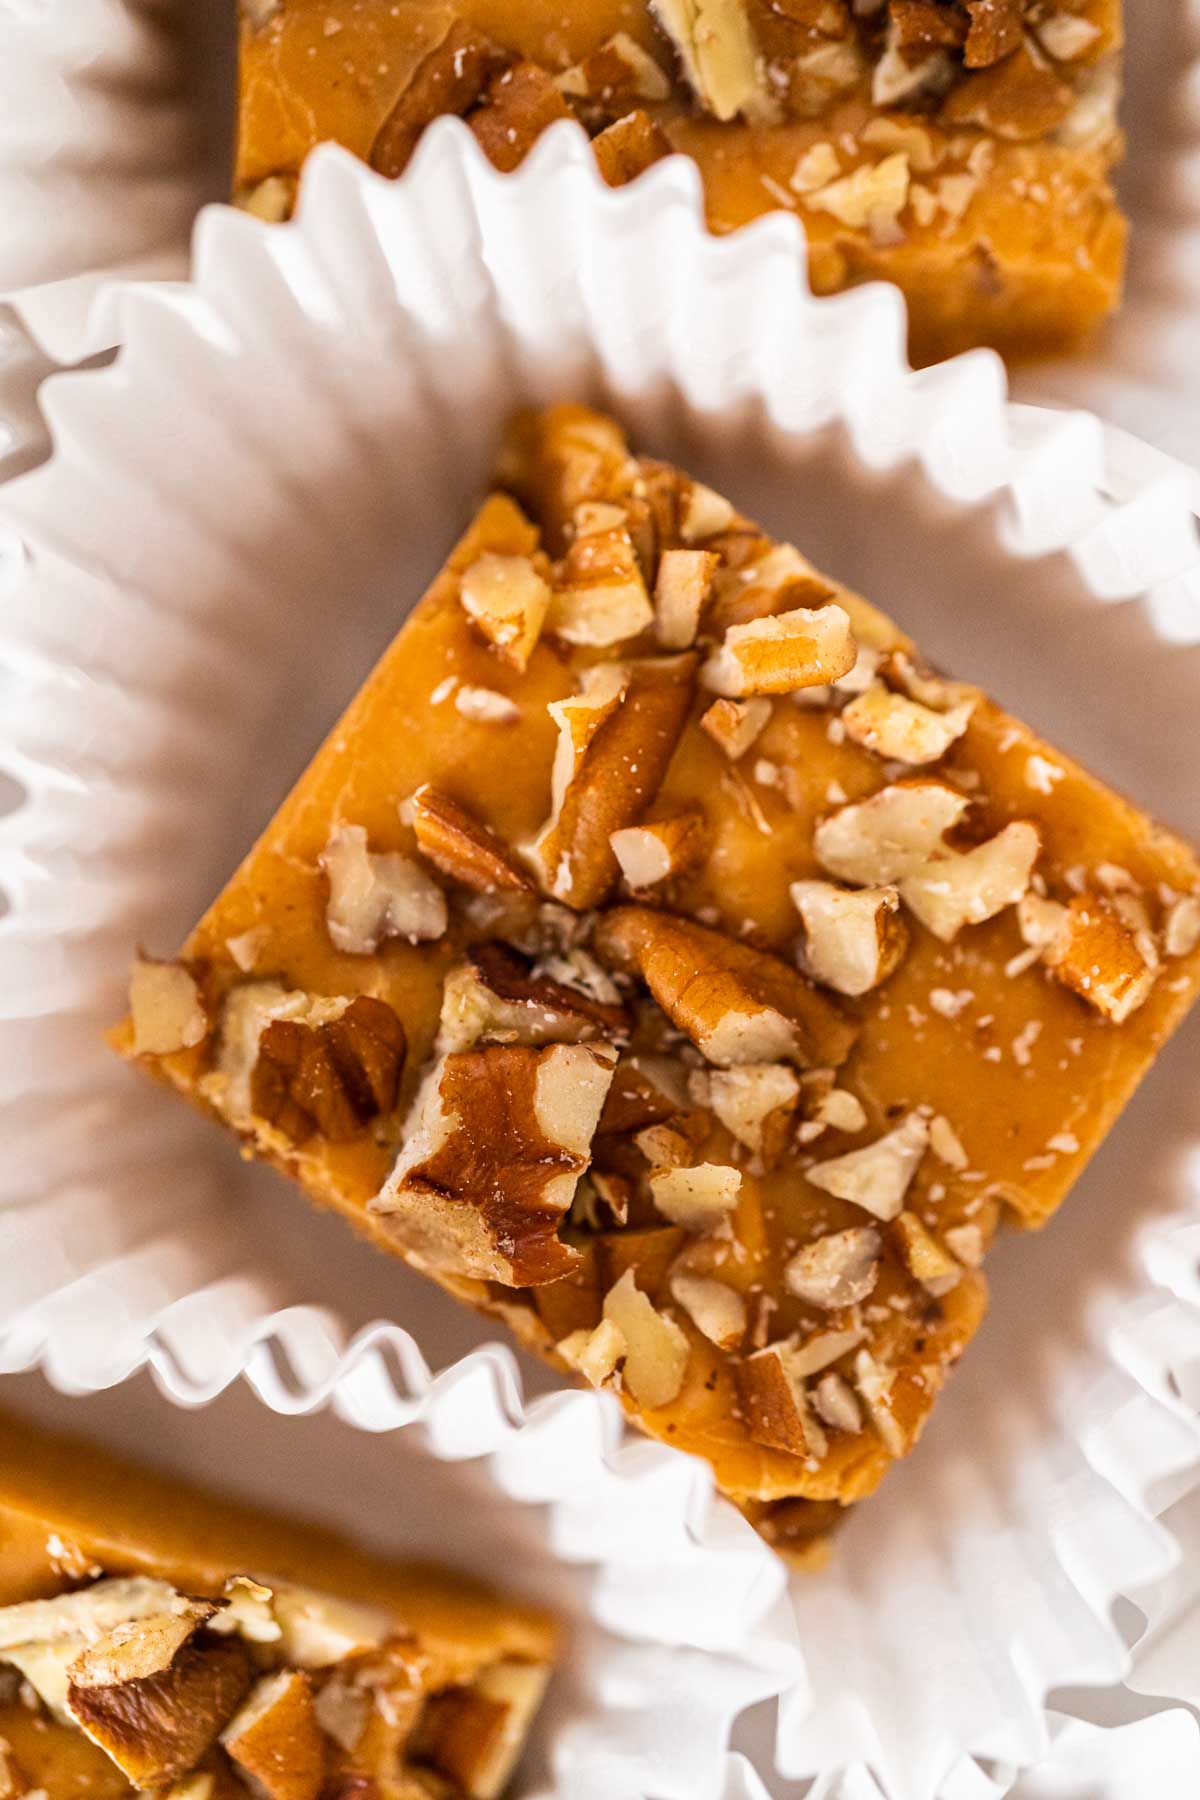
- Bourbon Caramel: Add a tablespoon of bourbon right after you remove it from the stove. It gives the caramel a cozy, smoky depth that’s wonderful over Pecan Pie Bars or ice cream.
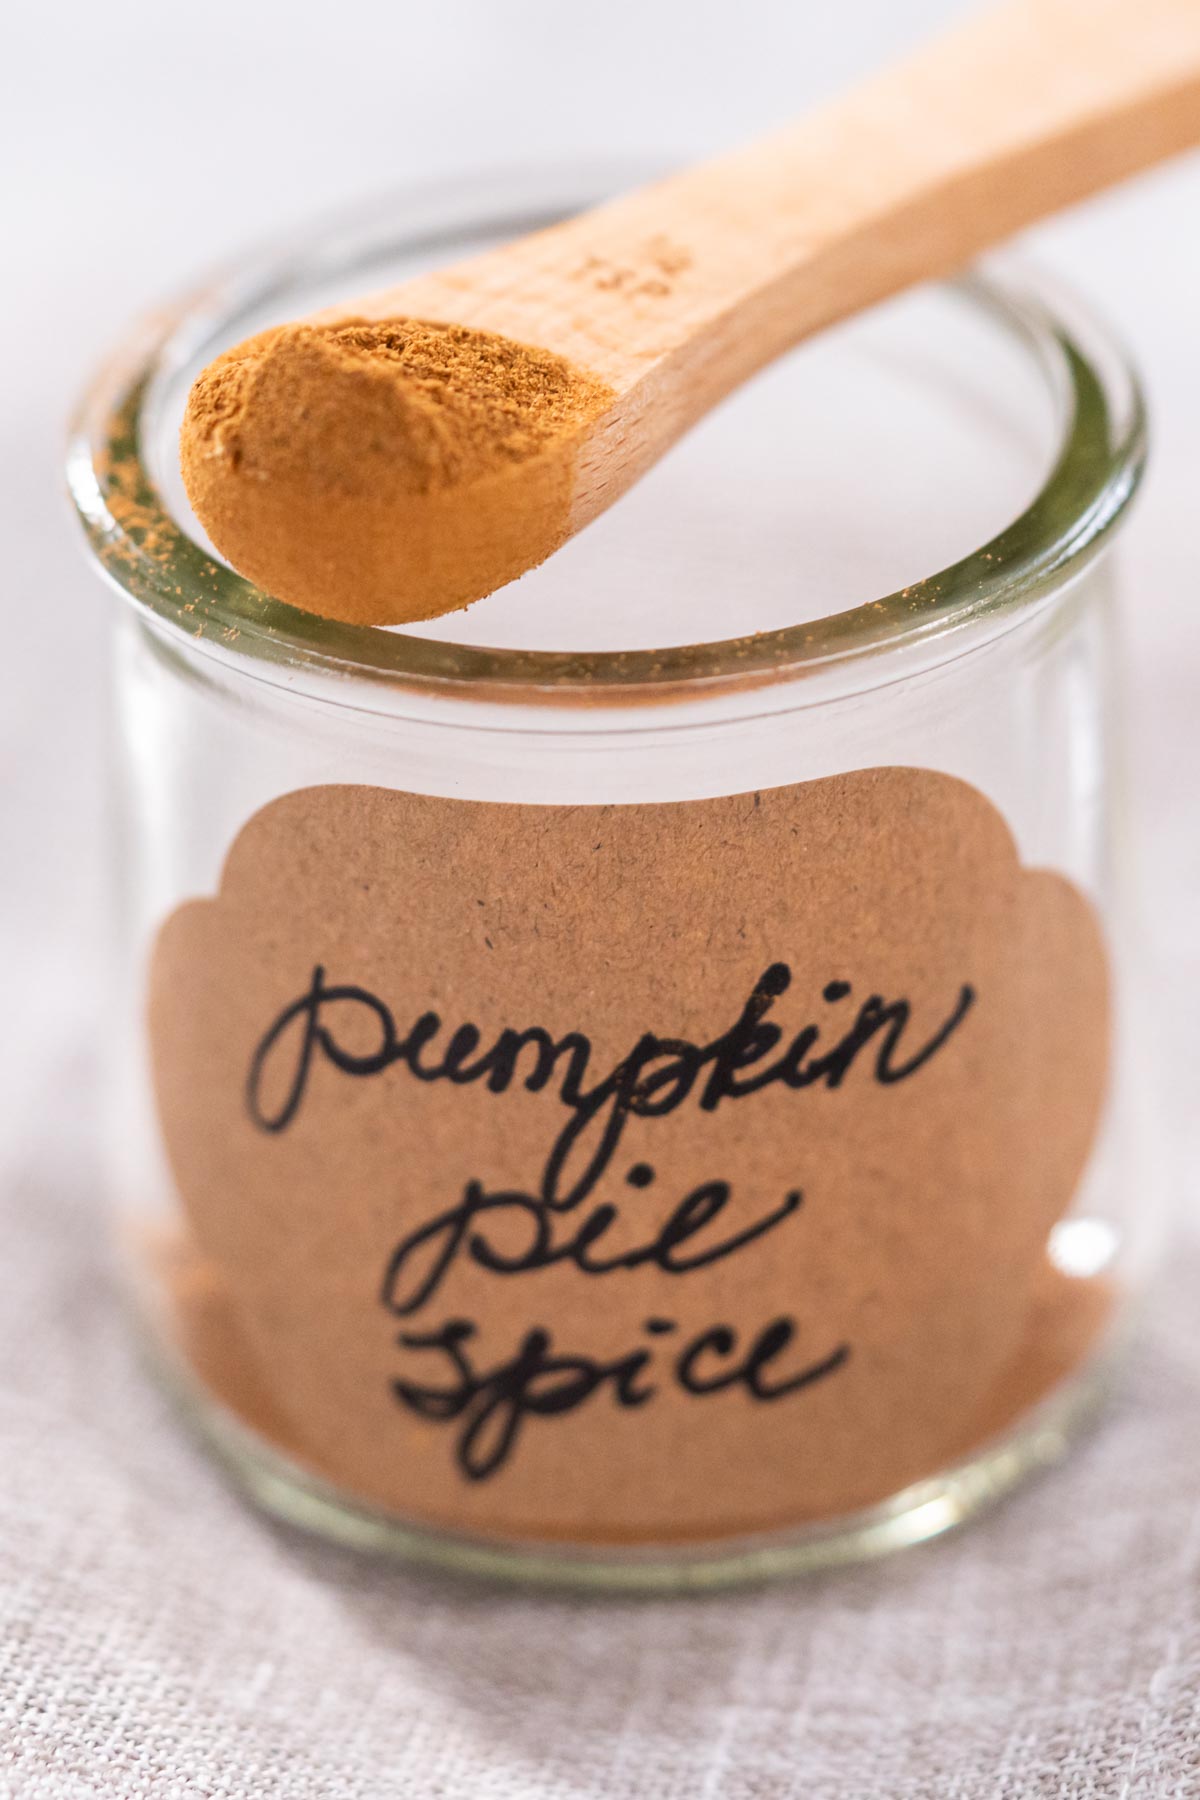
- Spiced Caramel: Mix in a pinch of cinnamon, nutmeg, or pumpkin pie spice — ideal for fall desserts like Pumpkin Pancakes or Apple Bread.
- Coconut Caramel: Substitute half of the heavy cream with coconut milk for a tropical twist that pairs well with Coconut Banana Pancakes.
Serving Ideas
Homemade caramel makes everything better! Here are a few of my favorite ways to use it:
Add a glossy drizzle to Homemade Whipped Cream or Chocolate Ganache desserts.
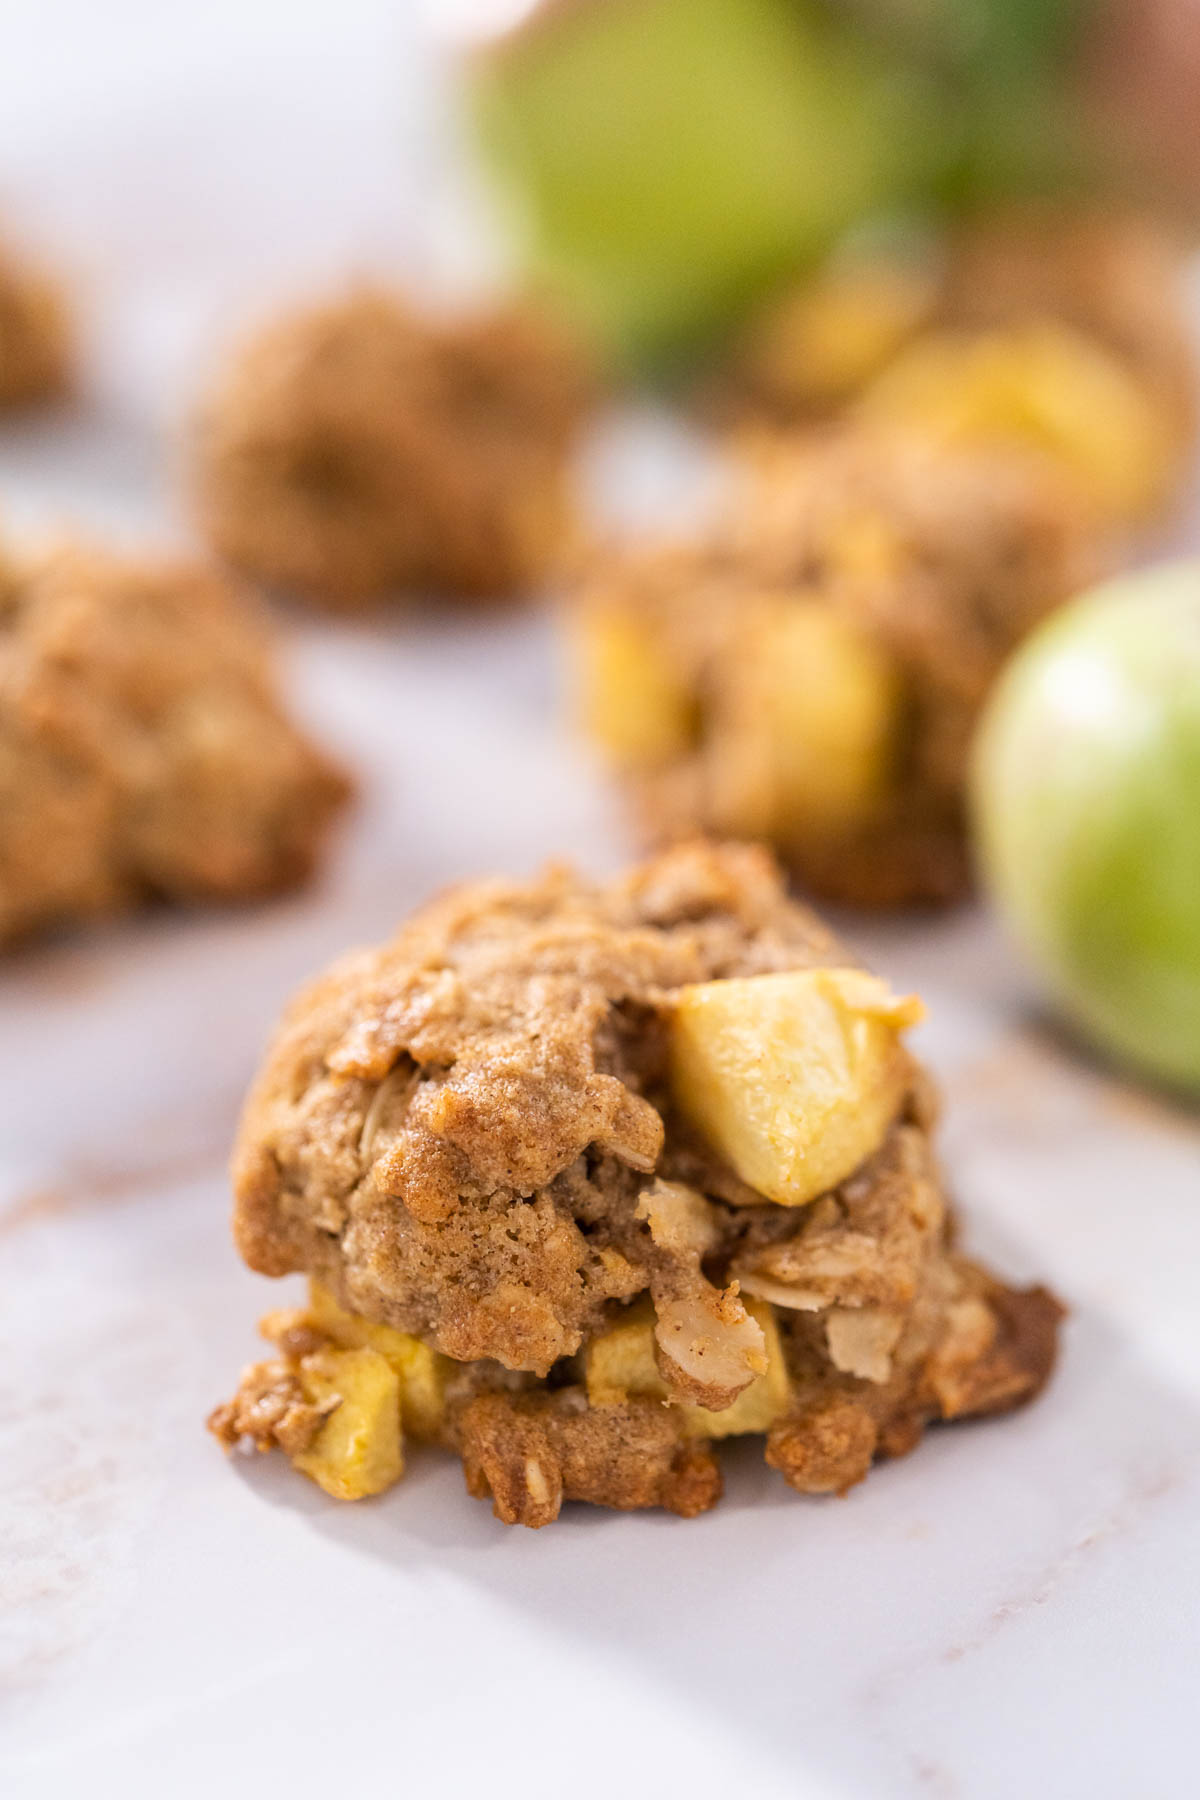
- Drizzle over Apple Oatmeal Cookies or Pumpkin Bundt Cake with Cream Cheese Frosting.
- Pour over ice cream and sprinkle with chopped nuts or sea salt.
- Mix into your morning coffee for a cozy fall twist.
- Use as a dip for apple slices, pretzels, or even marshmallows.
Storage
Homemade caramel keeps beautifully if stored the right way. Here’s how I store and preserve mine so it stays silky and smooth:
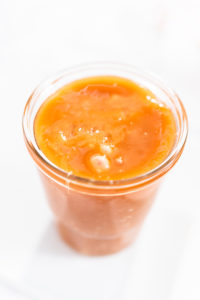
- Refrigerator: Pour cooled caramel into a glass jar or airtight container. It will stay fresh for up to 3 weeks.
- Freezer: Transfer to a freezer-safe jar or silicone mold and freeze for up to 3 months. Thaw overnight in the refrigerator before using.
- Reheating: Warm the caramel gently over low heat or in short microwave bursts, stirring in between. Never bring it to a full boil again, or it may separate.
- Consistency fix: If it thickens too much, add a teaspoon of warm cream and stir until smooth.
I always label my jars with the date and batch type (like “Vanilla Bean” or “Salted Caramel”) — it makes it easy to grab the right one for photo shoots or last-minute desserts.
More Caramel-Friendly Recipes
If you love this caramel recipe, you’ll definitely enjoy these other sweet treats from my kitchen:
- Apple Bundt Cake with Caramel Glaze
- Black Caramel Apples
- Pumpkin Bread with Vanilla Glaze and Pecans
- Caramel Banana Muffins
- Pumpkin Pancakes
- Chocolate Ganache
- Buttercream Frosting
Homemade Caramel
Ingredients
- 1 cup Granulated Sugar
- ¼ teaspoon Kosher Salt
- ¼ cup Water
- 4 tablespoon Butter Cubed
- ¼ cup Heavy Cream
Instructions
- Start by heating a small saucepan over medium heat, then add the sugar and salt, followed by enough water to cover them.
- Bring the mixture to a gentle simmer for about 5 minutes, stirring occasionally with a silicone spatula until the sugar has completely dissolved.
- Turn the heat up to medium-high and cook the caramel without stirring until it turns a rich golden color.Use a silicone brush dipped in water to wipe down the sides of the pan, preventing any sugar crystals from forming.If you’re using a candy thermometer, aim for a temperature of 350°F.
- Once the caramel reaches a deep copper shade, remove it from the heat and carefully stir in the heavy cream and butter.
- Let the caramel cool slightly in the pan, then quickly pour it over the cooled pastry before it begins to set.Allow it to cool just until it’s safe to touch — it will start firming up fast.
Nutrition
From My Kitchen to Yours
More Fall recipes
I’ve Got Answers
Can I make caramel without a thermometer?
Yes! Watch the color — light amber for mild flavor or deep copper for a stronger caramel taste.
Why did my caramel harden?
It may have cooked too long. Try whisking in a tablespoon of warm cream to loosen it up
How do I clean a pan with hardened caramel?
Fill it with water and bring to a boil. The sugar will dissolve right off.
Can I freeze homemade caramel?
Yes! Store in an airtight container for up to 3 months. Thaw in the fridge overnight and warm gently before using.
Pin It For Later
Food Photography & Video Tips from My Studio
Here’s a peek at the tools, gear, and camera setups I use to film my recipe videos and photograph food at home. Over the years, I’ve tested dozens of different setups, and now I’m sharing what actually works for me—whether I’m filming overhead shots for YouTube or styling still photos for my blog. If you’re curious about how I create the content you see here, these posts are a great place to start.







Leave a Reply