|
This post contains affiliate links.
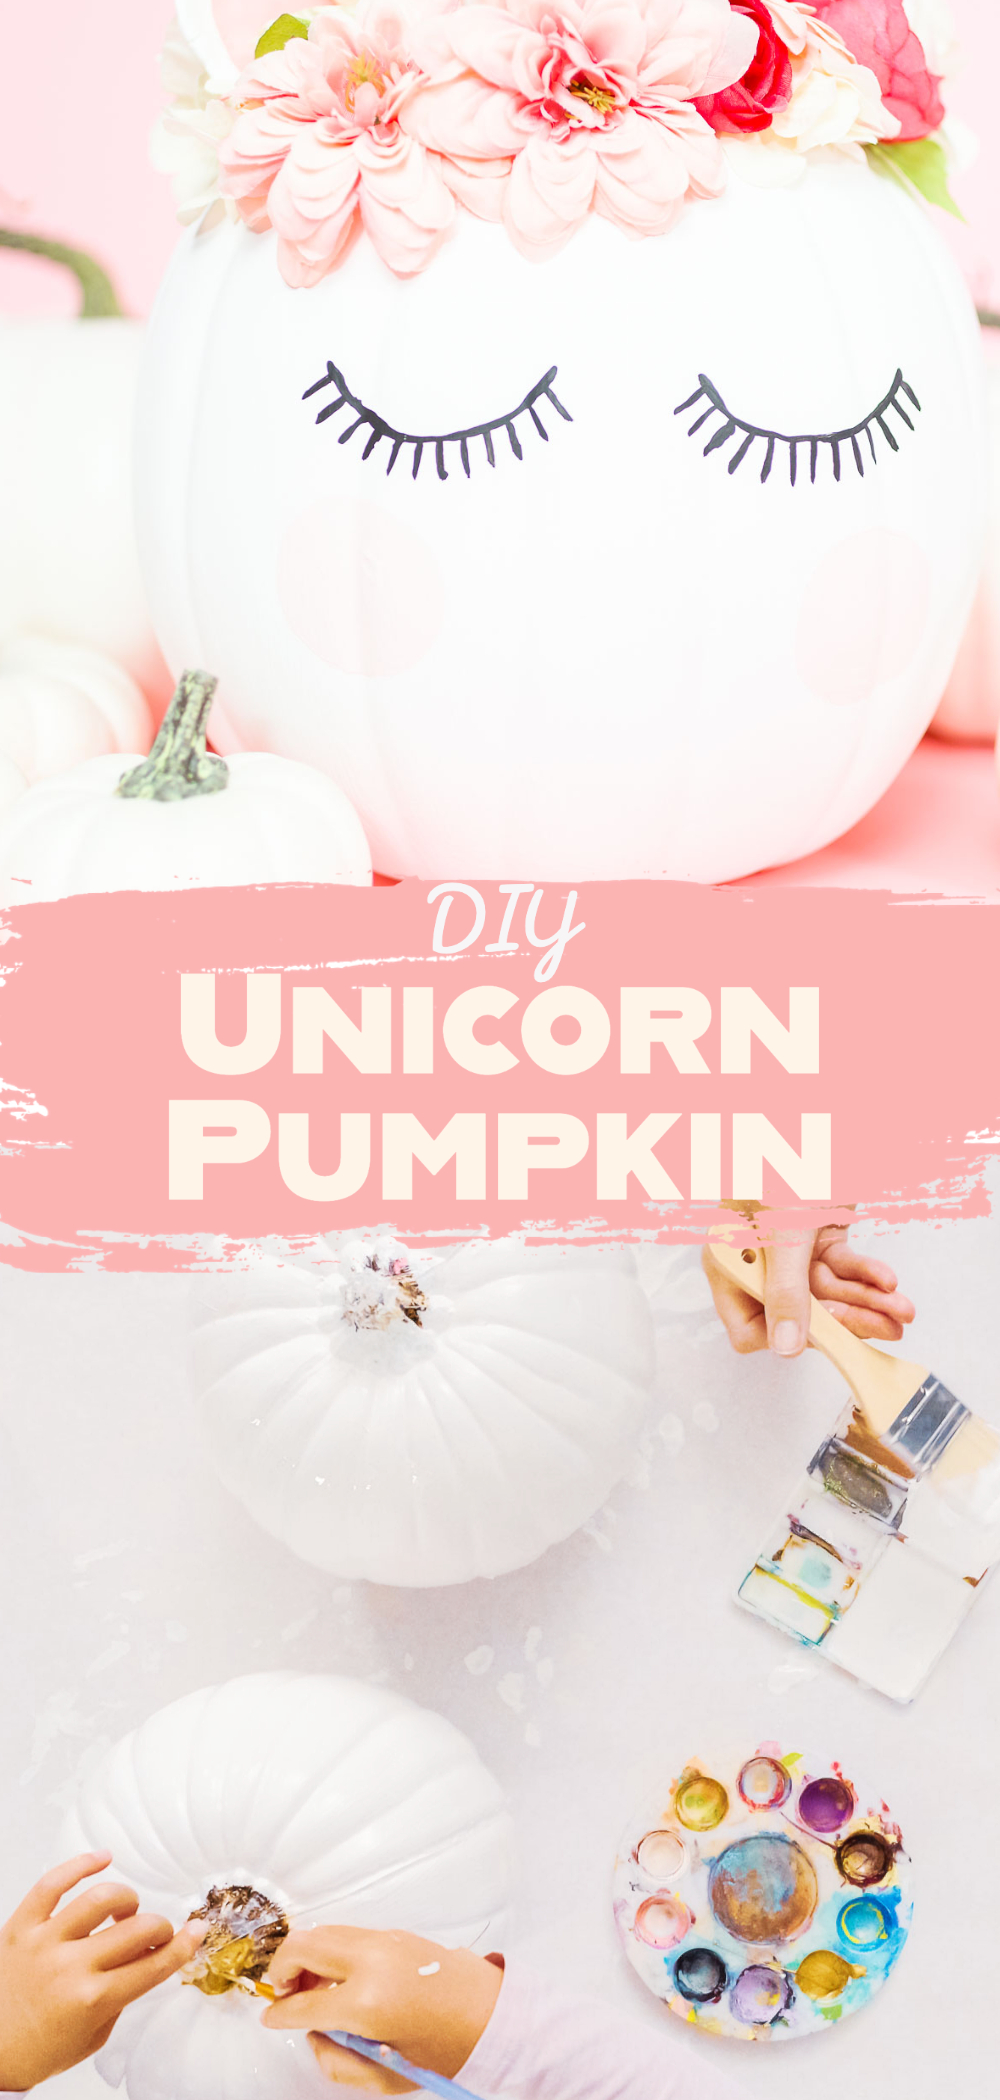
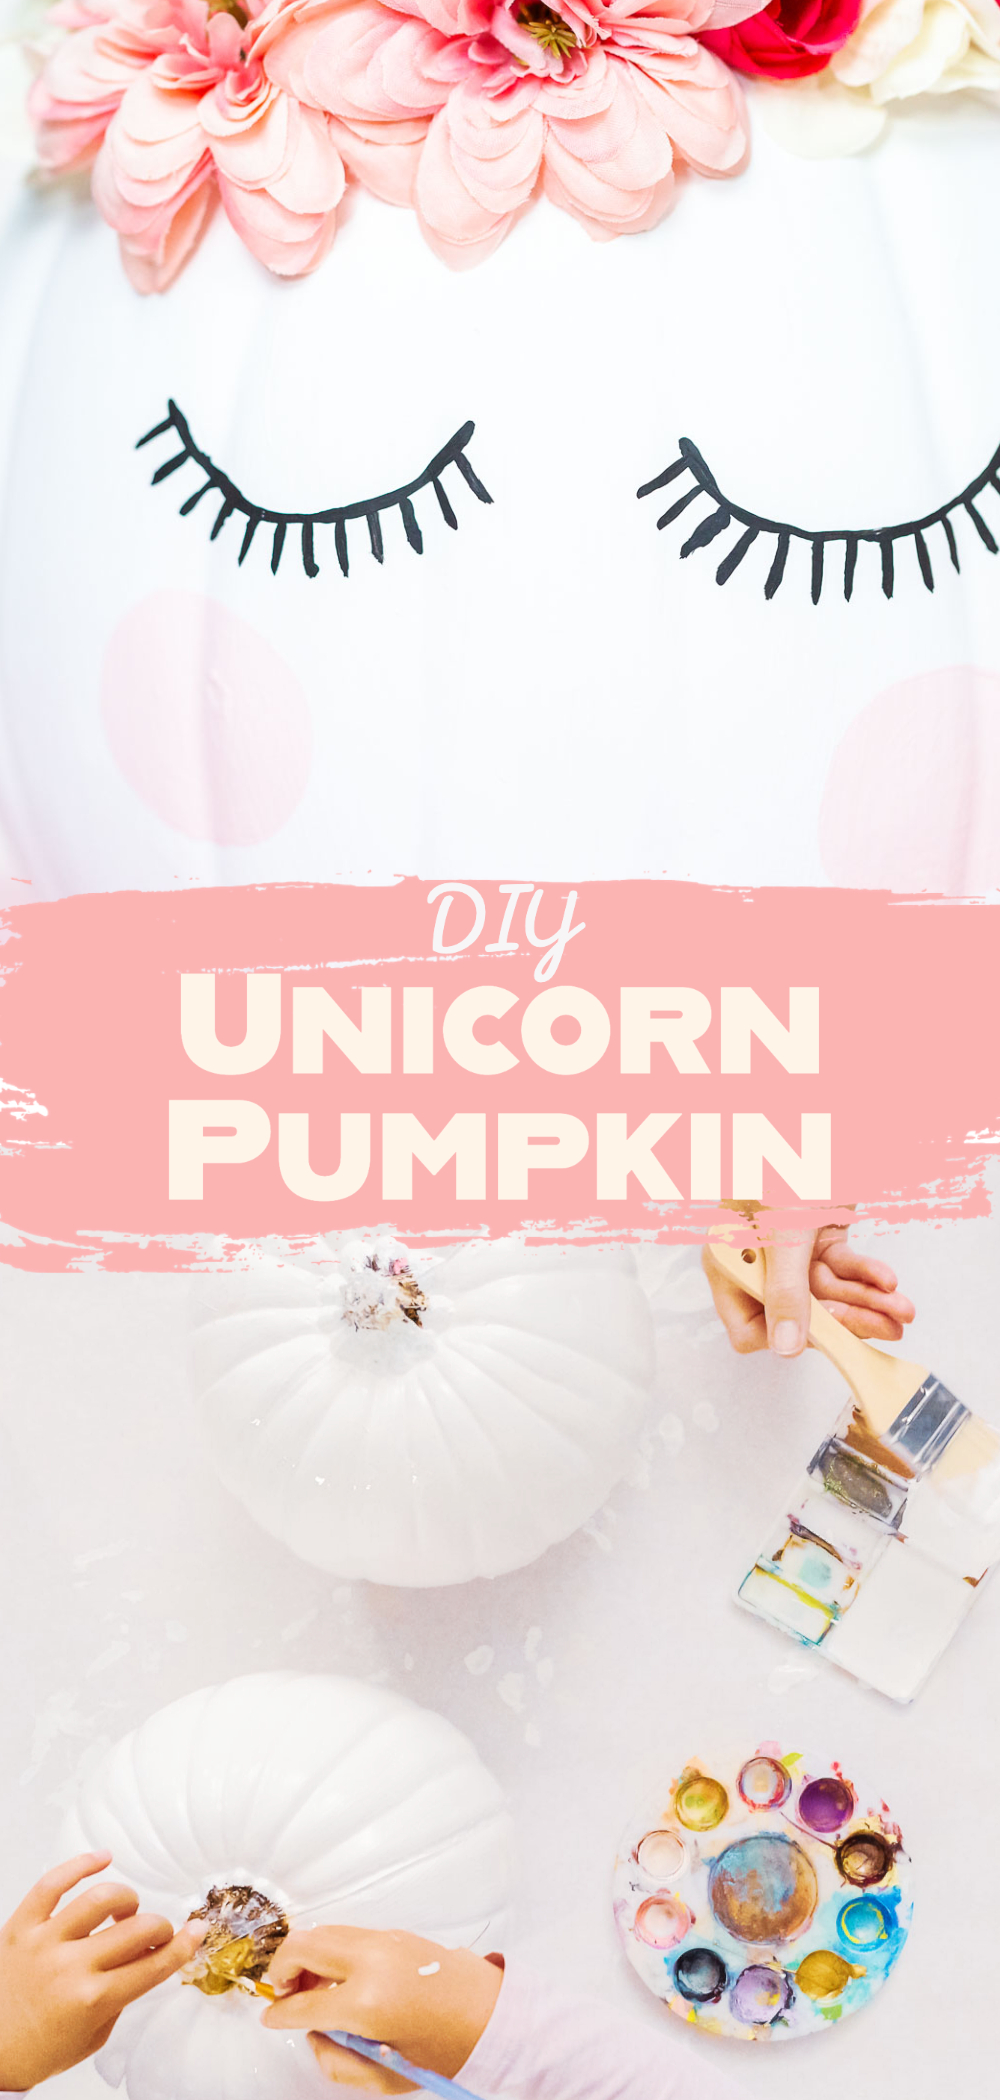
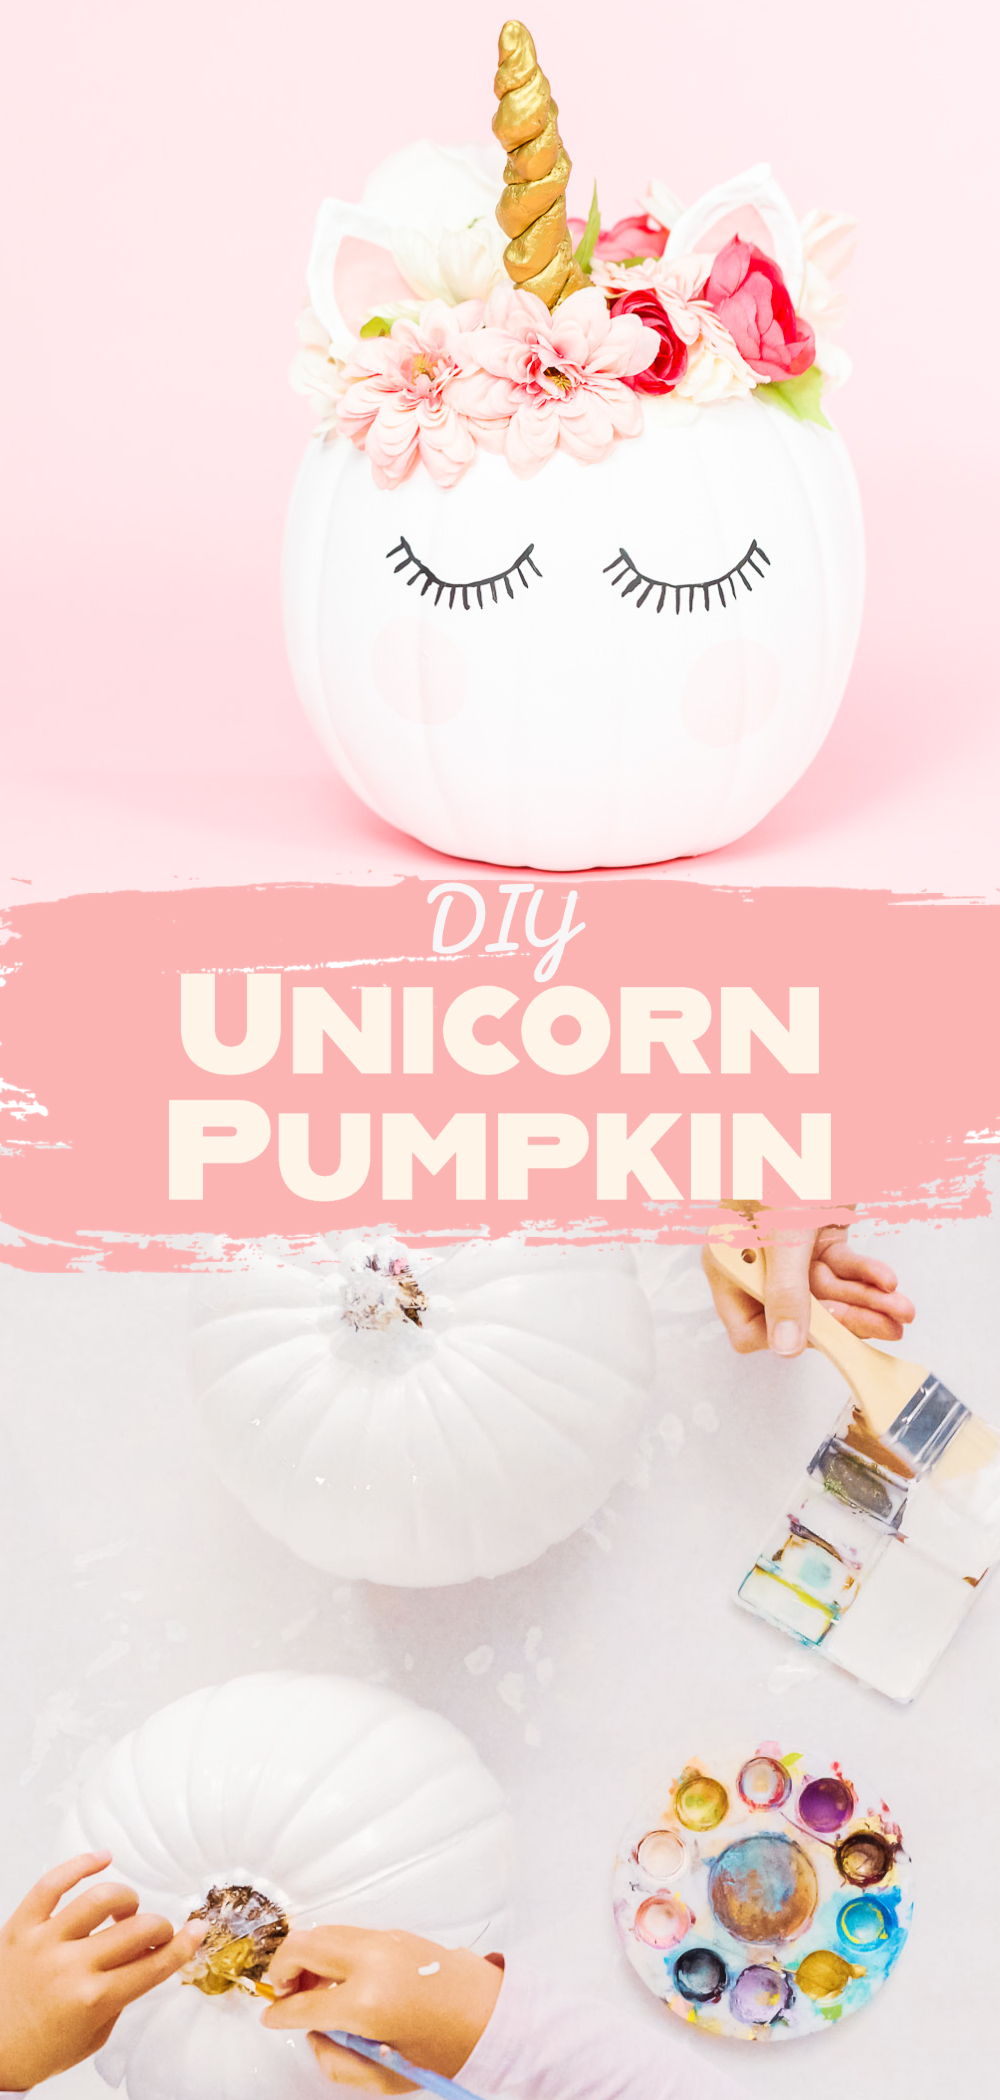
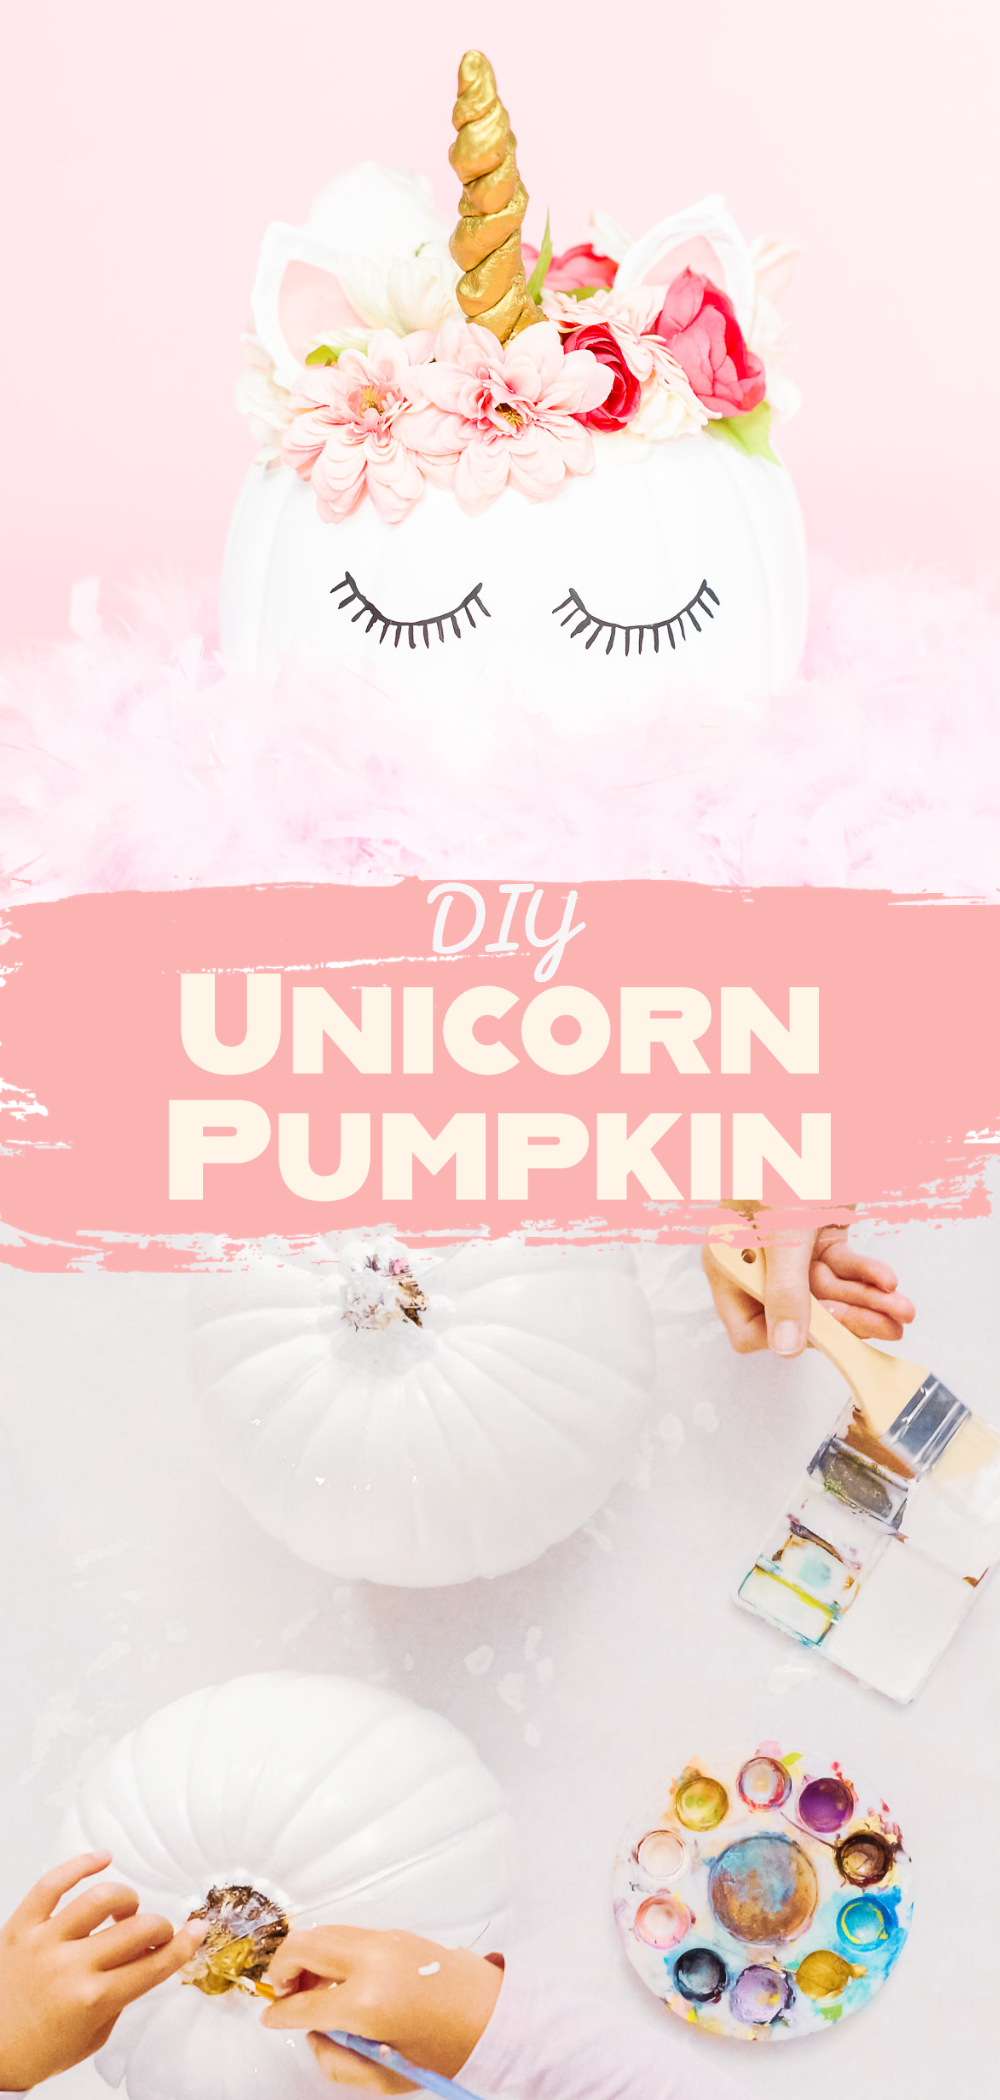
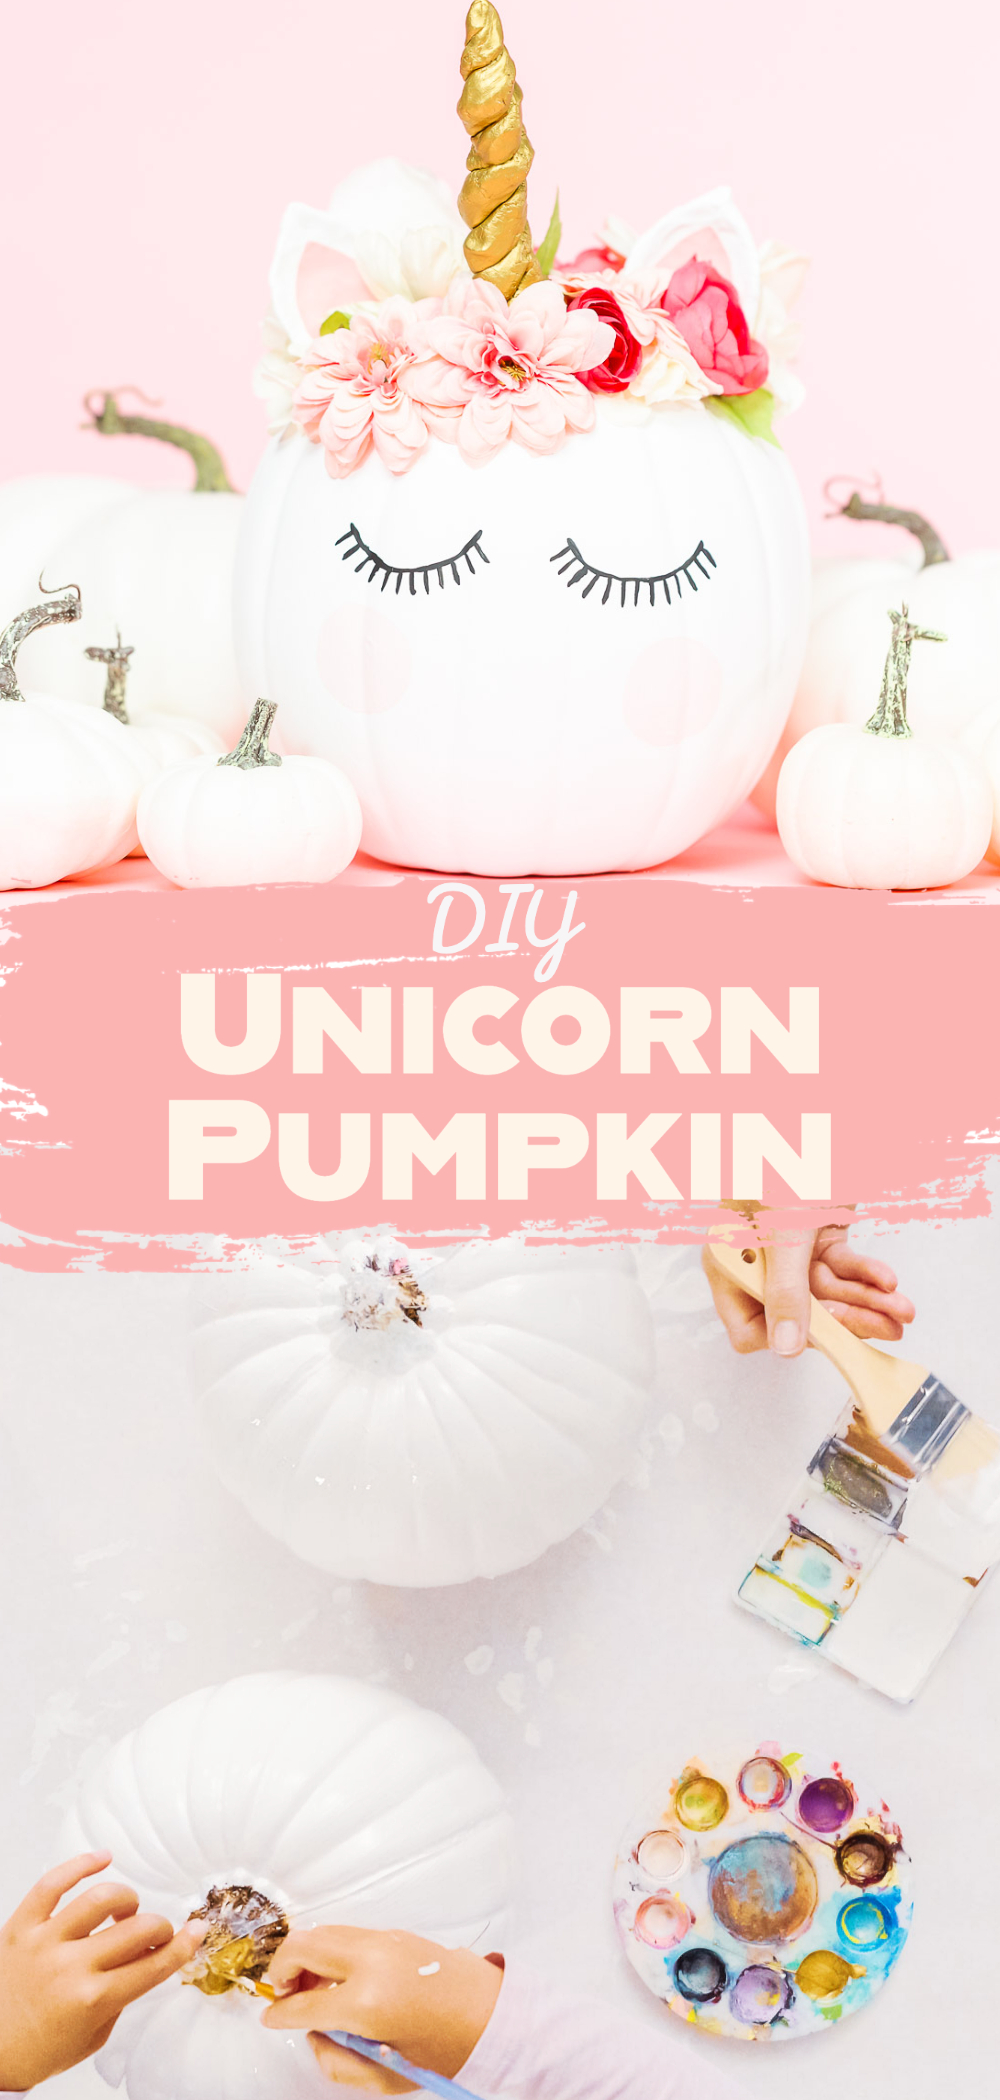
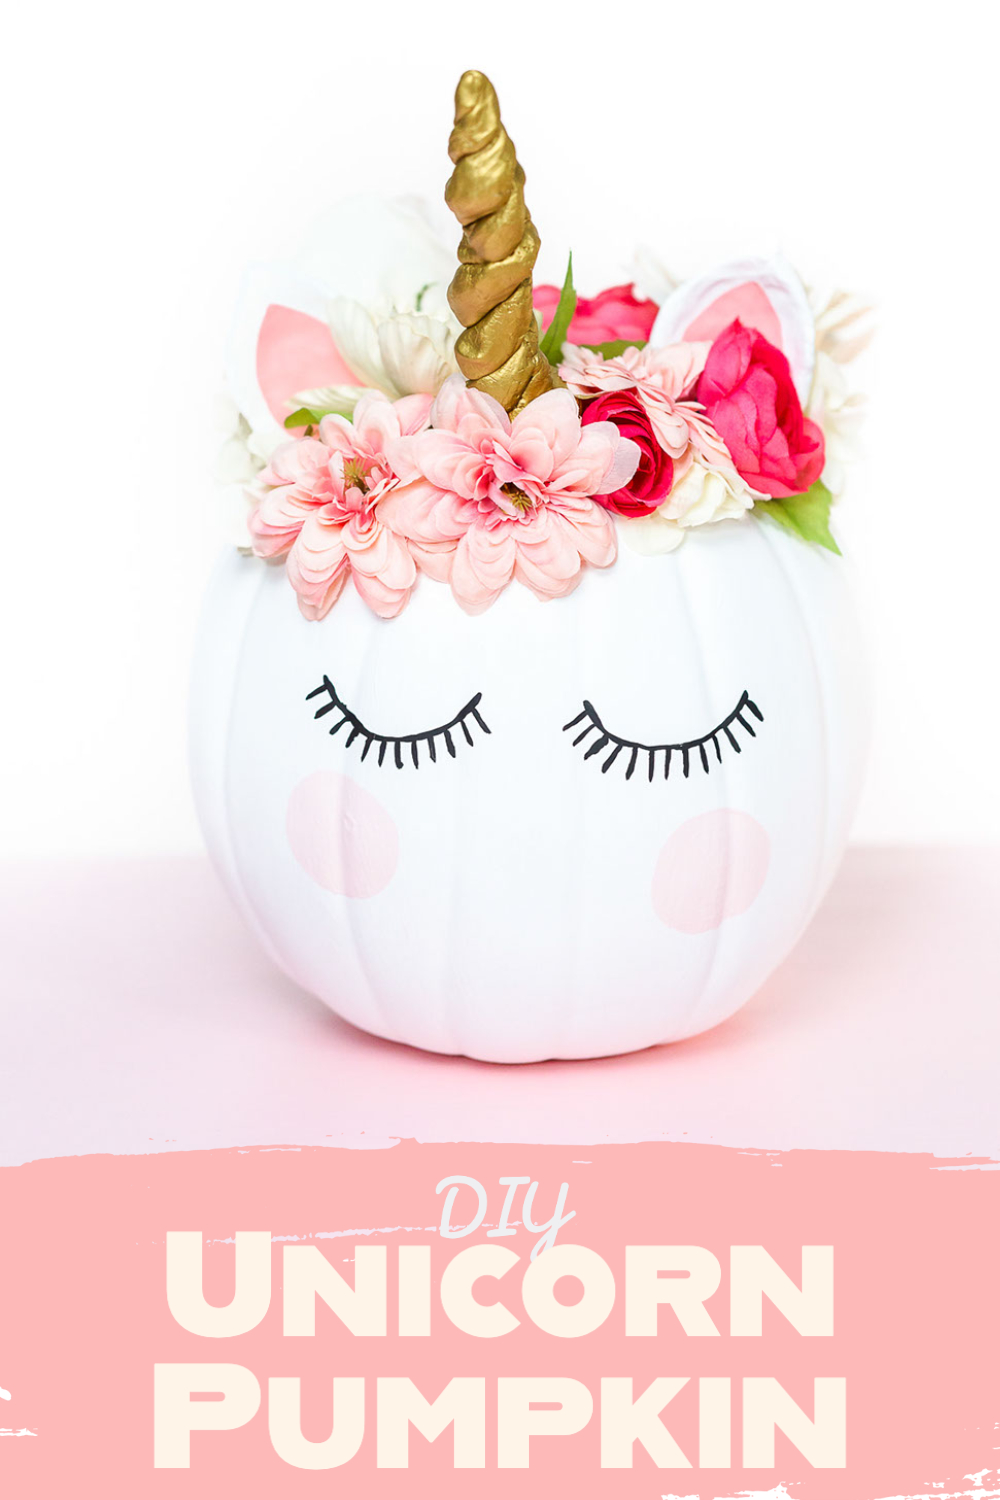
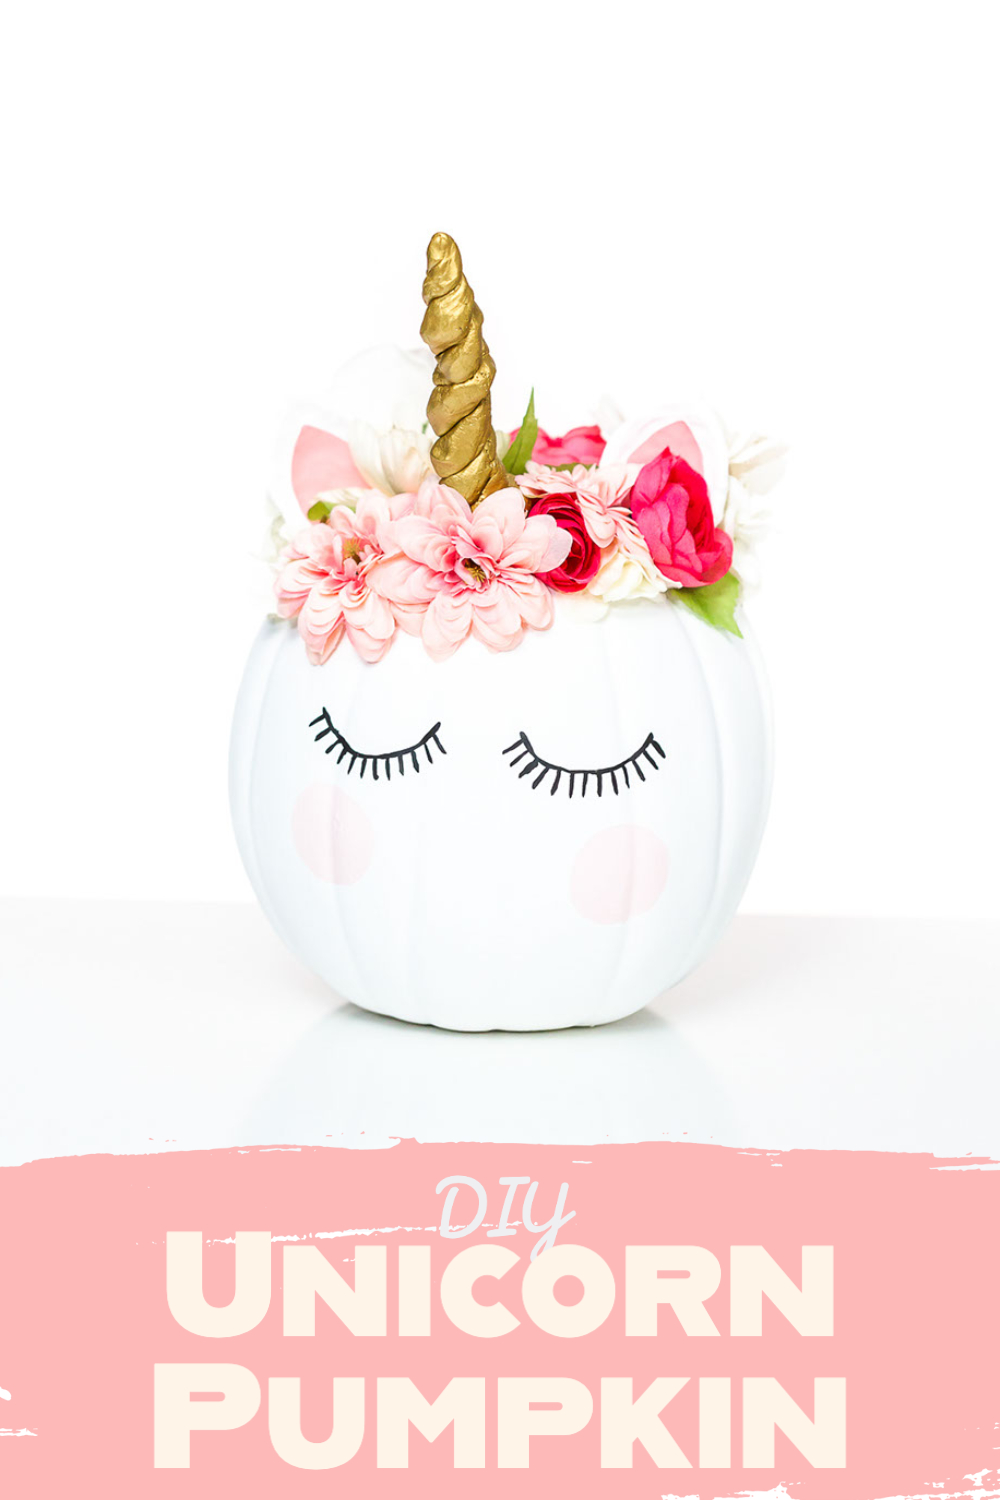
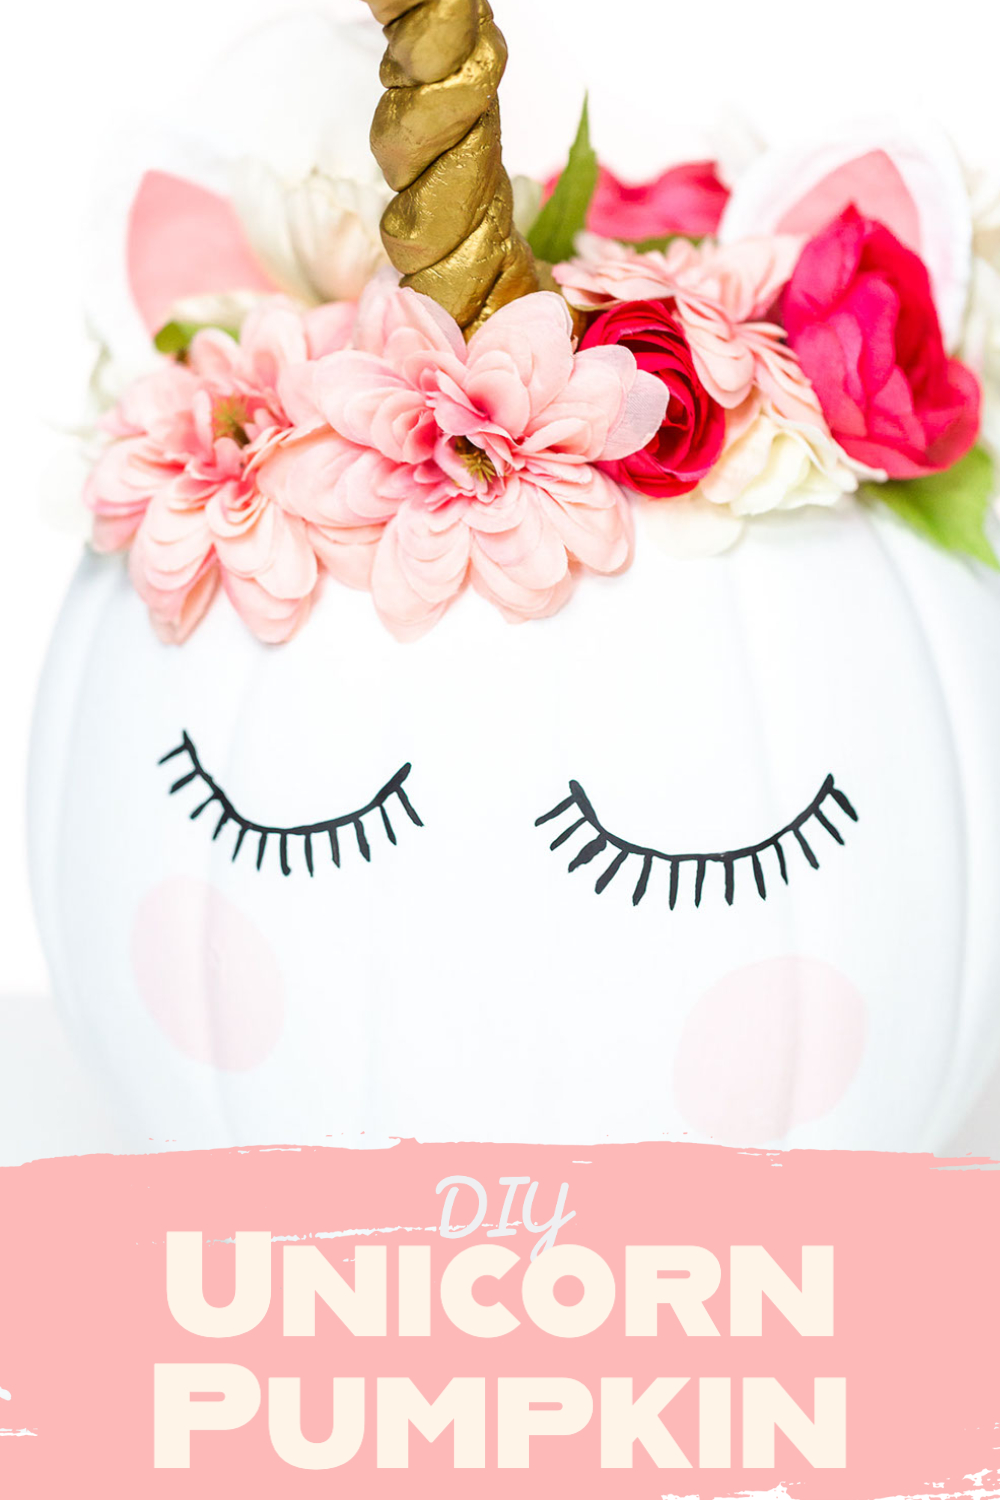
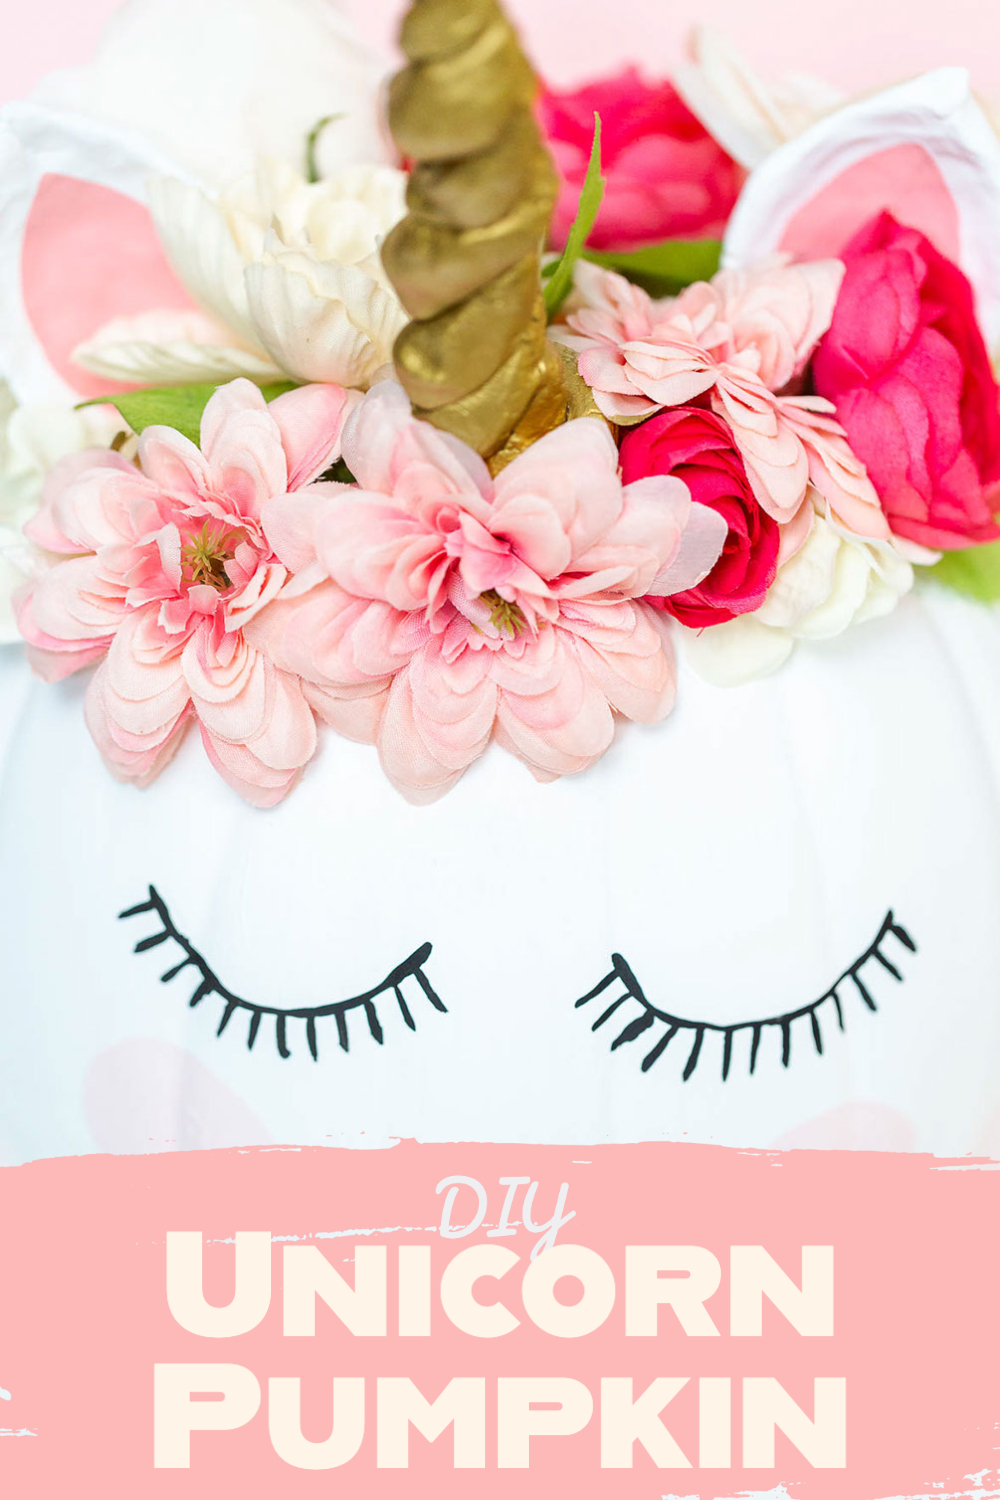
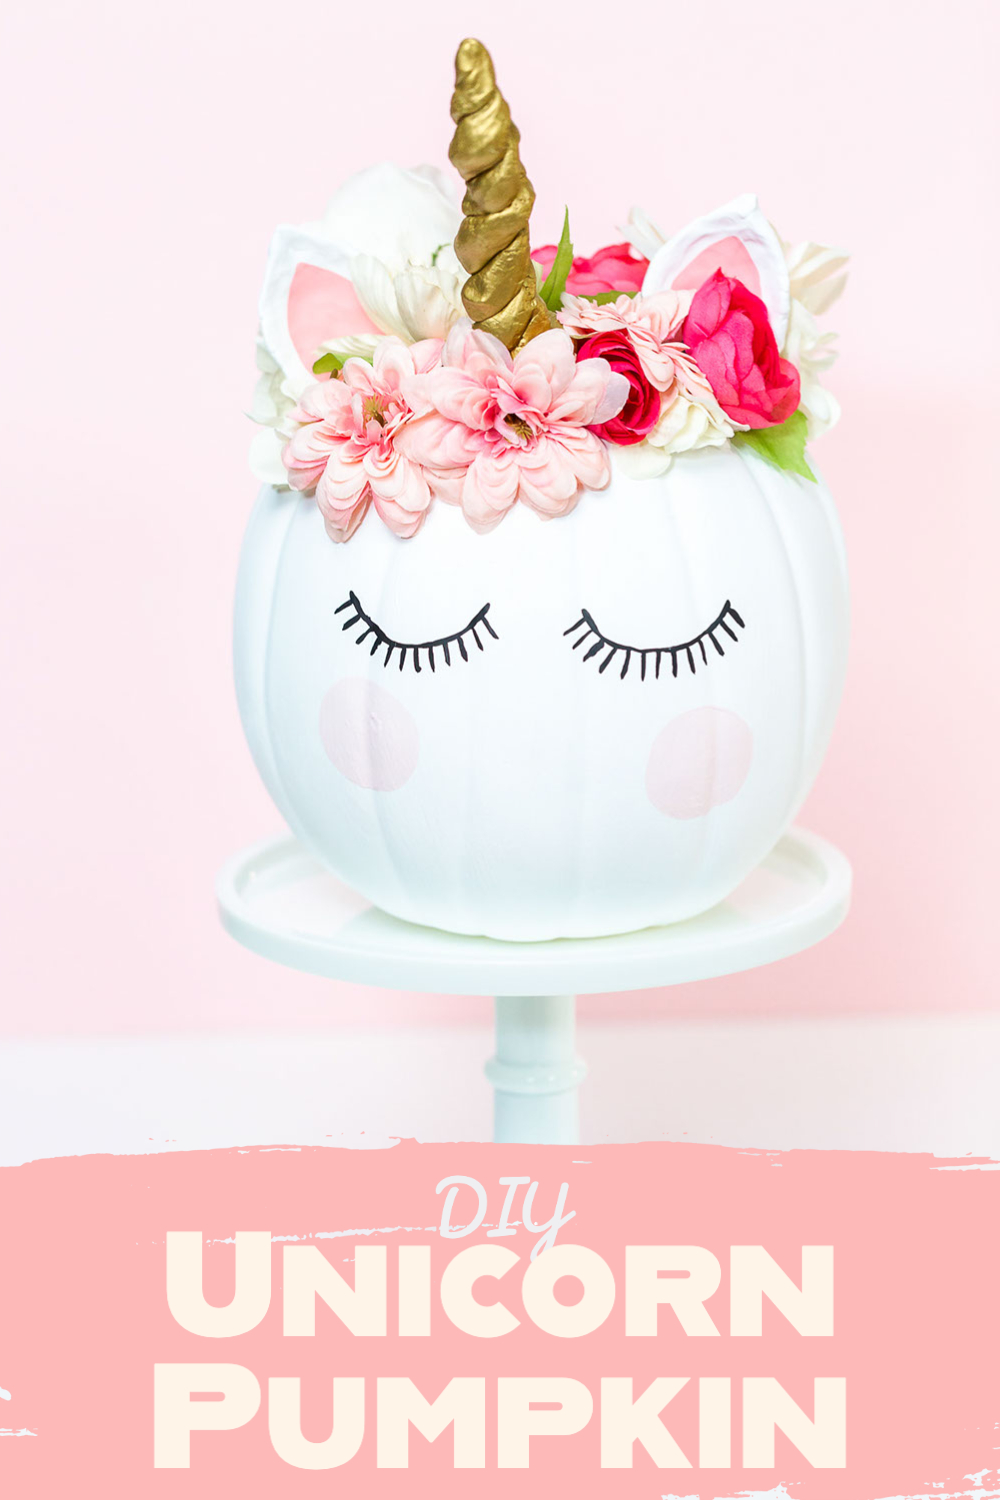
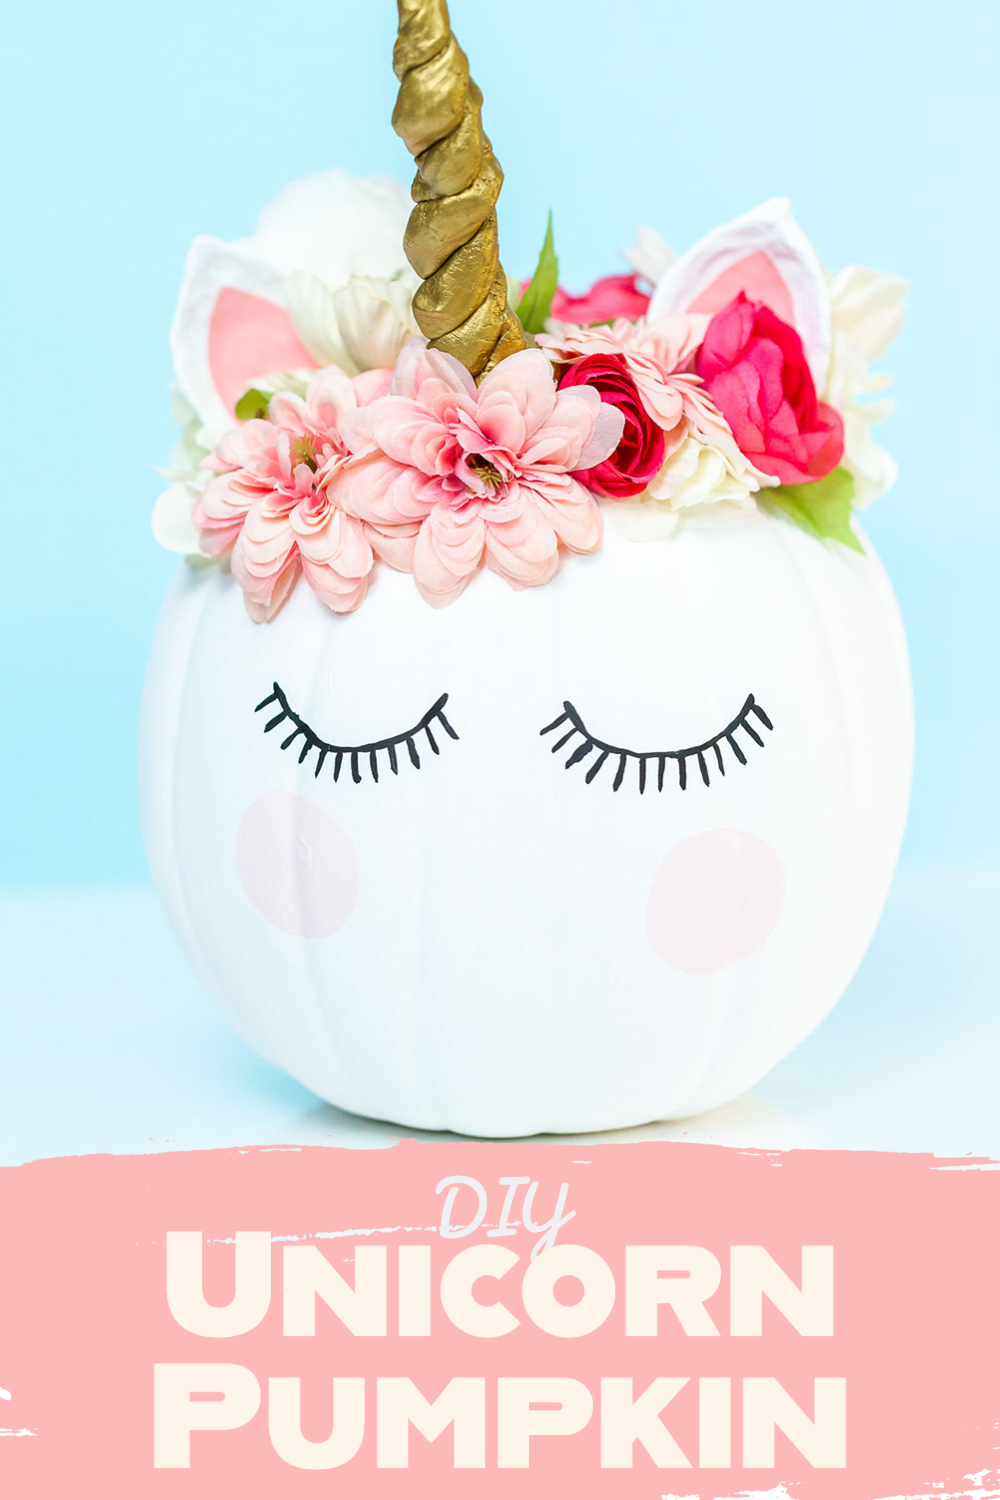
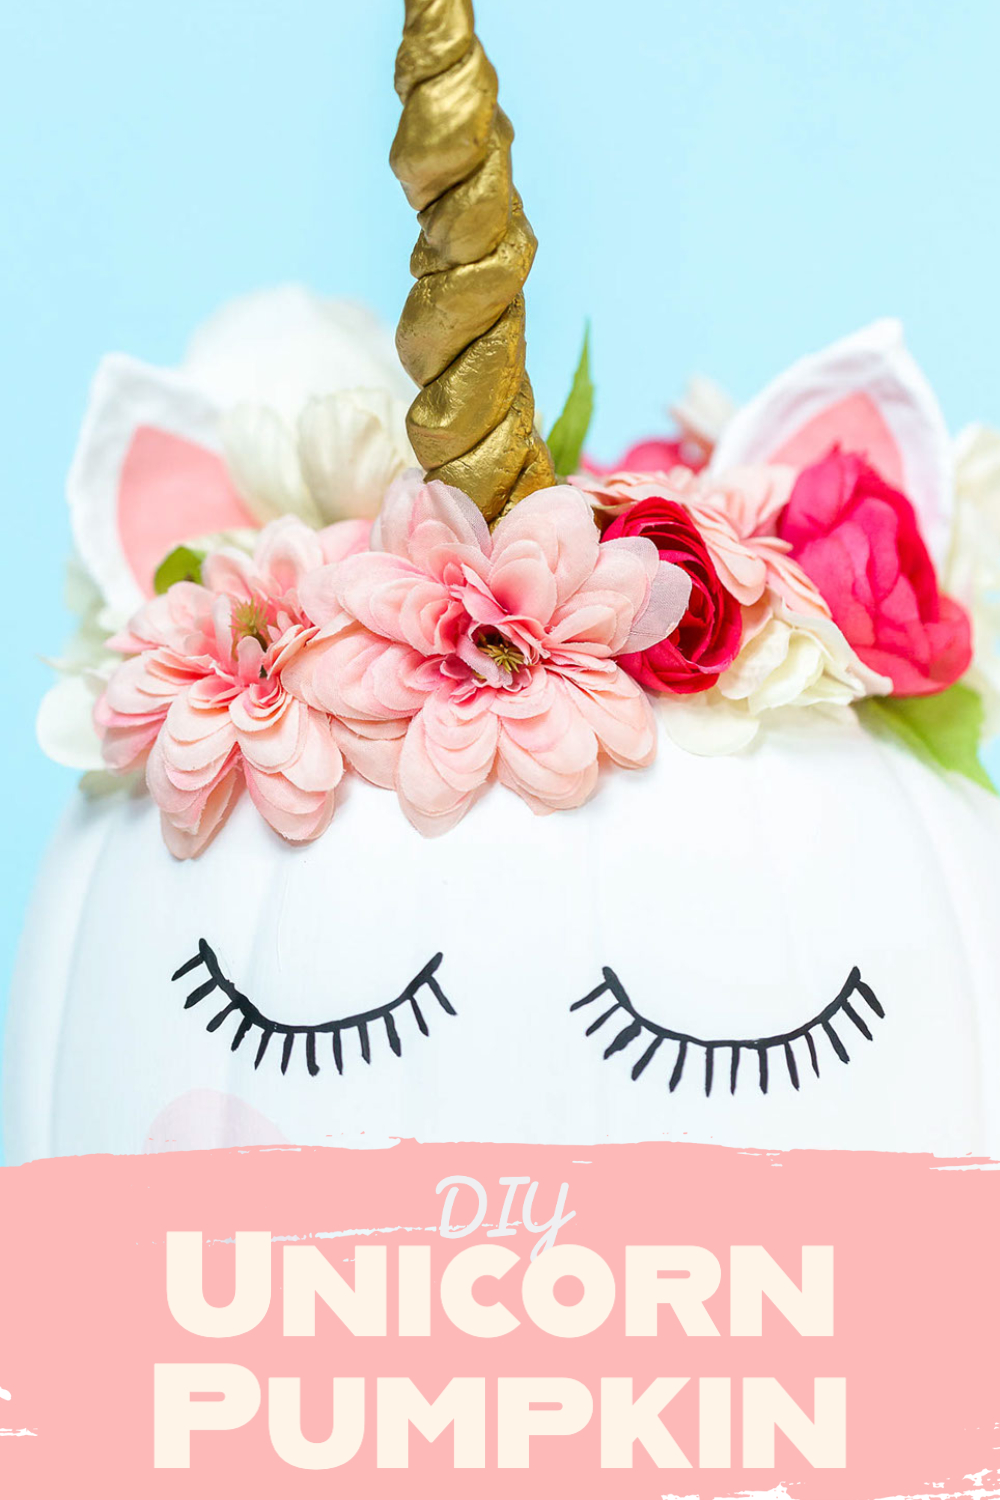
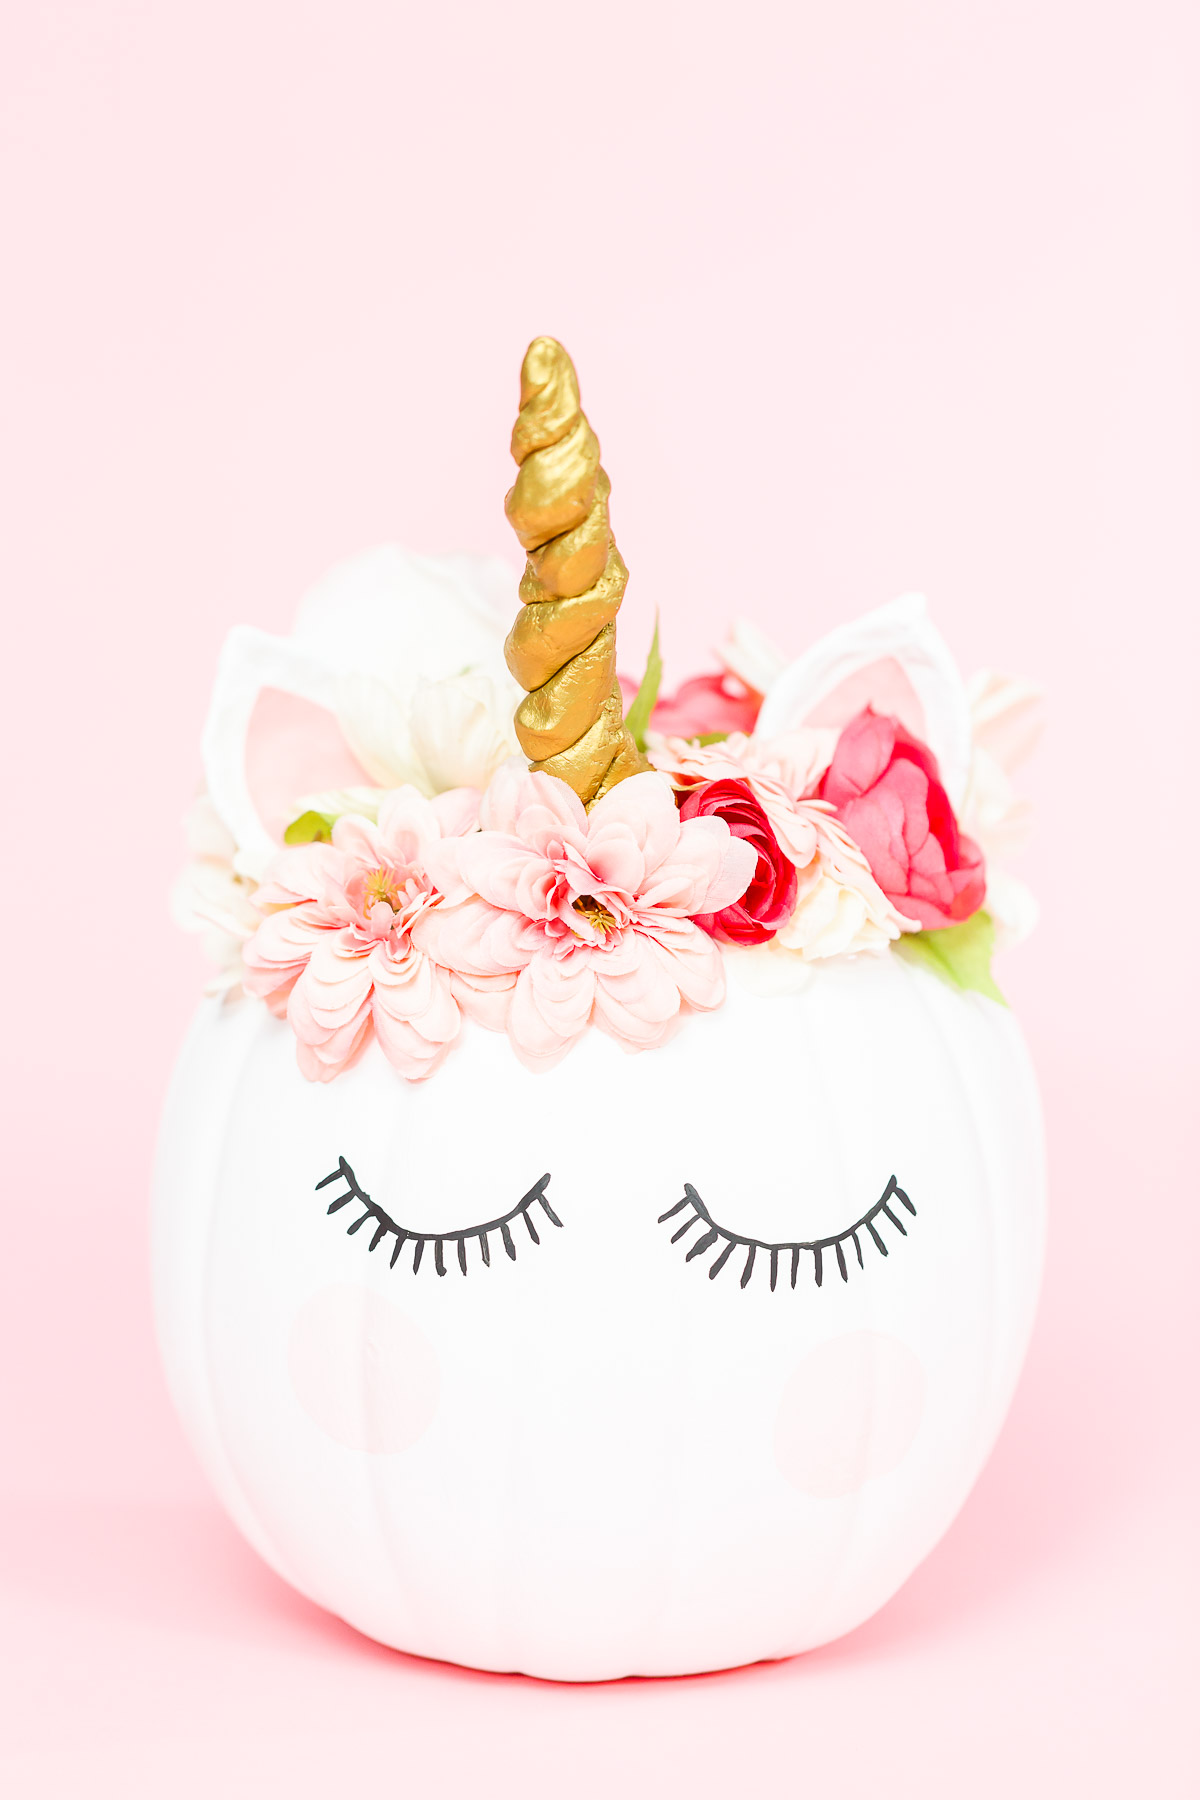
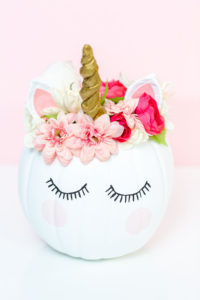
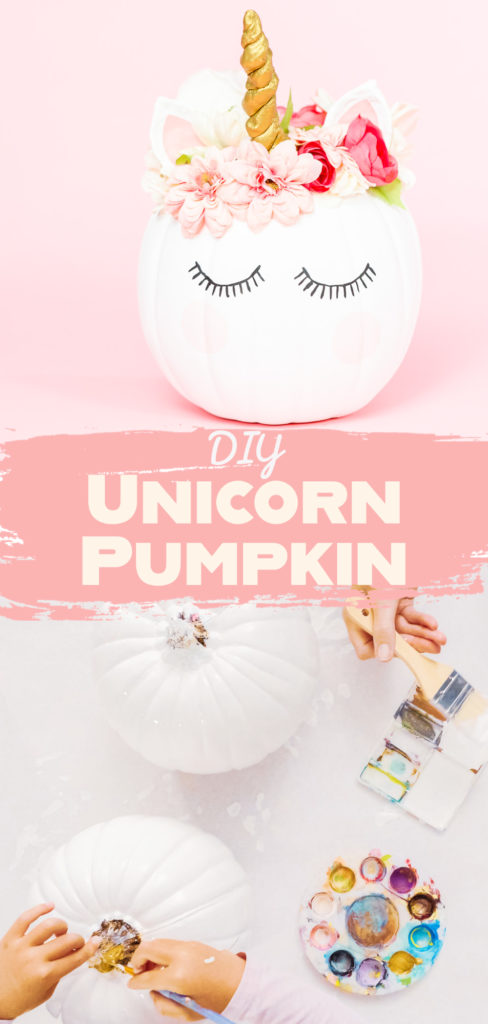
If you’re looking for a magical craft that doubles as gorgeous décor, let me introduce you to one of my favorite projects: the DIY Unicorn Pumpkin. This isn’t just another Halloween decoration—it’s a whimsical statement piece that works for fall festivals, themed birthdays, or even as a centerpiece on your dessert table. I’ve made plenty of pumpkins over the years, but this no‑carve unicorn design is one I come back to again and again because it’s fun, creative, and completely reusable.
What I love most is that this project bridges seasons beautifully. I usually start mine in late summer—paint and clay in hand, fan blowing to keep things comfortable—so by the time September rolls around, my unicorn pumpkin is ready to shine. Unlike carved pumpkins, which wilt after a week, this one lasts year after year. And yes, it still makes me smile every time I pull it out of storage.
Why you’ll love it
- Party‑perfect décor. Imagine this on your treat table next to a tray of Black Caramel Apples or a platter of Skull Halloween Sugar Cookies—instant centerpiece!
- No‑carve + reusable. Foam pumpkins don’t rot, which means you can bring your unicorn back every year.
- Kid‑friendly craft. Simple, approachable steps that kids can help with (I handle the glue gun, of course).
Watch how I make this craft
Materials & Tools
- Large white foam pumpkin (or any color—paintable)
- Acrylic paint: white, black, pink, metallic gold
- Air‑dry modeling clay
- Wood skewer sticks (for the horn core)
- Silk flowers (a variety of colors and sizes)
- Hot glue gun + glue sticks
- Paint brushes & palette
- Black Sharpie or fine brush + black paint
- Wire clippers (to trim flower stems)
- Optional: kids’ painting aprons, painter’s tape, fine glitter or mica powder
Tip: If you’re new to clay work, start small. The horn is forgiving—even if your spiral isn’t perfect, metallic paint will make it shine.
Before you start
- Surface prep: I like to cover my table with freezer paper—paint wipes off easily, and glue doesn’t stick.
- Dry time: Air‑dry clay needs at least 72 hours. Trust me, rushing it will only cause cracks.
- Choose your palette: I often lean toward gold + blush pink for a timeless look, but rainbow or pastel galaxy themes are equally stunning.
For more inspiration, see my DIY Mermaid Pumpkin—it pairs beautifully with this unicorn design for a whole enchanted collection.
Latest Video
Step‑by‑step Instructions
Finishing touches
Optional: Brush on glitter or mica powder while paint is tacky. Seal with clear acrylic spray.
Paint the pumpkin
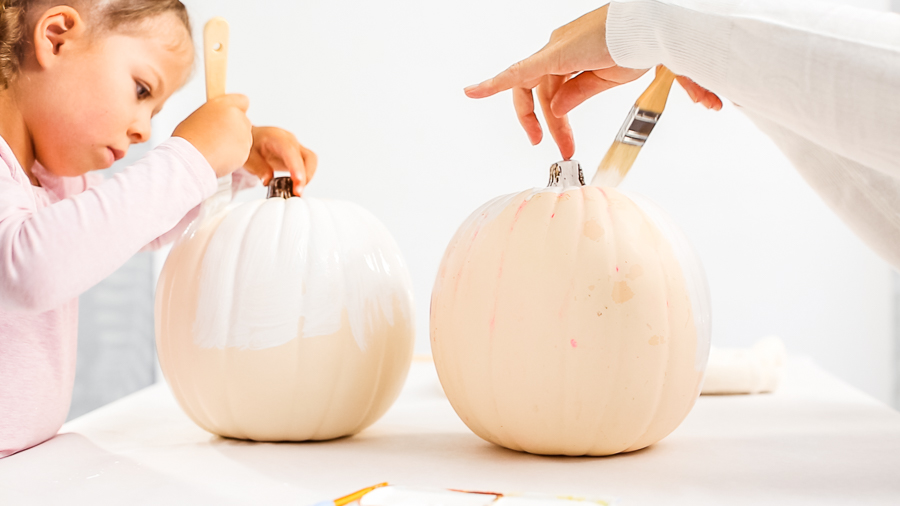
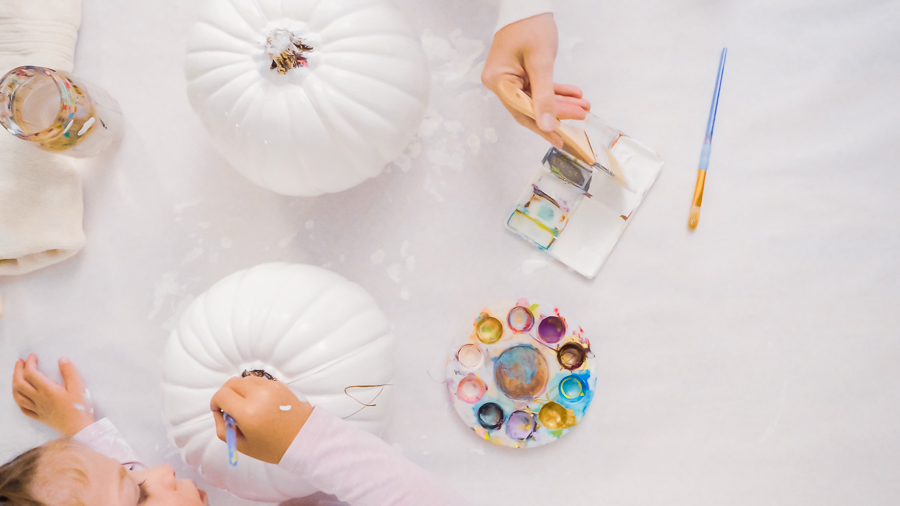
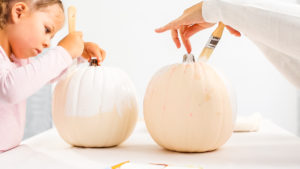
If your pumpkin isn’t white, coat it with white acrylic and let dry for 24 hours.
Make the ears & horn
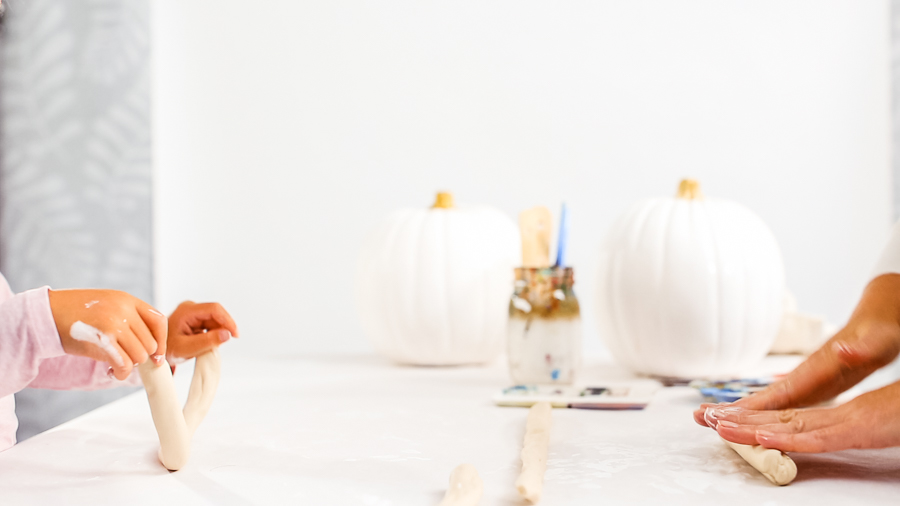
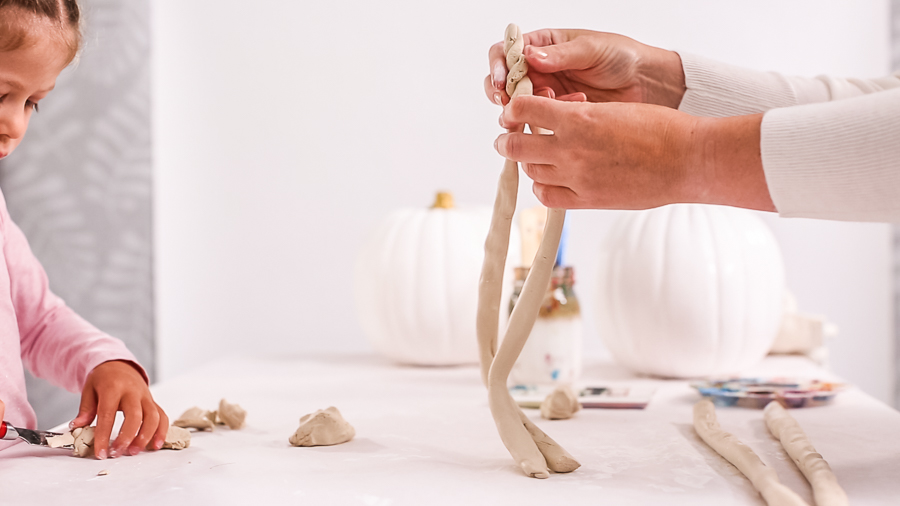
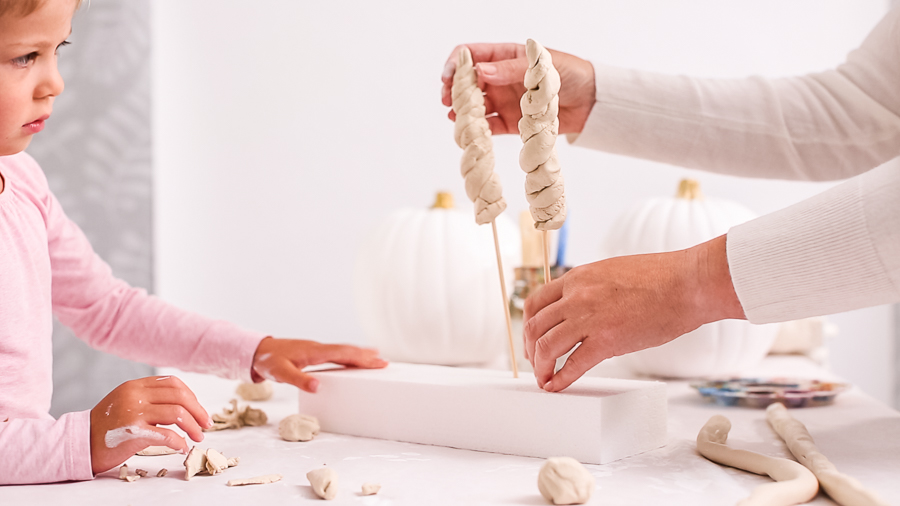
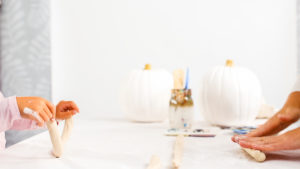
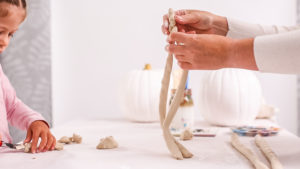
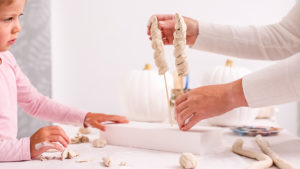
Shape small clay ears by hand. For the horn, roll two thin clay ropes, twist them together, and insert a wood skewer at the base. Smooth seams with a damp fingertip. Dry 72 hours.
Paint the details
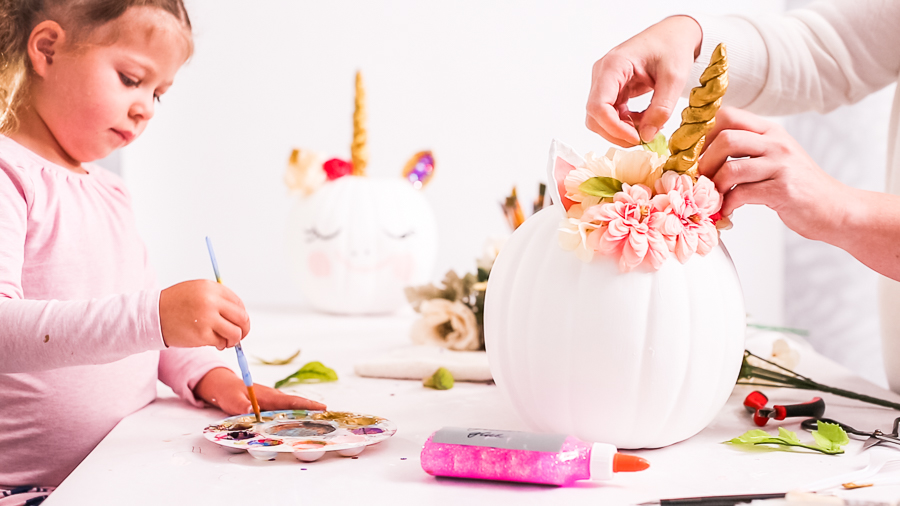
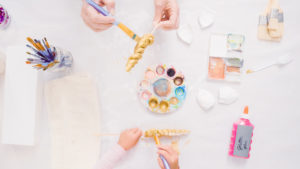
Paint the horn metallic gold, the ears pink and white. Let them dry fully—don’t rush this part.
Attach ears & horn
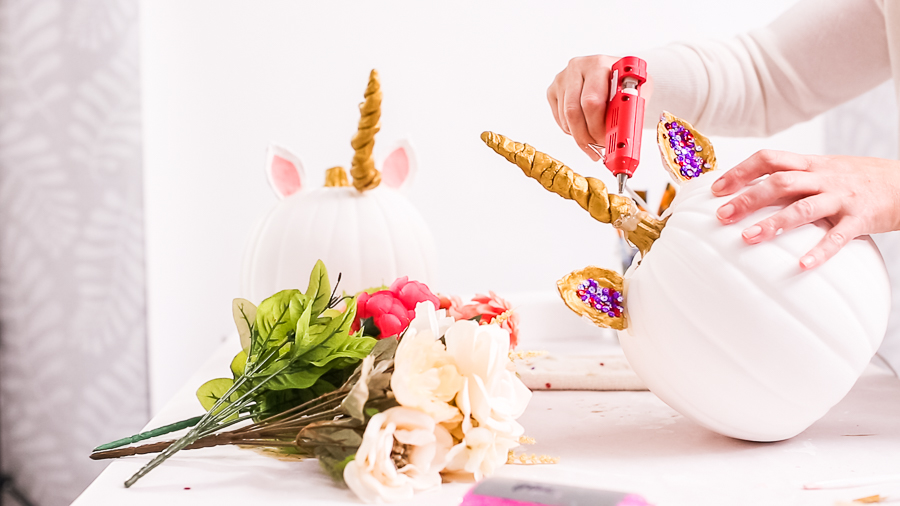
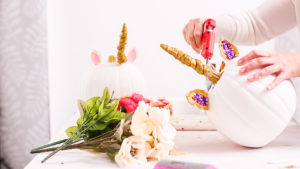
Use the skewer tip to make a hole in the pumpkin. Add a dab of hot glue and press in the horn. Glue ears slightly tilted forward.
Create the floral crown
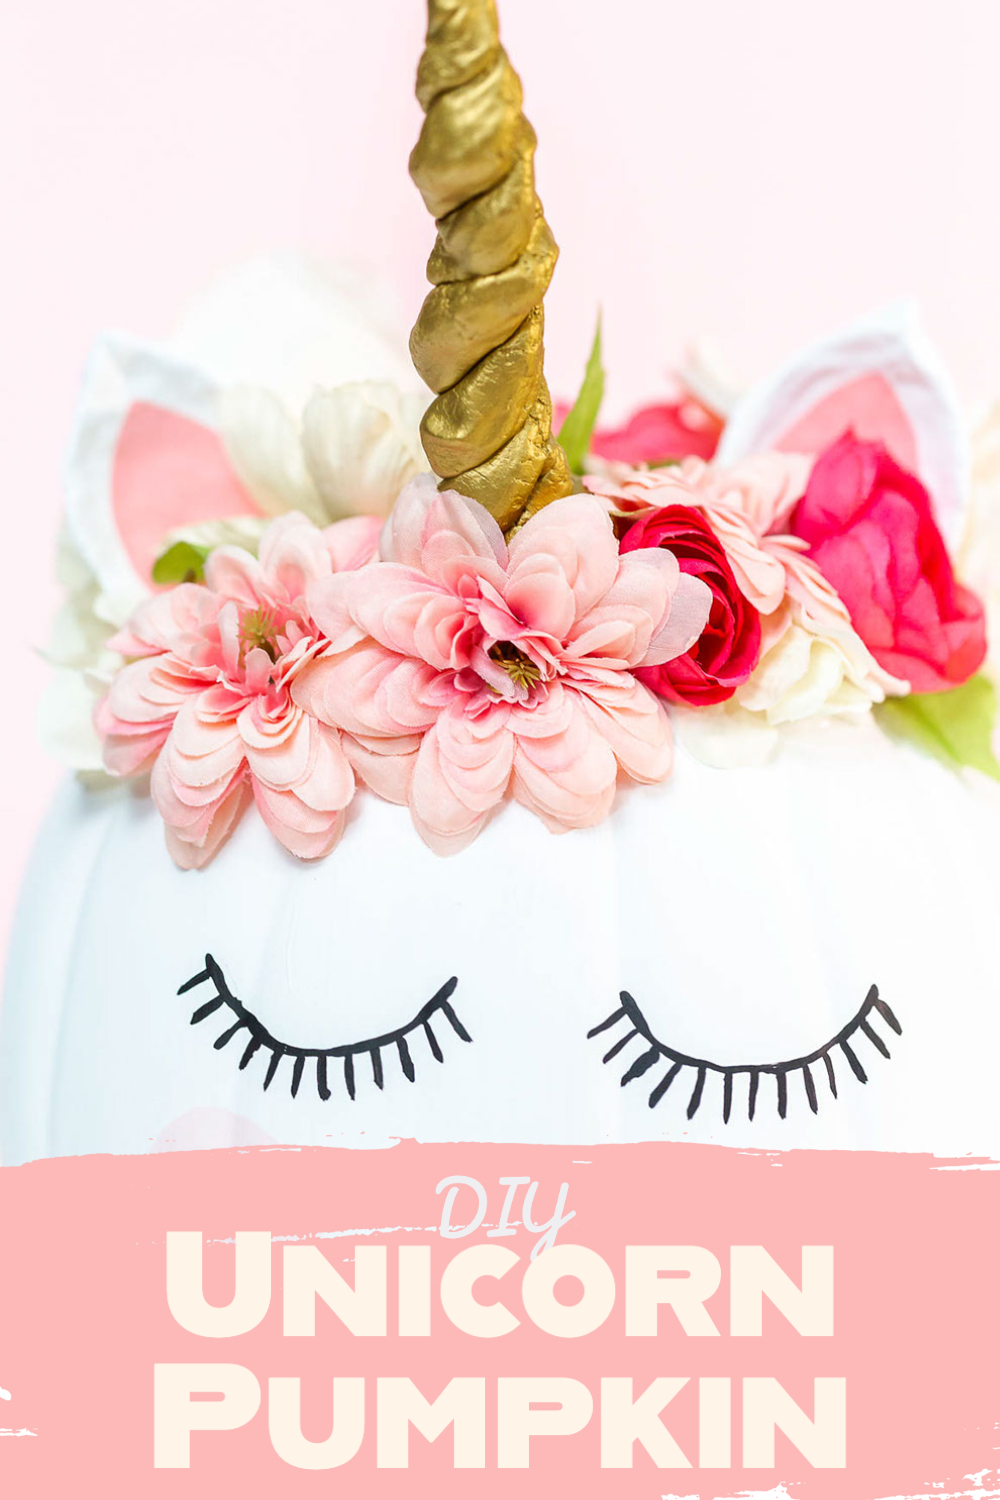
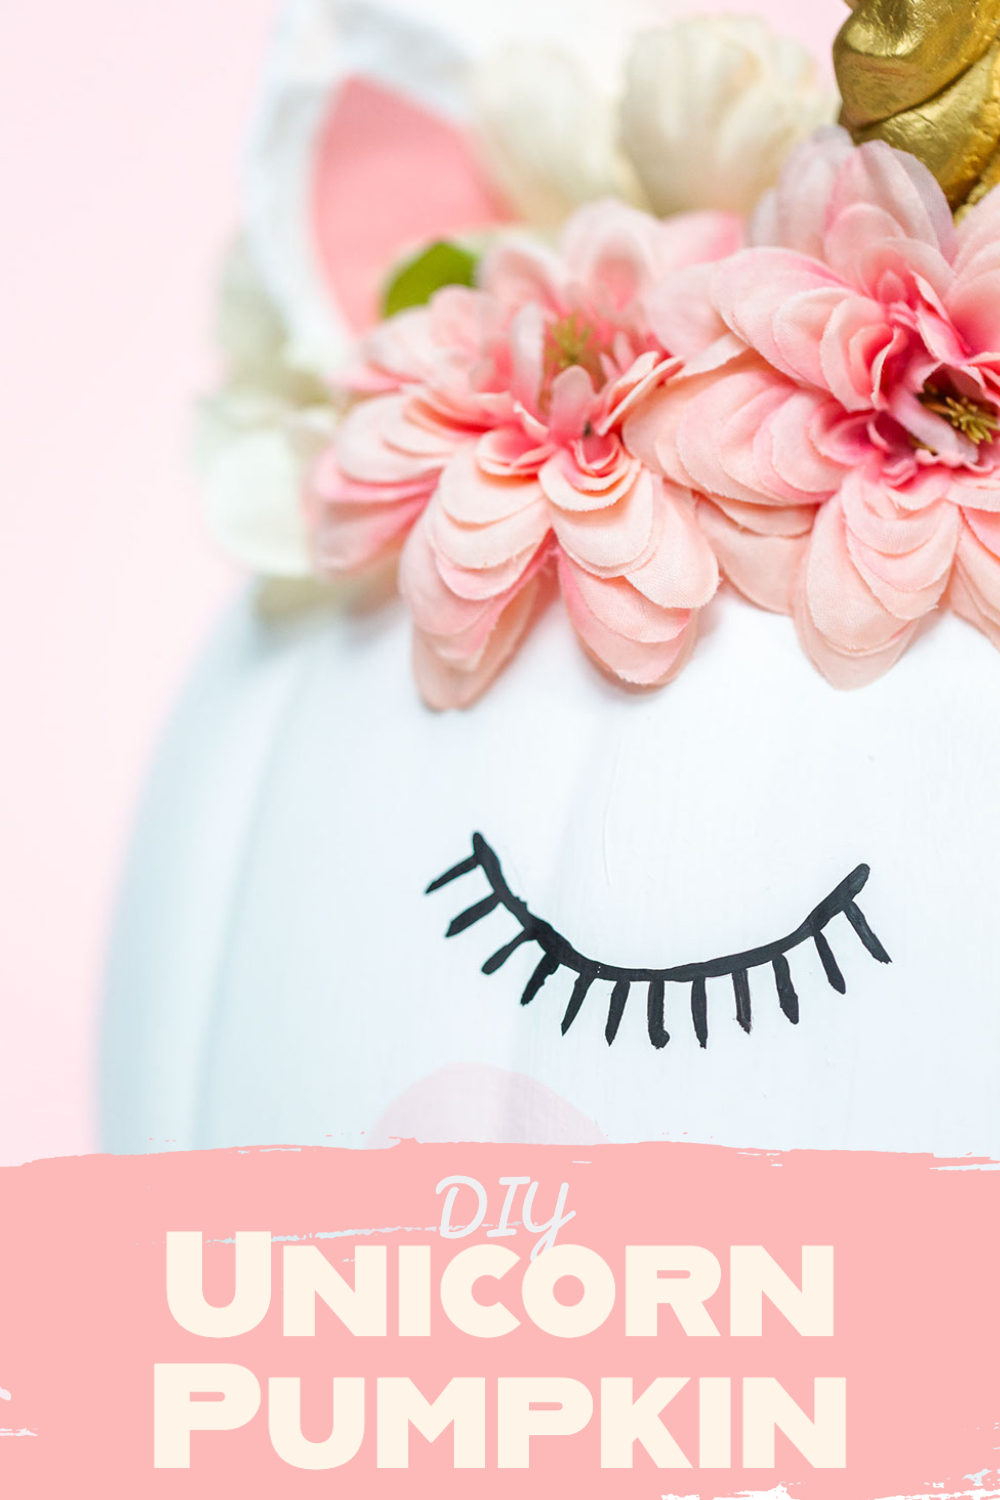
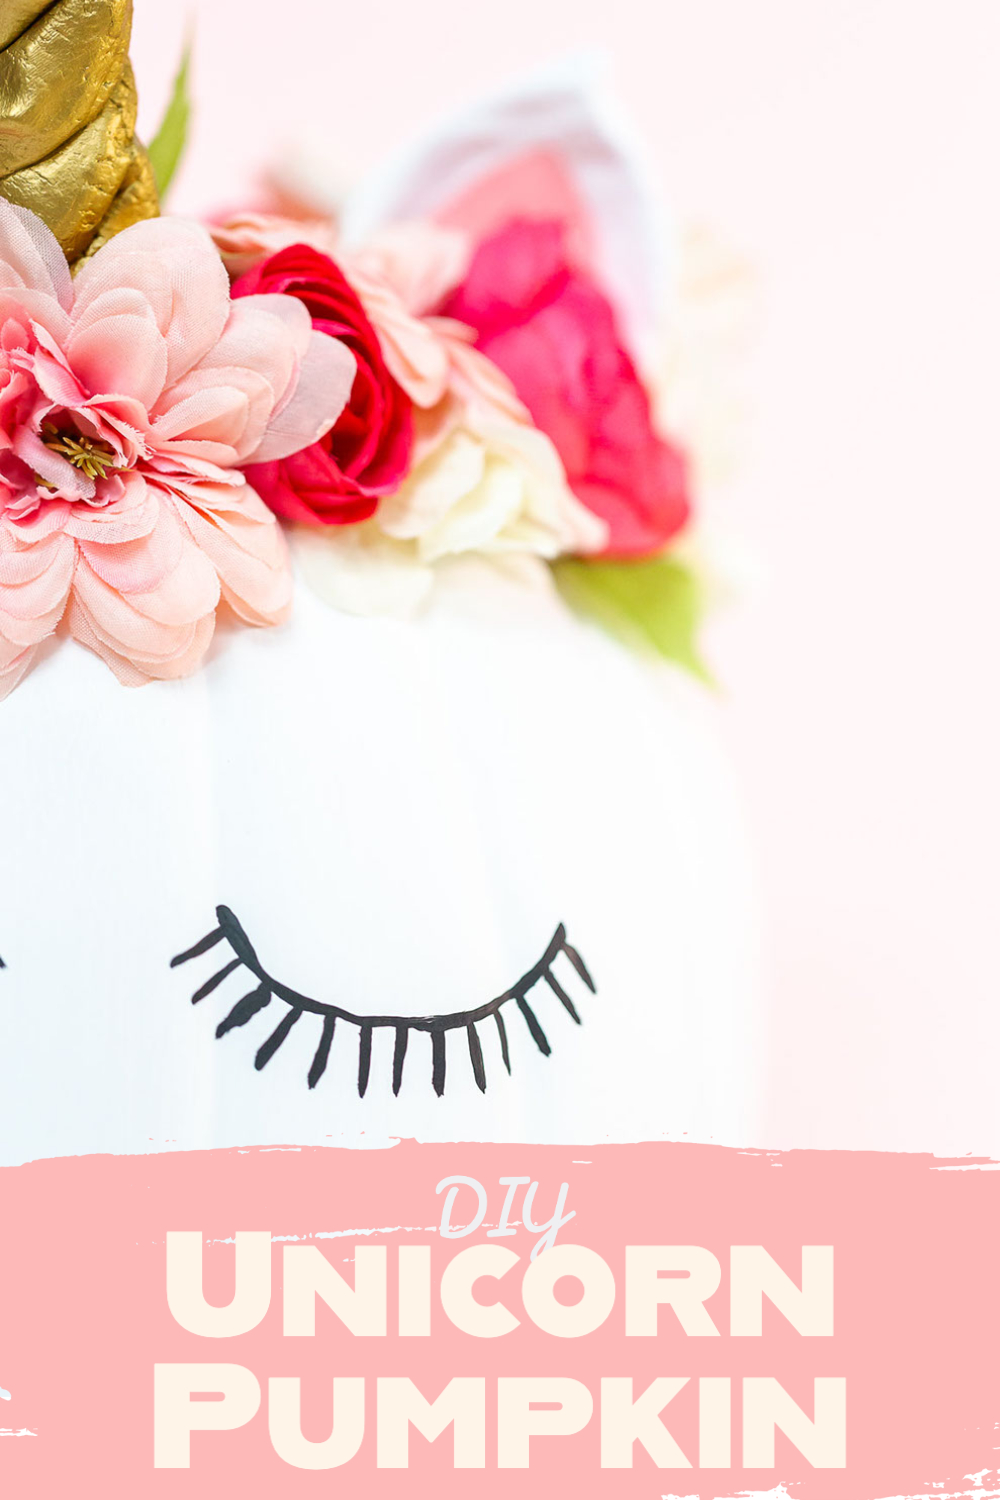
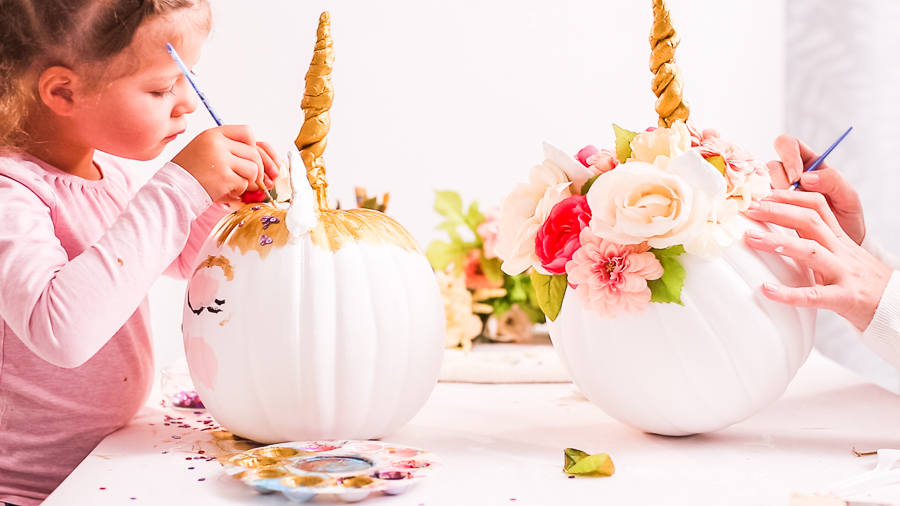
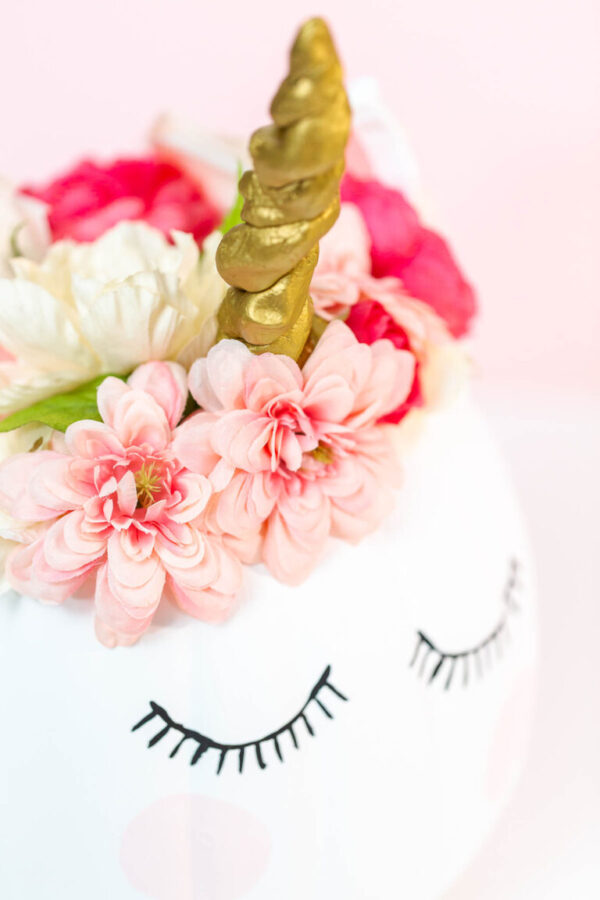
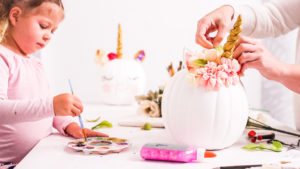
Trim silk flowers with wire clippers. Arrange them around the horn, starting with large blooms and filling gaps with smaller pieces. Dry fit first, then glue.
Add the unicorn face
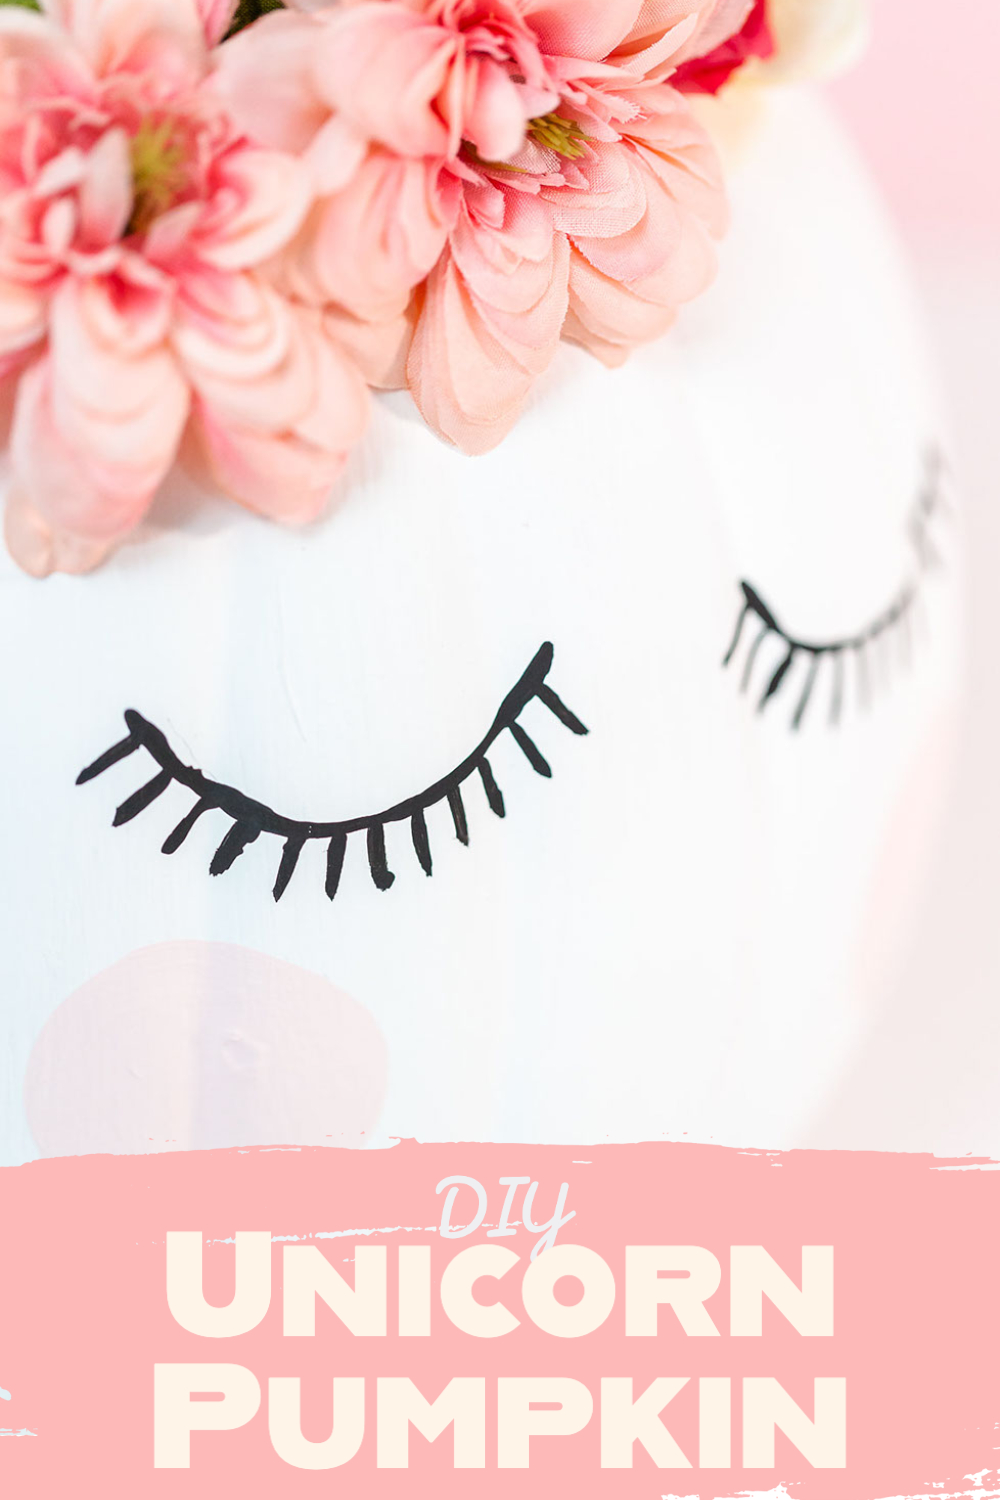
Draw eyelashes with a Sharpie or paint. Use pink paint for rosy cheeks. A tiny white dot adds sparkle.
Variations
- Birthday centerpiece: Add a glittery number pick next to the horn for party flair.
- Rainbow mane: Use flowers in rainbow order for a bold, playful look.
- Pastel galaxy: Paint the pumpkin lavender, then flick white paint for stars.
- Mini unicorns: Decorate small foam pumpkins for place settings.
Personal Tips
Test layouts before gluing. I always snap a quick phone photo of the flower crown arrangement—it helps me remember placement as I glue.
Heat trick for glue strings. Wave a hair dryer on low over the pumpkin and the messy strings vanish.
Photography hack. Place the pumpkin near a natural light source and use a neutral background so the horn and flowers pop in photos.
Troubleshooting
- Horn leaning? Make the hole a touch deeper and add a thicker glue base.
- Flowers won’t stick? Lightly sand the pumpkin surface before gluing.
- Sharpie bleeding? Seal the pumpkin with matte acrylic spray before drawing the lashes.
For more crafting inspiration and safety tips when working with hot glue and paint, I recommend checking the U.S. Consumer Product Safety Commission for reputable guidelines when handling craft tools.
Related DIYs & Recipes
- Classic Cut‑Out Sugar Cookies
- DIY Mermaid Pumpkin
- DIY Unicorn Party Favor Bags
- Halloween Party Table Decoration Ideas
- Orange Candy Apples
DIY Unicorn Pumpkin
Video
Equipment
- Kids Painting Aprons Optional
Ingredients
- 2 Large White Foam Pumpkin
- Acrylic paint White, Black, and Pink
- Modeling clay
- Wood skewer sticks
- Silk Flowers
- Gold acrylic paint
- Sharpie black
Instructions
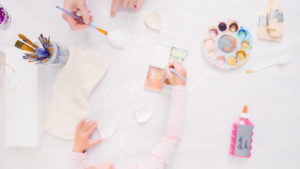
- Start by painting the foam pumpkin white with a paintbrush. Allow it to dry for at least 24 hours. (If you already have a white pumpkin, you can skip this step.)
- Use modeling clay to create the unicorn ears and horn, then set them aside to dry for about 72 hours.
- To shape the horn, roll out two clay strips, twist or braid them together for a spiral look, and insert a wooden skewer into the base while it’s still soft.
- Once the clay pieces are dry, paint them in the colors you like. I used metallic gold for the horn and pink or gold for the ears. Let them dry fully.
- Insert the horn into the pumpkin by poking a small hole with the skewer end, then use hot glue to secure both the horn and ears in place.
- When everything has dried, draw the unicorn’s face. Use a black Sharpie or fine brush with black paint to add eyelashes.
- Cut the stems off the silk flowers with wire clippers, since they usually have metal inside.
- Arrange and hot glue the flowers around the horn and ears however you’d like.
- (Optional) Add details like rosy cheeks with pink paint, or any other features you’d love to include.
From My Kitchen to Yours
I’ve Got Answers
Can I use a real pumpkin?
Yes, but it won’t last long. Foam is easier and reusable. If you do use real, toothpicks help anchor the horn.
How long does it take?
Hands‑on time is about 45 minutes, with 3 days of drying.
Is this safe for kids?
Yes with supervision—especially for hot glue and wire clippers.
Pin It For Later
Food Photography & Video Tips from My Studio
Here’s a peek at the tools, gear, and camera setups I use to film my recipe videos and photograph food at home. Over the years, I’ve tested dozens of different setups, and now I’m sharing what actually works for me—whether I’m filming overhead shots for YouTube or styling still photos for my blog. If you’re curious about how I create the content you see here, these posts are a great place to start.





Leave a Reply