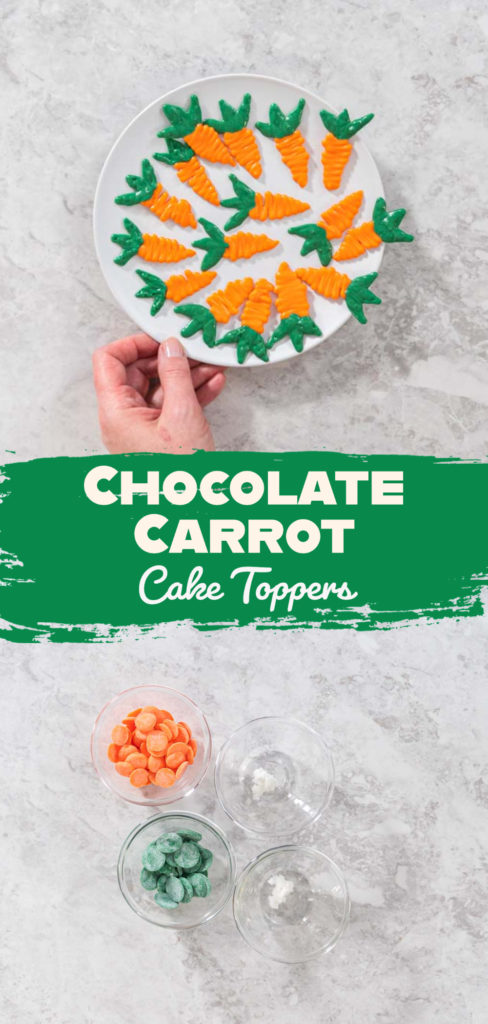
How to Make Chocolate Carrot Cake Toppers – Easy Easter Dessert Decorations
This post contains affiliate links.
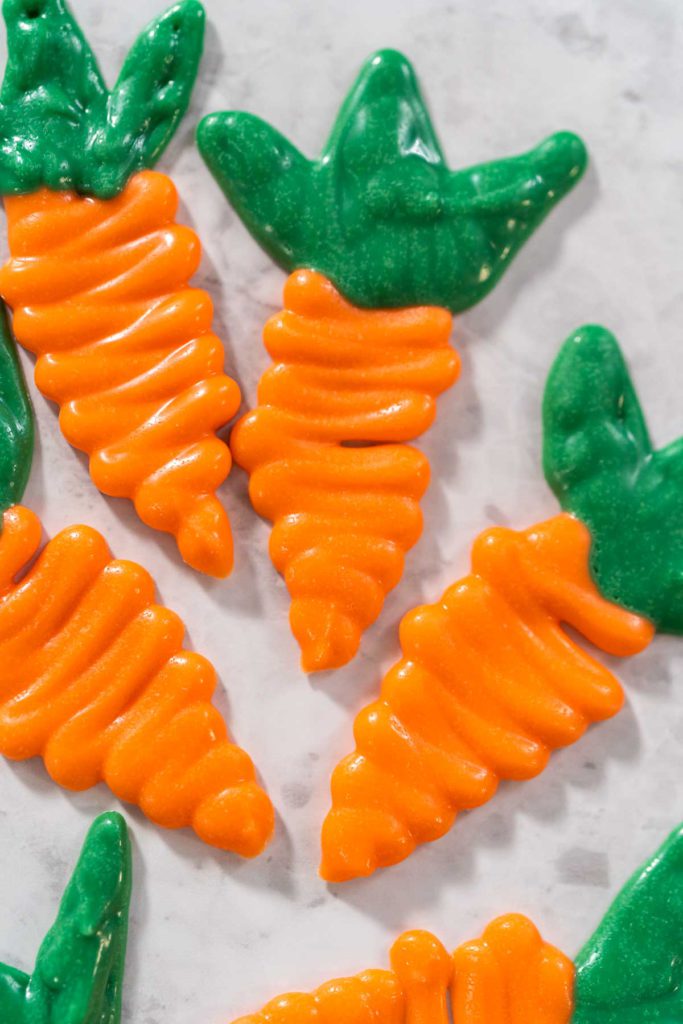
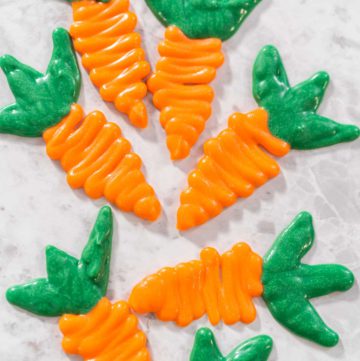
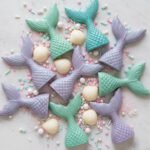
Decorating cakes and cupcakes is one of my favorite parts of baking, and these chocolate carrot cake toppers are the perfect way to add a festive Easter touch to any dessert. Whether you’re decorating cupcakes, cakes, or cookies, these easy chocolate decorations make everything look extra special. What I love most about this recipe is that you don’t need a mold—just a simple template, some parchment paper, and a piping bag.
I remember the first time I tried making chocolate decorations, I thought it would be complicated. But once I realized how easy it was to pipe shapes onto parchment paper, I was hooked! These little chocolate carrots are adorable, and they add the perfect finishing touch to cakes, cupcakes, or even cookies. Plus, they’re made with just a few ingredients and take less than 40 minutes from start to finish.
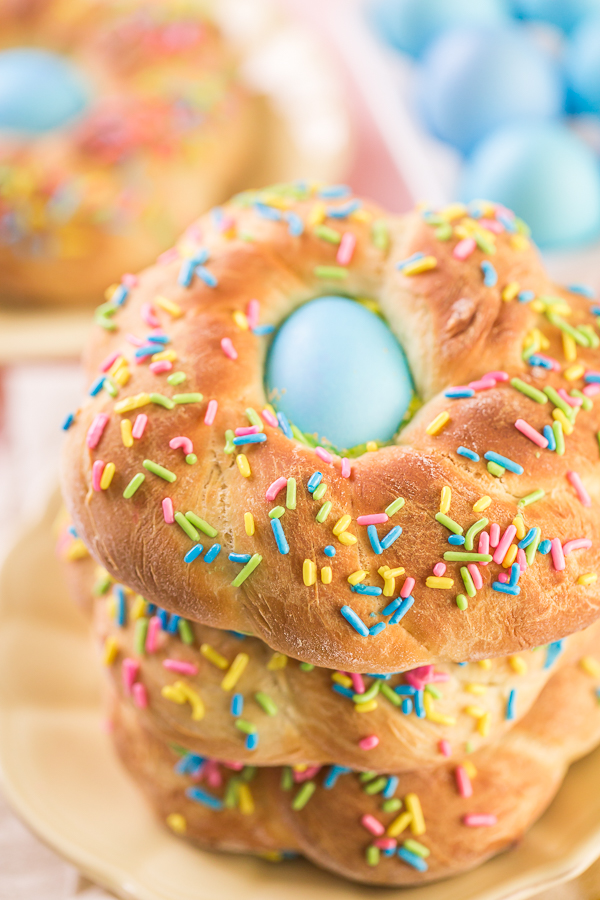
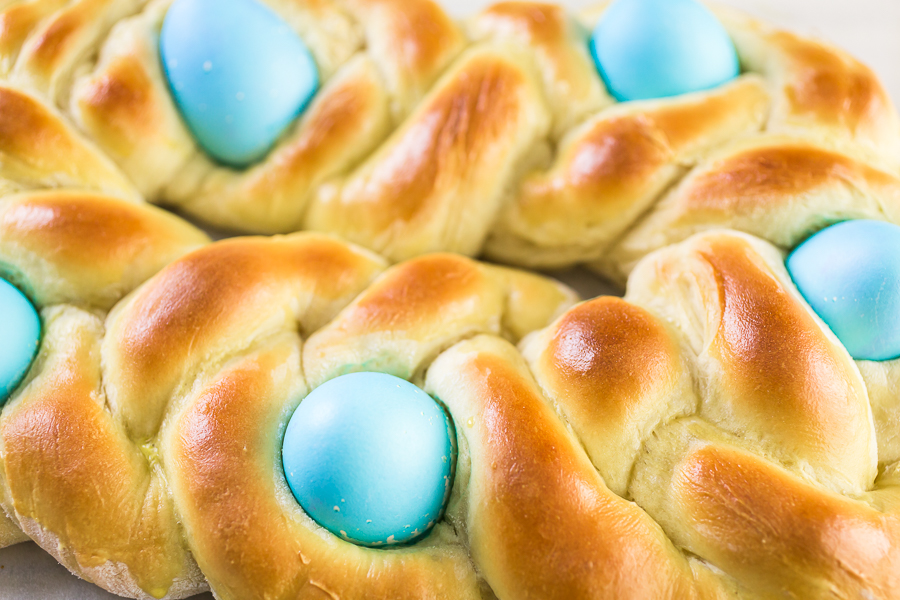
If you're looking for an easy way to make your Easter treats stand out, these chocolate carrot cake toppers are just what you need! They pair perfectly with my Carrot Bundt Cake with Cream Cheese Frosting or as a fun decoration for Easter Sugar Cookies. You can also use them to decorate my Italian Easter Bread or add them to an Easter Charcuterie Board for an extra festive touch. They pair perfectly with my Carrot Bundt Cake with Cream Cheese Frosting or as a fun decoration for Easter Sugar Cookies. They’re simple to make, taste delicious, and instantly make any dessert look more festive.
Why I Love This Recipe
- No Mold Needed – Just pipe the shapes freehand using a template.
- Quick & Easy – Ready in just 35 minutes, including chilling time.
- Perfect for Easter & Spring – A cute decoration for cakes, cupcakes, and more.
- Make Ahead Friendly – Store in the fridge or freezer for future use.
Equipment I Use & Why It’s Important
Using the right tools makes this recipe easier and ensures the chocolate decorations come out smooth, even, and easy to handle. Here’s why each tool is essential:
- Measuring Cup & Spoons – Precise measurements are crucial for the right chocolate consistency. Too much coconut oil can make the chocolate too thin, while too little can cause it to be too thick to pipe smoothly.
- Spatulas – Essential for stirring the candy melts as they melt to ensure even consistency and prevent burning. A silicone spatula is ideal since it won’t scratch the melting pot and helps scrape every bit of chocolate into the piping bag.
- Wilton Candy Melting Pot – Keeps the chocolate at a consistent temperature, preventing overheating and ensuring a smooth texture. Unlike using a microwave, which can cause uneven melting, this melting pot allows for better control.
- Piping Bags – These make it easy to control the flow of melted chocolate, helping to create precise shapes for the carrot toppers. A small cut at the tip allows for delicate detailing on the carrot leaves.
- Parchment Paper Sheets – Provides a non-stick surface for piping the chocolate decorations. Once hardened, the chocolate easily peels off without breaking.
- Baking Sheet – Ensures a level surface for piping and allows the chocolate to set evenly. It also makes it easier to transfer the decorations into the fridge for chilling.
- Carrots Template – Helps maintain uniform shapes, ensuring all the chocolate carrots are consistent in size and proportion for a professional-looking decoration.
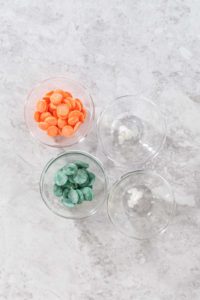
Ingredients
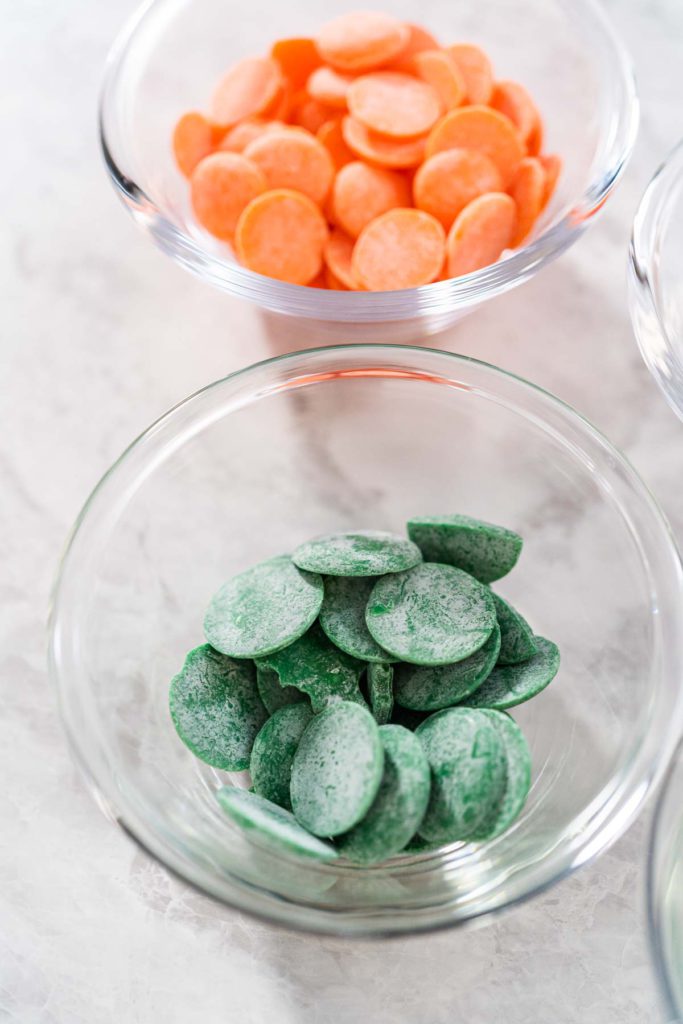
- ¾ cup Orange Candy Melts – Forms the carrot base.
- ½ teaspoon Coconut Oil – Helps the chocolate melt smoothly.
- ¼ cup Wilton Green Candy Melts – Creates the leafy carrot tops.
- ½ teaspoon Coconut Oil – Keeps the green chocolate fluid and easy to pipe.
How I Make It
Step 1: Prep the Ingredients
- Measure out the orange and green candy melts and coconut oil using measuring cups and spoons.
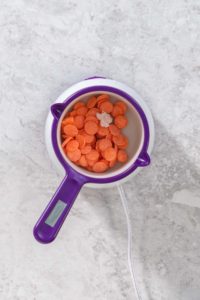
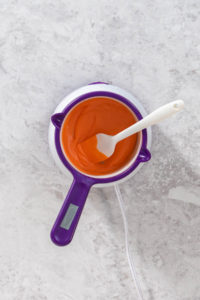
Step 2: Melt the Orange Chocolate
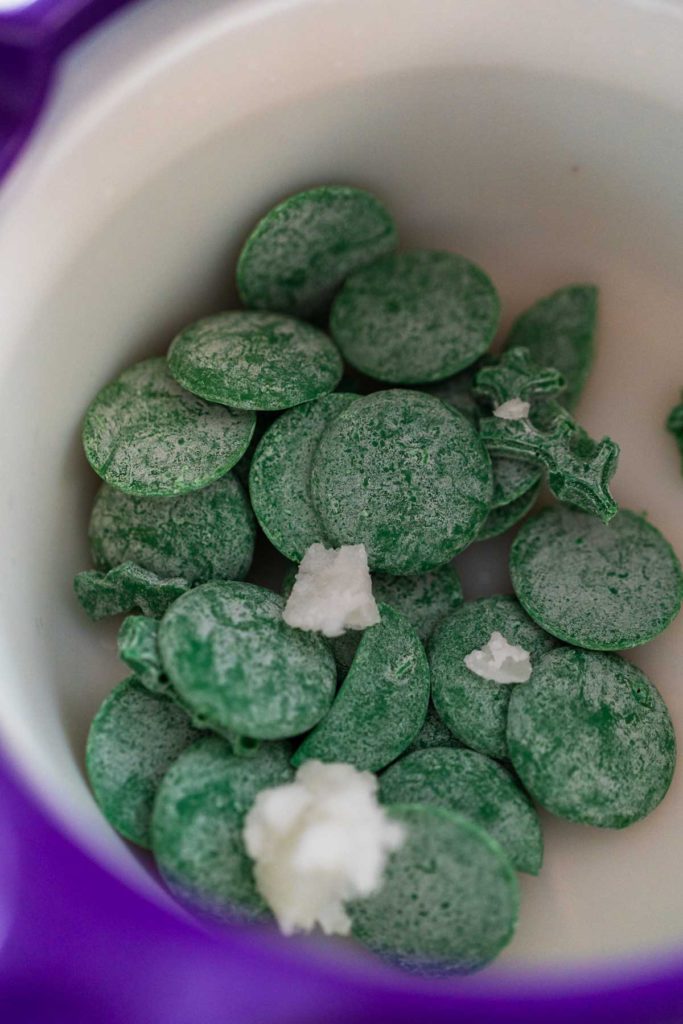
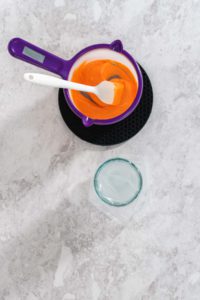
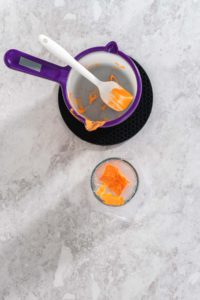
- Add the orange candy melts and ½ teaspoon coconut oil to the candy melting pot.
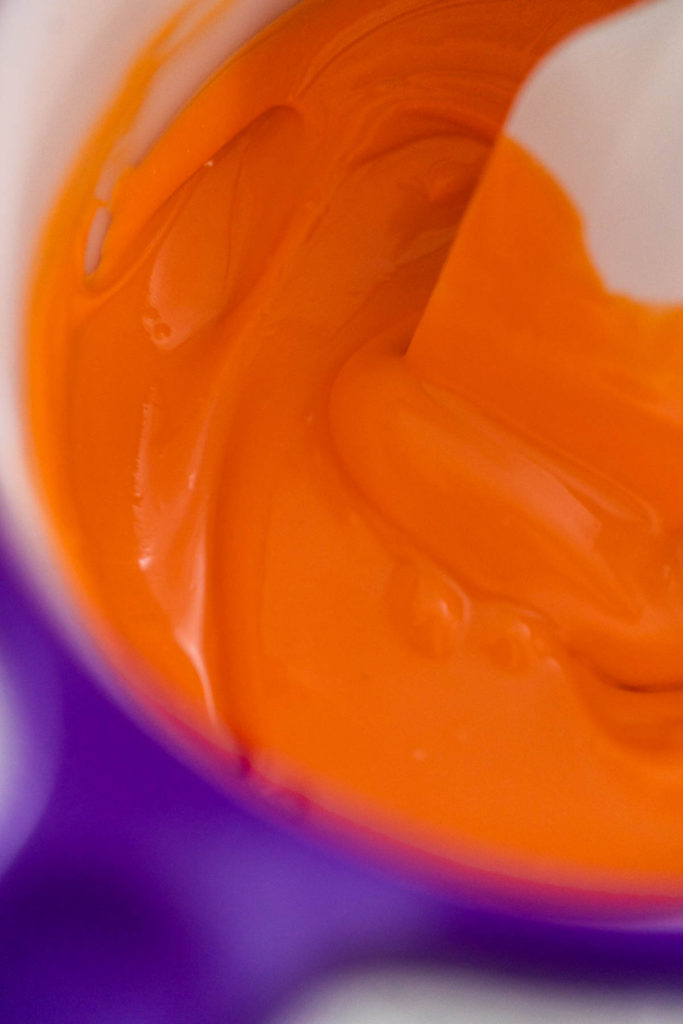
- Stir occasionally with a spatula until fully melted.
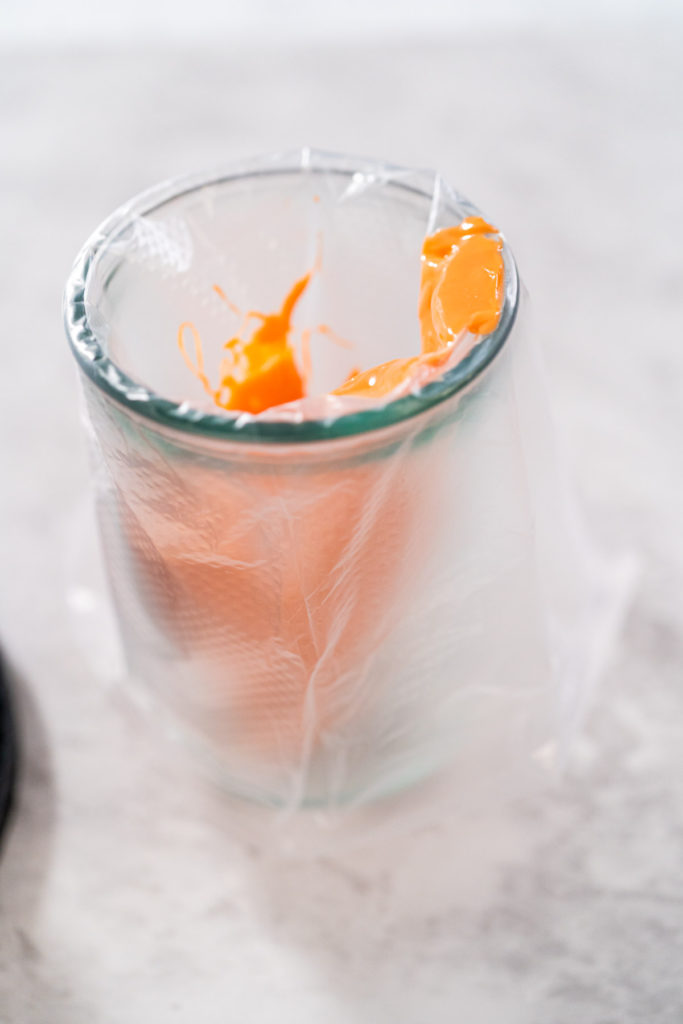
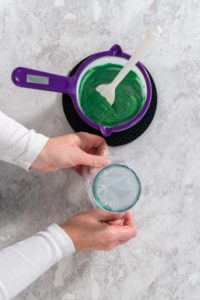
- Prepare a piping bag by placing it in a tall glass, folding the edges over the rim.
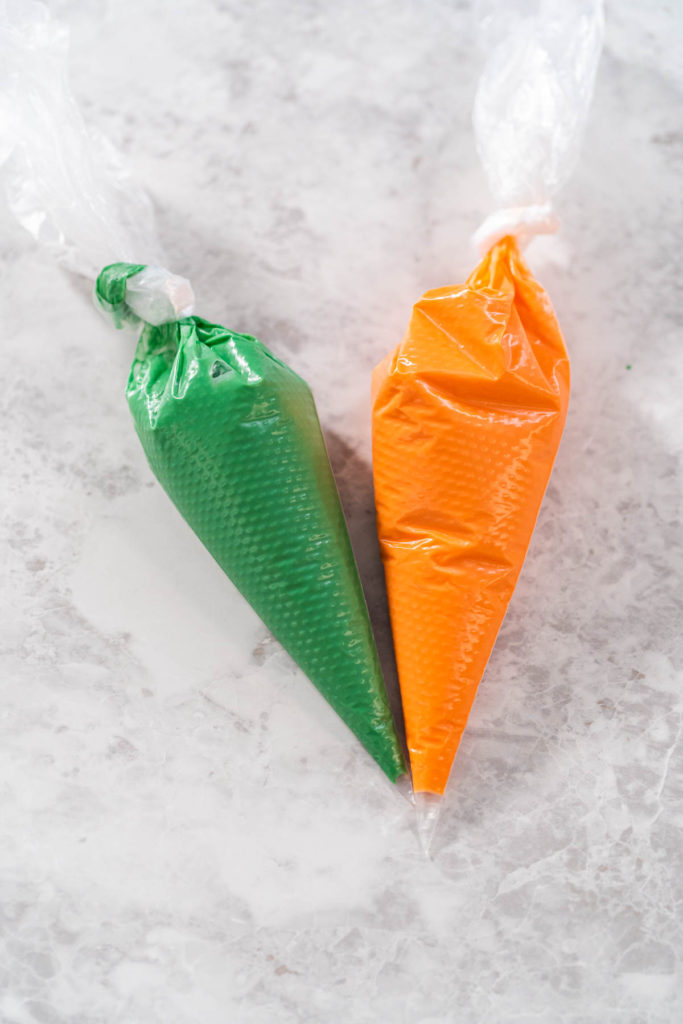
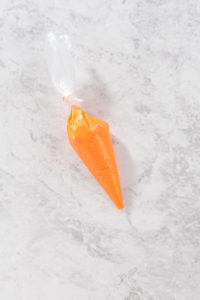
- Transfer the melted orange chocolate into the piping bag, then tie off the top and set aside.
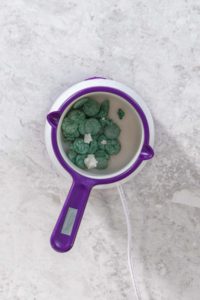
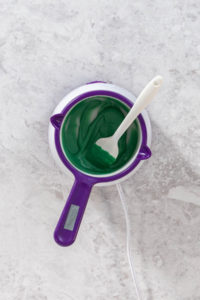
Step 3: Melt the Green Chocolate
- Add the green candy melts and ½ teaspoon coconut oil to the melting pot.
- Stir until fully melted and smooth.
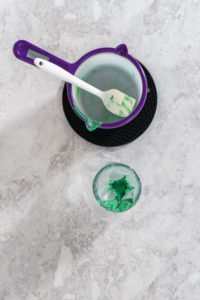
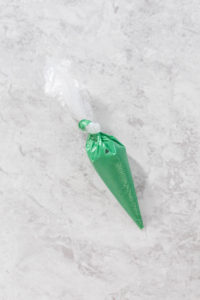
- Prepare another piping bag, transfer the green chocolate, and tie it off.
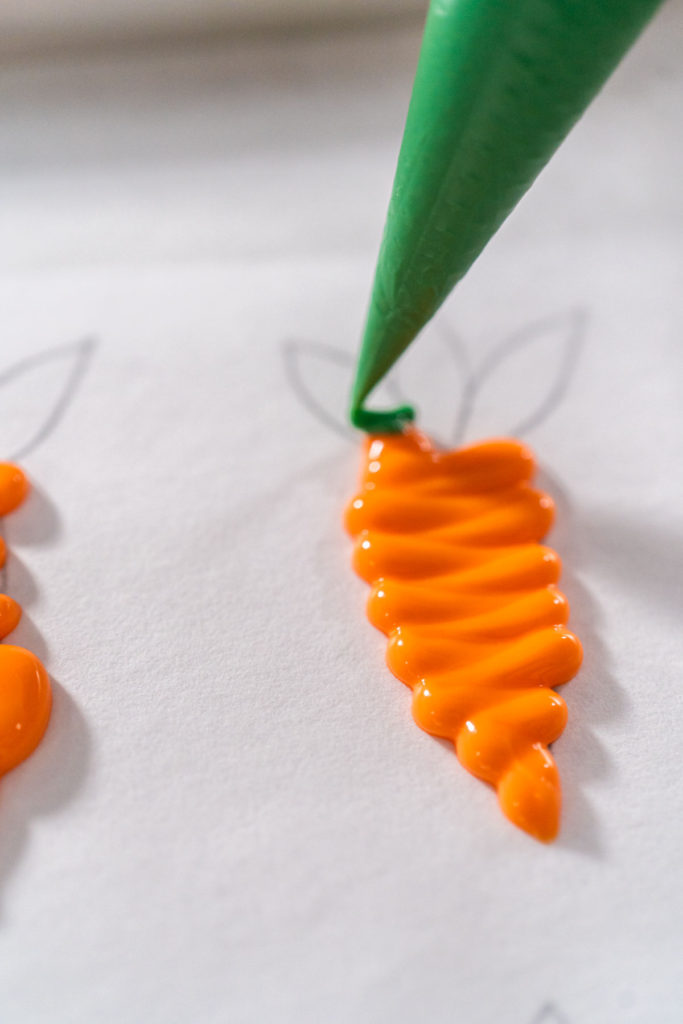
Step 4: Pipe the Carrot Shapes
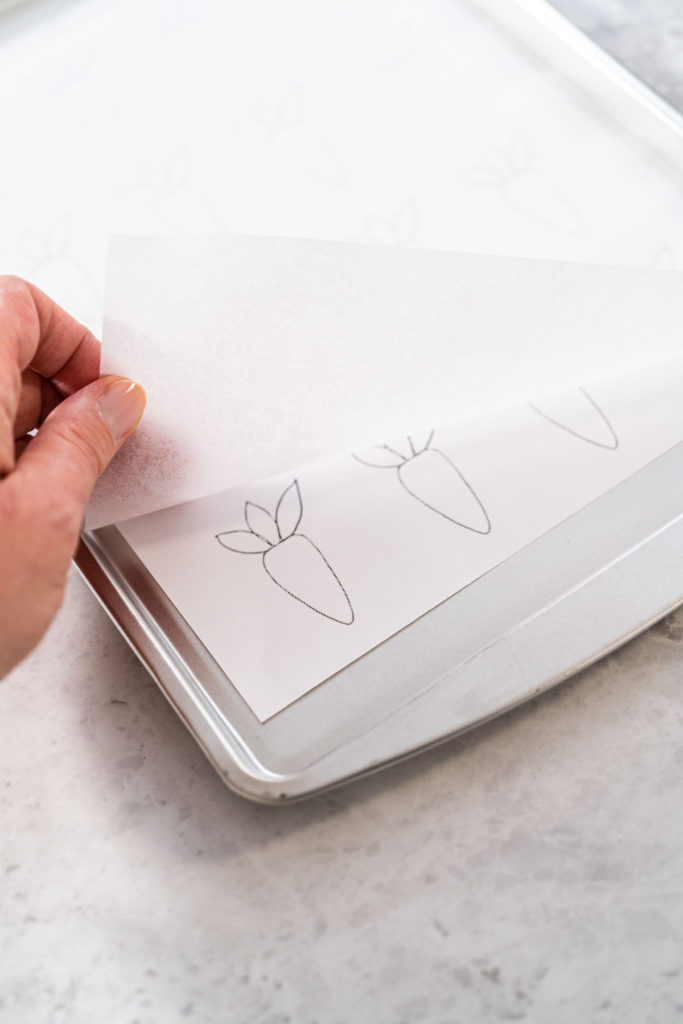
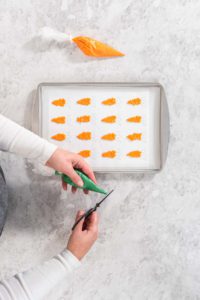
- Place a carrot template on a baking sheet and cover it with a parchment paper sheet.
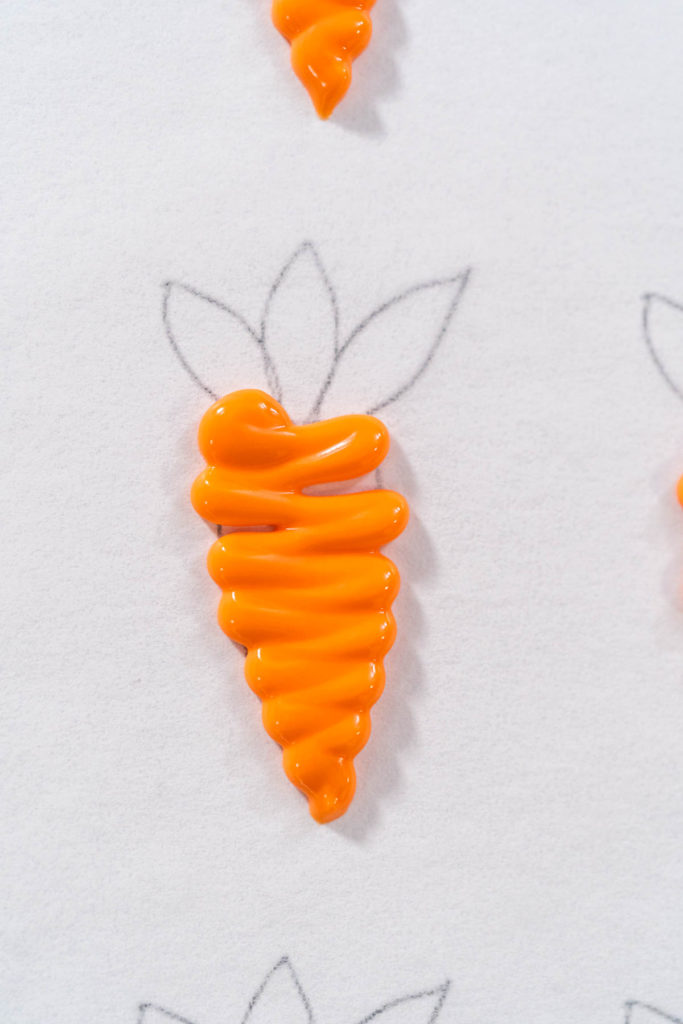
- Cut a small opening (about 2/16”) in the orange piping bag and trace the carrot shapes from the template.
- If the opening is too small, cut a bit more—just don’t cut too much or you’ll need a new bag!
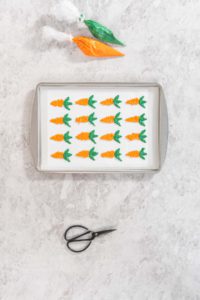
- Cut a 1/16” opening in the green piping bag and pipe the leafy carrot tops, connecting them slightly to the orange carrot bases.
Step 5: Chill & Remove the Carrots
- Transfer the baking sheet to the refrigerator and chill for 10 minutes.
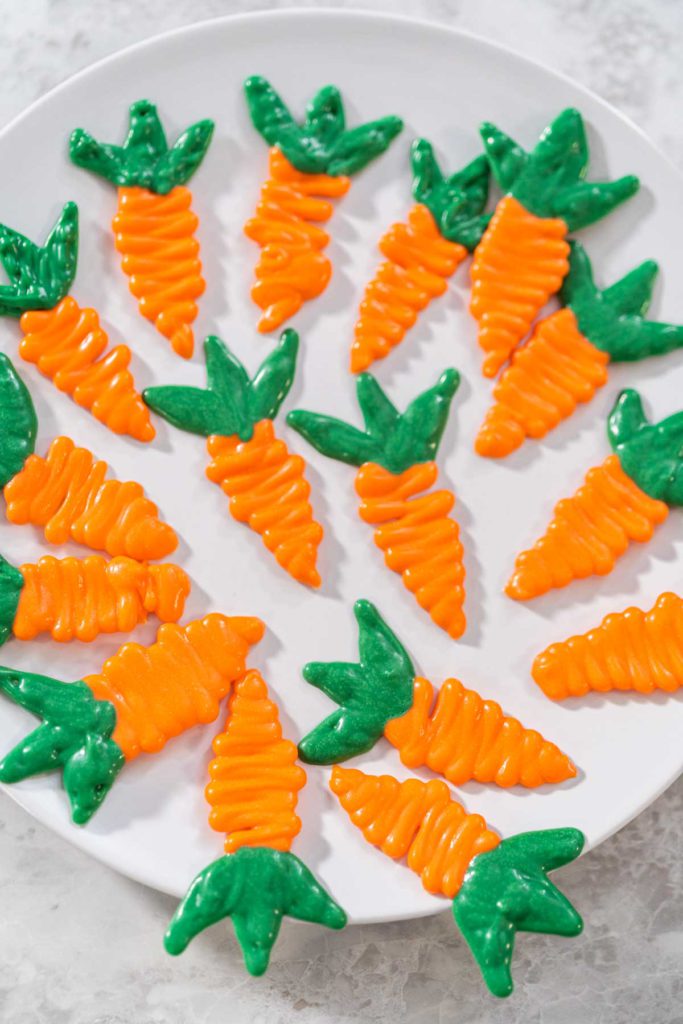
- Once set, gently peel the chocolate carrots off the parchment paper.
- Transfer to a plate or container for easy decorating access.
Latest Video
How to Store Chocolate Carrot Toppers
- Refrigeration – Store in an airtight container with parchment paper between layers for up to 2 weeks.
- Freezing – Freeze in a sealed container for up to 3 months.
- Best Practices – Avoid handling too much, as body heat can melt the delicate chocolate.
Ways to Use Chocolate Carrot Cake Toppers
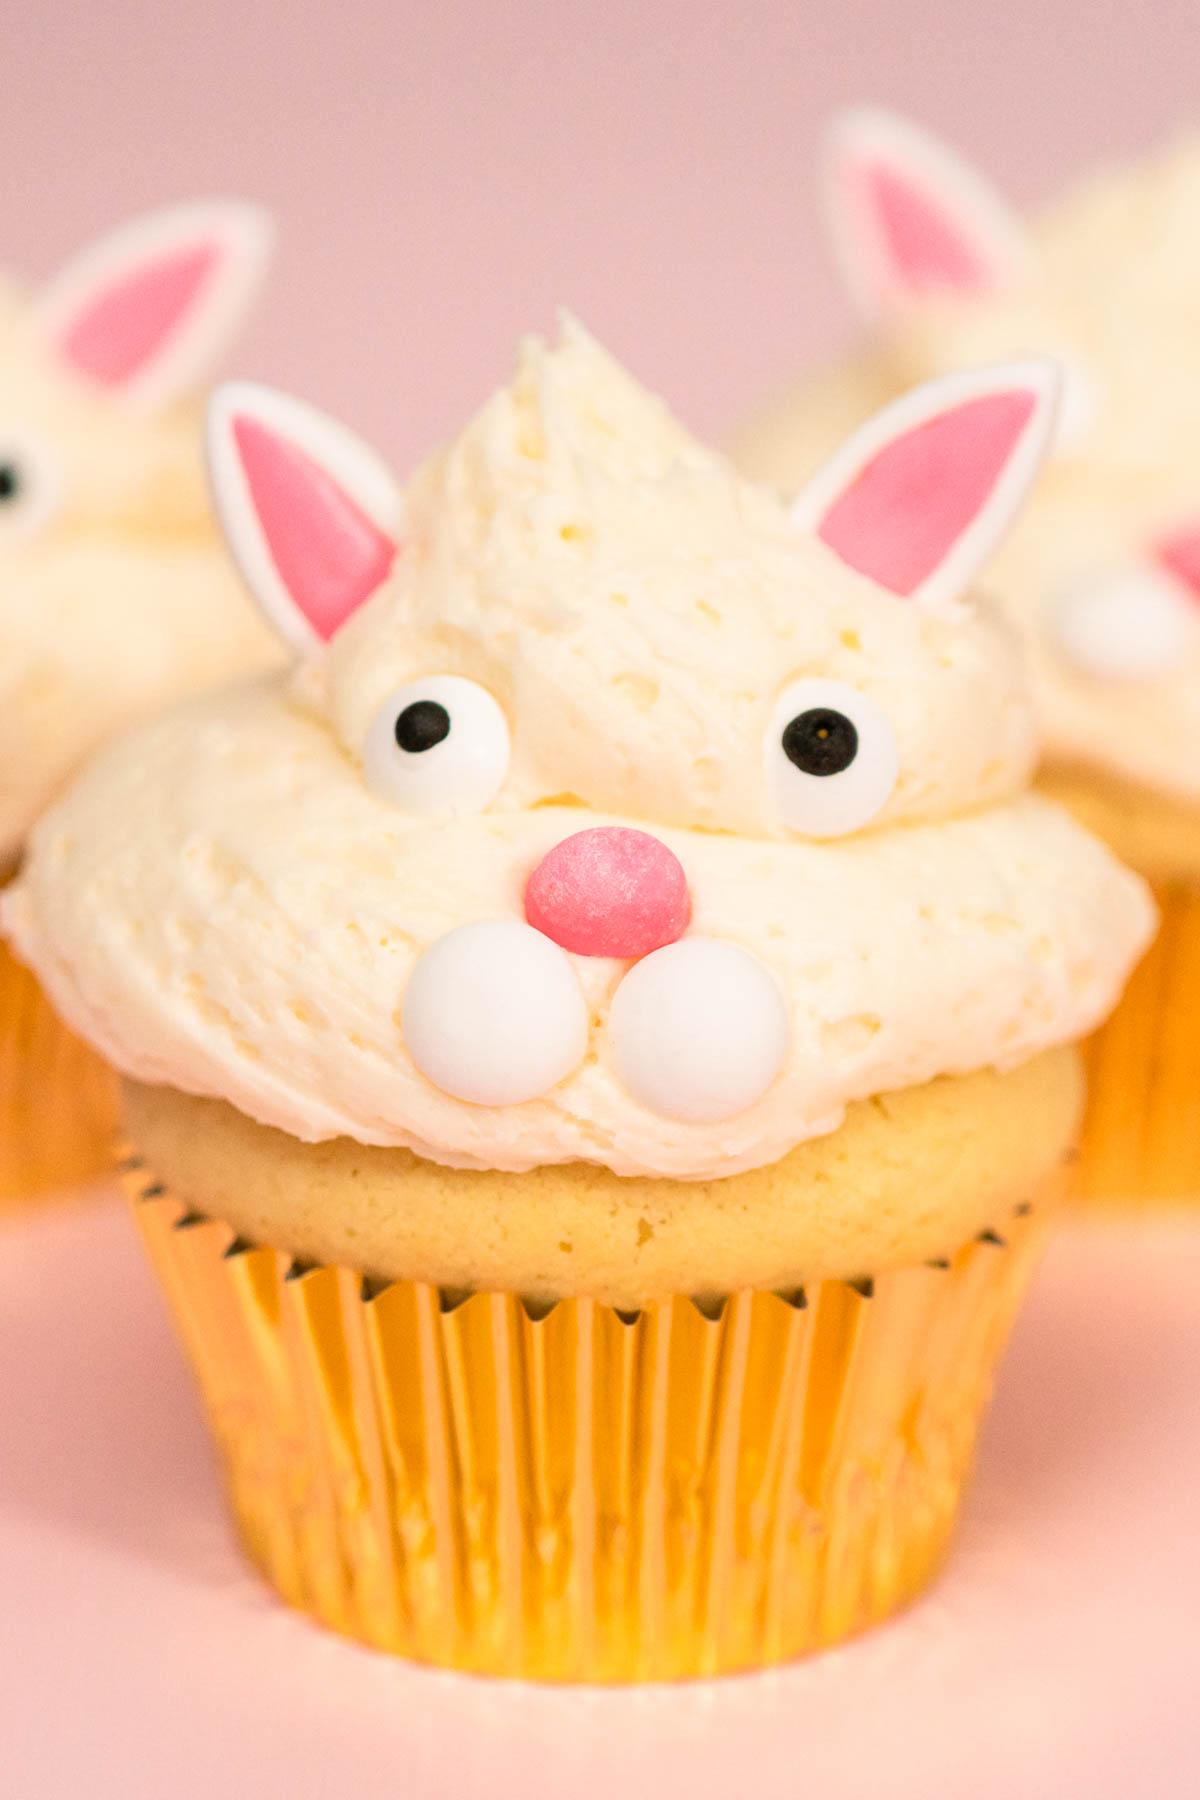
These chocolate decorations aren’t just for cakes! Try them with my Carrot Bundt Cake, add them to Easter Bunny Cupcakes, or use them as a fun topping for Easter Sugar Cookies. They also look great on my Red Velvet Cupcakes with White Chocolate Ganache Frosting and even make a playful addition to an Easter Charcuterie Board.
These chocolate decorations aren’t just for cakes! Try them with my Carrot Bundt Cake or as a topping for Easter Bunny Cupcakes for an extra festive touch.
- Cupcakes – Add to the top of carrot cupcakes for an extra festive touch.
- Cakes – Perfect for decorating Easter cakes or spring-themed desserts.
- Cookies – Press onto frosted sugar cookies for a fun decoration.
- Snack Boards – Use as part of an Easter dessert charcuterie board.

Other Easter Recipes
- Easter Bunny Cupcakes
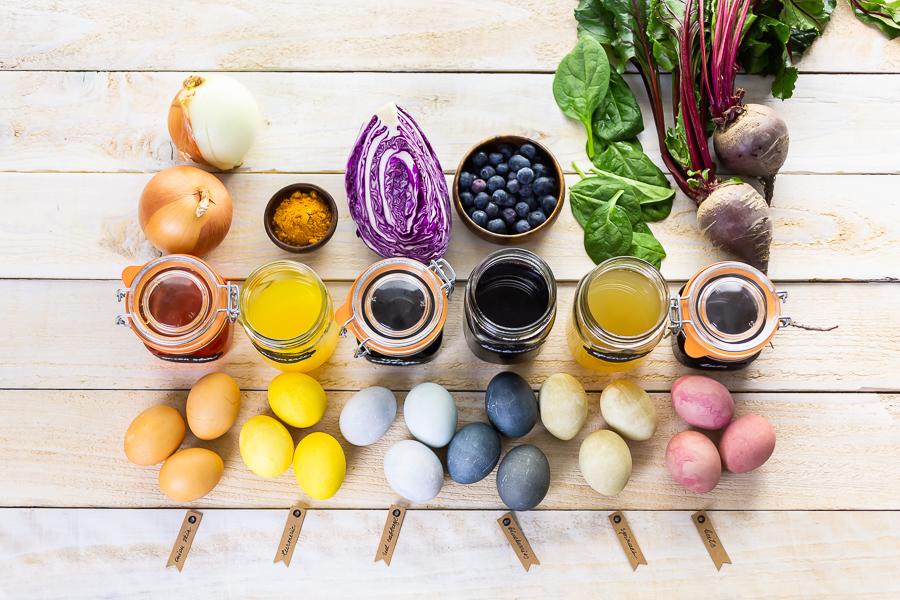
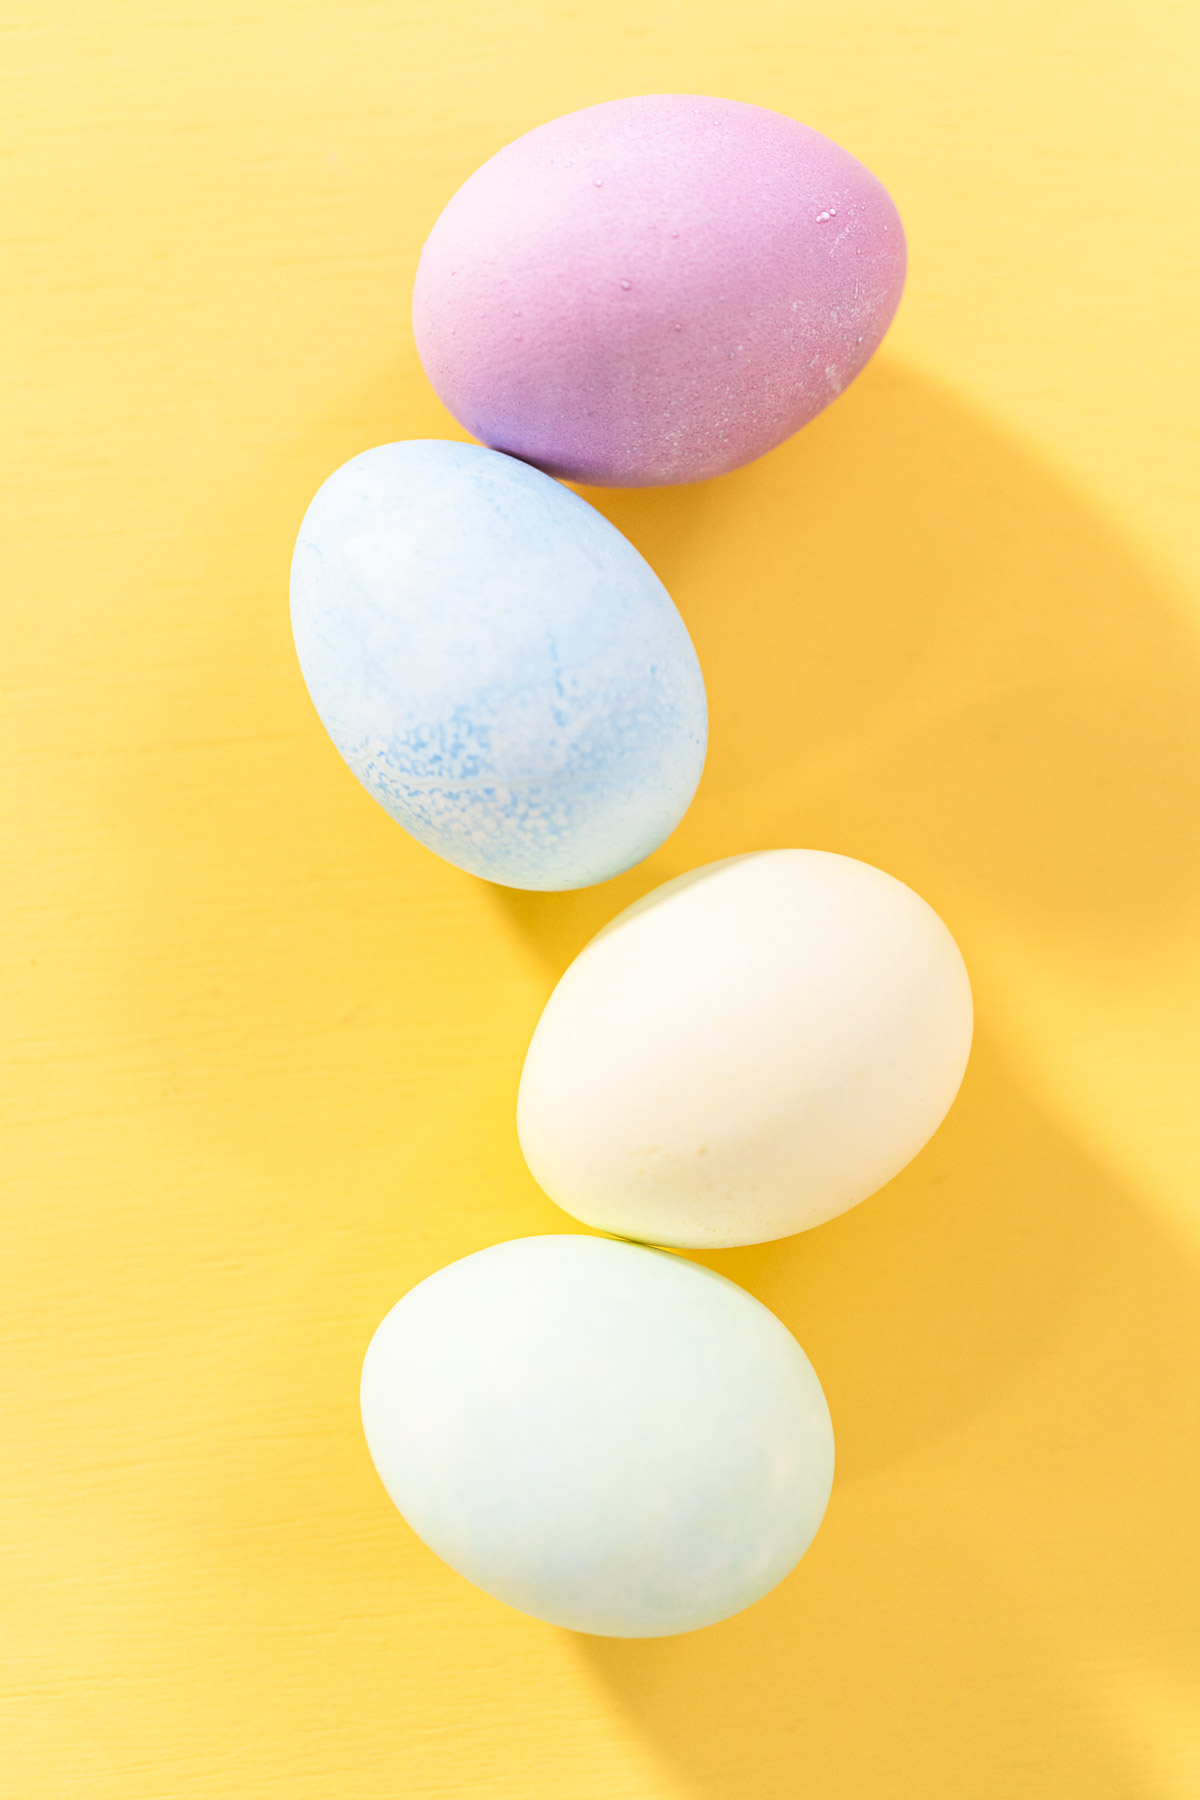
- How to Dye Easter Eggs Naturally with Vegetables and Spices
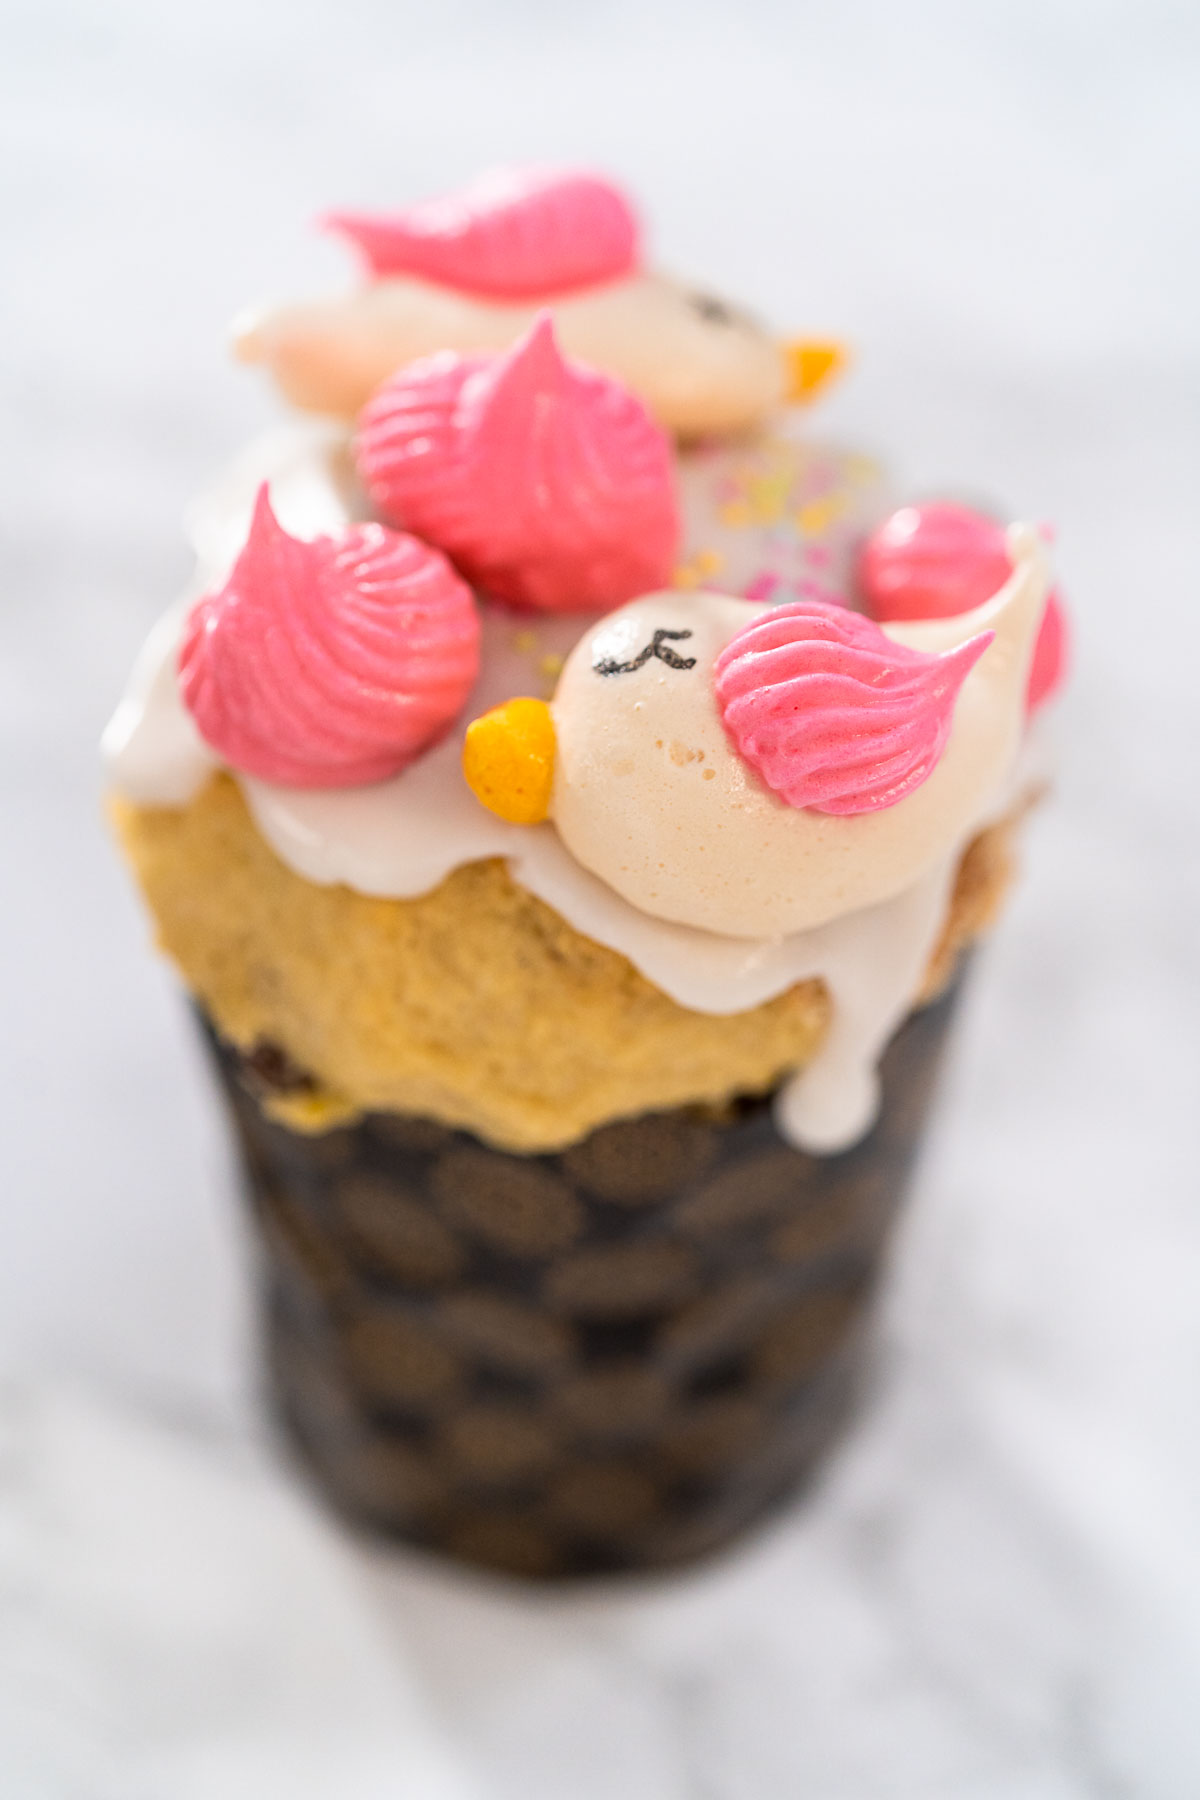
- How to Make Mini Kulich for Easter (Individual Bread Loaves)
- Italian Easter mini bread
- Traditional Italian Easter Bread Recipe – Soft, Sweet, and Perfect for Easter Brunch
- How to Dye Easter Eggs with Food Coloring (Step-by-Step Guide)
More Fun Easter Recipes
Looking for more creative Easter treats? Check out these recipes:
- Easter Bunny Cupcakes – Adorable cupcakes perfect for the holiday.
- Easter Sugar Cookies – Beautifully decorated cookies with royal icing.
- Italian Easter Bread – A soft, sweet braided bread with colored eggs.
- Gold Painted Easter Eggs – A fun way to decorate Easter eggs with edible gold.
- Easter Charcuterie Board – A creative mix of Easter-themed treats and desserts.
- Carrot Chocolate Covered Pretzels – Another fun carrot-themed treat for Easter.
- White Chocolate Ganache – Perfect for drizzling over cakes and cupcakes.
- Buttercream Frosting – Great for pairing with these chocolate toppers on cookies or cupcakes.
- Homemade Lollipops – A fun and easy homemade candy idea for Easter baskets.
- Unicorn Chocolate Cupcakes – A whimsical dessert that can be decorated with these chocolate carrots for a fun twist!
If you love festive treats, here are more recipes to try:
- Easter Bunny Cupcakes – Adorable cupcakes perfect for the holiday.
- Easter Sugar Cookies – Beautifully decorated cookies with royal icing.
- Italian Easter Bread – A soft, sweet braided bread with colored eggs.
- Gold Painted Easter Eggs – A fun way to decorate Easter eggs with edible gold.
- Easter Charcuterie Board – A creative mix of Easter-themed treats and desserts.
These chocolate carrot cake toppers are such a fun and simple way to elevate any dessert. Whether you’re making cupcakes, cakes, or cookies, they add the perfect festive touch. I love making a batch ahead of time and having them ready to go for Easter celebrations.
I hope you enjoy making these as much as I do!
Happy Easter and happy decorating! 🥕🍫
Chocolate Carrot Cake Toppers
Video
Equipment
Ingredients
- ¾ cup Orange candy melts
- ½ teaspoon coconut oil
- ¼ cup Wilton Green Candy Melts
- ½ teaspoon coconut oil
Instructions
- First, measure out the chocolate topper ingredients with the measuring cup and spoons.
- Then, add the orange candy melts and coconut oil to the candy melting pot.
- Stir and melt them together with a spatula.
- Next, place a piping bag in a tall glass with the edges of the bag rolled over the edges of the glass.
- Transfer the orange chocolate into the piping bag.
- Tie off the bag and set it aside.
- Then, pour the green candy melts and coconut oil in the melting pot.
- Stir while melting them together.
- Prepare a separate piping bag in the tall glass.
- Scoop the green chocolate into the piping bag.
- Tie off the bag.
- Next, place the carrot template in a baking sheet and place a flat sheet of parchment paper over the template.

- Cut 2/16” from the tip of the orange bag and trace the carrot shapes of the template onto the parchment with the melted orange chocolate.If you need a bigger opening, cut off a little bit more of the bag. If you cut off too much then you’ll have to transfer the melted chocolate to a new bag though.

- Then, cut 1/16” from the tip of the green bag. Use the green chocolate to trace over the leafy green part of the carrot template, just touching the orange carrot part.
- Transfer the chocolates to the refrigerator to chill for 10 minutes.
- After chilling, remove the chocolates from the fridge and gently peel the chocolate carrots off the parchment paper.

- Finally, transfer the chocolates to a plate for easy cake-decorating access.

Notes
Nutrition
Food Photography & Video Tips from My Studio
Here’s a peek at the tools, gear, and camera setups I use to film my recipe videos and photograph food at home. Over the years, I’ve tested dozens of different setups, and now I’m sharing what actually works for me—whether I’m filming overhead shots for YouTube or styling still photos for my blog. If you’re curious about how I create the content you see here, these posts are a great place to start.

What is in my toolbox?

3 ways camera setup for Tasty-style video recipes

Best camera for cooking videos


Leave a Reply