
Chocolate Carrot Cake Toppers
Servings: 24 Carrots
Calories: 22kcal
Ingredients
- ¾ cup Orange candy melts
- ½ teaspoon coconut oil
- ¼ cup Wilton Green Candy Melts
- ½ teaspoon coconut oil
Instructions
- First, measure out the chocolate topper ingredients with the measuring cup and spoons.

- Then, add the orange candy melts and coconut oil to the candy melting pot.
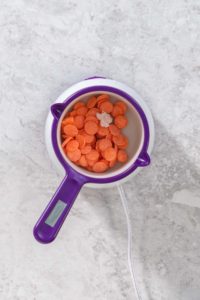
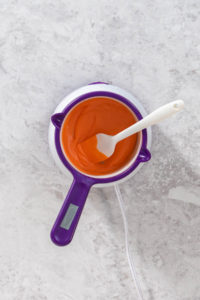
- Stir and melt them together with a spatula.
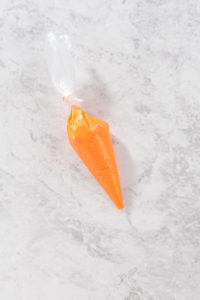
- Next, place a piping bag in a tall glass with the edges of the bag rolled over the edges of the glass.
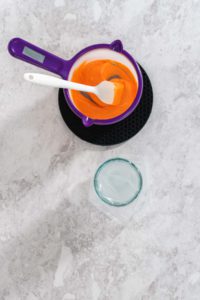
- Transfer the orange chocolate into the piping bag.
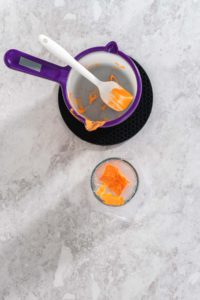
- Tie off the bag and set it aside.
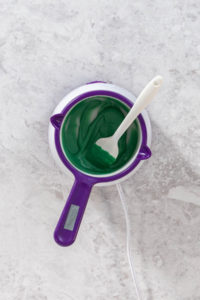
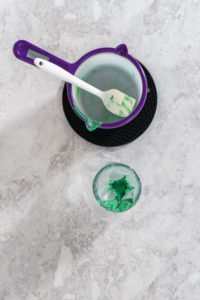
- Then, pour the green candy melts and coconut oil in the melting pot.
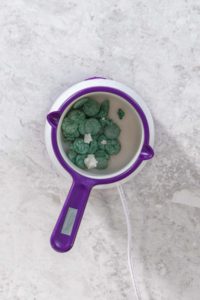
- Stir while melting them together.
- Prepare a separate piping bag in the tall glass.
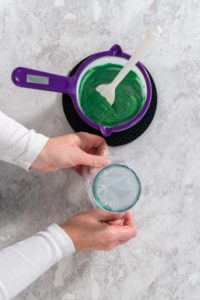
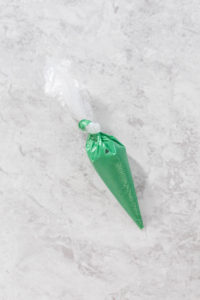
- Scoop the green chocolate into the piping bag.
- Tie off the bag.
- Next, place the carrot template in a baking sheet and place a flat sheet of parchment paper over the template.

- Cut 2/16” from the tip of the orange bag and trace the carrot shapes of the template onto the parchment with the melted orange chocolate.If you need a bigger opening, cut off a little bit more of the bag. If you cut off too much then you’ll have to transfer the melted chocolate to a new bag though.

- Then, cut 1/16” from the tip of the green bag. Use the green chocolate to trace over the leafy green part of the carrot template, just touching the orange carrot part.

- Transfer the chocolates to the refrigerator to chill for 10 minutes.

- After chilling, remove the chocolates from the fridge and gently peel the chocolate carrots off the parchment paper.

- Finally, transfer the chocolates to a plate for easy cake-decorating access.

Notes
Storing Homemade Chocolates
To store homemade chocolate carrots: transfer the hardened chocolates to an airtight container. Separate the layers with parchment paper to keep them from breaking or sticking together. Label the date on the outside of the container to keep up with freshness. Store them either in the fridge for 2 weeks or in the freezer for up to 3 months.
Nutrition
Calories: 22kcal | Carbohydrates: 3g | Fat: 1g | Saturated Fat: 1g | Polyunsaturated Fat: 0.003g | Monounsaturated Fat: 0.01g | Sodium: 4mg | Sugar: 3g | Calcium: 0.002mg