|
This post contains affiliate links.
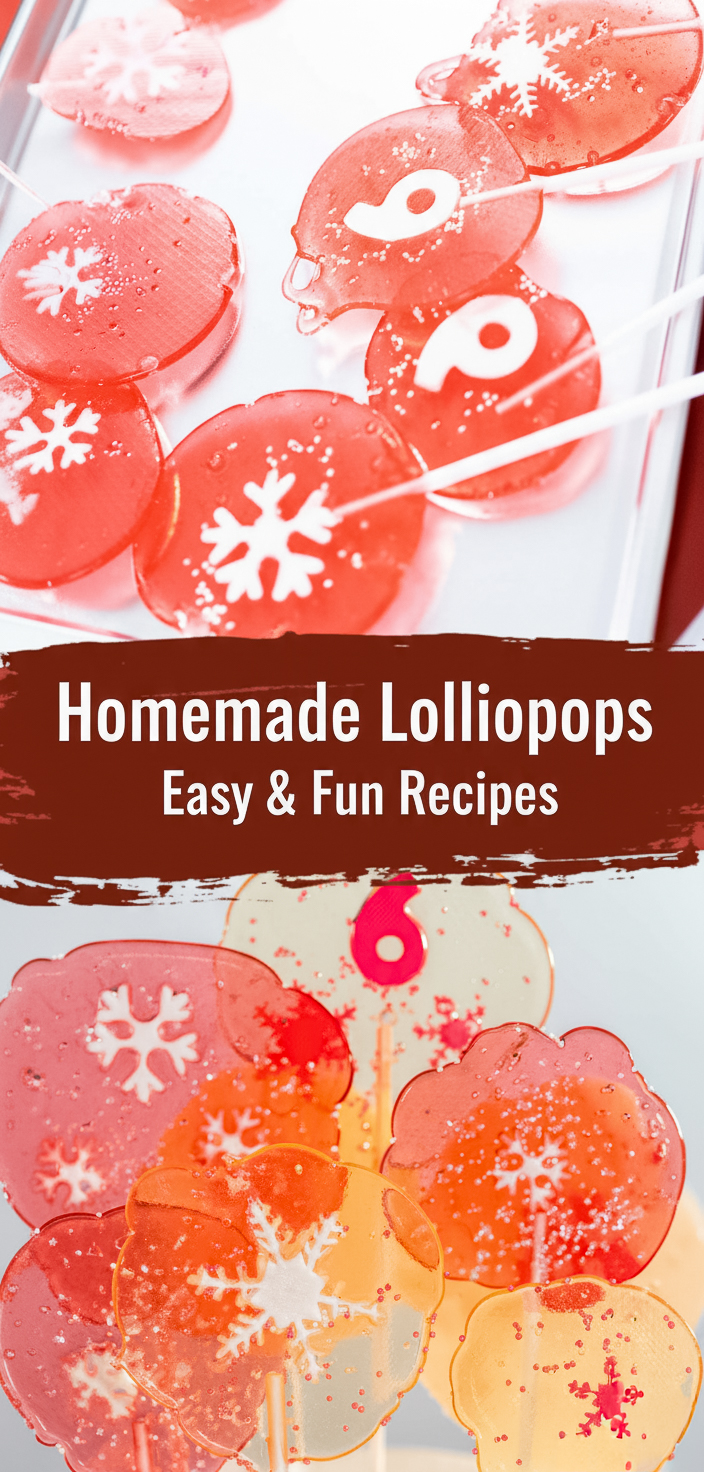
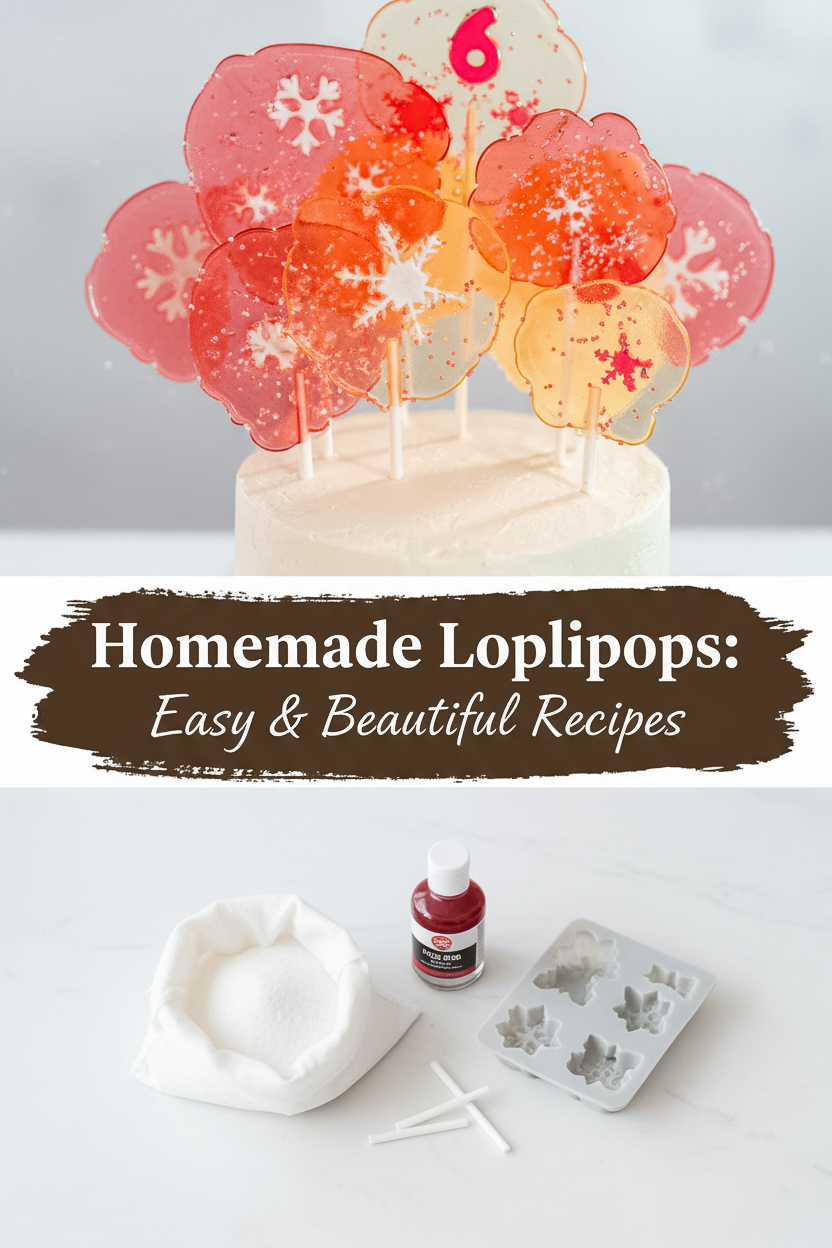
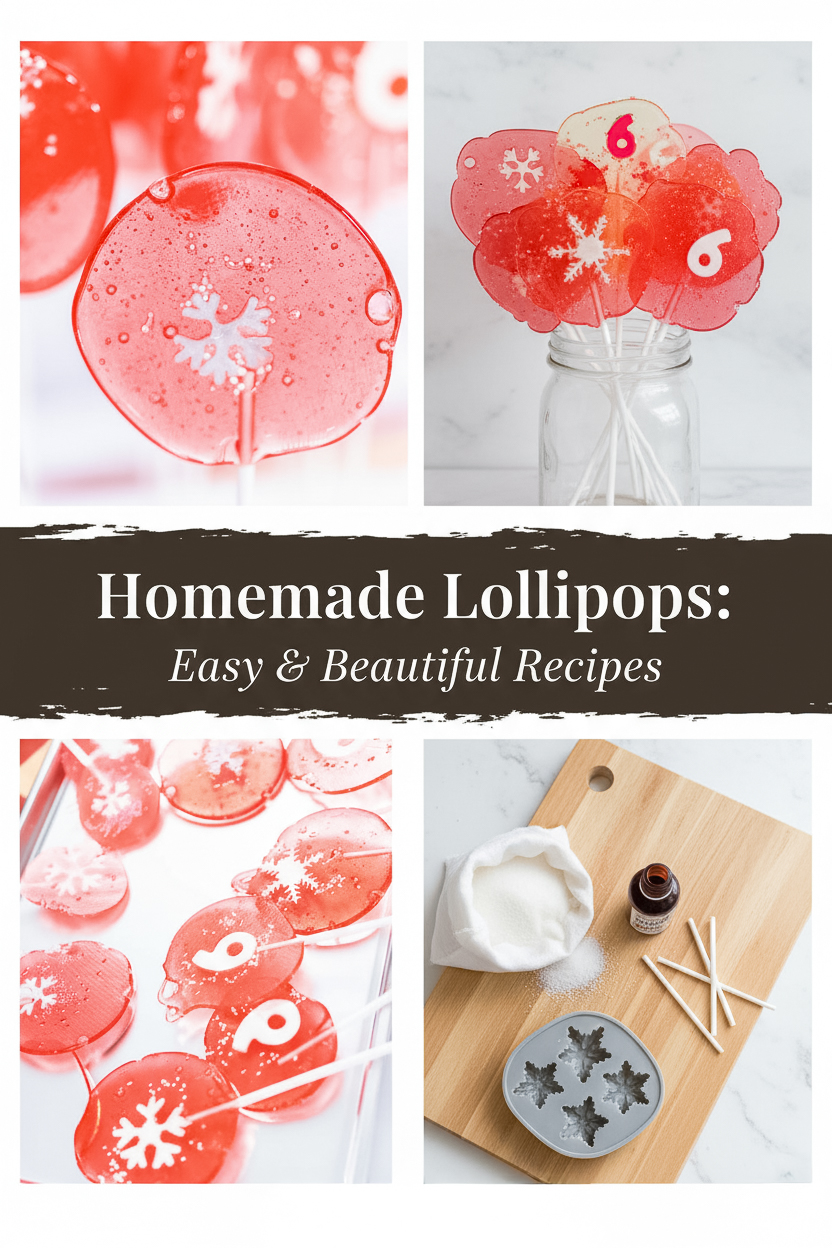
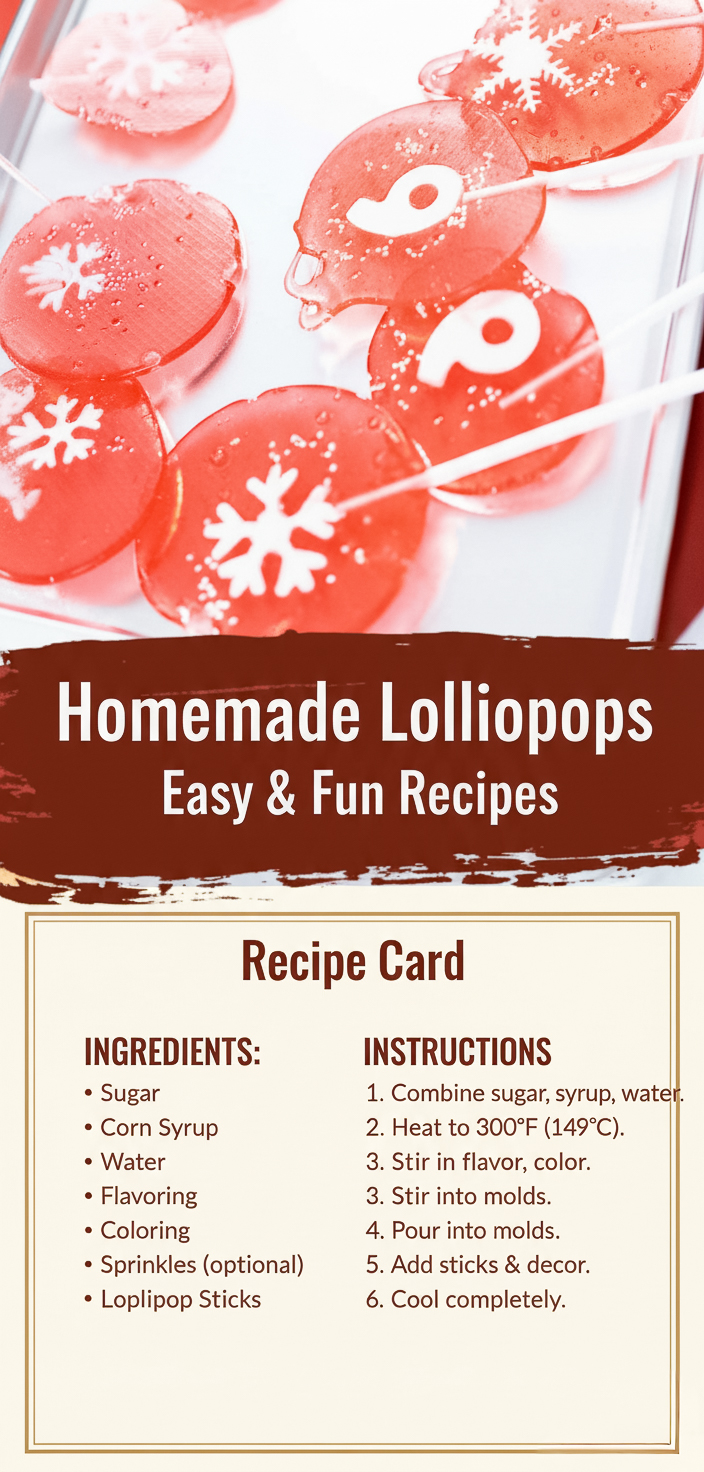
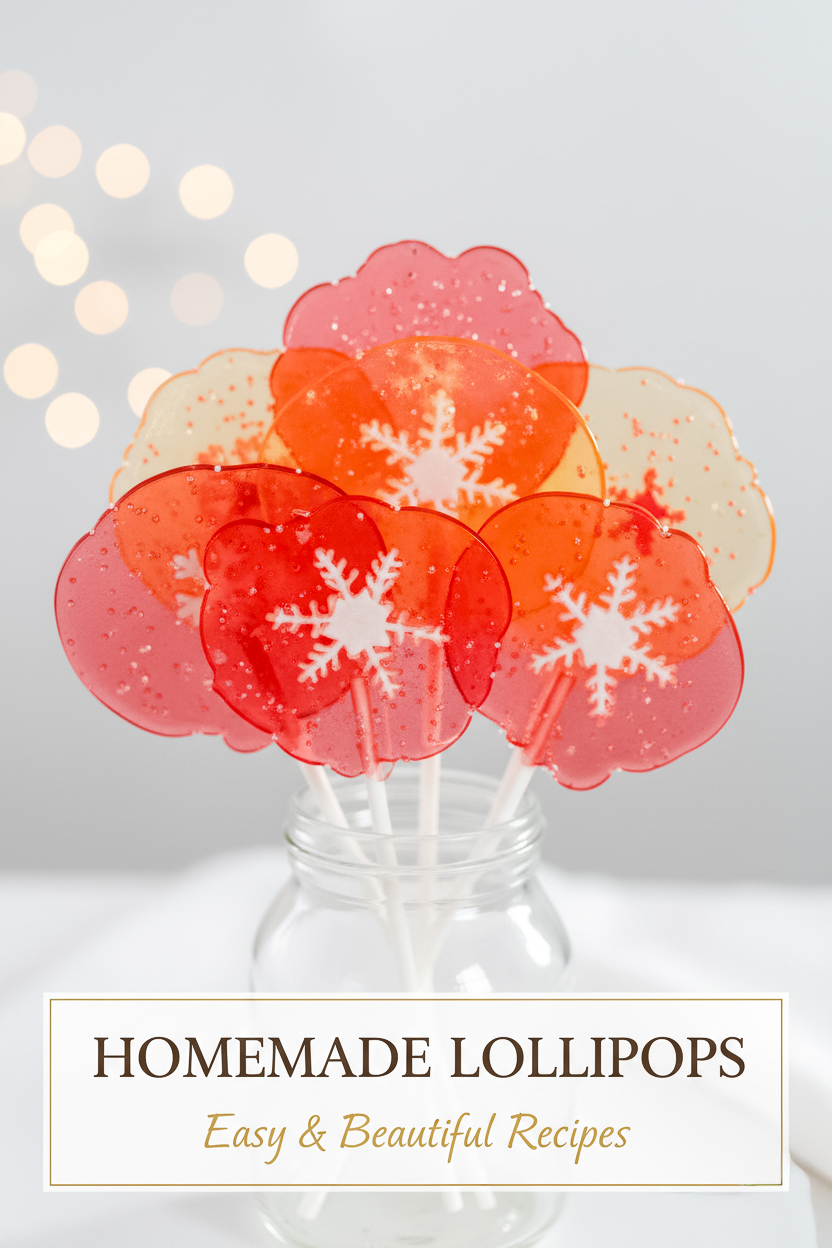
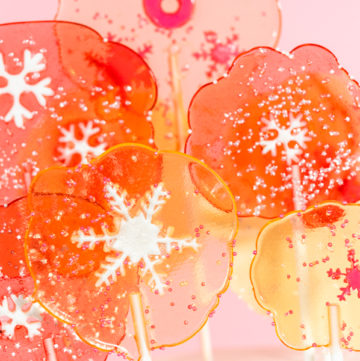
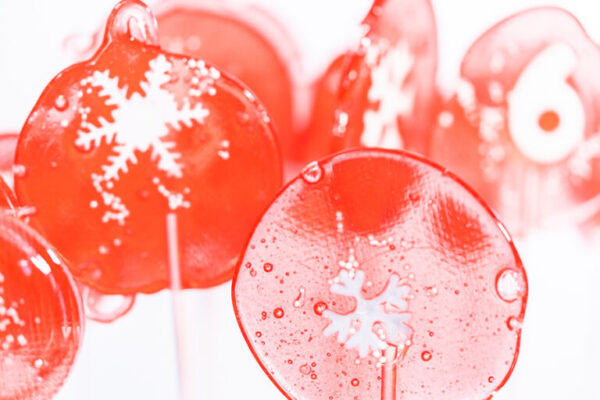
There’s something truly magical about making homemade lollipops from scratch—it’s one of those recipes that instantly makes me feel like a kid again. I still remember the first time I made them for my daughter’s winter-themed birthday cake. She loves everything pink, sparkly, and whimsical, so I wanted to make something as special as she is. I spent an entire afternoon experimenting with colors, flavors, and decorations until I got it just right.
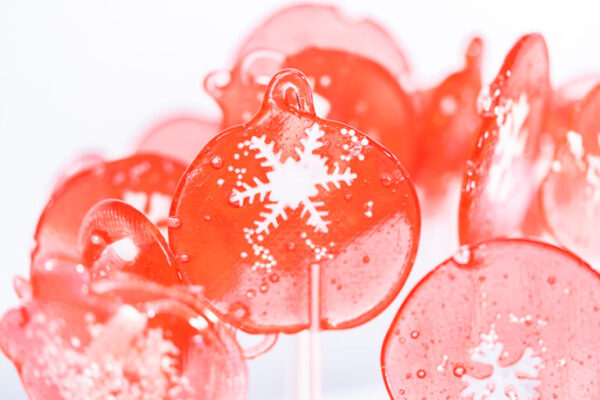
A few sticky messes later, I finally perfected the method—and these gorgeous crystal-clear lollipops became one of my go-to edible decorations for parties and holidays! Whenever I make them now, I also like to pull out a few of my favorite recipes like Chocolate Ginger Sugar Cookies or Peppermint Fudge from my blog to serve alongside. They look so beautiful together on a dessert table and remind me of cozy baking days in my kitchen.
Why You’ll Love This Recipe
This recipe is not only fun but also surprisingly therapeutic! Watching sugar turn into shiny glass-like candy feels like kitchen magic. You’ll love this recipe because:
- It’s customizable — play with flavors, colors, and shapes to fit any celebration.
- The lollipops make beautiful edible gifts or party favors.
- You can add your personal flair with decorations like fondant shapes, sprinkles, or edible glitter.
- They’re great for kids’ parties and perfect for adding sparkle to cakes and cupcakes.
If you enjoy creative candy-making, check out my Candy Cane Fudge or Homemade Mini Chocolate Bars—they’re equally fun to customize!
Tools That Make It Easier
These are the tools that make all the difference when making perfect, shiny lollipops:
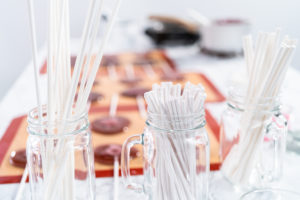
- Lollipop Sticks (6, 8, or 12 inches): I like mixing sizes—it adds variety and makes the presentation more fun. The shorter sticks work perfectly for cupcake toppers, and the longer ones make gorgeous centerpiece candies for cakes or gift bags.
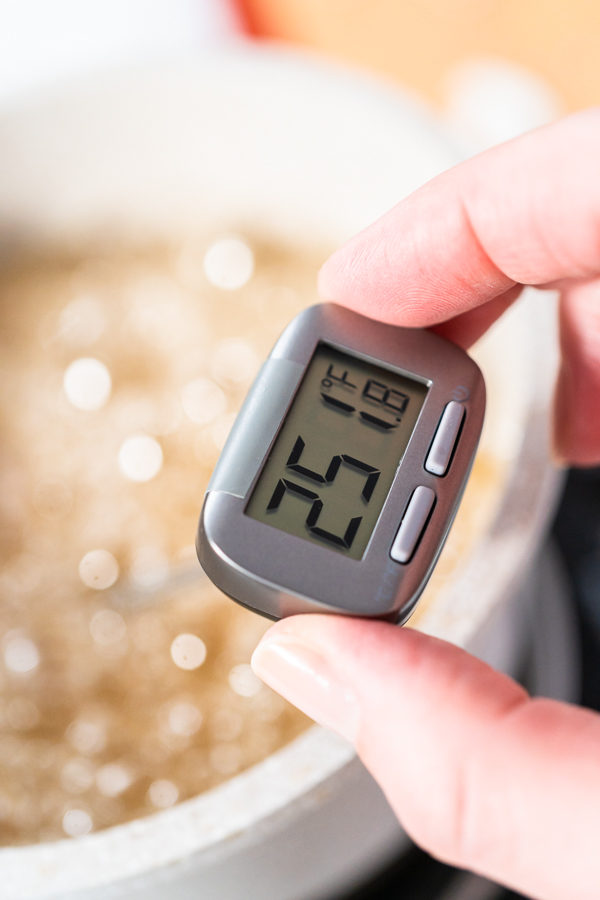
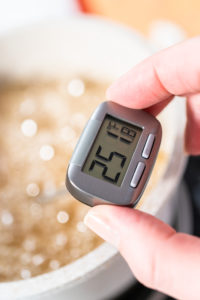
- Candy Thermometer: This tool is non-negotiable. Sugar can go from perfect to burnt in seconds. Hitting 300°F is key for that beautiful glassy snap, so I always clip mine securely to the pan and keep a close eye.
- Silicone Mats: Forget parchment—these are lifesavers! They hold up to the heat, and the lollipops pop right off once cooled. Plus, they’re reusable.
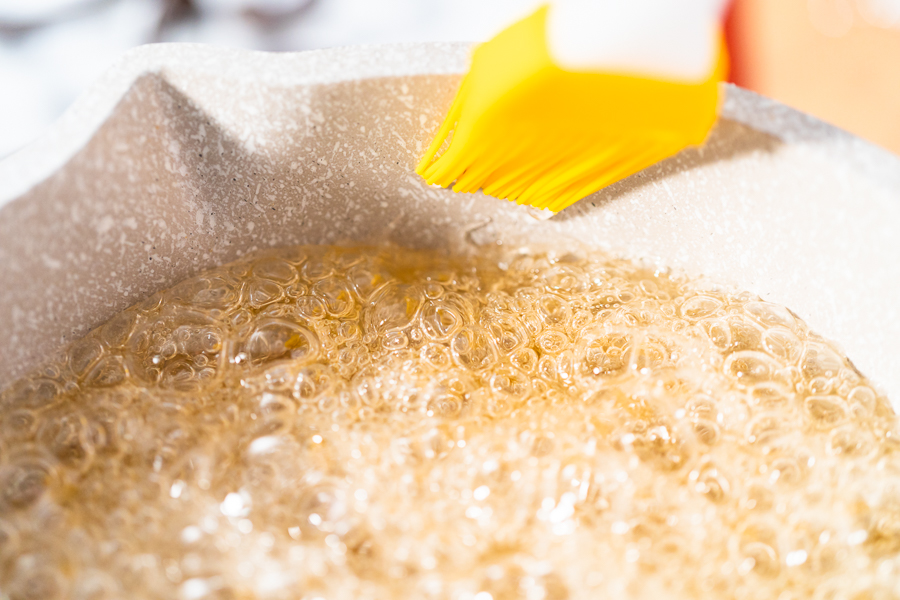
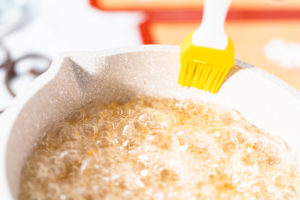
- Silicone Pastry Brush: I keep a small cup of warm water nearby to dip the brush in and wipe the sugar crystals off the sides of the saucepan. This keeps the candy crystal-clear.
- Saucepan with Pouring Lip: Trust me, you’ll thank yourself later. I learned the hard way that pouring from a regular pan gets messy fast. The pouring lip gives you control, and that’s everything when working with hot sugar.
- Snowflake Cookie Cutters: These are my favorite for creating fondant decorations, especially for winter cakes. You can swap them for hearts or stars depending on your theme.
If you love this kind of edible decorating, try my Chocolate Mermaid Tails or Homemade Star-Shaped Chocolates—they make beautiful toppers, too.
What You’ll Need From Your Pantry
For the Lollipops:
- 3 cups sugar
- ¾ cup water
- ½ cup corn syrup
- 2 teaspoon lemon extract (or your favorite flavor)
- 1 teaspoon vanilla extract
For Garnish:
Personal Tip: Always have your fondant decorations ready before you start the candy syrup. Once the syrup hits 300°F, you’ll have seconds to pour before it starts setting. I learned that the hard way during my first batch—it cools fast!
Before You Start: My Quick Tip
- Always work in batches of three. It’s much easier to manage and decorate before the candy sets.
- Use extracts with a clear base to keep your lollipops transparent. Dark extracts like almond can make the candy cloudy.
- Avoid humid days—moisture can make your lollipops sticky.
- Have patience. Candy-making is equal parts timing and temperature. If something doesn’t turn out, take notes and tweak next time.
Latest Video
Let’s Make It Together
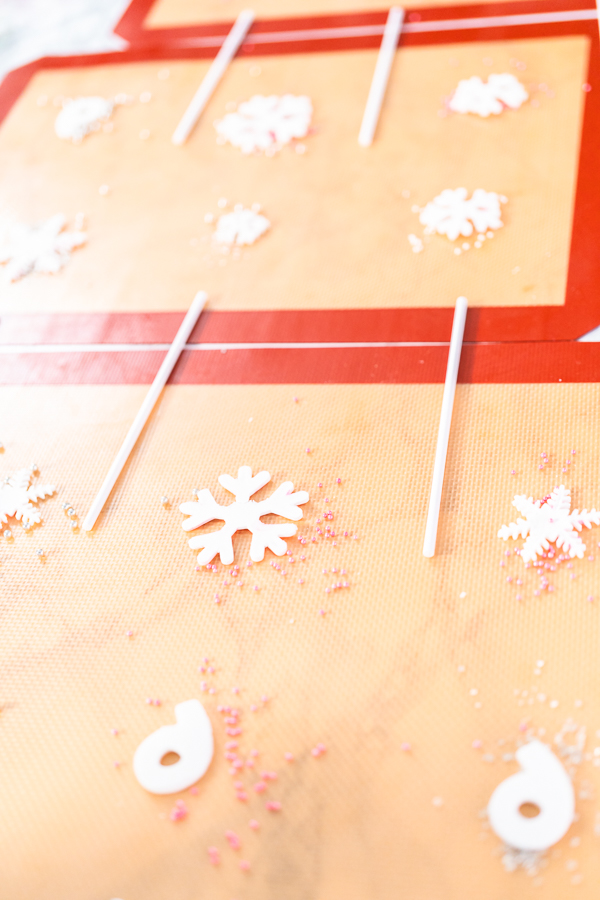
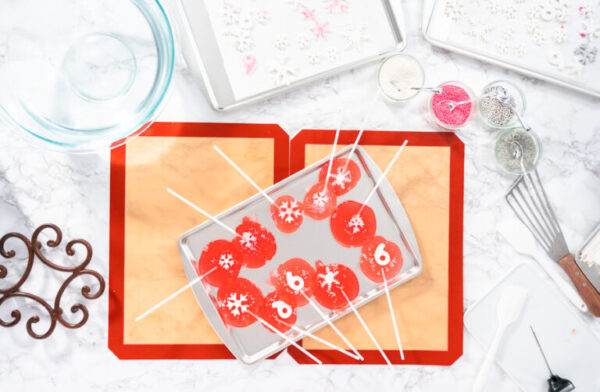
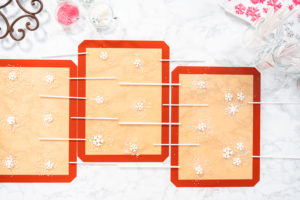
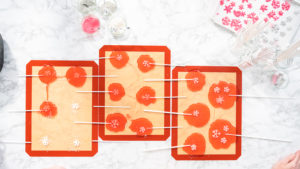
- Lay out three large silicone mats on a flat surface and arrange the lollipop sticks on top.
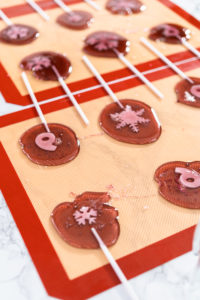
- Place the fondant snowflake decorations face-down near the top of each stick.
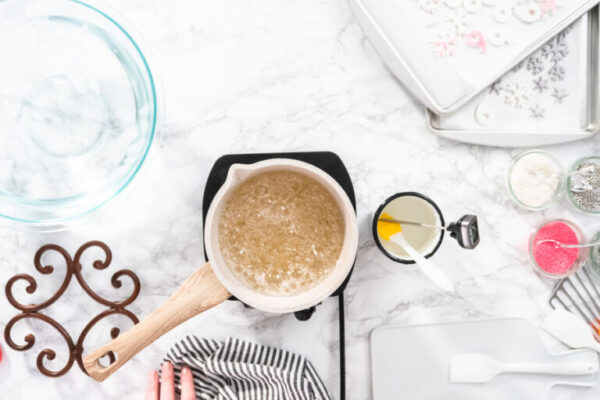
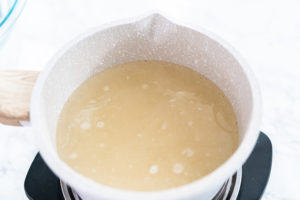
- Combine sugar, water, and corn syrup in a saucepan over medium heat. Stir gently until the mixture comes to a boil.
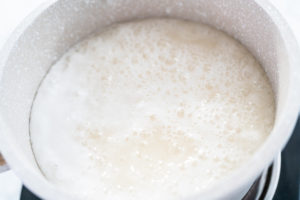
- Once boiling, stop stirring completely. Let it cook until it reaches 300°F (hard crack stage).
- Remove from heat and dip the bottom of the pan in cool water for about 30 seconds to stop the cooking process.
- Stir in your chosen extracts and a few drops of food coloring.
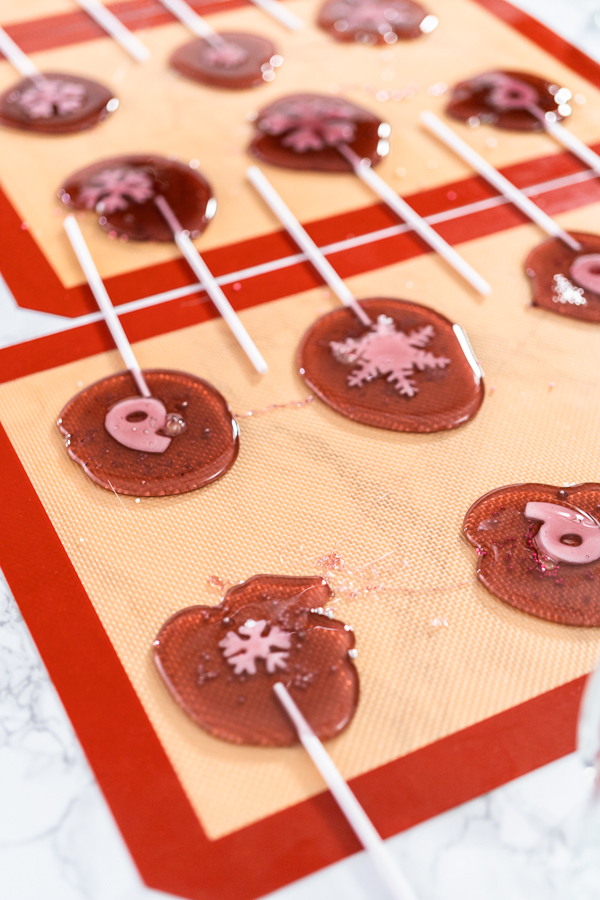
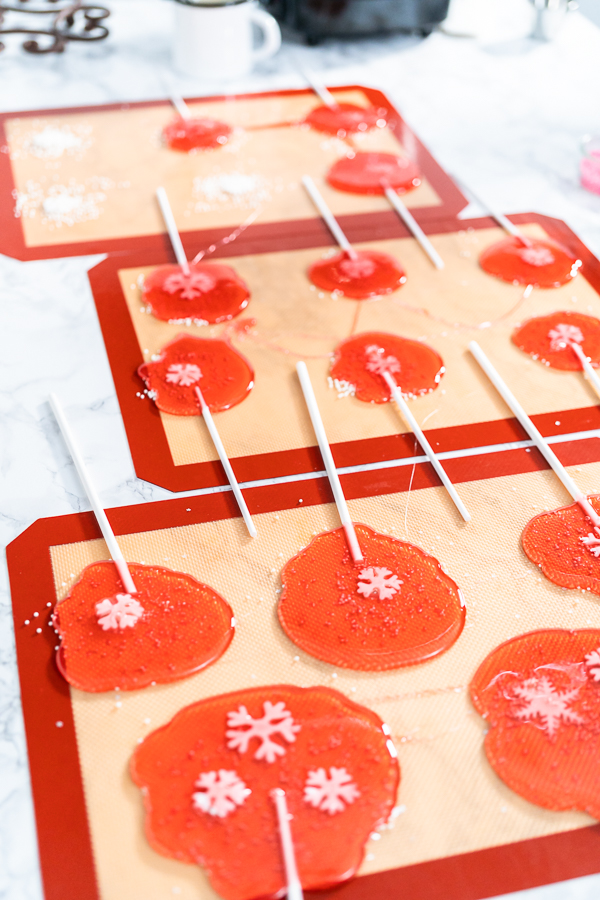
- Quickly pour the candy mixture over the fondant and sticks. I always pour three at a time so I can decorate them before they set.
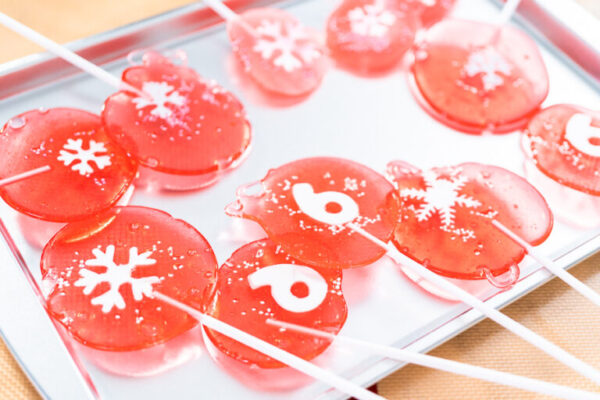
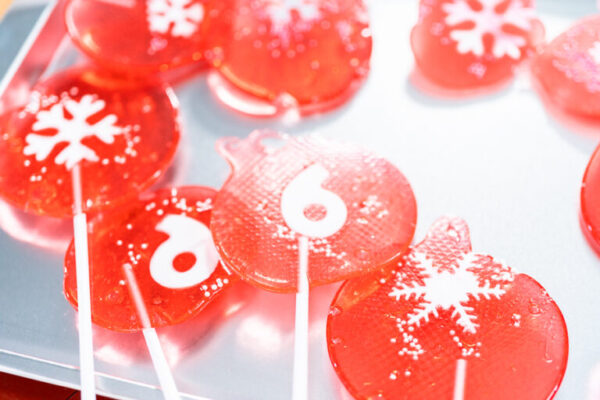
- Sprinkle with sugar pearls or glitter stars while still hot.
- Let them cool for about 20 minutes before lifting them off the mat.
My Tip: Don’t reheat the syrup if it starts hardening—it’ll turn cloudy. Just start a new small batch. I keep everything prepped and ready to move fast!
Decorating and Variations
Making these lollipops is like painting with sugar. Here are some of my favorite twists:
- Swap lemon for raspberry, strawberry, or coconut extract.
- Use colored fondant for different holidays—think red and green for Christmas or pink and gold for Valentine’s Day.
- Mix two colors in the pot for a marble effect.
- Press in edible flowers or sprinkles for a whimsical look.
If you enjoy candy artistry, you’ll probably love my Mini Mermaid Chocolate Bars or Sugared Cranberries—they’re equally fun and stunning to make.
Storage Tips
Once cooled, I wrap each lollipop in a clear bag and tie it with ribbon—it makes them look so professional and gift-ready! Store them in an airtight container with wax paper layers in between. Keep them in a cool, dry place (no fridge needed) for up to 12 months.
Personal Tip: I like to make extra and use them as edible décor for my Winter Funfetti Cake with Lollipops. They instantly turn any dessert table into a showstopper.
Here are a few other fun homemade treats from my blog that pair perfectly with these lollipops:
- Winter-Themed Funfetti Cake with Lollipops – the cake that started my obsession with edible sparkle!
- Homemade Mini Chocolate Bars – great for party favors or gift boxes.
- Sugared Cranberries and Rosemary – stunning for winter dessert tables.
- Toasted Coconut Flakes – perfect for tropical or summer parties.
- Chocolate Hearts and Lips – lovely for Valentine’s Day treats.
Homemade Lollipops
Equipment
Ingredients
- 3 Cups Sugar
- ¾ Cup Water
- ½ Cup Corn Syrup
- 2 teaspoon Lemon Extract or another flavoring
- 1 teaspoon Vanilla Extract
Instructions
- Start by laying out 3 large silicone mats on a flat surface.
- Arrange the lollipop sticks on the mats, then place the snowflake fondant decorations face-down above the sticks (either individually or in small clusters). Leave space between each setup so your lollipops don’t touch once poured.
- In a medium saucepan, combine the sugar, water, and corn syrup over medium heat.
- Gently stir with a silicone spatula until the mixture comes to a boil—avoid splashing it up the sides of the pan.
- Once boiling, stop stirring completely. Use a silicone brush dipped in warm water to carefully clean any crystals forming along the sides of the pan.
- Clip on a candy thermometer and cook the syrup until it reaches 300°F. Remove from heat and briefly set the bottom of the pan in a tub of room-temperature water for about 30 seconds.
- Stir in your chosen flavor extract and food coloring.
- Carefully pour the hot candy mixture over the fondant decorations and lollipop sticks to form the lollipops. Work in batches of 3, moving to the next group right away.
- Quickly top each freshly poured lollipop with sugar pearls or edible glitter stars (if desired), and twist each stick slightly to coat it fully in the candy.
- Repeat until all candy is used, still working 3 at a time.
- Let the lollipops cool and harden at room temperature for about 20 minutes before enjoying!
Notes
In my test batches, I experimented with a few methods and found the best approach for perfect-looking lollipops. Initially, I poured the candy first and added decorations afterward—but that didn’t work well. The mixture cooled too quickly, making it impossible to place decorations in time. Instead, putting the fondant decorations face-down on the mats before pouring the candy worked beautifully. This way, everything is positioned and ready, and you won’t have to rush as the candy cools. If the mixture starts to thicken and is hard to pour, don’t try reheating it—it’ll turn cloudy and lose that beautiful shine. It’s better to stop and start a fresh batch. Having your decorations prepped and ready makes all the difference for smooth, picture-perfect results!
From My Kitchen to Yours
More Christmas Recipes
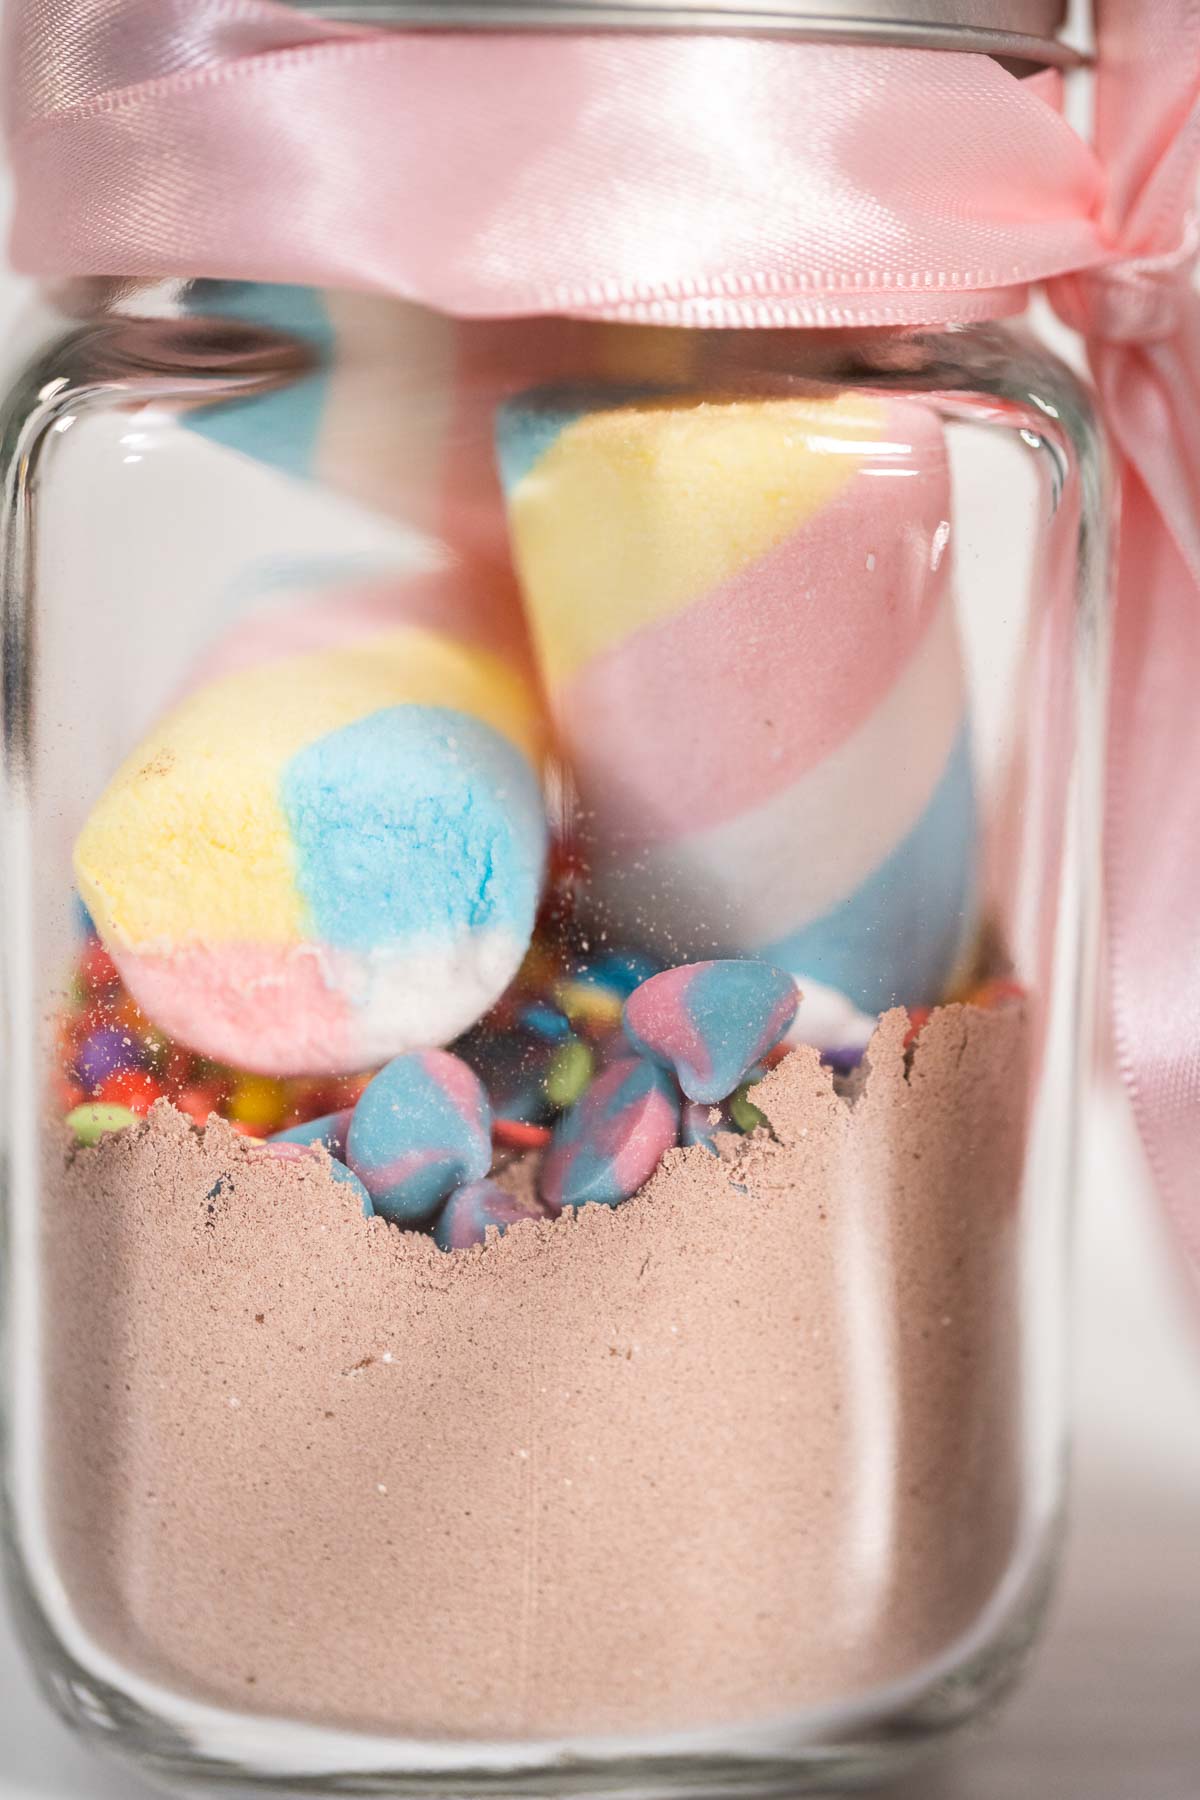
- Unicorn Hot Chocolate Mix
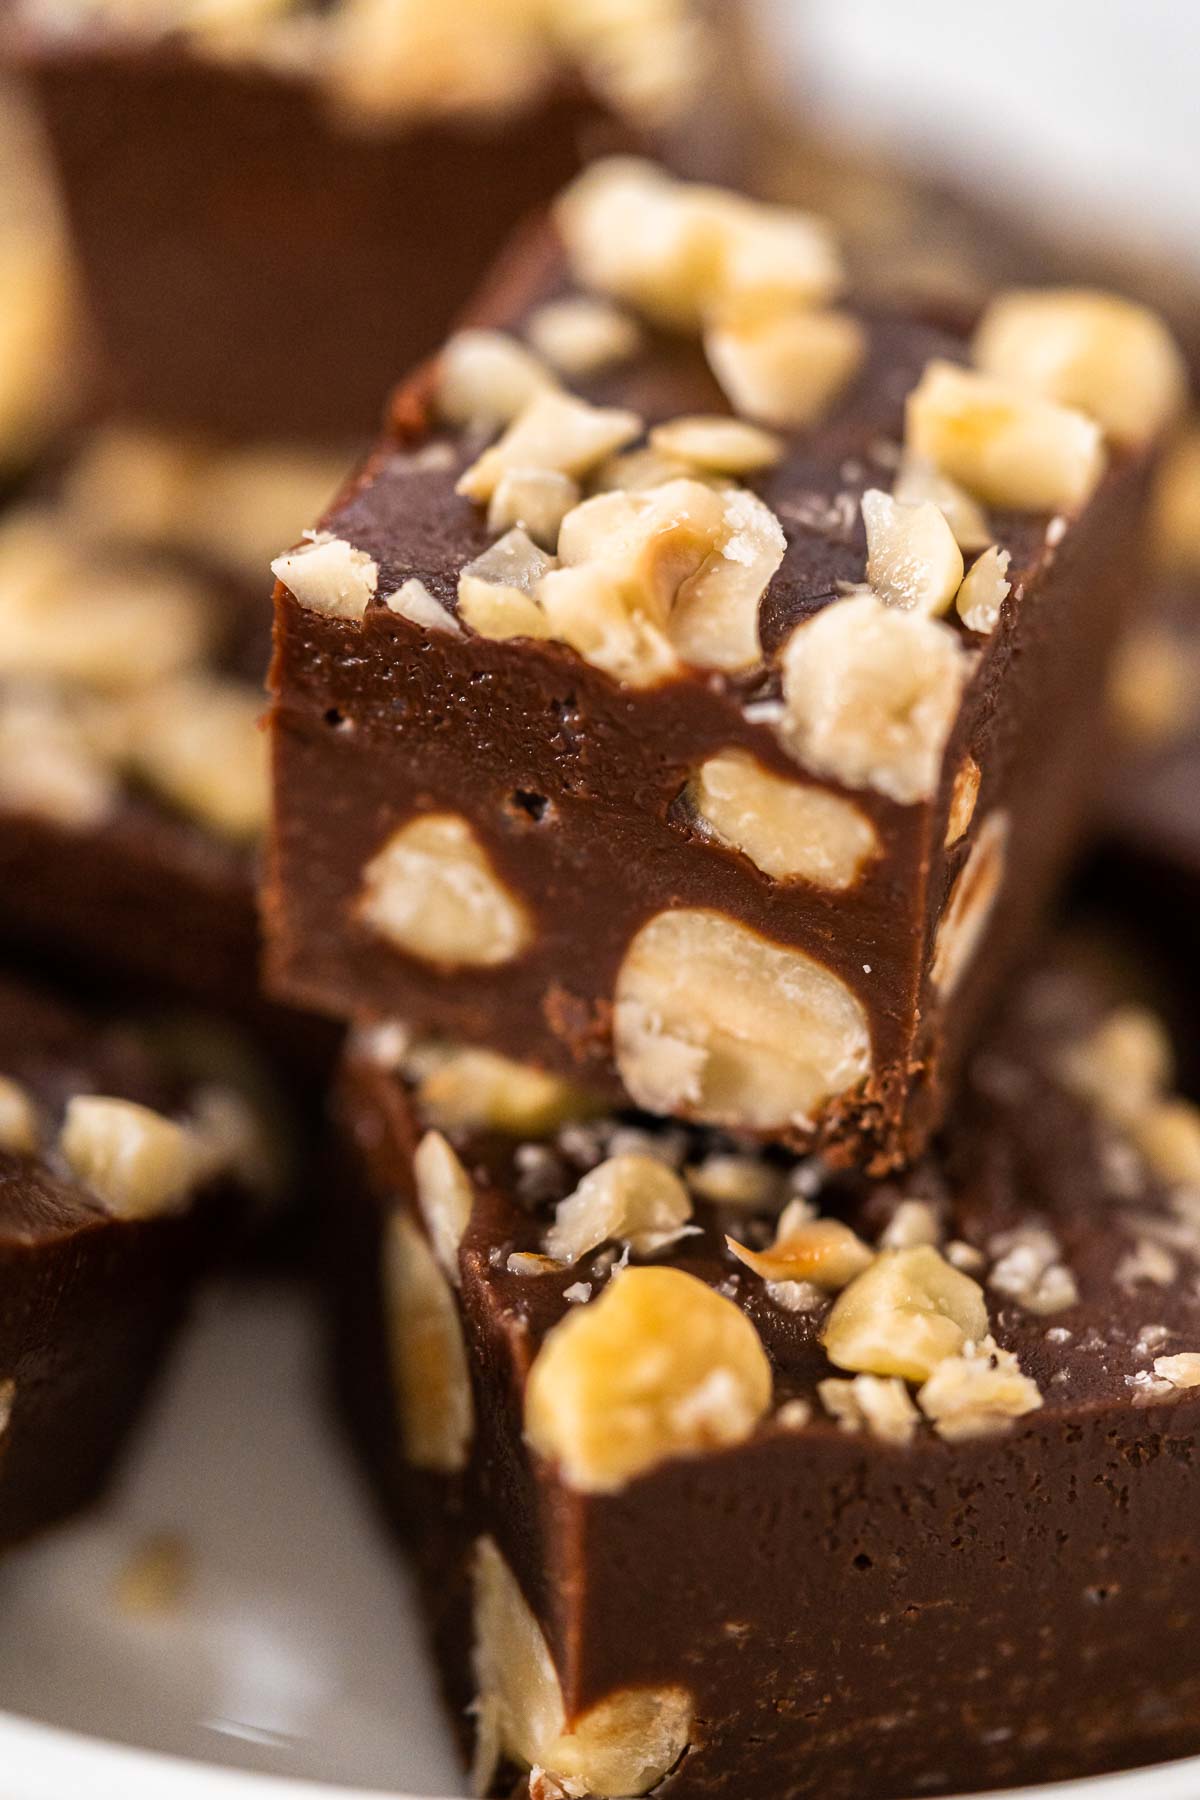
- Chocolate Hazelnut Fudge – Rich, Creamy, and Nutty
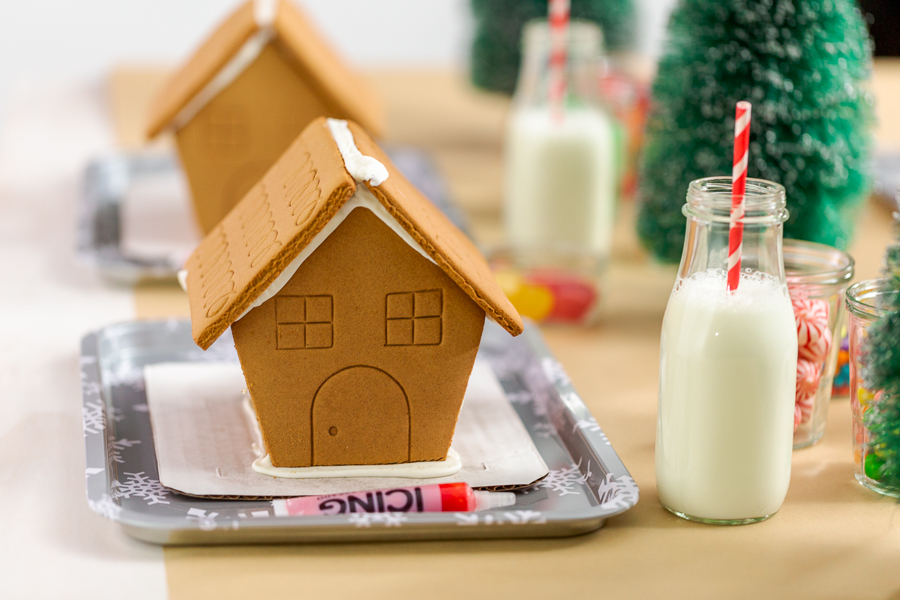
- How to Host a Gingerbread House Decorating Party at Home
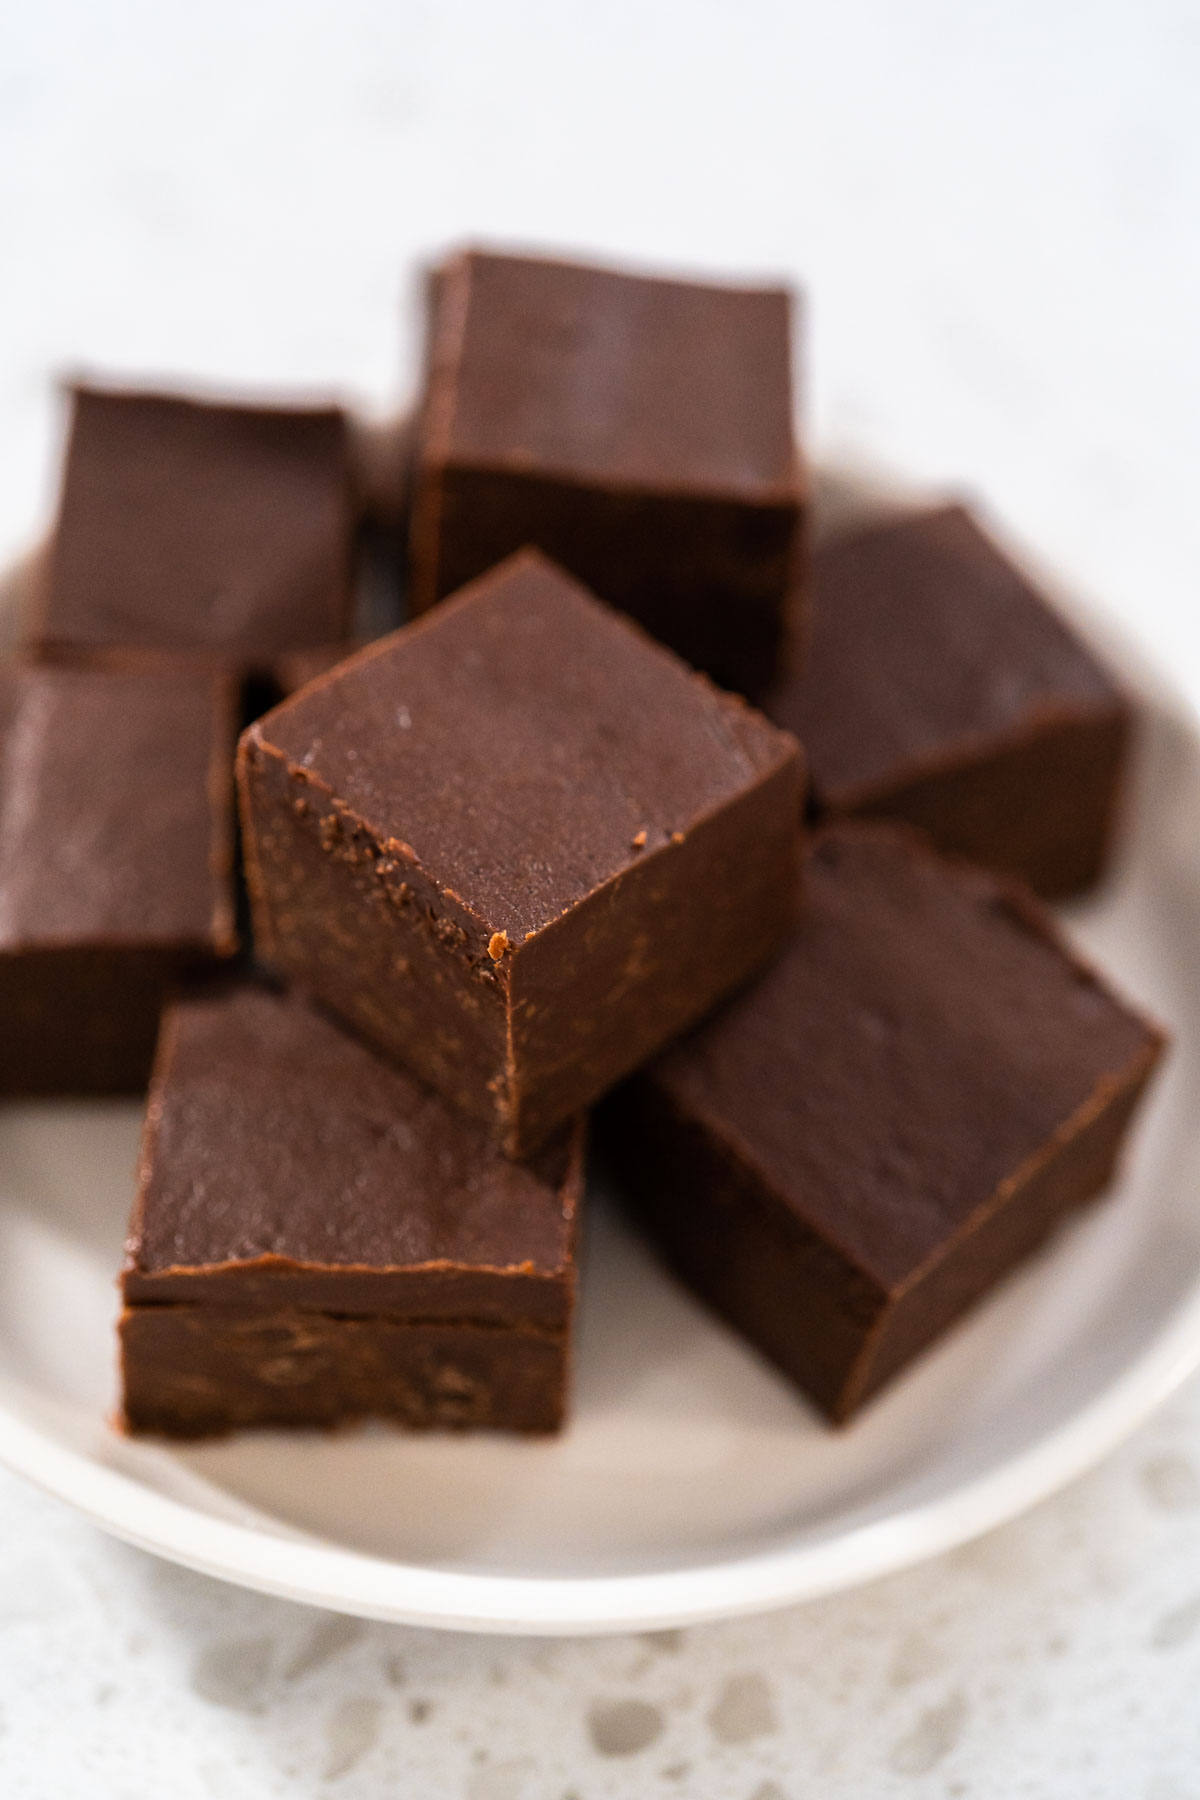
- Classic Chocolate Fudge – Rich, Creamy, and Easy to Make
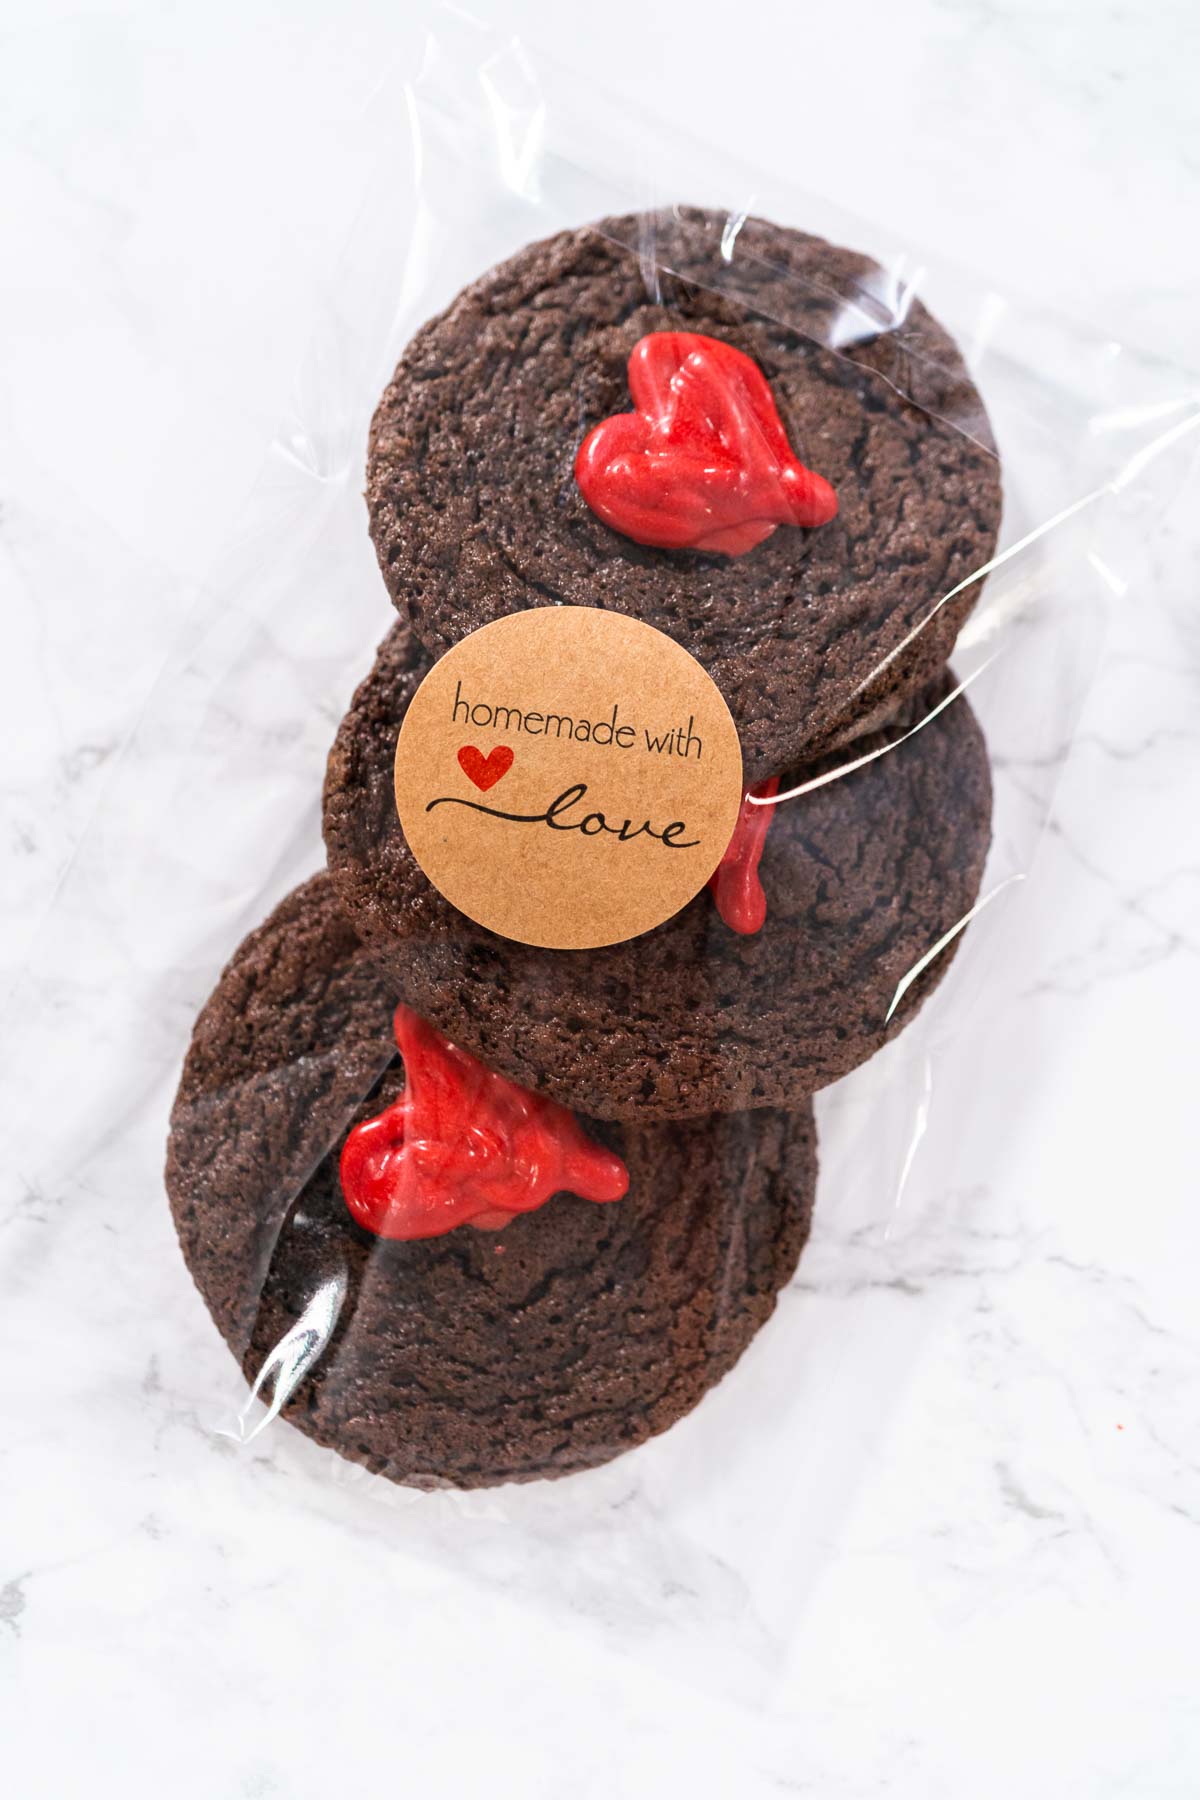
- How to Individually Package Cookies for Gifts (Fresh, Cute & Easy Ideas)
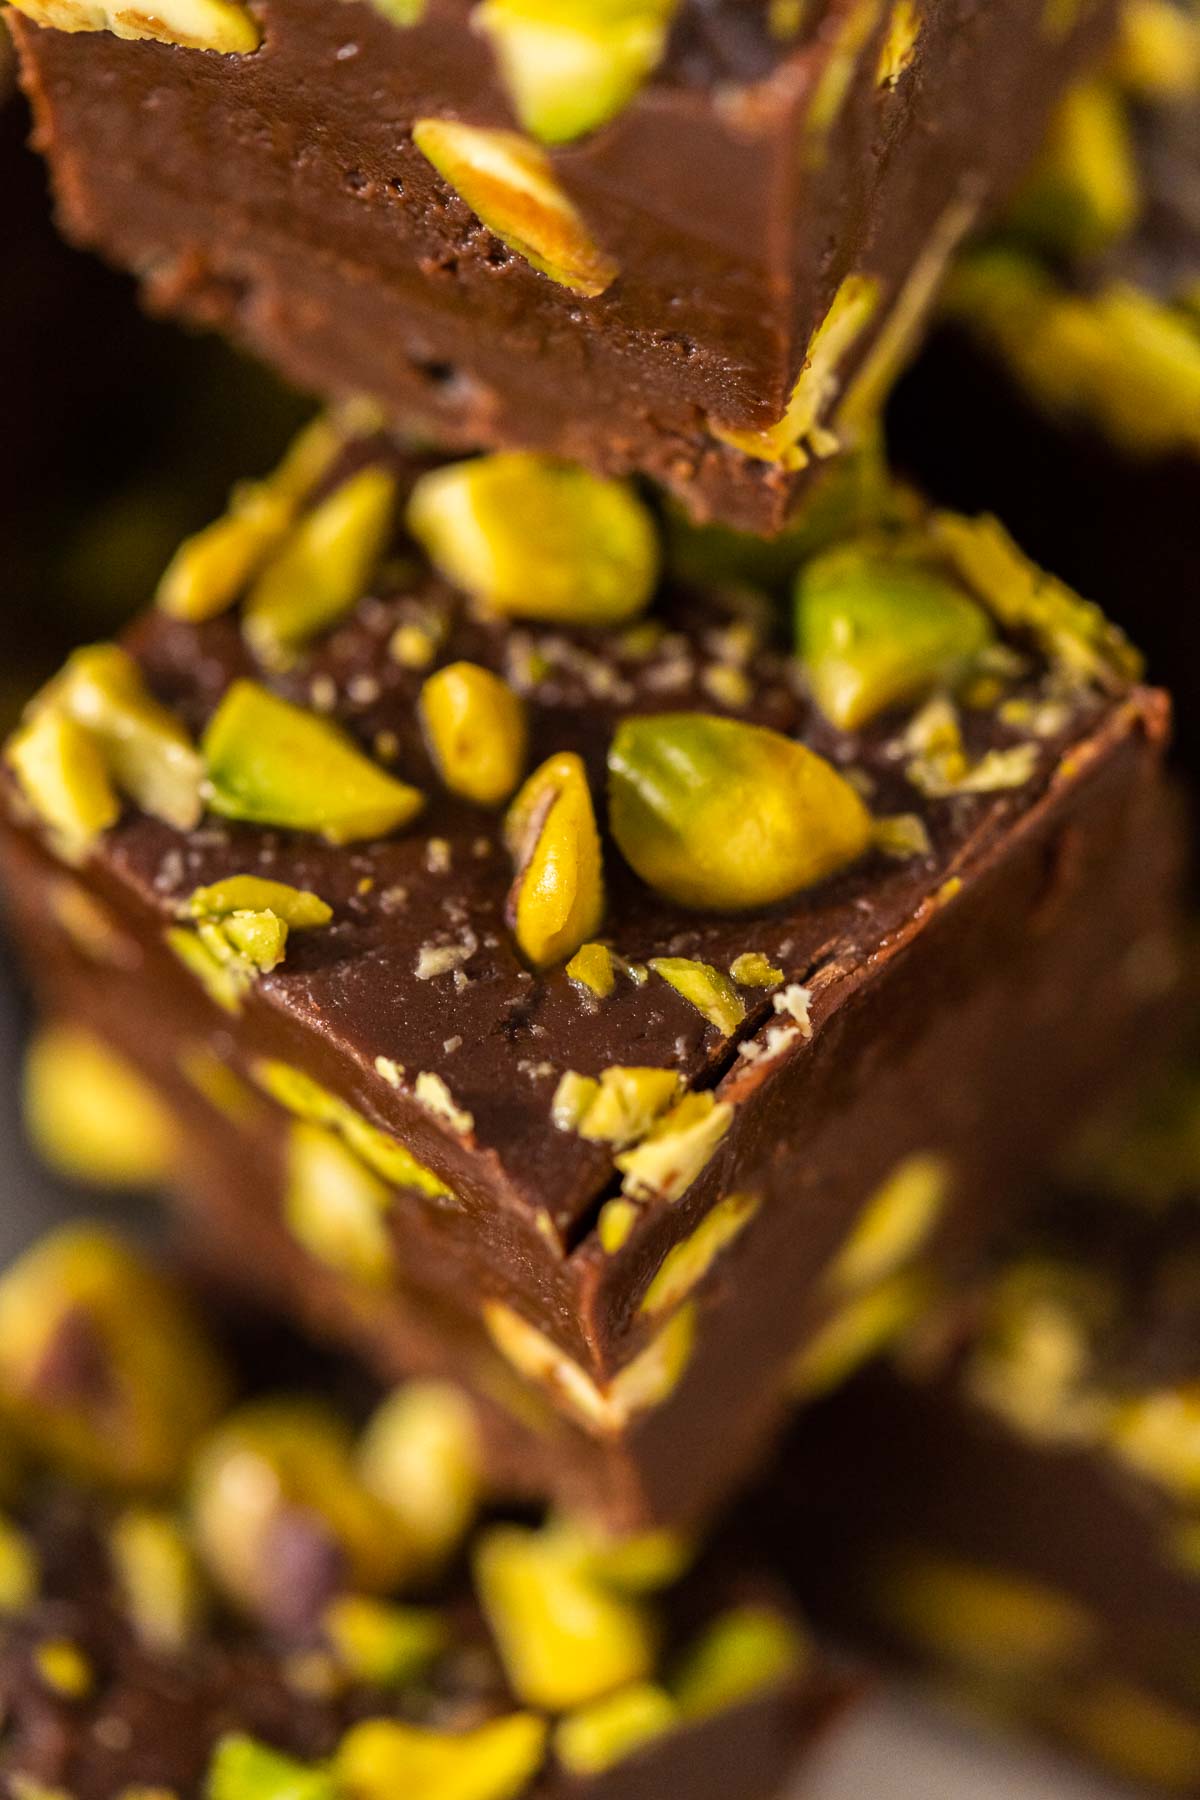
- How to Make Chocolate Pistachio Fudge (Easy No Bake Recipe)
I’ve Got Answers
Can I make these without a candy thermometer?
Technically yes, but I don’t recommend it. Sugar changes temperature lightning fast, and a thermometer saves you from wasting a batch.
What if I want to use natural coloring?
Try beet juice for pink, turmeric for yellow, or blueberry powder for a soft purple hue. Just remember they’ll add a hint of flavor, too.
Can I double the recipe?
You can—but I rarely do. I find smaller batches easier to handle since the syrup hardens so quickly.
What’s the best extract to use?
I love lemon and vanilla together, but raspberry and peppermint are wonderful too. If you love fruity sweets, check out my Homemade Strawberry Buttercream Frosting—it’s another favorite in my kitchen.
Pin It For Later
Food Photography & Video Tips from My Studio
Here’s a peek at the tools, gear, and camera setups I use to film my recipe videos and photograph food at home. Over the years, I’ve tested dozens of different setups, and now I’m sharing what actually works for me—whether I’m filming overhead shots for YouTube or styling still photos for my blog. If you’re curious about how I create the content you see here, these posts are a great place to start.







Leave a Reply