How to make copycat Stonefire naan dippers!
This post contains affiliate links.
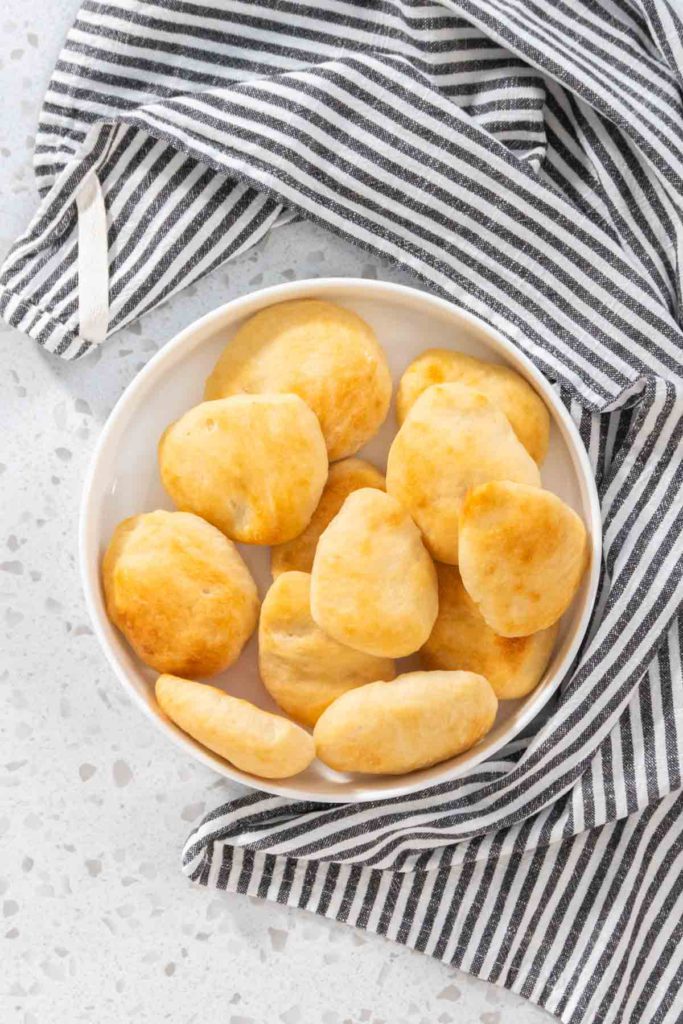
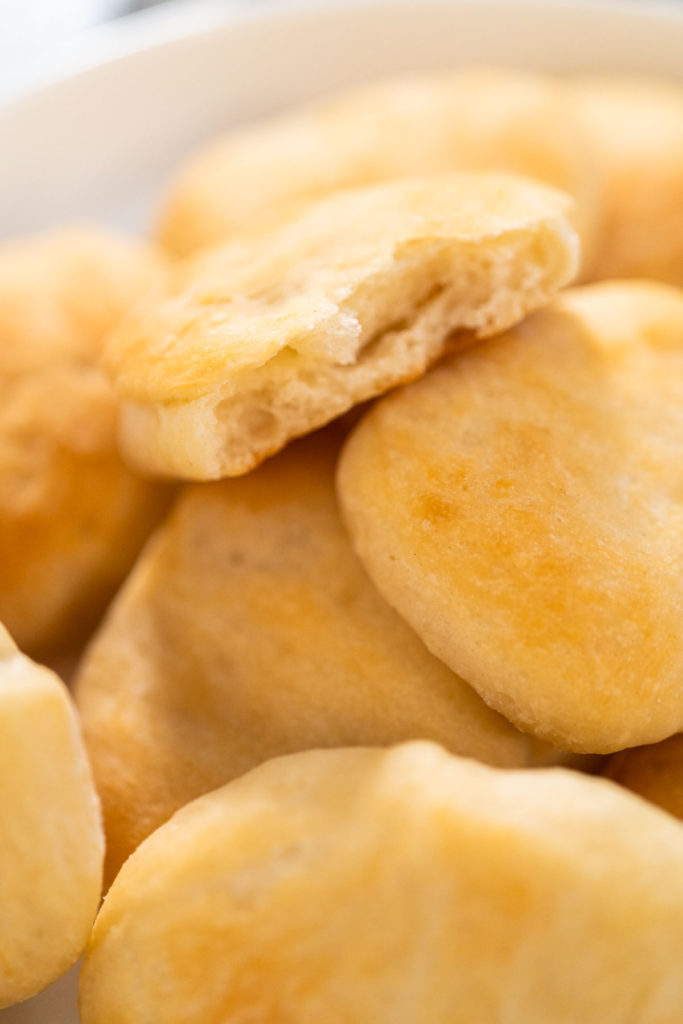
If you’ve ever tried the Stonefire Naan Bread then you know it’s one of the yummiest snacks to chow down on, especially served with hummus or curry! But what if I told you that you could make these scrumptious snacks right at home and enjoy them whenever you want to?!
I always try to find ways to make my store-bought favorites at home so that I know exactly what goes in them. No mysterious or complicated ingredients. So I decided to make my own scrumptious Copycat Stonefire Naan Dippers!
These delectable dippers turn out absolutely delicious and are pretty easy to make, especially if you’re already familiar with working with yeast. They’re perfect for family movie nights, kid’s lunch boxes, parties, dinners with friends, or even as just the perfect pick-me-up snack. Ready to try them out for yourself? Here’s how to make my Copycat Stonefire Naan Dippers!
Naan Equipment
Let me begin with my naan-making equipment. There’s nothing too out of the ordinary to expect here, mainly just a few typical kitchen tools and utensils. Here’s everything I use to make my naan dippers:
- Measuring Cup
- Measuring spoons
- Glass mixing bowl
- Blending whisk
- Wooden spoon
- Disposable shower hat
- Kitchen towels
- Chop cutter
- 3 Baking sheet
- 2 Parchment paper sheets
- Silicone pastry brush
- Heat Mat (optional)
Naan Dipper Ingredients
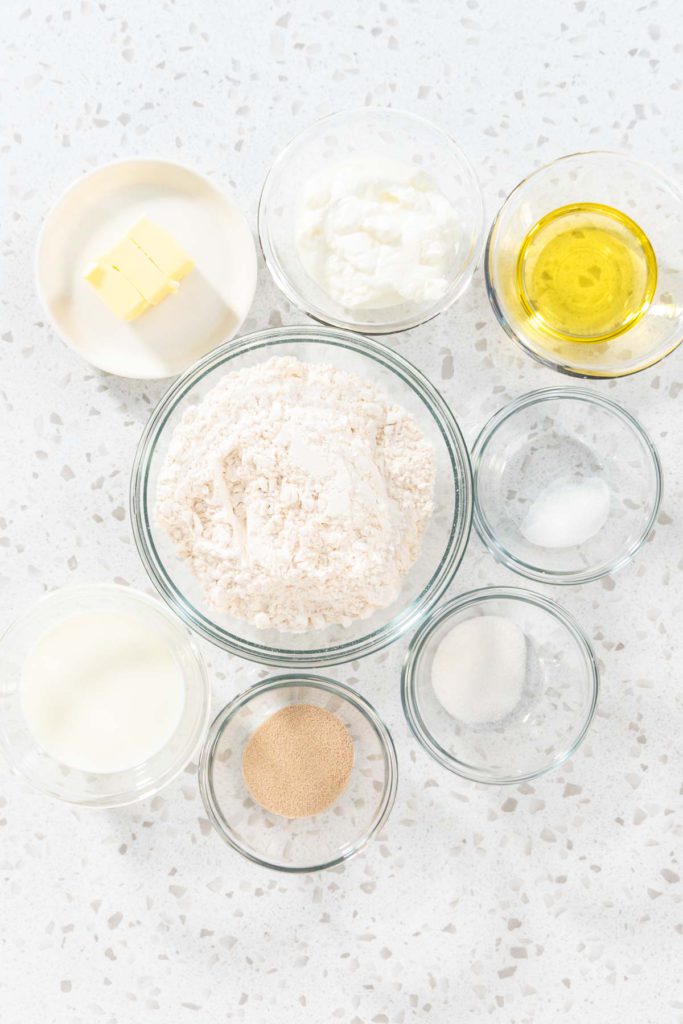
Now I’ll break down my naan dipper ingredients. There’s not a ton of ingredients to expect here and everything is pretty simple and commonly kept in most household kitchens. Here’s what I use to make my naan dippers:
- ½ cup Milk warm
- 1 ½ teaspoon sugar
- 1 ½ teaspoon Active Dry Yeast
- 2 cup all-purpose flour
- ½ teaspoon salt
- 1 cup plain yogurt
- This ingredient adds extra flavor!
- 3 tablespoon Butter melted
- 2 tablespoon Olive Oil for brushing
- Cooking spray oil
How to Make Copycat Stonefire Naan Dippers
Now let’s get to baking some scrumptious naan snacks! My process is pretty simple and straightforward, however, it does take about 1.5 hours to make these from start to finish. Just keep that in mind before you get started. Here’s how to make copycat Stonefire naan dippers:
- First, measure out all of the naan ingredients using the measuring cups and spoons.
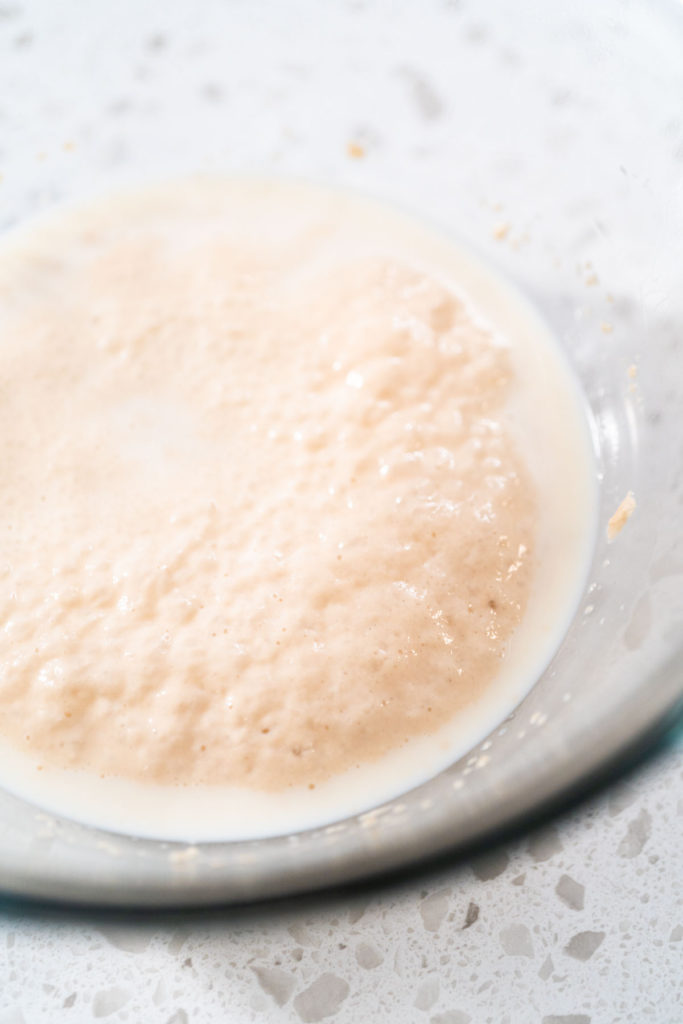
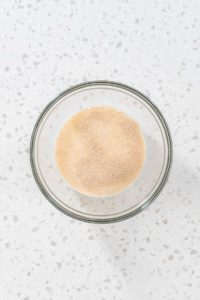
- Next, combine the milk, yeast, and sugar in a small glass mixing bowl.
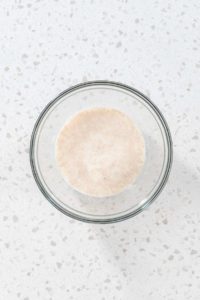
- Whisk the ingredients together until completely combined.
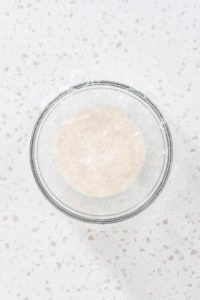
- Then, cover the bowl with a disposable shower cap.
- If you don’t have a shower cap you can use plastic wrap instead, but to me, the cap works best!
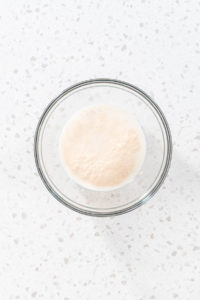
- Let the yeast sit and activate for 15 minutes. It needs to form bubbles on top.
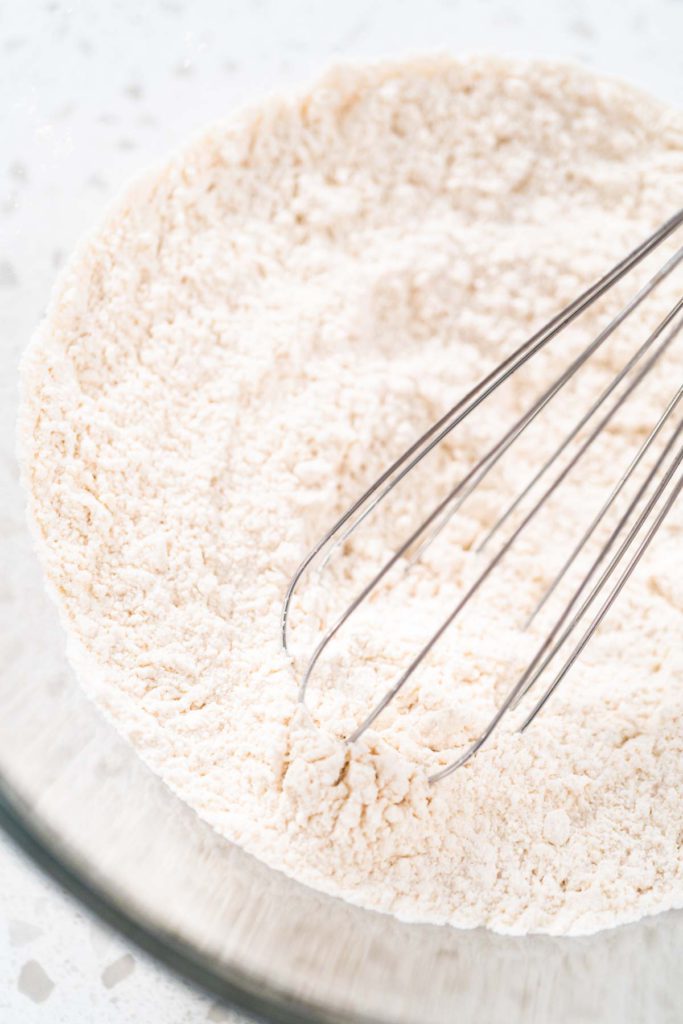
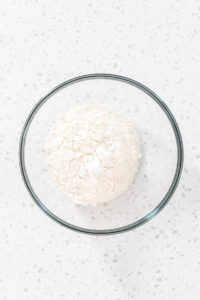
- Next, in a large bowl, add in the flour and salt.
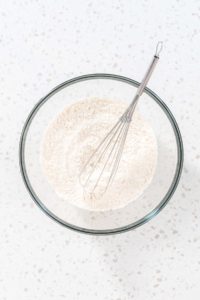
- Blend the dry ingredients together with a clean whisk.
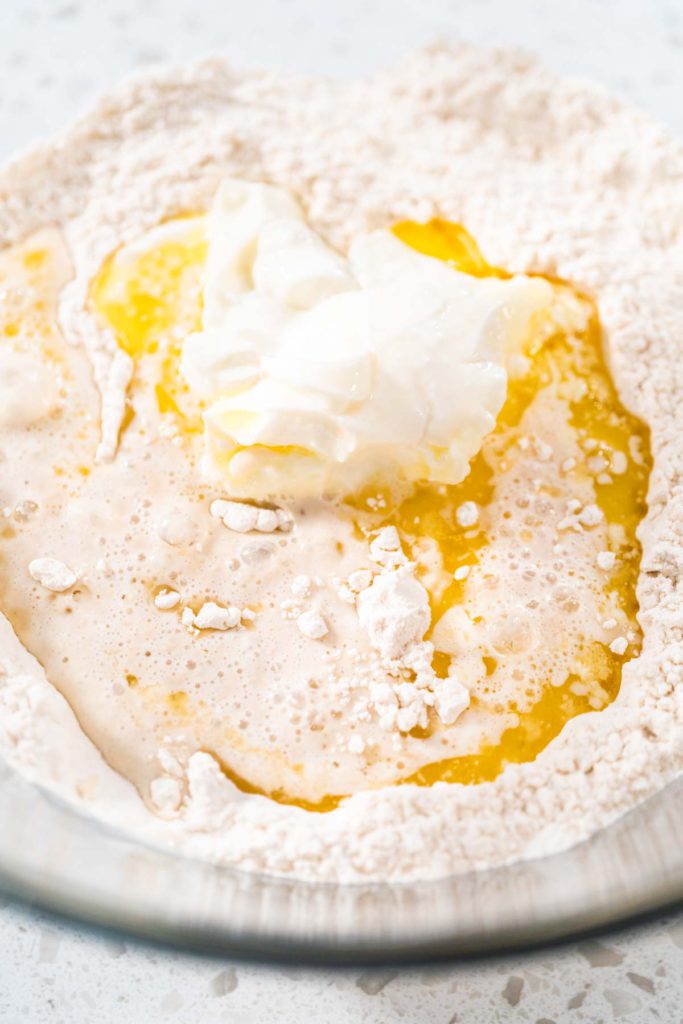
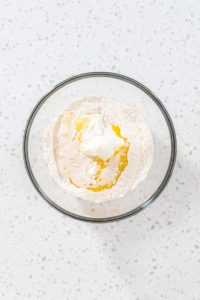
- Then, add in the yogurt, melted butter, and the activated yeast mixture into the flour bowl.
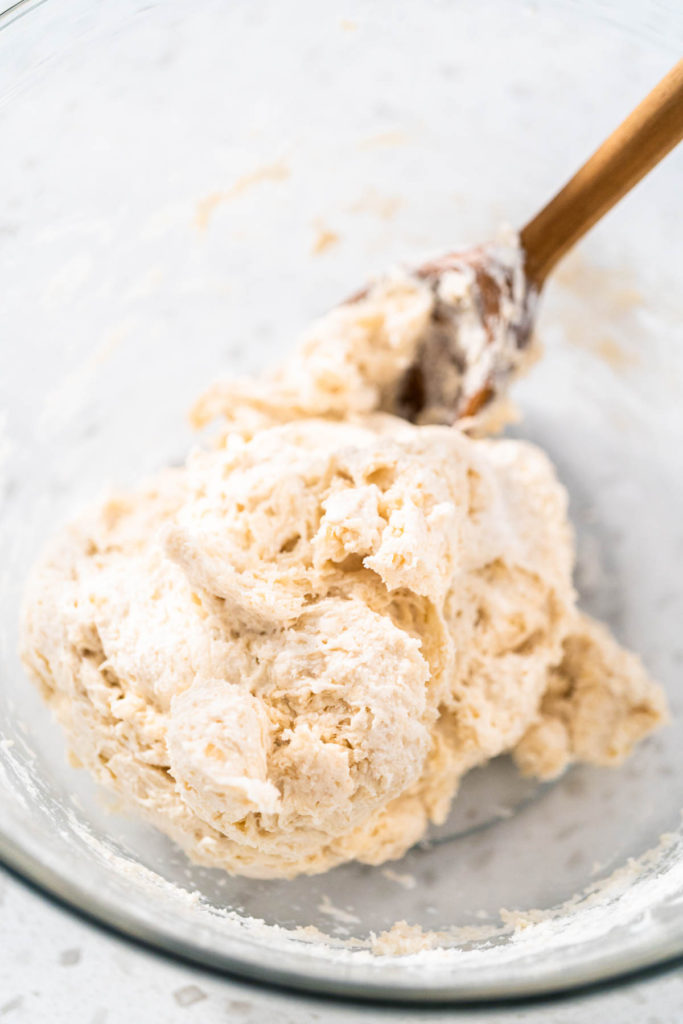
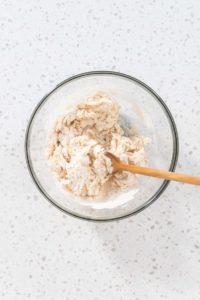
- Mix all the ingredients together with a wooden spoon.
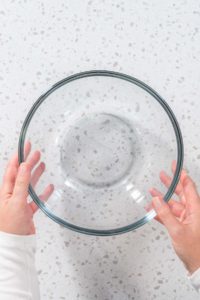
- Next, grab a large clean glass bowl. Do not use a metal bowl for this!
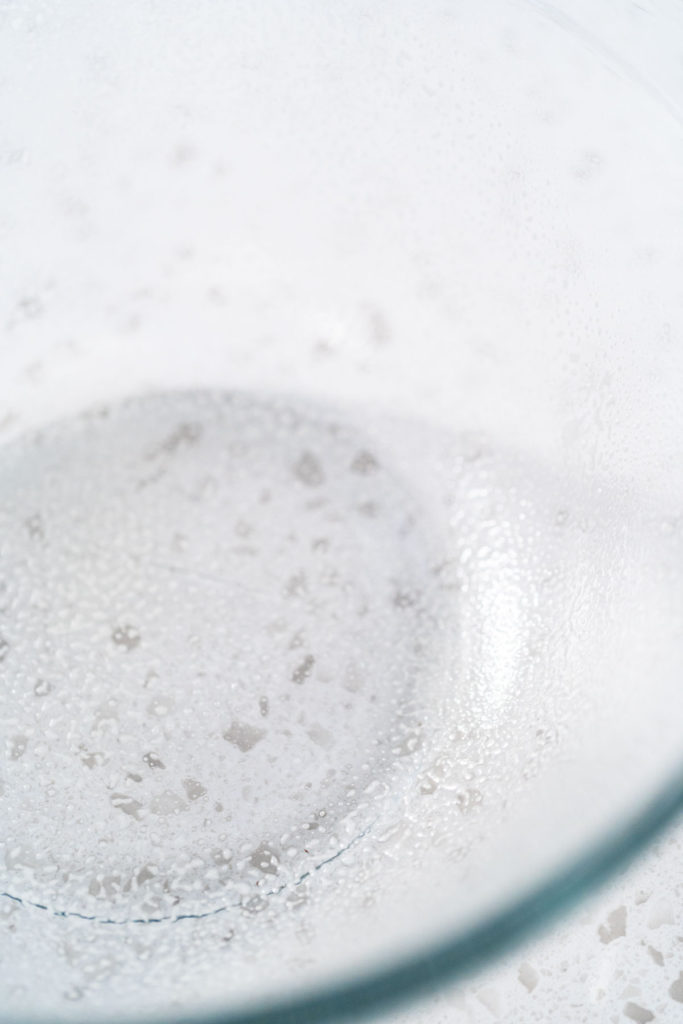
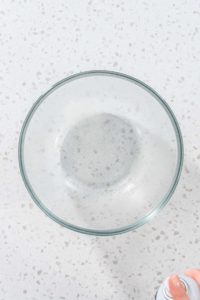
- Lightly spray the glass bowl with cooking oil spray.
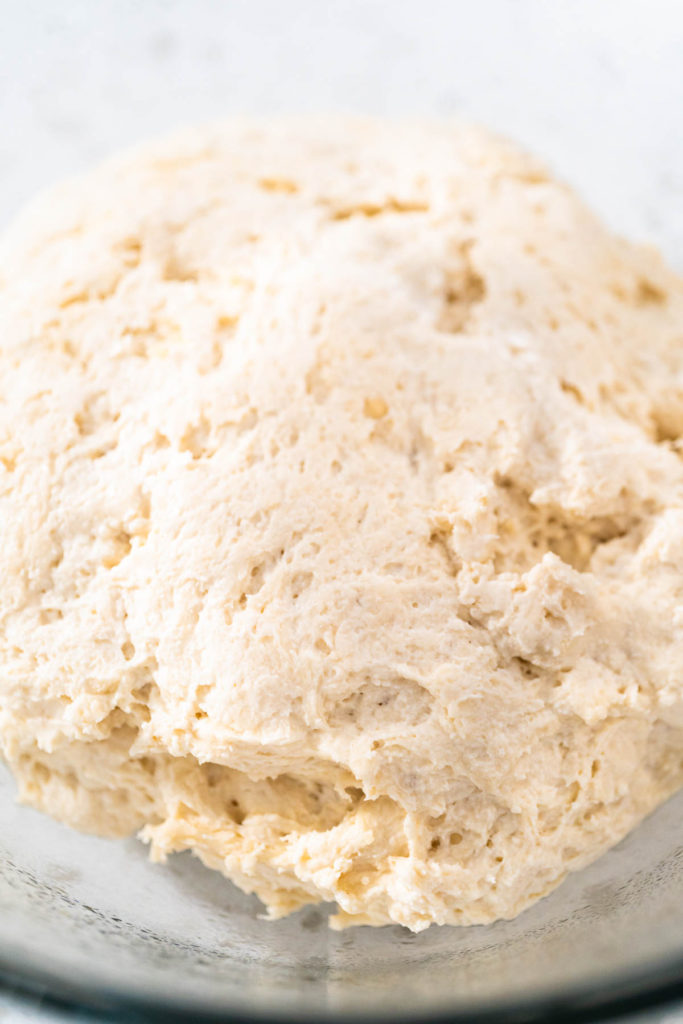
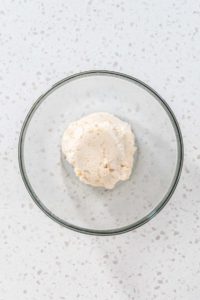
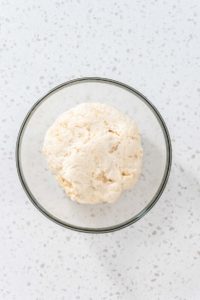
- Then, transfer the dough to the oiled glass bowl.
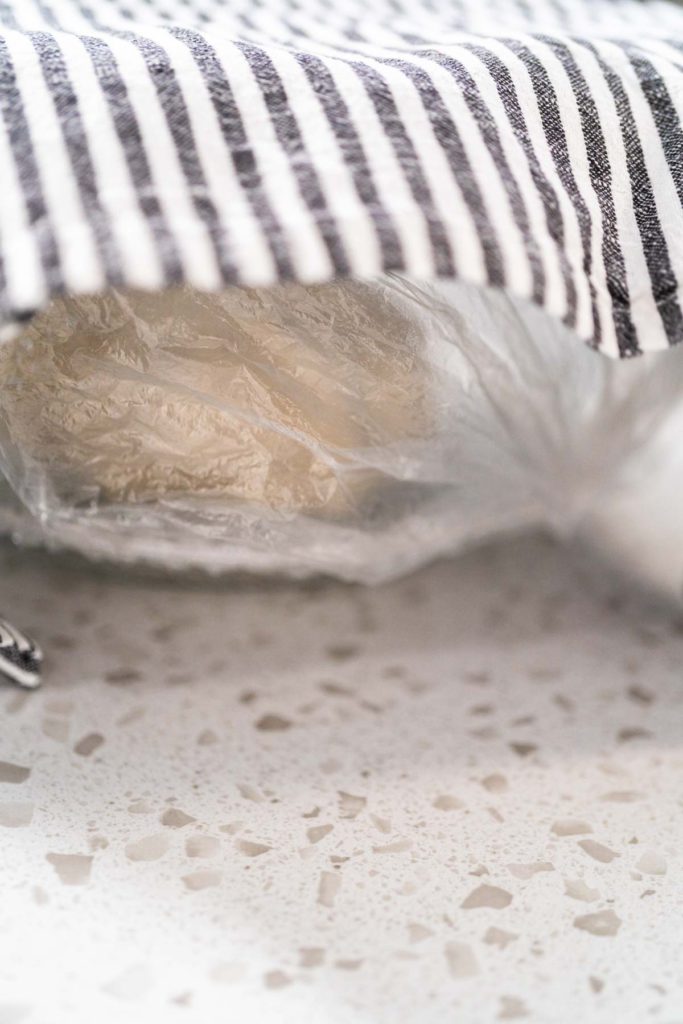
- Cover the bowl with the disposable shower cap, or plastic wrap.
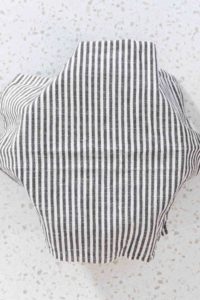
- Then, cover the bowl again with a wet kitchen towel to hold in the warmth. Use a heat mat to help the dough rise.
- No heat mat? Just place the bowl in the warmest spot of your house.
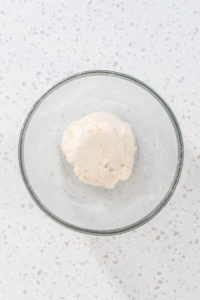
- Let the dough rise for 1 hour, or until it is doubled in size.
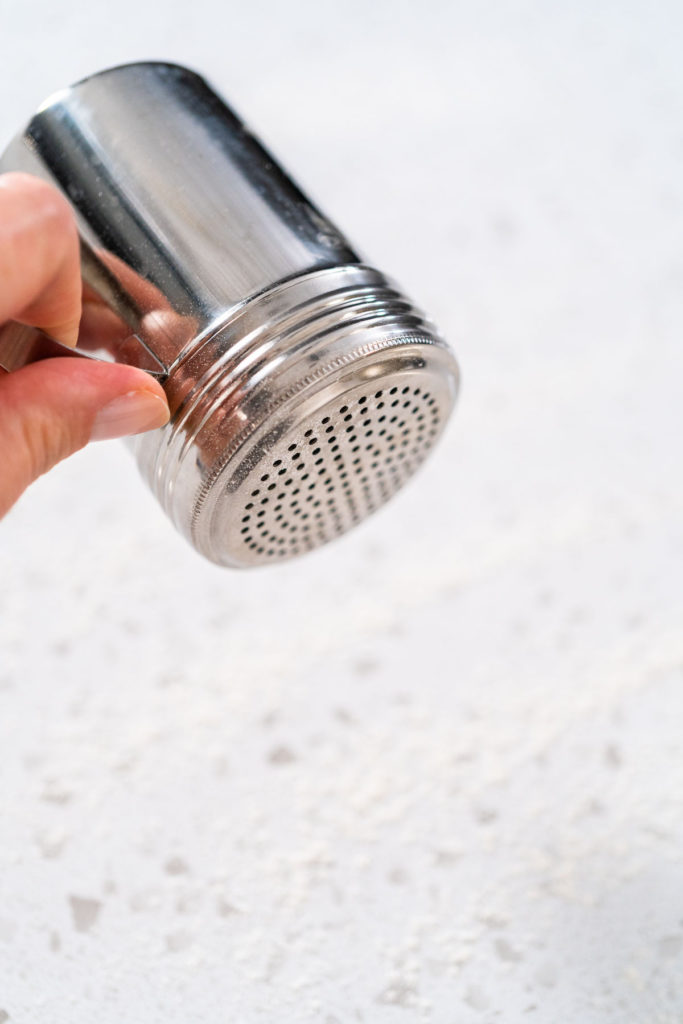
- Next, lightly flour a clean surface. Preheat the oven to 400°F.
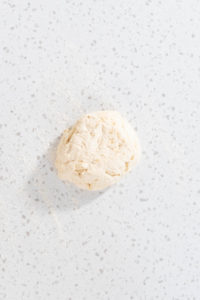
- Transfer the dough to the floured surface.
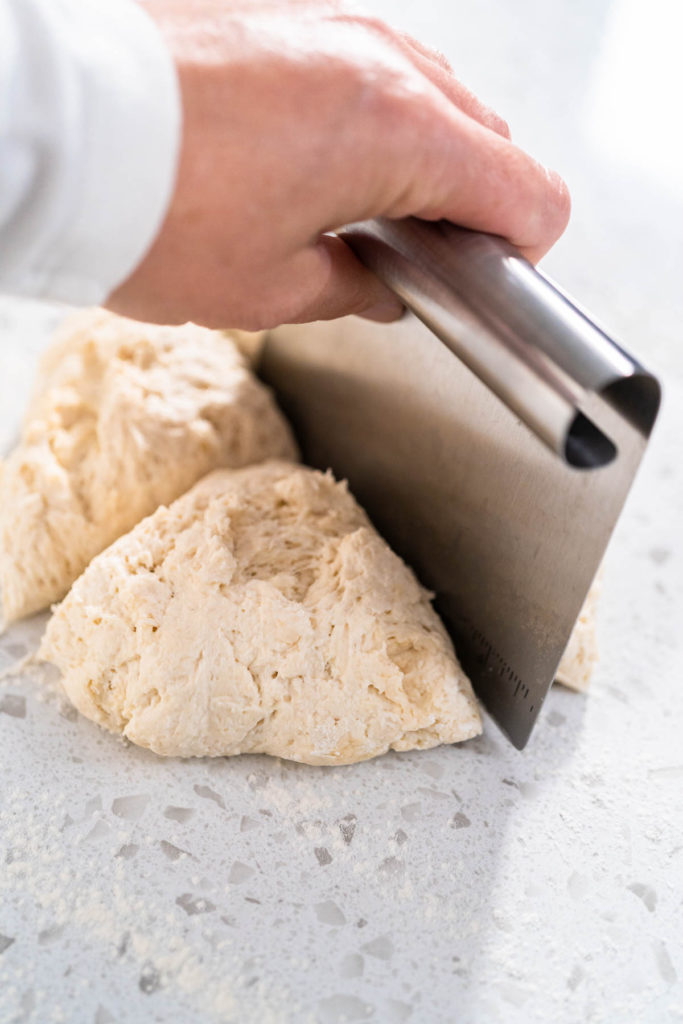
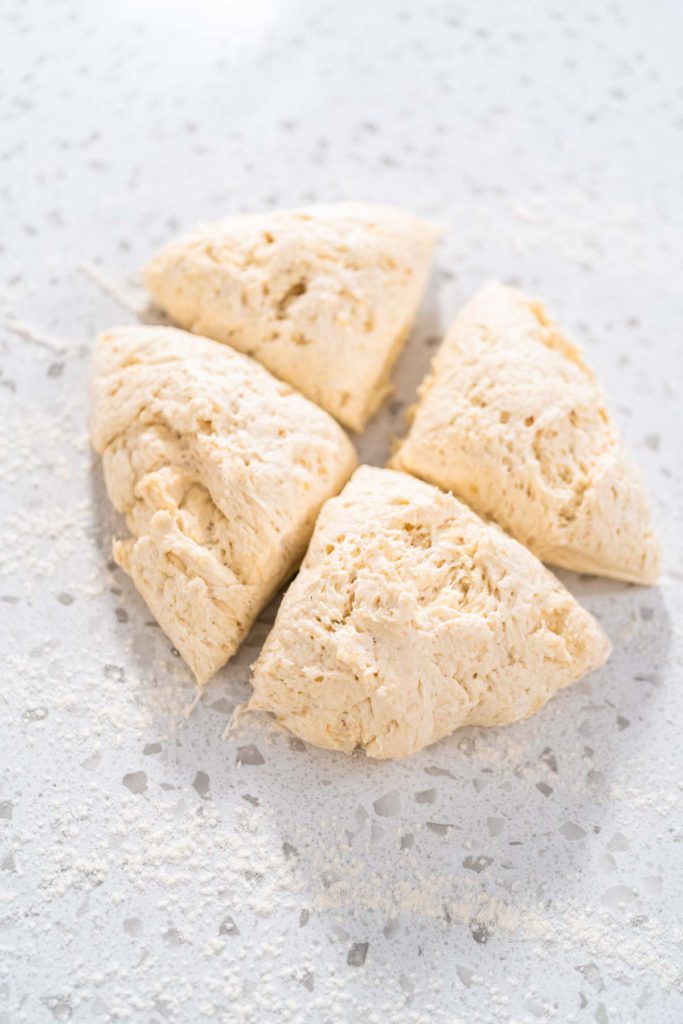
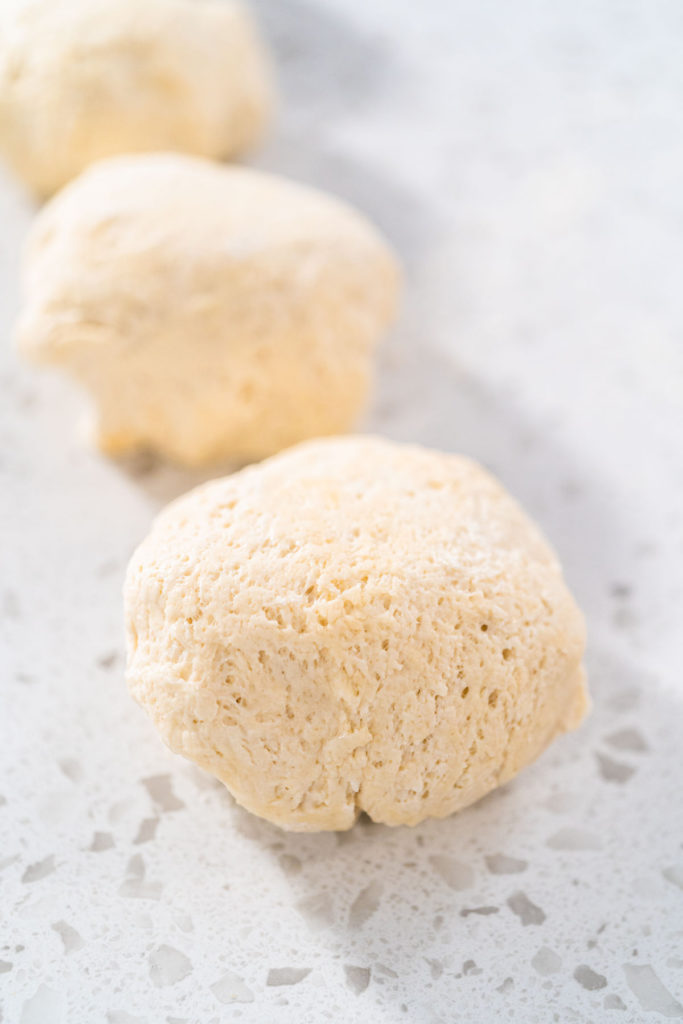
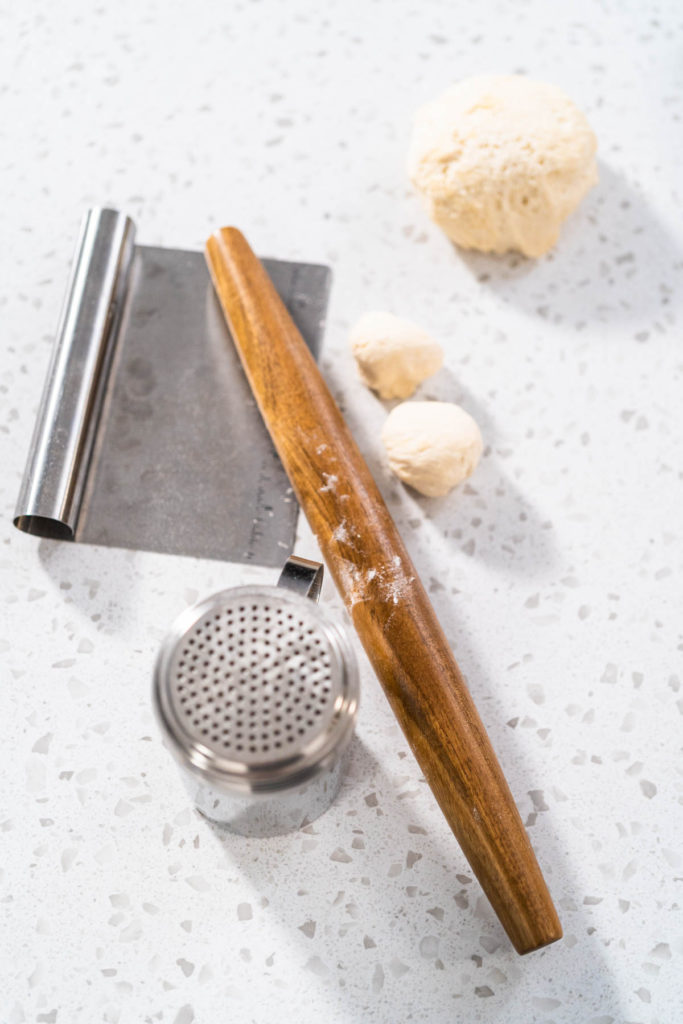
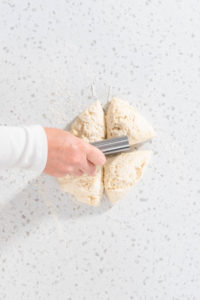
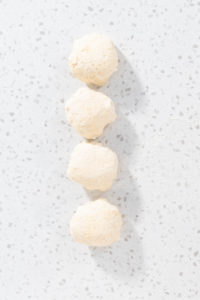
- Then, use the chop cutter to cut the dough into 4 equal portions.
- Fold and roll each of the dough portions into rounded balls.
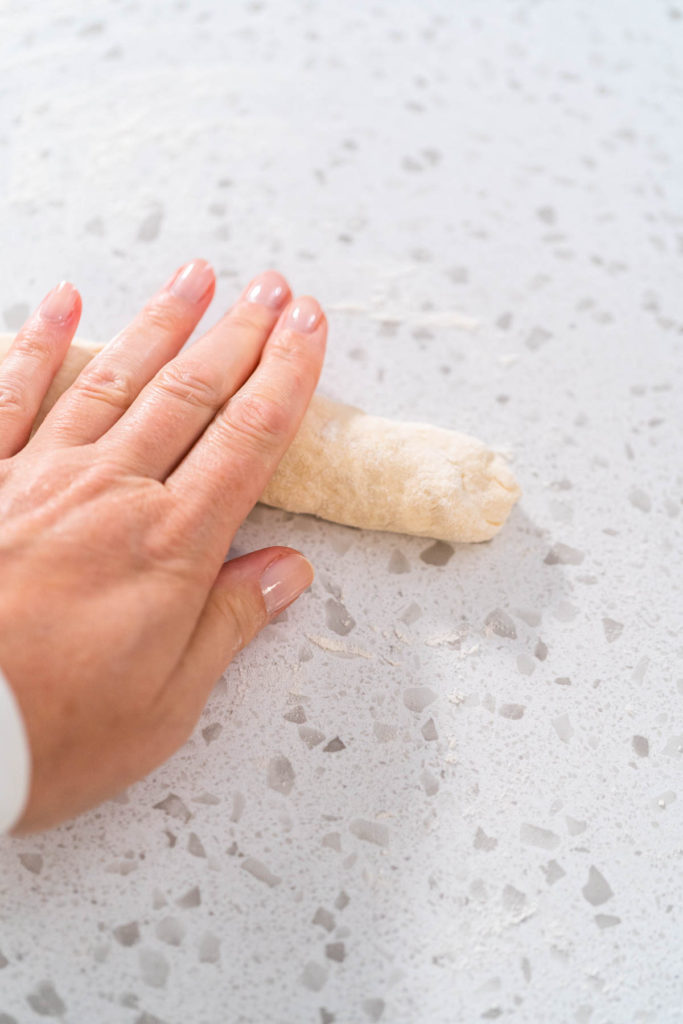
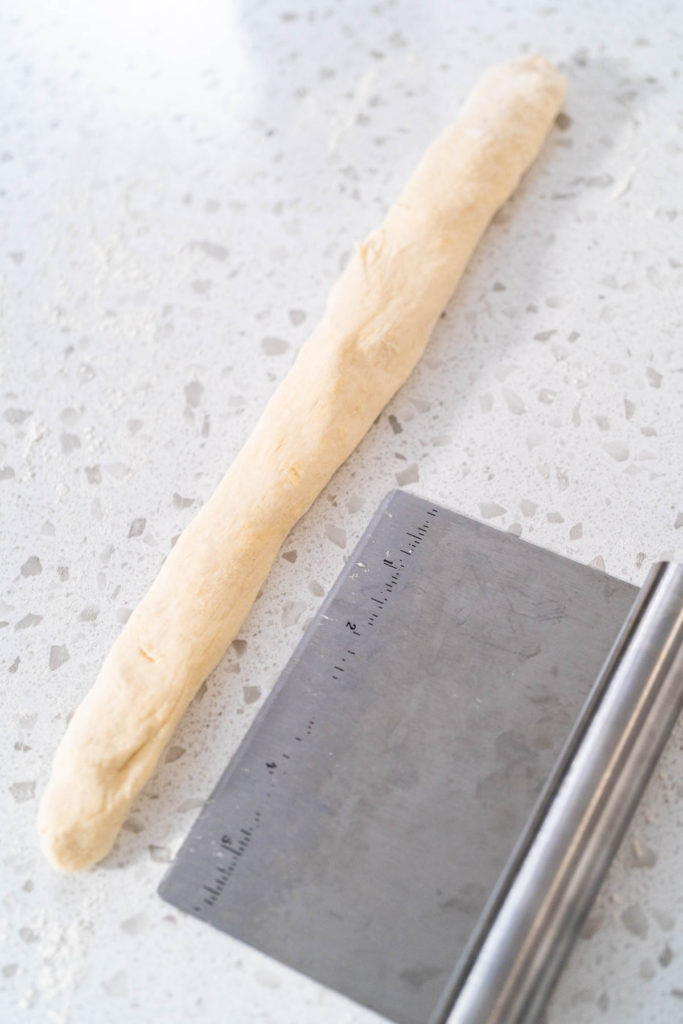
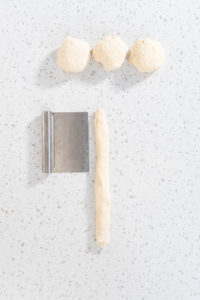
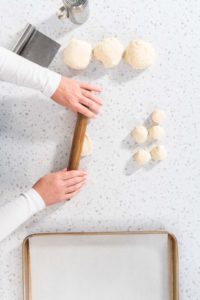
- By hand, roll each portion into a 12-inch strip.
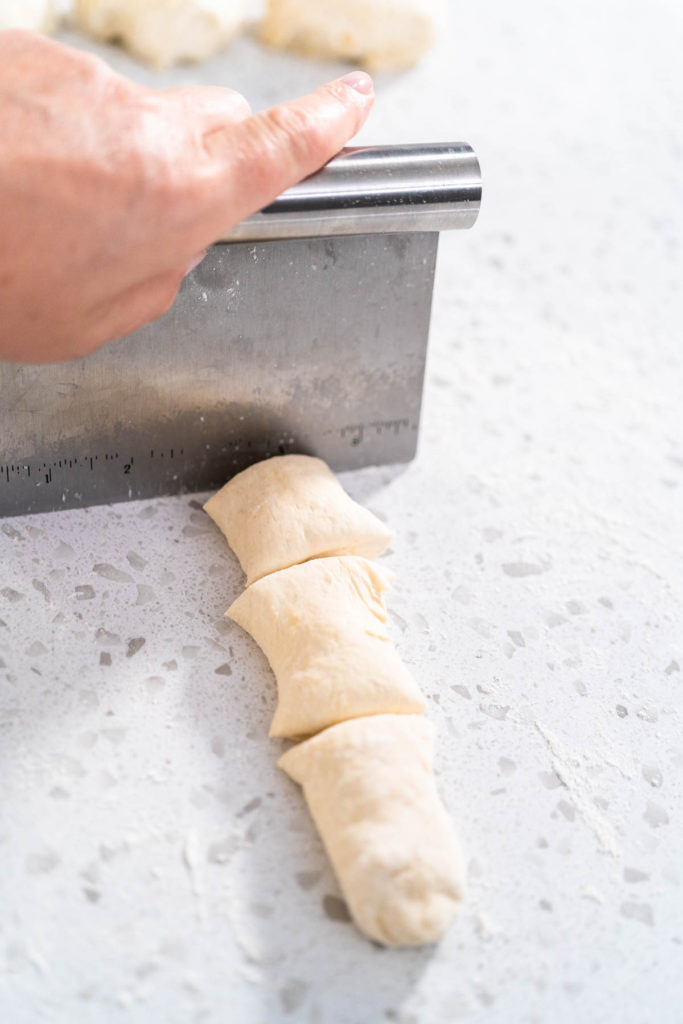
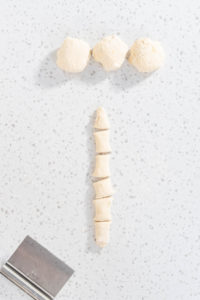
- Then, use the cutter to cut each of the dough strips into 6 smaller pieces.
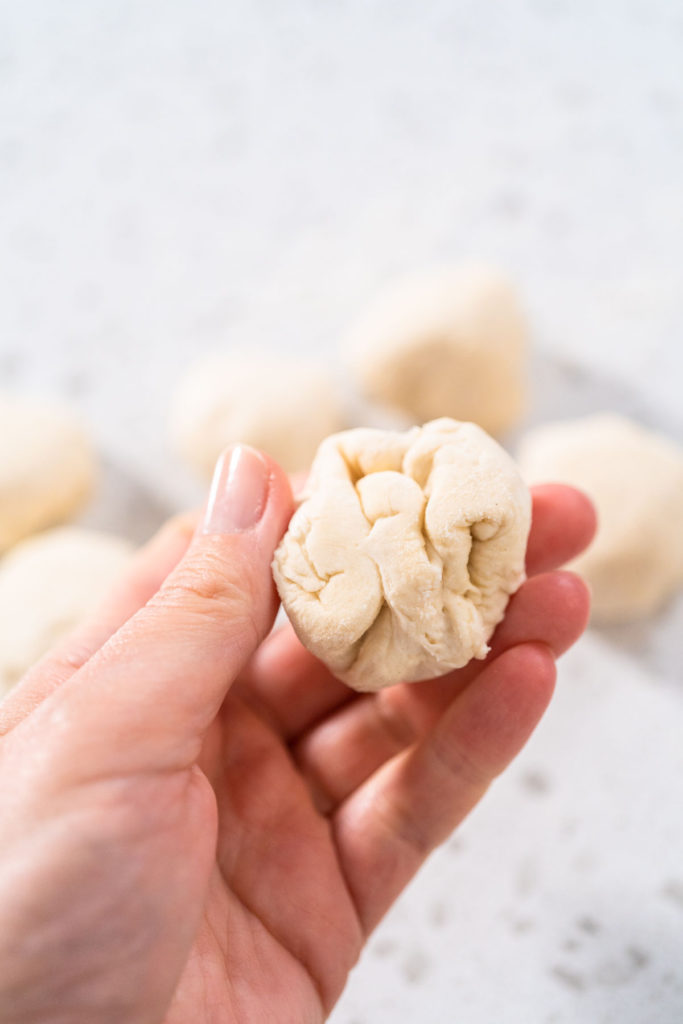
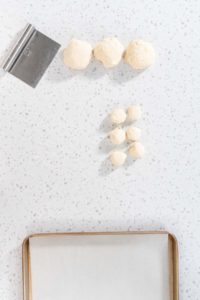
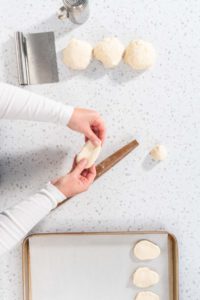
- Fold each dough portion until it's a rounded ball. Line a baking sheet with parchment paper.
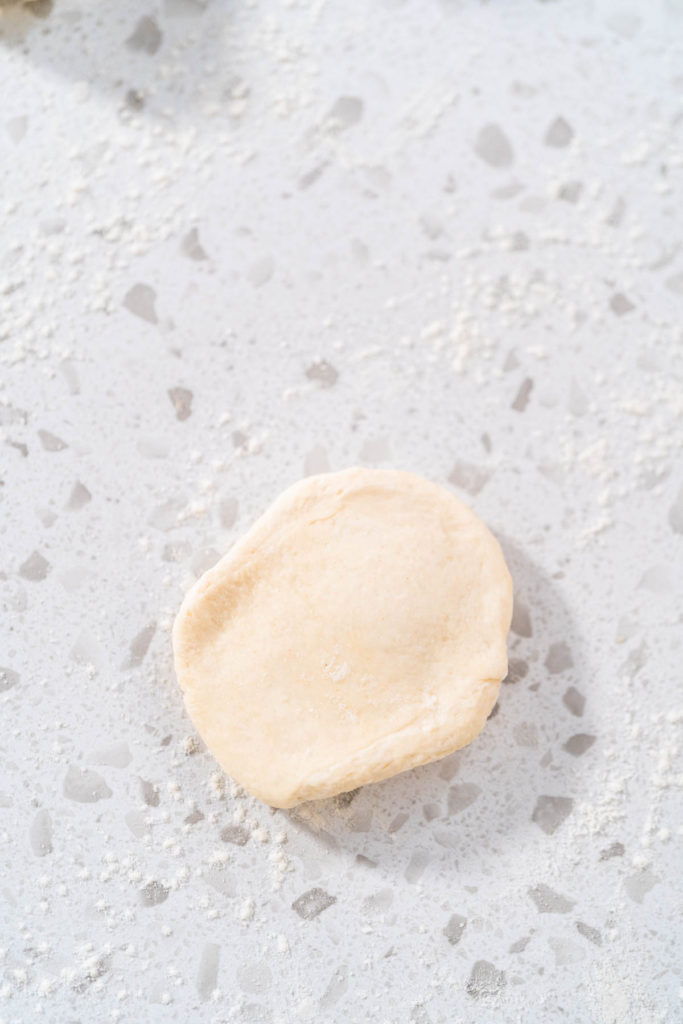
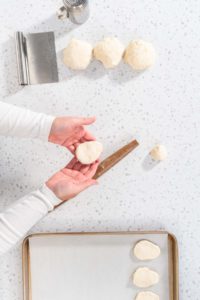
- Lightly roll each smaller portion into a 3-inch diameter disk.
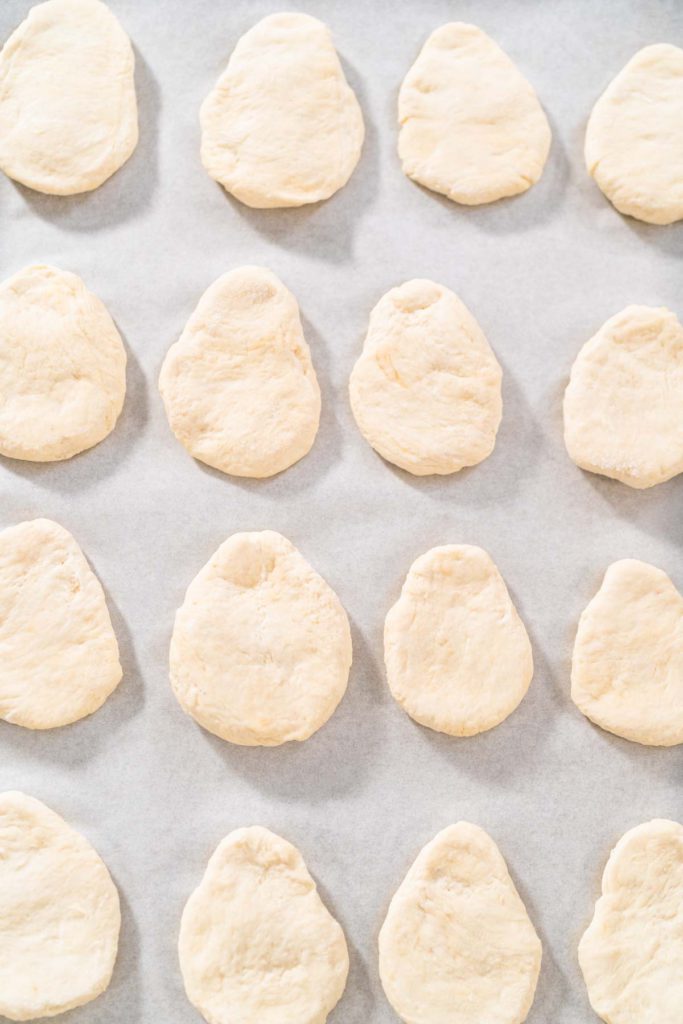
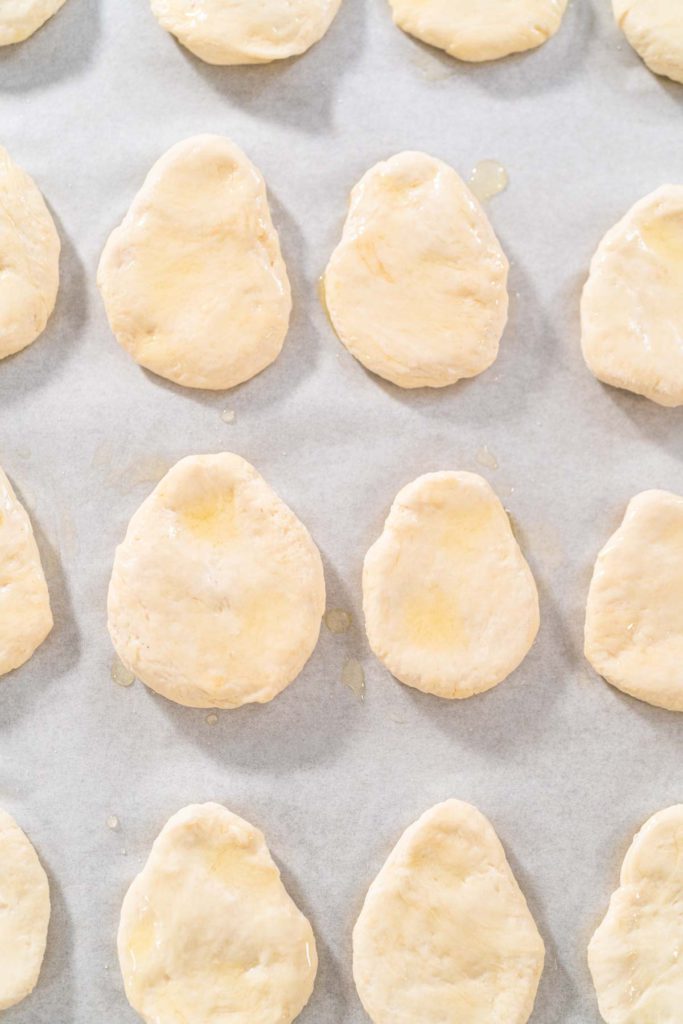
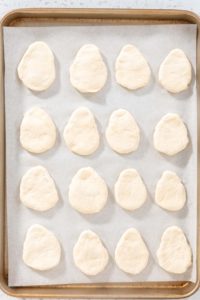
- Gently stretch the disks to make an oval shape.
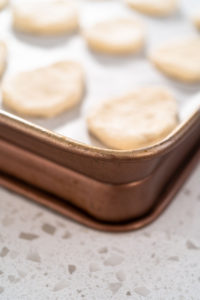
- Then, line the stretched naan dough disks along the lined baking sheet.
- You can poke the naan ovals with a fork, but this step is optional.
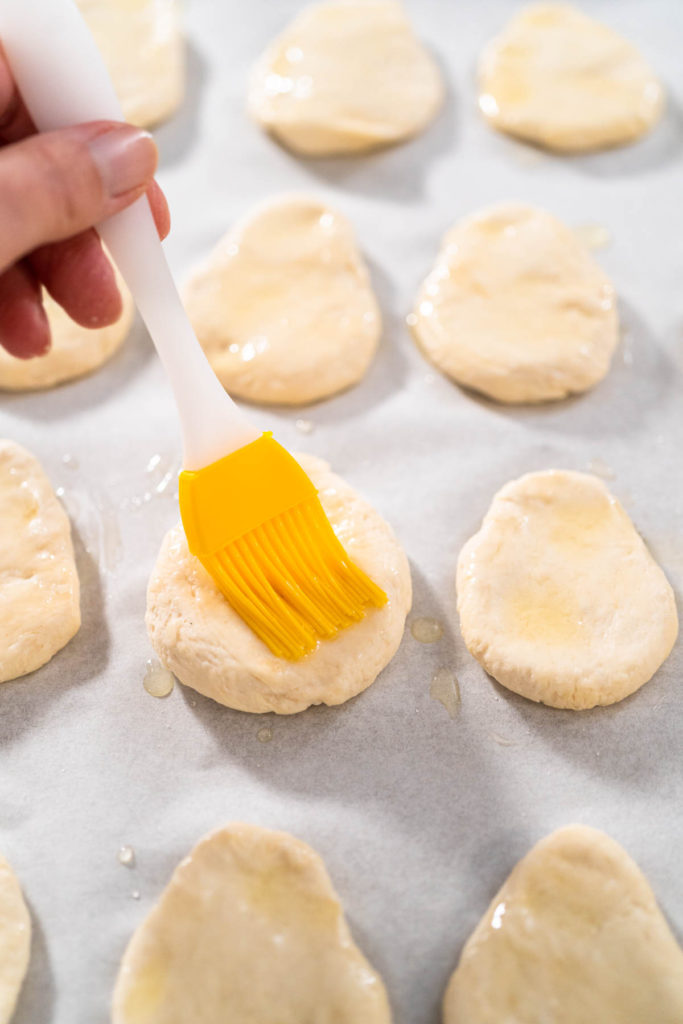
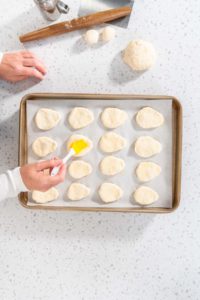
- Next, brush each naan with olive oil.
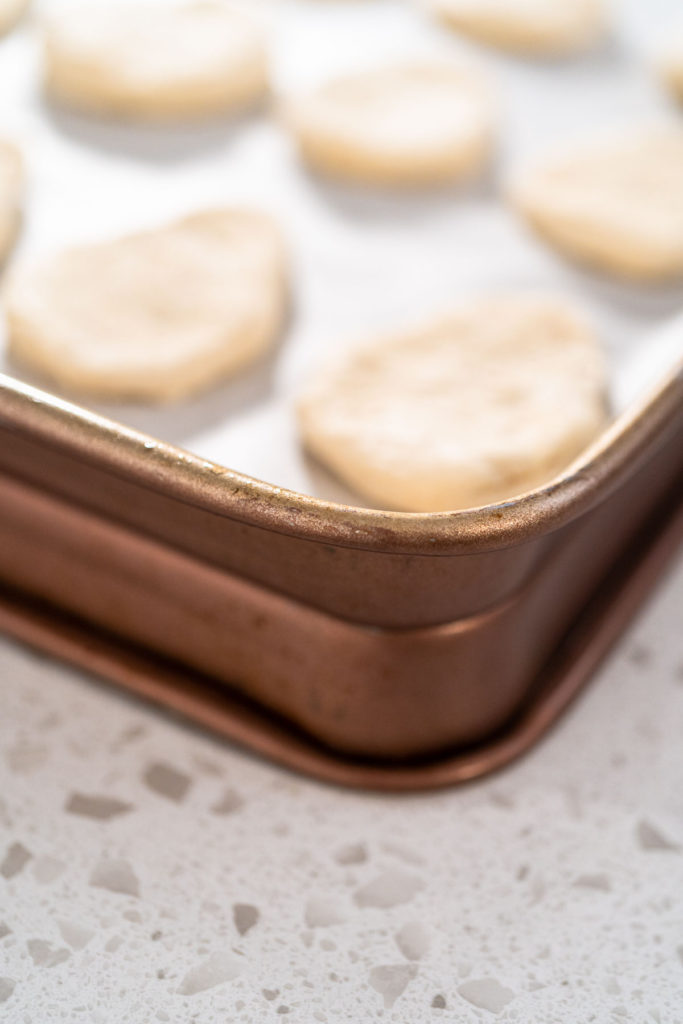
- Then, take an empty baking sheet and flip it upside down in the oven, and set the tray of naan dippers on top.
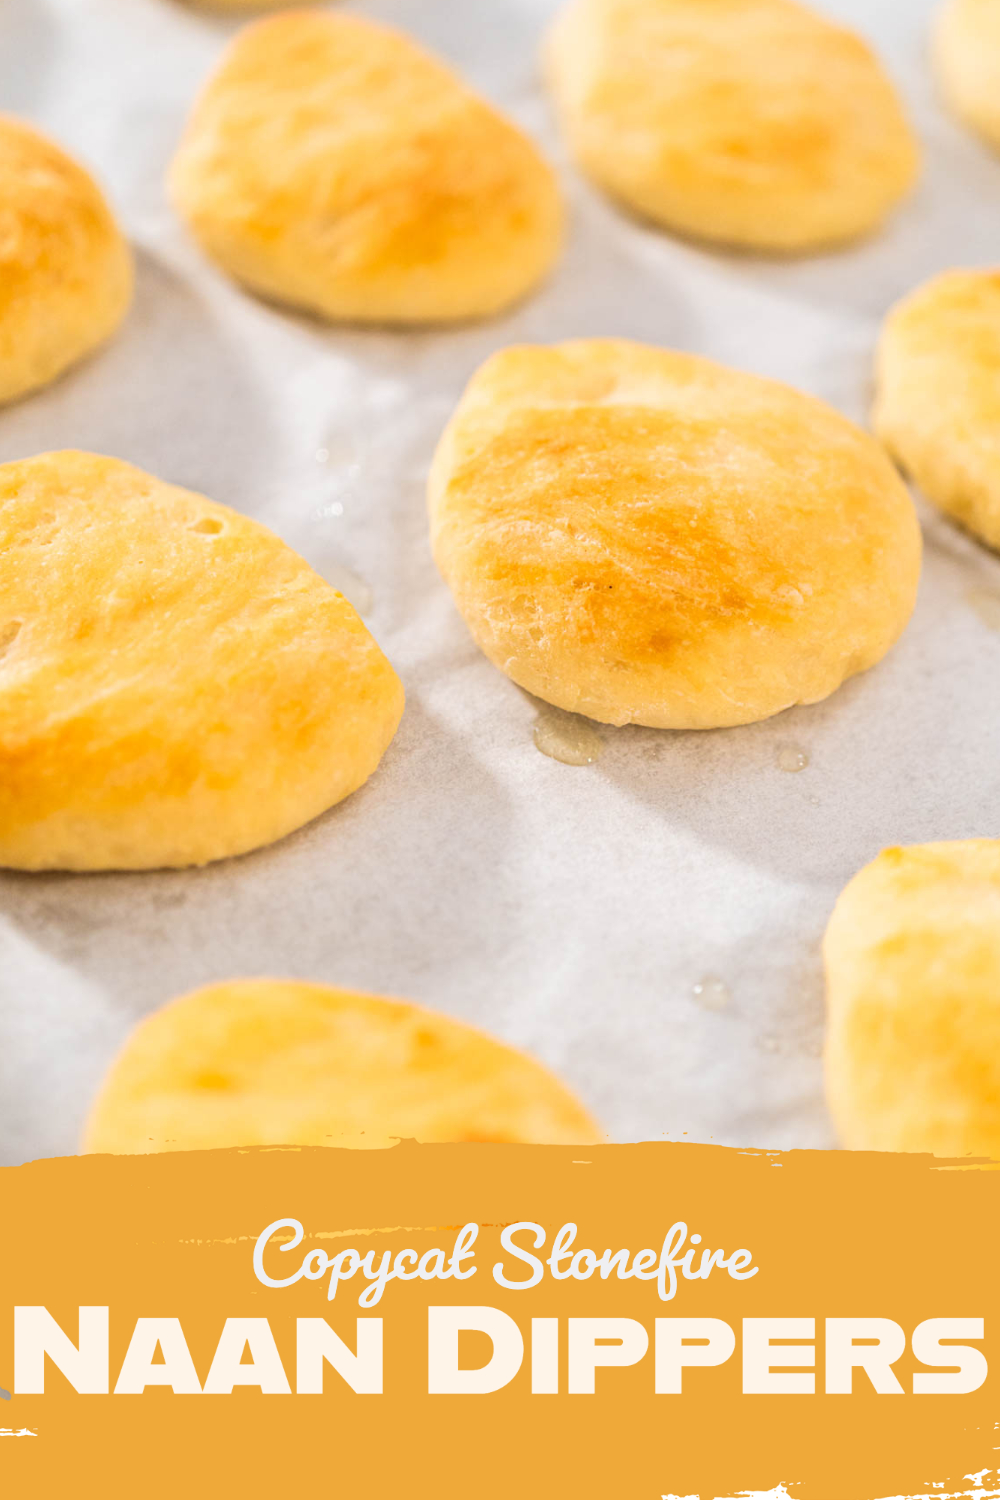
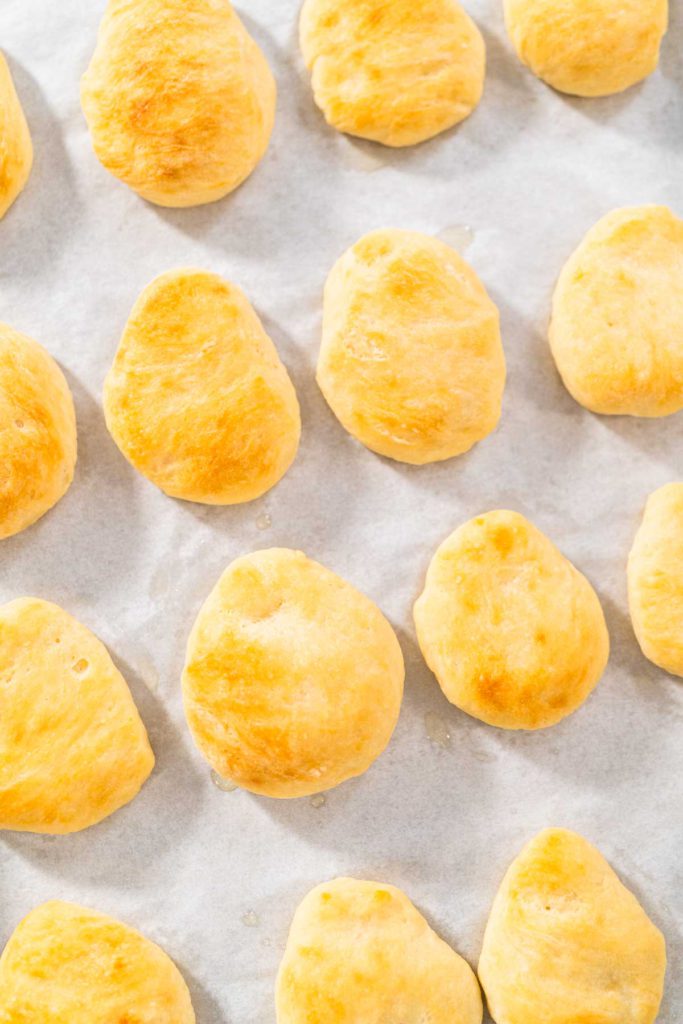
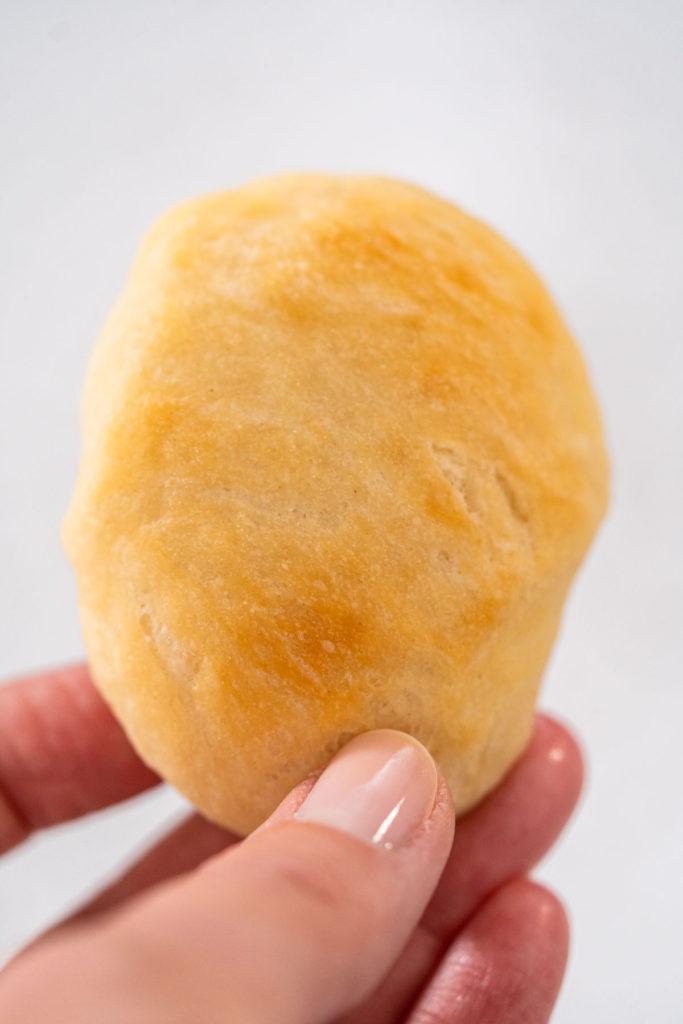
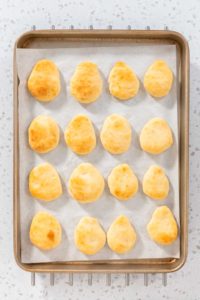
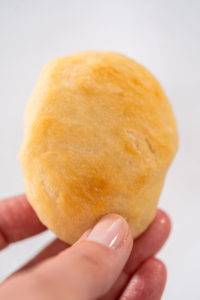
- Bake the naan dippers for 12-14 min, until golden brown.
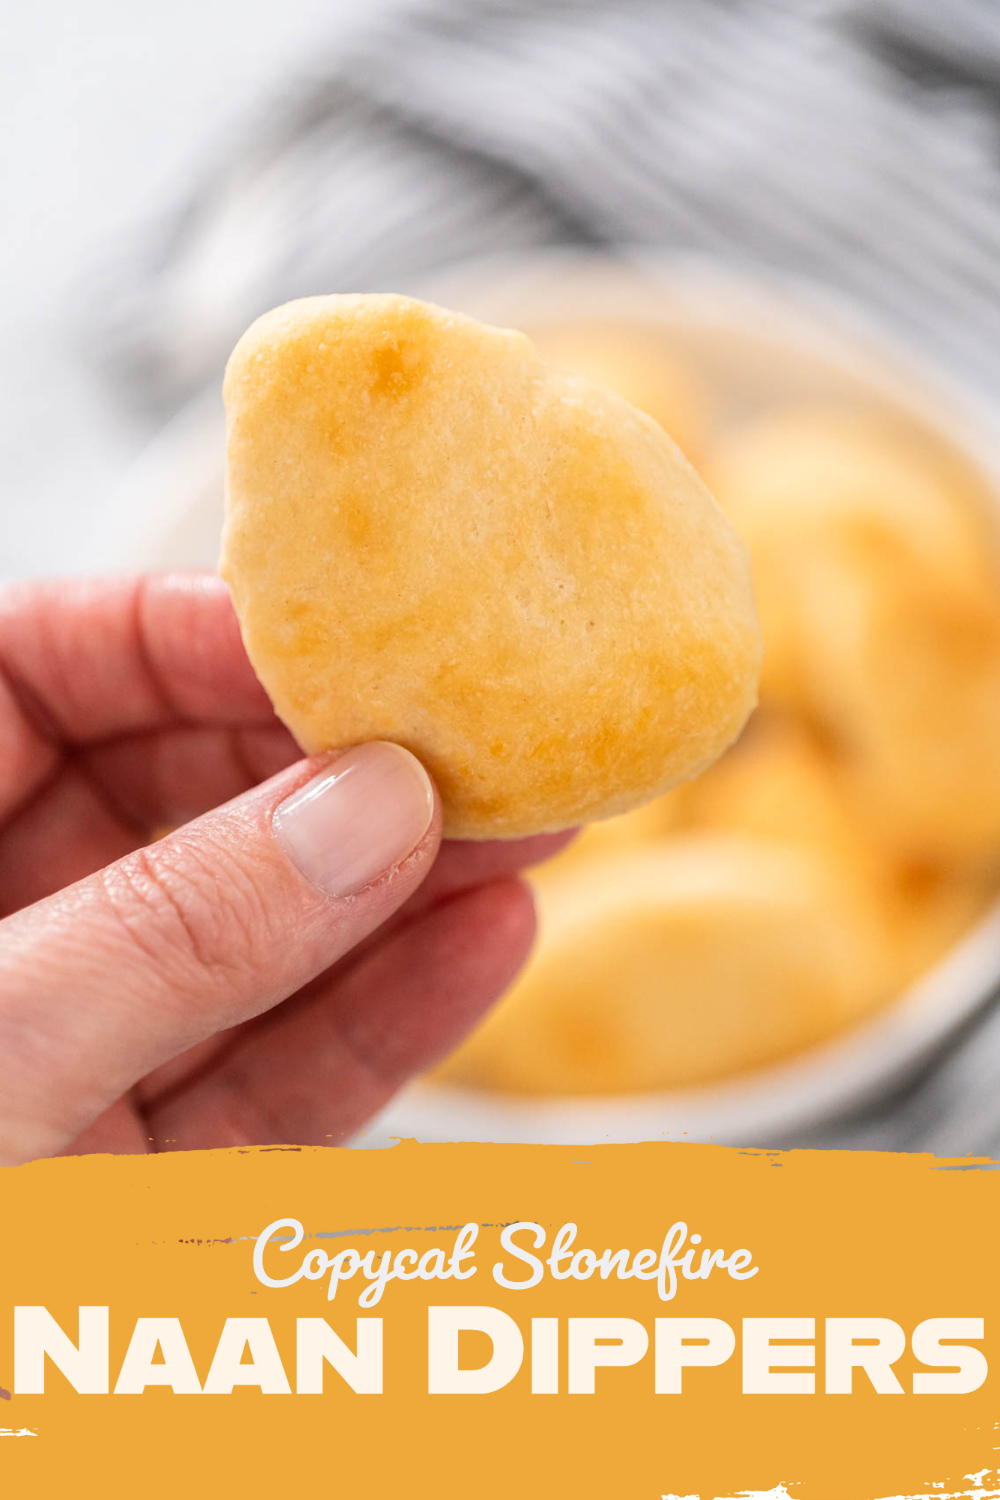
- Finally, serve and enjoy!
Storing Naan Dippers
To store naan dippers: transfer the cooled naan to a Ziploc bag and store at room temperature for up to 3 days, or in the freezer for up to 2 months. Always label the date to keep up with freshness. Thaw the naan at room temperature and reheat in the oven at 350°F for 10 to 12 minutes.
More bread recipes
- How to Make Turkey Chili and Cornbread Muffins for a Cozy Meal
- Moist Pumpkin Bread with Crunchy Pecans and Glaze
- How to Make Homemade Bread Crumbs (Fresh or Toasted)
- Soft and Fluffy Giant Brioche Buns for Burgers or Sandwiches
- How to Make Mini Kulich for Easter (Individual Bread Loaves)
- Spicy Jalapeño Cornbread Muffins with Fresh Jalapeños and No Cheese
Homemade Bread
Loved these deletable dippers? Then you’ll definitely want to stick around and check out some of my other scrumptious breads, easy doughs, and sweet bread snacks:
- Pizza Dough
- Skillet Flatbread
- Easy Dinner Rolls
- Giant Brioche Buns
- Patriotic Cinnamon Twists
- Italian Easter Bread
- Mini Italian Easter Breads
- Easter Bread Kulich
- Copycat Papa Murphy’s Mini Sweet Pizzas
- How to Test Yeast
Copycat Stonefire Naan Dippers
Video
Equipment
- Heat Mat optional
Ingredients
- ½ cup Milk warm
- 1 ½ teaspoon sugar
- 1 ½ teaspoon Active Dry Yeast
- 2 cup all-purpose flour
- ½ teaspoon salt
- 1 cup plain yogurt
- 3 tablespoon Butter melted
- 2 tablespoon Olive Oil for brushing
- Cooking spray oil
Instructions
- First, measure out all of the naan ingredients using the measuring cups and spoons.
- Next, combine the milk, yeast, and sugar in a small glass mixing bowl.
- Whisk the ingredients together until completely combined.
- Then, cover the bowl with a disposable shower cap.If you don’t have a shower cap you can use plastic wrap instead, but to me, the cap works best!
- Let the yeast sit and activate for 15 minutes. It needs to form bubbles on top.
- Next, in a large bowl, add in the flour and salt.
- Blend the dry ingredients together with a clean whisk.
- Then, add in the yogurt, melted butter, and the activated yeast mixture into the flour bowl.
- Mix all the ingredients together with a wooden spoon.
- Next, grab a large clean glass bowl. Do not use a metal bowl for this!
- Lightly spray the glass bowl with cooking oil spray.
- Then, transfer the dough to the oiled glass bowl.
- Cover the bowl with the disposable shower cap, or plastic wrap.
- Then, cover the bowl again with a wet kitchen towel to hold in the warmth. Use a heat mat to help the dough rise.No heat mat? Just place the bowl in the warmest spot of your house.
- Let the dough rise for 1 hour, or until it is doubled in size.
- Next, lightly flour a clean surface. Preheat the oven to 400°F.
- Transfer the dough to the floured surface.
- Then, use the chop cutter to cut the dough into 4 equal portions.
- Fold and roll each of the dough portions into rounded balls.
- By hand, roll each portion into a 12-inch strip.
- Then, use the cutter to cut each of the dough strips into 6 smaller pieces.
- Fold each dough portion until it's a rounded ball. Line a baking sheet with parchment paper.
- Lightly roll each smaller portion into a 3-inch diameter disk.
- Gently stretch the disks to make an oval shape.
- Then, line the stretched naan dough disks along the lined baking sheet.
- You can poke the naan ovals with a fork, but this step is optional.
- Next, brush each naan with olive oil.
- Then, take an empty baking sheet and flip it upside down in the oven, and set the tray of naan dippers on top.
- Bake the naan dippers for 12-14 min, until golden brown.
- Finally, serve and enjoy!
Notes
Nutrition
Food Photography & Video Tips from My Studio
Here’s a peek at the tools, gear, and camera setups I use to film my recipe videos and photograph food at home. Over the years, I’ve tested dozens of different setups, and now I’m sharing what actually works for me—whether I’m filming overhead shots for YouTube or styling still photos for my blog. If you’re curious about how I create the content you see here, these posts are a great place to start.





























Leave a Reply