|
This post contains affiliate links.
Why You’ll Love This Recipe
I can’t tell you how many times I’ve baked a beautiful cake, only to find it a little dry the next day. That changed when I started using this simple cake syrup. It’s one of those little hacks I now use almost every time I bake—whether it’s a rich Red Velvet Bundt Cake, a sunny Lemon Bundt Cake, or even a layered cake like my 3 Layer Vanilla Cake in 3 Hours. It’s just sugar, water, and your favorite extract, but it’s magical for moisture and flavor.
I discovered it while prepping cakes ahead for a birthday shoot. I had baked a tall vanilla layer cake and needed it to stay soft overnight. I brushed each layer with this syrup before stacking and frosting—and it worked like a charm. From then on, it became part of my routine.
I use this syrup especially when I know the cake will sit for a day or two, like my Christmas Chocolate Bundt Cake or Pumpkin Bundt Cake with Cream Cheese Frosting. It keeps everything moist and helps extend that just-baked feel. And yes, I drizzle it on cupcakes too—particularly when I make batches for blog videos or gifting.
Watch how I make this recipe
Tools That Make It Easier
For this simple syrup recipe you will only need a handful of common kitchen tools. Here’s what you need to get started:
If you’re a bundt cake lover like me, you probably already have these tools handy from other bakes like my Pumpkin Bundt Cake or Christmas Chocolate Bundt Cake.
What You’ll Need From Your Pantry
For this simple syrup recipe you will only need a handful of common kitchen tools. Here’s what you need to get started:
Before You Start: My Quick Tip
Here are a few things I’ve learned from making this cake syrup dozens of times:
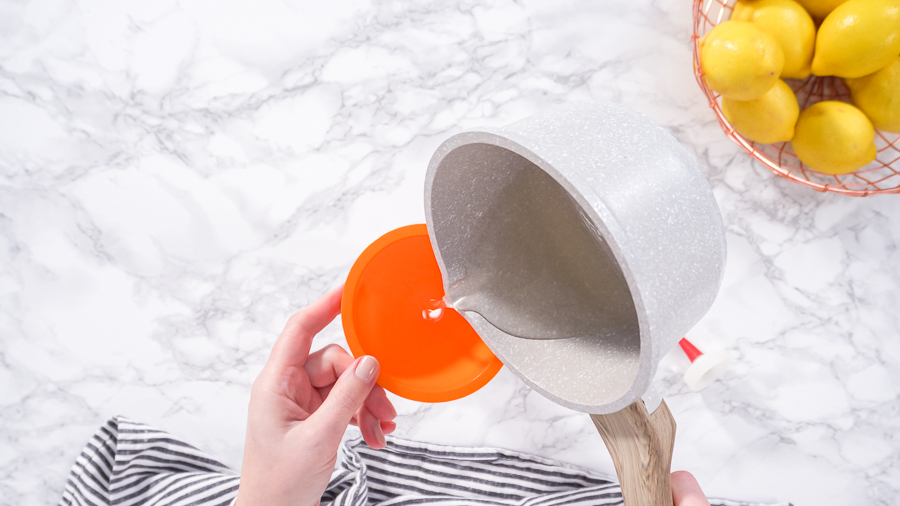
- Always use a saucepan with a pour spout – It helps prevent sticky spills when transferring the syrup.
- Double the batch if you're baking often – I make a big jar and keep it in the fridge for up to a month. It saves so much time.
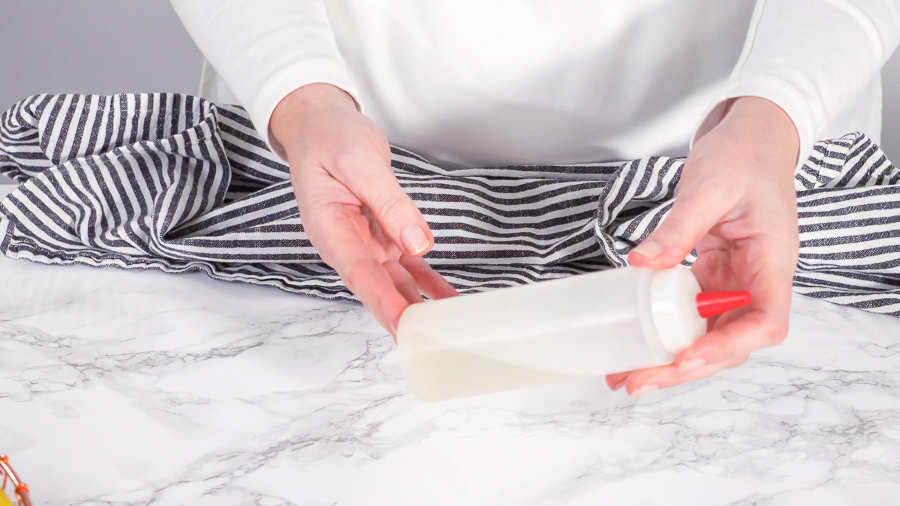
- Use a squeeze bottle for bundt cakes – It gives you more control and keeps the cake clean, especially when decorating.
- Let the syrup cool completely – I learned this the hard way when warm syrup made the frosting on a cupcake melt off.
- Brush cake layers before freezing – This keeps them moist and flavorful after thawing. I always do this when prepping for blog shoots or holidays.
- Try a variety of extracts – Vanilla is a classic, but almond, lemon, coconut, and even maple can give your cakes a fun twist.
Whether you're baking for your family, a client shoot, or just because it’s a Tuesday, this syrup is my best little secret to bakery-style results at home.
Latest Video
Let’s Make It Together
- Add water, sugar, and extract to your small saucepan.
- Heat it on medium, stirring gently until all the sugar dissolves.
- Let it cool completely.
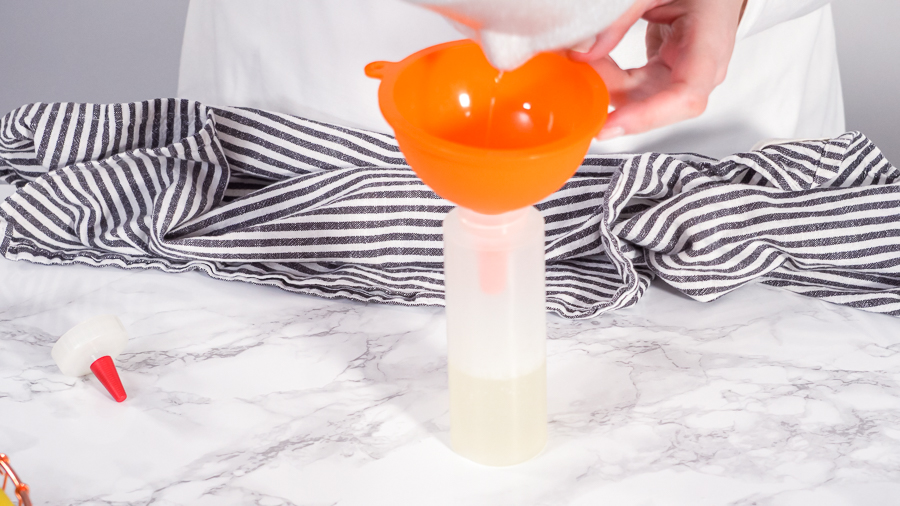
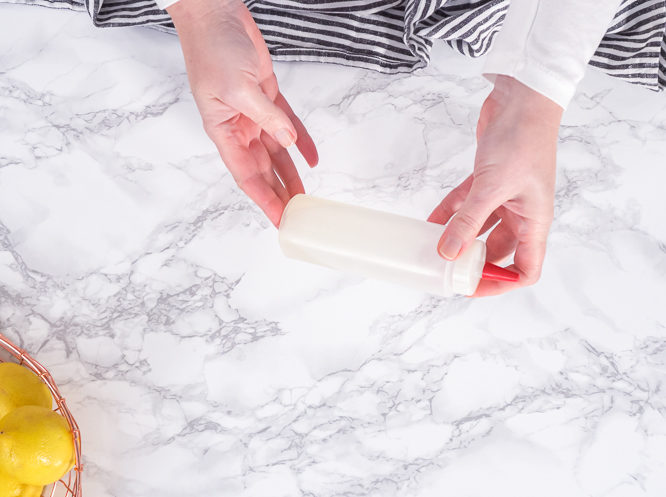
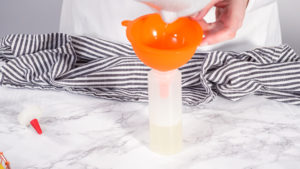
- Pour into a clean squeeze bottle or small jar and it’s ready to use!
That’s it. Takes about 7 minutes total. Sometimes I double the batch and keep it in the fridge for future baking days.
How I Use This Syrup in My Baking
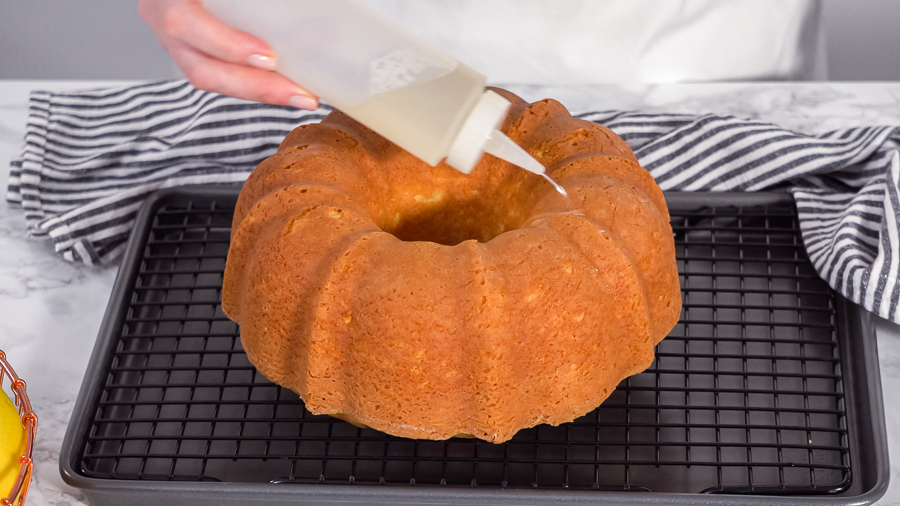
This syrup goes on almost all my bundt cakes. After the cake is cool, I drizzle the syrup across the top using a squeeze bottle—no mess, just flavor.
When I make cupcakes, especially for events or parties, I add a little syrup to each before frosting. I’ve used this trick for Red Velvet Valentines Day Cupcakes and Lemon Cupcakes with Lemon Filling—it’s the easiest way to upgrade any box mix or homemade batter.
For layer cakes like my 3 Layer Vanilla Cake in 3 Hours, I brush each layer with syrup before frosting. This helps them stay soft even when made the night before.
Recipe variations
- Almond extract for cherry or chocolate cakes
- Lemon extract for bundts and citrus cupcakes
- Coconut extract for summer flavors
- Infuse with cinnamon sticks or fresh herbs (like mint or rosemary—just steep for 5 minutes, then strain)
Cut, Serve, and Store It Like a Pro
A Trick for Freezing Cake Layers
One of my favorite time-saving tips: drizzle the syrup over cake layers before freezing. Then wrap tightly in plastic wrap. When I prep ahead for the holidays or busy weeks, I’ll do this with cakes like my Funfetti Bundt Cake or Pumpkin Bundt Cake with Cream Cheese Frosting. When I defrost them, they taste freshly baked.
Use It in Cocktails Too!
This syrup isn’t just for cakes. I’ve used a lemon or coconut version in summer drinks—just reduce the extract to half or leave it out entirely if you want plain sweetness. So easy and versatile!
How to Store It
Perfect Pairings
This syrup makes a great match for all my bundt cakes:
- Red Velvet Bundt Cake
- Lemon Bundt Cake
- Christmas Chocolate Bundt Cake
- Pumpkin Bundt Cake with Cream Cheese Frosting
- Funfetti Bundt Cake
- Apple Bundt Cake with Caramel Glaze
If you’re trying my Gingerbread Bundt Cake with Caramel Filling or the Chocolate Pumpkin Bundt Cake with Toffee Glaze, I suggest using a spiced syrup with a hint of cinnamon or nutmeg!
Final Thoughts
If you haven’t used cake syrup before, try it just once—I promise it’ll become a staple in your kitchen. It saves dry cakes, enhances flavor, and makes freezing layers foolproof. I’ve been using it for years and wouldn’t bake without it, especially when prepping for events, gifts, or stock photography shoots where the cake has to look and taste perfect even a few days later.
Let me know what flavors you try, and if you’ve found any unexpected uses for it!
Cake syrup
Video
Ingredients
- ¼ cup Water
- ¼ cup Sugar
- 1 ½ tablespoon Vanilla extract or other preferred flavored extracts
Instructions
- In a small saucepan, stir together the water, sugar, and vanilla extract. Warm the mixture over medium heat, stirring occasionally, until the sugar fully dissolves and the liquid turns clear.
- Remove the syrup from heat and let it cool completely. Once cooled, carefully pour it into a clean squeeze bottle for easy drizzling.
Nutrition
From My Kitchen to Yours
Bundt Cakes
- Lemon Blueberry Bundt Cake – Bright, Moist, and Full of Flavor
- Funfetti Bundt Cake with Vanilla Glaze and Rainbow Sprinkles
- Red Velvet Bundt Cake Recipe with Heart-Shaped Chocolate Topping
- Easy Lemon Glaze for Cookies and Bundt Cake
- Bundt Cake Baking Tools and Equipment
- Powdered Sugar Dusting for Bundt Cakes – Simple and Elegant
Pin It For Later
Food Photography & Video Tips from My Studio
Here’s a peek at the tools, gear, and camera setups I use to film my recipe videos and photograph food at home. Over the years, I’ve tested dozens of different setups, and now I’m sharing what actually works for me—whether I’m filming overhead shots for YouTube or styling still photos for my blog. If you’re curious about how I create the content you see here, these posts are a great place to start.






Leave a Reply