 By Arina Habich. Updated April 9, 2026

This post contains affiliate links.
Fresh berries make all the difference — here’s how I keep strawberries fresh longer.
Why You’ll Love This Recipe
This delicious Red Velvet Bundt Cake is one of those recipes I turn to when I want something a little extra. You know those moments when you’re craving something homemade but also want it to look like you walked out of a fancy bakery? This is it.
I first made it for Valentine’s Day one year when I was short on time but still wanted to wow. The combo of rich cocoa flavor, a velvety red crumb, and that dreamy cream cheese frosting hits all the right notes. And the strawberries? I add those for a little freshness—and because they make it look like you really tried (even if you didn't!).
If you're a bundt cake fan like me, you’ll probably also enjoy my Lemon Blueberry Bundt Cake, Pumpkin Bundt Cake with Cream Cheese Frosting, or even the more festive Gingerbread Bundt Cake with Salted Caramel Frosting. I love how bundt cakes offer elegance without the need for stacking or fancy decorating.
Watch how I make this recipe
Why I Love This Cake
Valentine’s Day has always been about more than cards or flowers—it's about the little sweet things you can do to make someone smile. And in my house, that usually means baking. I sometimes go with Red Velvet Cupcakes with White Chocolate Ganache Frosting, or Chocolate Strawberry Cupcakes, but this bundt cake? It’s the one that gets the oohs and aahs.
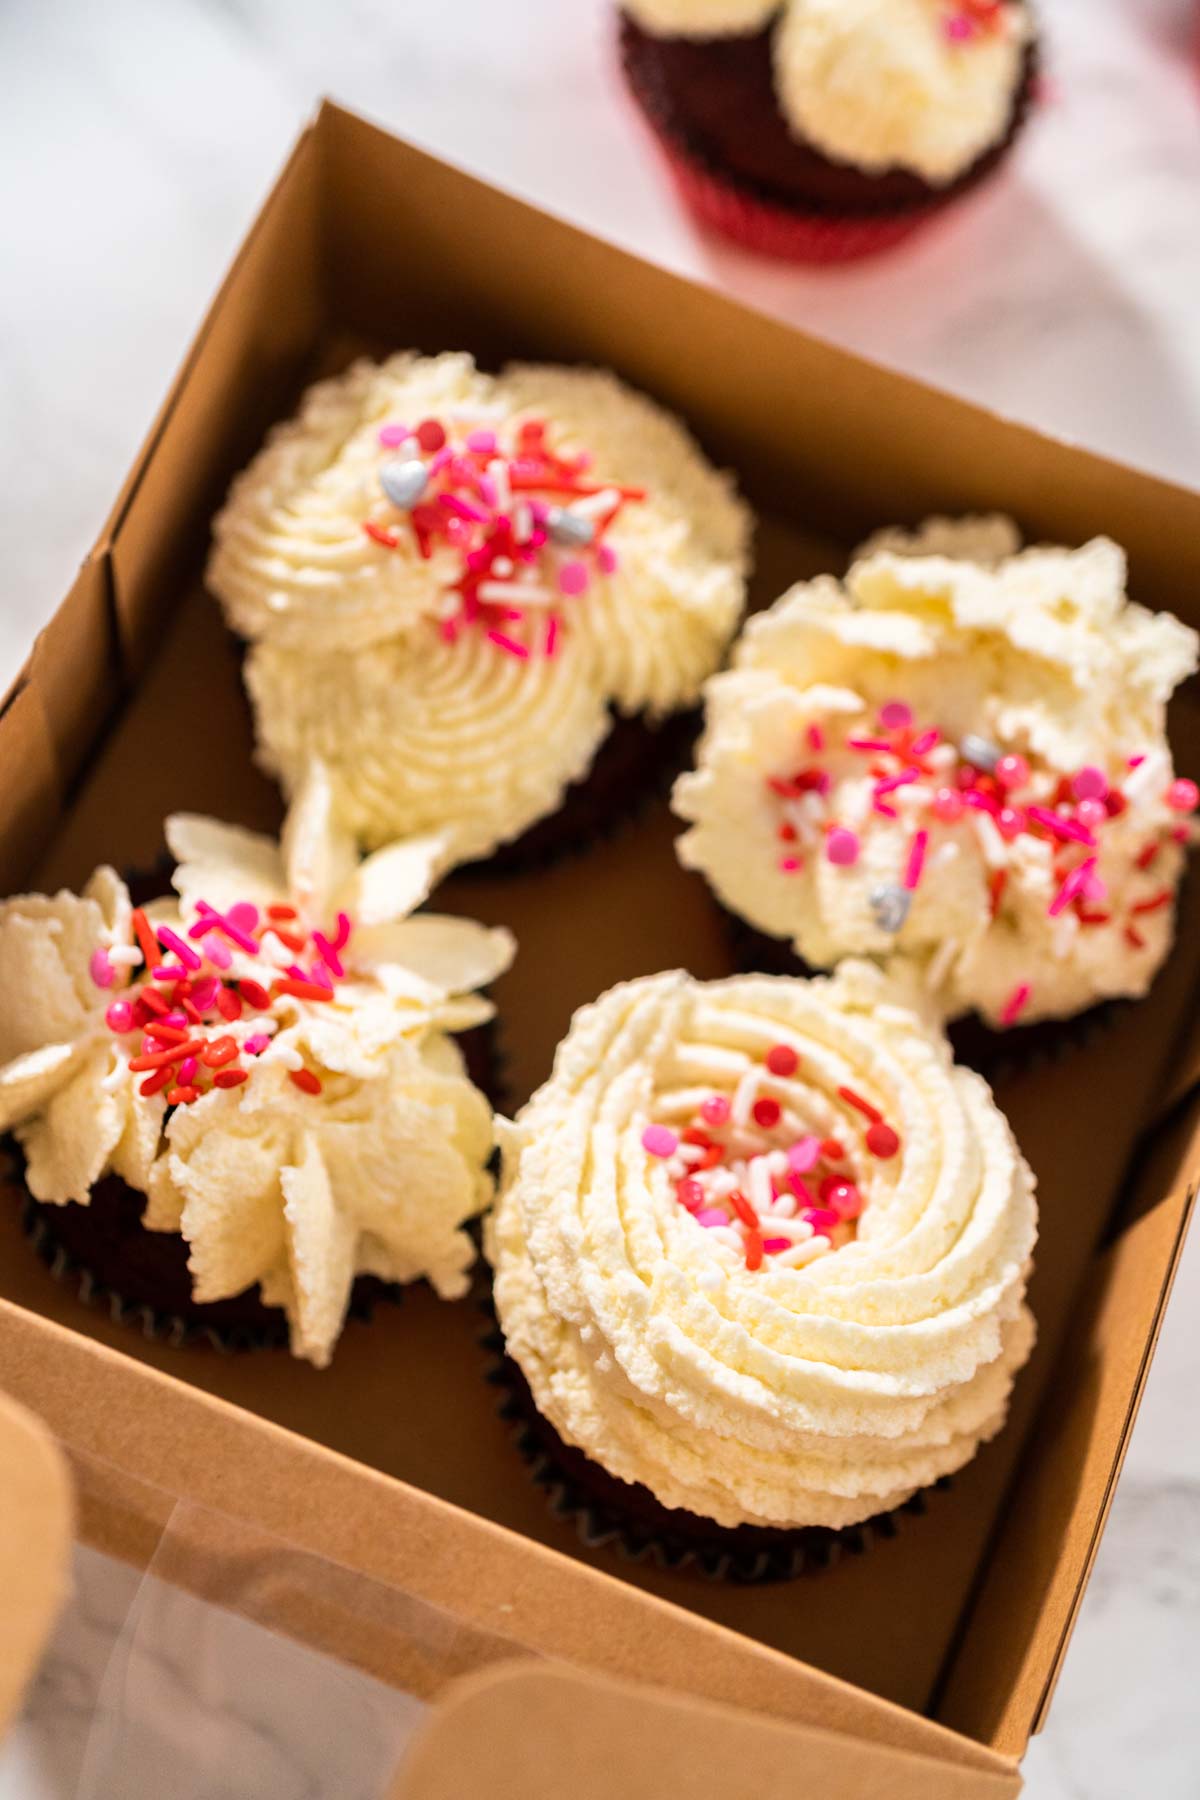
Plus, it’s a great recipe for gifting. I use simple Cake Boxes to pack it up and decorate the top with halved strawberries. It instantly becomes a thoughtful handmade gift—perfect for holidays, birthdays, or even a neighbor drop-off.
And here’s a little tip from experience: don’t skip the Cake Syrup. It’s a basic sugar-water mix with a bit of vanilla or almond extract, and I swear it’s the secret to the softest, most tender bundt cakes. I drizzle it on while the cake’s still warm.

Tools That Make It Easier

What You’ll Need From Your Pantry
Bundt cake
- 2 ½ Cups All-purpose flour
- ½ tsp Salt
- 1 tsp Baking powder
- ½ Cup Cocoa powder unsweetened
- 4 Eggs
- 2 tsp Vanilla extract
- 1 Cup Buttermilk
- 1 Cup Butter room temperature
- 2 Cups Sugar
- 1 ½ tsp Red food coloring
Bundt cake pan coating
- 2 tbsp Vegetable shortening
- 2 tbsp All-purpose flour
Cream cheese frosting
- 2 ½ cup Powdered sugar
- 4 oz cream cheese room temperature
- ½ tsp Vanilla extract
- 3 tbsp milk
Garnish
- 1 lb Fresh strawberries halfed

Before You Start: My Quick Tip
- Use cake syrup. I lightly drizzle my cakes with cake syrup while still warm—this keeps them incredibly moist. I explain this method more in my Cake Syrup post.
- Do not skip pan prep. I use a brush to apply vegetable shortening into every ridge of the bundt pan, then flour it and shake out the excess. It’s the only way I’ve found to guarantee a clean release. You can also check out my detailed post on How to Grease a Bundt Cake Pan.
- Use a 10-minute timer. Removing the cake at exactly 10 minutes after baking (not earlier or later) has helped me avoid breakage when inverting. See my guide on How to Remove a Bundt Cake from a Pan for more on this.
- Don’t overmix! This cake is fluffiest when you combine ingredients just enough—no need to whip it too long.
- Strawberry placement. I slice the strawberries and alternate placing them on top and around the base. It’s my go-to trick for presentation.

Latest Video

Let’s Make It Together
1. Prep the Oven and Pan
Preheat the oven to 350°F. Grease a bundt pan with vegetable shortening and dust with flour. Tap out any extra flour.
2. Make the Dry Mix
In a medium mixing bowl, whisk together the flour, baking powder, cocoa powder, and salt.
3. Cream Butter and Sugar
In a large bowl, beat the butter and sugar until light and fluffy. This takes about 3–4 minutes with a hand mixer.
4. Mix Wet Ingredients
In another bowl, whisk together the eggs, vanilla extract, and buttermilk.
5. Combine Everything
Alternate adding the egg mixture and dry mix into the creamed butter and sugar, mixing gently between each addition. Mix until just combined—don’t overmix.
6. Add Food Coloring
Fold in the red food coloring until evenly mixed.
7. Pour and Bake
Pour the batter into the prepared bundt pan. Smooth the top. Bake for 50–65 minutes, or until a toothpick inserted comes out clean. I usually check at 55 minutes.
8. Cool and Release
Let the cake rest in the pan for exactly 10 minutes before inverting onto a wire rack to cool completely.
Decorating and Serving
While the cake cools, prepare the frosting by beating together the powdered sugar, cream cheese, milk, and vanilla until smooth and fluffy.
Once cool, move the cake to your stand. Drizzle the frosting on top, letting it drip down naturally. Decorate with halved strawberries around the top and base of the cake. This frosting is also perfect on Pumpkin Cupcakes with Italian Buttercream Frosting and Blueberry Muffins with White Ganache.

Recipe variations
- Mini Bundts: Use mini bundt pans or cupcake molds to create individual servings. Great for parties or gifting. I sometimes use these for my Unicorn Rainbow Cupcakes style presentation.
- Chocolate Drizzle: Swap the cream cheese frosting for Chocolate Ganache or even White Chocolate Ganache.
- Berry Mix: Fold in a handful of chopped strawberries or raspberries into the batter.
- Nutty Crunch: Stir in chopped pecans or walnuts for added texture.
- Holiday Flair: Tint the cake green and top with sugared cranberries like in my Lemon Cranberry Bundt Cake.


Storing Your Bundt Cake: Ensuring Freshness and Flavor
Whether you’re enjoying leftovers or preparing your cake in advance, here’s how to keep it tasting fresh:
- At Room Temperature:
For short-term storage (up to three days), keep the cake under a cake dome or wrapped in plastic wrap on the counter. Your Bundt cake will stay fresh for up to 3 days. This method is perfect for cakes that will be eaten in a short period. - Refrigerate for Longevity:
Wrap the cake tightly in plastic wrap or store it in an airtight container if you need to keep it fresh for up to five days. It can last up to 5 days in the refrigerator. Remember to let it come back to room temperature before serving to ensure the best flavor. - Freeze for Future Enjoyment:
Freezing is ideal for extended storage. Wrap your Bundt cake securely in plastic wrap, followed by aluminum foil, and freeze. Before freezing, mark the packaging with a Sharpie to note the date. Your cake will remain fresh for up to 3 months in the freezer. Thaw it in the refrigerator overnight and allow it to reach room temperature before enjoying. This method is ideal for planning ahead or keeping leftovers tasting as good as new.
By following these detailed serving and storage tips, you can enjoy your Bundt cake at its best, whether it's freshly baked or saved for later. Proper storage ensures every bite remains moist, flavorful, and just as satisfying as when it first came out of the oven.


More Cake Ideas You Might Like
If you loved this Red Velvet Bundt Cake, you’ll want to try a few more of my favorite festive and easy-to-make treats:
Simple Vanilla Bundt Cake From Box Cake – perfect for a last-minute celebration.
Red Velvet Cupcakes with White Chocolate Ganache Frosting – if you're in the mood for a more portable version of this bundt.
Chocolate Lips and Hearts – great for Valentine's Day goodie bags.
Valentine's Day Chocolate Covered Pretzel Rods – a quick, no-bake option that looks adorable.

Red Velvet Bundt Cake
Video
Ingredients
- 2 ½ Cups All-purpose flour
- ½ teaspoon Salt
- 1 teaspoon Baking powder
- ½ Cup Cocoa powder unsweetened
- 4 Eggs
- 2 teaspoon Vanilla extract
- 1 Cup Buttermilk
- 1 Cup Butter room temperature
- 2 Cups Sugar
- 1 ½ teaspoon Red food coloring
Bundt cake pan coating
- 2 tablespoon Vegetable shortening
- 2 tablespoon All-purpose flour
Cream cheese frosting
- 2 ½ cup Powdered sugar
- 4 oz cream cheese room temperature
- ½ teaspoon Vanilla extract
- 3 tablespoon milk
Garnish
- 1 lb Fresh strawberries halfed
Instructions
Bundt Cake
- Preheat oven to 350°F (175°C) and position the rack in the center.

- In a medium mixing bowl, sift and whisk together the flour, baking powder, cocoa powder, and salt until well blended.

- In a large bowl, beat softened butter and granulated sugar using a hand mixer until the mixture is pale, creamy, and fluffy—about 3 to 4 minutes.

- In a separate bowl, whisk the eggs thoroughly, then stir in the vanilla extract and buttermilk until smooth.

- Gradually mix half of the egg mixture into the butter-sugar base, then fold in half of the dry ingredients. Repeat with the remaining halves and mix until the batter is smooth and fully combined.

- Stir in red food coloring, a little at a time, until you reach your desired shade of deep red.

Bundt cake pan coating
- Use a pastry brush or paper towel to generously grease the inside of a bundt pan with vegetable shortening.

- Sprinkle flour inside the greased pan and rotate to coat evenly, tapping out any excess.

- Carefully pour the cake batter into the pan and use a spatula to smooth the surface.

- Bake for 50 to 65 minutes, checking with a toothpick or cake tester until it comes out clean.
- Let the cake cool in the pan for exactly 10 minutes to help it set without sticking.

- Gently invert the pan onto a wire cooling rack and let the cake cool completely before adding any frosting.

Cream cheese frosting
- In a mixing bowl, beat powdered sugar, softened cream cheese, milk, and vanilla extract until creamy and lump-free.

Bundt cake decoration
- Rinse strawberries under cold water and dry them thoroughly with paper towels to avoid watering down the frosting.

- Slice each strawberry in half lengthwise to create heart-like shapes.

- Place the cooled bundt cake on a stand, drizzle generously with cream cheese frosting, and top with strawberry halves. Arrange more strawberries around the base for a polished look.

From My Kitchen to Yours


Pin It For Later

Food Photography & Video Tips from My Studio
Here’s a peek at the tools, gear, and camera setups I use to film my recipe videos and photograph food at home. Over the years, I’ve tested dozens of different setups, and now I’m sharing what actually works for me—whether I’m filming overhead shots for YouTube or styling still photos for my blog. If you’re curious about how I create the content you see here, these posts are a great place to start.

What is in my toolbox?

3 ways camera setup for Tasty-style video recipes

Best camera for cooking videos


Leave a Reply