|
 |
This post contains affiliate links.
Butter boards are one of those food trends I immediately fell in love with. They’re simple, affordable, and always get people talking. Think of them as the laid-back cousin of the charcuterie board—just creamy butter spread across a board, topped with crunchy nuts, fresh herbs, and colorful toppings. It looks fancy but takes only minutes to prepare!
The first time I made a butter board was for a small get-together. Instead of spending a fortune on meats and cheeses, I spread out a softened block of butter, topped it with walnuts and parsley, and added a few easy sides. By the end of the night, the entire board was gone, and everyone asked for the recipe. That’s when I knew this idea was a keeper. Now I like to mix it up depending on the season—sometimes I’ll serve it alongside my Easter Charcuterie Board in spring, or pair it with my July 4th Charcuterie Board for summer gatherings. For cozy evenings, it makes a fun companion to my S’mores Charcuterie Board too.
Why You’ll Love This Recipe
- Budget-friendly – Cheaper than most charcuterie spreads.
- Quick to make – Only takes about 15 minutes to prep.
- Versatile – Works as an appetizer, party snack, or even a light lunch.
- Customizable – Swap in different nuts, herbs, or seasonal toppings.
- Show-stopping – Looks elegant with very little effort.
Watch how I make this recipe

Tools That Make It Easier
- Large round wooden board (14-inch) – I love the rustic look.
- Cake spatula – Perfect for spreading butter evenly.
- Parchment paper – Keeps cleanup stress-free.
- Tape – To secure parchment on the board.

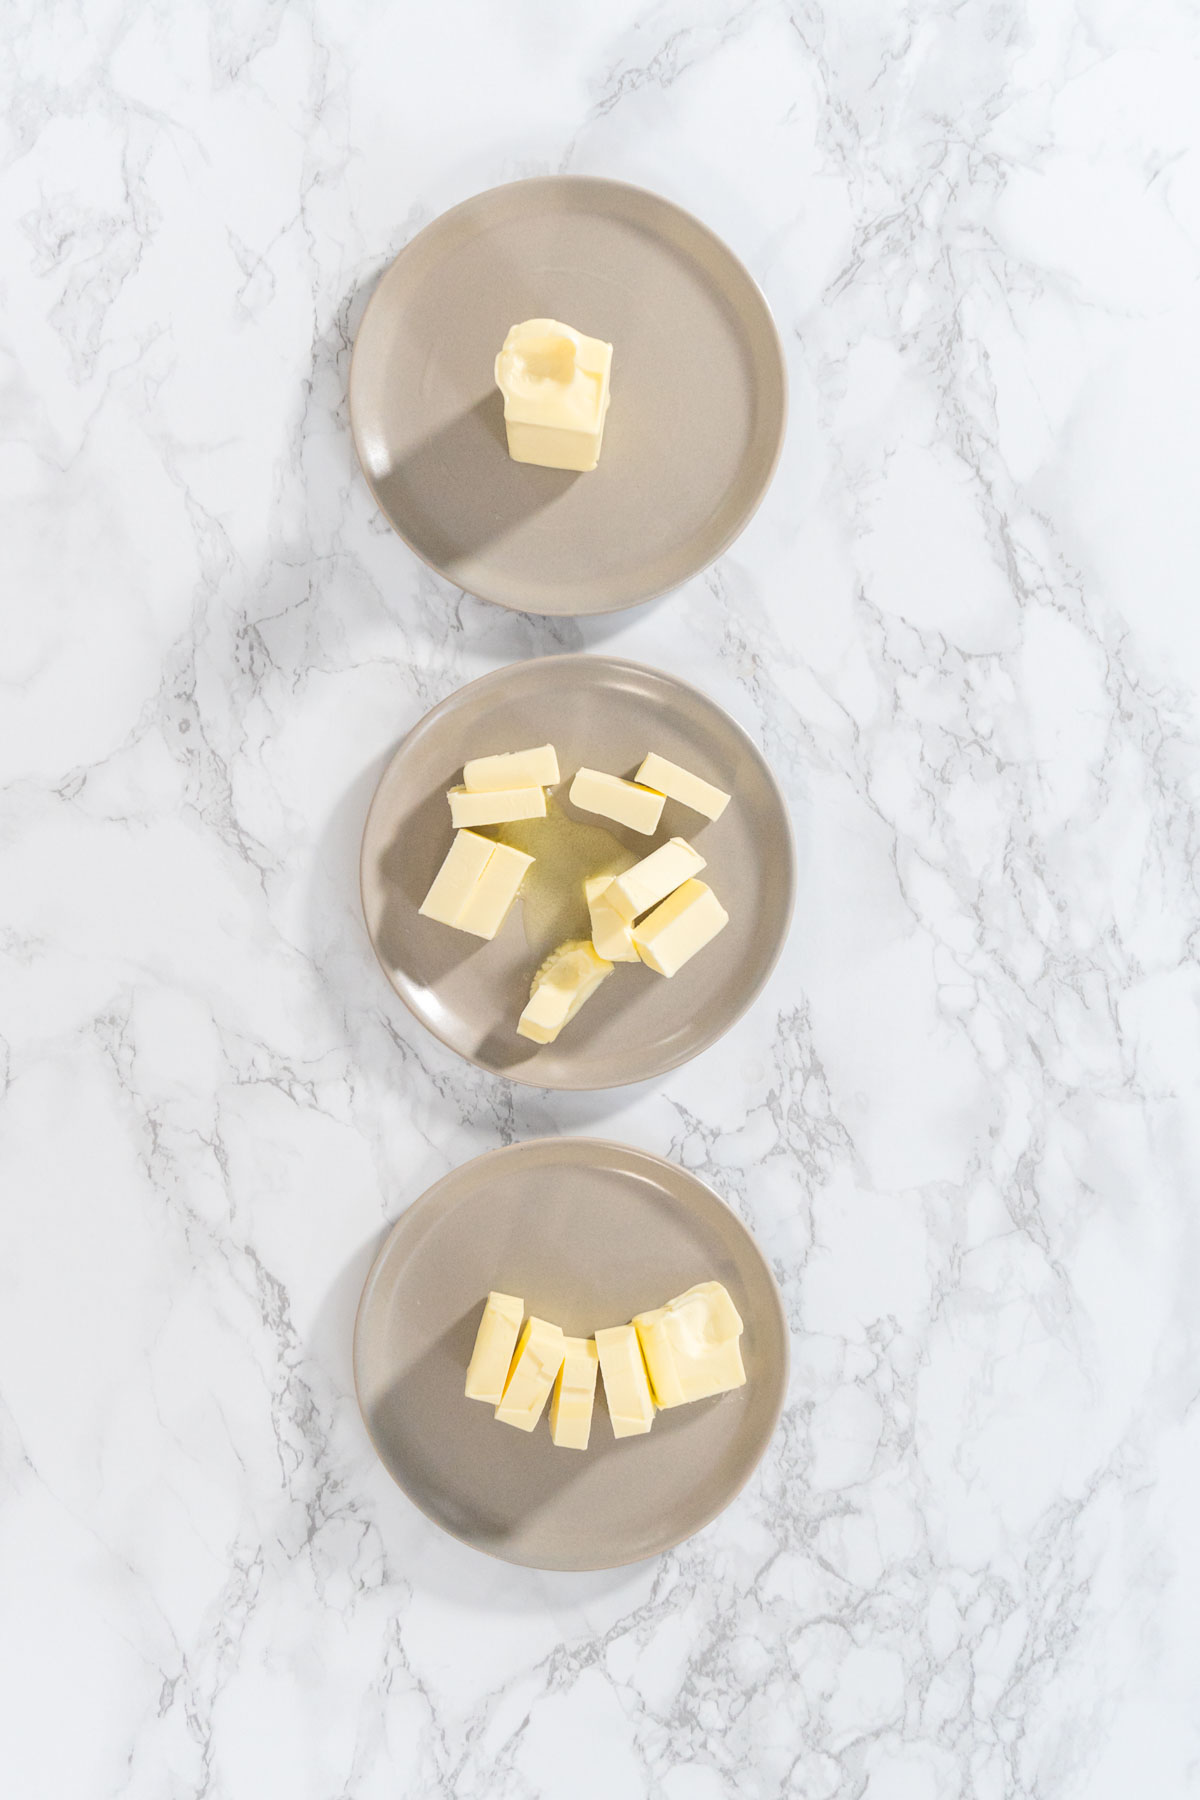
How to soften butter
What You’ll Need From Your Pantry
Butter Spread
- ½ cup unsalted butter, room temperature
- 2 tablespoon lemon juice (from ½ lemon)
- ¼ cup walnuts, chopped
- 2 tablespoon parsley, chopped
Toppings
- 1 French baguette, sliced
- Assorted crackers
- 1 ½ cups thinly sliced radishes
- 1 ½ cups fresh sprouts
- 2 cups Greek olives, pitted

Before You Start: My Quick Tip
- Soften the butter fully: Cold butter will tear your parchment, so let it sit out until spreadable.
- Mix flavors: I often swap walnuts for pecans or almonds, and parsley for fresh dill or chives when I want a new flavor profile.
- Add color: Pink radishes or roasted cherry tomatoes add a pop of brightness that makes the board look extra inviting.
- Serve warm bread: Lightly toasting or warming baguette slices makes the butter taste even richer—this is always a hit in my house.
- Season lightly: A sprinkle of flaky sea salt right before serving really elevates the flavors.
- Pair it well: This butter board goes beautifully next to my Fruit and Vegetable Board for Playdates or the Bagel Brunch Board if you’re planning a bigger spread. For holiday gatherings, I like setting it beside my Valentine’s Day Charcuterie Board or even my Vegetarian Party Butter Board for guests who want more veggie-forward options.

Latest Video

Let’s Make It Together
Step 1: Prepare the Base
- Wash and dry the board, then tape down a piece of parchment paper.
- Spread softened butter across the center with a cake spatula.
- Drizzle lemon juice over the butter.
- Sprinkle with walnuts and fresh parsley.
Step 2: Add the Toppings
- Place baguette slices along one side of the board.
- Arrange crackers on the opposite side.
- Fill in empty spots with sliced radishes, sprouts, and olives.
- Serve immediately and enjoy!

Recipe variations
- Spicy kick – Add red pepper flakes or a drizzle of hot honey.
- Sweet twist – Swap herbs for dried fruit and drizzle with honey.
- Seasonal flavors – In fall, try roasted pumpkin seeds; in summer, top with basil and cherry tomatoes.

Choosing the Right Board

Storage
- Freshen up: Add a sprinkle of fresh parsley or nuts right before serving if it’s been stored for a while.
- Make-ahead: Assemble up to 2 days before, cover tightly with plastic wrap, and refrigerate.
- Before serving: Pull it out 30 minutes before to let the butter soften.


More Boards & Party Ideas
- Fruit and Vegetable Board
- Bagel Brunch Board
- Valentine’s Day Charcuterie Board
- Easter Charcuterie Board
- July 4th Charcuterie Board
- S’mores Charcuterie Board
- Vegetarian Party Butter Board


Butter Board with Nuts and Herbs
Video
Equipment
- 1 Large round wood board 14 inch
Ingredients
Butter Spread
- ½ cup unsalted butter room temperature
- 2 tablespoon lemon juice from ½ lemon
- ¼ cup walnuts chopped
- 2 tablespoon parsley chopped
Toppings
- 1 French baguette sliced
- Assorted crackers
- 1 ½ cup radish bunch sliced thinly
- 1 ½ cup Fresh sprouts
- 2 cup Greek Olives Pitted
Instructions
Butter Spread
- Gather and measure all the ingredients. Make sure the butter is softened to room temperature.

- Wash and dry your serving board.

- Lightly tape a sheet of parchment paper to the board to keep it in place.

- Spread the softened butter in the center using a cake spatula.

- Drizzle fresh lemon juice over the butter.

- Sprinkle chopped nuts across the top.

- Finish with a sprinkle of freshly chopped parsley.

Toppings
- Arrange baguette slices along one side of the board.

- Place crackers on the opposite side.

- Fill the open spaces with sliced veggies (thinly sliced radishes work perfectly).

- Add a handful of fresh sprouts.

- Finish by adding olives to the board.

Nutrition
From My Kitchen to Yours
More charcuterie board ideas
- Easy S’mores Charcuterie Board for Summer Parties
- Red and Pink Charcuterie Board for Valentine’s Celebrations
- 4th of July charcuterie board
- Easter Charcuterie Board with Cookies, Chocolates, and Candy
- Easy and Colorful Fruit and Veggie Board for Entertaining
- How to Make a Bagel Brunch Board for Easy Entertaining


I’ve Got Answers
Can I use salted butter?
Yes, but I recommend cutting back on extra salt to keep the balance right.
What bread works best?
A crusty French baguette is my go-to, but sourdough or ciabatta also works well.
Can I prep the toppings ahead of time?
Absolutely. Slice the radishes and prep the sprouts a few hours early—just store them in the fridge until serving.
Can I make a vegetarian version?
Yes! Skip the nuts and pile on extra veggies like cucumbers, bell peppers, or roasted carrots. For more inspiration, check out my Vegetarian Party Butter Board.
Pin It For Later

Food Photography & Video Tips from My Studio
Here’s a peek at the tools, gear, and camera setups I use to film my recipe videos and photograph food at home. Over the years, I’ve tested dozens of different setups, and now I’m sharing what actually works for me—whether I’m filming overhead shots for YouTube or styling still photos for my blog. If you’re curious about how I create the content you see here, these posts are a great place to start.

What is in my toolbox?

3 ways camera setup for Tasty-style video recipes

Best camera for cooking videos


Leave a Reply