A Beginner's Guide to Fudge-Making: How to Choose the Right Pan for Perfectly Smooth and Creamy Treats.
This post contains affiliate links.
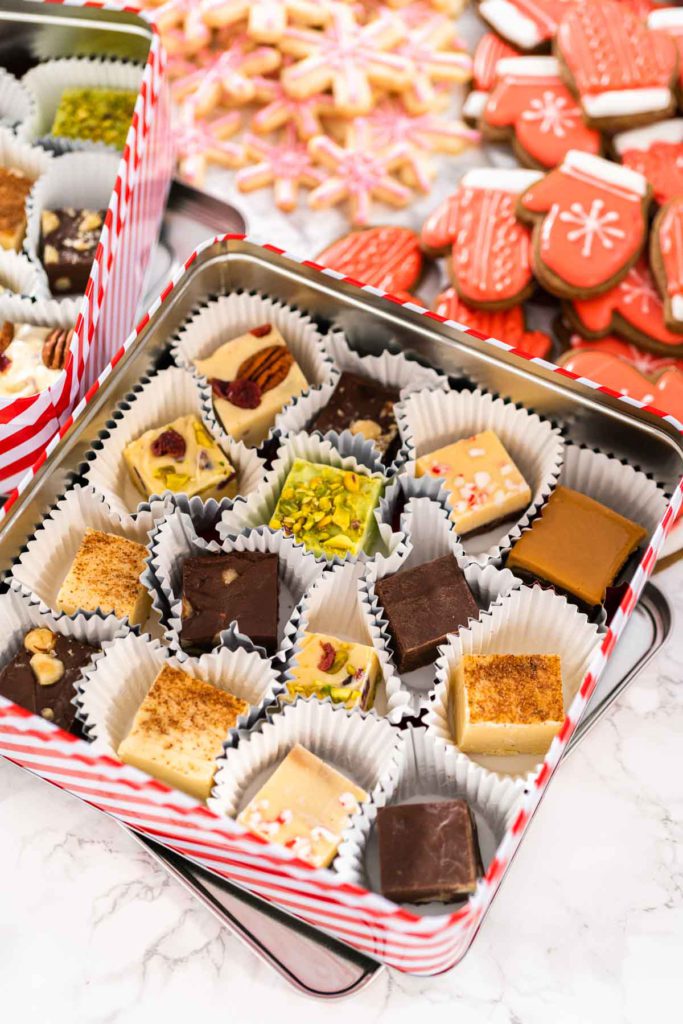
As a lifelong fudge enthusiast, I've always been captivated by the art of fudge-making, especially during the holiday season. My family have an age-old tradition of making a variety of fudges and gingerbread cookies for Christmas, which we would then gift to our friends and relatives. This delightful practice has allowed me to hone my fudge-making skills and experiment with a wide range of delicious fudge recipes. Today, I am excited to share with you some of my insights, tips, and tricks on how to create the perfect fudge, every time.
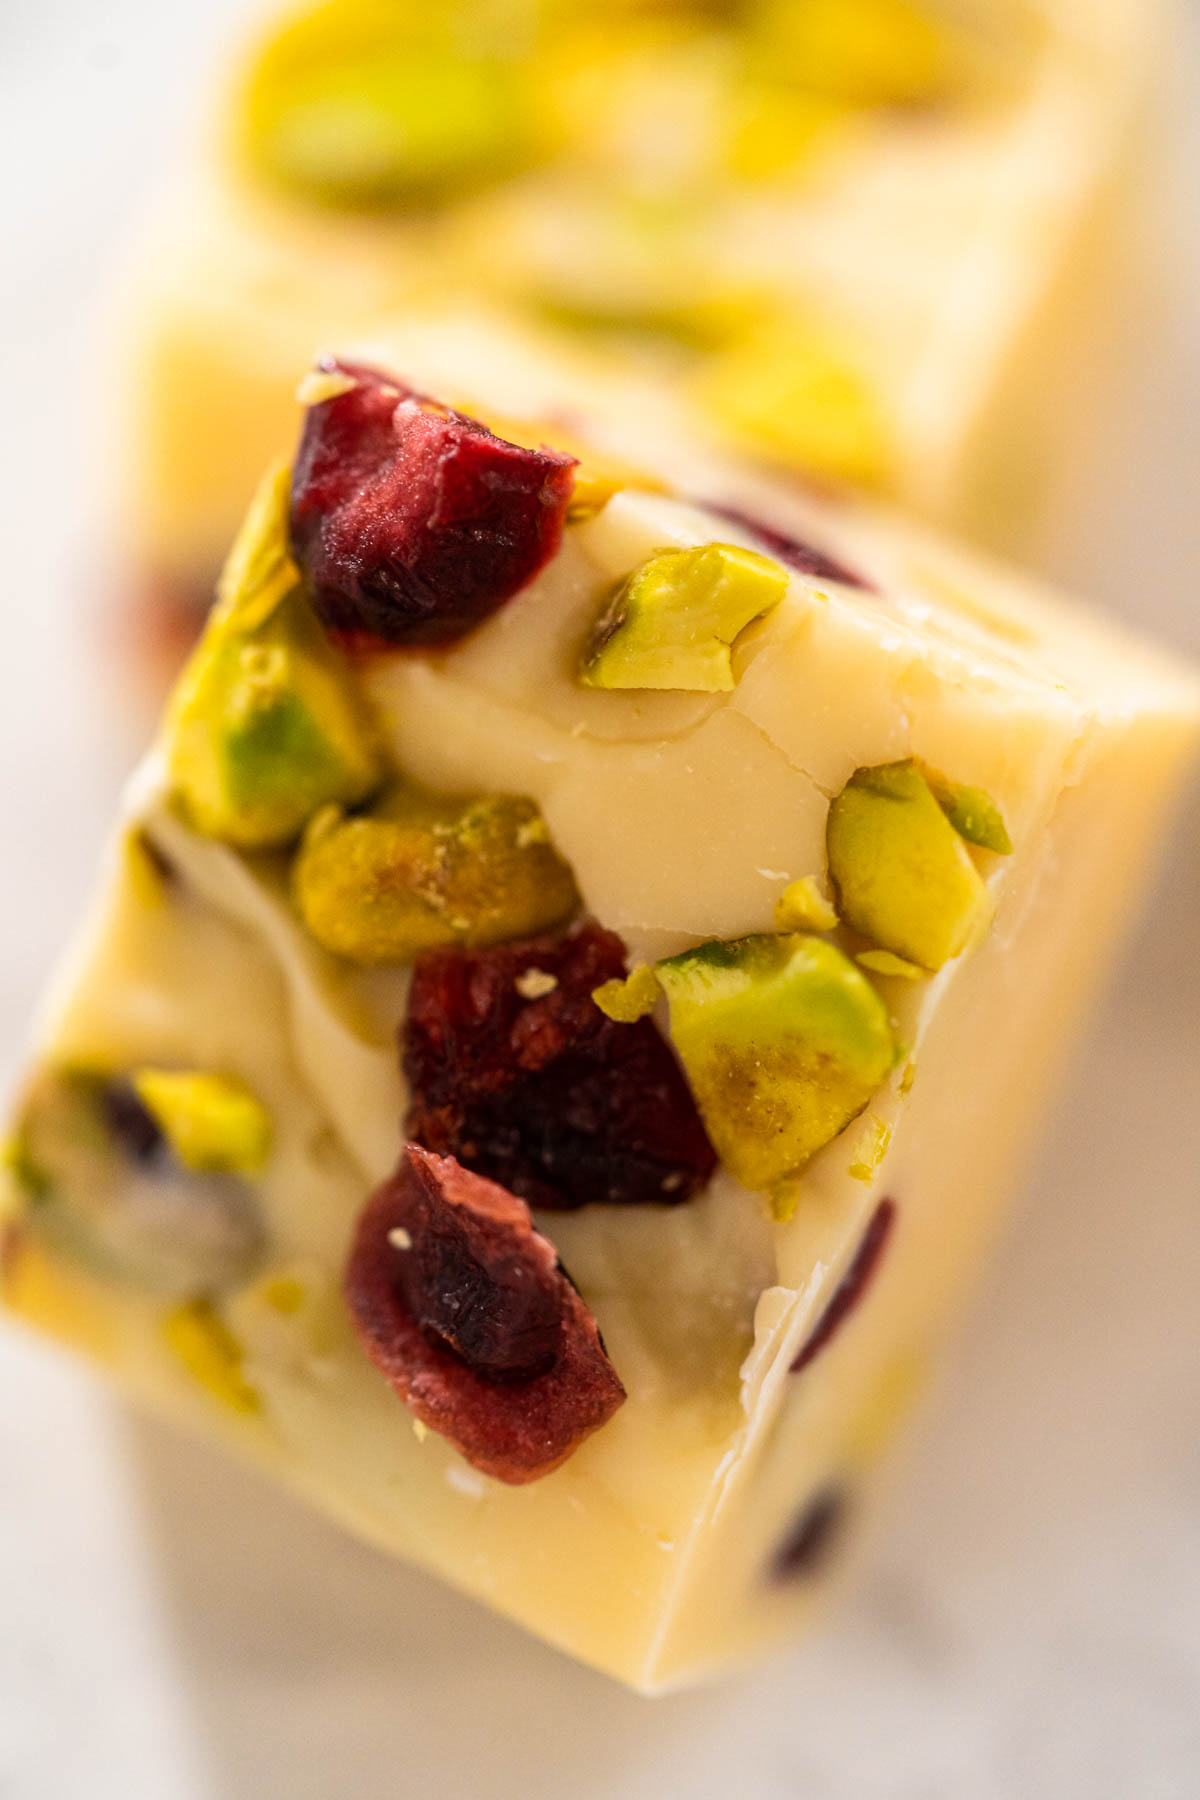
Fudge has an interesting history, dating back to the late 19th century in the United States. It is believed that fudge was created by accident when a batch of caramels went awry. Over the years, fudge has evolved and gained popularity, becoming a staple confection in many households, particularly during the holiday season. Some of my all-time favorite fudge recipes have historical ties and similarities, such as Chocolate Macadamia Fudge, Candy Cane Fudge, Cranberry Pistachio Fudge, and Classic Chocolate Fudge.
The secret to making perfect fudge lies not only in the ingredients but also in the tools and techniques used during the process. One crucial aspect of fudge-making is selecting the right pan, which can greatly impact the final product's quality and appearance. In this blog post, I'll be sharing some essential tips for choosing the perfect fudge pan and offering insights into the art of fudge-making.
To enhance your fudge-making experience, I recommend reading the following blog posts: How To Freeze Fudge, How to Package Fudge for Gifts, and How to Cut Fudge into Smooth Perfect Pieces. These informative articles will provide you with valuable tips and tricks to ensure your fudge is not only delicious but also beautifully presented.
So, without further ado, let's embark on this delightful journey into the world of fudge-making. From selecting the ideal pan to mastering the art of cooling and cutting, this comprehensive guide will equip you with the knowledge and skills necessary to create the perfect fudge.
Factors to Consider When Choosing a Fudge Pan
Material
Different materials are used to make pans, and the choice of material can significantly impact the quality, texture, and overall success of the fudge I create. The material of a pan plays a vital role in heat distribution, which is crucial for achieving that perfect fudge consistency. In this section, I'll share my insights on the various materials used in the construction of pans and delve into the advantages and disadvantages of each material, helping you determine which ones are best suited for fudge-making.
Aluminum
Aluminum pans are lightweight and conduct heat evenly, ensuring consistent results when making fudge. However, they can be prone to warping and may react with acidic ingredients, potentially affecting the fudge's flavor. When using aluminum pans for fudge-making, I prefer to opt for anodized aluminum, which is less reactive and more durable. In fact, aluminum pans are my favorite due to their even heat distribution and versatility.
Stainless Steel
Stainless steel pans offer excellent durability and are resistant to warping and staining. However, they don't conduct heat as well as other materials, which can lead to uneven cooking and potentially impact the texture of the fudge. To counteract this, I suggest looking for stainless steel pans with an aluminum or copper core, which provides better heat distribution.
Cast Iron
Cast iron pans are known for their excellent heat retention and even heat distribution, making them a popular choice for many types of cooking, including fudge-making. However, they are quite heavy, and they require special care to maintain their seasoning and prevent rusting. Additionally, cast iron pans take longer to heat up and cool down, which can affect the fudge-making process.
Non-stick
Non-stick pans are incredibly convenient for fudge-making due to their easy release and minimal need for greasing. However, their non-stick coating can wear down over time, and they may not be as durable as other materials. When using non-stick pans for fudge-making, I recommend using silicone or wooden utensils to prevent scratches and prolong the life of the pan.
Glass
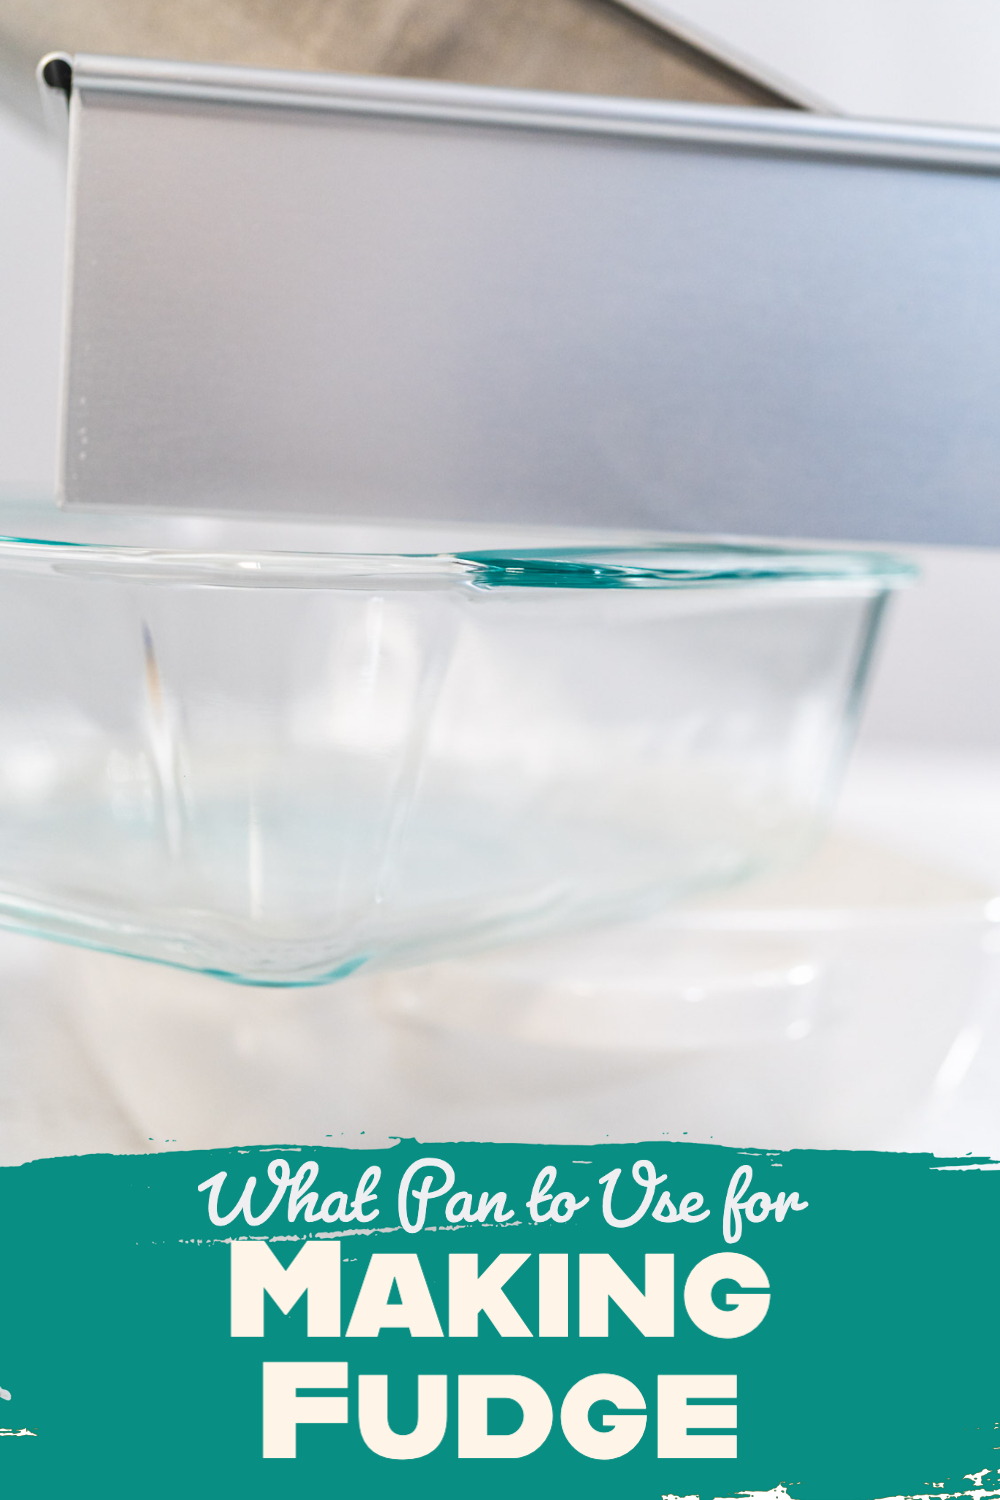
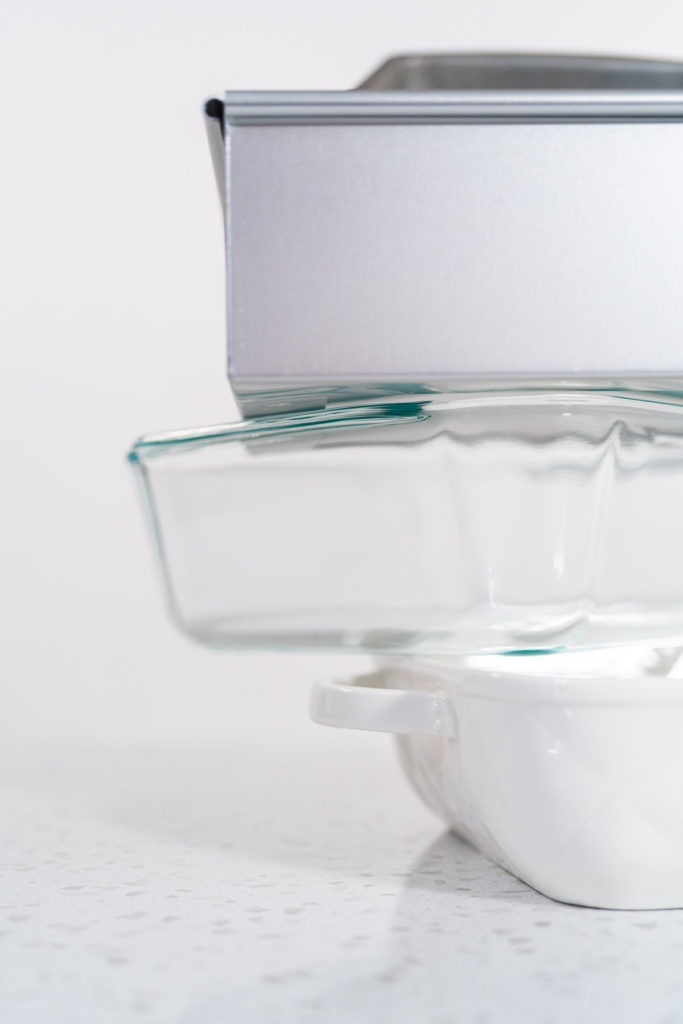
Glass pans are non-reactive, which means they won't affect the flavor of the fudge, and they allow for easy monitoring of the fudge as it cooks. However, glass pans have poor heat conductivity, which can lead to uneven cooking and potential sticking. If you choose to use a glass pan for fudge-making, be prepared to adjust your cooking time and temperature accordingly.
Ceramic
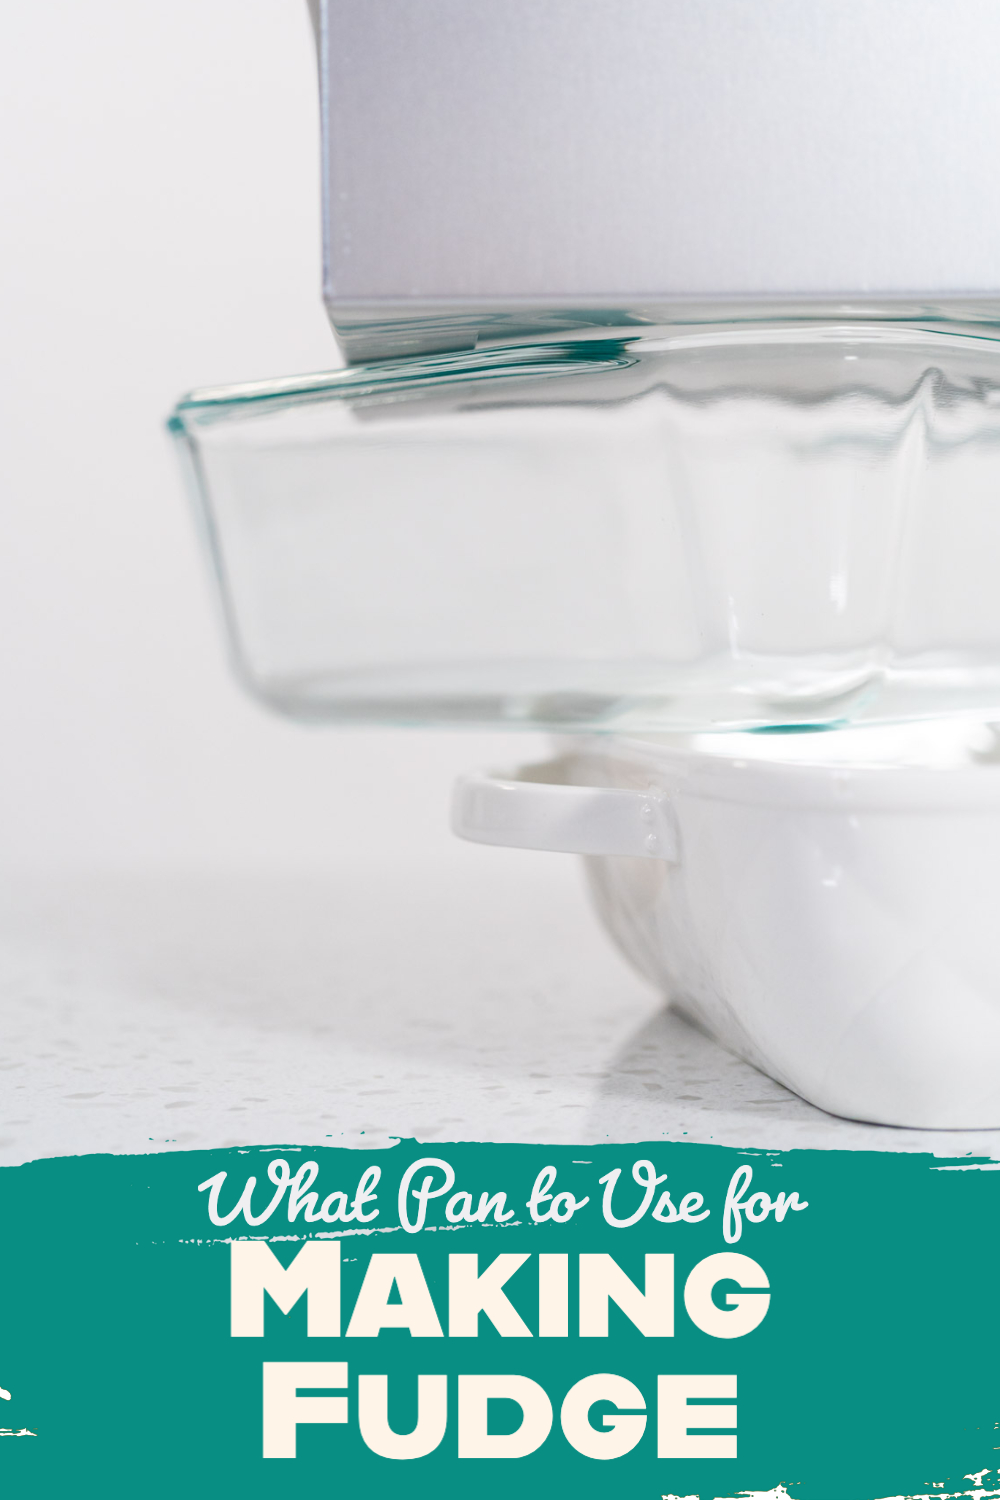
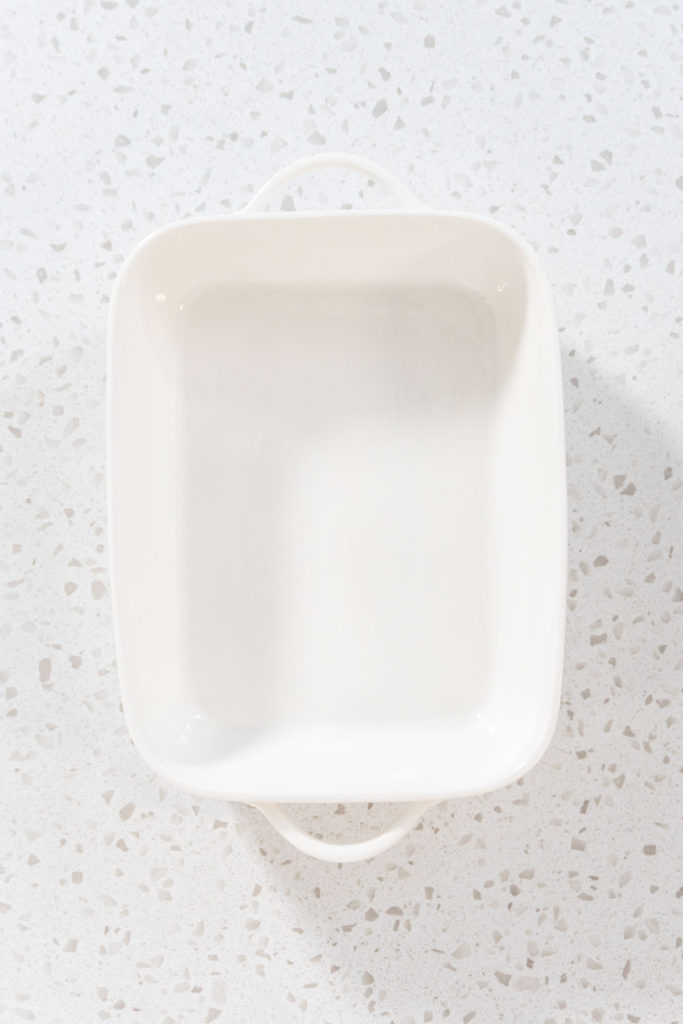
Ceramic pans are non-reactive and provide even heat distribution, making them a suitable choice for fudge-making. They are also aesthetically pleasing and can be used for both cooking and serving. However, they can be more fragile than other materials, and temperature changes can cause them to crack.
Keep in mind that each material has its advantages and disadvantages, and the choice ultimately comes down to personal preference and your specific fudge-making requirements. As for me, I've found that aluminum pans are my go-to choice for fudge-making, but it's essential to explore and find the best material that works for you.
Size and Shape
The size of the pan is absolutely crucial when it comes to making fudge, and I've found that choosing the right size pan can mean the difference between perfectly set fudge and a gooey mess. When I make fudge, I pay close attention to the pan's size, as it affects not only the thickness of the fudge but also the evenness of the cooking process. But, let's not forget about the pan's shape, which is another vital factor in fudge-making.
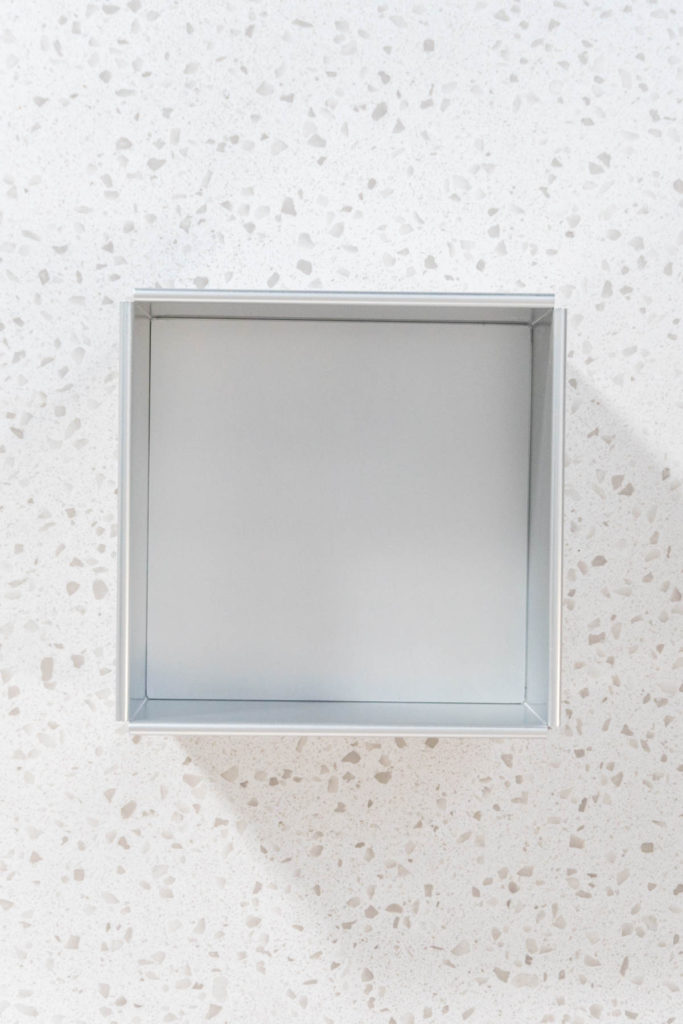
I've experimented with various pan sizes and shapes and discovered that my personal favorite is the cheesecake pan. What I love about using a cheesecake pan for making fudge is that it has straight edges, which result in perfect, uniform pieces of fudge. The even height of the pan's sides also ensures that the fudge sets consistently throughout, giving me the ideal thickness and texture for each piece.
When it comes to pan shapes, square and rectangular pans are most popular for fudge-making, as they make it easy to cut the fudge into neat, equal-sized pieces. However, other shapes like round pans can work well too, though you might need to trim the fudge's edges for a more uniform appearance. Loaf pans can create thicker fudge slabs, which can then be sliced into smaller bars or squares.
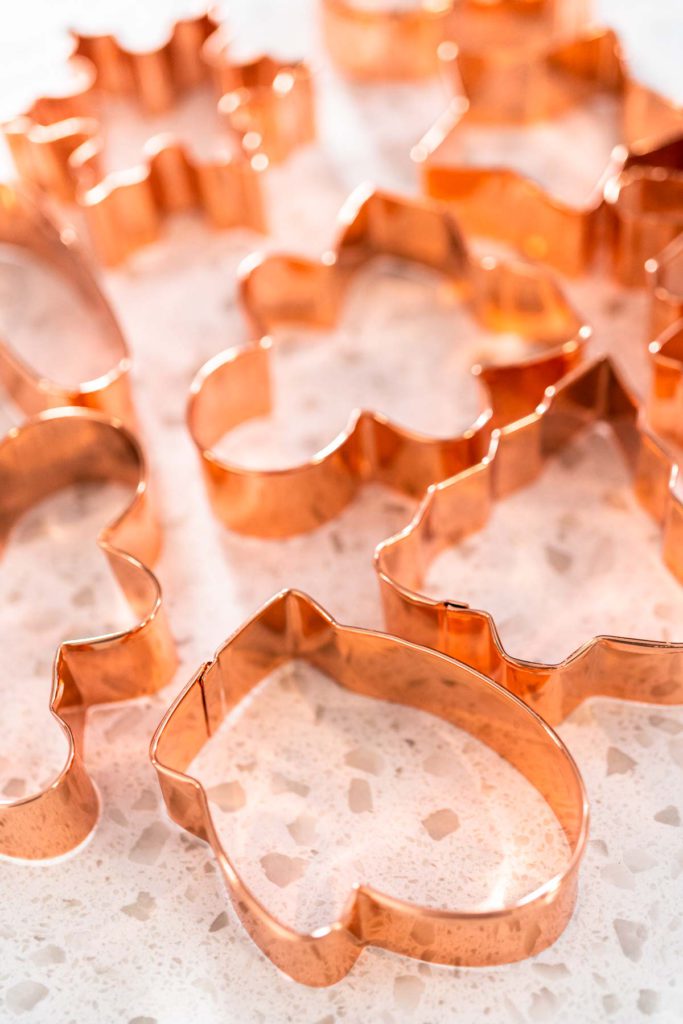
Another option for unique fudge shapes is to use silicone molds or cookie cutters. Silicone molds come in various shapes and sizes, allowing you to create fun and festive fudge pieces that will impress your friends and family. Cookie cutters can be used to cut out fudge shapes after the fudge has set, adding a personal touch to your homemade treats.
When selecting a pan, it's essential to consider the amount of fudge you're planning to make and the desired thickness of the final product. If the pan is too small, the fudge may be too thick and take longer to set, possibly leading to an uneven texture. On the other hand, if the pan is too large, the fudge may end up too thin, affecting its appearance and mouthfeel.
In my experience, a pan with dimensions around 8x8 or 9x9 inches works well for most standard fudge recipes. However, you can adjust the pan size based on your specific recipe or preferences. Just remember to keep an eye on the thickness and adjust the cooking time accordingly, as this can be the key to achieving that perfect fudge consistency.
In summary, when making fudge, both the size and shape of the pan are essential factors that can significantly impact the final product. I've had great success using a cheesecake pan with straight edges, which allows me to create perfectly shaped fudge pieces with the ideal thickness and texture. Don't be afraid to experiment with different pan sizes and shapes to find the one that works best for you and your fudge-making adventures.
Types of Pans for Making Fudge
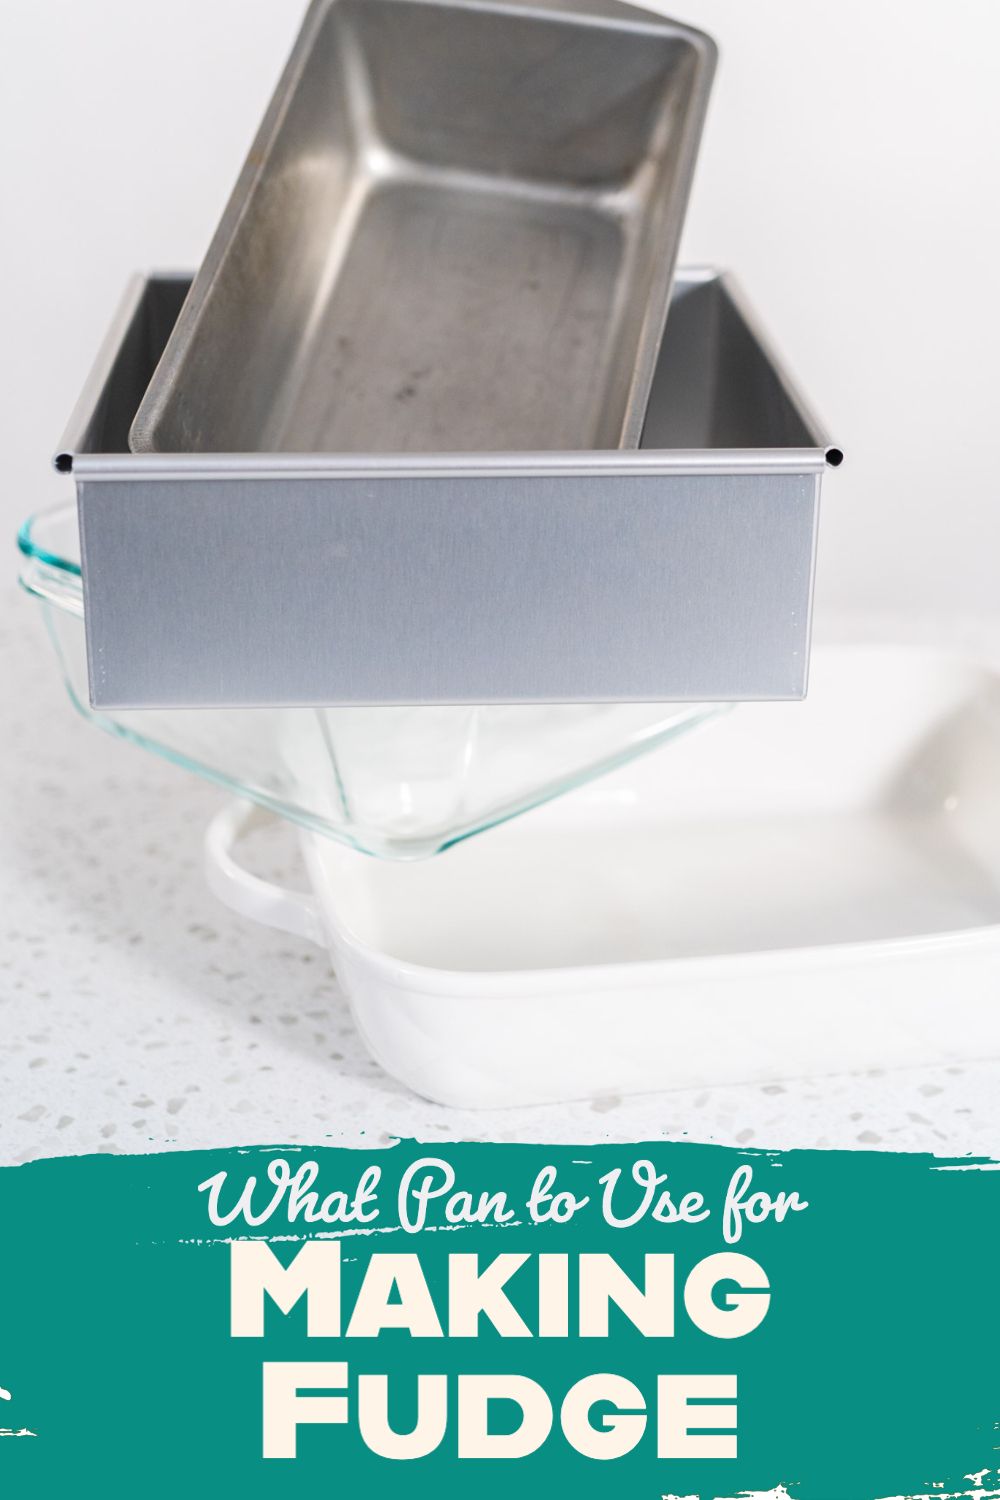
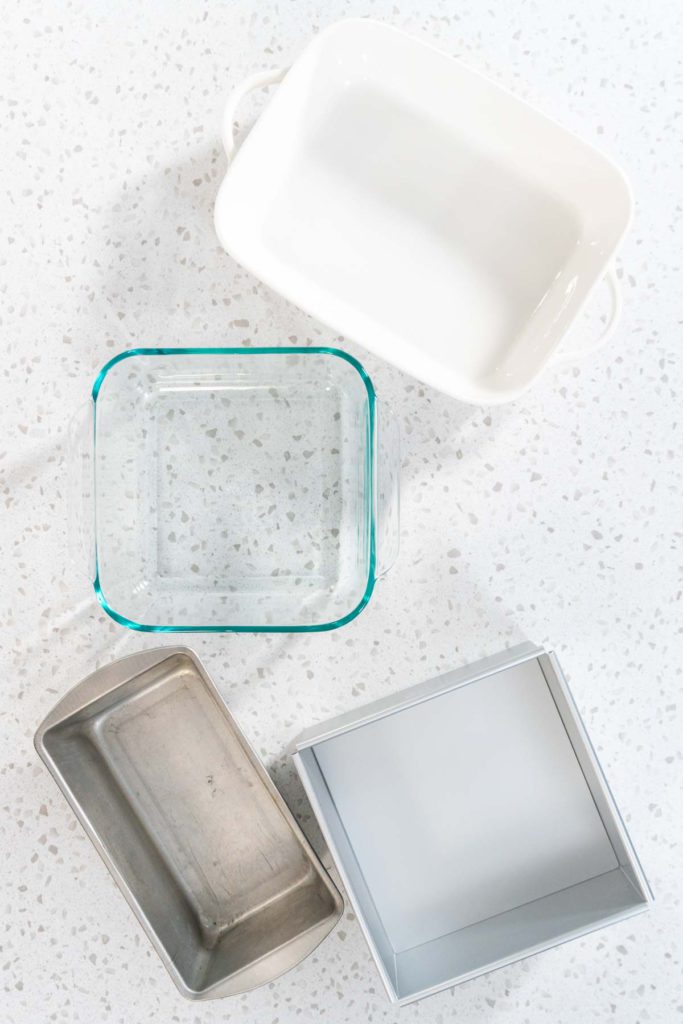
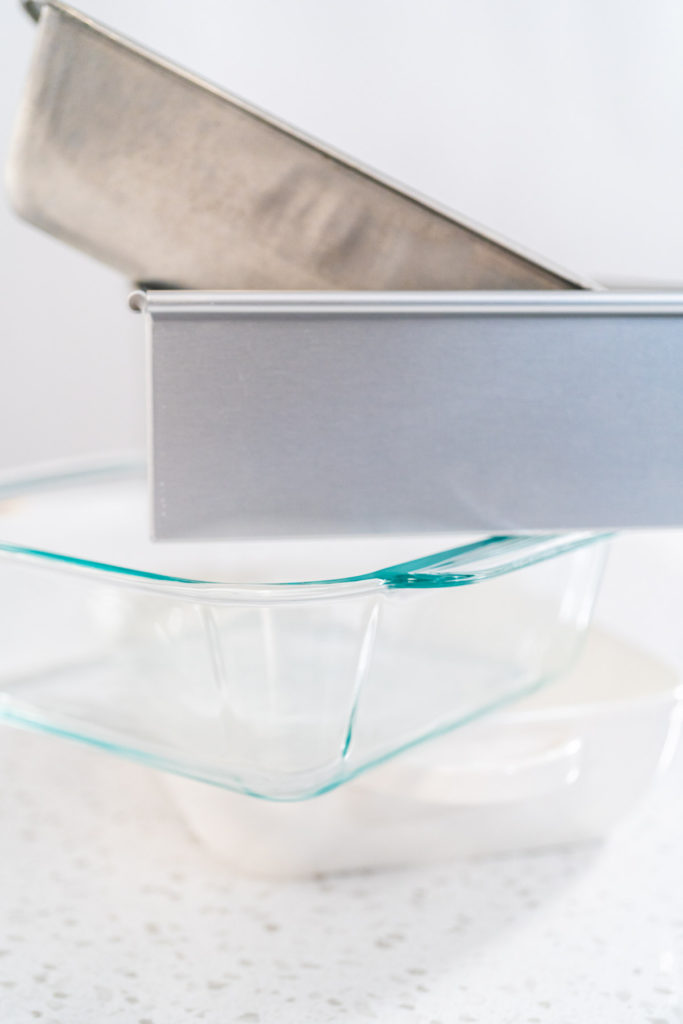
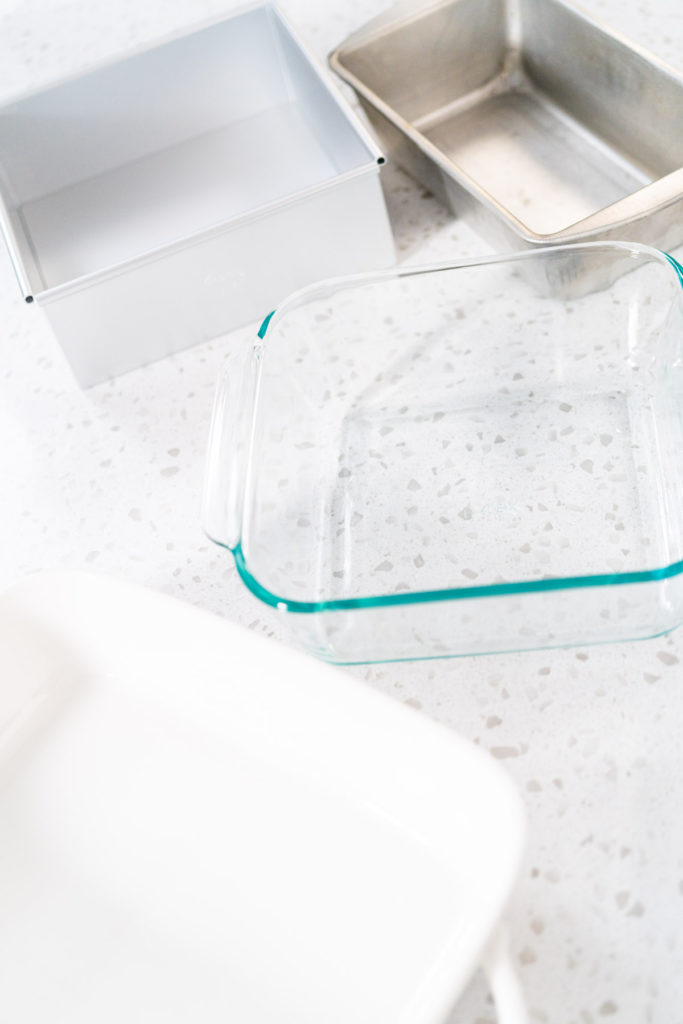
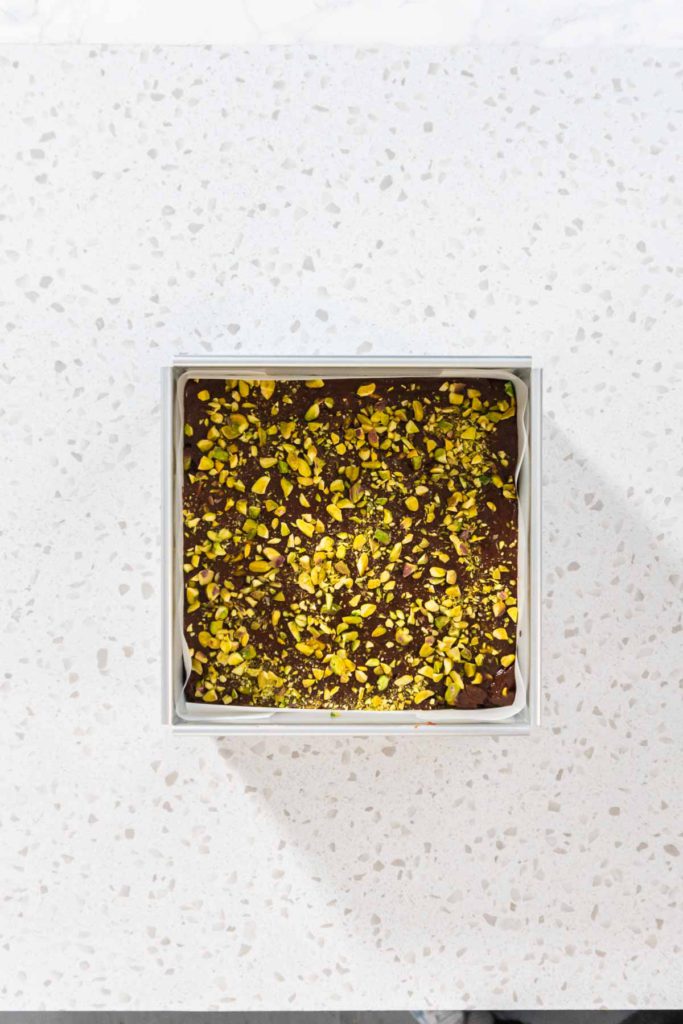
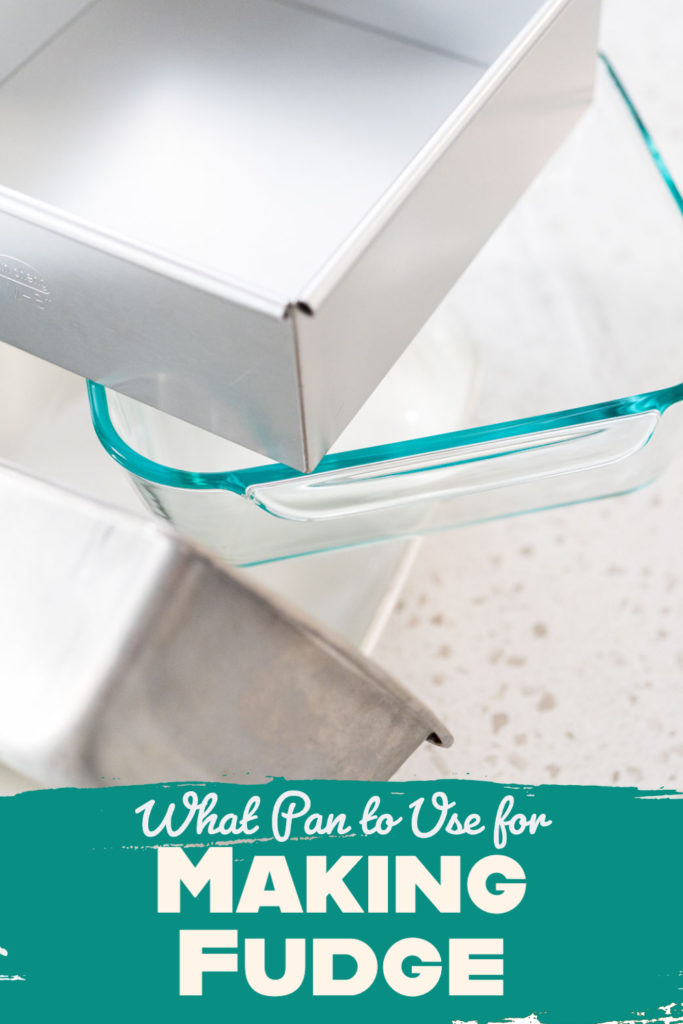
Technically, you can use any square or rectangular pan for making fudge, provided that you line it with parchment paper. I prefer lining my baking pans with parchment paper, although foil is another option. Ideally, the pan should have walls that are at least 1.5 inches high.
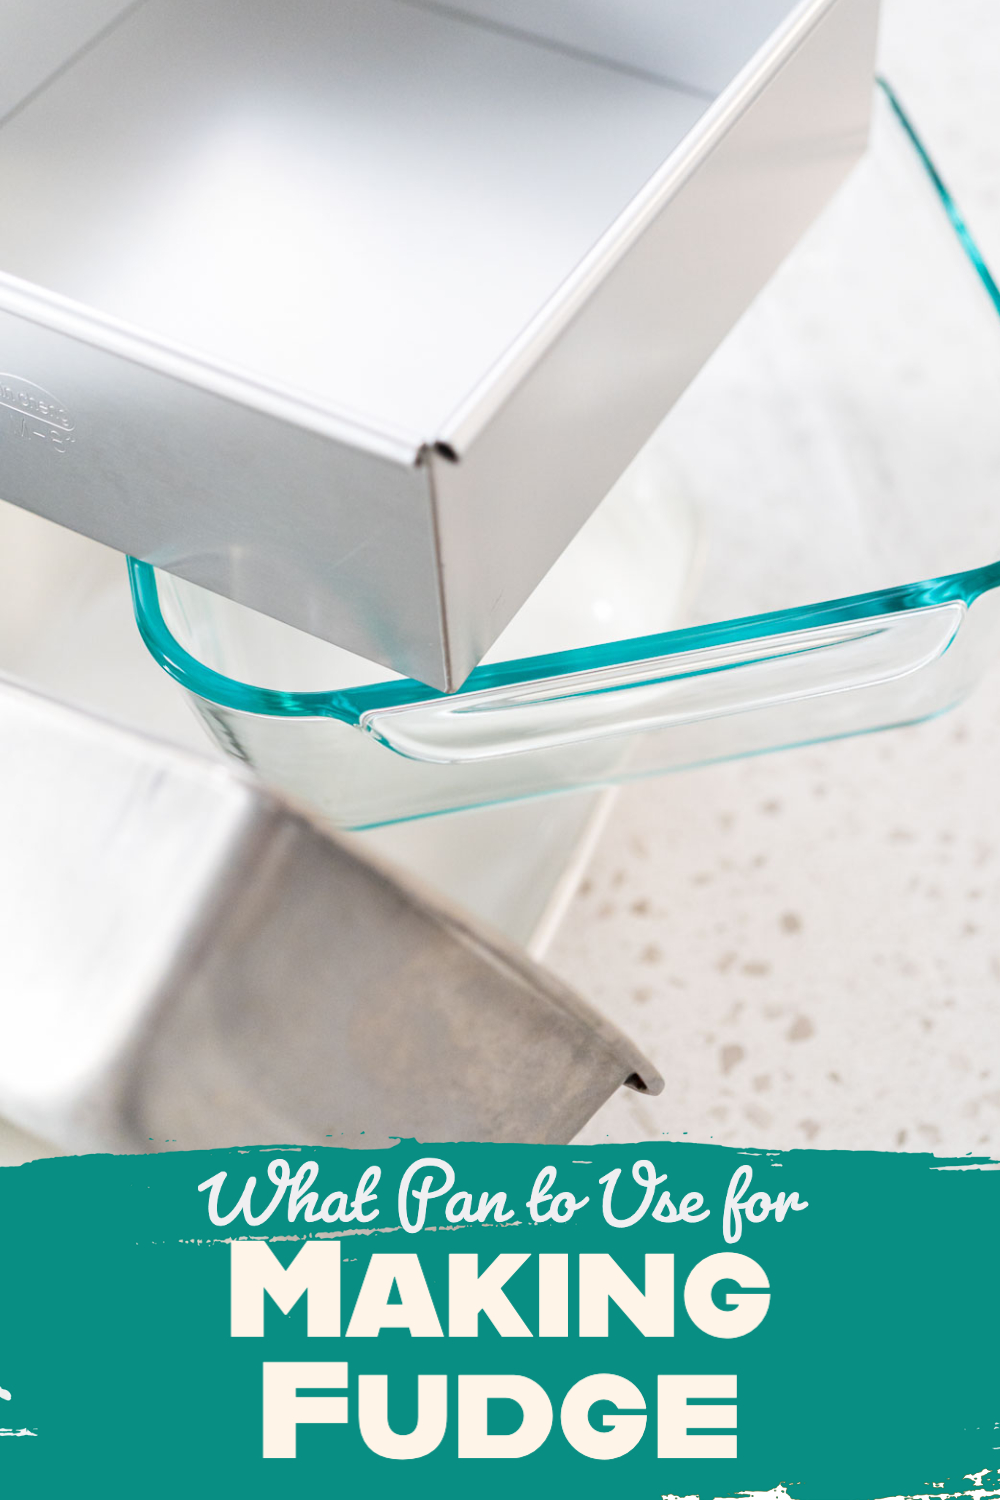
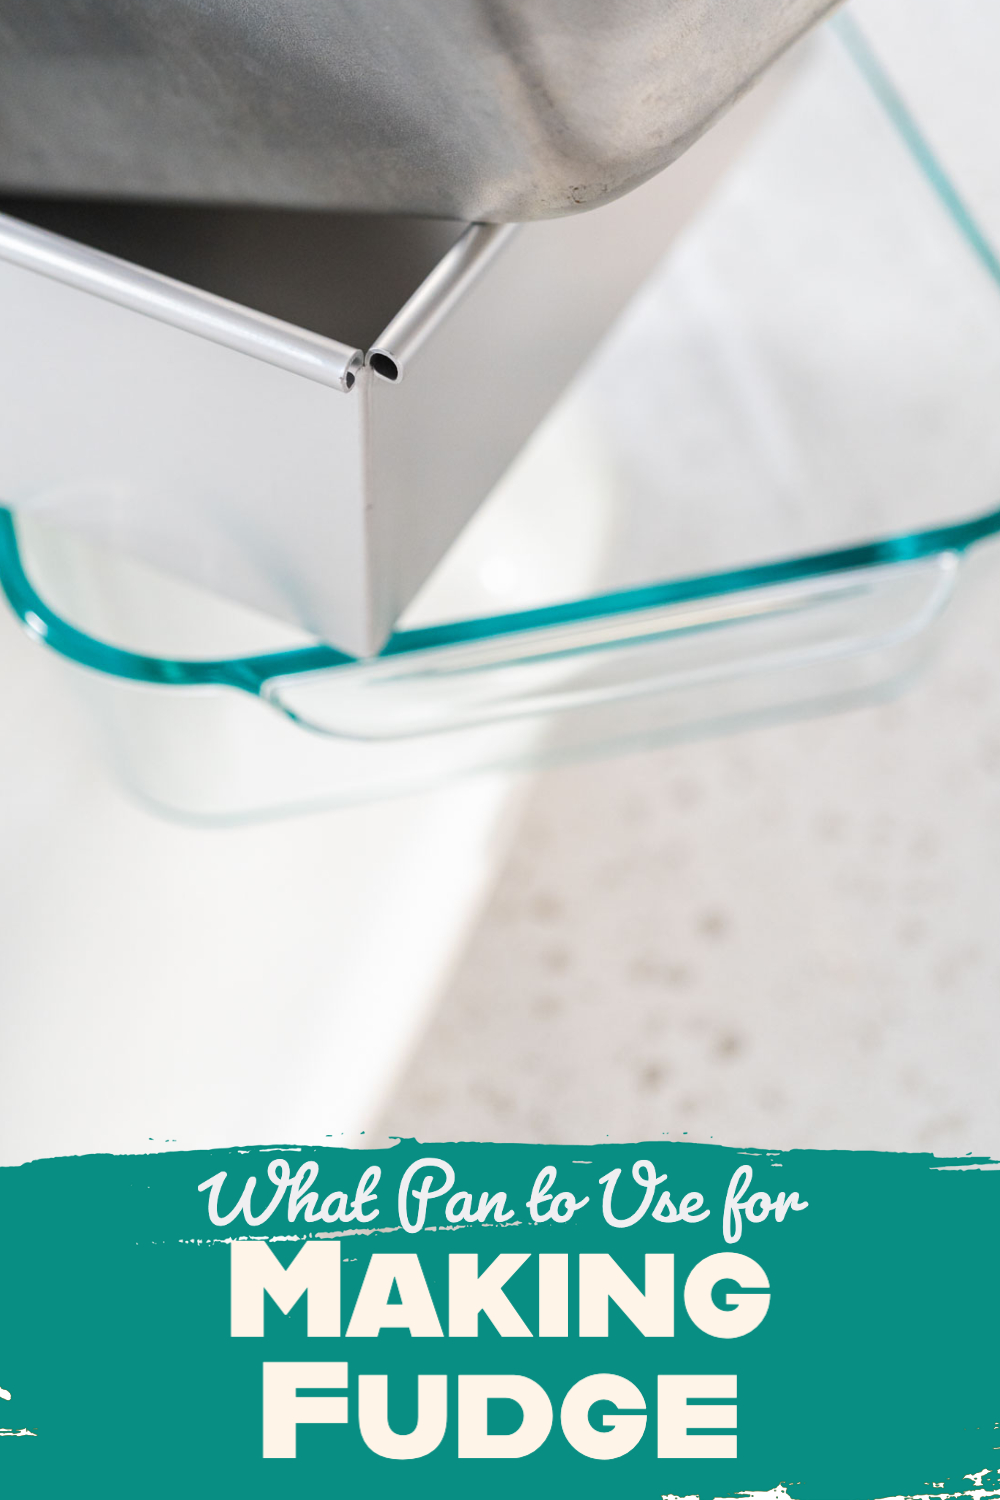
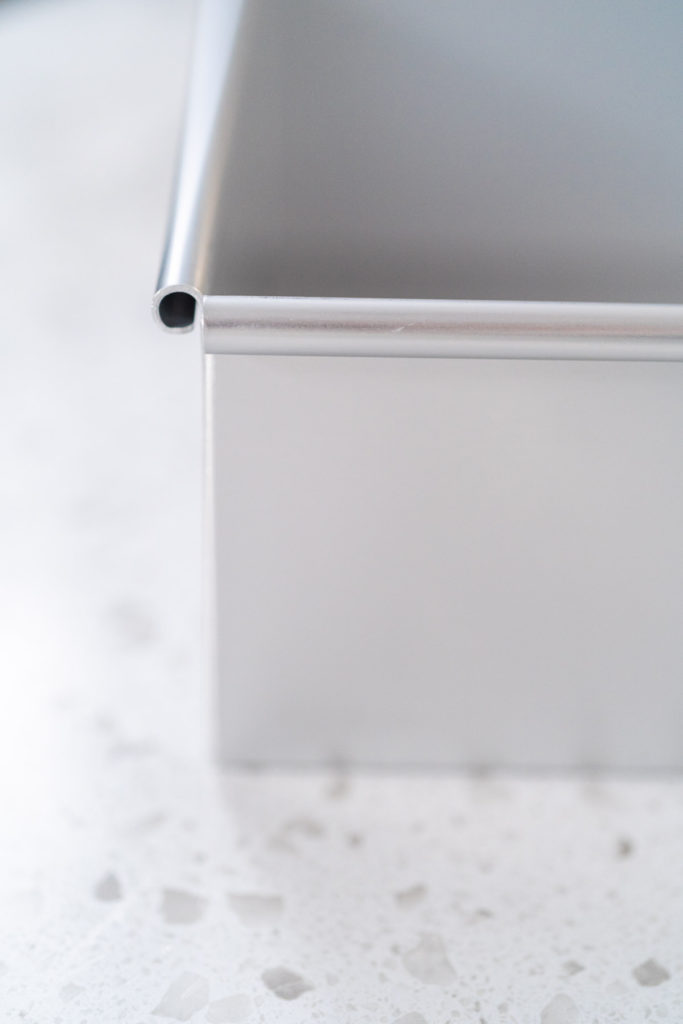
Most baking pans have rounded and tilted edges, which means you'll need to trim the edges to achieve perfect square fudge pieces. My preferred pan is a cheesecake pan, as it has perfect 90-degree corners and edges.
Ceramic Pans
When I make fudge, I've found that ceramic pans have their own unique advantages and disadvantages, which are worth considering. In my experience, using ceramic pans for fudge can be similar to using square baking pans, but with some distinct differences.
Ceramic pans offer several benefits, such as even heat distribution and excellent heat retention, which can contribute to a perfectly cooked fudge. However, they can also be more fragile and prone to chipping or cracking compared to other types of pans. Additionally, while ceramic pans often have the same straight edges as square baking pans, making it easy to cut even pieces, they might have rounded corners that can lead to those less-than-perfect edge pieces. It's essential to consider these factors when deciding if a ceramic pan is a right choice for your fudge-making adventures.
Glass Pans
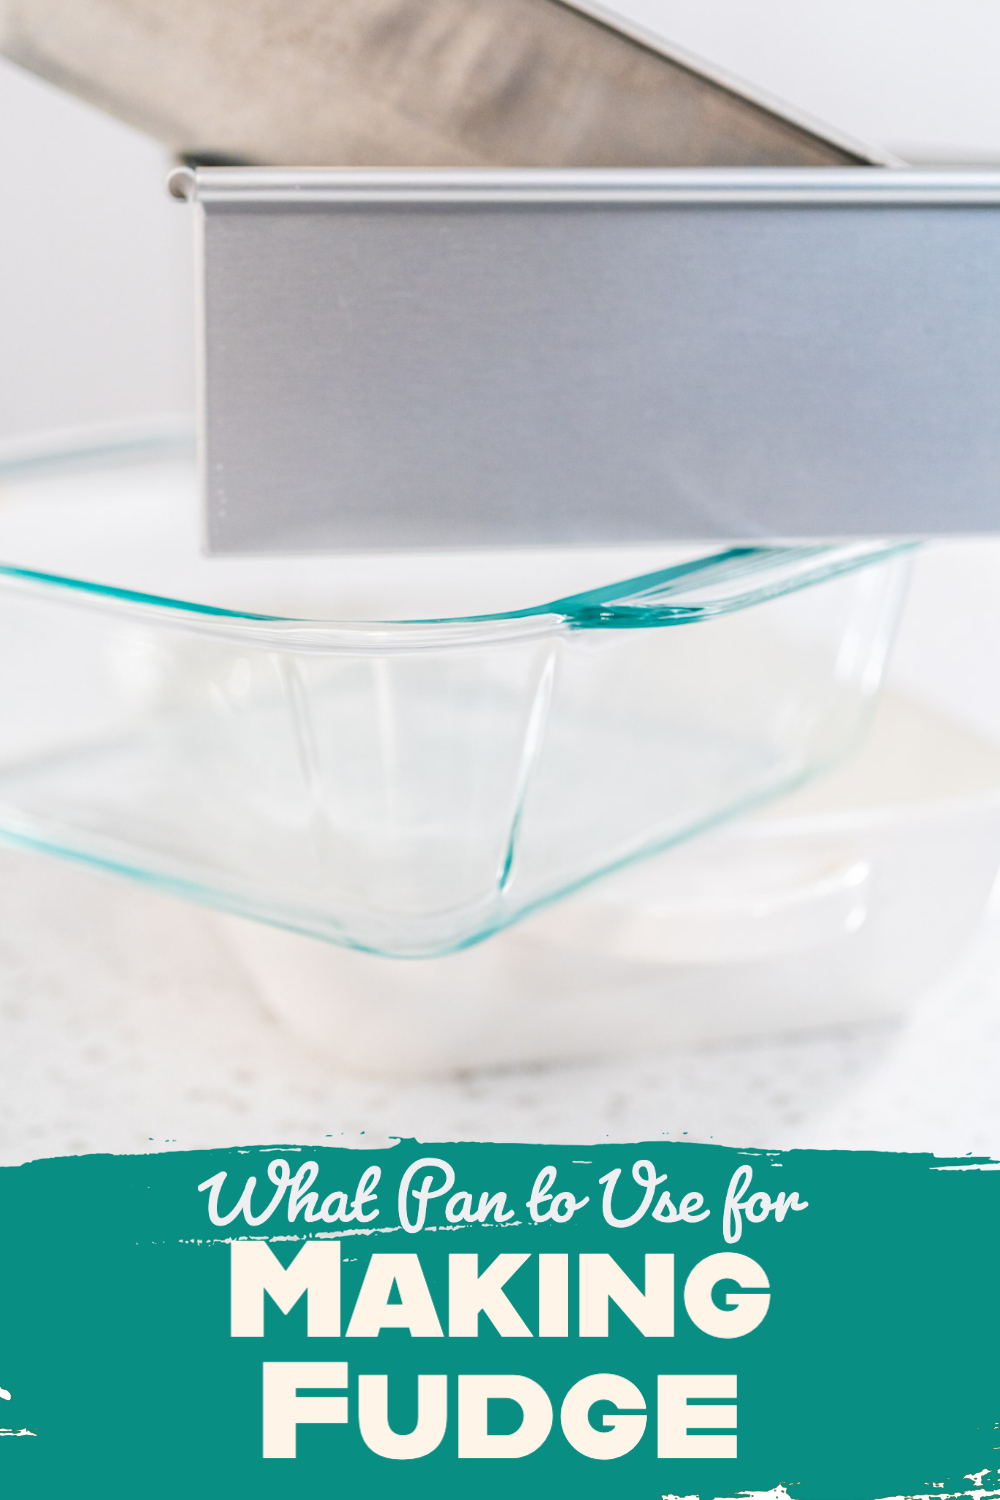
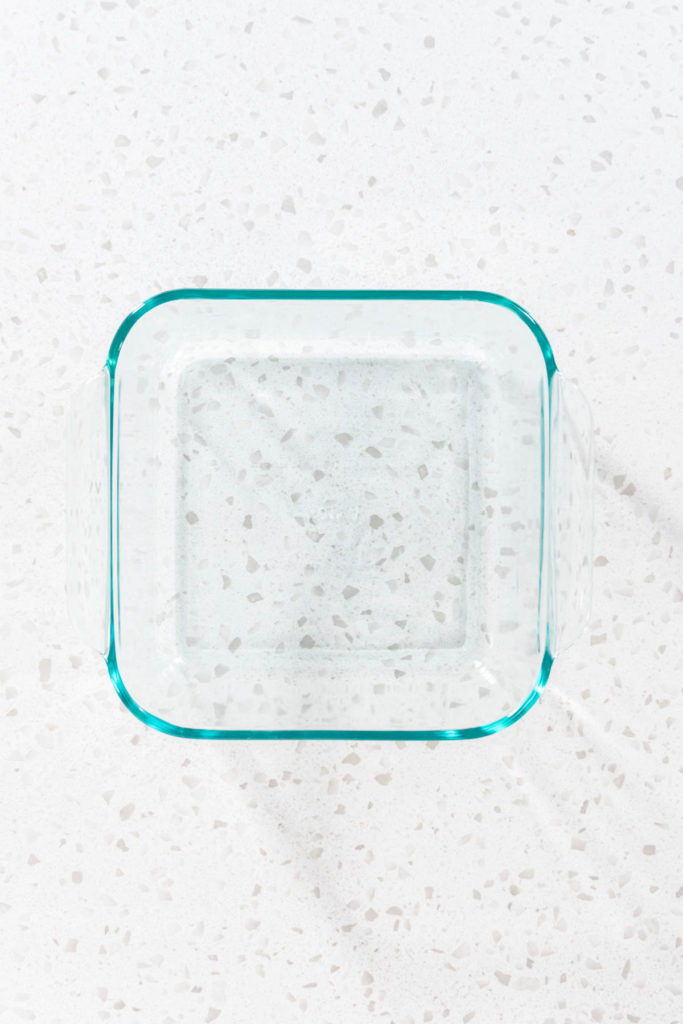
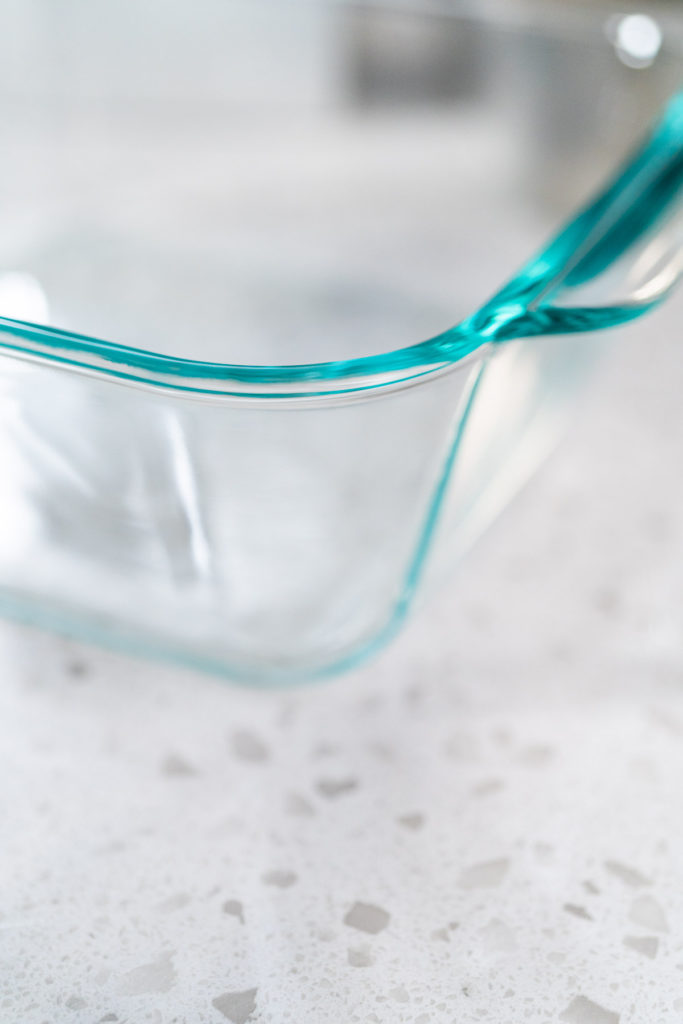
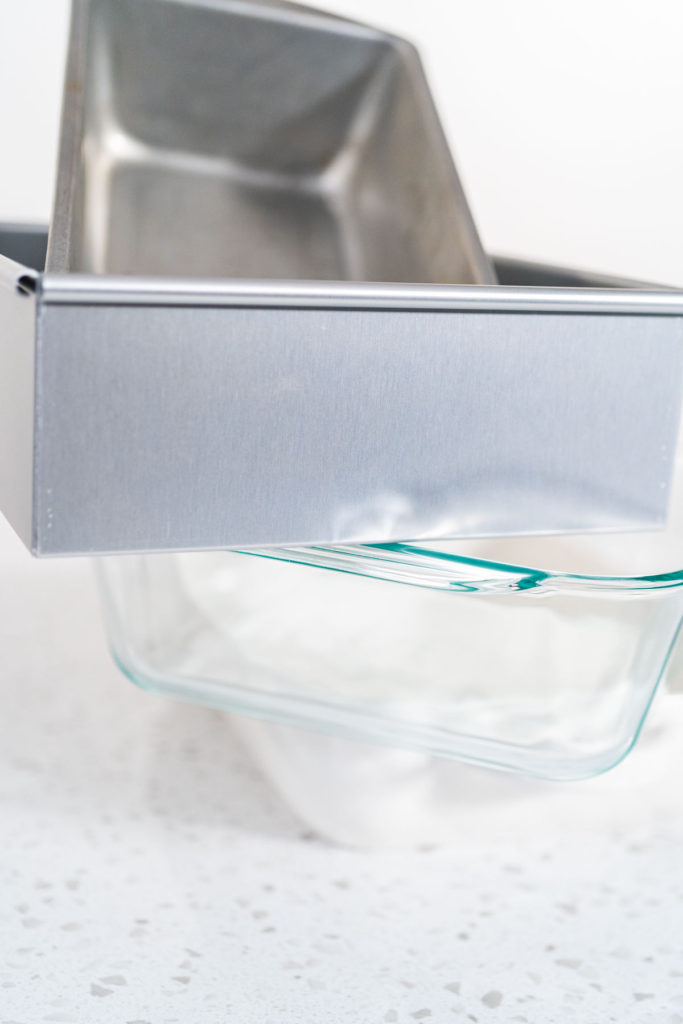
As a fudge-maker, I've found that using a glass pan has its advantages and disadvantages. On the one hand, glass pans distribute and retain heat evenly, leading to well-cooked fudge. They also let you keep an eye on the fudge as it sets, which can be quite helpful.
On the other hand, glass pans can be prone to breakage and, like ceramic pans, may have rounded corners that result in less-than-perfect edge pieces. Ultimately, it's essential to consider these factors when deciding if a glass pan is the best choice for your fudge-making needs.
Loaf Pans
I've discovered that loaf pans are another option worth considering. They come with their own set of benefits and drawbacks, much like square baking pans, which I'll discuss in this section.
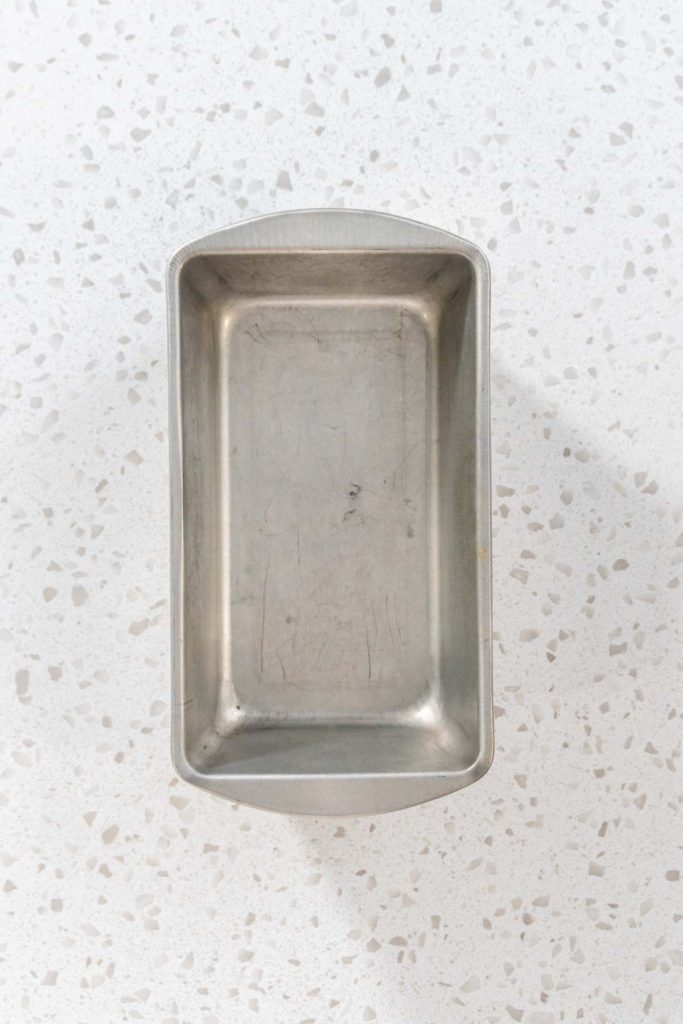
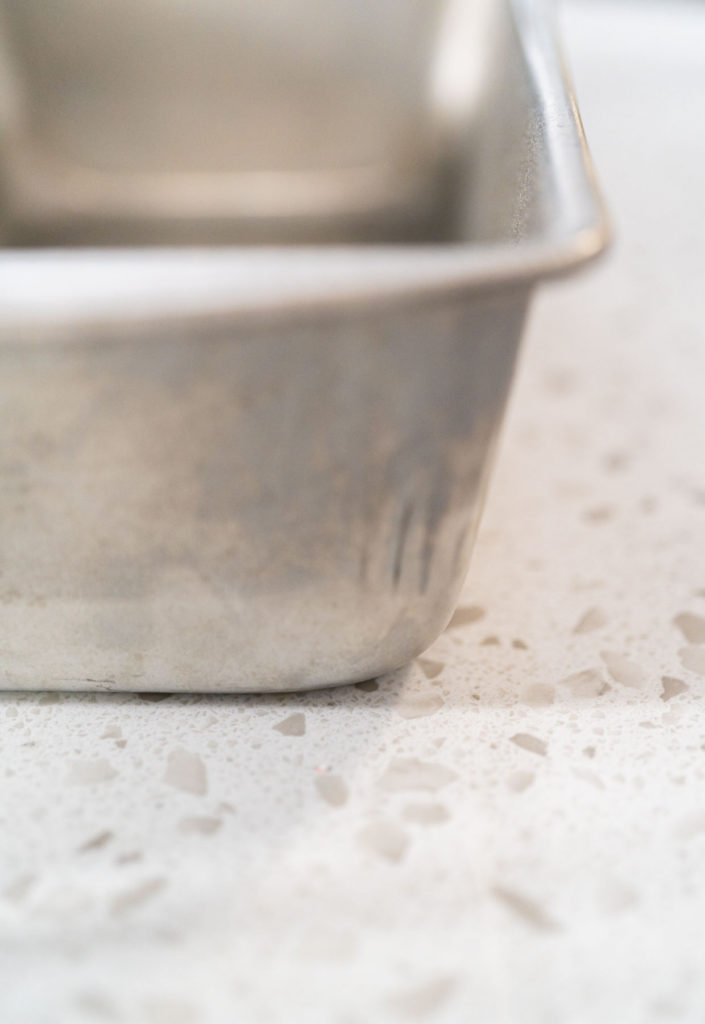
One of the main differences I've noticed when using a loaf pan for fudge is that the pieces tend to be thicker. This can be a plus for those who prefer a more substantial bite of fudge. In terms of similarities with square baking pans, loaf pans share many of the same pros and cons, such as the ease of cutting even pieces. However, the rounded corners that can lead to less-than-perfect edge pieces might also be an issue with loaf pans. It's essential to think about these factors and decide if a loaf pan is the right choice for your fudge-making preferences.
Square Baking Pans
As someone who enjoys making fudge, I've found that square baking pans are a popular and convenient choice. They make it easy to cut even pieces and are widely available, which is great for anyone looking to create fudge with a uniform and polished appearance. This is particularly useful when I'm gifting or serving fudge at gatherings.
However, I've noticed that square baking pans come with a downside: the rounded corners. These curved edges can lead to oddly shaped fudge pieces at the corners, which might not be a major concern for some people, but it's worth considering if you're after perfectly uniform pieces. When I want my fudge to look absolutely flawless, I prefer using a cheesecake pan with straight edges.
Cheesecake Pan (My Favorite)
I can't help but mention my go-to option for fudge-making: the cheesecake pan. I've found this pan to be the best choice for various reasons, which I'll explain in this section, along with how it compares to other pans.
The cheesecake pan has several advantages that make it my top choice. Firstly, it has straight edges and perfect 90-degree corners, which result in uniform, perfectly shaped fudge pieces. Additionally, the even height of the pan's sides ensures consistent fudge thickness and texture. When compared to other pans, I've found that the cheesecake pan provides the most visually appealing and precise fudge cuts, making it a winner in my book. It's always worth considering your personal preferences and experimenting with different pans to find the one that works best for you, but for me, the cheesecake pan takes the cake.
Silicone Molds
One significant advantage of using silicone molds is their flexibility, making it easy to remove the fudge without damaging the shape or design. They also provide a fun way to create unique fudge pieces that can be tailored to specific occasions or themes. However, there are some potential drawbacks to consider. For instance, silicone molds may not hold their shape as well as rigid pans, and the fudge's thickness may be harder to control. Additionally, it may take some trial and error to achieve the perfect fudge texture when using silicone molds. Despite these challenges, large silicone molds can be an exciting option for those looking to add a creative touch to their fudge-making endeavors.
Cookie Cutters
As a creative fudge-maker, I've found that using cookie cutters offers endless possibilities for making unique and personalized fudge treats. I
One of the best things about using cookie cutters is that they allow you to create fudge pieces in various shapes, adding a personal touch to your fudge creations. You can also get even more imaginative by adding colorful sprinkles to match the theme or occasion. For a different approach, you can fill the cookie cutter with melted fudge mixture, which is perfect for holidays or special events where you want to create a variety of shapes. While using cookie cutters for fudge-making might require a bit more effort and attention to detail, the result is truly unique and delightful fudge pieces that are sure to impress your friends and family.
Other Tips for Making Perfect Fudge
Preparing the Pan
Before pouring the fudge mixture into the pan, it's essential to prepare the pan properly to ensure the best results. In this section, I'll share my method for prepping the pan and making sure everything goes smoothly. If you're interested in learning more about this process, check out my other blog post on How to Line a Baking Pan with Parchment Paper.
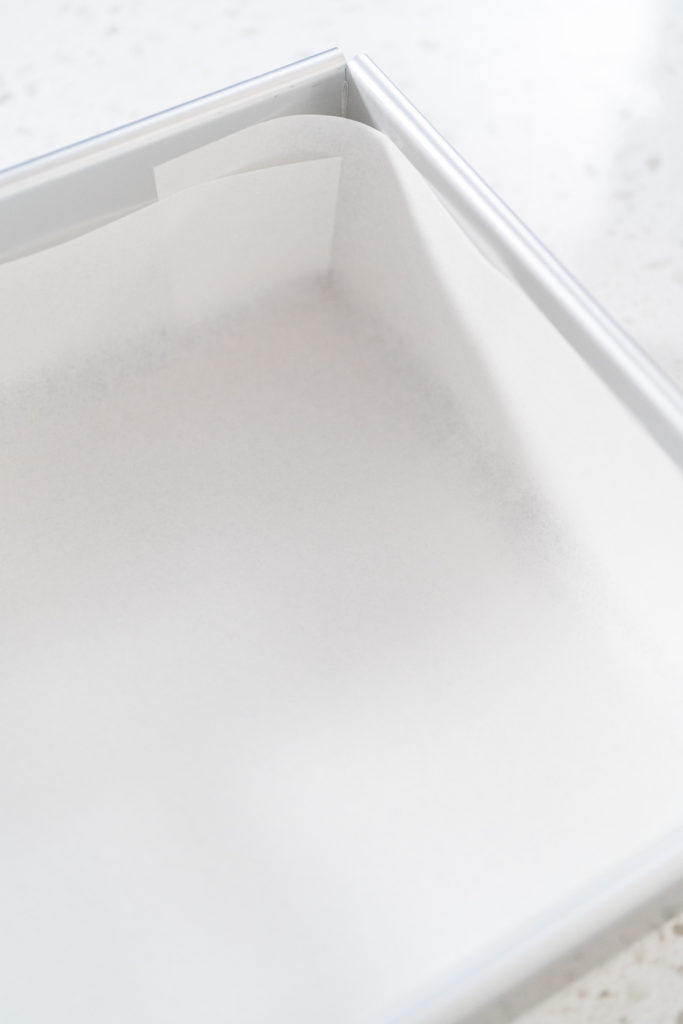
I used to line the pan with cooking foil, but I've since moved away from this option because it can sometimes be difficult to peel from the fudge. Now, I prefer using parchment paper, which helps with easy removal and cleanup. To keep the parchment paper from moving around in the pan, I lightly spray the pan with cooking oil before placing the parchment paper down.
Next, I cut a piece of parchment paper slightly larger than the pan's dimensions and press it into the pan, making sure it covers the entire surface and reaches up the sides. The parchment paper helps prevent the fudge from sticking to the pan, making it much easier to lift out and cut into pieces once it's set.
By taking the time to properly prepare the pan before adding the fudge mixture, you can ensure a hassle-free fudge-making experience and achieve the perfect texture and consistency every time.
Cooling the Fudge
Cooling the fudge properly is absolutely crucial for achieving the desired texture and consistency. In this section, I'll share my tips on how to cool the fudge correctly for optimal results.
First of all, you can choose to cool the fudge for a minimum of 2 hours in the fridge. This method works well if you're short on time, but I have to say, my preferred way is to let the fudge cool overnight. By allowing the fudge to set and cool overnight, I can ensure that it's completely set and cooled, which makes it much easier to cut and handle the next day.
So, if you have the time, I highly recommend cooling your fudge overnight in the fridge for the best possible outcome. This extra time will not only improve the texture and consistency of your fudge but also make it easier to work with when it's time to cut and package it up for gifting or enjoying.
Cutting fudge
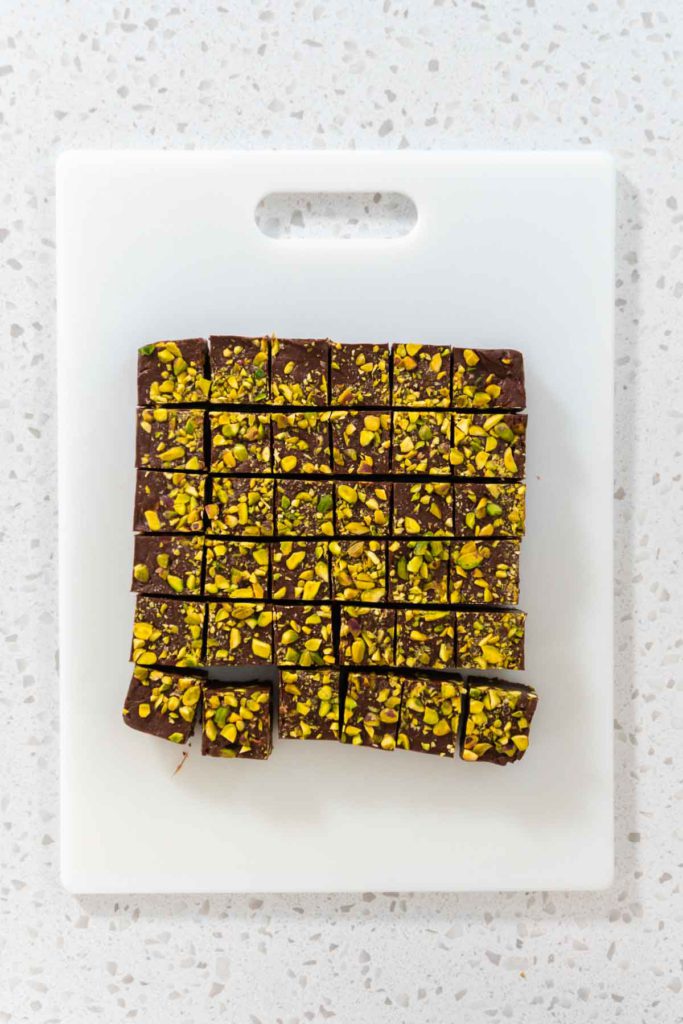
Cutting fudge into perfectly smooth and even pieces can be a challenge, but with the right tools and techniques, it can be done with ease. One important tool for cutting fudge is a sharp kitchen knife. A large, sturdy knife will make it easier to cut through the thick, dense fudge, while a sharp blade will help to ensure clean, even cuts. It's also helpful to have a wet towel on hand to wipe the blade between cuts. This can prevent the fudge from sticking to the knife and ensure that each piece is clean and perfectly cut.If you're looking for more tips on how to cut fudge, be sure to check out my other blogs on the subject. In How to Cut Fudge into Smooth Perfect Pieces, I share some tips and tricks for getting those perfectly even cuts without the use of a template. And if you're wondering how to store your fudge, don't miss my vlog on How to Freeze Fudge for tips on how to keep your fudge fresh for weeks or even months. With the right techniques and tools, cutting fudge can be a breeze!
More Fudge Recipes
- Chocolate Hazelnut Fudge – Rich, Creamy, and Nutty
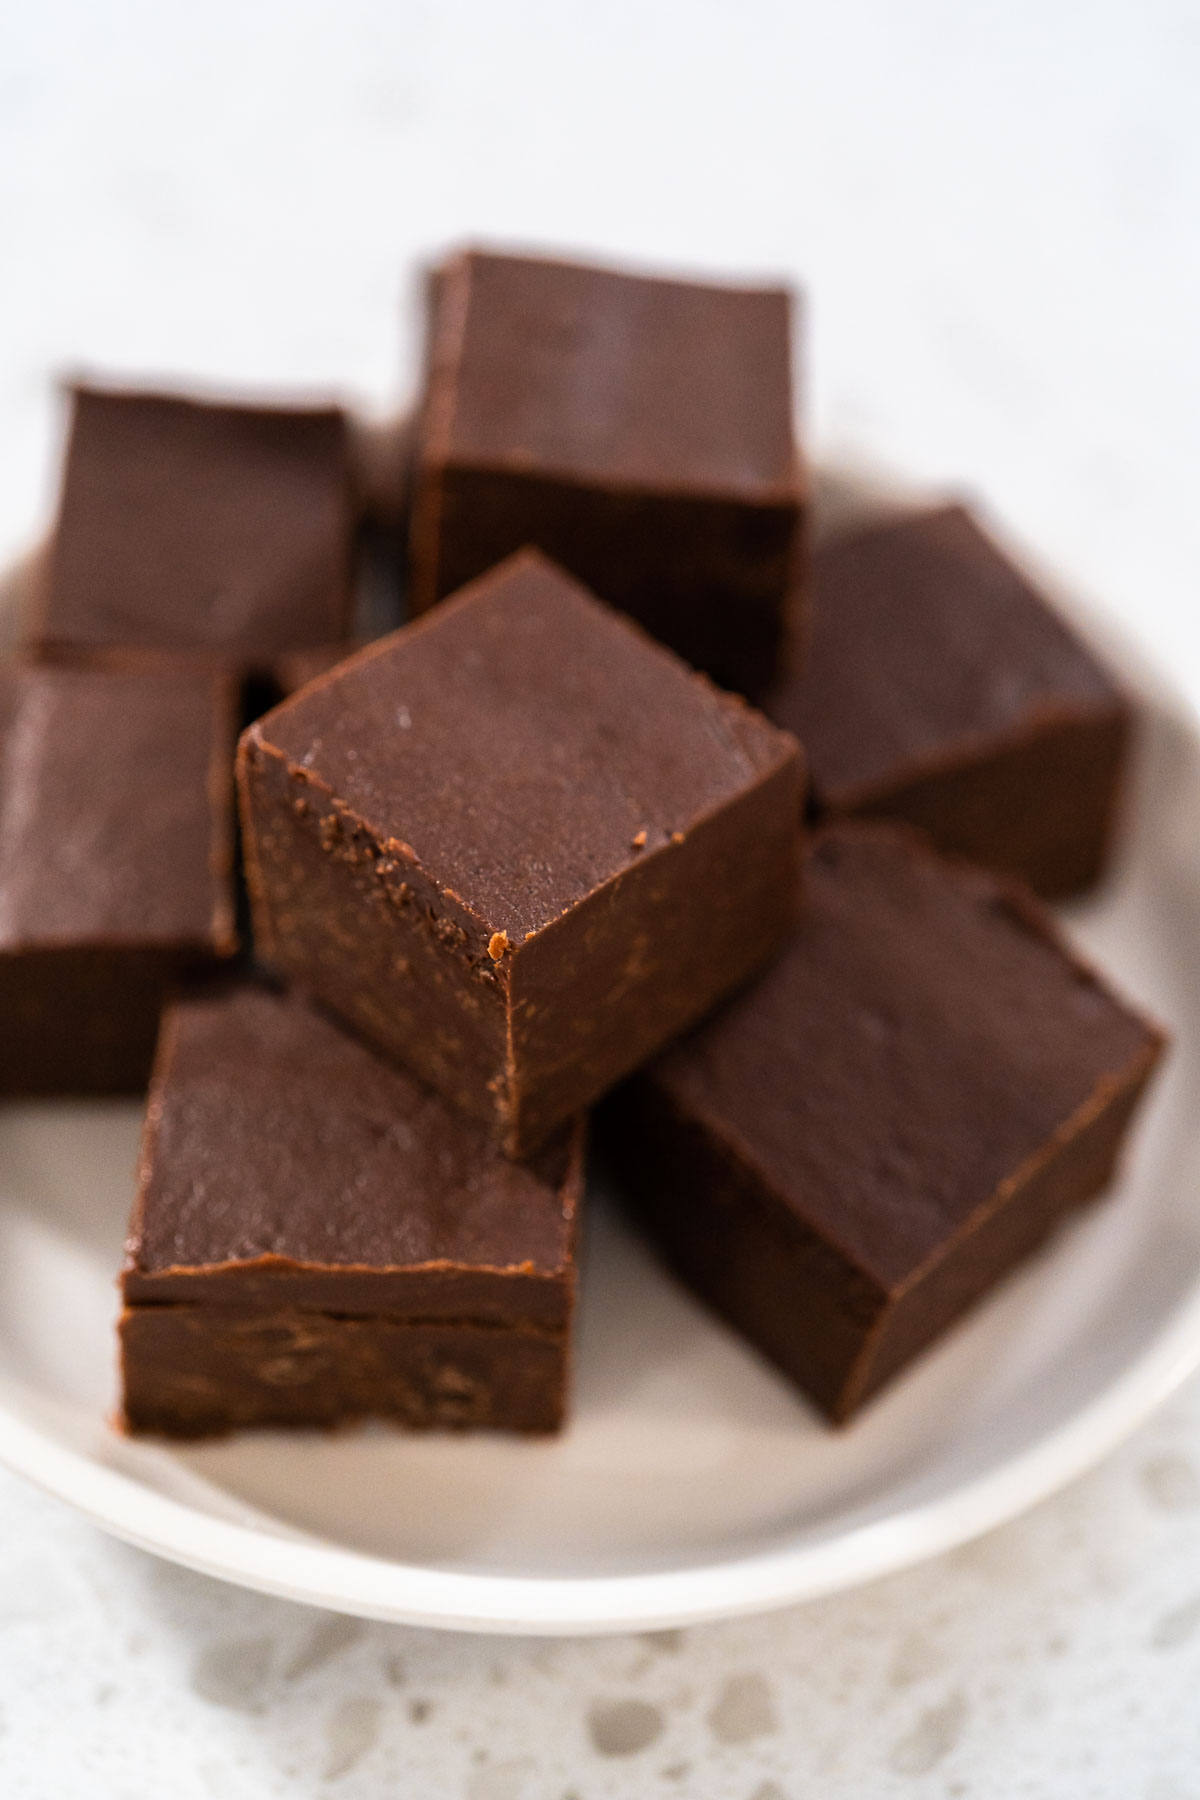
- Classic Chocolate Fudge – Rich, Creamy, and Easy to Make
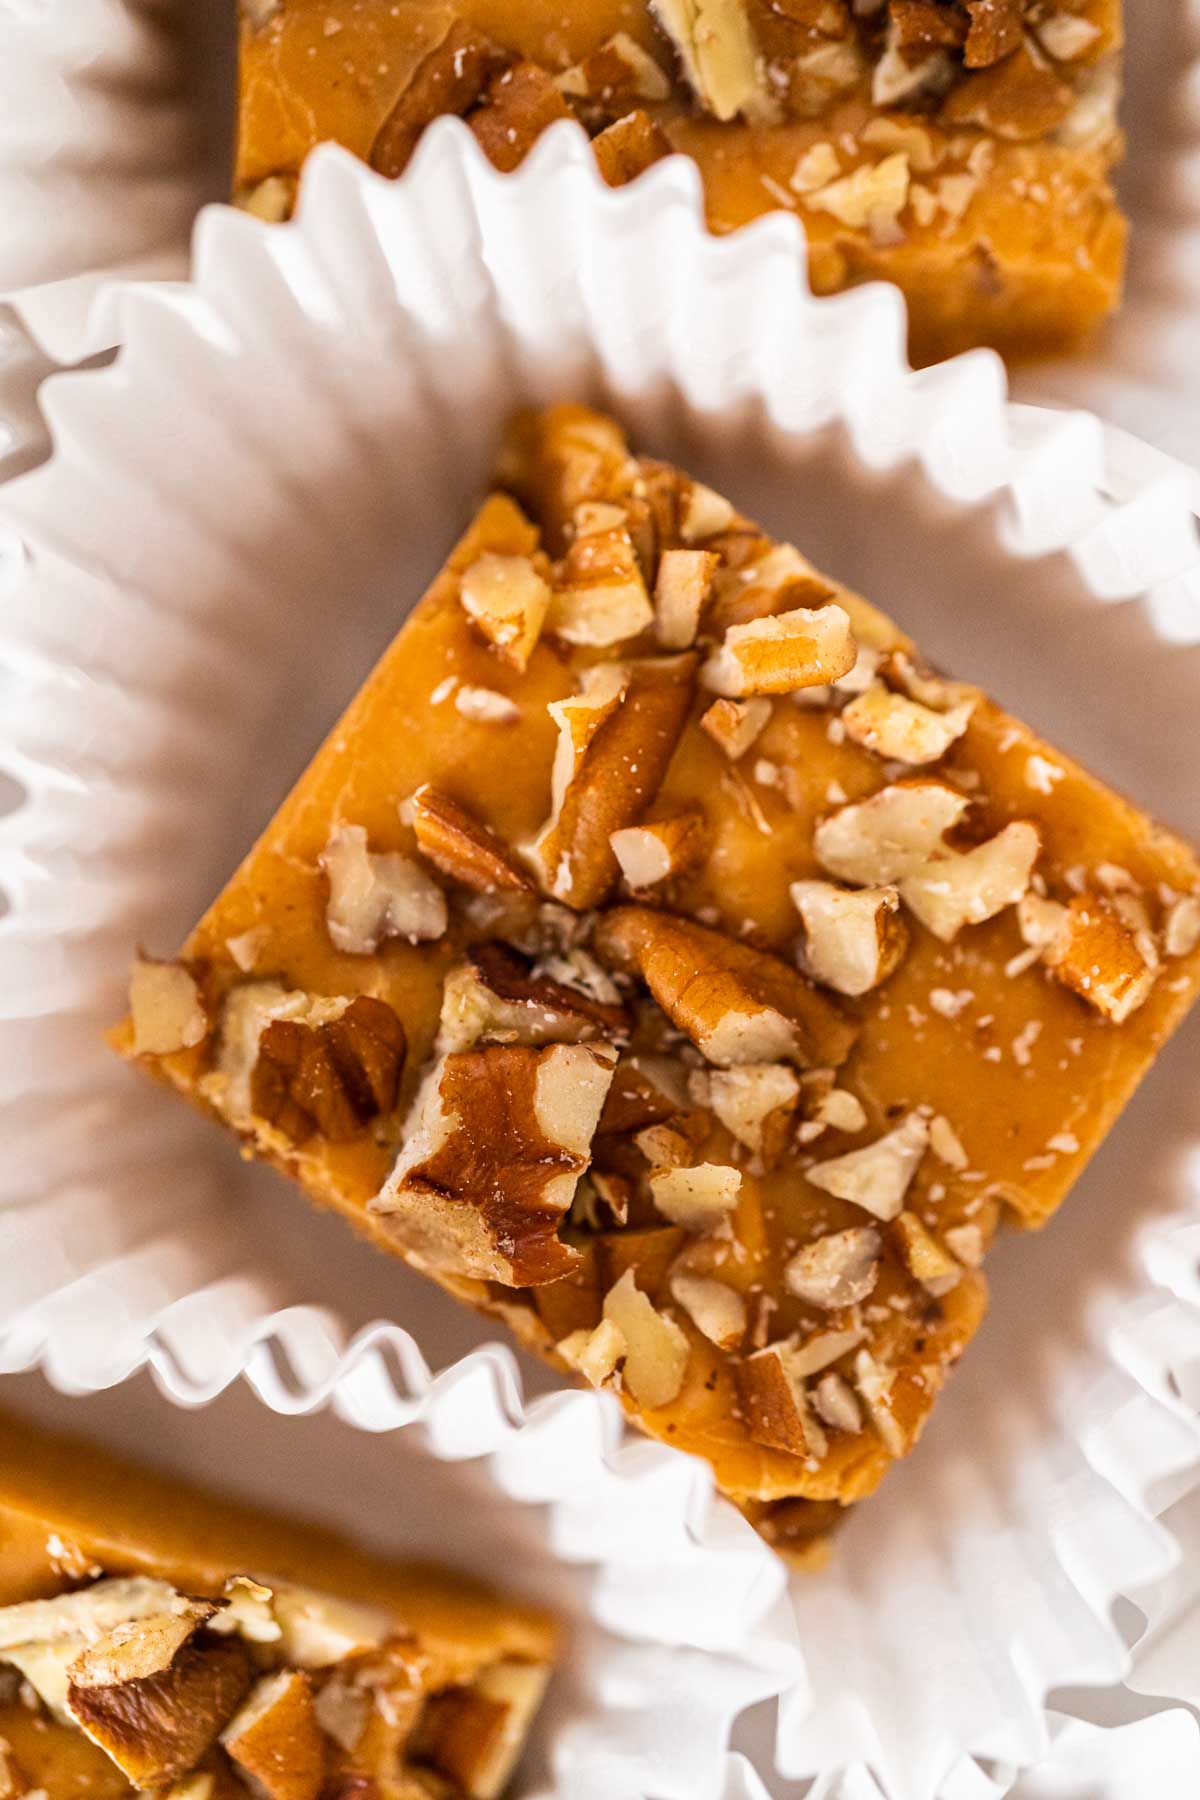
- How to Make Pumpkin Spice Fudge with Crushed Pecans
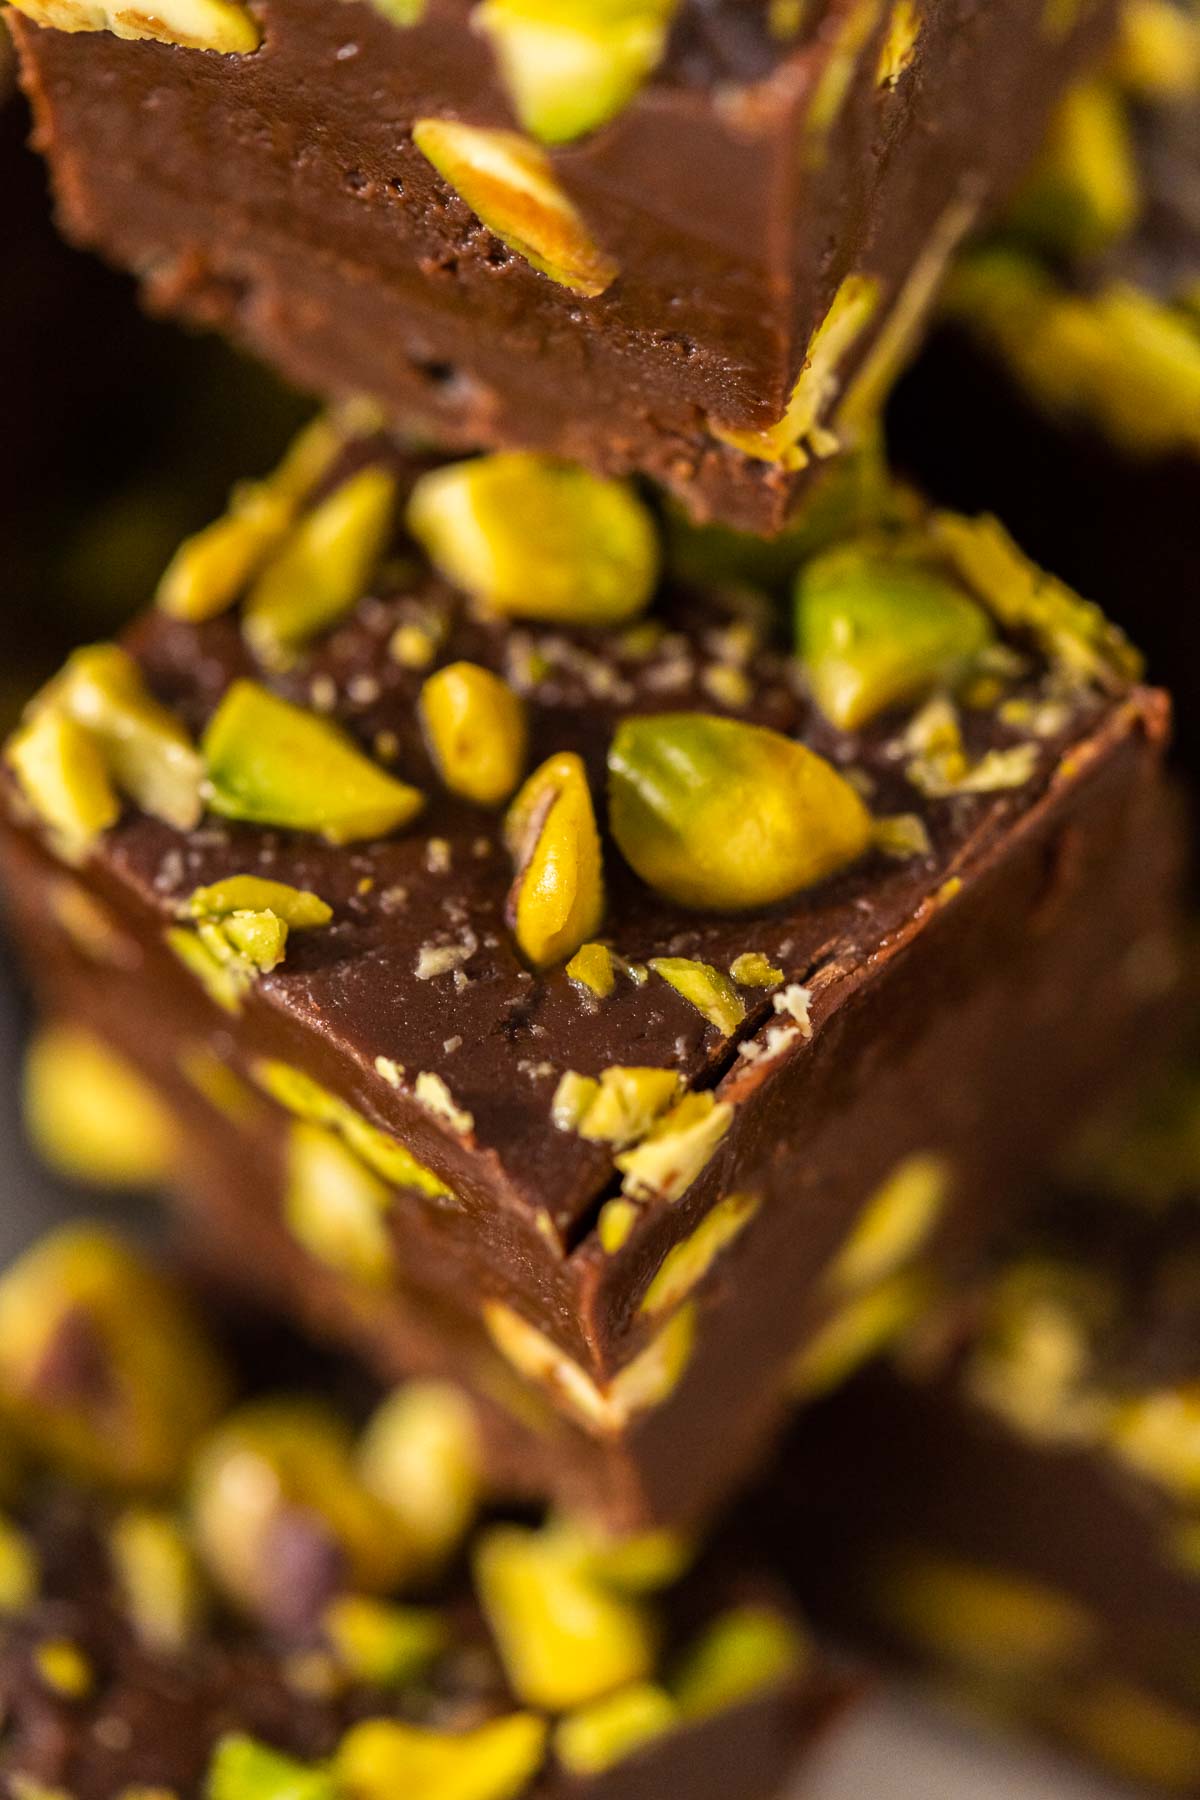
- How to Make Chocolate Pistachio Fudge (Easy No Bake Recipe)
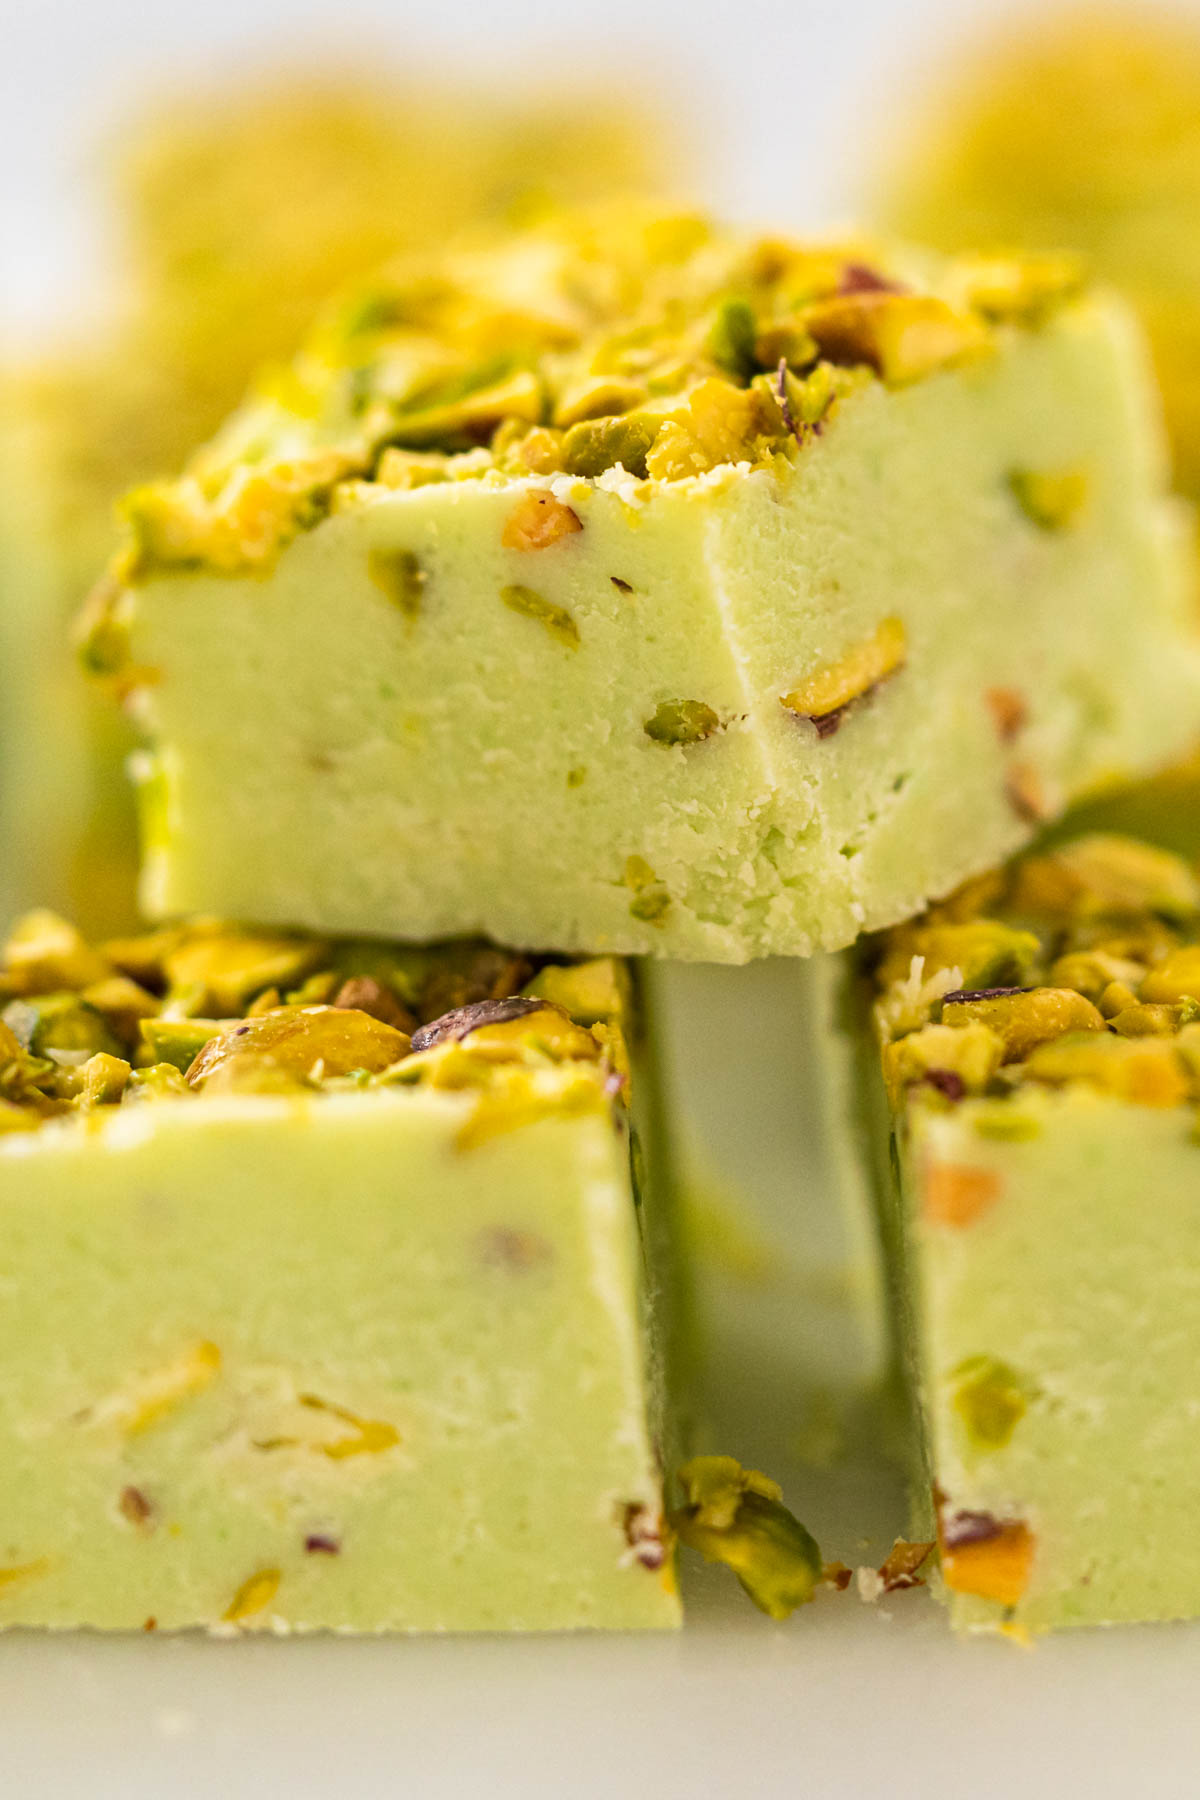
- How to Make Pistachio Fudge with White Chocolate
- Christmas Cranberry Pistachio Fudge – Perfect for Gifting
The importance of choosing the right pan for making fudge cannot be overstated. The perfect pan can make all the difference between delicious, melt-in-your-mouth fudge and a disappointing mess. By considering factors such as material, size, and shape, and by following the tips and recommendations shared in this blog post, you'll be well on your way to making perfect fudge every time.
Don't forget to check out these other helpful blog posts for more fudge-making insights: How to Package Fudge for Gifts and How to Cut Fudge into Smooth Perfect Pieces. Happy fudge-making!
Food Photography & Video Tips from My Studio
Here’s a peek at the tools, gear, and camera setups I use to film my recipe videos and photograph food at home. Over the years, I’ve tested dozens of different setups, and now I’m sharing what actually works for me—whether I’m filming overhead shots for YouTube or styling still photos for my blog. If you’re curious about how I create the content you see here, these posts are a great place to start.





Leave a Reply