|
This post contains affiliate links.
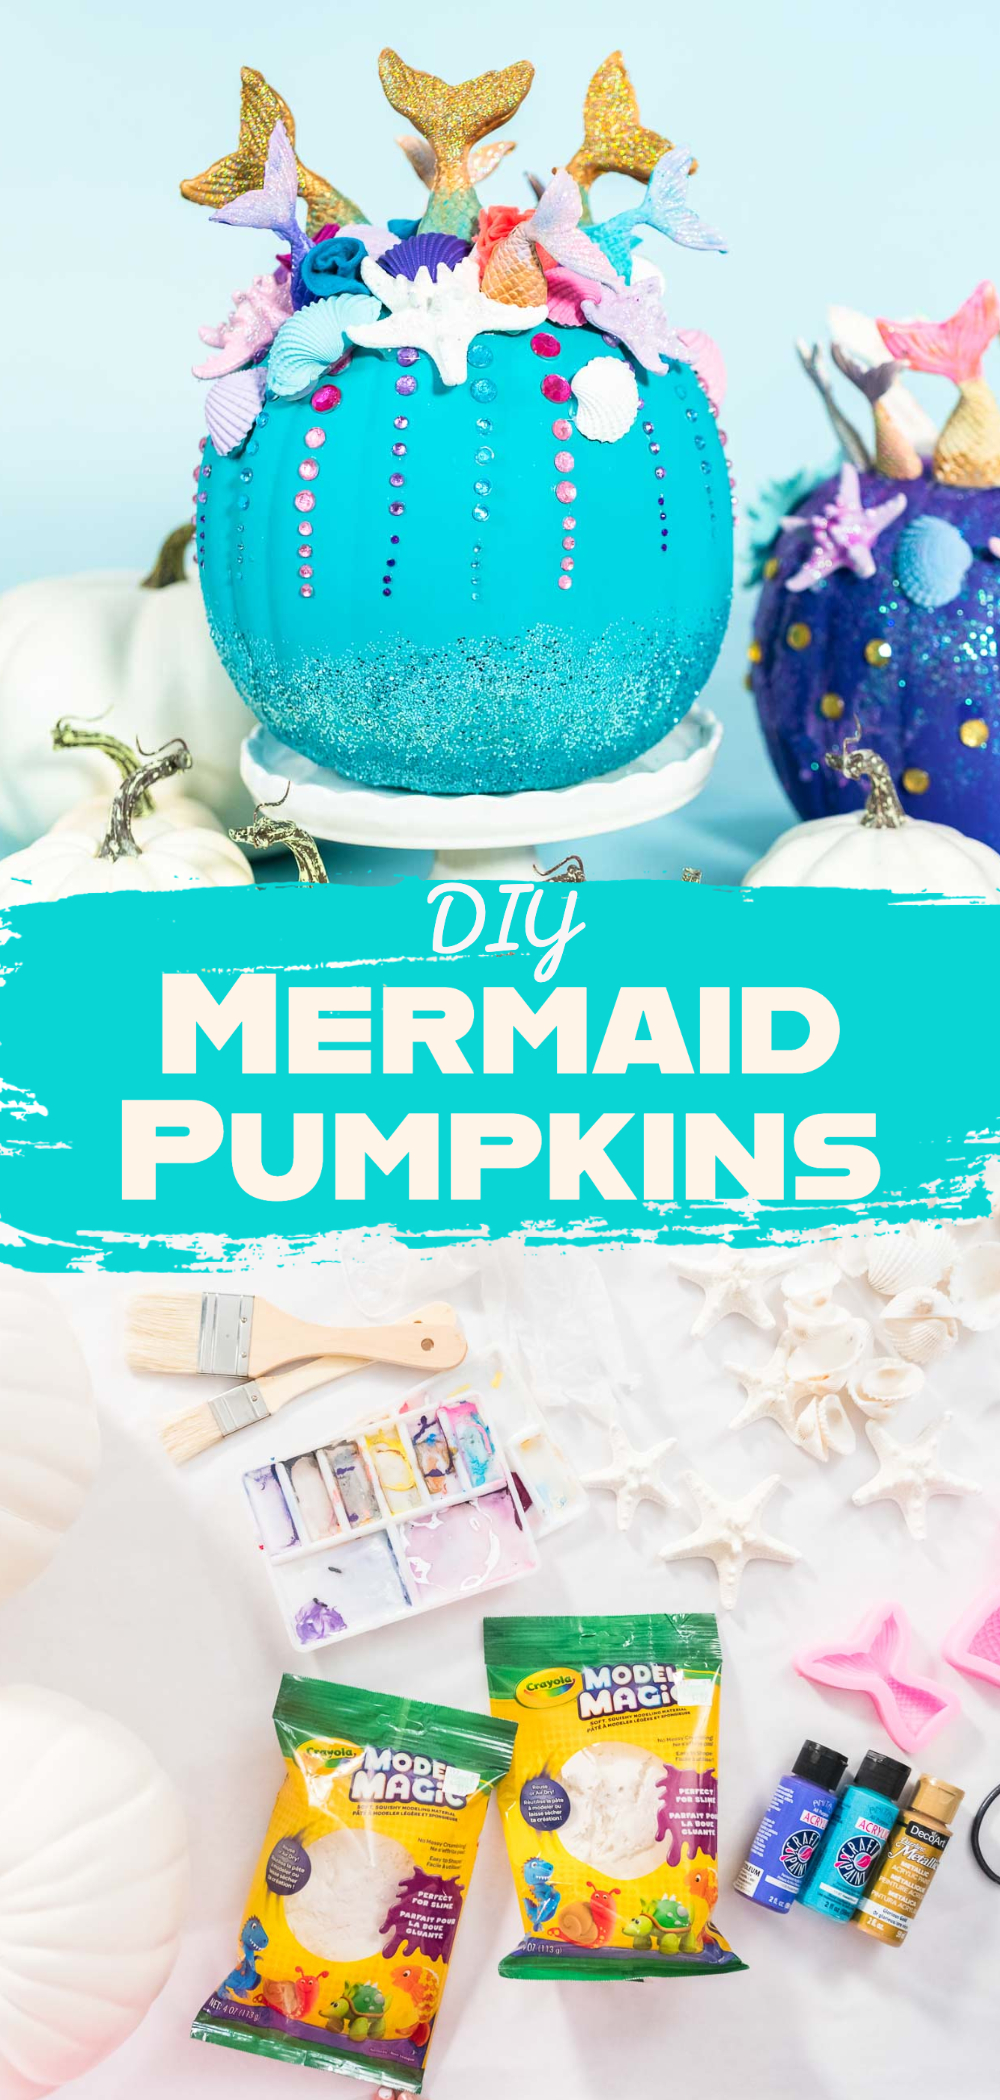
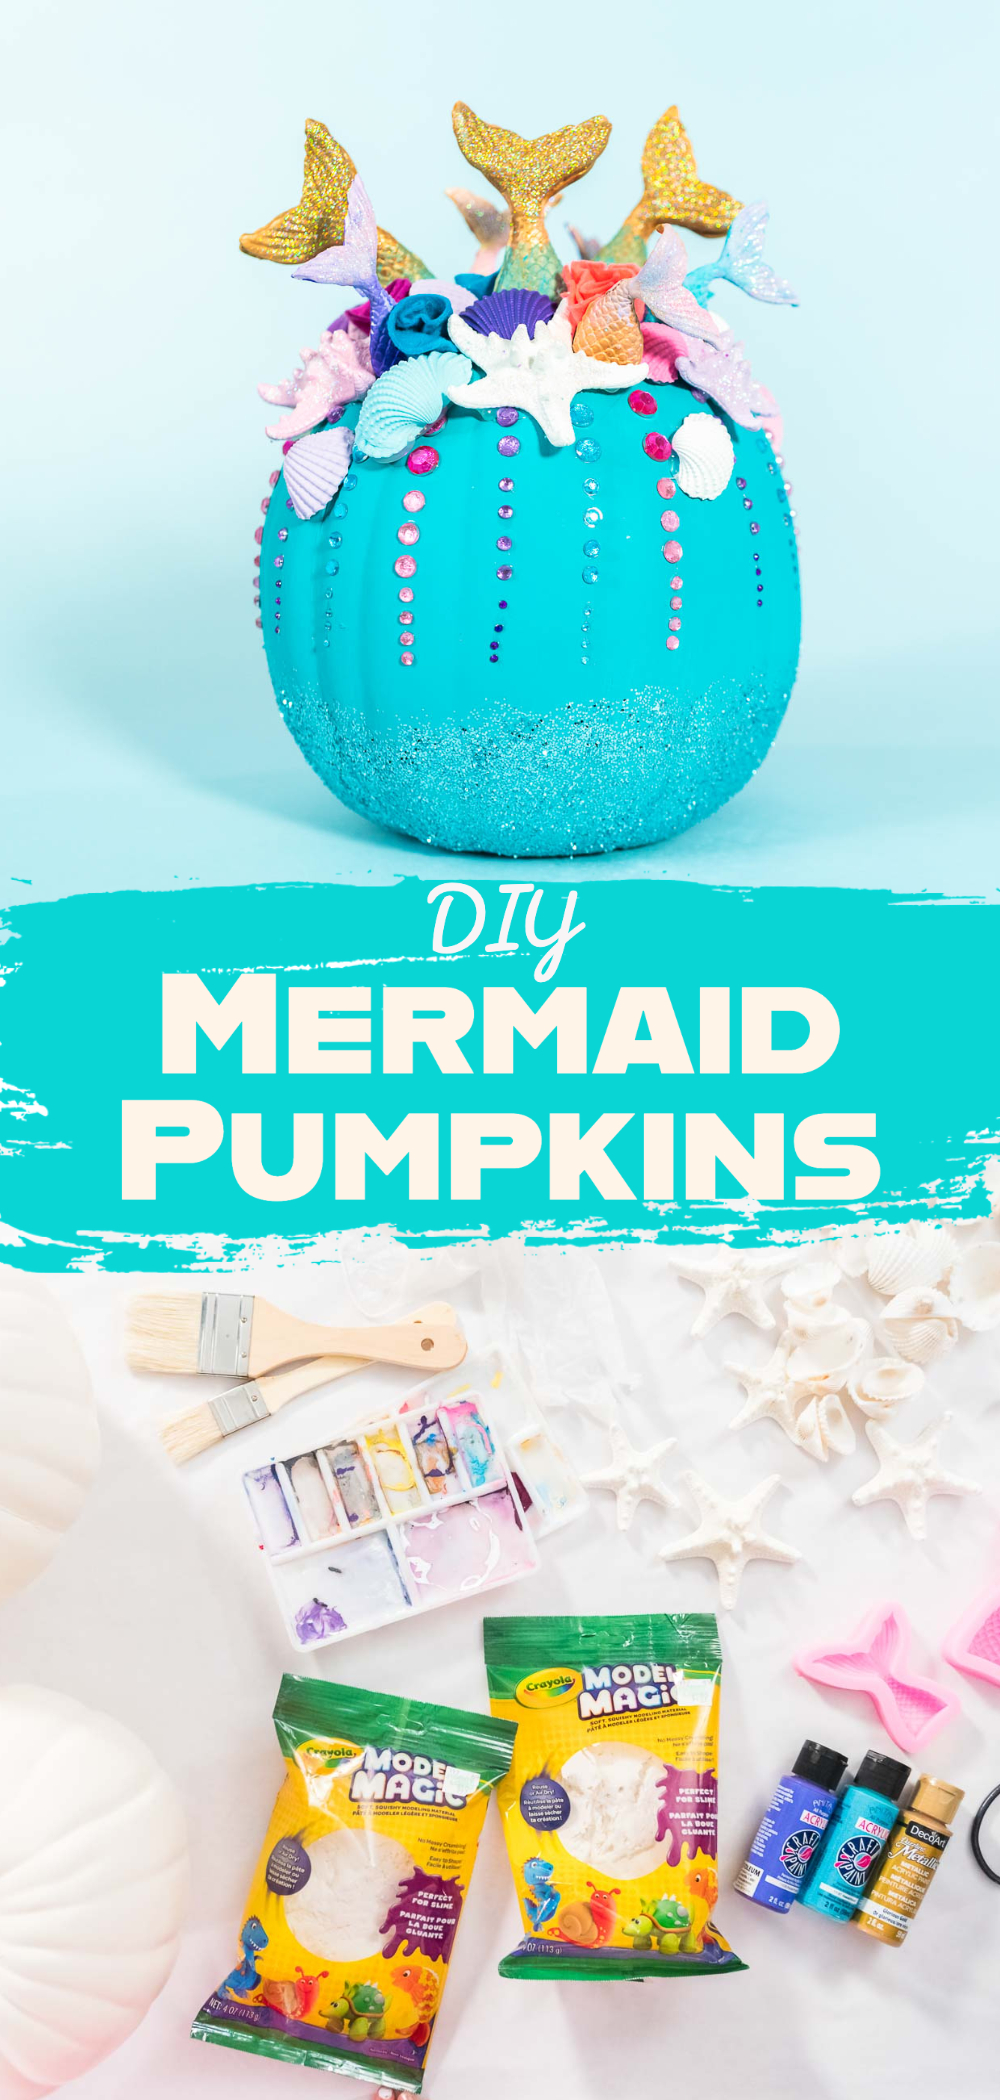
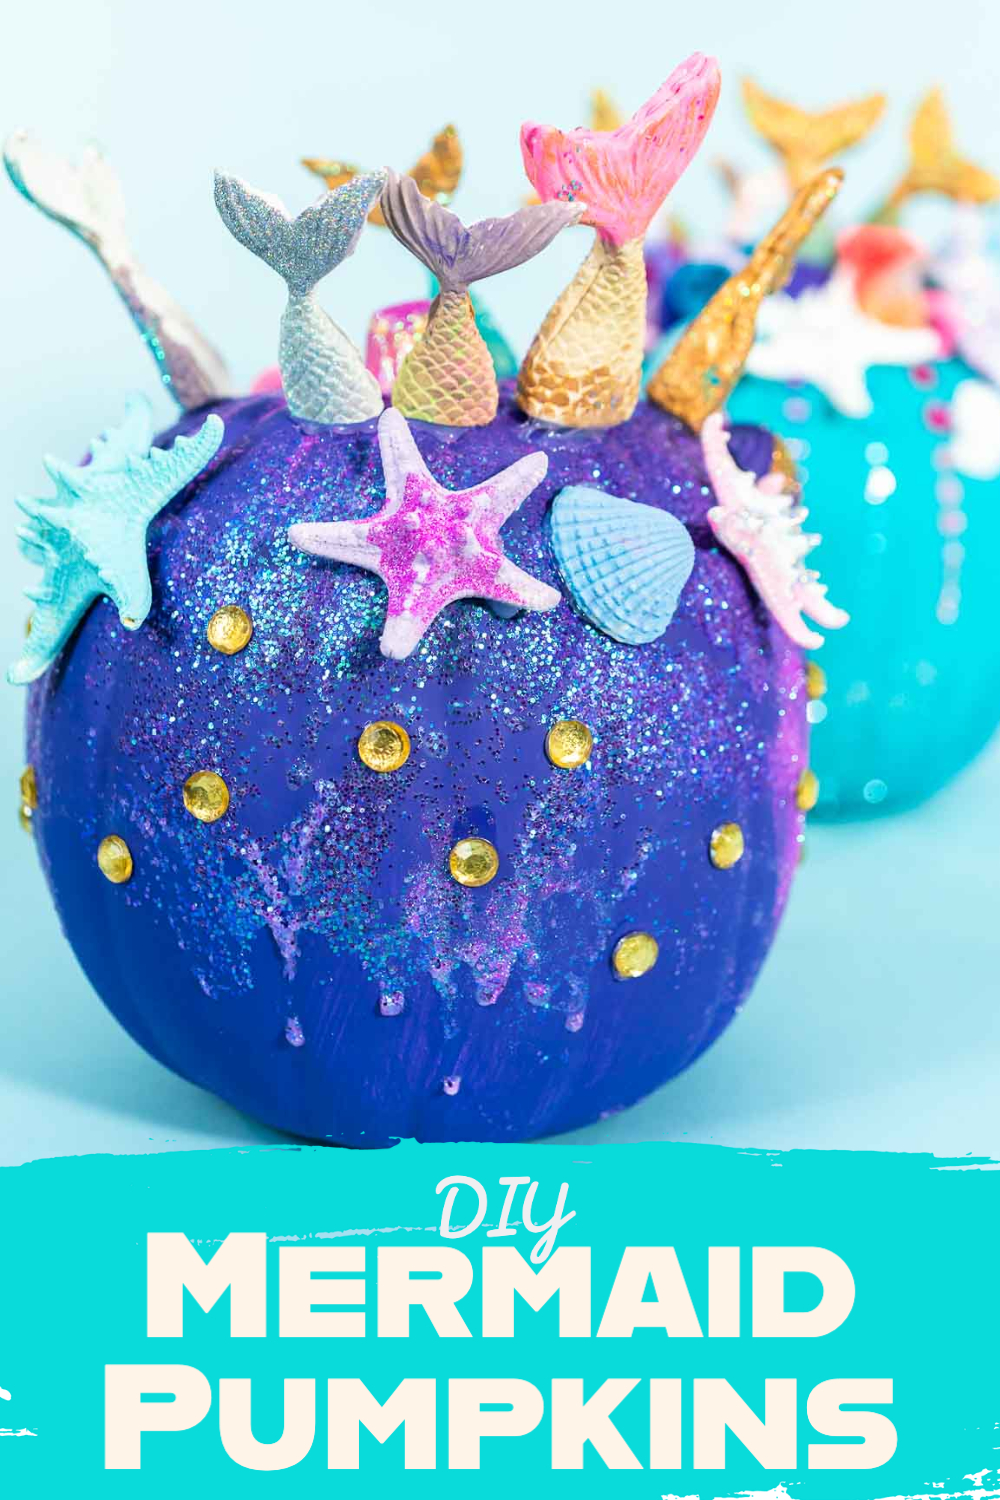
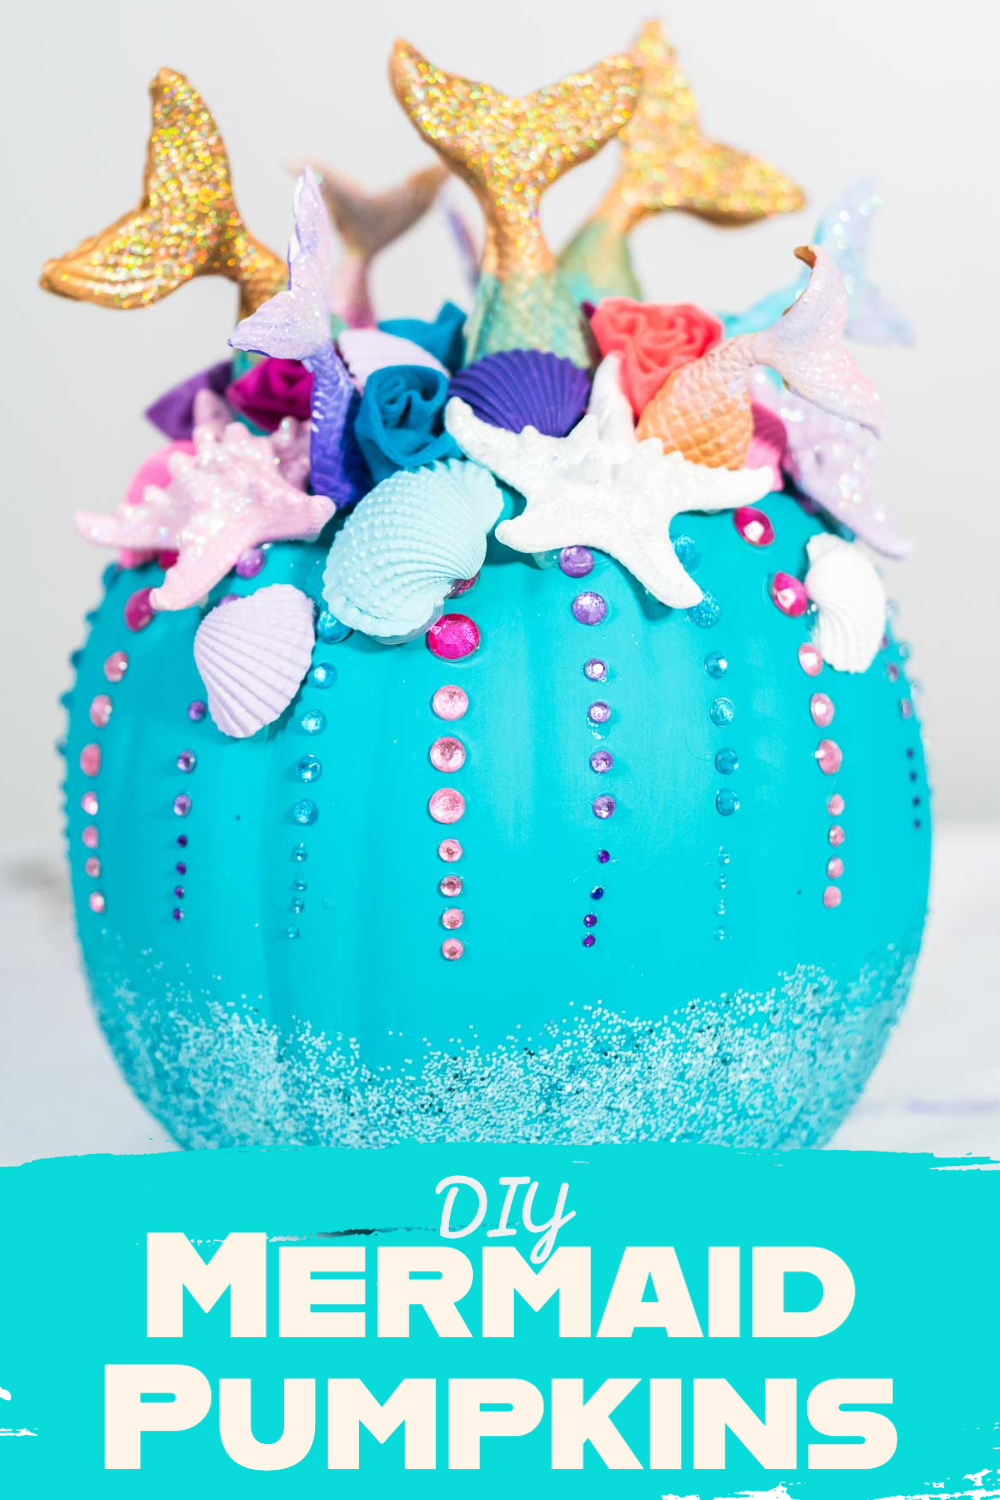
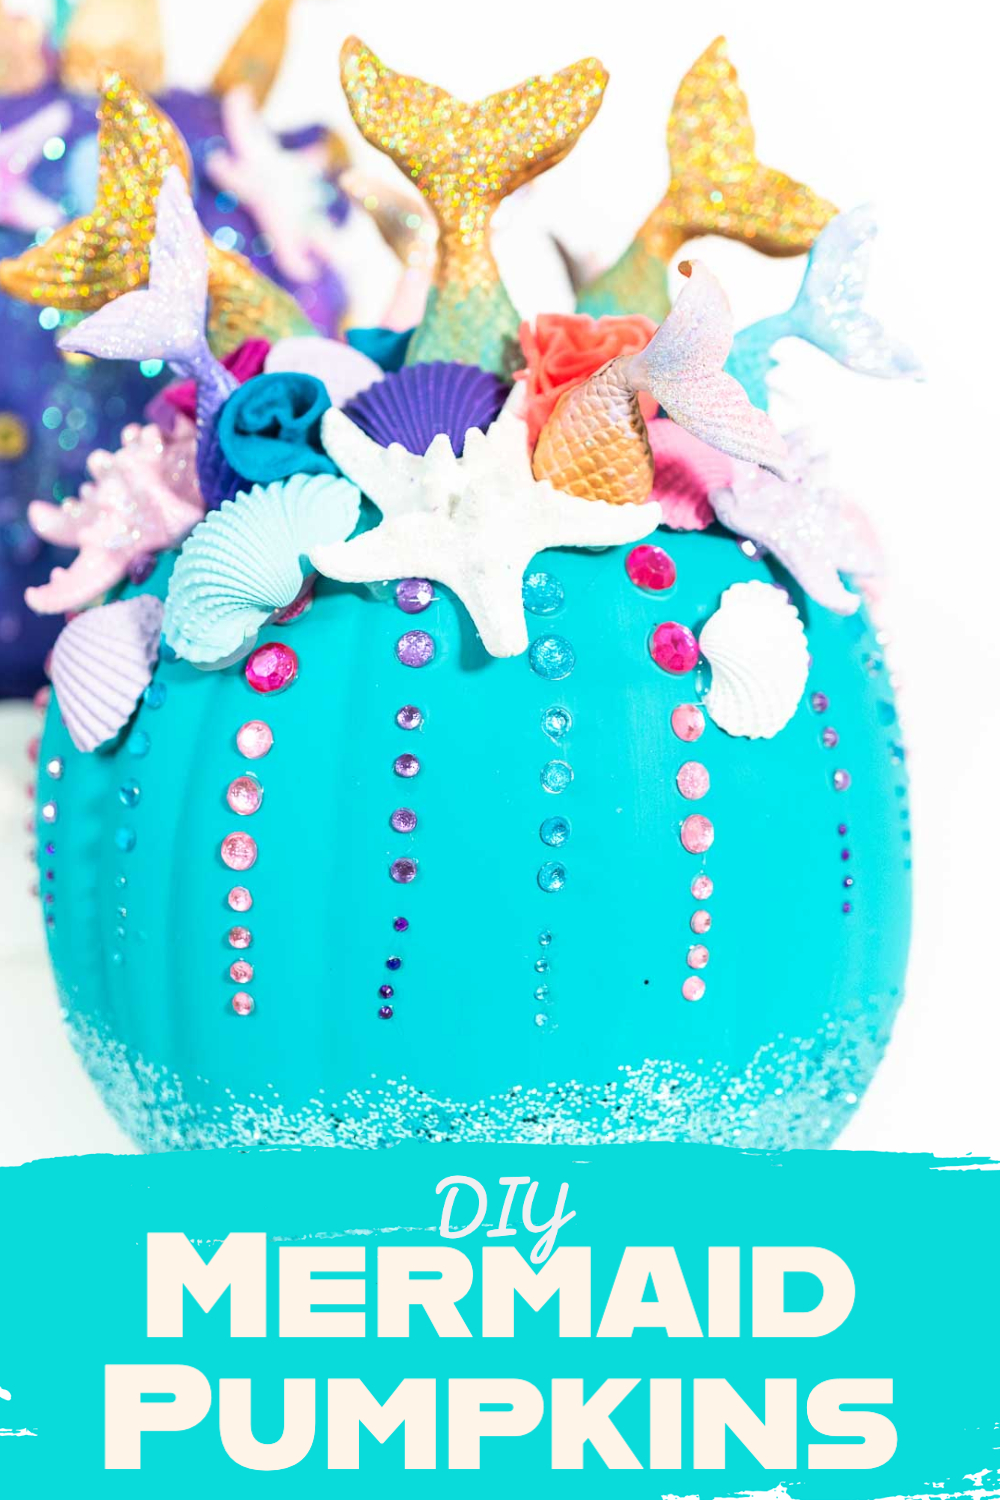
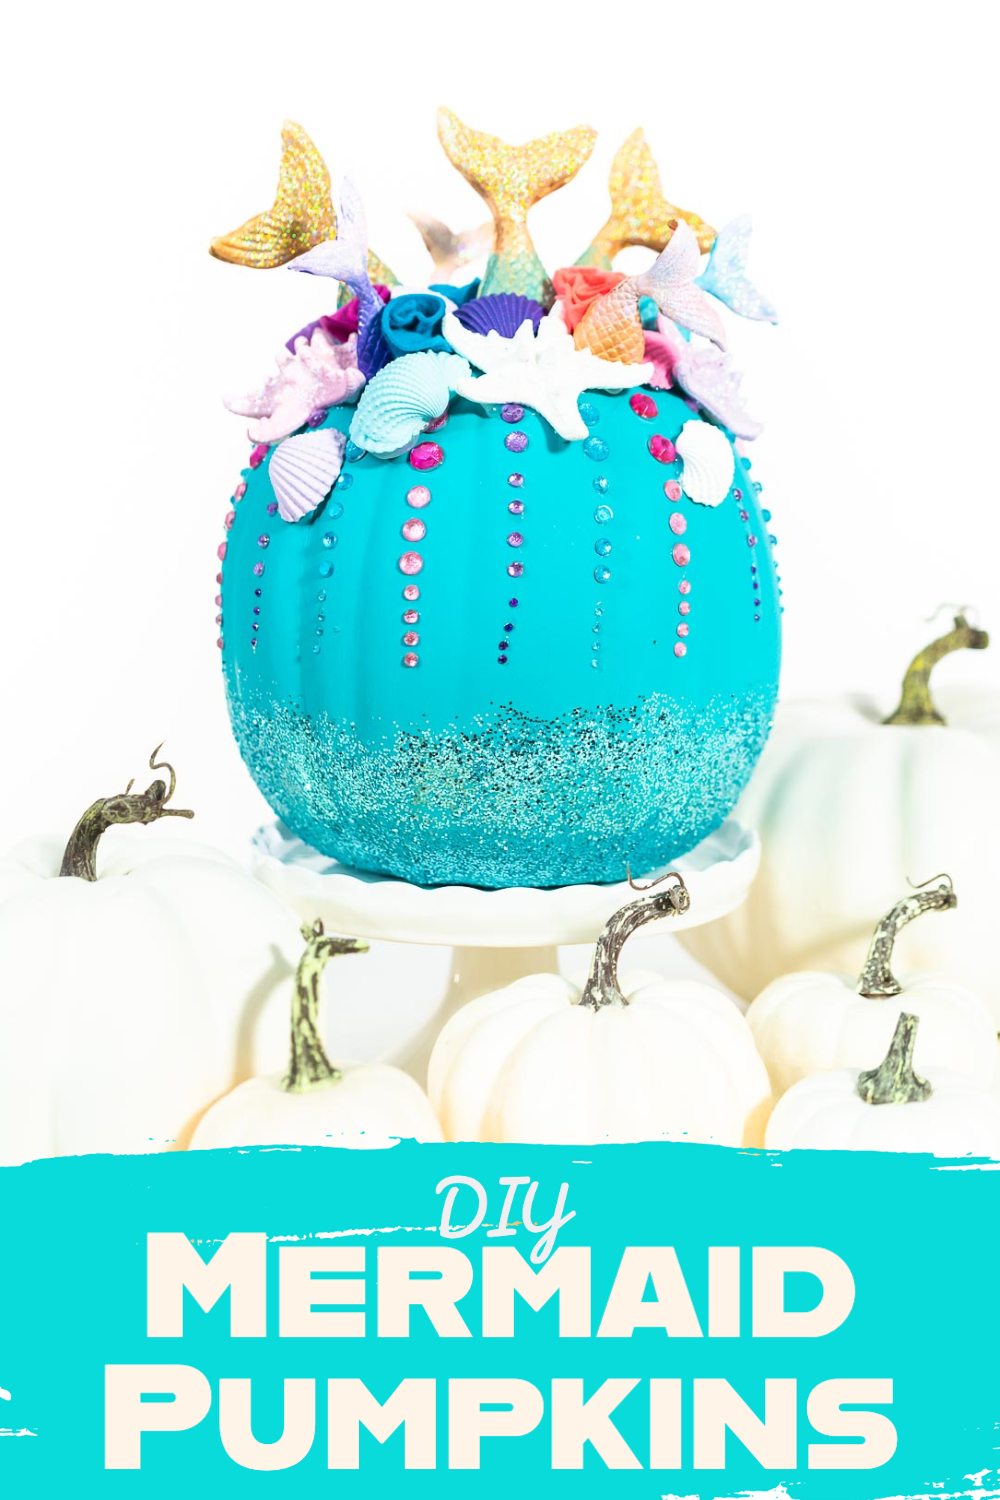
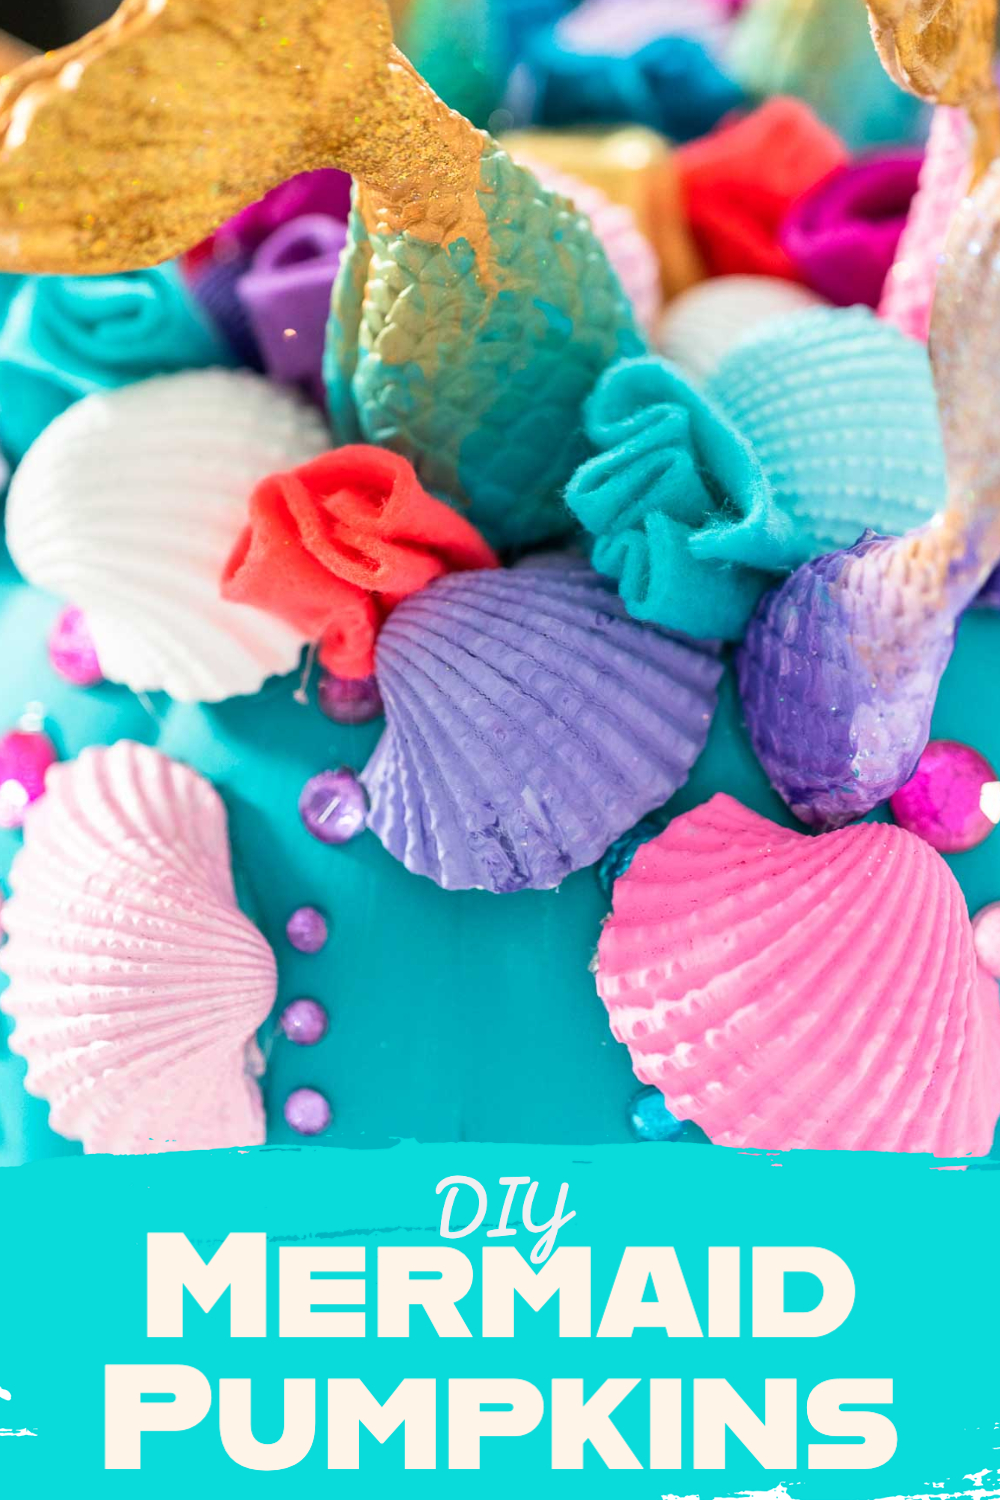
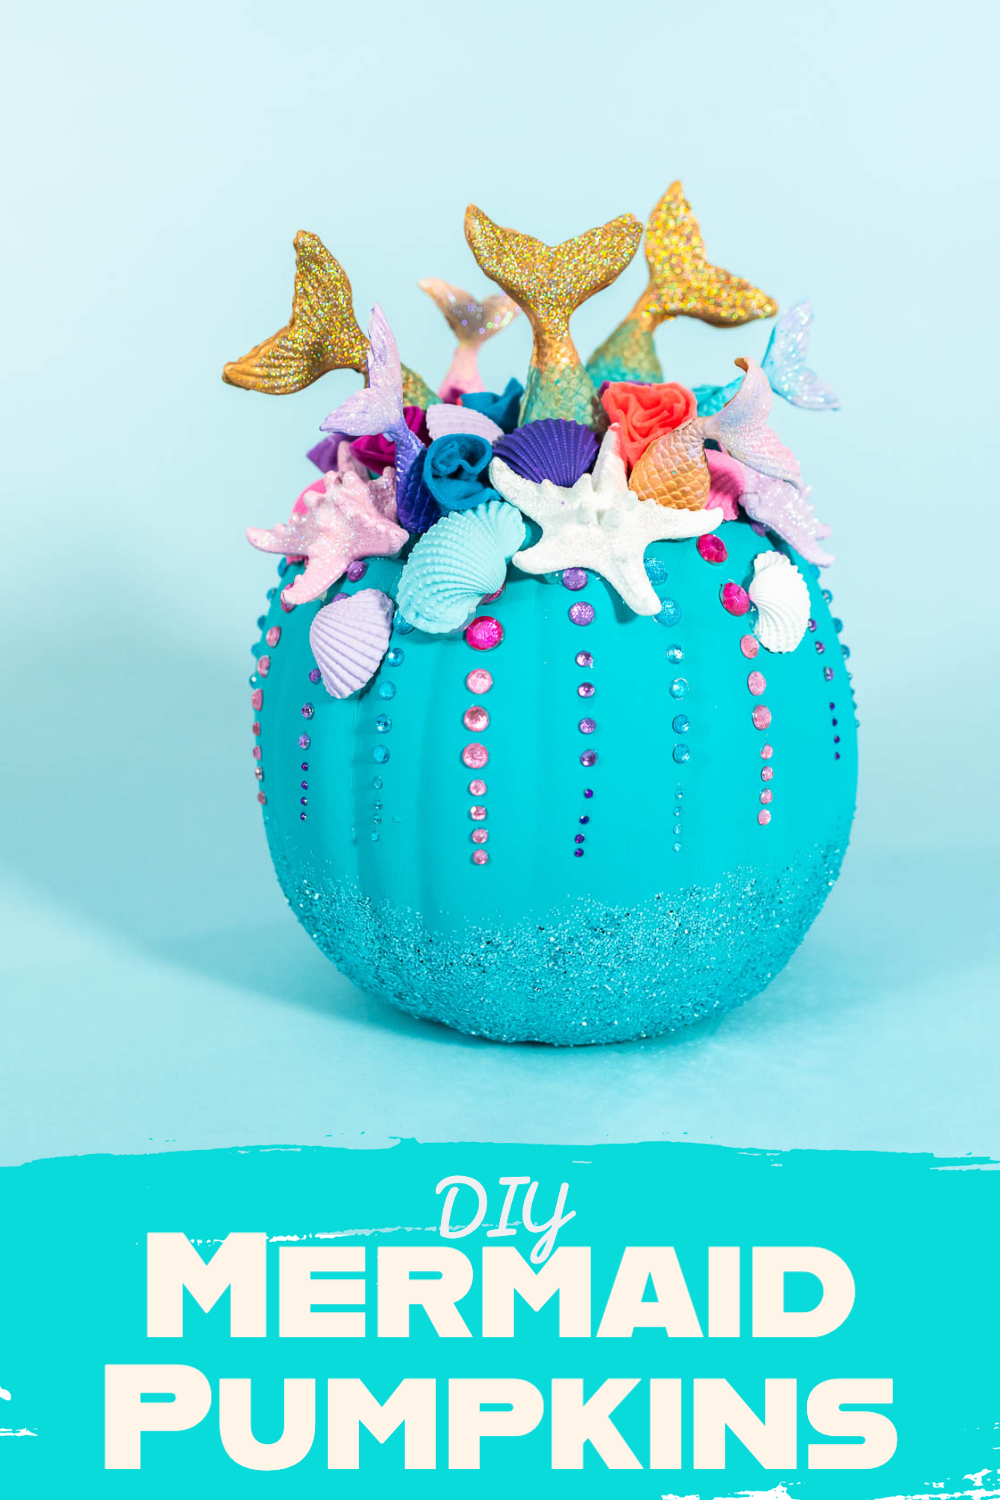
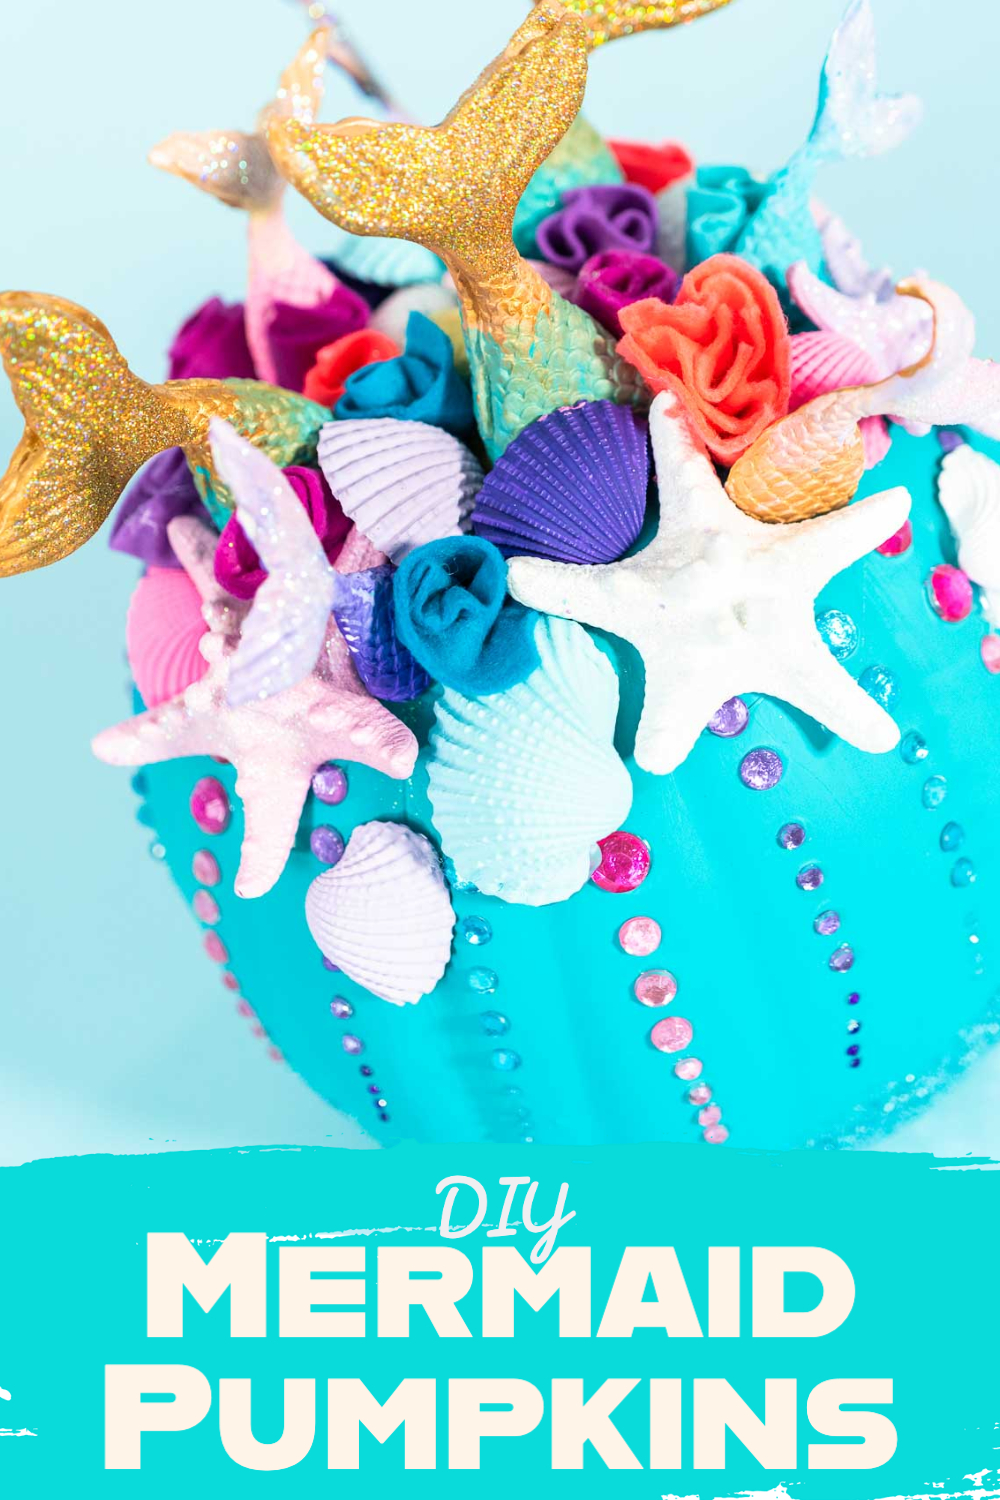
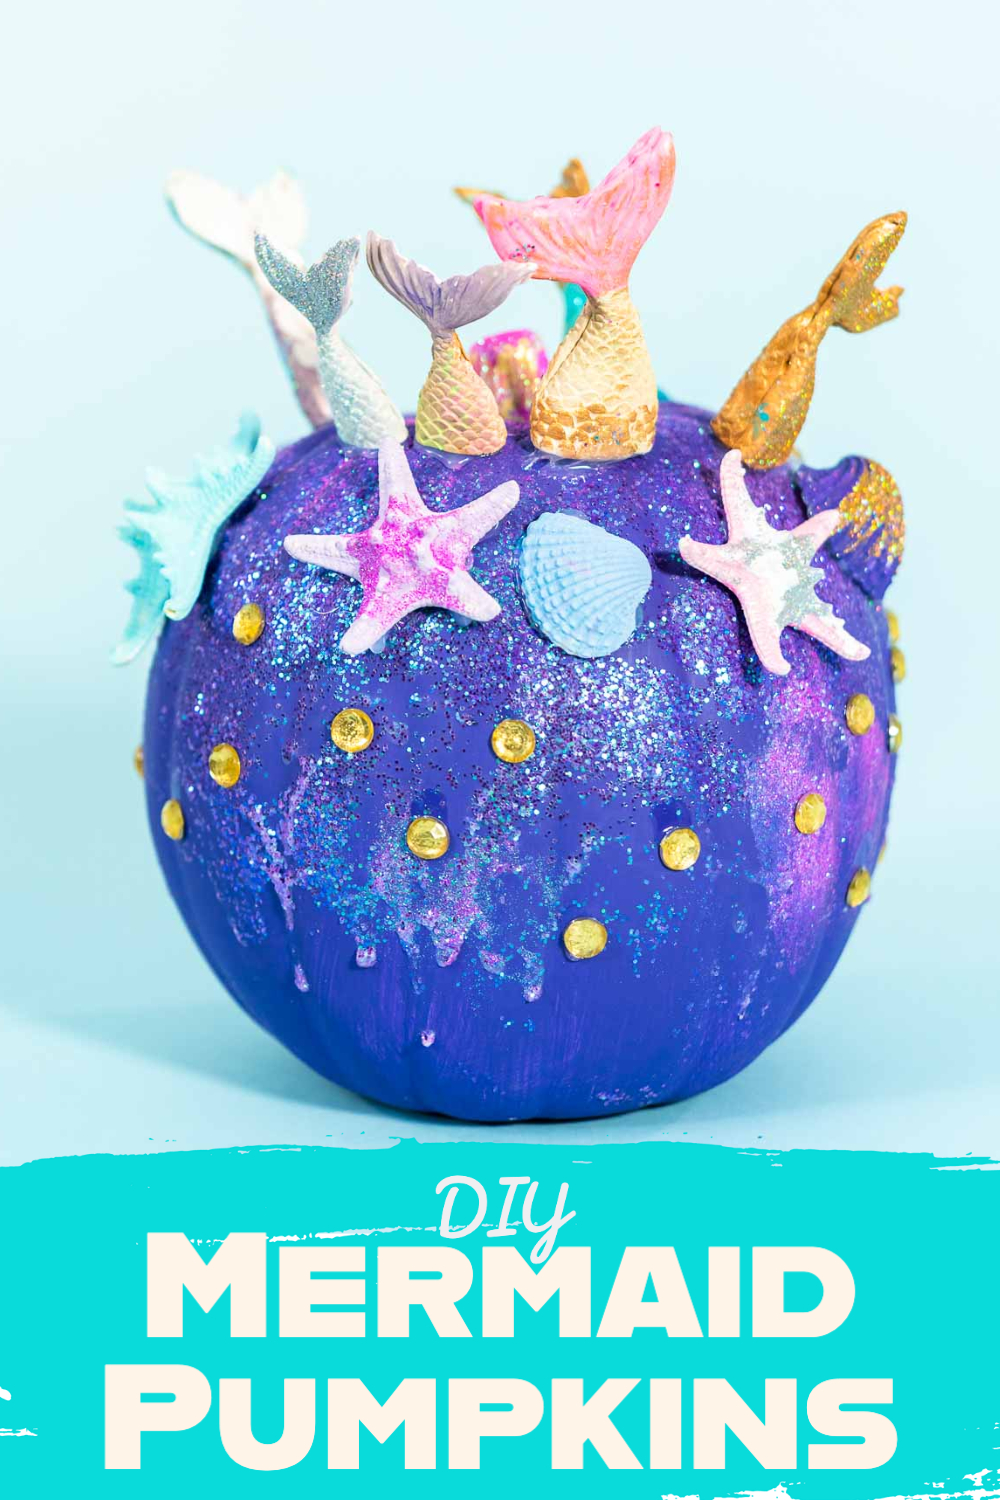
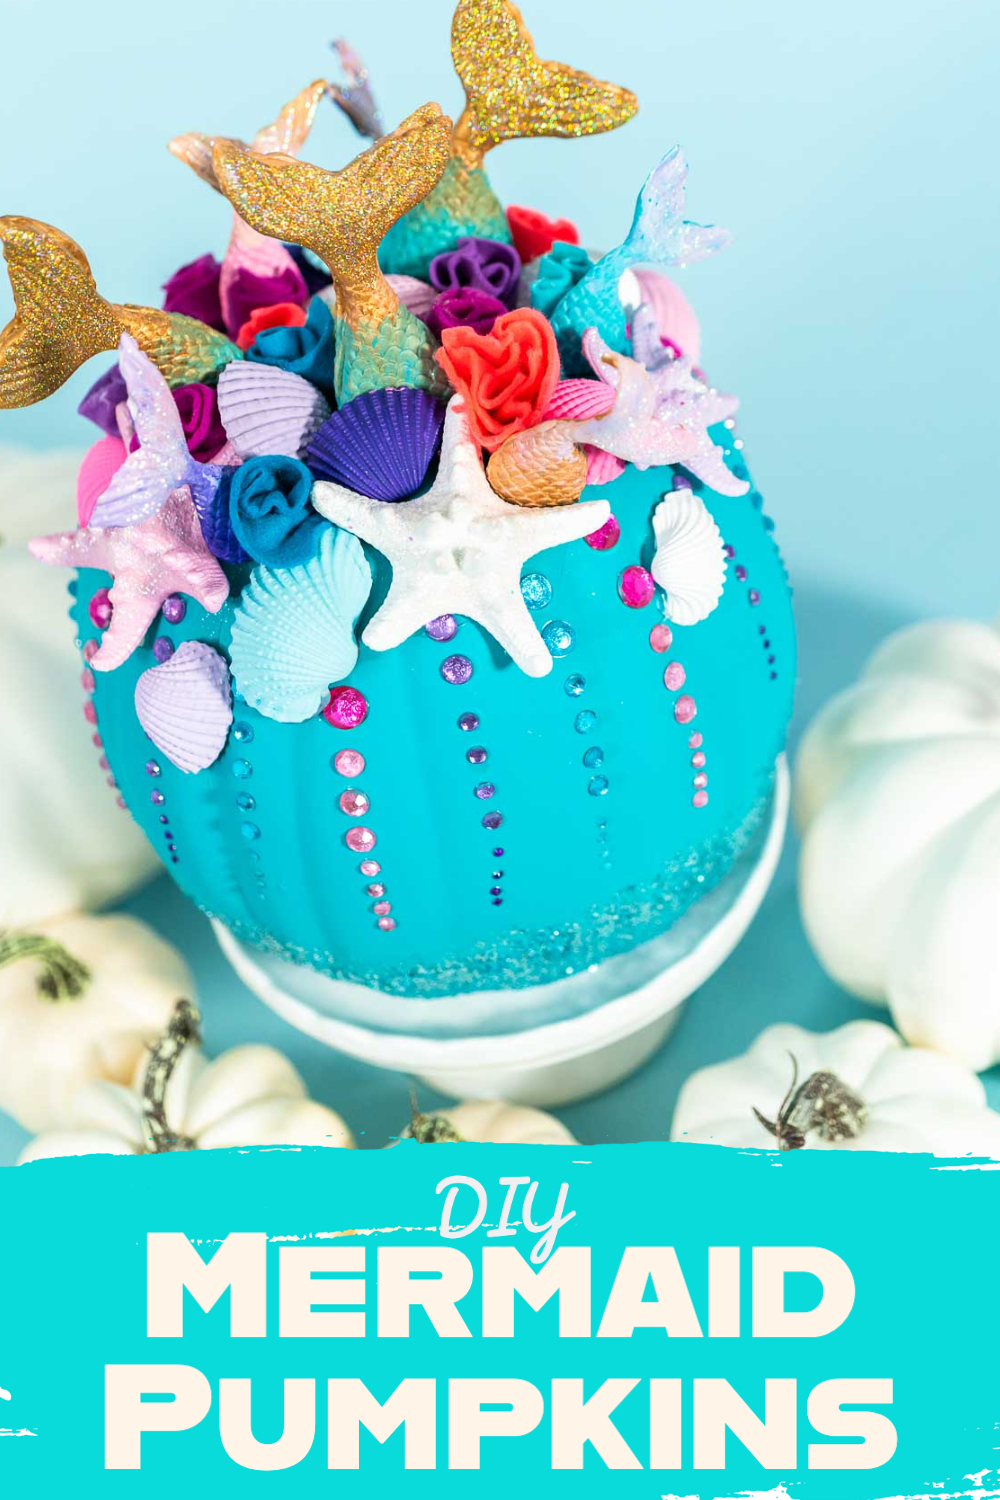
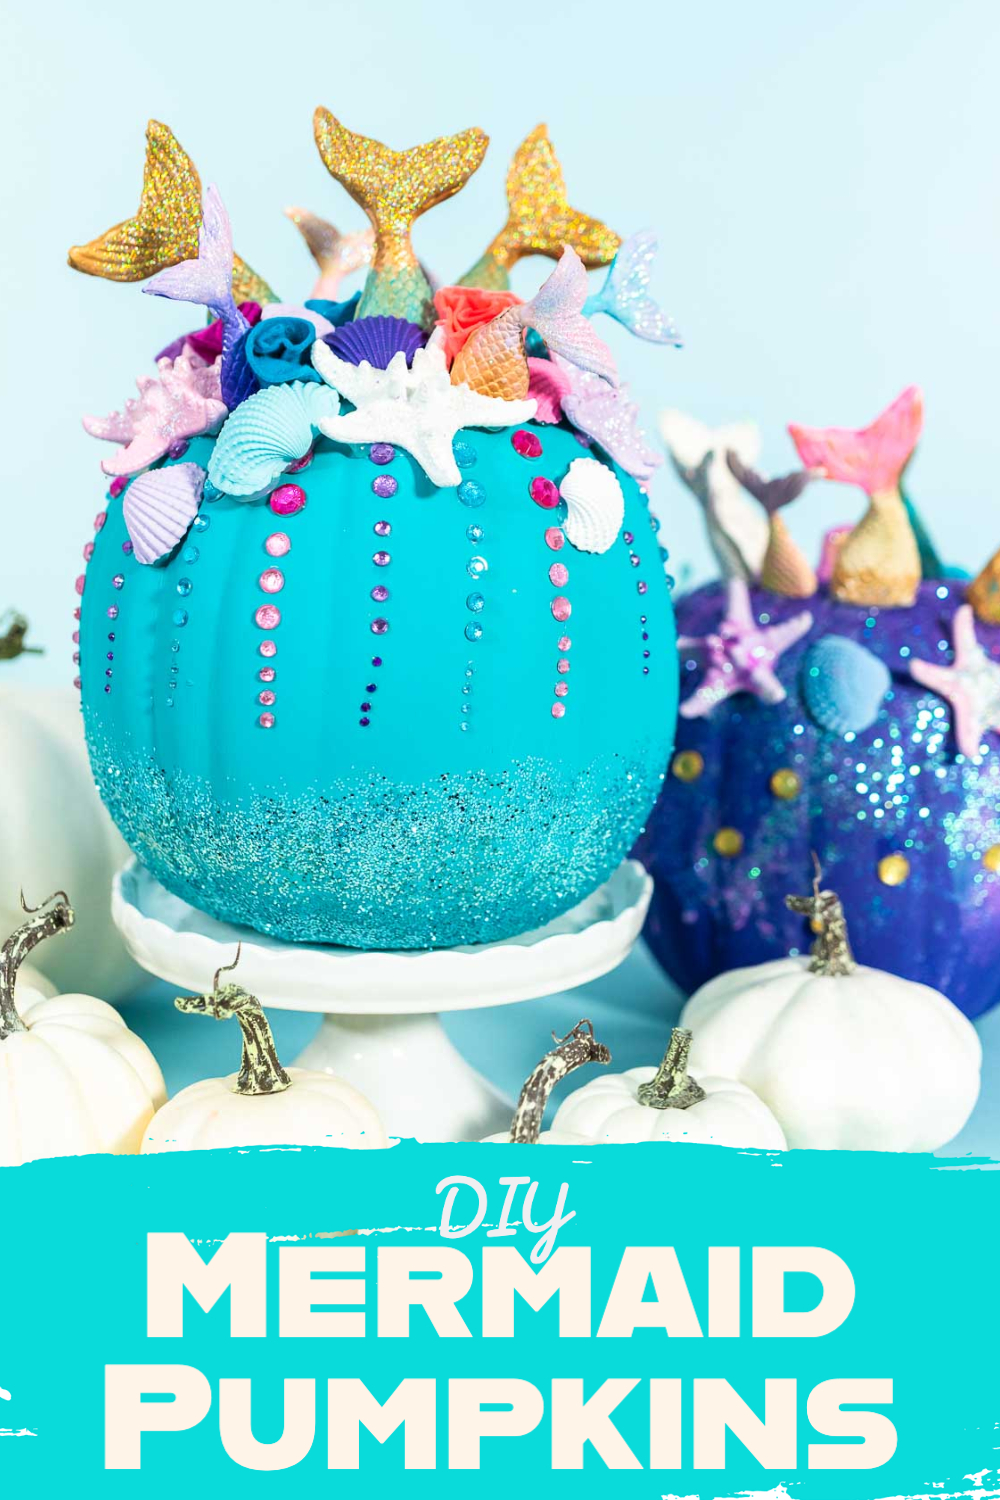
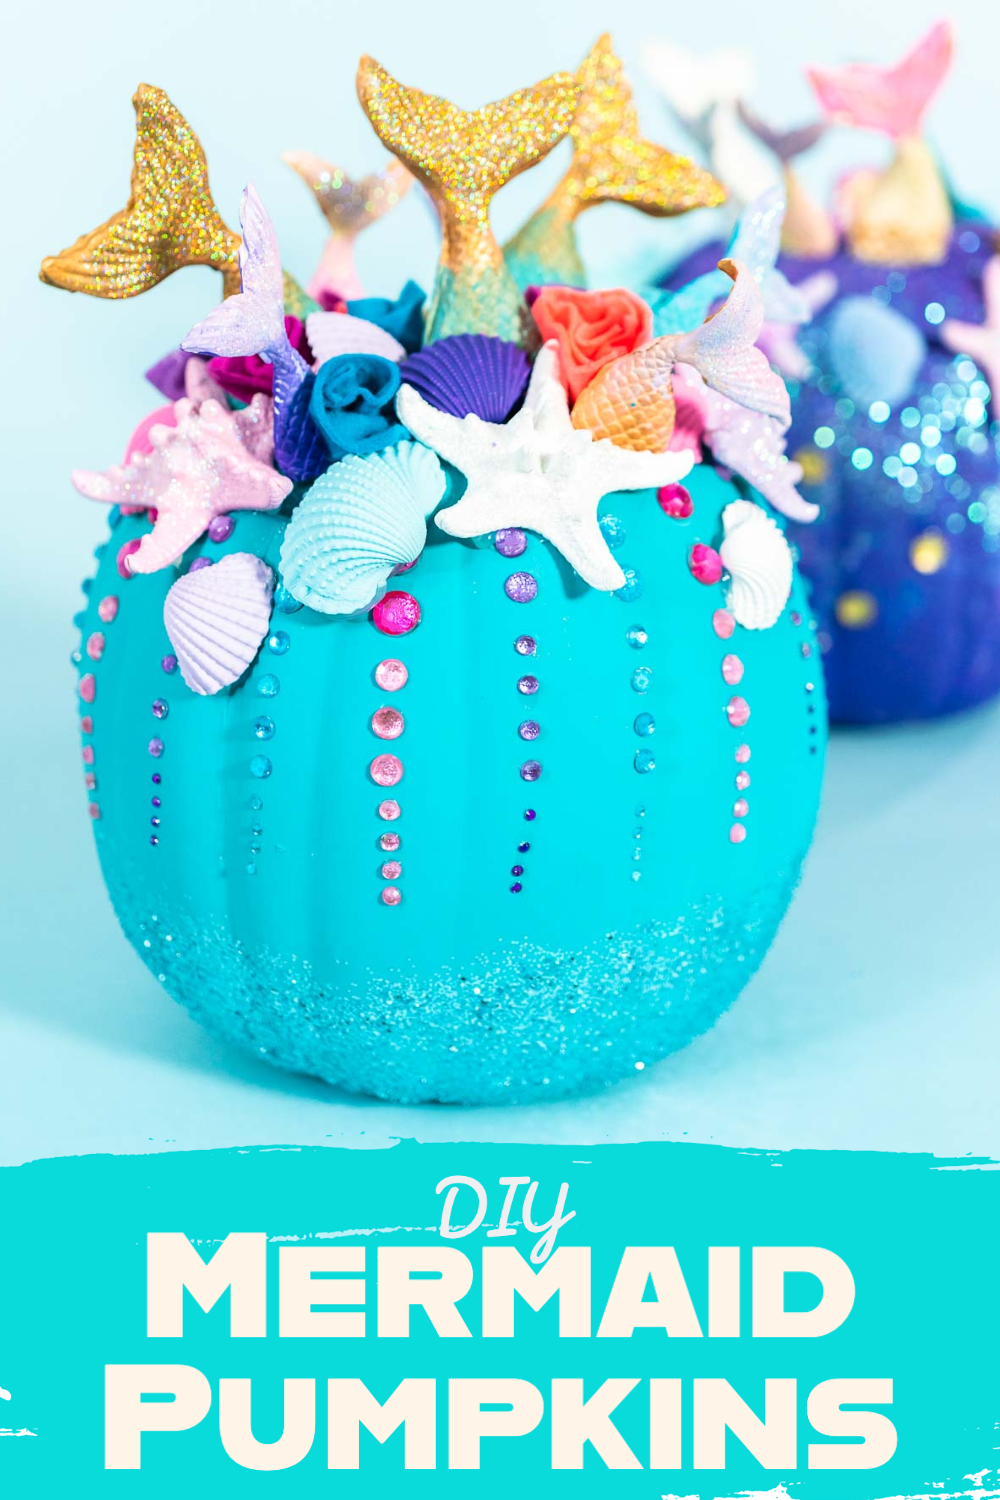
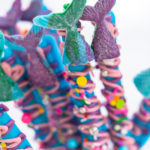
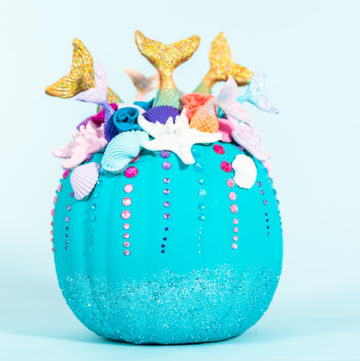
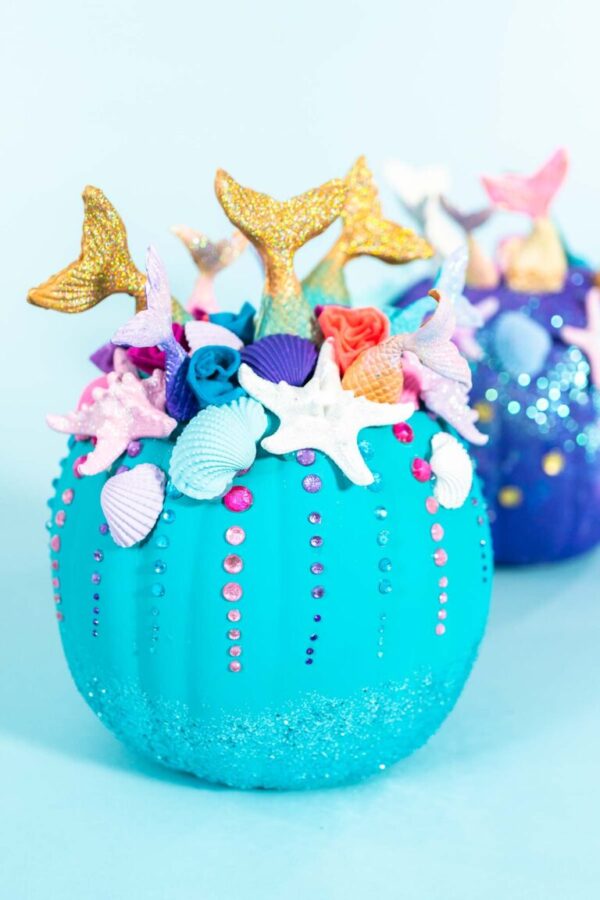
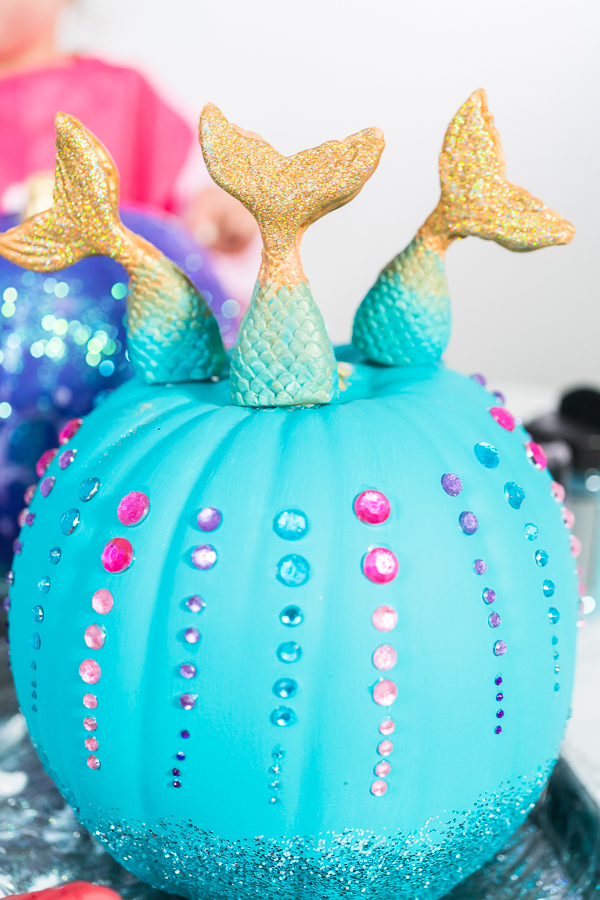
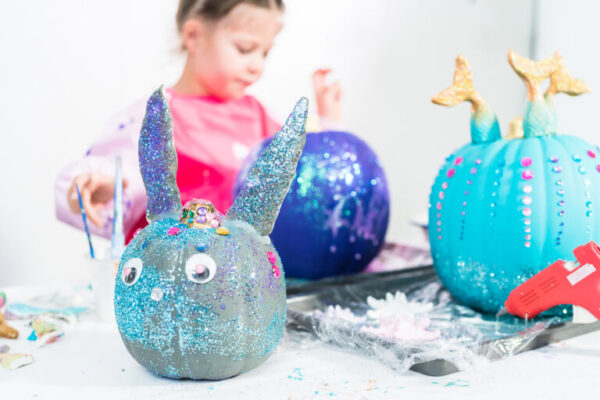
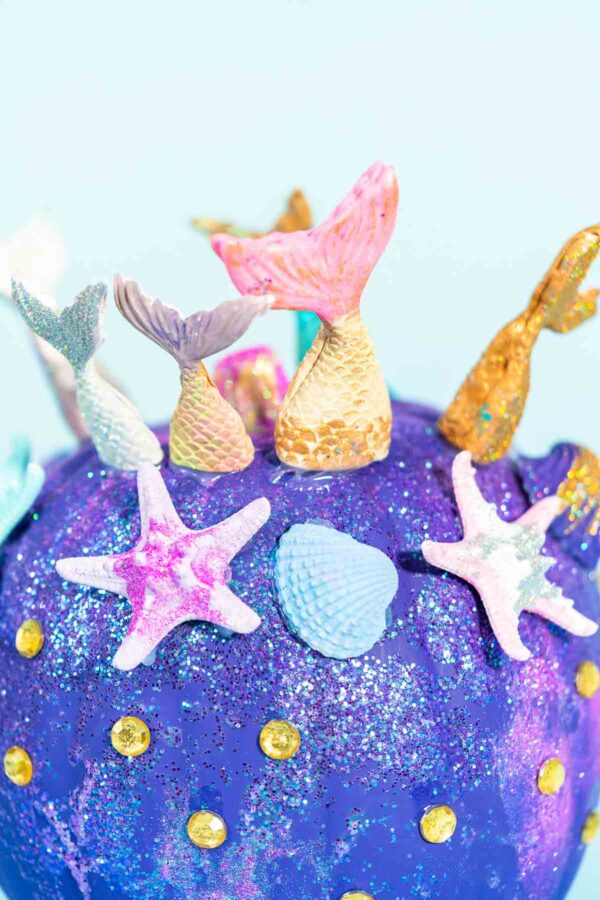
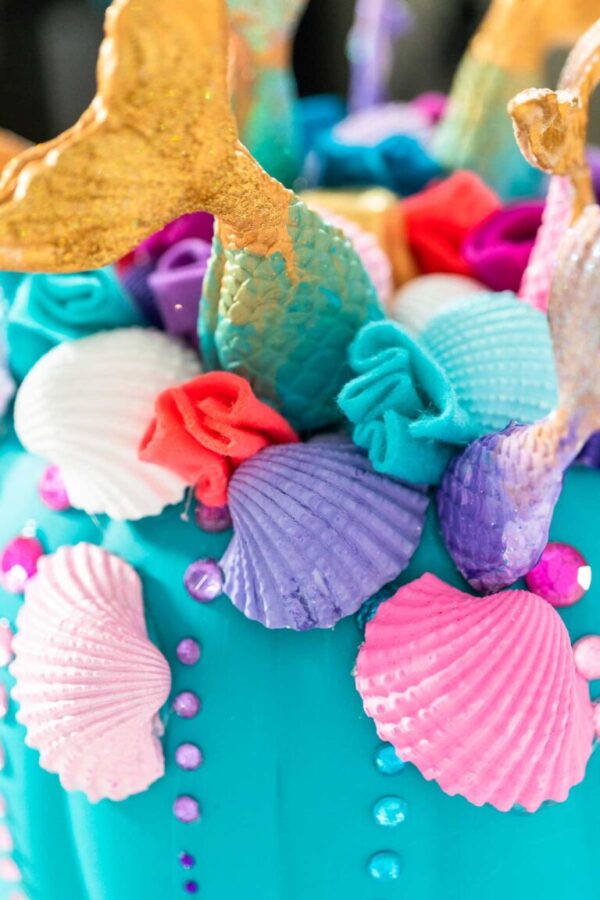
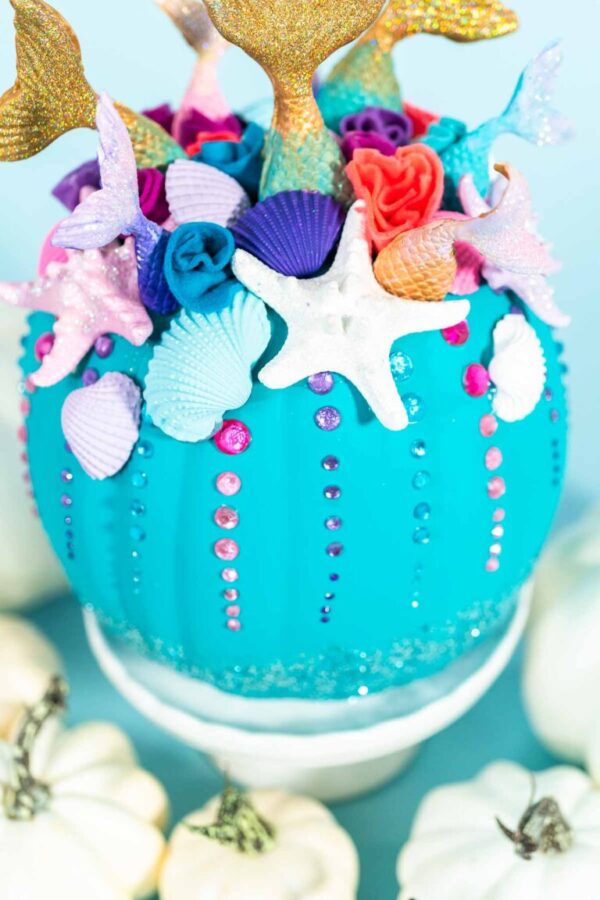
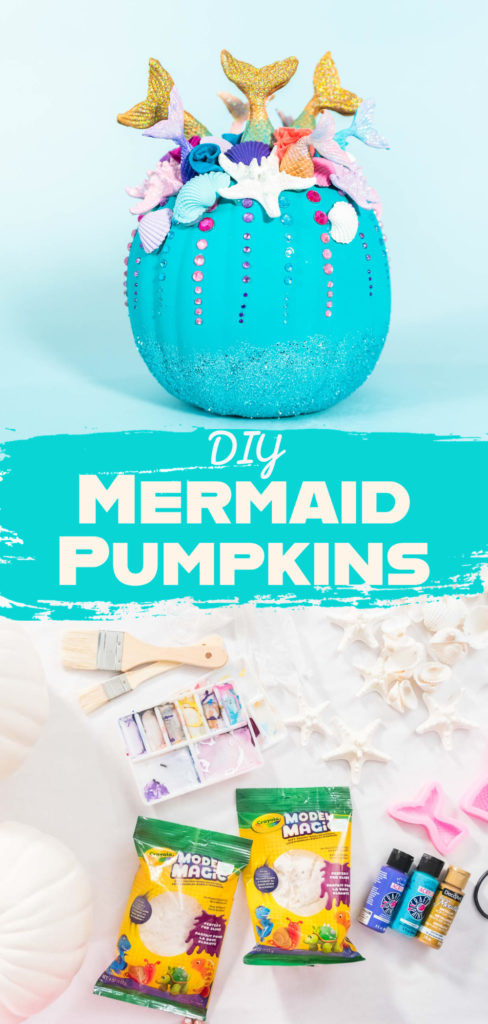
Turn plain craft pumpkins into shimmering Mermaid Pumpkins—complete with glittery shells, starfish, and sculpted tails! This no-carve project is perfect for early-bird Halloween decorating, mermaid‑themed birthdays, or a rainy‑day craft session. I love starting these in late summer so they’re fully cured and photo‑ready by October.
If you want décor that looks boutique‑bought yet lasts for years, this is the project to make on repeat.
Why You’ll Love This Craft
- Mess‑light, no carving: No slippery seeds or rotting pumpkins—these are made on durable craft pumpkins you can reuse every year.
- High‑impact look: Metallic accents, rhinestones, and sculpted tails give serious wow‑factor.
- Kid‑friendly steps: Lots of painting, sprinkling, and gluing. (Grown‑ups handle hot glue.)
- Budget‑flexible: Start with one pumpkin, then add shells, rhinestones, and glitter as you go.
- Theme‑ready: Works for Halloween, birthday tables, or a whimsical mantel display.
Related projects: DIY Unicorn Pumpkin, DIY Unicorn Party Favor Bags, DIY Gold Painted Easter Eggs, and DIY Toilet Paper Bugs Craft.
A Quick Story & My Best Tips
I started making craft pumpkins early in the season because my photo shoots need to be ready before October, and—bonus—dry time fits perfectly into an easy, no‑rush schedule. The first time I glued a mermaid tail on top and dusted everything with glitter, I knew I’d found my signature Halloween look: less spooky, more magical.
Personal tips from my studio:
- Paint first, detail second. Solid aqua base coat one day, then metallics/glitter the next for crisp layers.
- Double the tails. Mold two halves so you can join them into one sturdy tail after drying.
- Dry time is everything. Modeling clay feels “dry” fast but needs the full 72 hours to cure hard.
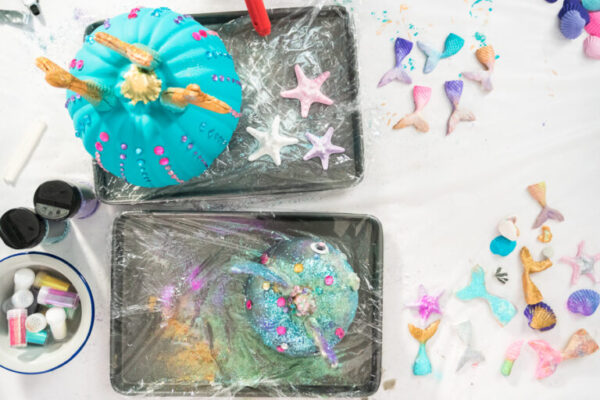
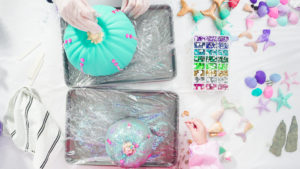
- Contain the sparkle. Work over cellophane‑lined sheet pans so cleanup is easy.
- Rhinestone lines = instant luxe. Follow the pumpkin’s ribs to keep spacing straight.
- Keep extras handy. A small cup of white glue and a fine brush make glitter placement precise.
For more party‑ready, colorful ideas, peek at Halloween Party Table Decoration Ideas and Black Caramel Apples.
Tools You’ll Use (and Why)
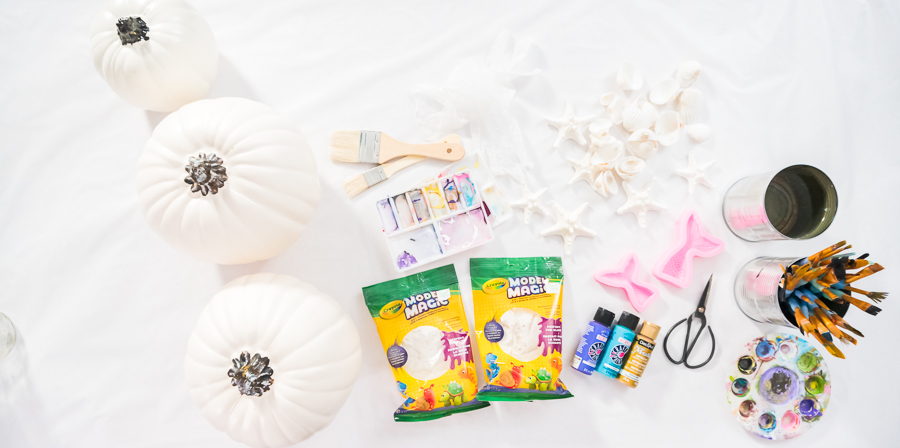
- Mermaid tail mold – Creates repeatable, detailed tails with modeling clay.
- Hot glue gun – For attaching heavy pieces (tails, shells) securely.
- Paint brushes & palettes – Wide brush for base coats, small brush for metallic details.
- (Optional) Kids’ painting aprons – Saves costumes and clothing.
- (Optional) Disposable vinyl gloves – Handy during glitter or metallic paint steps.
Safety note for hot glue: review general tool guidance from the U.S. Consumer Product Safety Commission.
Materials
- 1 craft pumpkin (any size or color)
- Shells (mixed sizes)
- Starfish (faux or craft grade)
- Acrylic paint (assorted colors)
- Gold acrylic paint (for highlights)
- Aqua acrylic paint (for the base coat)
- Glitter (fine and/or chunky)
- Modeling clay (air‑dry)
- White glue (for glitter)
- E6000 glue (for rhinestones/embellishments)
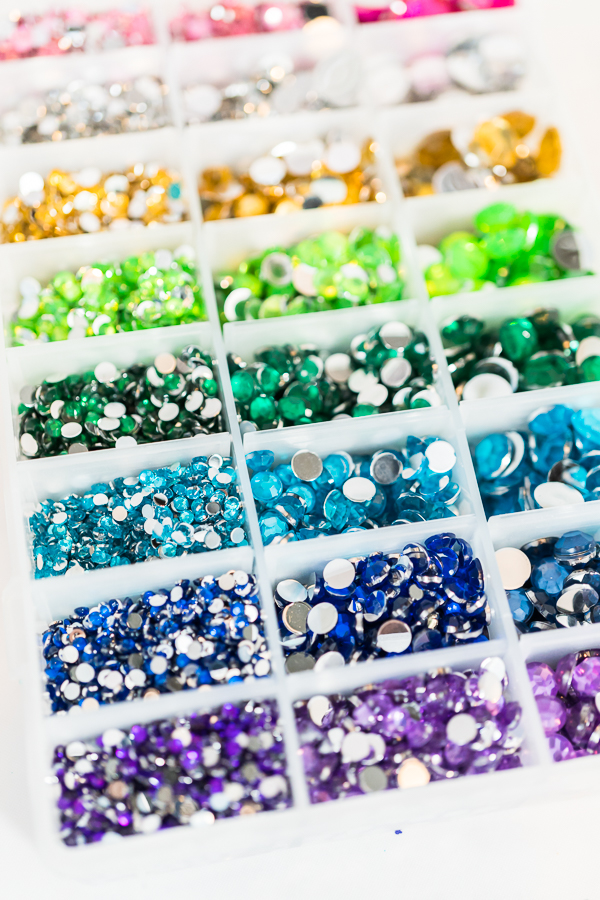
- Rhinestones (mixed sizes)
- Felt pieces (to fold into “coral” flowers)
Optional add‑ons: pearl beads, iridescent sequins, metallic leaf, or ribbon.
Color & Style Ideas
- Ocean Ombre: Deep teal at the base fading to seafoam near the top.
- Pearlcore: Pale blush, champagne, and white with pearls instead of glitter.
- Sunset Siren: Coral, fuchsia, and gold with iridescent sequins.
- Dark Mermaid: Black base with emerald tails and antique‑gold dry‑brushing.
Try pairing with DIY Unicorn Pumpkin for a whimsical duo.
Latest Video
Step‑by‑Step: How I Make Mermaid Pumpkins
Final Touches
Add a last sweep of glitter or a few pearls. Let everything cure overnight before moving the pumpkin to its display spot.
Base Coat
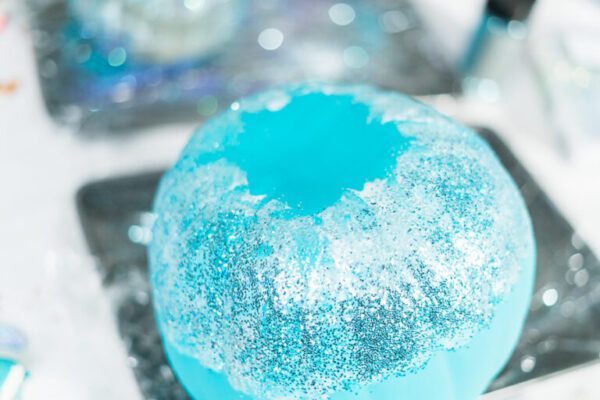
Paint the pumpkin with aqua acrylic paint using a wide brush. Let dry at least 24 hours so the surface is fully set before embellishing.
Mold the Tails
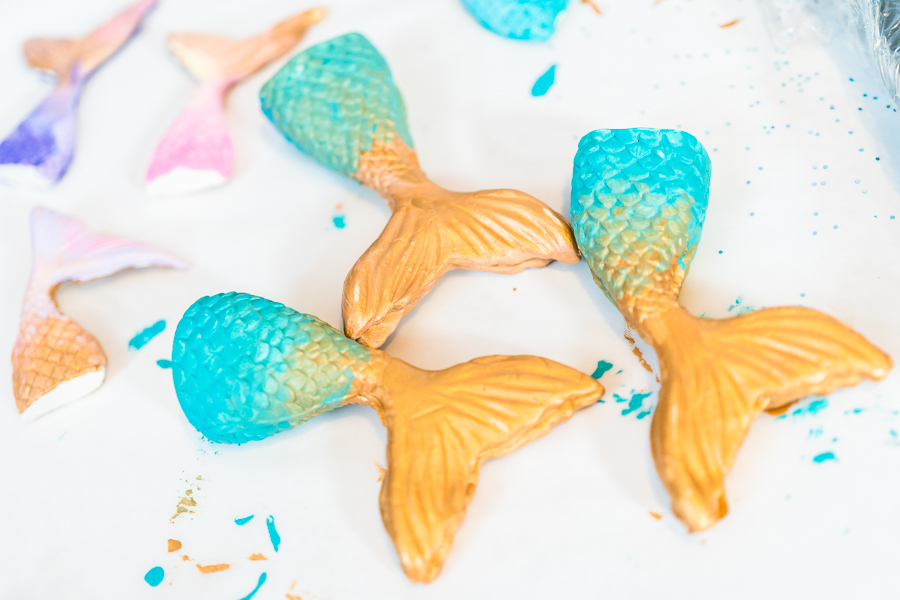
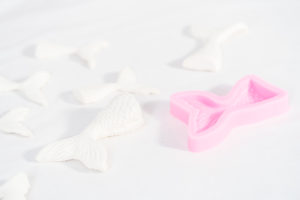
Press small portions of modeling clay firmly into the mermaid tail mold until the cavity is filled. Unmold carefully. Repeat to make a second matching half for each tail. Lay flat and let the pieces air‑dry 72 hours.
Make More (Optional)
Repeat the molding step to create additional tails if you’re decorating multiple pumpkins or want a clustered “reef” look.
Paint Details
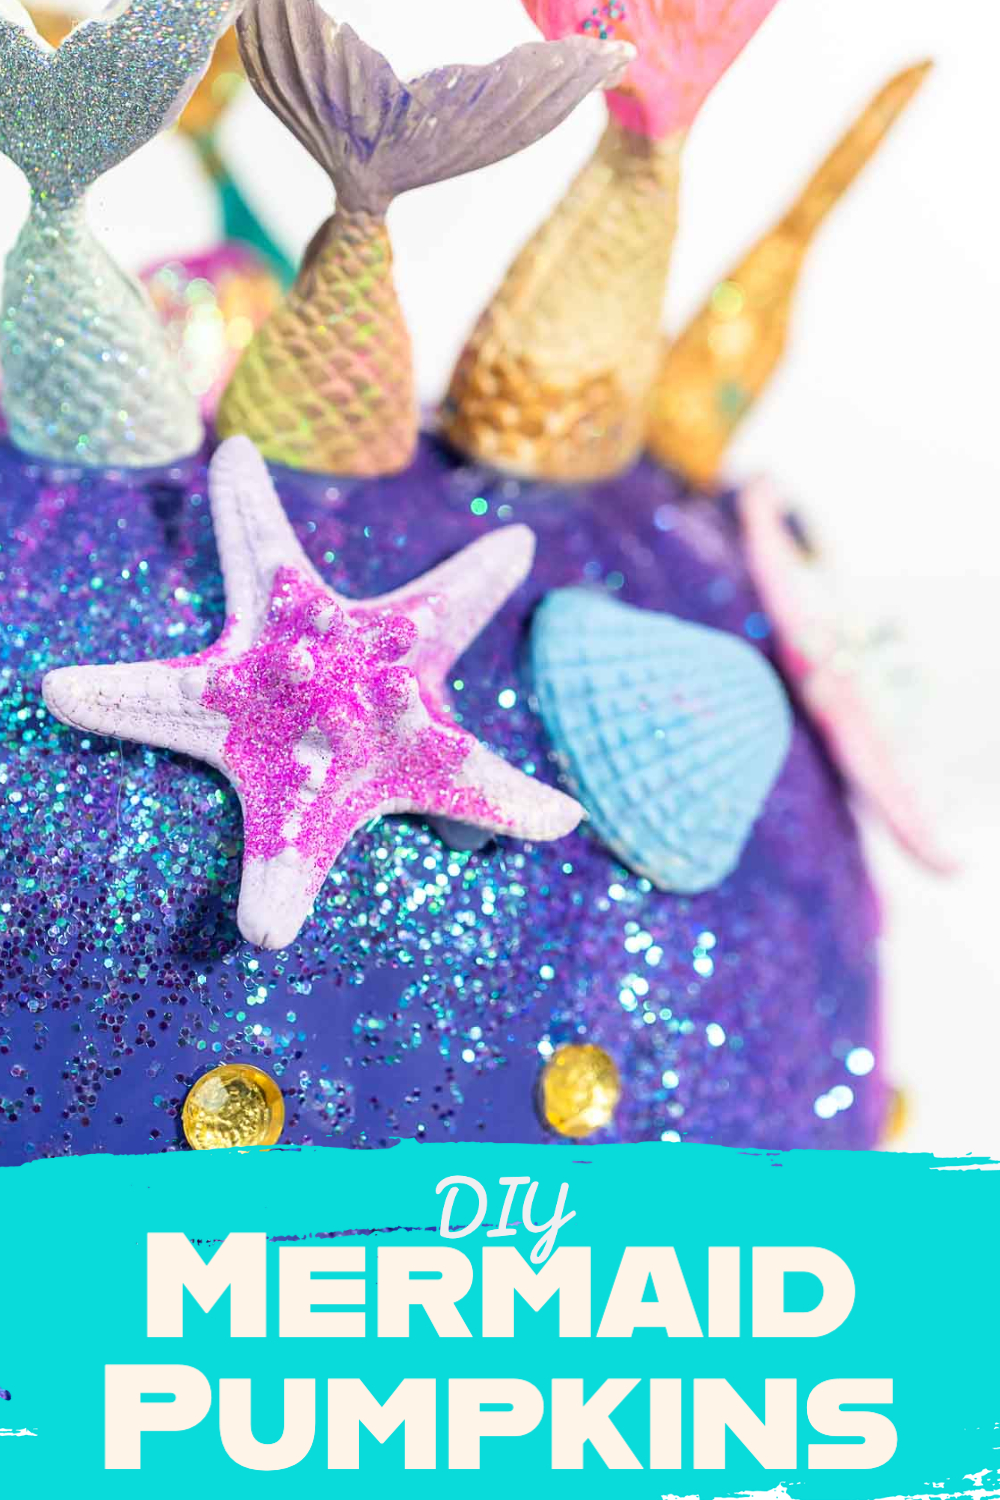
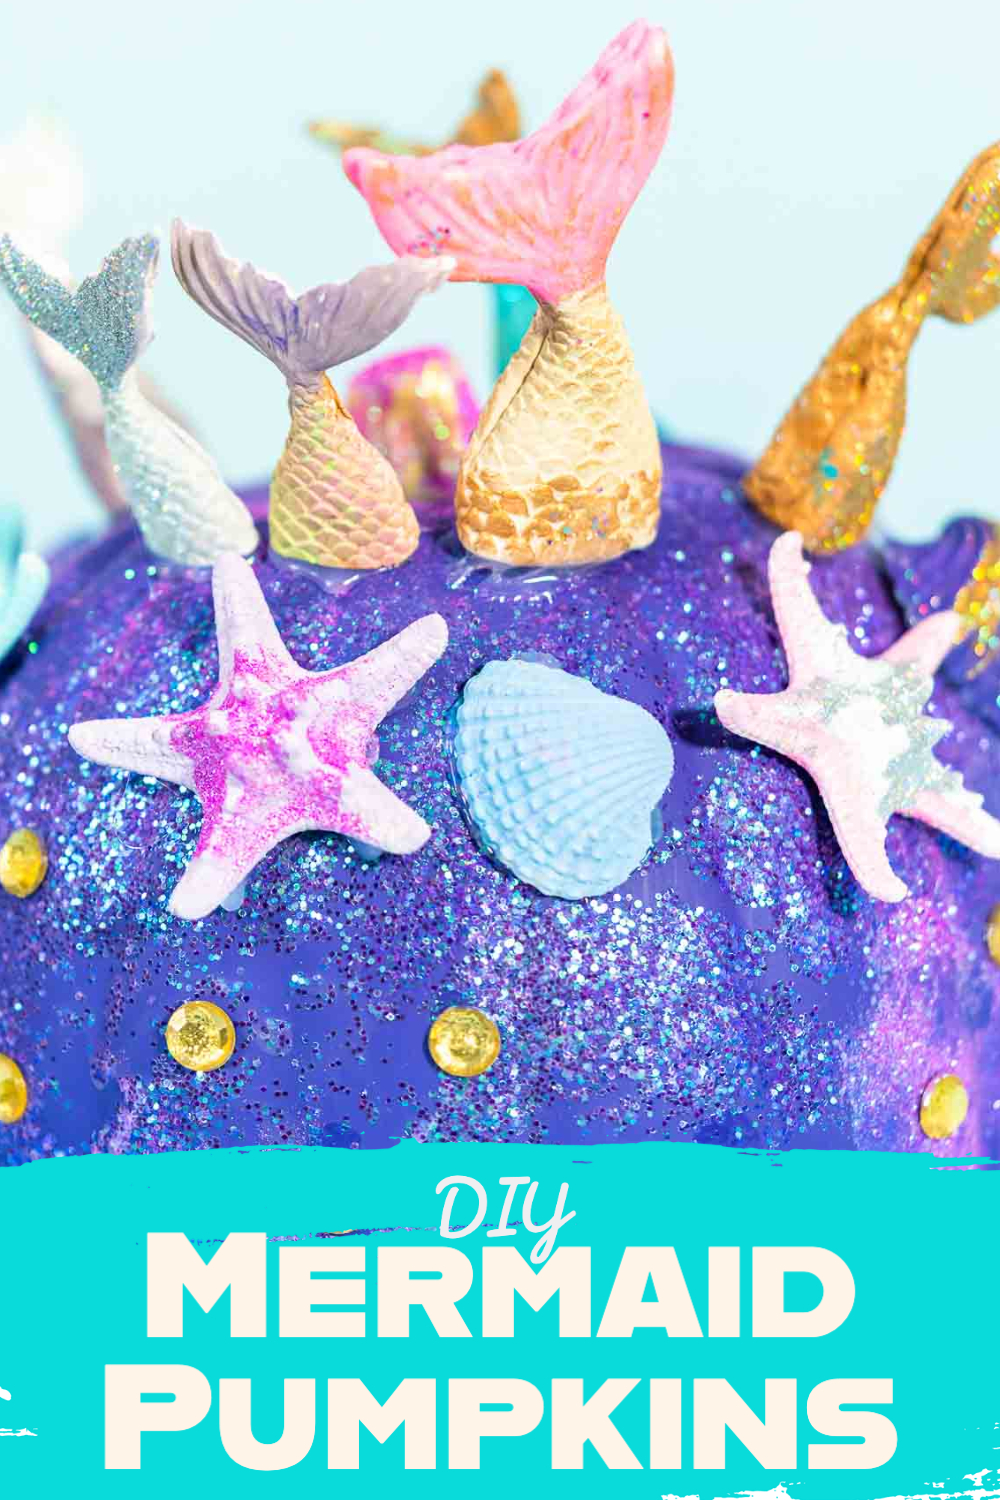
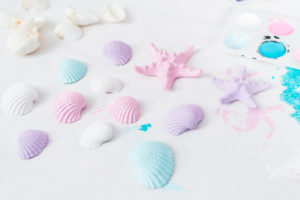
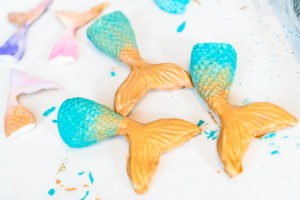
Paint shells, starfish, and the dried tail pieces with acrylics. Layer gold acrylic paint on raised areas for a metallic shimmer.
Add Glitter Accents
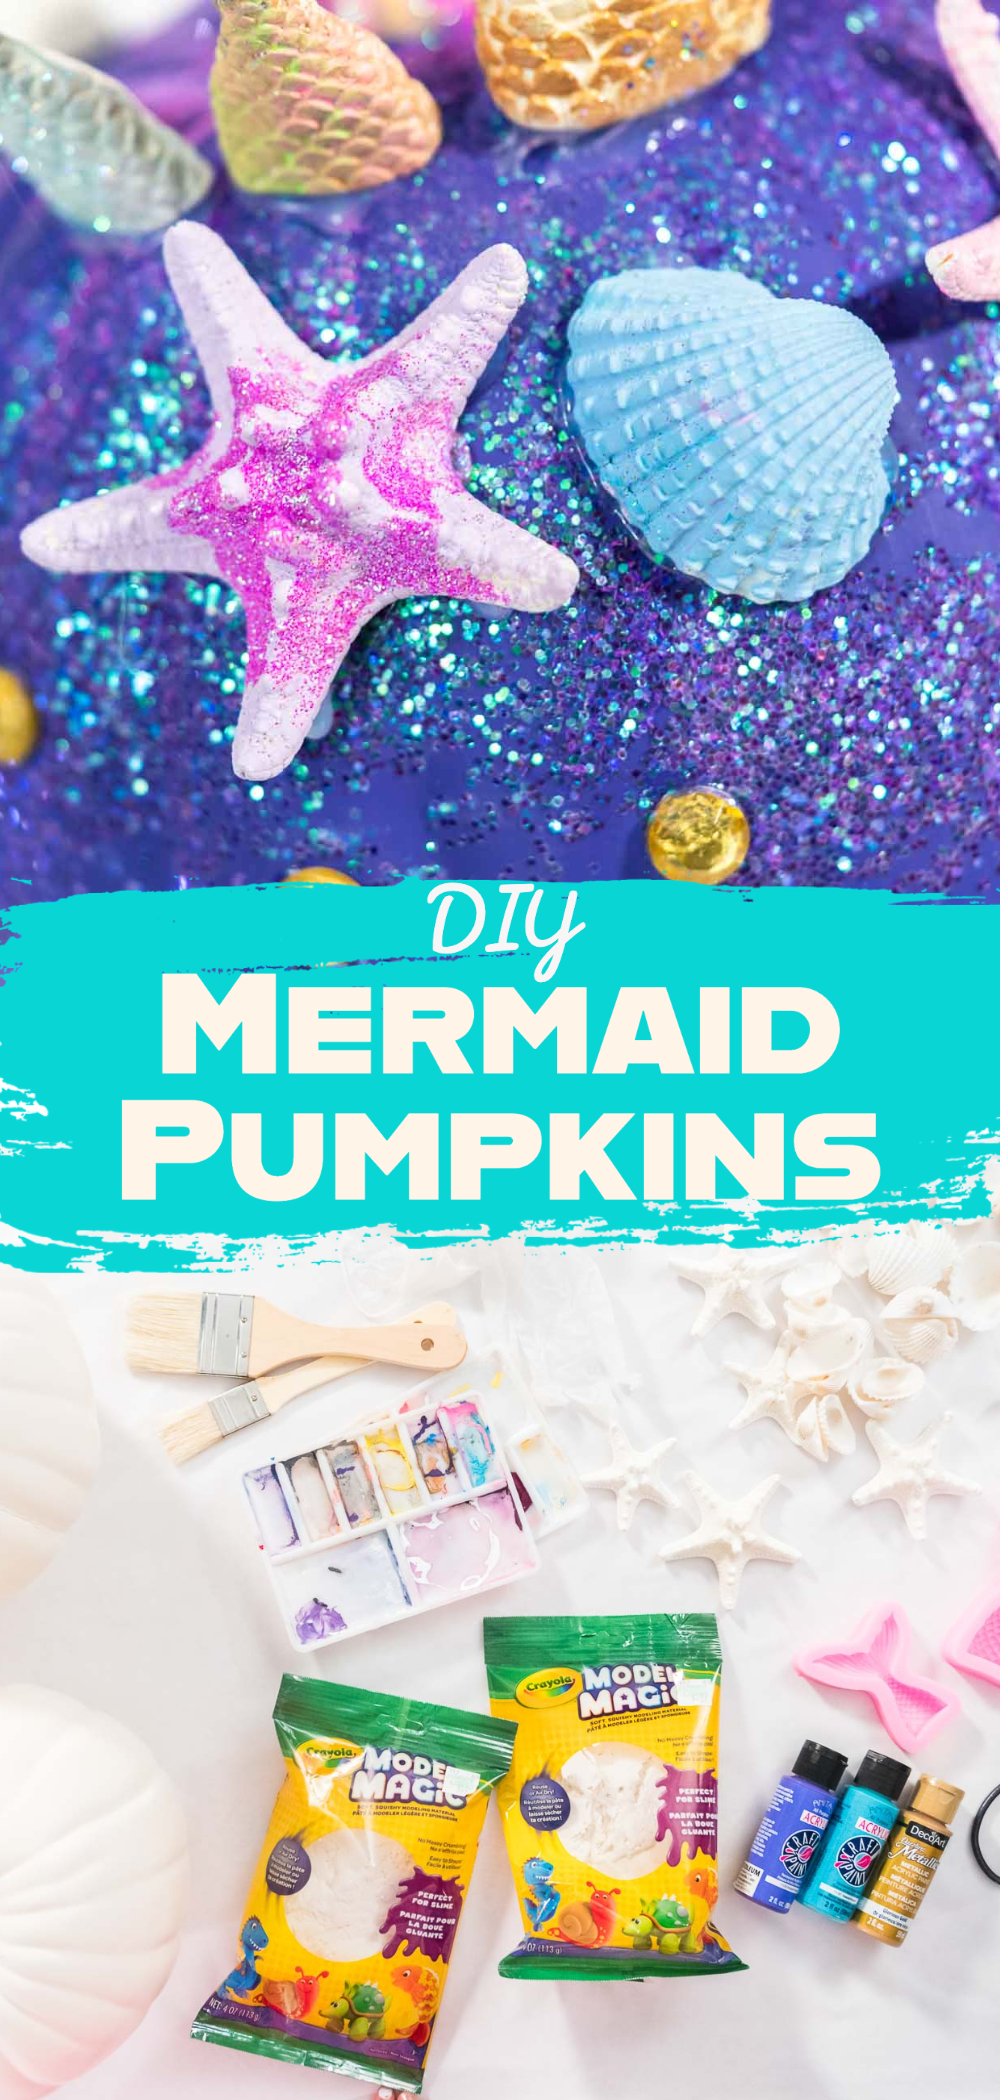
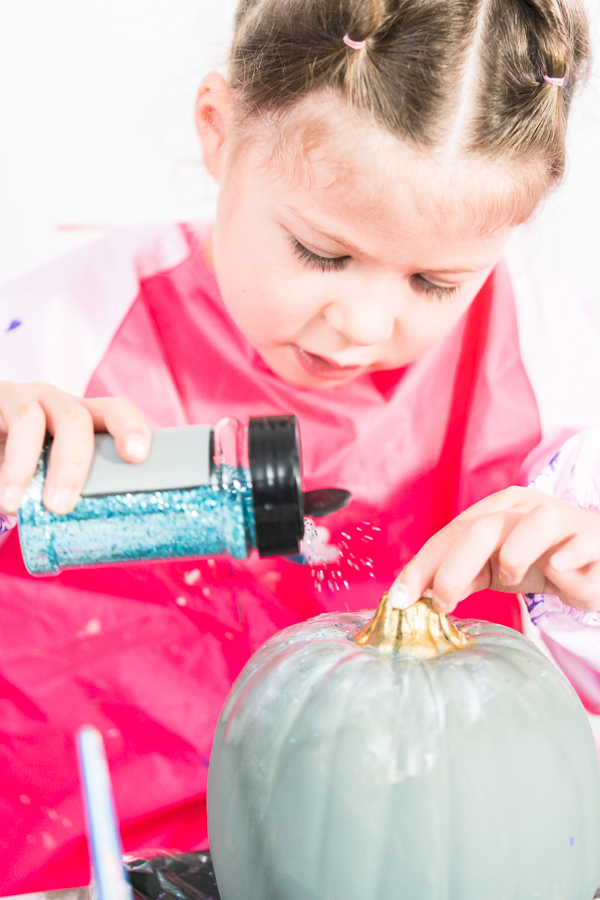
Brush white glue where you want sparkle (edges of tails, shell ridges, or pumpkin ribs). Sprinkle glitter over wet glue; tap off excess.
Pro move: decant a little glue into a cup so you can dip a fine brush and paint clean glitter lines.
Rhinestone Lines
Use E6000 to attach rhinestones along the pumpkin’s ribs for jeweled guidelines. Work over a cellophane‑lined baking sheet to catch stray stones and glitter.
Assemble the Top
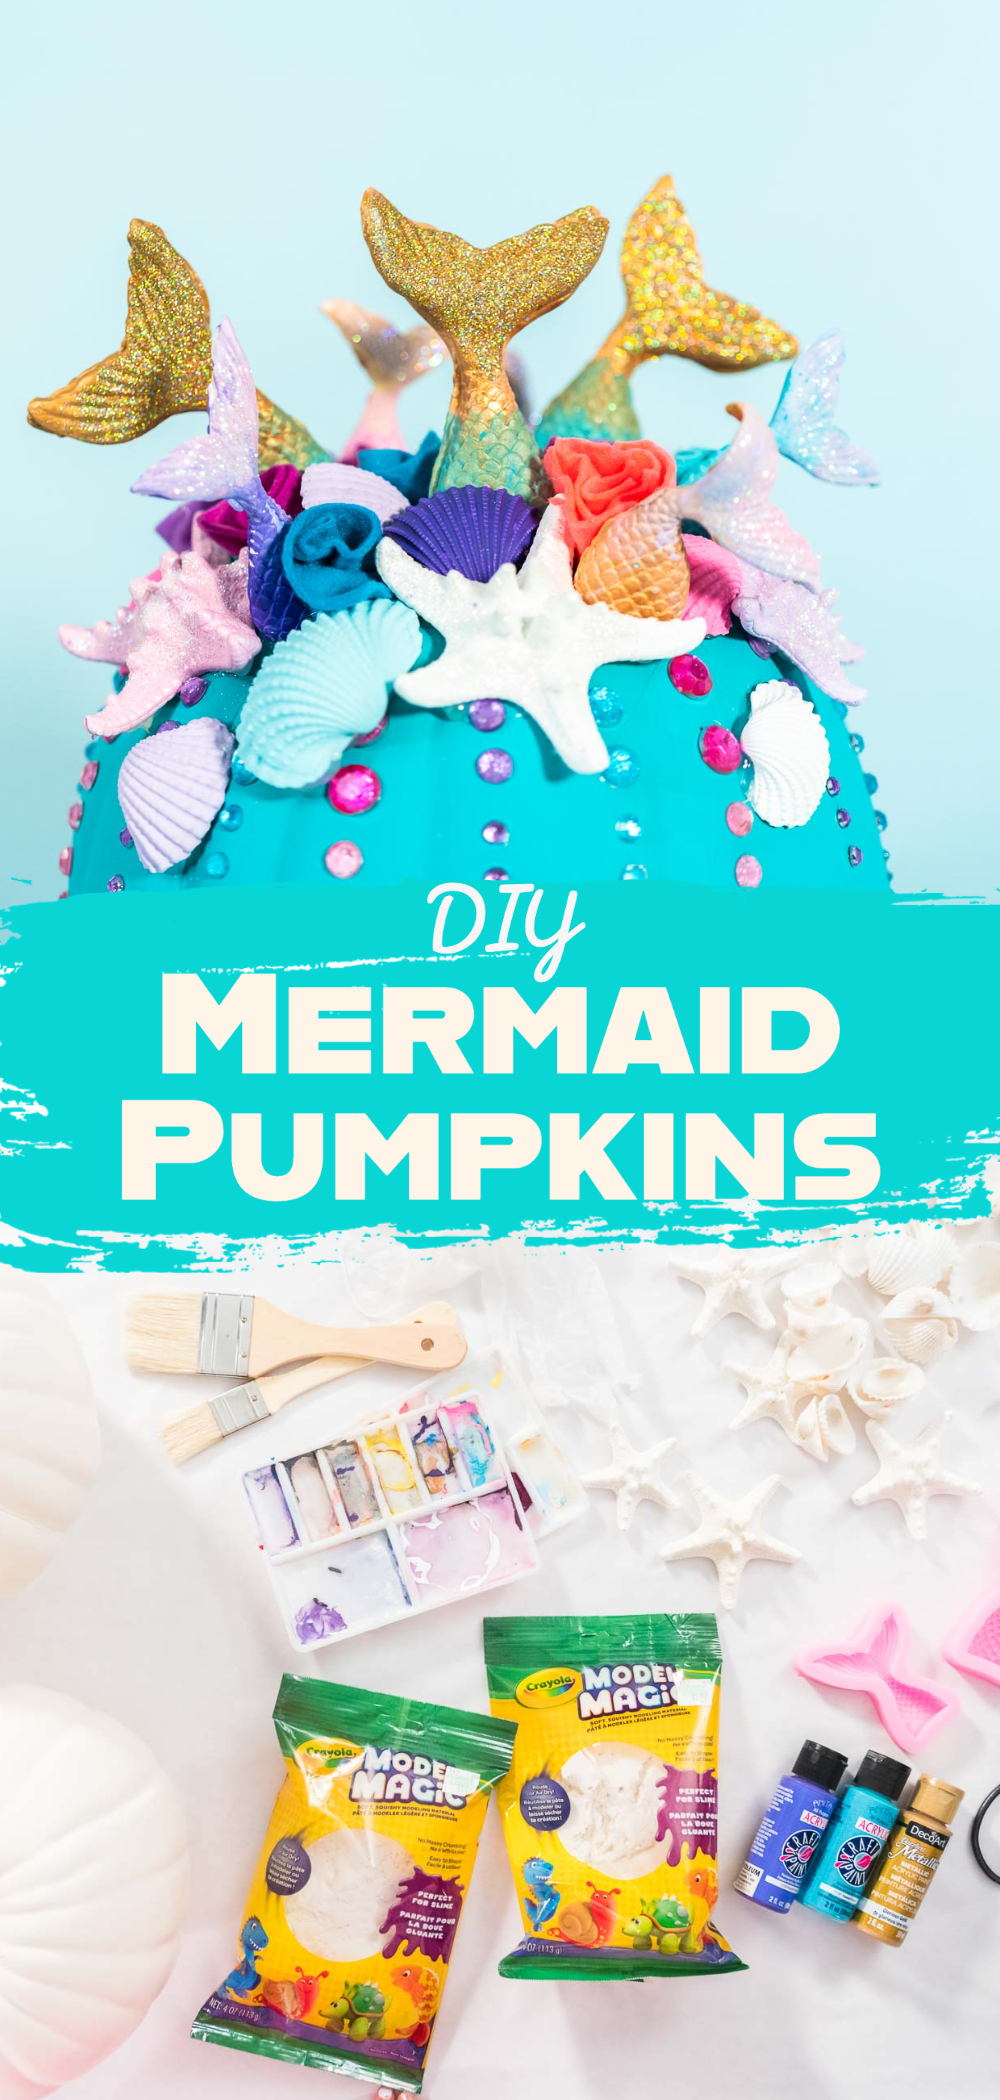
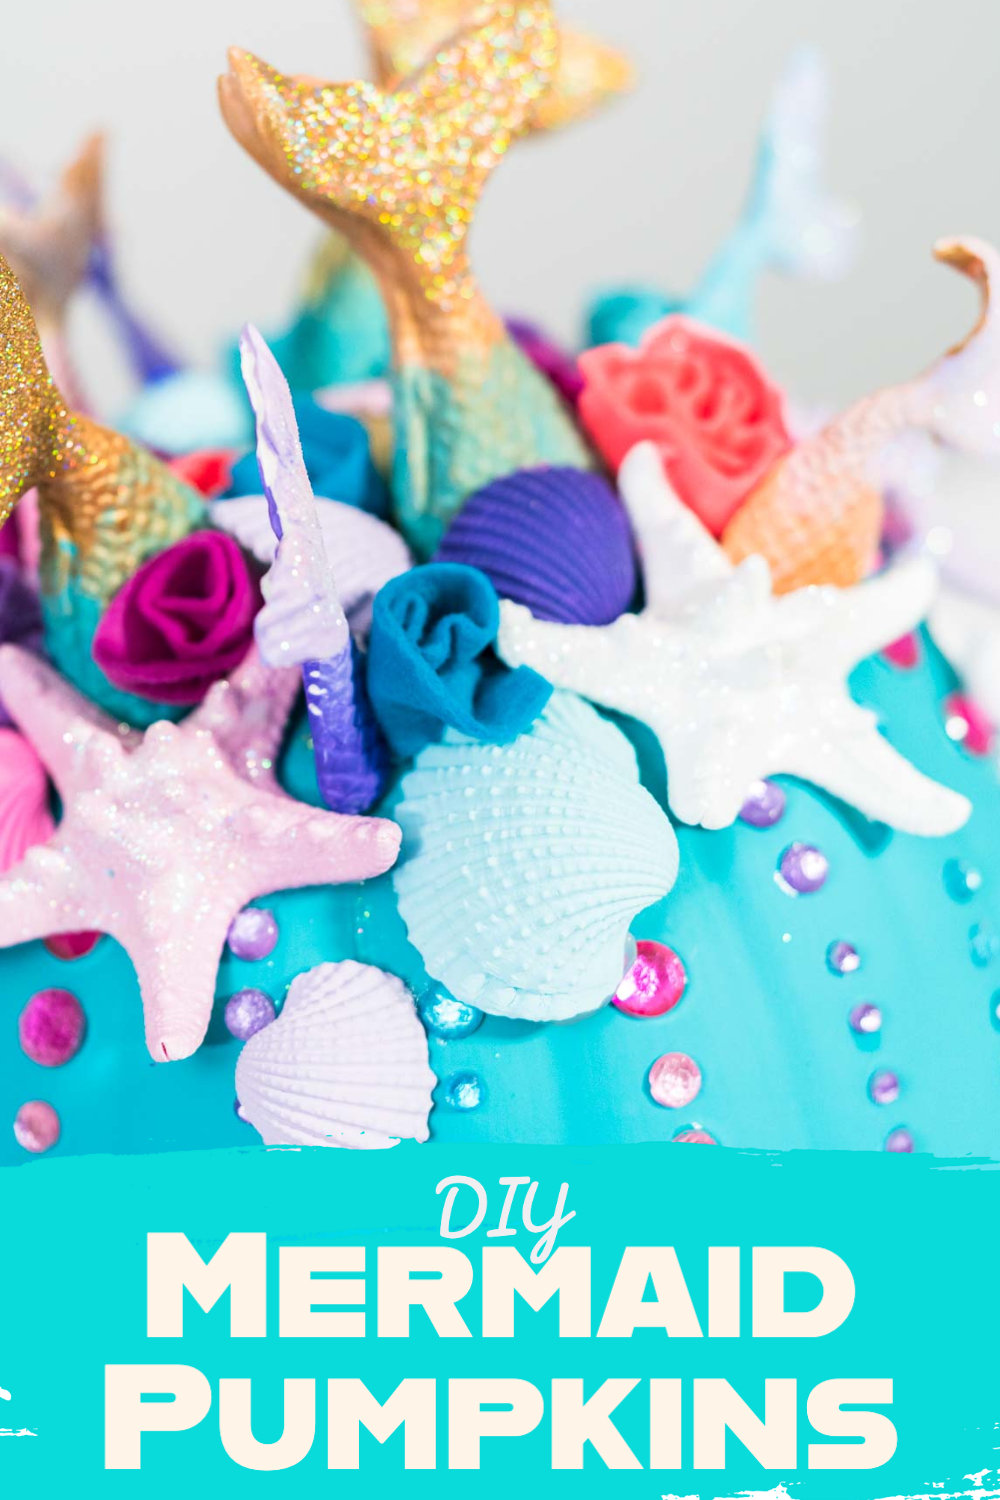
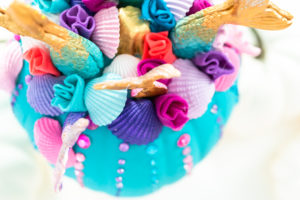
With a hot glue gun, secure the mermaid tails, shells, and starfish on top of the pumpkin. Hold each piece 10–15 seconds so the bond sets.
Felt “Coral”
Fold felt pieces into simple flower shapes (roll and pinch), then hot‑glue around the tails to mimic soft coral and fill any gaps.
Troubleshooting
Rhinestones sliding: Use minimal E6000 and let each stone set before moving to the next rib.
Glitter clumps: Too much glue—switch to thin, even brush strokes and fine glitter.
Tails won’t stick: Surfaces dusty or not fully dry. Wipe with a dry cloth; use hot glue for instant grab + E6000 for long‑term hold.
Paint streaks: Add a second thin coat instead of one thick layer; let dry fully between coats.
More Halloween & DIY Fun
- DIY Gold Painted Easter Eggs
- Skull Halloween Sugar Cookies
- Halloween Party Table Decoration Ideas
- Black Caramel Apples
- Red Caramel Apples
- Orange Caramel Apples
- DIY Unicorn Pumpkin
- DIY Toilet Paper Bugs Craft
- DIY Unicorn Party Favor Bags
- DIY Unicorn Birthday Party Favors
- DIY Father’s Day Rocket Card
- DIY Father’s Day French Fries Card
DIY Mermaid Pumpkins
Equipment
- Kids Painting Aprons Optional
- Disposable Vinyl Gloves Optional
Ingredients
Instructions
- Start by painting the craft pumpkin with aqua paint using the brushes. Let it dry for at least 24 hours.
- On the same day, press small amounts of model magic clay into the mermaid tail mold. Once the mold is filled, carefully remove the clay. Repeat this step so you’ll have two halves that can later be joined into one tail. Allow the clay pieces to dry for 72 hours.Make as many clay mermaid tails as you’d like by repeating the same molding process.
- Paint the craft shells, starfish, and the dried mermaid tails in different colors with acrylic paint.
- Once everything is dry, add glitter accents. Brush Elmer’s glue on the shells, tails, or pumpkin, and sprinkle glitter directly over the wet glue.To make applying glue easier, pour a little into a small cup so you can dip your brush.
- Use E600 glue to attach rhinestones along the sides of the pumpkin, creating decorative lines.Keep things neat by working over cellophane-lined baking sheets.
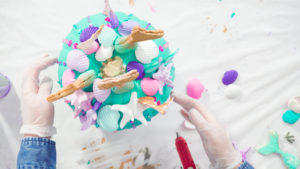
- With a hot glue gun, secure the mermaid tails, shells, and starfish to the top of the pumpkin.
- Fold the felt into flower-like shapes and hot glue them to the top of the pumpkin to mimic coral.
From My Kitchen to Yours
Mermaid Theme
I’ve Got Answers
How long do these pumpkins last?
Years! Store in a dry spot, covered to protect from dust and direct sunlight.
Can I use a real pumpkin?
Yes, but it won’t last beyond the season and heavy décor may detach as it softens. Craft pumpkins are sturdier and reusable.
What paint works best?
Matte or satin acrylic paint adheres beautifully. Add metallic acrylics for highlights.
Is this safe for kids?
Yes—with supervision. Kids can paint and glitter; adults should handle hot glue and E6000.
Pin It For Later
Food Photography & Video Tips from My Studio
Here’s a peek at the tools, gear, and camera setups I use to film my recipe videos and photograph food at home. Over the years, I’ve tested dozens of different setups, and now I’m sharing what actually works for me—whether I’m filming overhead shots for YouTube or styling still photos for my blog. If you’re curious about how I create the content you see here, these posts are a great place to start.






Leave a Reply