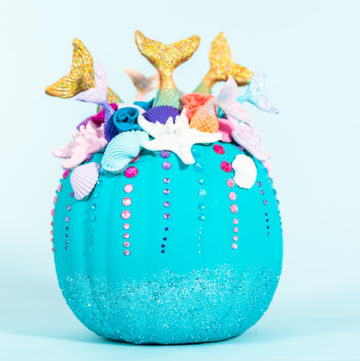
DIY Mermaid Pumpkins
Create magical DIY Mermaid Pumpkins with this easy no-carve craft! Using pastel paints, glitter, seashells, and a mermaid tail mold, these sparkly pumpkins are a fun Halloween activity for kids, teens, or mermaid-themed parties. Perfect for decorating your home, school event, or photo backdrop. This kid-friendly pumpkin decorating idea is mess-free and ideal for creative, hands-on fun in fall.
Equipment
- Kids Painting Aprons Optional
- Disposable Vinyl Gloves Optional
Ingredients
Instructions
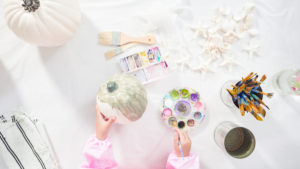
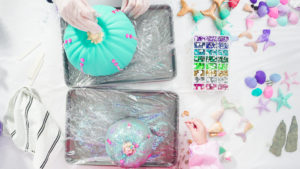
- Start by painting the craft pumpkin with aqua paint using the brushes. Let it dry for at least 24 hours.
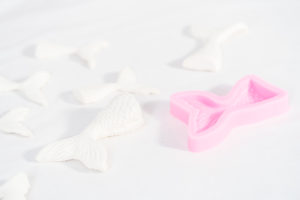
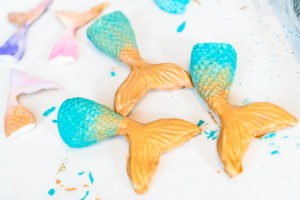
- On the same day, press small amounts of model magic clay into the mermaid tail mold. Once the mold is filled, carefully remove the clay. Repeat this step so you’ll have two halves that can later be joined into one tail. Allow the clay pieces to dry for 72 hours.Make as many clay mermaid tails as you’d like by repeating the same molding process.
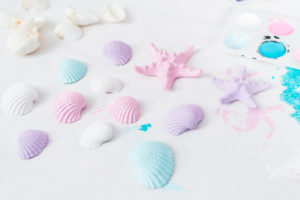
- Paint the craft shells, starfish, and the dried mermaid tails in different colors with acrylic paint.
- Once everything is dry, add glitter accents. Brush Elmer’s glue on the shells, tails, or pumpkin, and sprinkle glitter directly over the wet glue.To make applying glue easier, pour a little into a small cup so you can dip your brush.
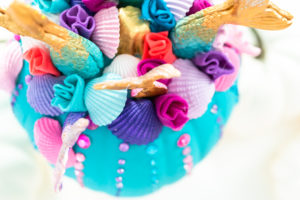
- Use E600 glue to attach rhinestones along the sides of the pumpkin, creating decorative lines.Keep things neat by working over cellophane-lined baking sheets.
- With a hot glue gun, secure the mermaid tails, shells, and starfish to the top of the pumpkin.
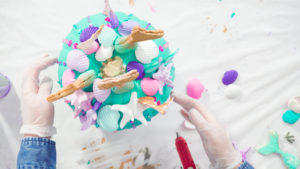
- Fold the felt into flower-like shapes and hot glue them to the top of the pumpkin to mimic coral.
Tried this recipe?Let us know how it was!