How to separate egg yolks and egg whites in 3 simple methods!
This post contains affiliate links.
If you’re familiar with baking at home, then you’ve probably come across at least one recipe that required you to separate egg yolks and egg whites. You probably also found out that day just how messy, frustrating, and sometimes delicate that process can be!
As a baker and food photographer, I run into this kind of thing all the time! Whether it’s making my Easy Hollandaise Sauce, my spectacular Eggnog Cookies for the holidays, or making Meringue Frosting, egg separating is something I’ve run into often. The good thing about that is that I’ve picked up a few easy methods along the way that can really help make a difference!
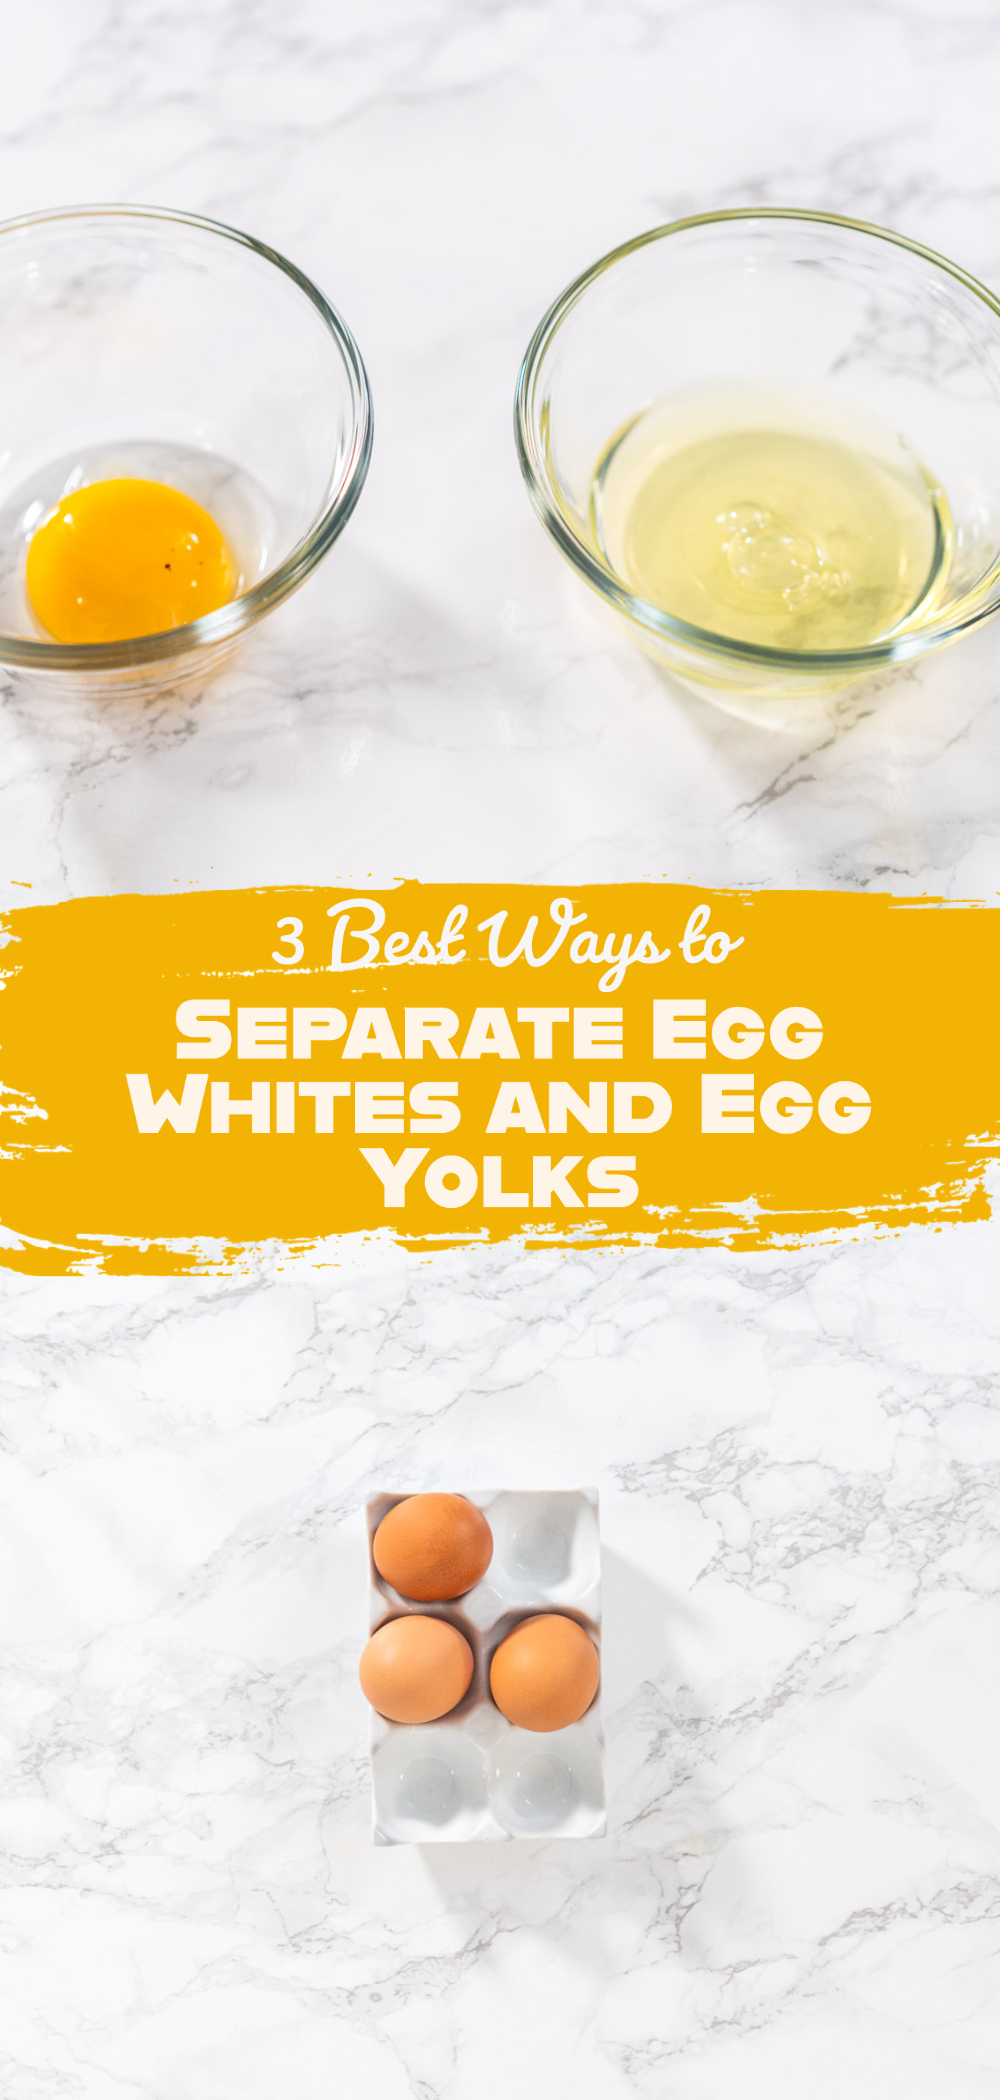
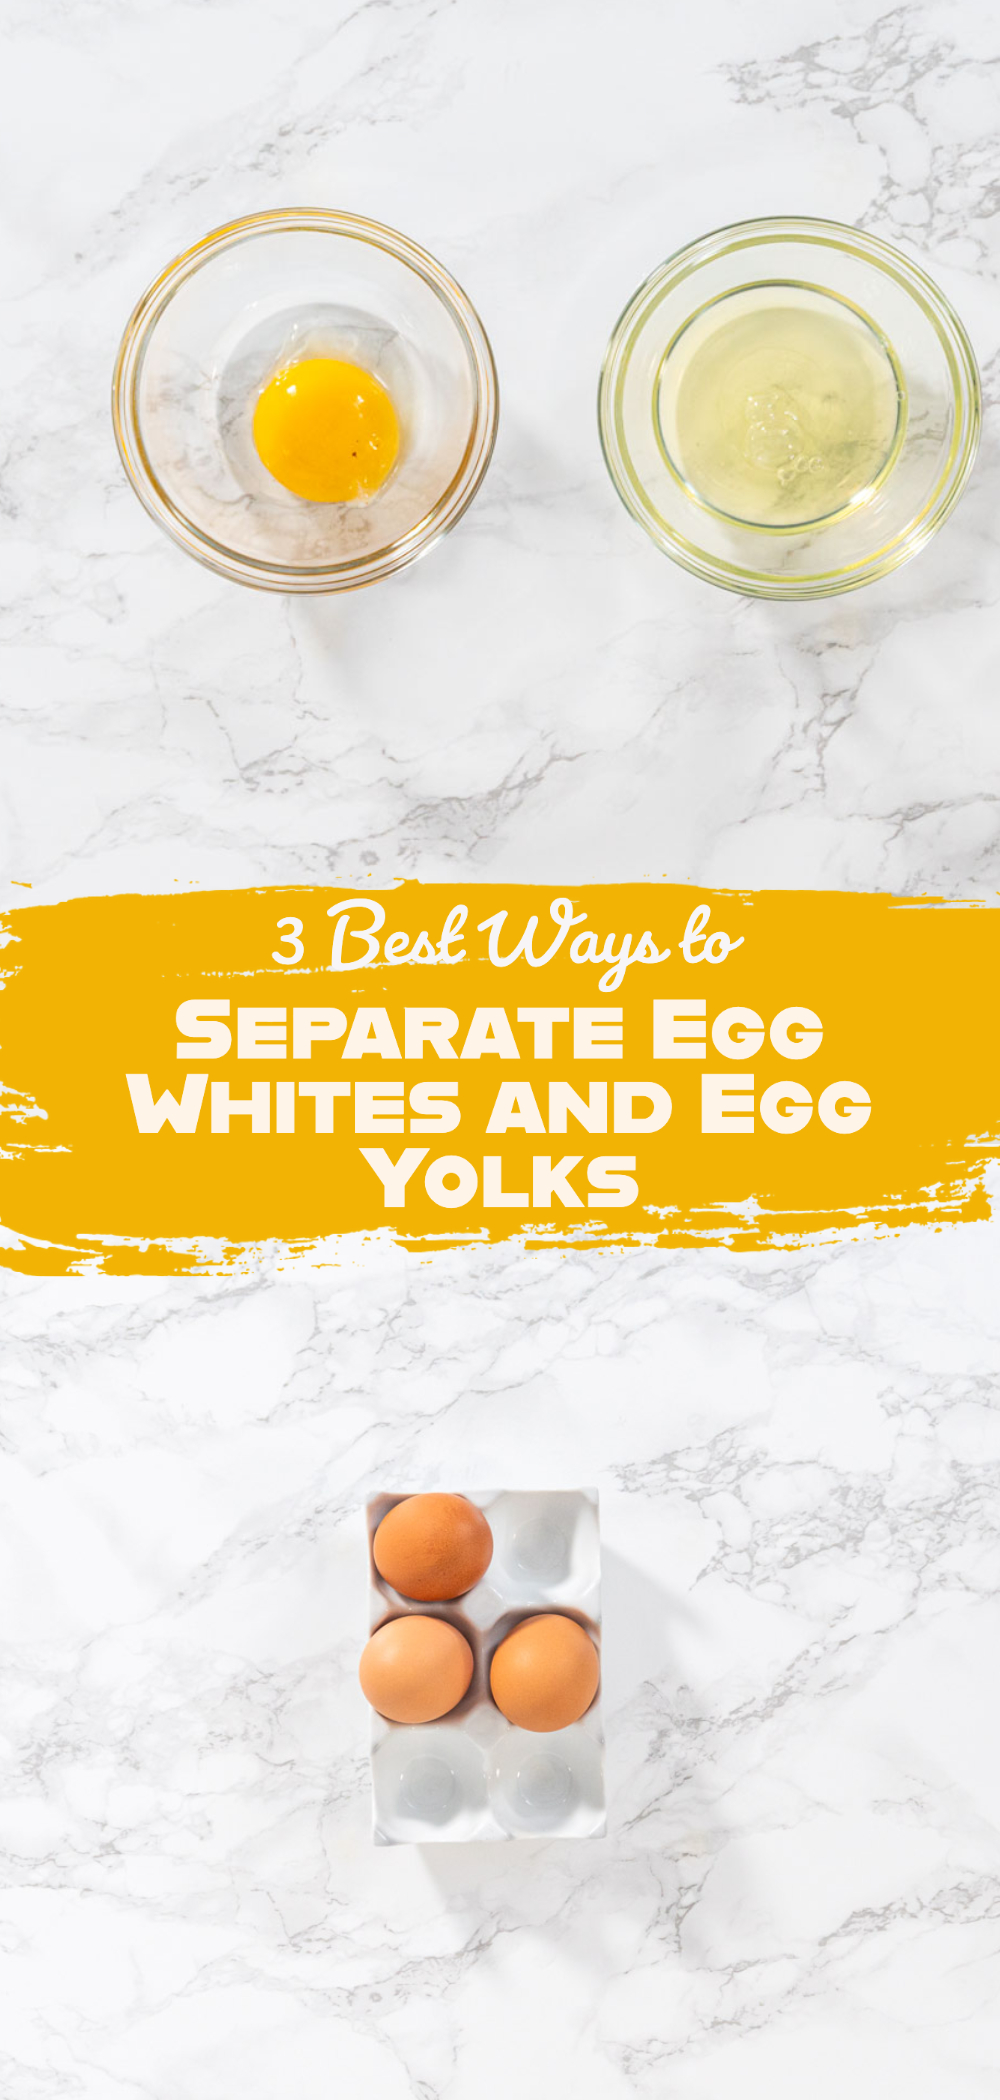
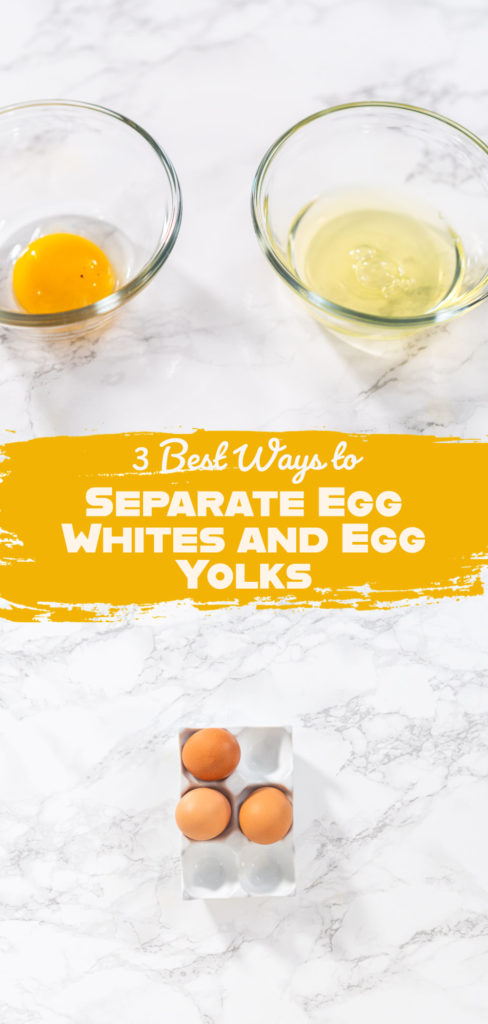
I’m going to break down my 3 Best Ways to Separate Egg Whites and Egg Yolks so you don’t have to worry about this hassle anymore. I’ll be covering the egg shell method, the through the fingers method, and finally, the slotted spoon method.
Each of these egg-separating methods is super easy to follow along with so just pick whichever one suits your cooking style and your available kitchen equipment. Ready to get started? Then, let’s dive in! Here are my 3 Best Ways to Separate Egg Whites and Egg Yolks!
Method 1: How to Separate an Egg with the Egg Shell
The first method I’m going to cover is how to separate an egg using the eggshell. This method is really for more experienced cooks since it can be easy to mess up. This method is a little tricky for a few reasons.
First, you have to crack the egg directly in the middle, otherwise, you can’t complete the task. Second, the yolk could slip out of the shell. Or third, the yolk could catch on the edge of the shell and bust. In all of these cases, you could end up having to start the process all over.
To keep these incidents from happening, work slowly and use cold eggs! Why does that matter? Because cold yolks are way less likely to break. If your recipe happens to call for room temperature eggs, just separate the eggs while they’re cold, then leave them out on the counter to come to room temp.
Equipment and Materials:
How to Separate an Egg using the Egg Shell:
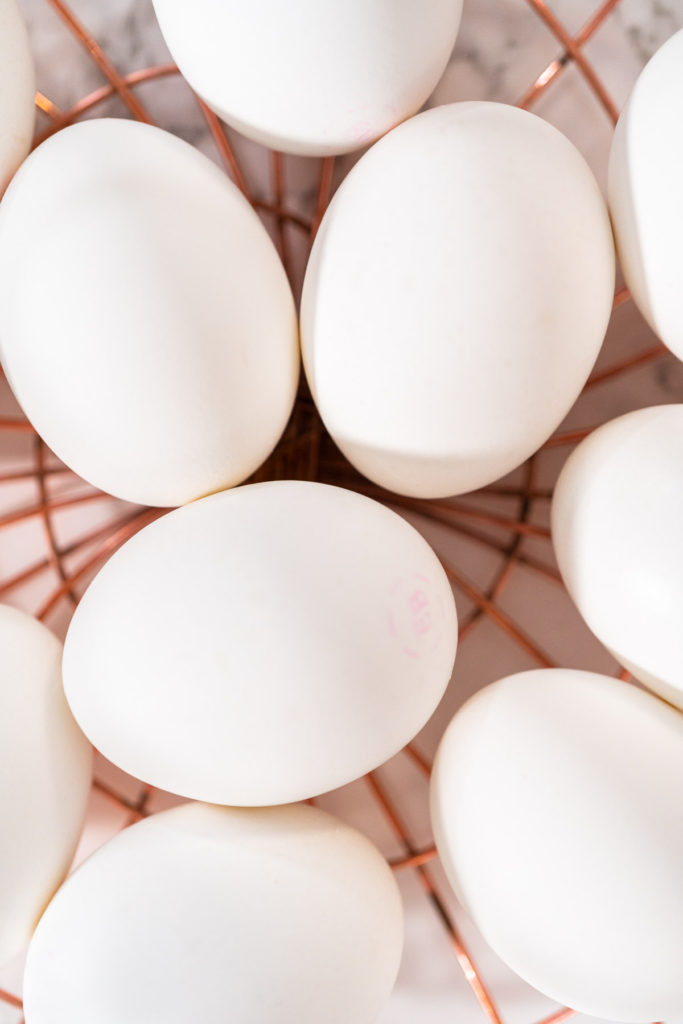
- First, grab cold eggs.
- Then, grab 2 small glass mixing bowls.
- Next, gently crack the egg right in the middle.
- Remember, don’t crack the eggshell so hard that it breaks the yolk!
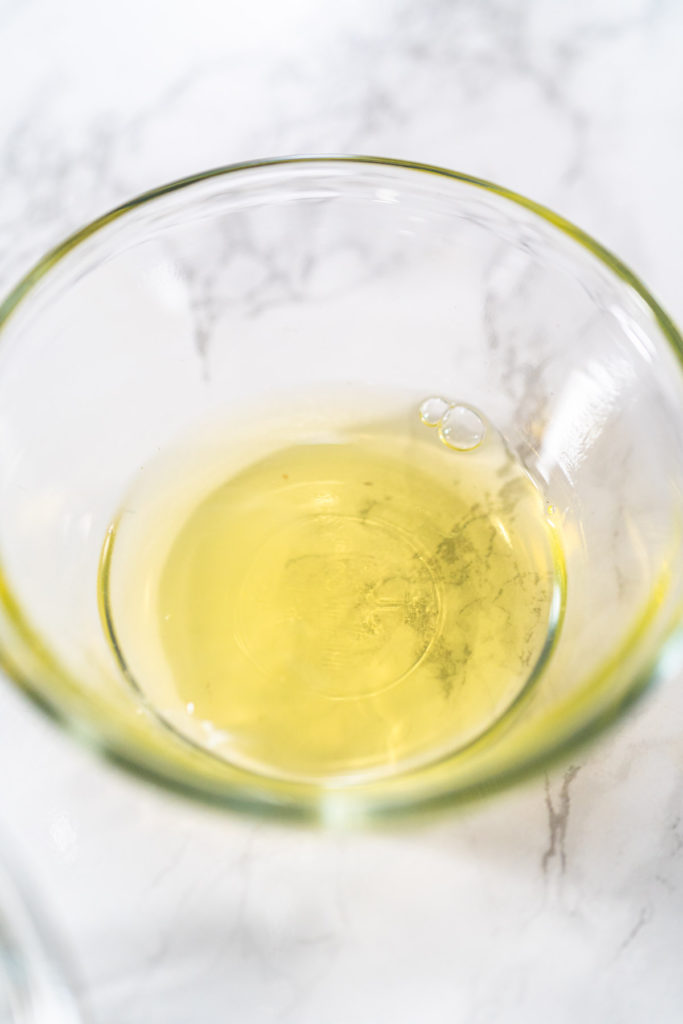
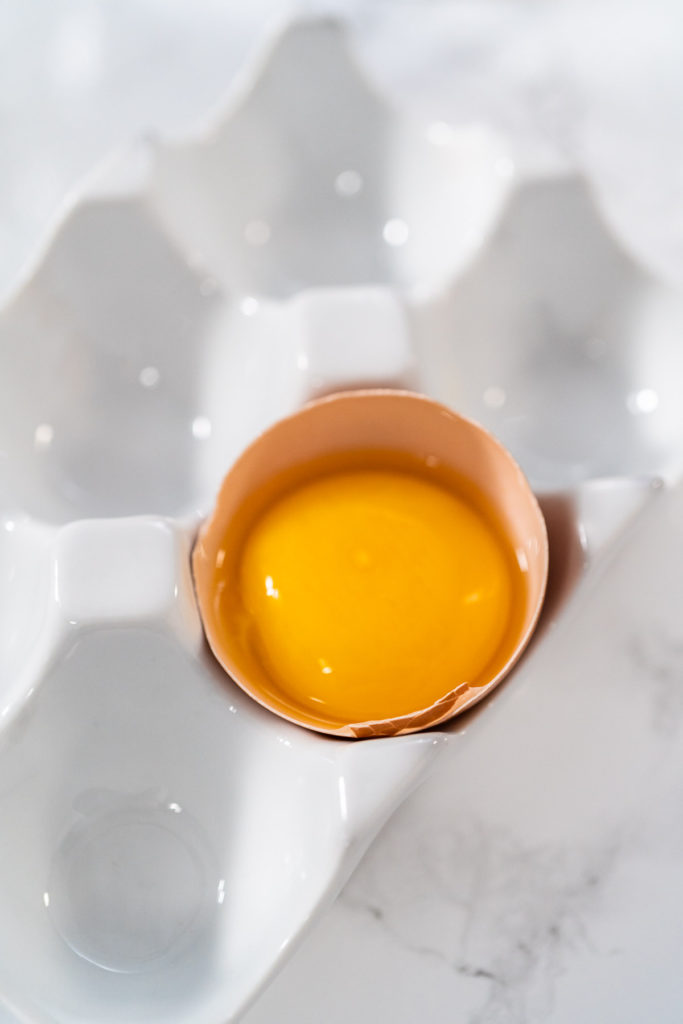
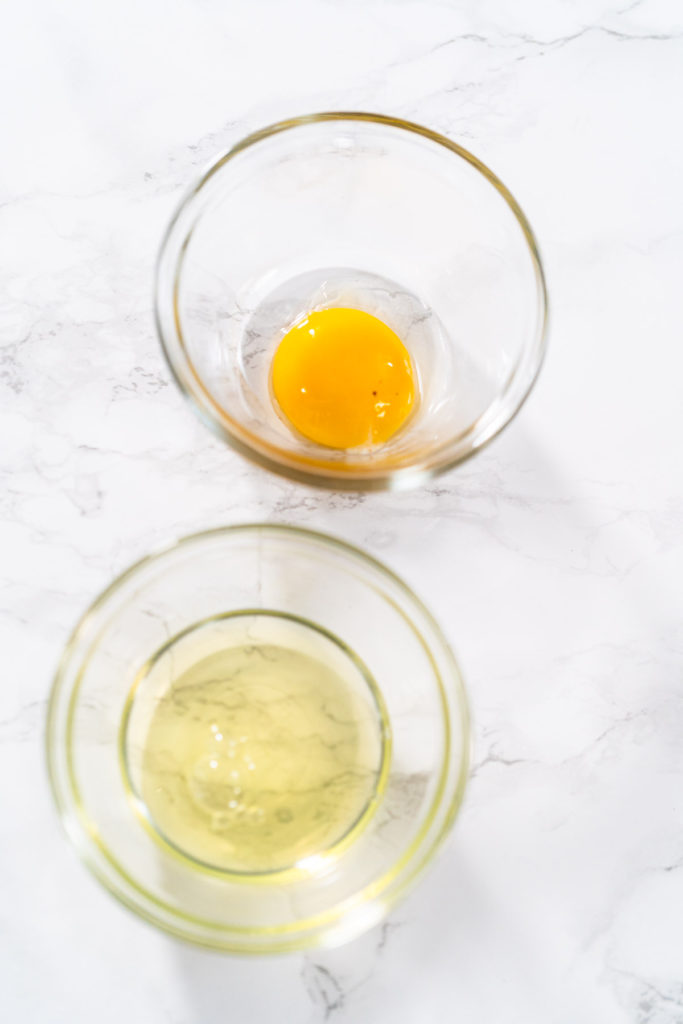
- Then, over one of the small bowls, tip the yolk back and forth between the shells allowing the white to fall to the dish below.
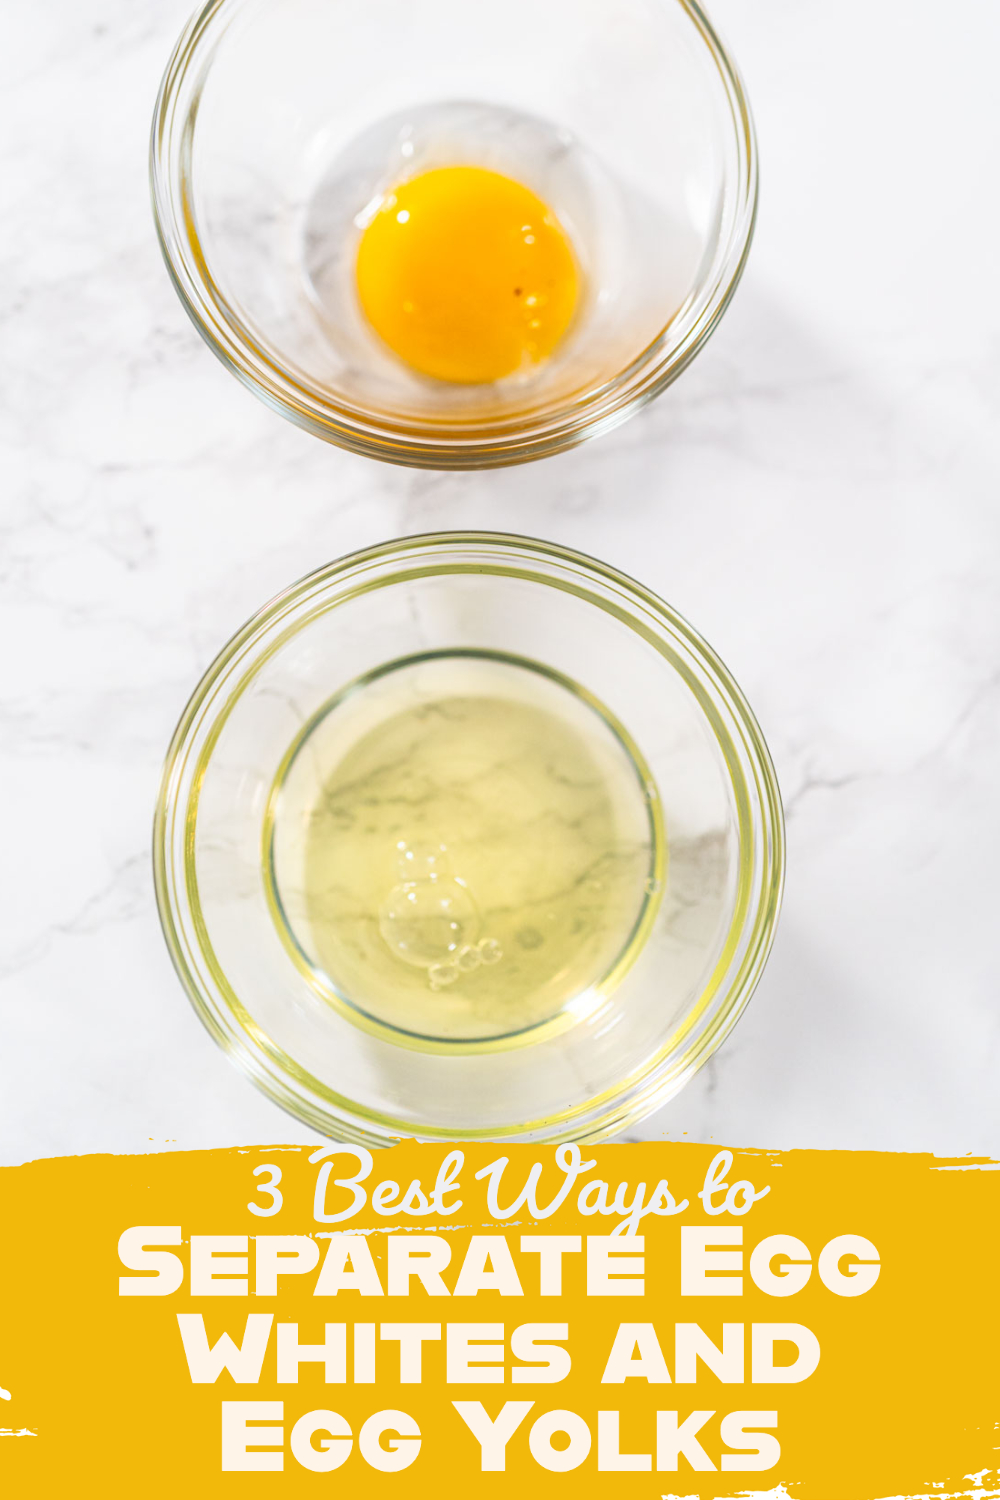
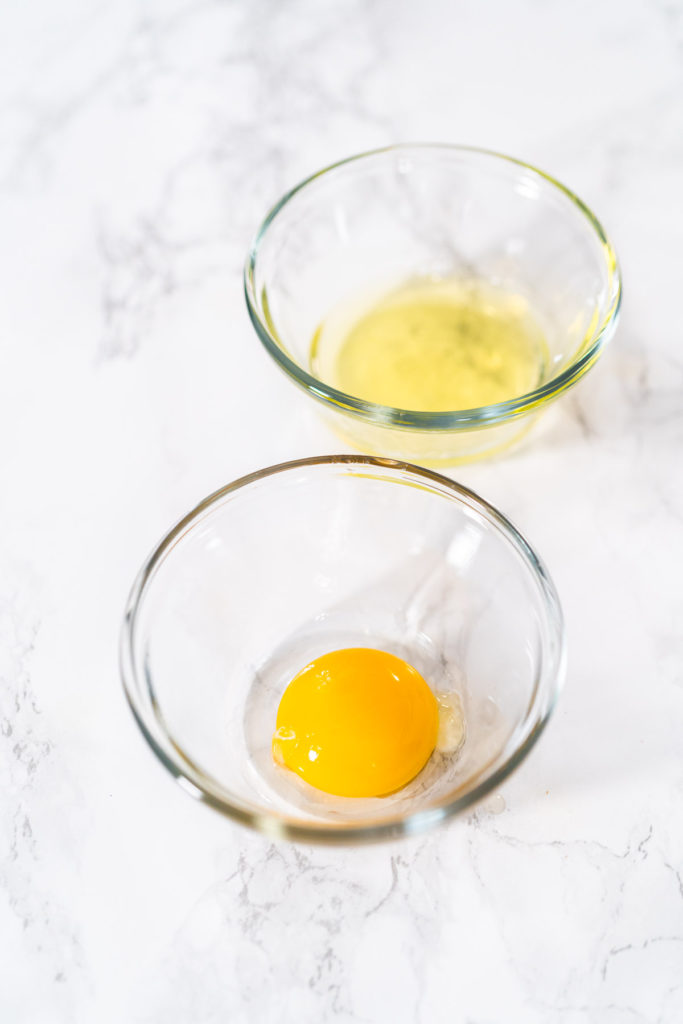
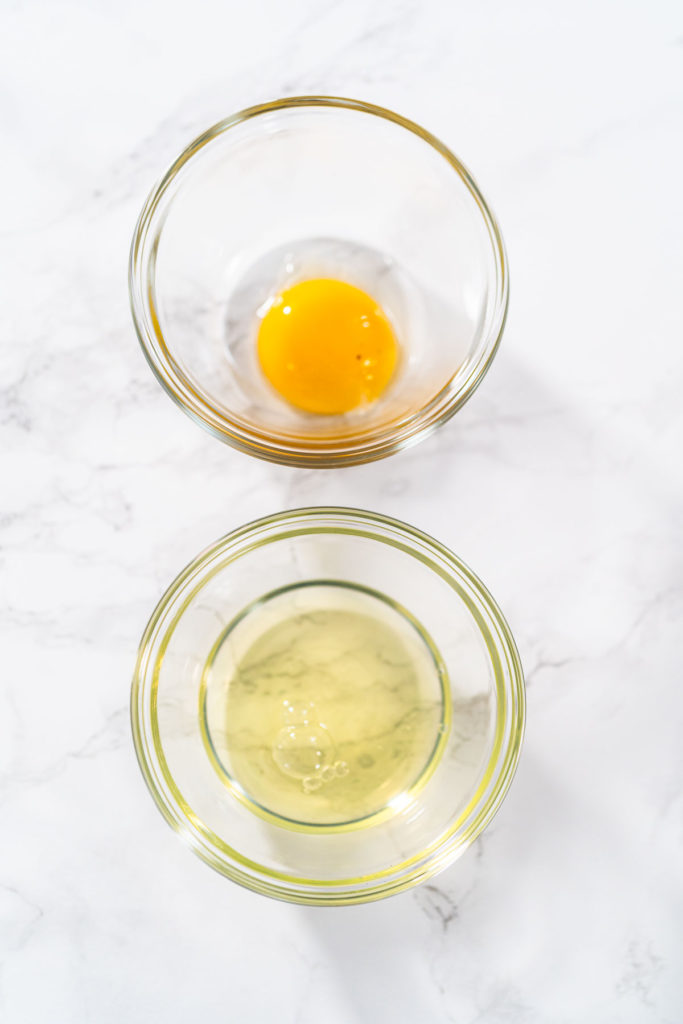
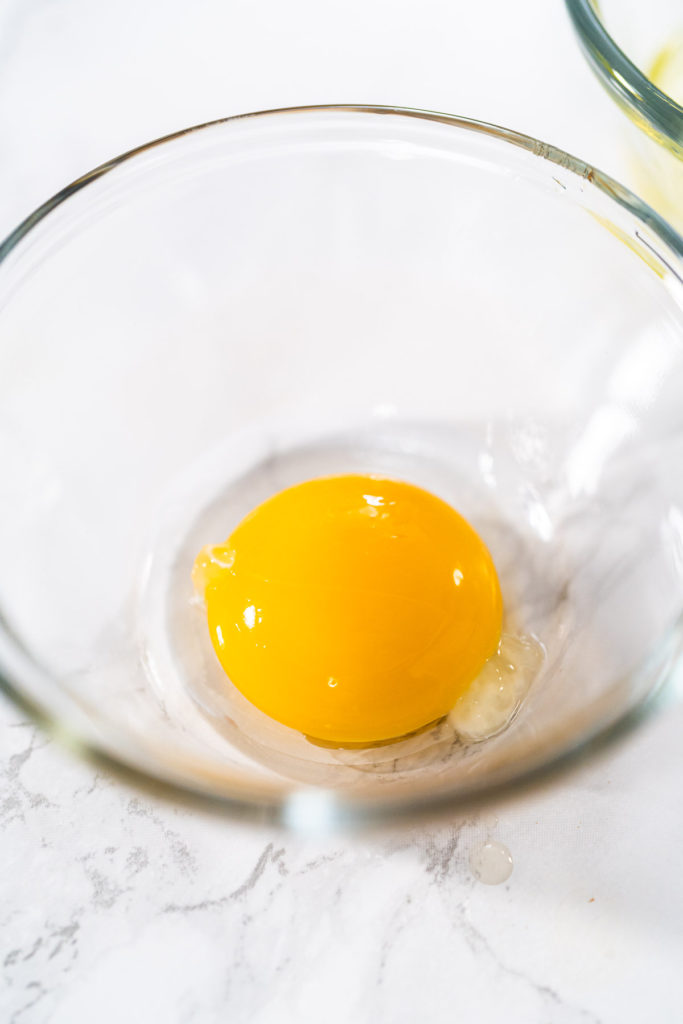
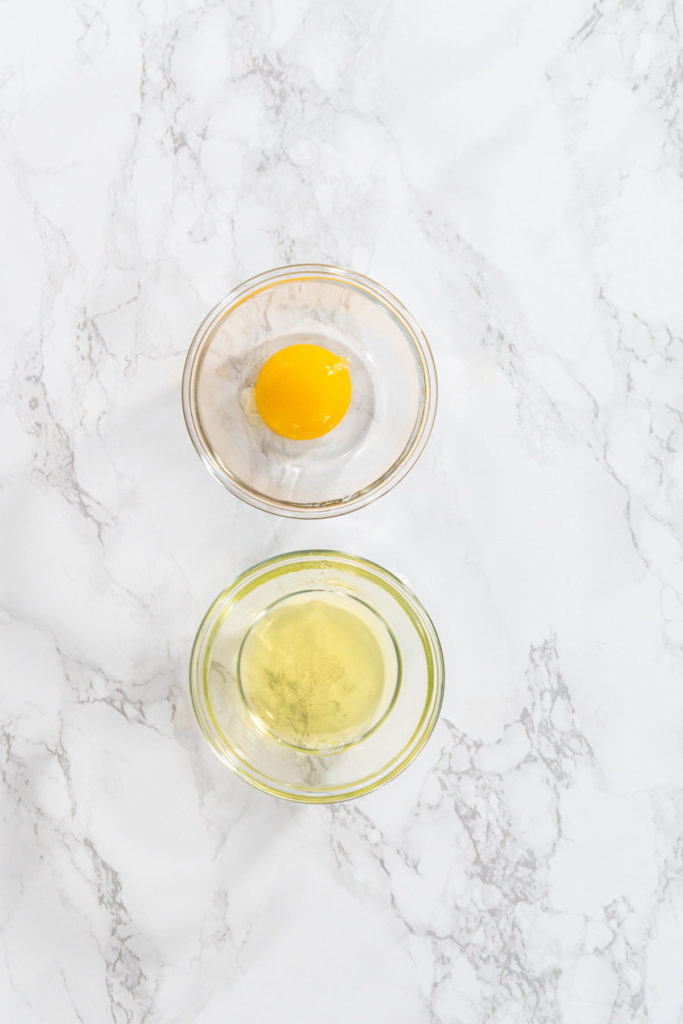
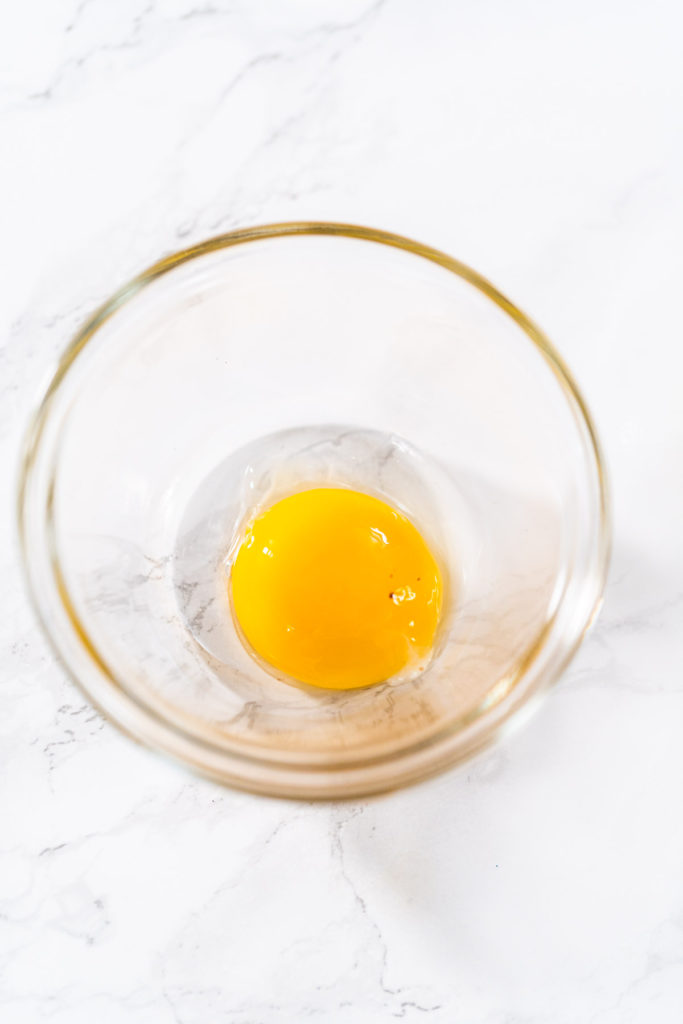
- Once all of the white has been separated out, pour the intact yolk into the other small bowl.
Method 2: How to Separate an Egg with Your Hands
Next, I’m covering a method that anyone can use! This method is how to separate an egg with your hands. As long as you have some bowls to keep the separated eggs in and two working hands, that’s all you need!
Prep Note: You can start this process by first cracking the egg into a bowl -without breaking the yolk- and then scoop the yolk out by hand afterwards. I prefer to avoid making extra dirty dishes and just skip ahead to the step where I separate the yolk.
Equipment and Materials:
How to Separate an Egg Through the Fingers:
- Start by grabbing the eggs and washing your hands with soap.
- Then, set out 2 small glass mixing bowls.
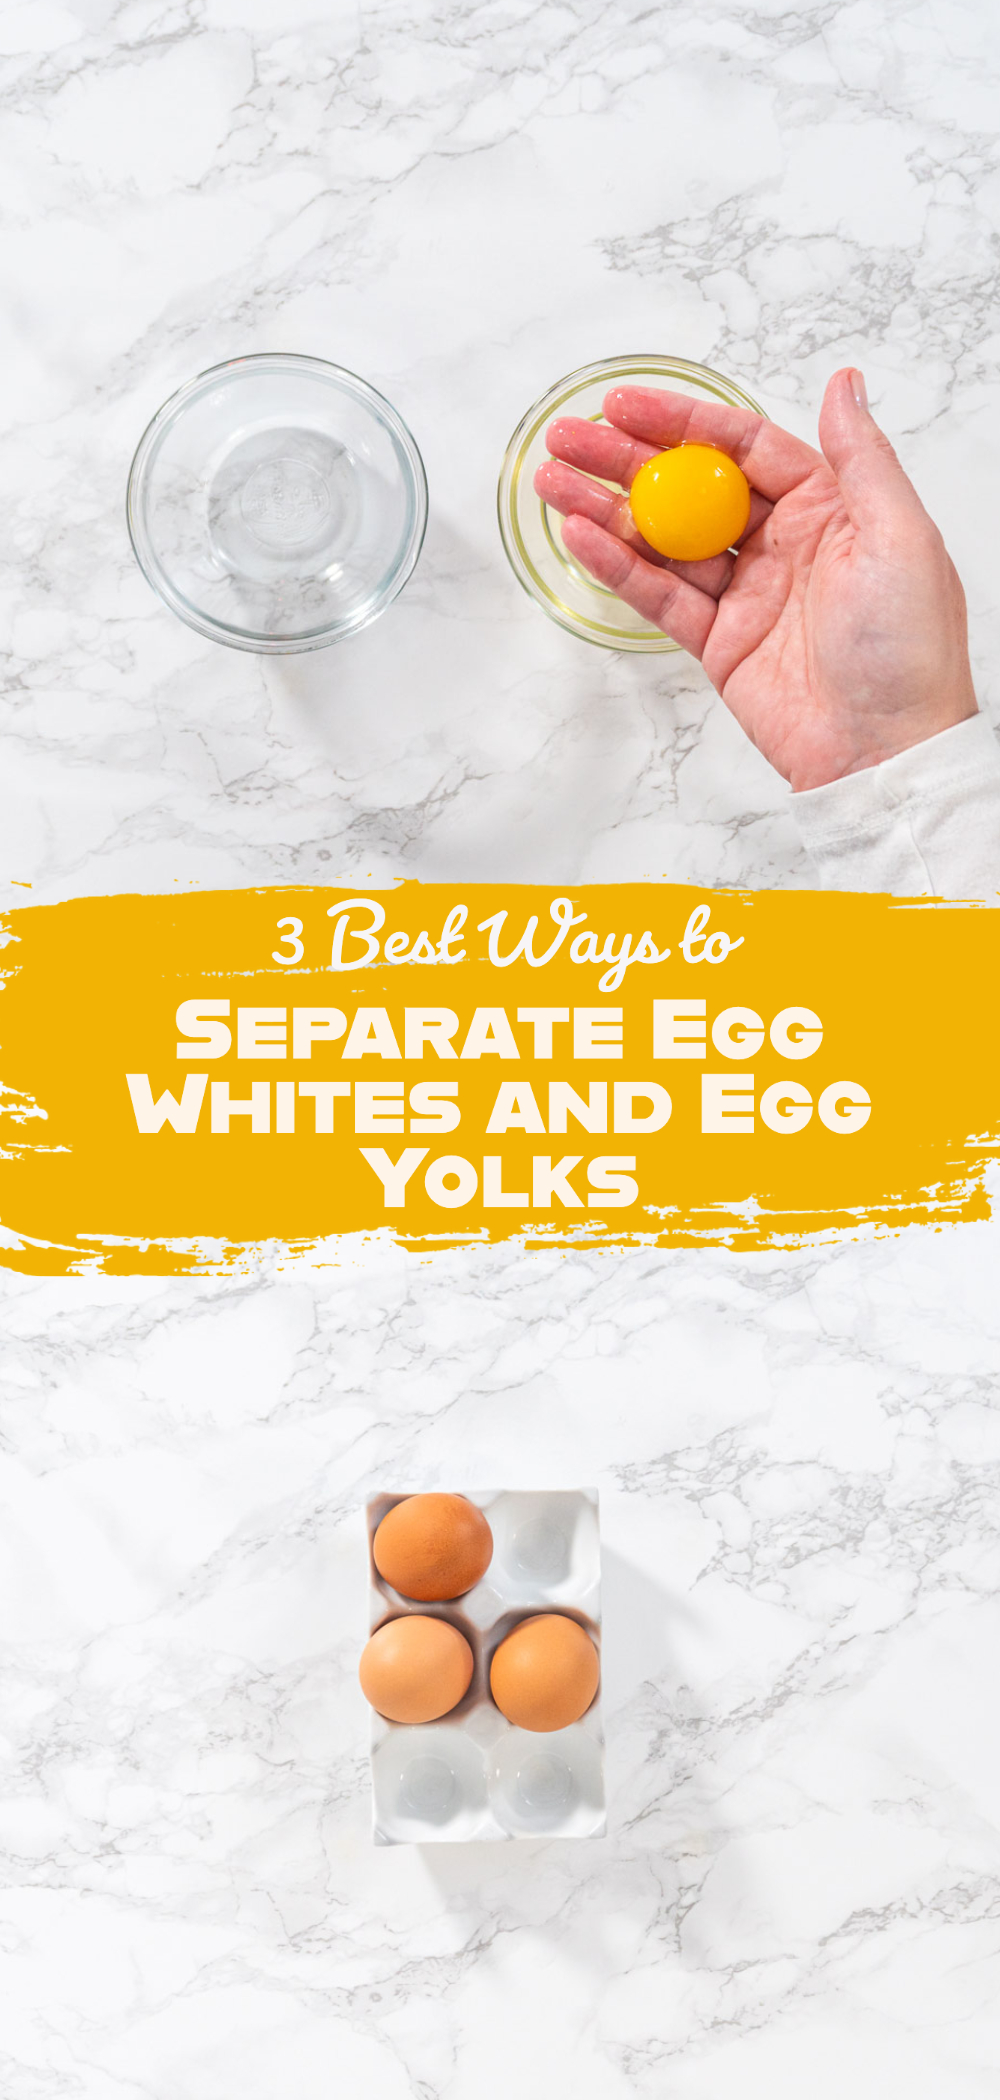
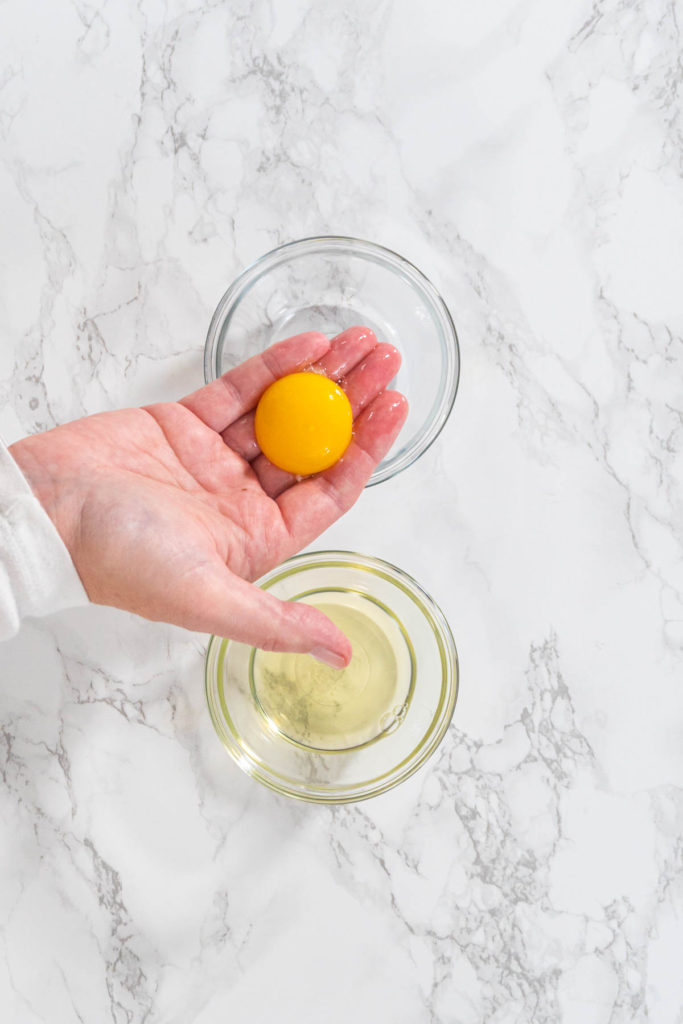
- Next, hold out one hand over one of the bowls. With the other hand, gently crack an egg and open it over your outstretched hand so that the yolk sits in your palm while the egg white slips through your fingers and into the small bowl.
- Once all of the white has been separated out, pour the intact yolk into the other small bowl.
- Remember, don’t crack the eggshell so hard that it breaks the yolk!
Method 3: How to Separate an Egg with a Slotted Spoon
The last method I’m going to talk about is an oldie but a goodie! My third method is how to separate an egg with a slotted spoon. This is another one that anyone can do as long as you have a slotted spoon and 2 small bowls!
Equipment and Materials:
How to Separate an Egg with a Slotted Spoon:
- First, grab some eggs.
- Next, set out 2 small glass mixing bowls beside each other.
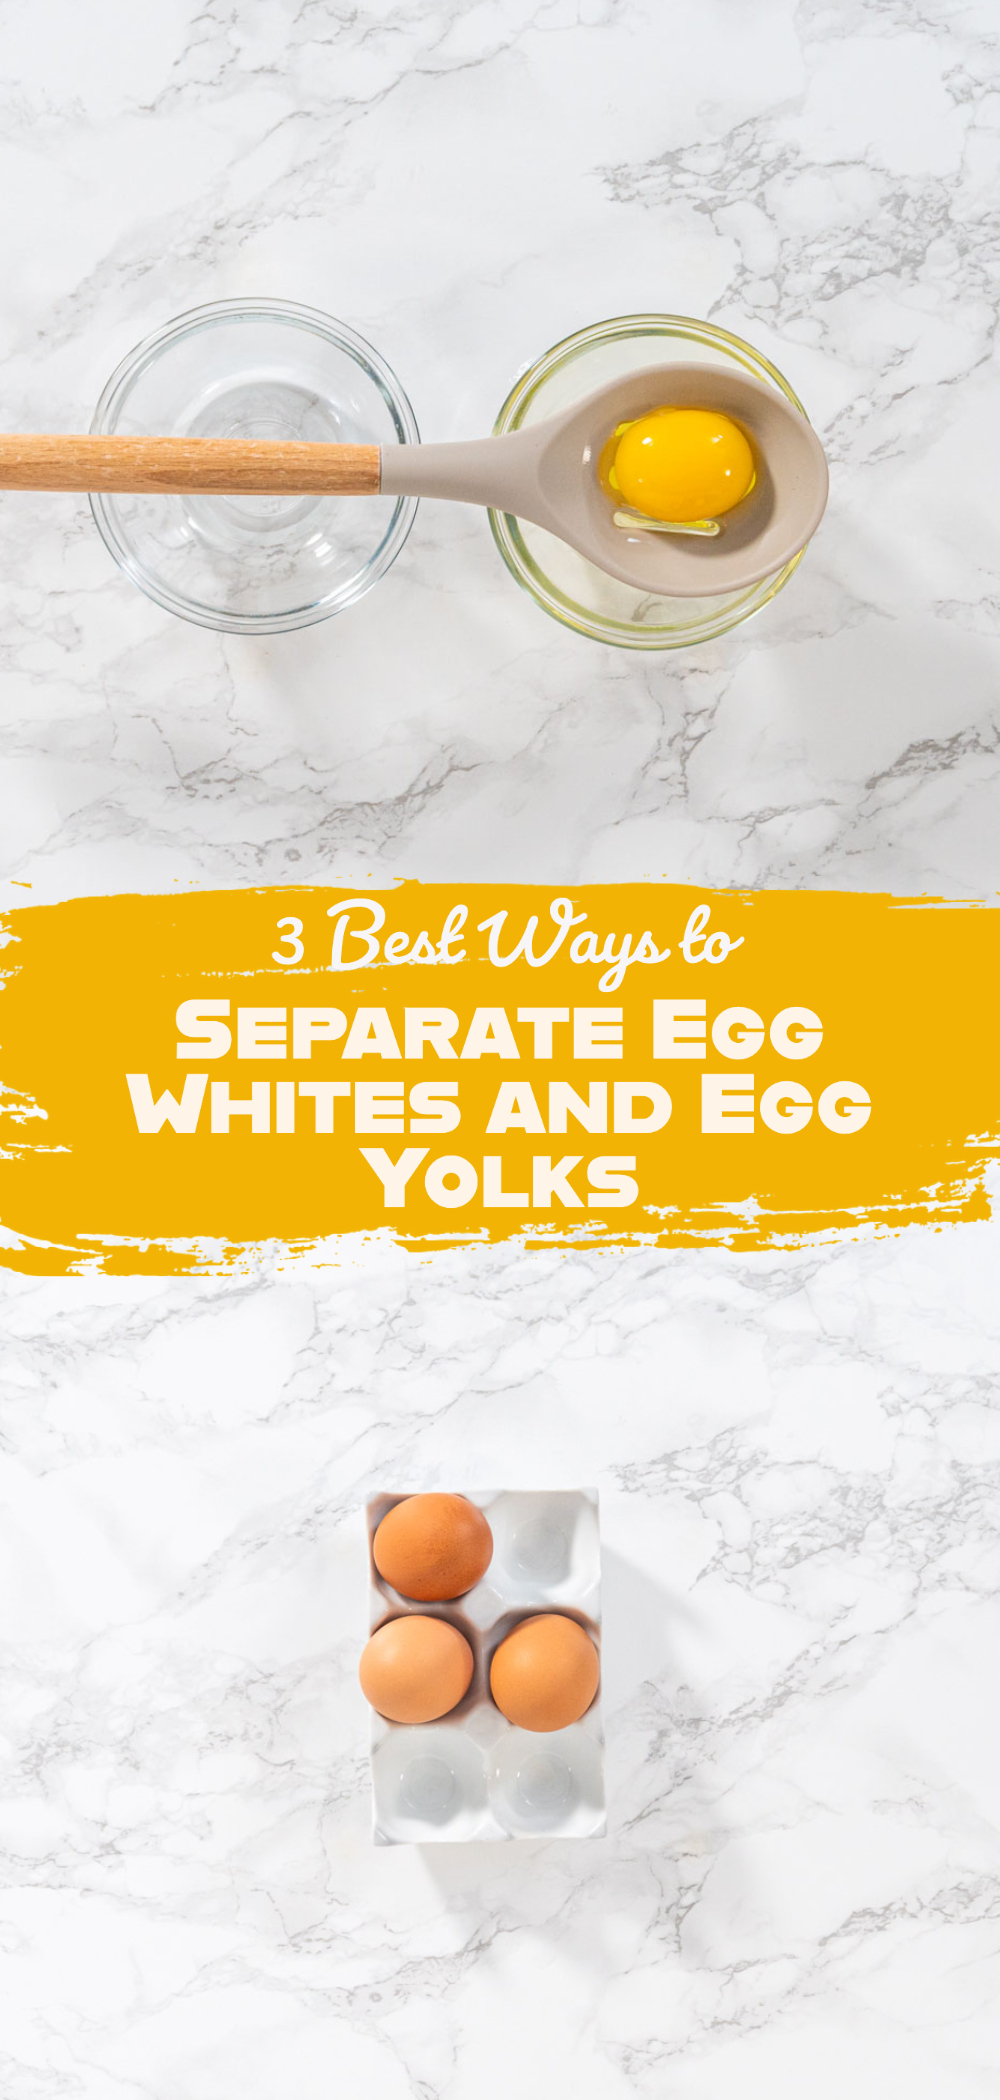
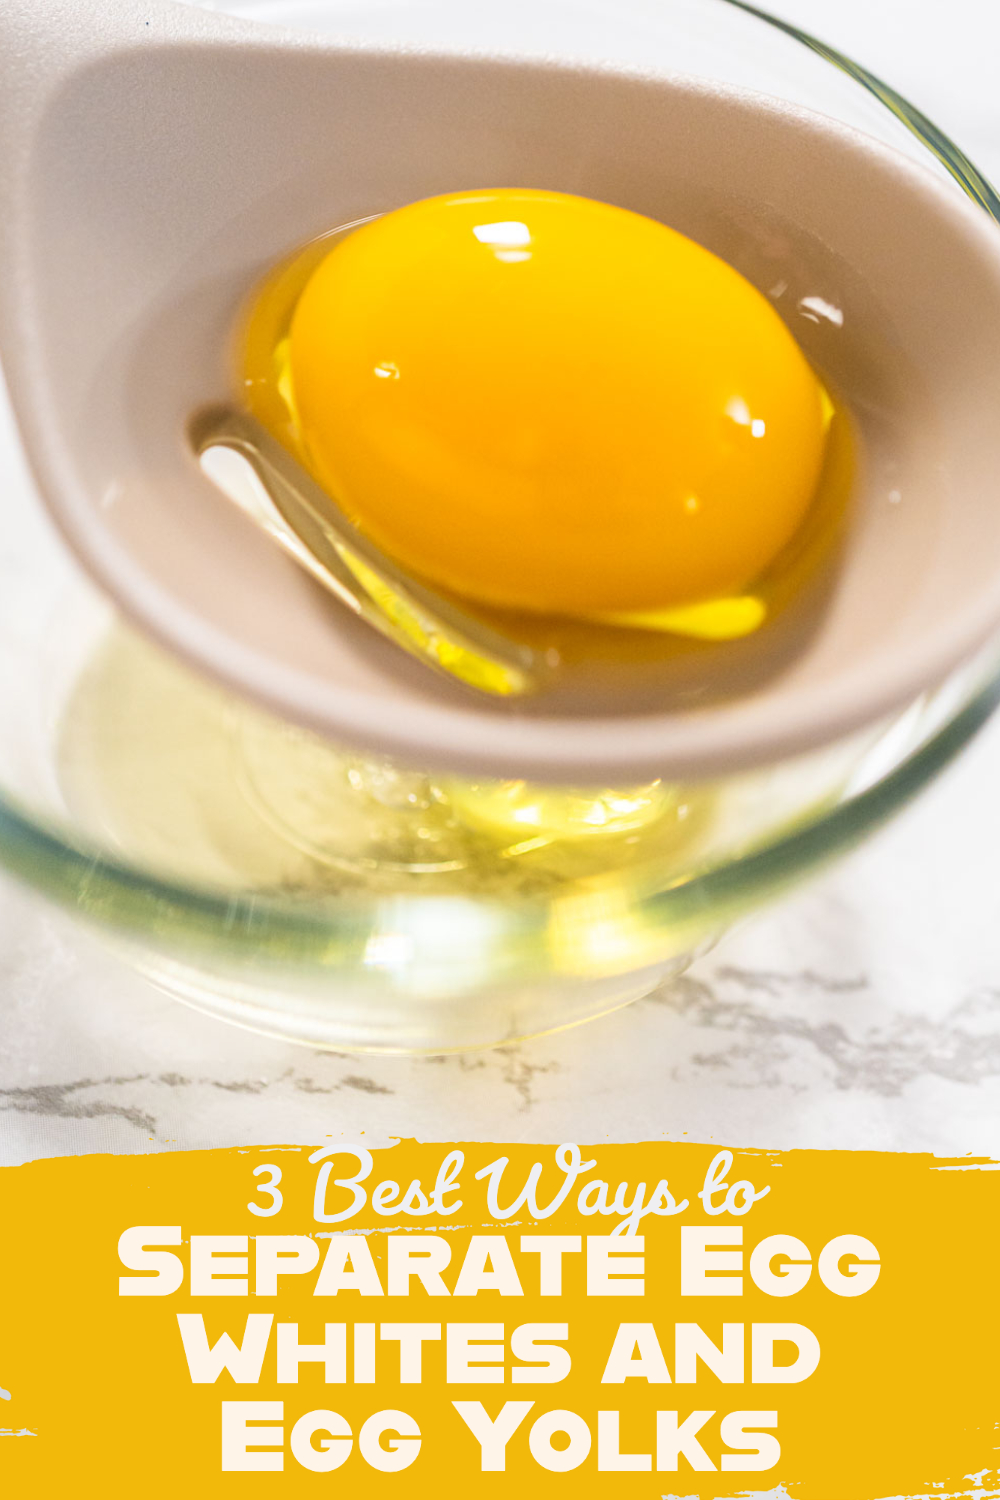
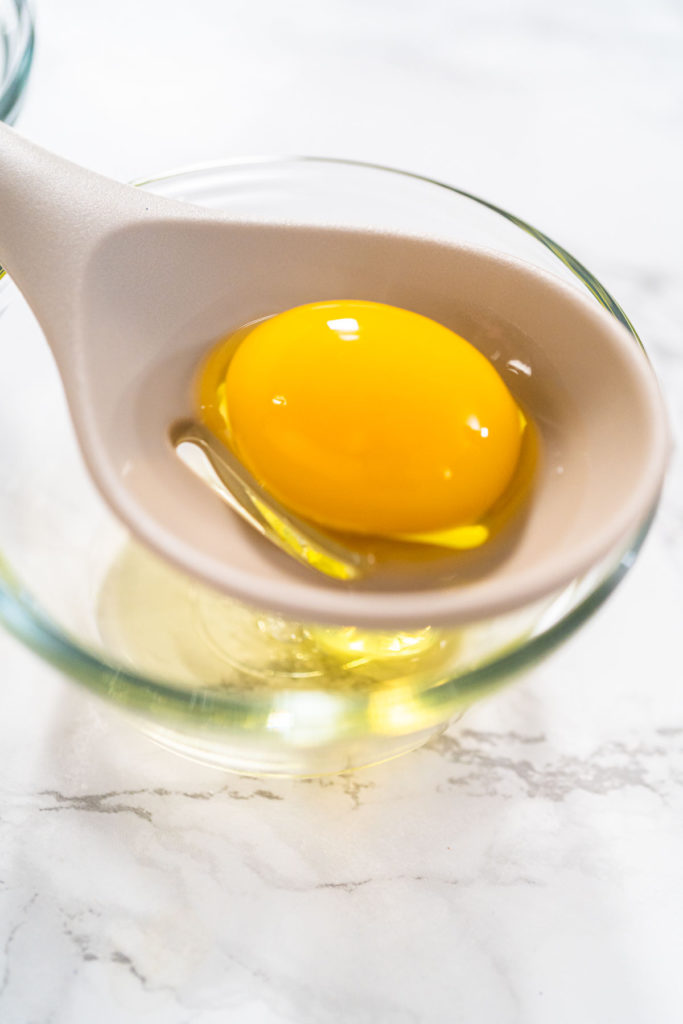
- Steady the large slotted spoon across the top of the bowls so that the slotted part is perfectly positioned over the opening of one of the bowls.
- Then, gently crack the egg and open it over the slotted spoon so that the yolk sits in the middle of the spoon while the egg whites slip through the slots and into the glass bowl.
- Remember, don’t crack the egg shell so hard that it breaks the yolk!
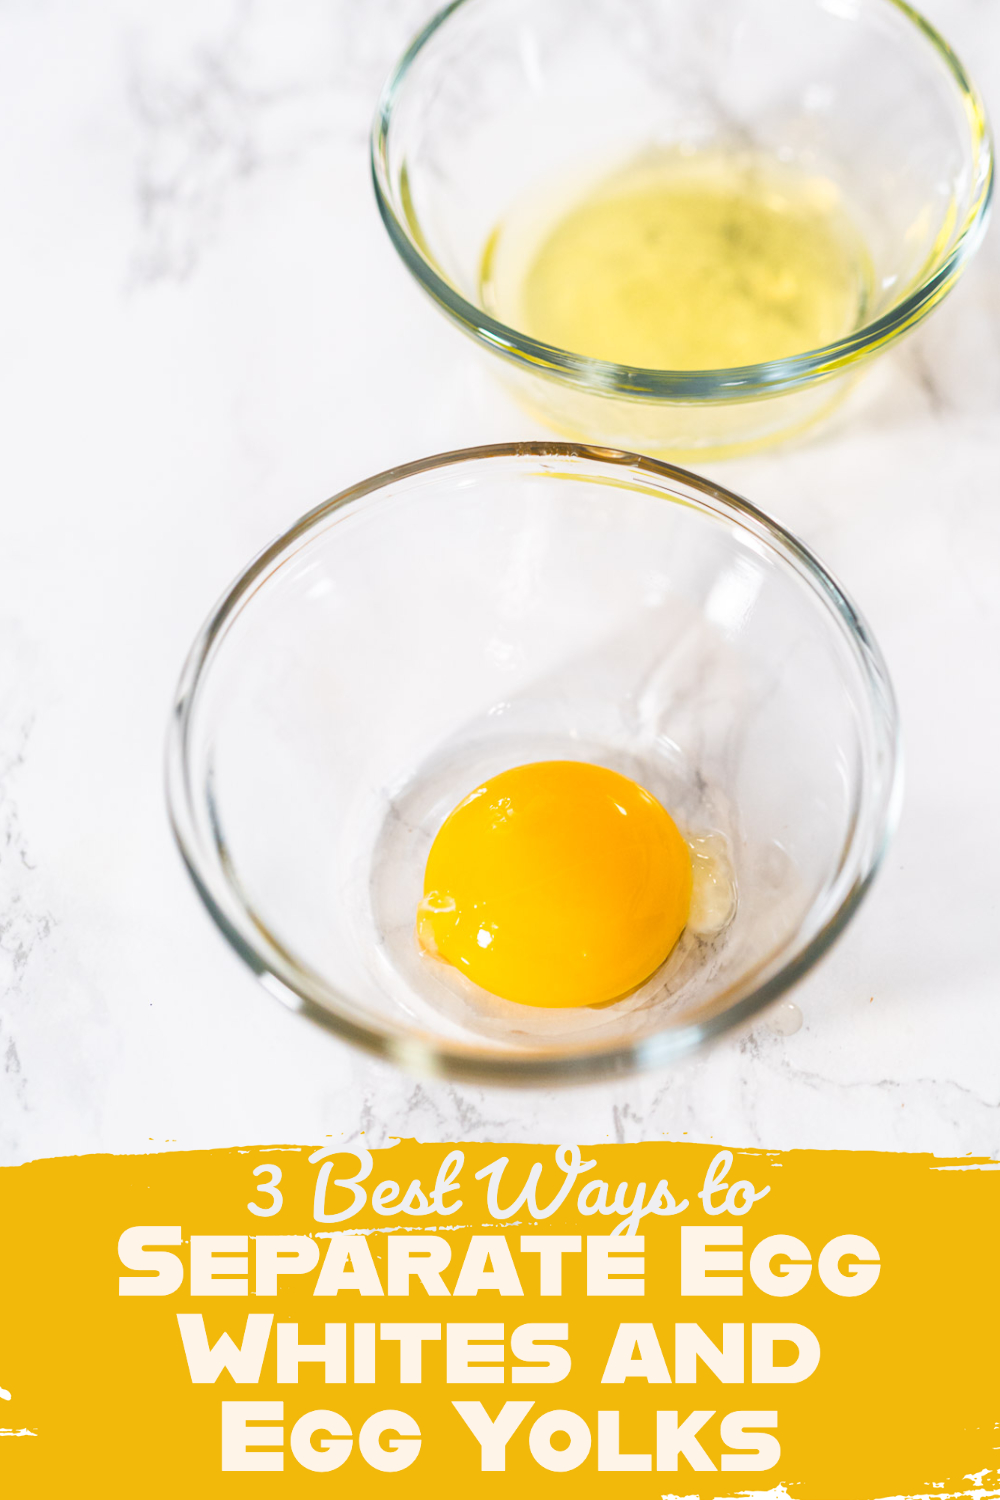
- Finally, once all of the white has been separated out, pour the intact yolk into the other small bowl.
Note:
With this method you can also start by cracking the egg in a bowl -without breaking the yolk- and then carefully scoop the yolk out with the slotted spoon and let the whites drain through.
Storing Leftover Cracked Eggs
If you have extra egg whites or yolks left after your recipe you can use them for a light meal like an omelet, or you can freeze them for later use!
To store cracked and separated eggs: transfer the whites and/or yolks to freezer-safe containers. Label the date on the outside of the container. Store the egg whites and/or yolks in the freezer for up to 1 year. Let them come to room temp before using again.
Cooking Hacks
Egg-cellent Recipes
Did you find these egg-cellent kitchen hacks helpful? Then stick around and check out some more of my top kitchen tips, my best baking hacks, and some of my favorite egg recipes.
Recipes that need egg separating:
Egg-citing Egg Recipes:
- Breakfast Egg and Sprouts Sandwich
- Instant Pot Egg Bites
- Breakfast Empanadas with Eggs and Sweet Potato
- Instant Pot No-Peel, Hard-Boiled Eggs
- Football Deviled Eggs
- Simple Deviled Eggs
- Deviled Eggs with Bacon
- Hard-Boiled Eggs
- Bacon and Cheese Egg Muffins
- Spinach Frittata
More Kitchen Hacks:
- How to Store Fresh Parsley
- How to Freeze Fudge
- How to Slice an Apple
- How to Peel an Apple
- How to Cut Fudge into Perfect Squares
- How to Freeze Muffins
- 10 Busy Mom Tips on Saving Time in the Kitchen
- Plastic Piping Bag Tips
- How To Use Luster With Chocolate
- How to Test Yeast
- How to Easily Melt Candy Melts
- How to Assemble a Charcuterie Board
- How to Crush Candies
- How to Keep Strawberries Fresh
Food Photography & Video Tips from My Studio
Here’s a peek at the tools, gear, and camera setups I use to film my recipe videos and photograph food at home. Over the years, I’ve tested dozens of different setups, and now I’m sharing what actually works for me—whether I’m filming overhead shots for YouTube or styling still photos for my blog. If you’re curious about how I create the content you see here, these posts are a great place to start.







Leave a Reply