|
This post contains affiliate links.
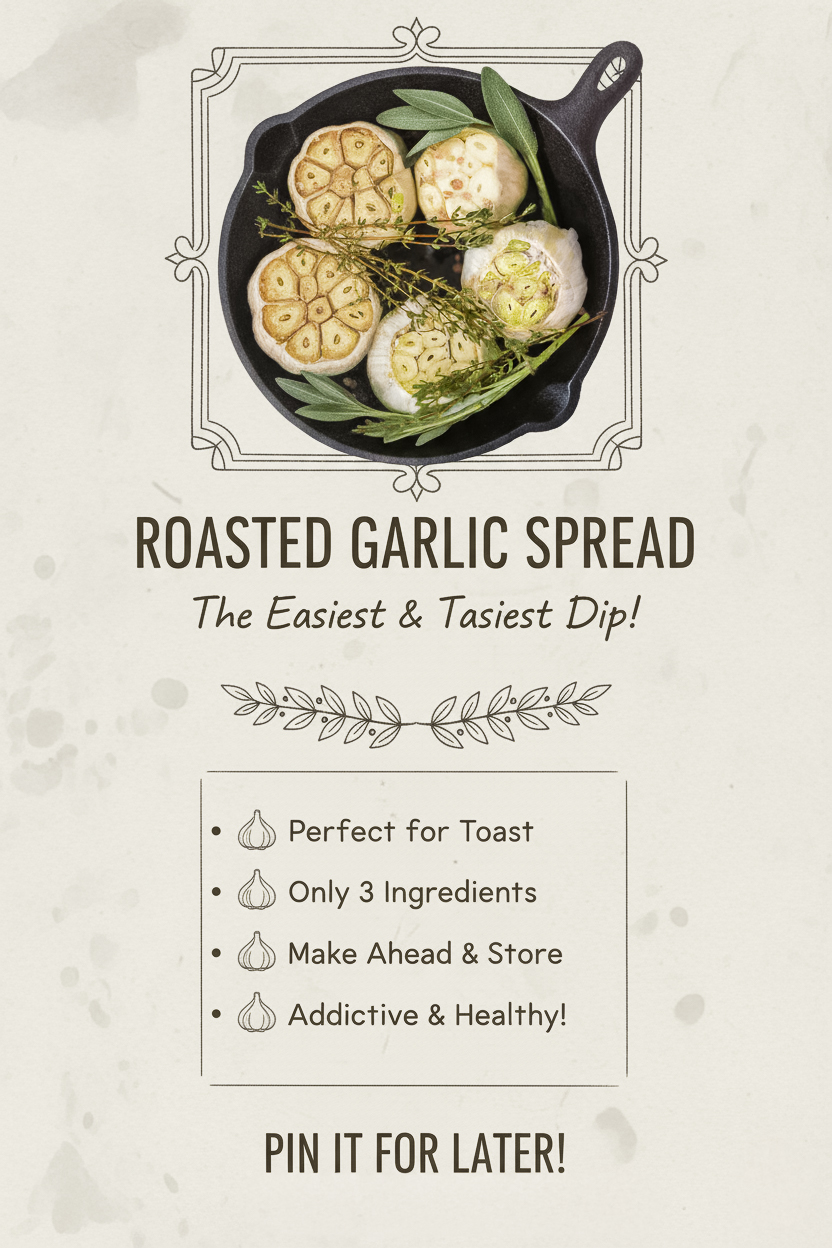
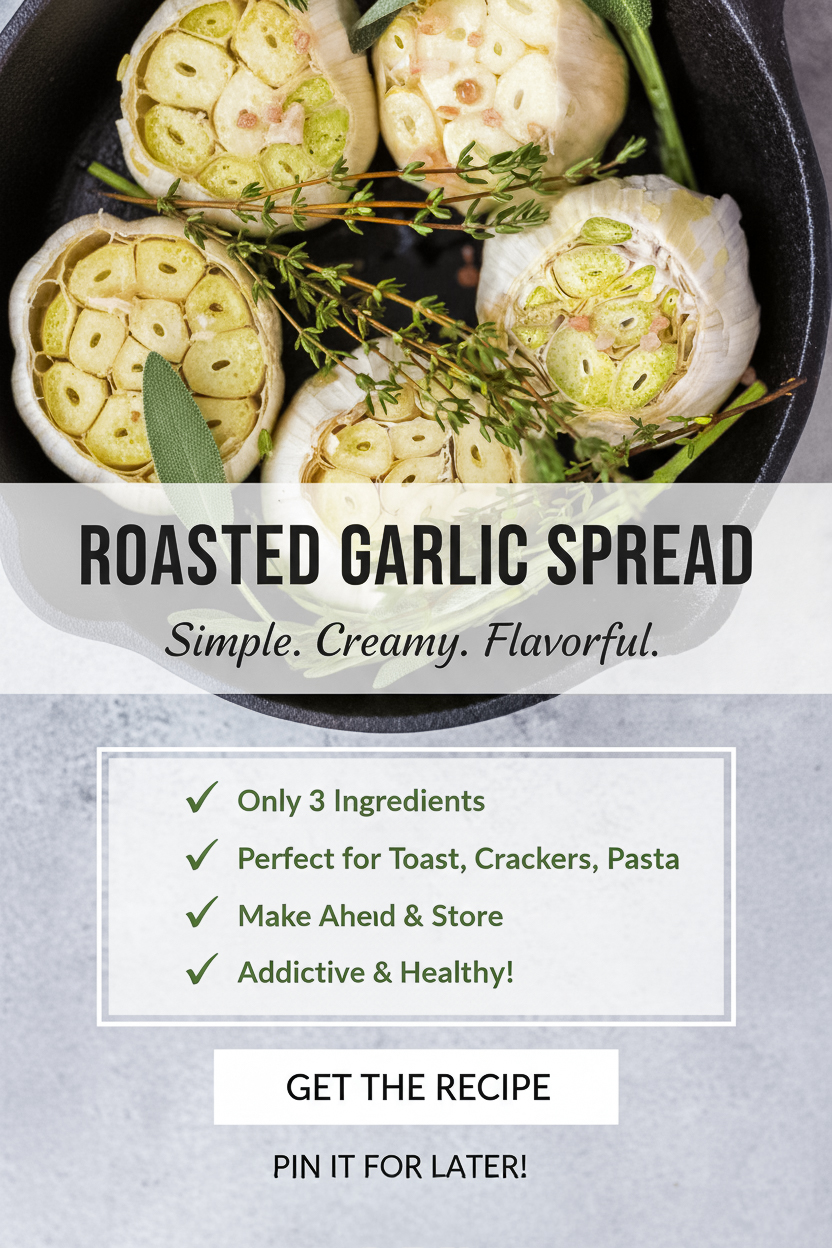
Sometimes the simplest recipes deliver the most impact, and roasted garlic spread is proof. Slow-roasting garlic transforms sharp raw cloves into buttery, caramelized goodness that’s mellow, nutty, and irresistibly spreadable. I love using this spread on warm bread, blending it into mashed potatoes, or stirring it into soups and pasta for an instant gourmet upgrade.
This recipe is one of my go-tos because it’s quick to prep—just five minutes of hands-on work—and the oven does the rest. It’s also make-ahead friendly, which makes it a lifesaver during busy weeks or holiday entertaining. If you enjoy easy, flavorful recipes like this, you might also like my Spicy Jalapeño Cornbread Muffins for a savory pairing, or try my Caramel-Topped Banana Bread for something sweet to balance the flavors.
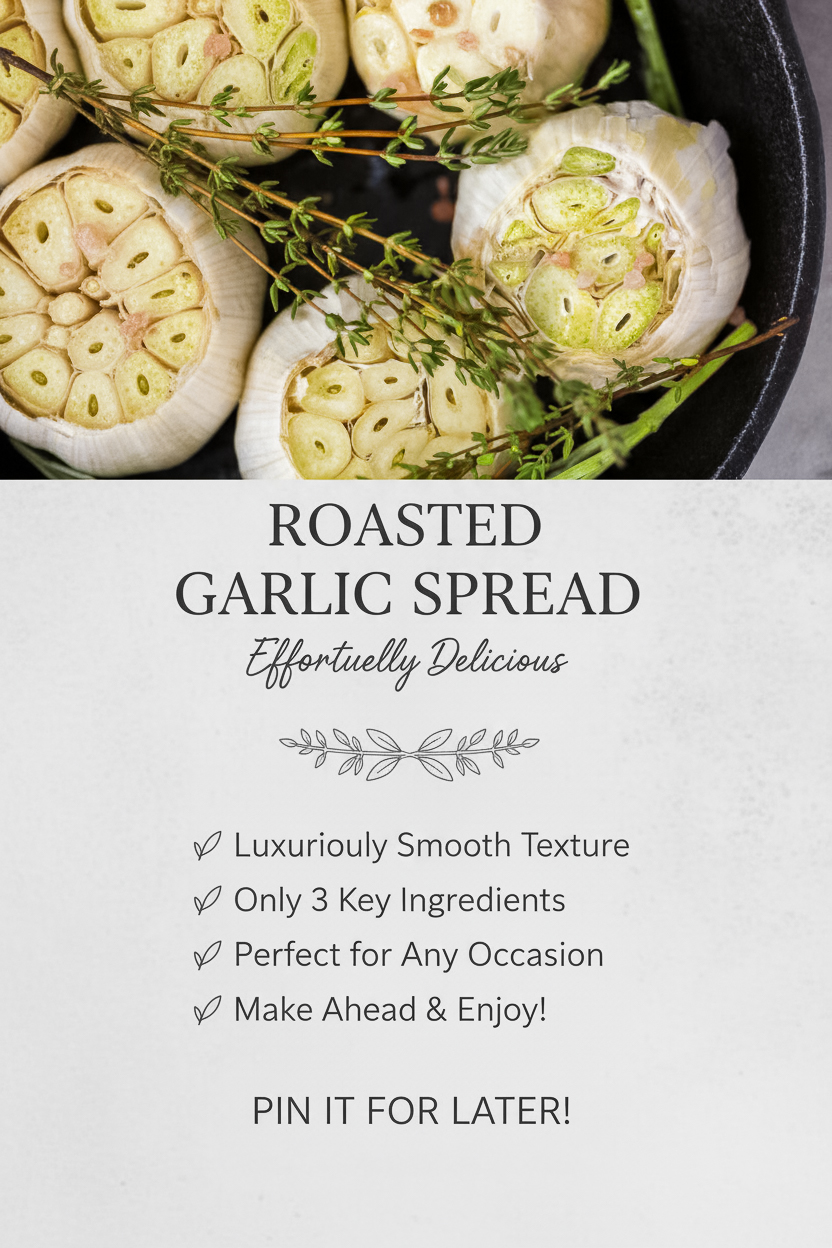
Why you’ll love this recipe
- Crowd-pleasing. Easy enough for weeknights, elegant enough for parties.
- Big flavor, minimal effort. The oven does all the heavy lifting.
- Versatile. Spread, dip, mix, or stir—it works in so many dishes.
- Make-ahead friendly. Store in the fridge for a week or freeze for a month.
Watch how I make this recipe
Tools That Make It Easier
- Cast iron skillet (or small baking dish)
- Aluminum foil
- Sharp knife
What You’ll Need From Your Pantry
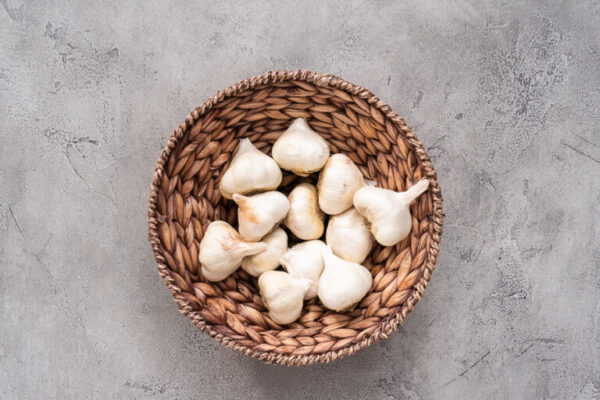
- 5 heads fresh garlic
- 3 tablespoon extra virgin olive oil
- 1 teaspoon sea salt
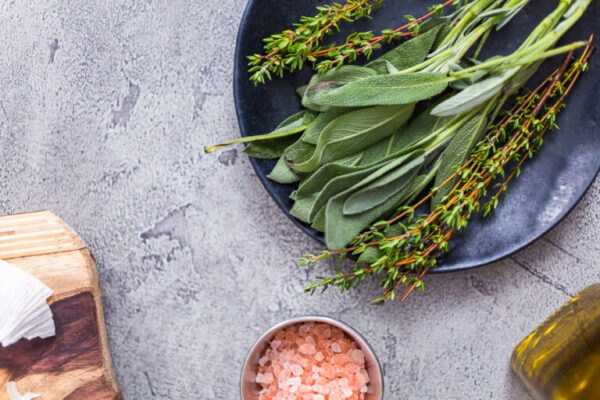
- Fresh rosemary
- Fresh sage
Before You Start: My Quick Tip
- I almost always roast a double batch—half goes in the freezer for later.
- For a nuttier flavor, roast at 375°F for about 60 minutes instead.
- Blend the cloves with softened butter or cream cheese for a creamy garlic spread.
- Whisk roasted garlic into salad dressings or stir into soups right before serving for depth.
- It pairs beautifully with my Easy Dinner Rolls and makes a great addition to a Cheese Board.
- Beyond flavor, garlic has been studied for its potential health benefits, from supporting heart health to providing antioxidants. If you’d like to dive deeper, check out the National Center for Biotechnology Information (NCBI) overview on garlic and health.
Latest Video
Let’s Make It Together
- Preheat oven to 400°F (200°C).
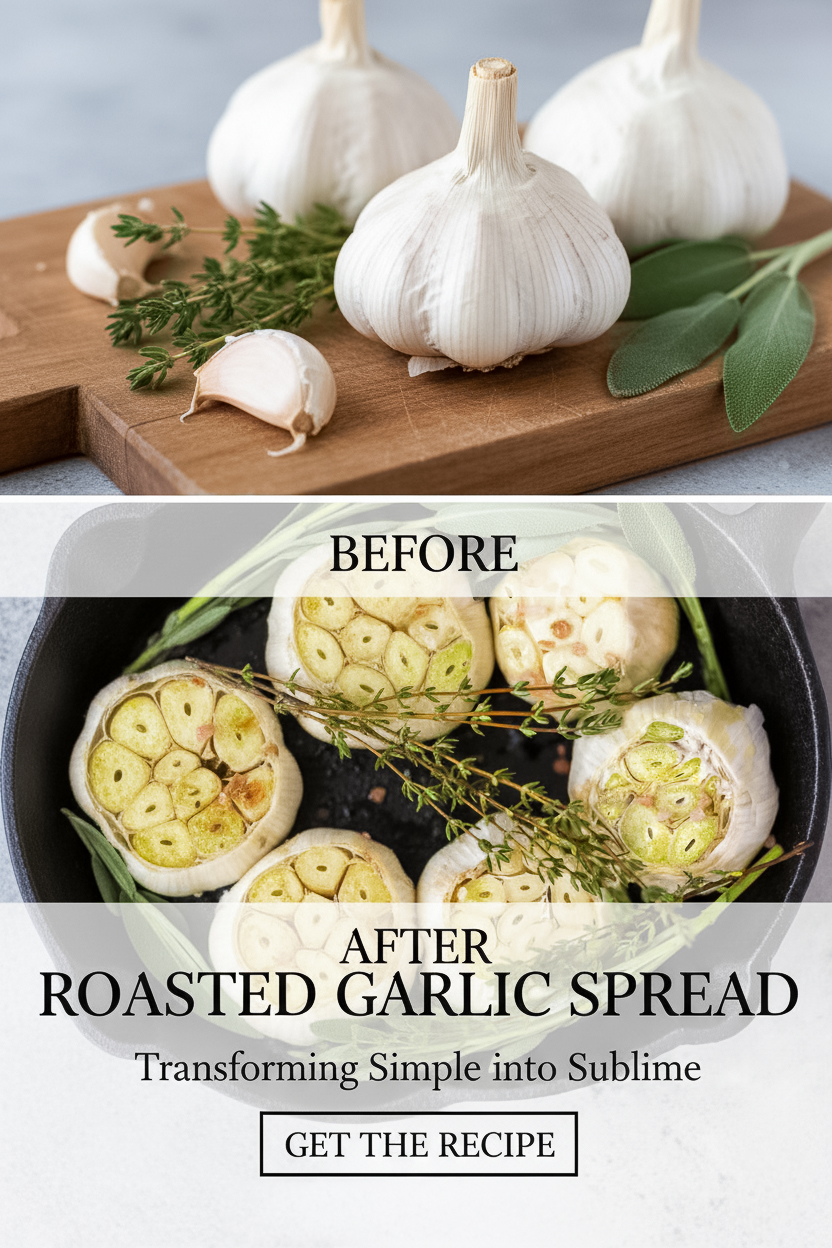
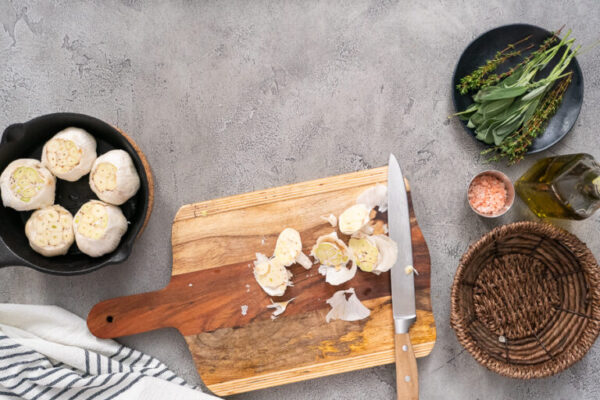
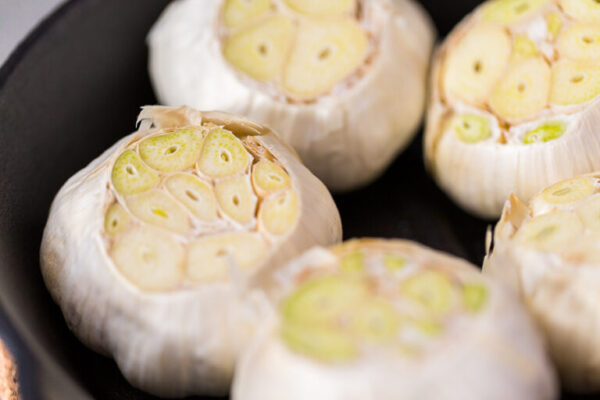
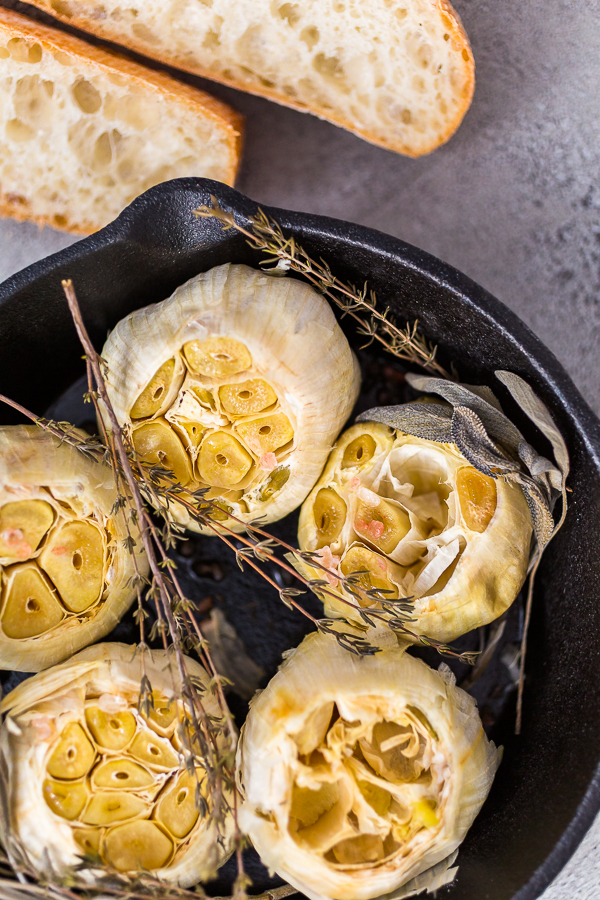
- Slice off about ⅓ from the top of each garlic head to expose the cloves.
- Drizzle a little olive oil in a cast iron skillet and arrange garlic heads root-side down, upright.
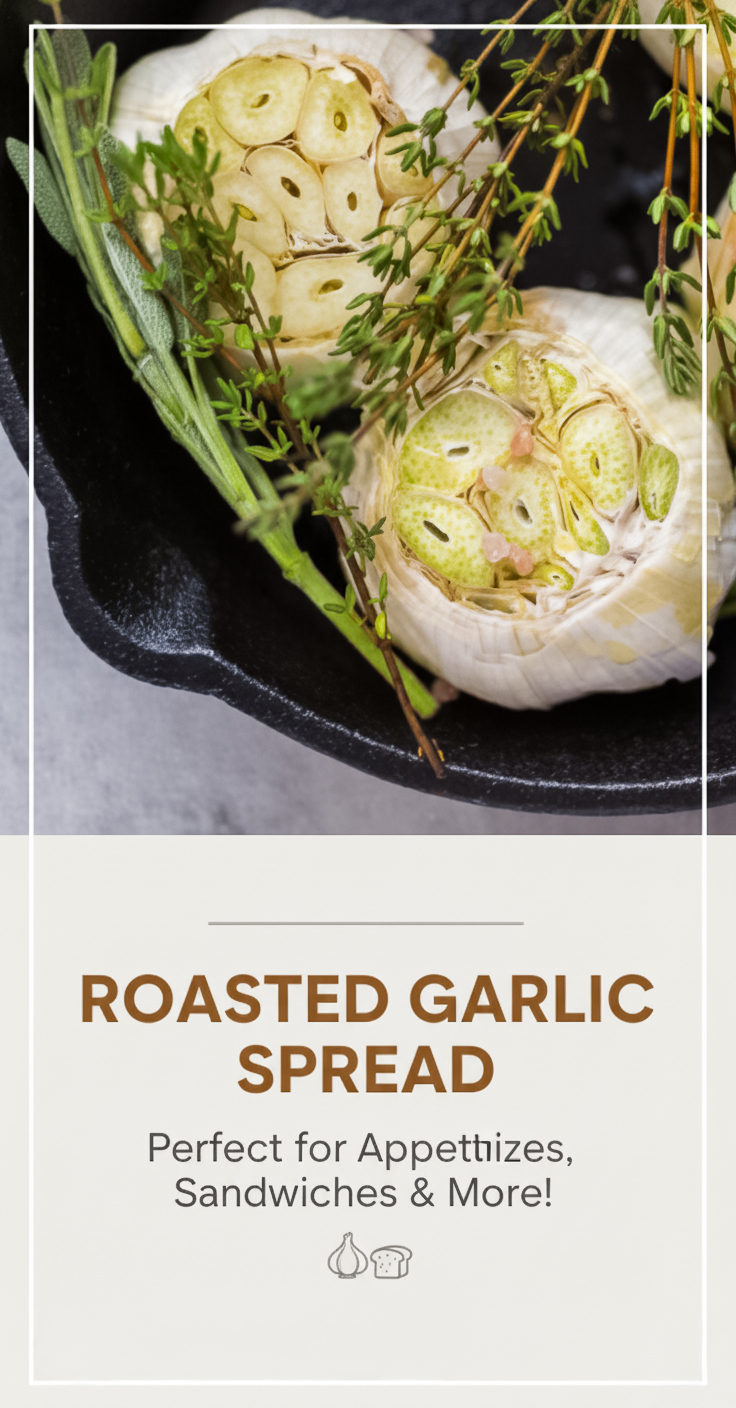
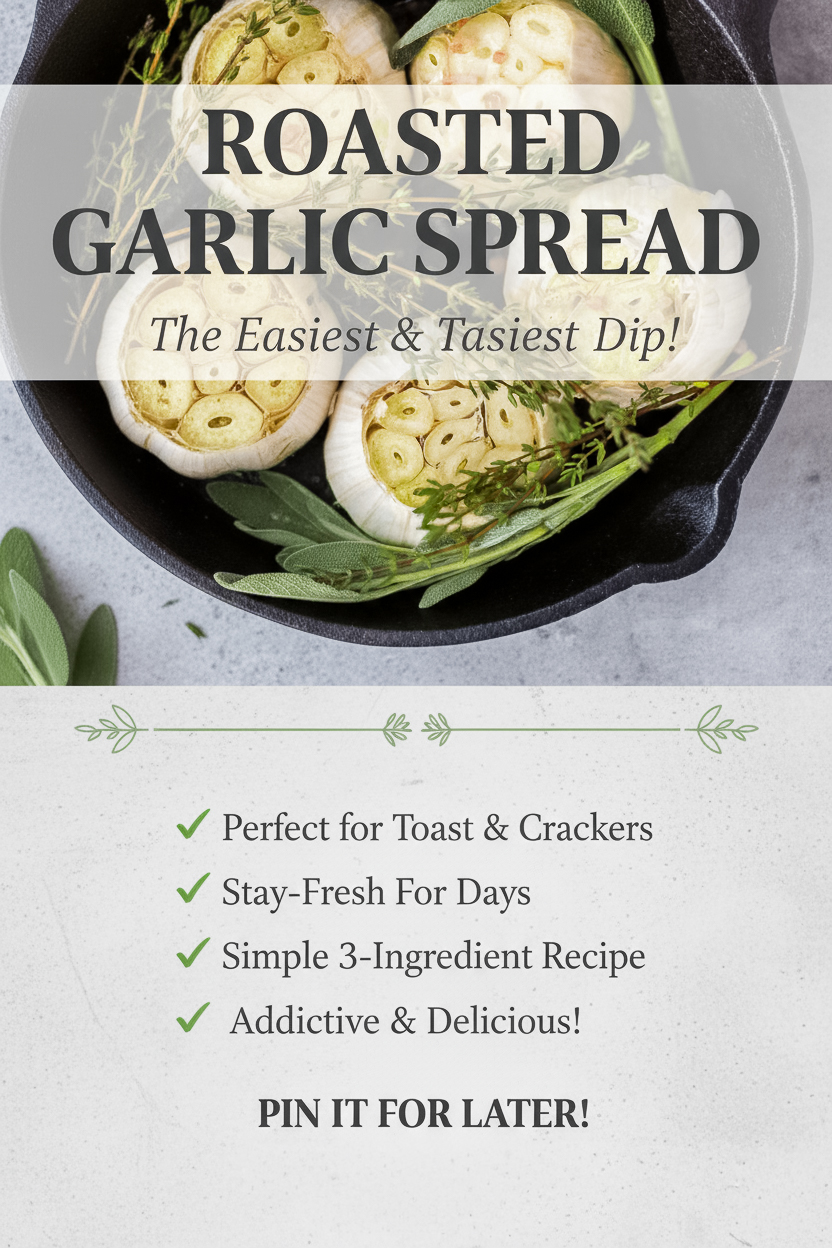
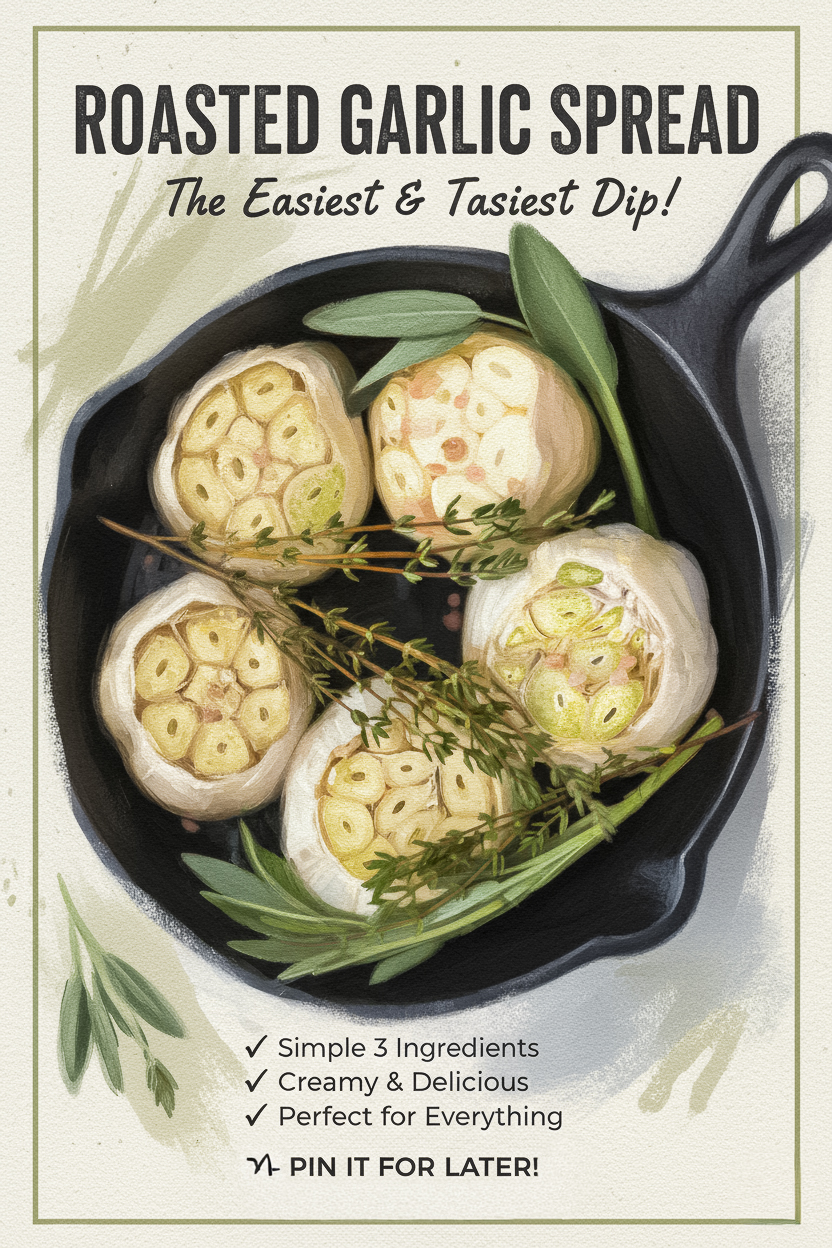
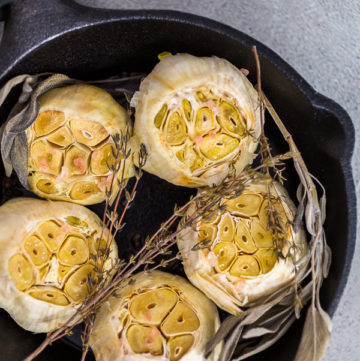
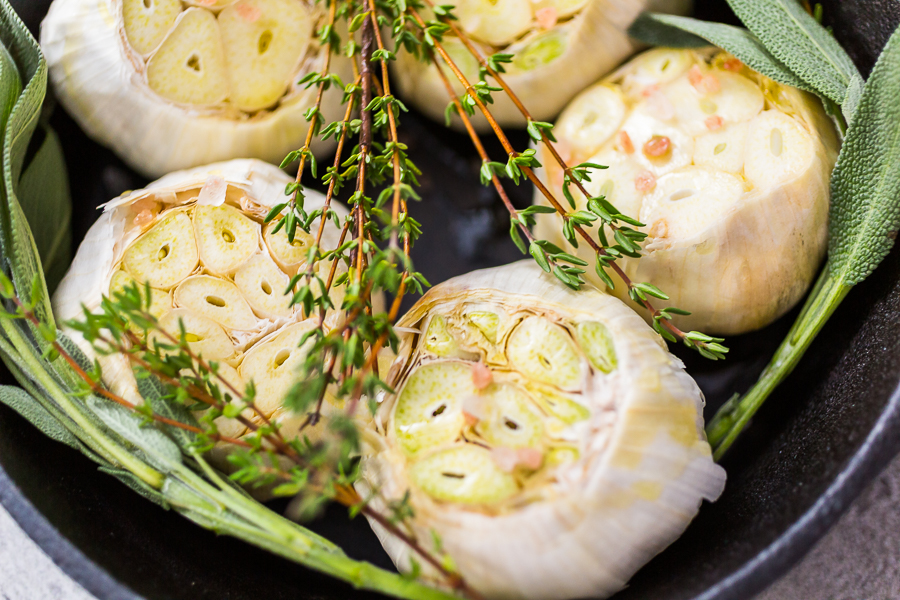
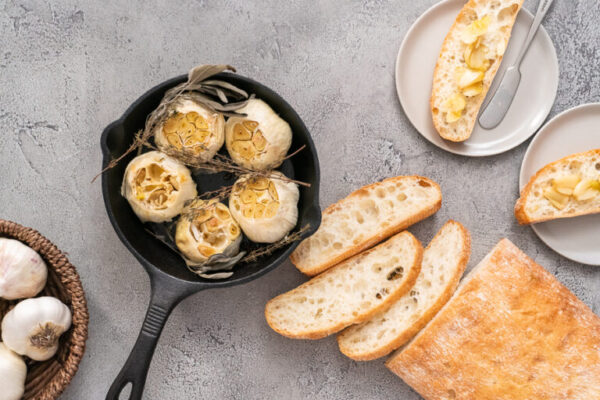
- Drizzle remaining oil over the exposed garlic, sprinkle with salt, and top with rosemary and sage.
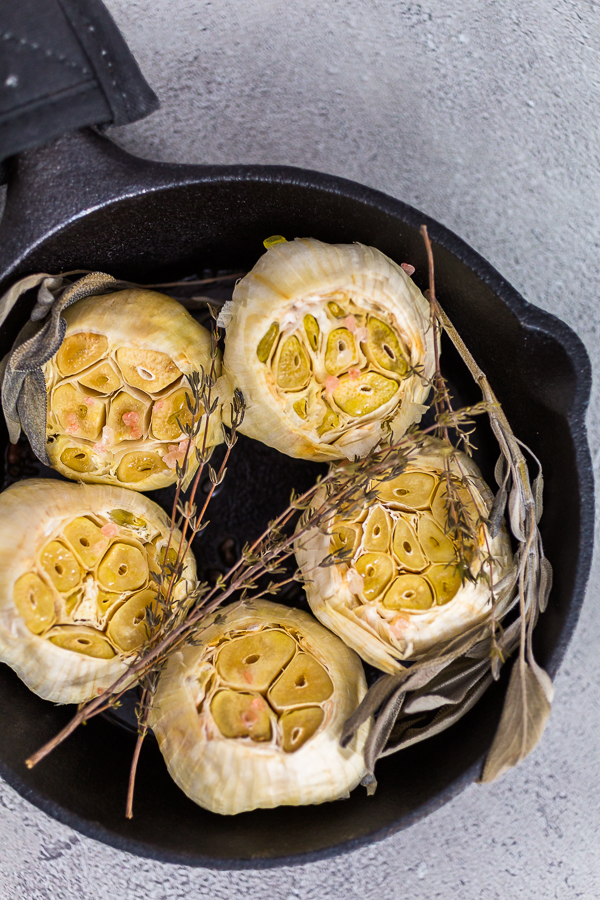
- Cover tightly with foil and bake 45–50 minutes until cloves are soft and caramelized.
- Let cool slightly, then squeeze out the garlic by pressing from the root upward.
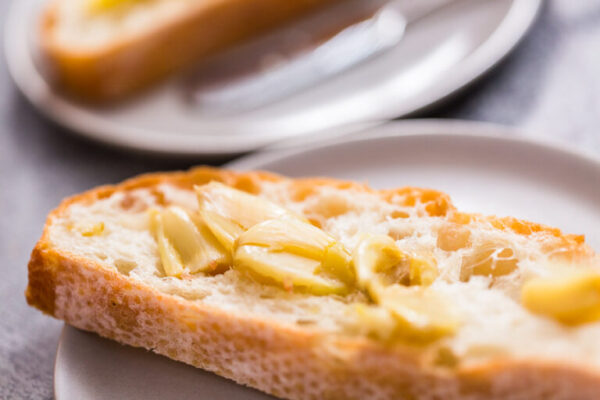
- Spread directly on bread, or save for cooking and dips.
Recipe variations
- Garlic Herb Butter: Mash roasted cloves with butter and fresh parsley.
- Creamy Garlic Dip: Blend roasted garlic with cream cheese or Greek yogurt.
- Spicy Roasted Garlic: Add red pepper flakes before roasting.
- Lemon Garlic Spread: Stir in lemon zest and juice after roasting.
- Roasted Garlic Hummus: Puree cloves into hummus for bold flavor.
Serving ideas
- Serve with crackers, cheese, and olives for an appetizer board.
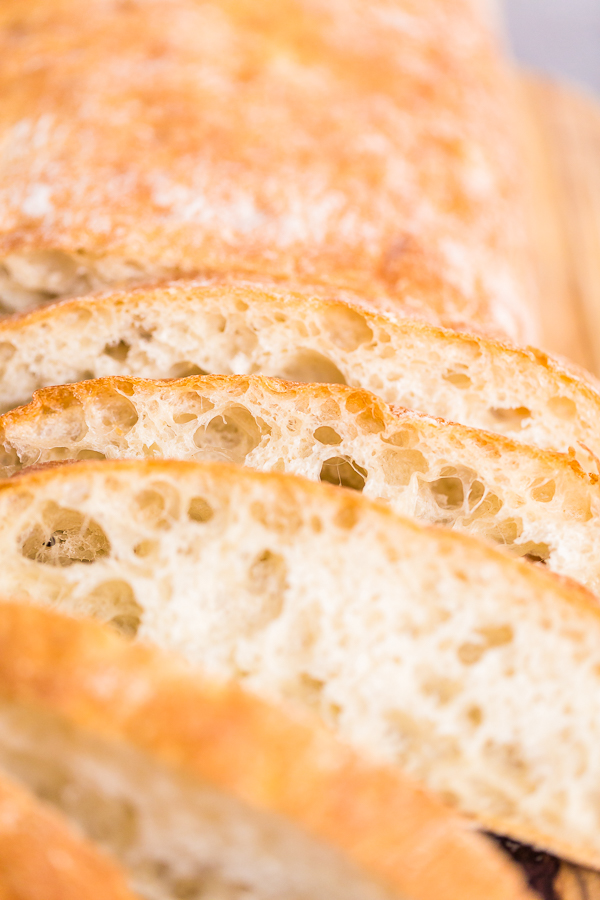
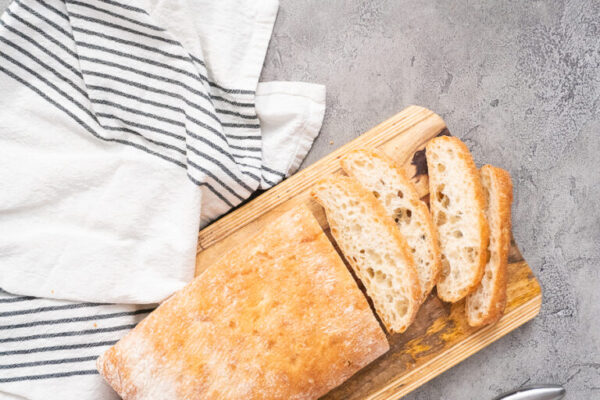
- Spread on baguette or ciabatta.
- Stir into mashed potatoes for creamy garlic potatoes.
- Add to pasta, risotto, or soups.
- Use as a topping for pizza or flatbread.
Storage
- Freezer: Freeze whole roasted heads or squeezed cloves in a sealed bag for up to 1 month.
- Fridge: Store cloves in a container with a thin layer of olive oil for up to 1 week.
Related recipes to explore
- Classic Cut-Out Sugar Cookies – timeless cookies that are perfect for decorating year-round.
- Caramel-Topped Banana Bread – a moist, sweet loaf perfect with coffee.
- Easy Dinner Rolls – soft rolls made even better with garlic spread.
- Classic Guacamole – fresh, tangy, and perfect alongside roasted garlic.
- Pumpkin Bundt Cake with Yellow Cake Mix – cozy, simple, and great for entertaining.
- Chocolate Ginger Sugar Cookies – spiced and chocolatey holiday favorite.
- Lemon Spritz Cookies with Cranberry Buttercream – festive, colorful cookies full of flavor.
- How to Perfectly Ice Star Cookies with Royal Icing – step-by-step decorating guide.
- Planning Christmas Baking and Holiday Gifting – tips to stay organized during the busy season.
- Spicy Jalapeño Cornbread Muffins – a savory bake that pairs beautifully with this garlic spread.
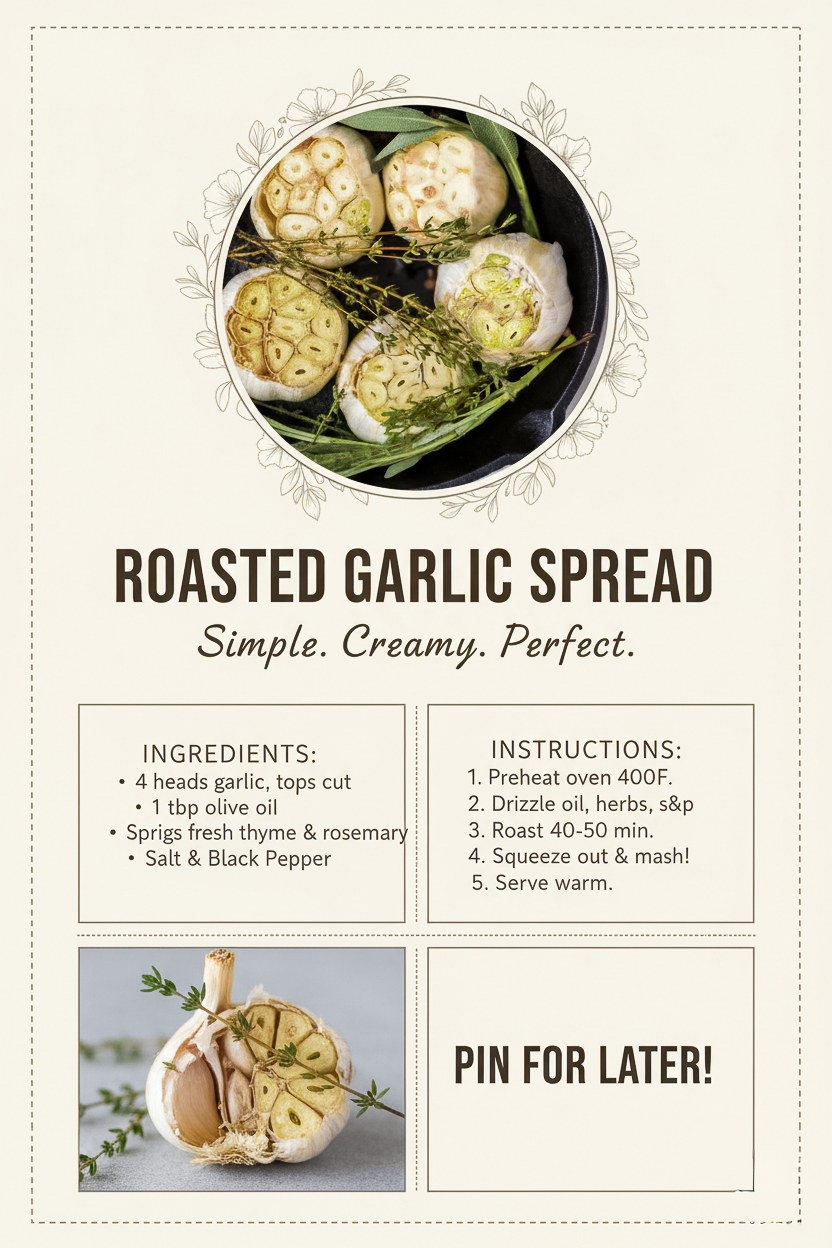
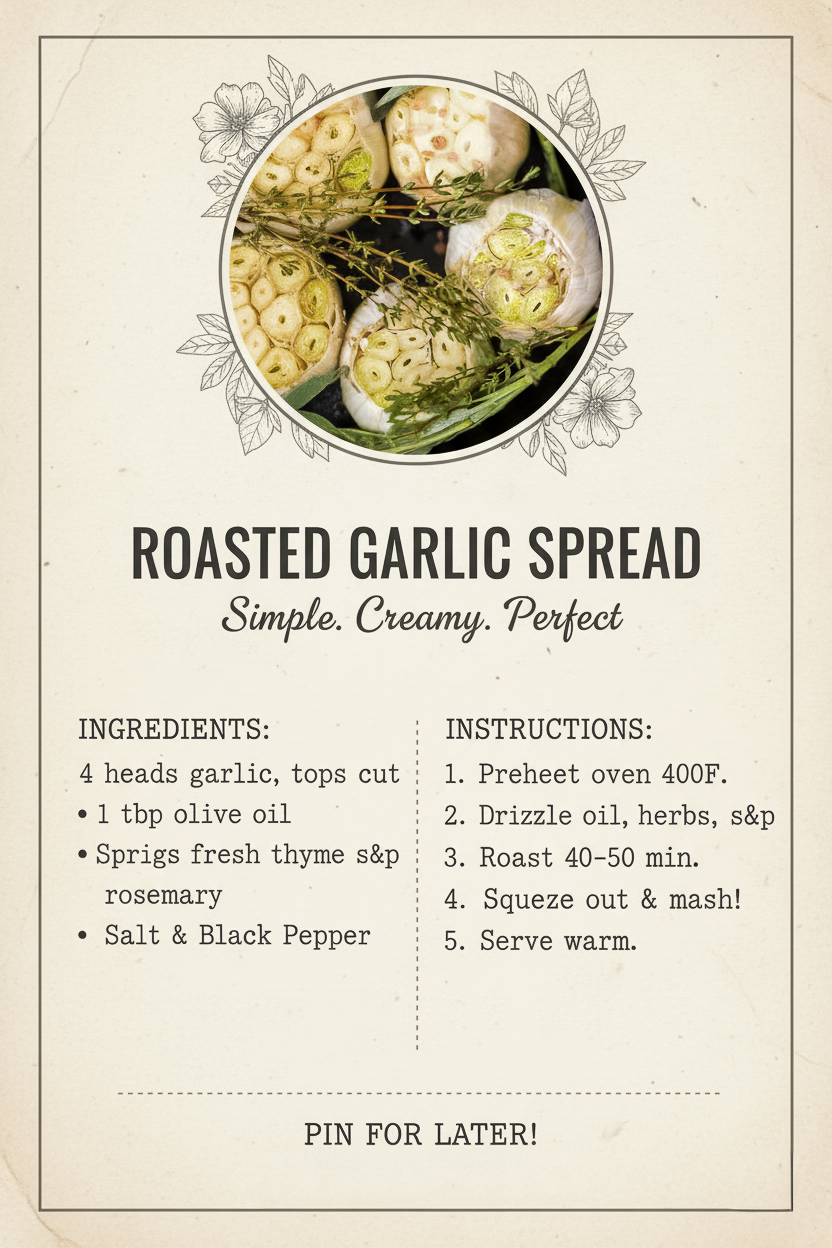
Roasted Garlic Spread
Video
Equipment
Ingredients
- 5 heads fresh garlic
- 3 tablespoon extra virgin olive oil
- 1 teaspoon sea salt
- fresh rosemary
- fresh sage
Instructions
- Preheat the oven to 400°F.
- Slice off about one-third from the top of each garlic head.
- Drizzle a little olive oil into a 6-inch cast iron skillet.
- Place garlic heads root-side down in the skillet, keeping them upright.
- Drizzle the rest of the oil over the garlic, then sprinkle with sea salt and top with fresh herbs.
- Cover the skillet tightly with foil and bake for 50 minutes, until garlic is soft and caramelized.
- Let cool slightly, then gently squeeze cloves out by pressing from the root upward.
- Spread the roasted garlic onto slices of baguette or ciabatta. Enjoy!
Nutrition
From My Kitchen to Yours
More charcuterie board ideas
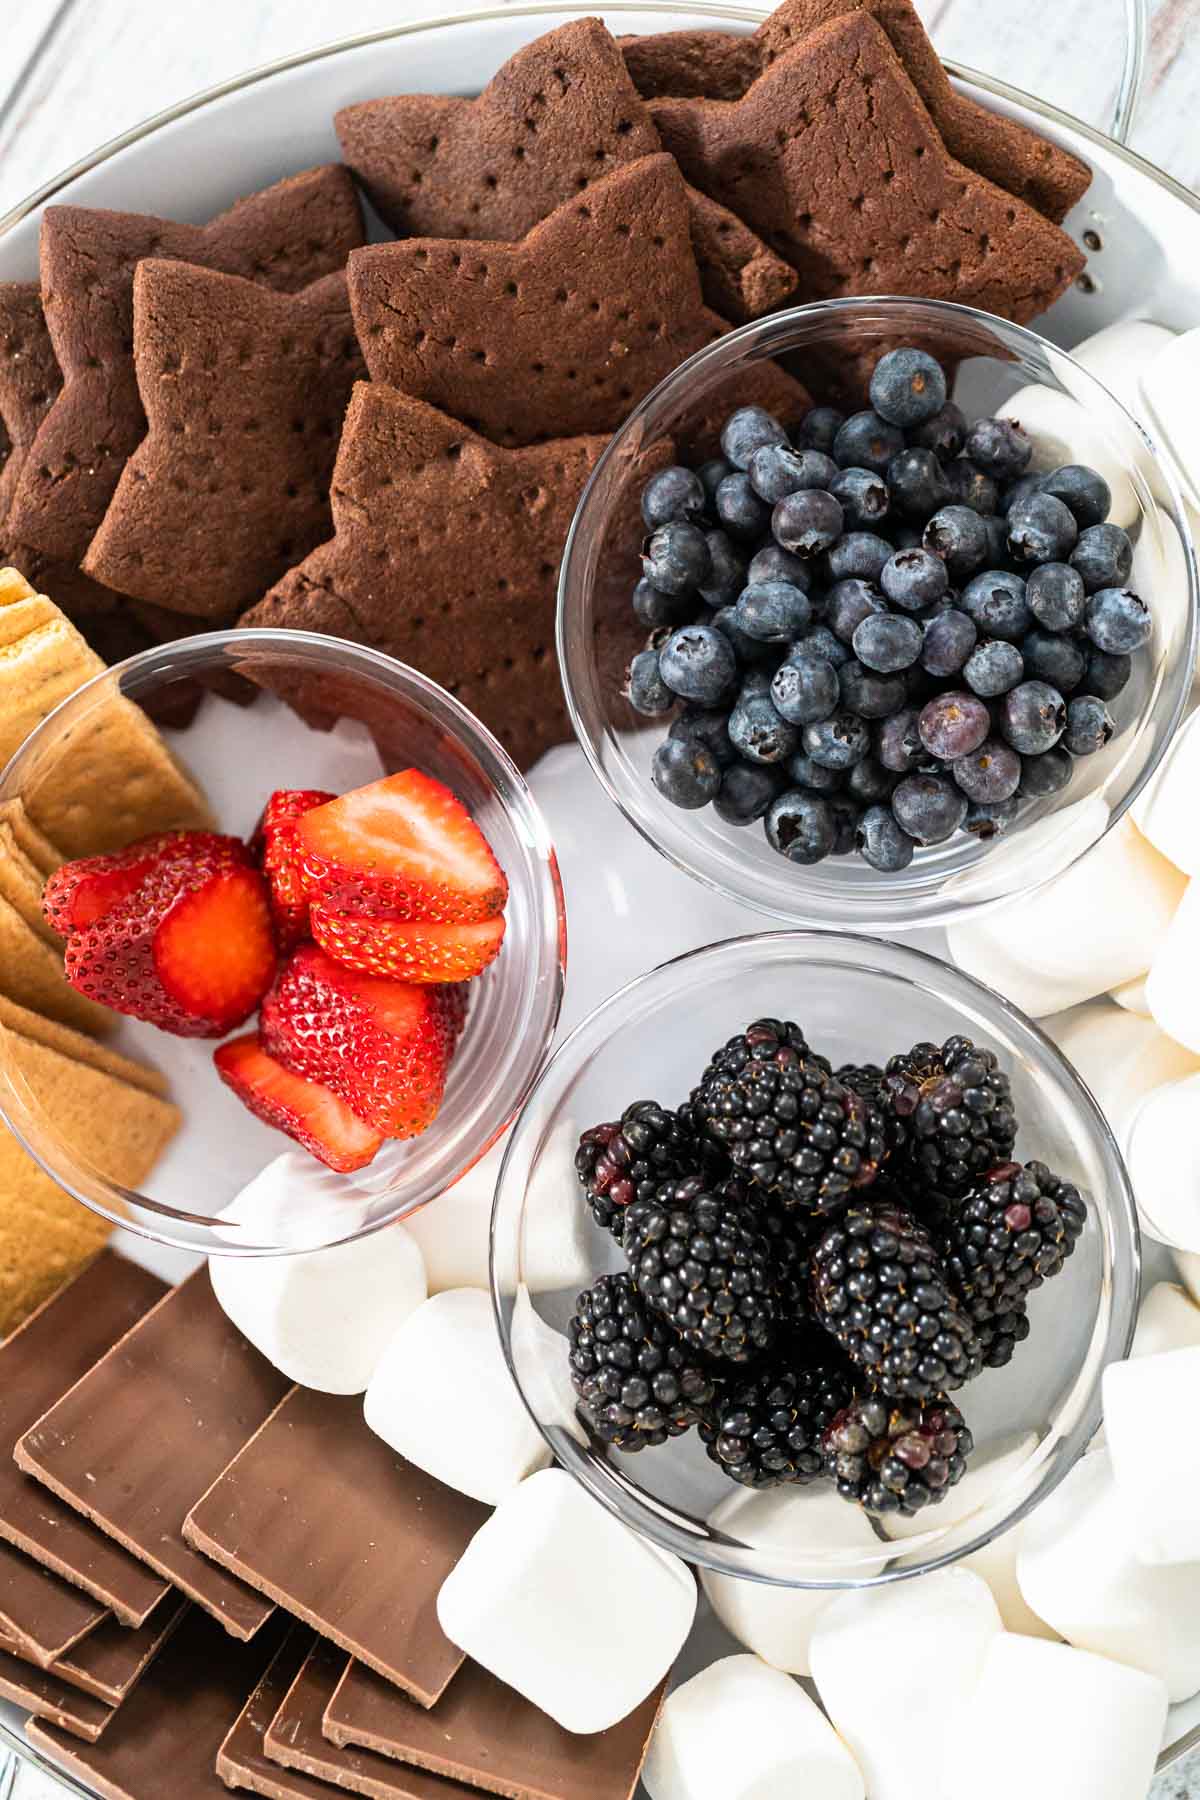
- Easy S’mores Charcuterie Board for Summer Parties
- Red and Pink Charcuterie Board for Valentine’s Celebrations
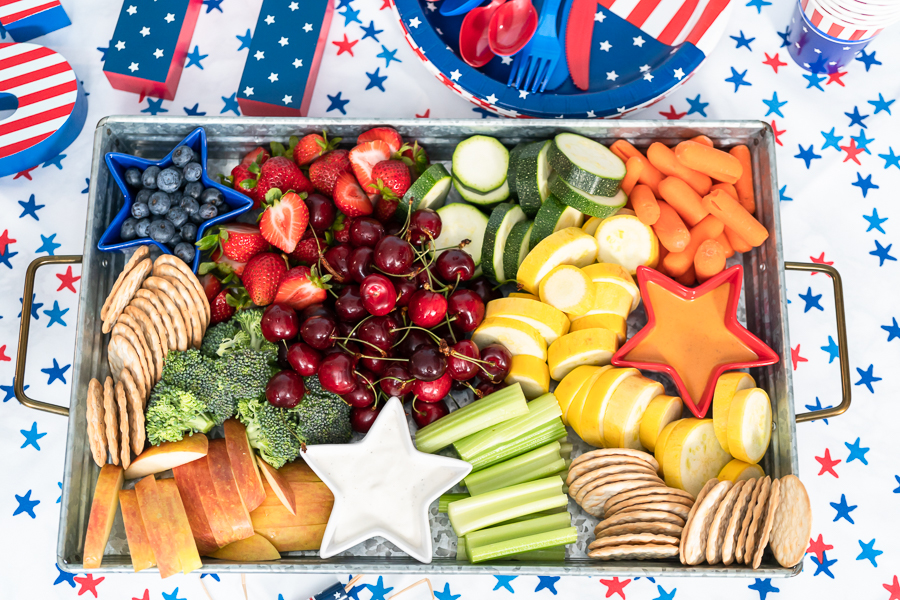
- 4th of July charcuterie board
- Easter Charcuterie Board with Cookies, Chocolates, and Candy
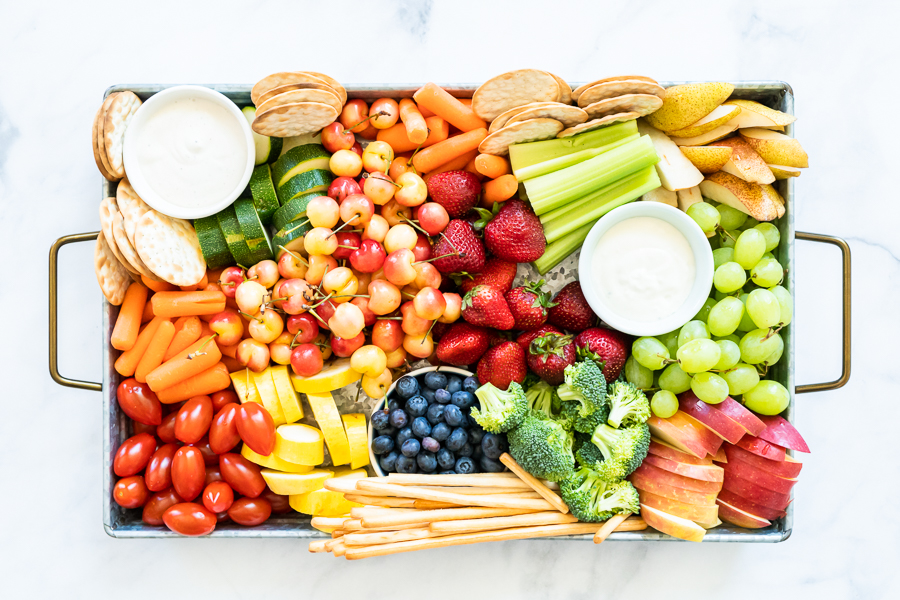
- Easy and Colorful Fruit and Veggie Board for Entertaining
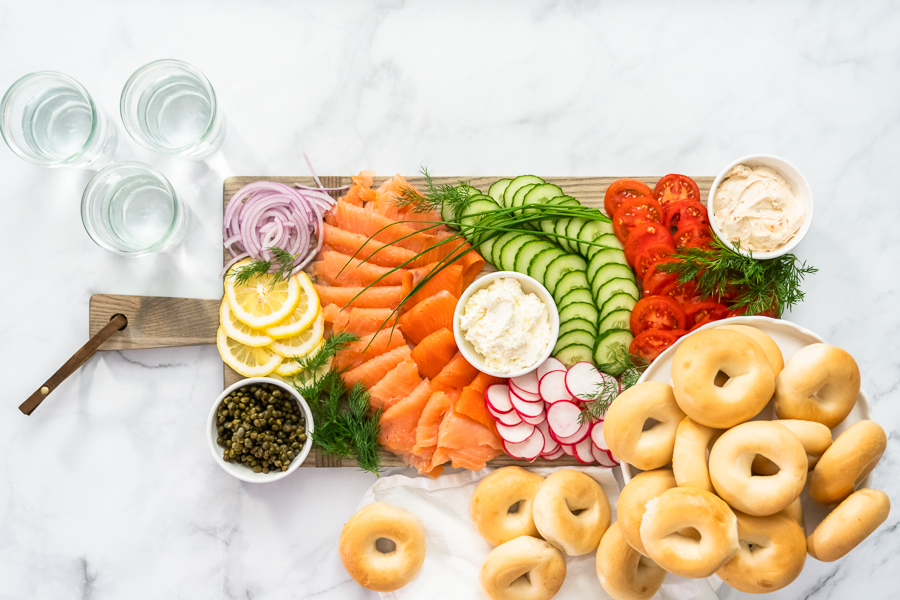
- How to Make a Bagel Brunch Board for Easy Entertaining
I’ve Got Answers
Can I roast garlic without foil?
Yes—cover with a small oven-safe lid or use a garlic roaster.
What other herbs work well?
Thyme and oregano are great alternatives to rosemary and sage.
What bread goes best with this spread?
I love crusty baguettes, ciabatta, or soft dinner rolls.
How can I keep roasted garlic fresh longer?
Submerge peeled cloves in olive oil, refrigerate, and use within 7 days.
Can I swap roasted garlic for raw garlic in recipes?
Yes, but roasted garlic is sweeter and milder, so you may need more to match raw garlic’s punch.
Pin It For Later
Food Photography & Video Tips from My Studio
Here’s a peek at the tools, gear, and camera setups I use to film my recipe videos and photograph food at home. Over the years, I’ve tested dozens of different setups, and now I’m sharing what actually works for me—whether I’m filming overhead shots for YouTube or styling still photos for my blog. If you’re curious about how I create the content you see here, these posts are a great place to start.

















Leave a Reply