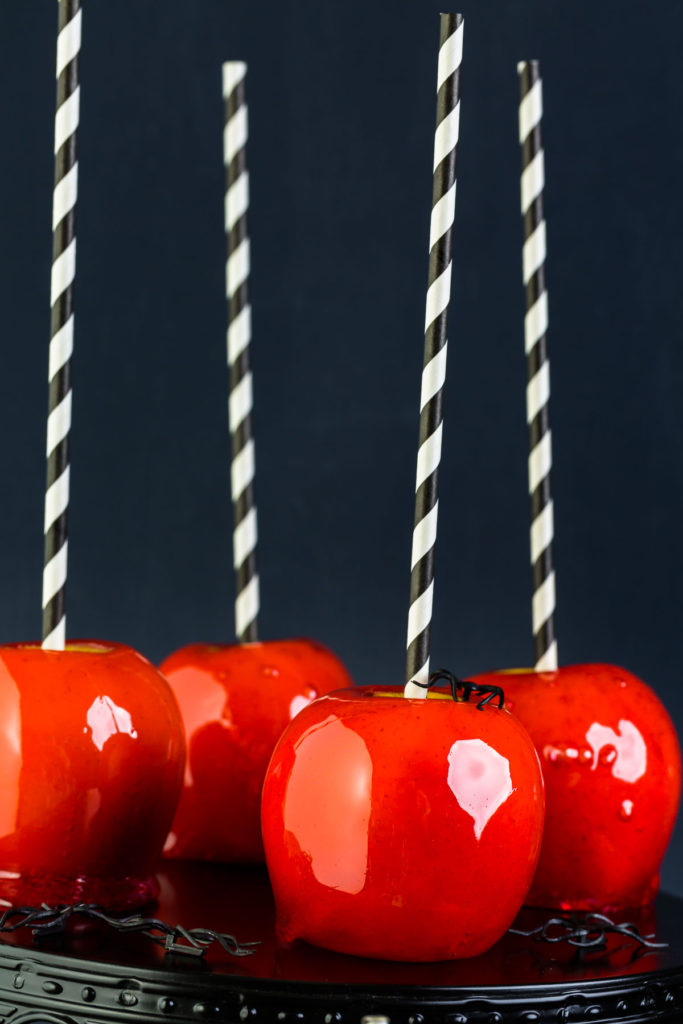
How to make candied red apples for Halloween celebrations!
This post contains affiliate links.
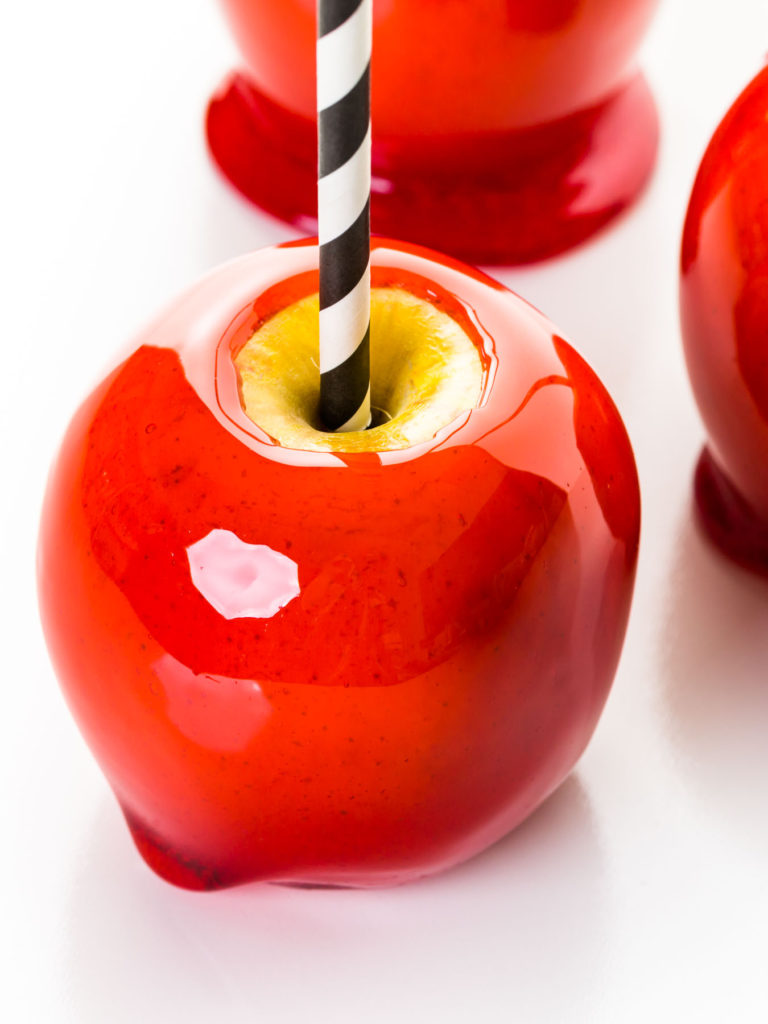
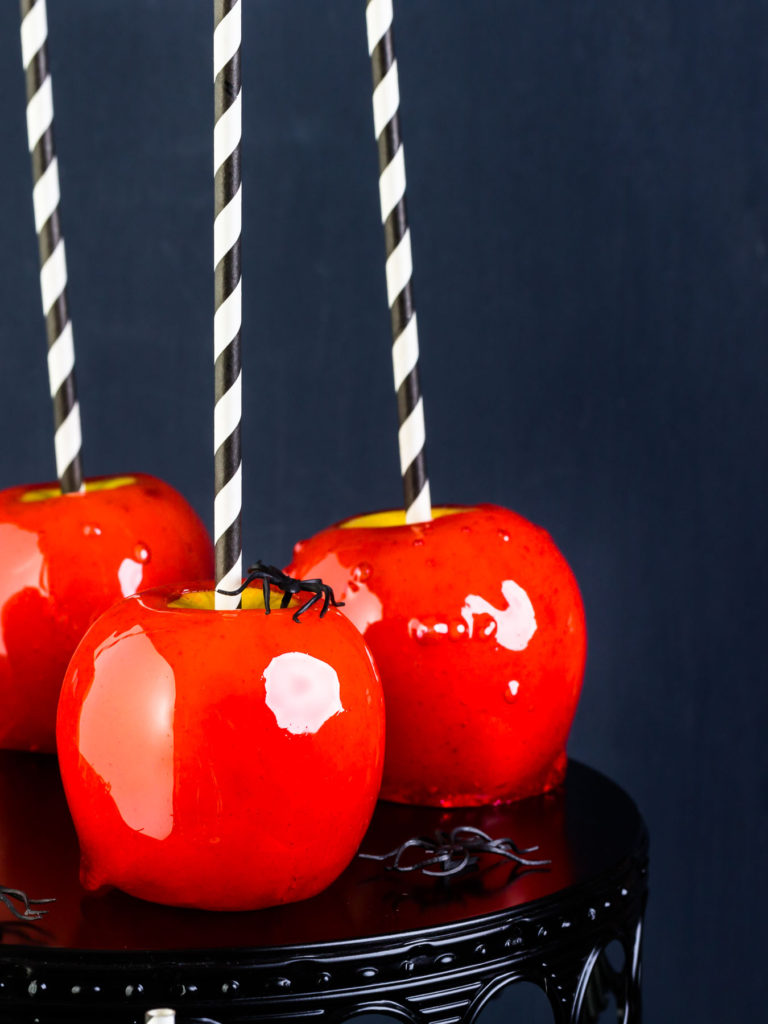
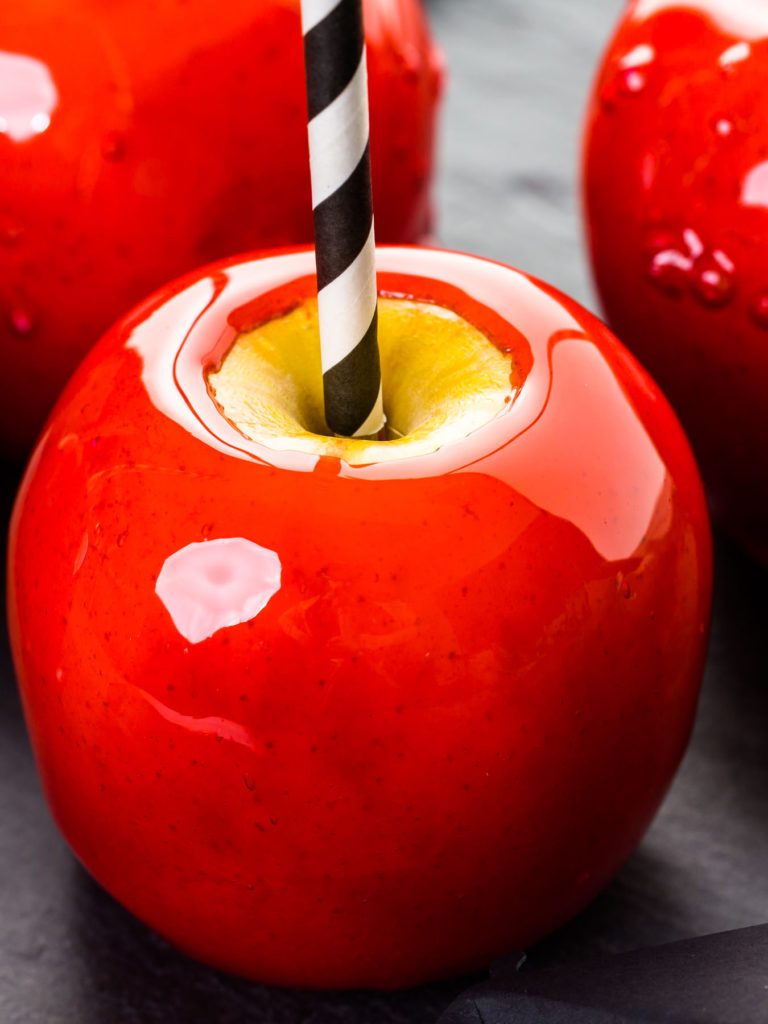
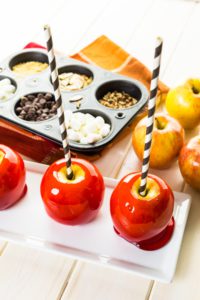
One of my absolute favorite things about Halloween is getting to conjure up holiday-themed spooky sweets! Whether I’m trying to set a haunting mood for a costume party or I just want a fun Halloween activity to do with my daughter, it all ends up with us having fun in the kitchen. During this exciting time of year, one of my favorite recipes to pull out is this one for tempting Red Candy Apples!
Ah, yes. Candy apples, the most classic and traditional Halloween treat that has been around for ages. Seriously though, who knows how long these tasty treats have actually been around?! But there is a very good reason this timeless classic never seems to go away.
Candied apples are the perfect Halloween treat! From the crunchy, candy coating to the festive decorations that can be added, these delectable treats always set the perfect Halloween mood every time! It’s not hard to see why these tempting treats are still beloved by both children and adults alike.
My method for making these scrumptious red candy apples is so easy and quick to do that it can easily be done even in the midst of party-planning chaos. Just a few simple ingredients and about 30 minutes and you’ll be well on your way to tasty treats, no tricks involved! Here’s how I make tempting Red Candy Apples.
To make easy candy apples, all you need is some apples, sugar, light corn syrup, water, food coloring, a saucepan, a heat-resistant spatula, parchment paper, and skewers. Just stick a skewer into each apple after removing the stem, then heat the other ingredients together in the saucepan and bring to a simmer over medium heat. After the syrup reaches the right temperature, carefully swirl the apples in the candy to coat thoroughly and then transfer them to a sheet of parchment paper to cool and harden completely.
Simple Candy Apple Equipment
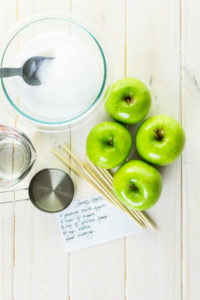
To get started on this simple and spooky kitchen project, let’s go over the tools needed for these candied apples. Luckily, with my simple method, I don’t have to use a ton of equipment to make this recipe successfully. Here are the simple kitchen tools that I use to make these red candy apples:
- Saucepan with a pouring lip
- Silicone Spatula
- Parchment paper sheets
- Short bamboo skewers
- Assorted paper drinking straws
- Candy thermometer
Crunchy, Candied Apple Ingredients
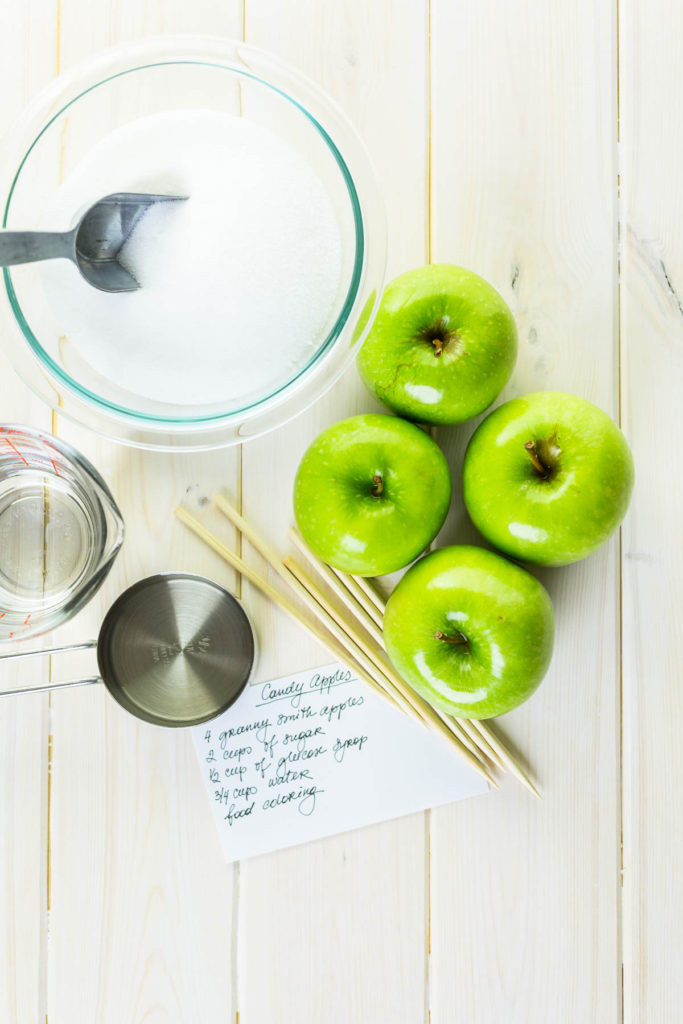
Now let’s go over my sweet and simple ingredient list for these tempting treats! It may sound surprising but I only use a handful of simple ingredients along with a few apples to make this candied apple recipe:
- 4 Granny Smith apples
- 2 cups sugar
- ½ cup light corn syrup
- ¾ cup water
- Food Coloring: Red
How to Make Candied Red Apples
Drum roll, please! It’s the moment I know you’ve been waiting for: making the spooky magic happen! My simple method for these candy apples is super simple and doesn’t take very long at all. Just be sure to keep an eye out for any special instructions I’ve included for spooky good success!
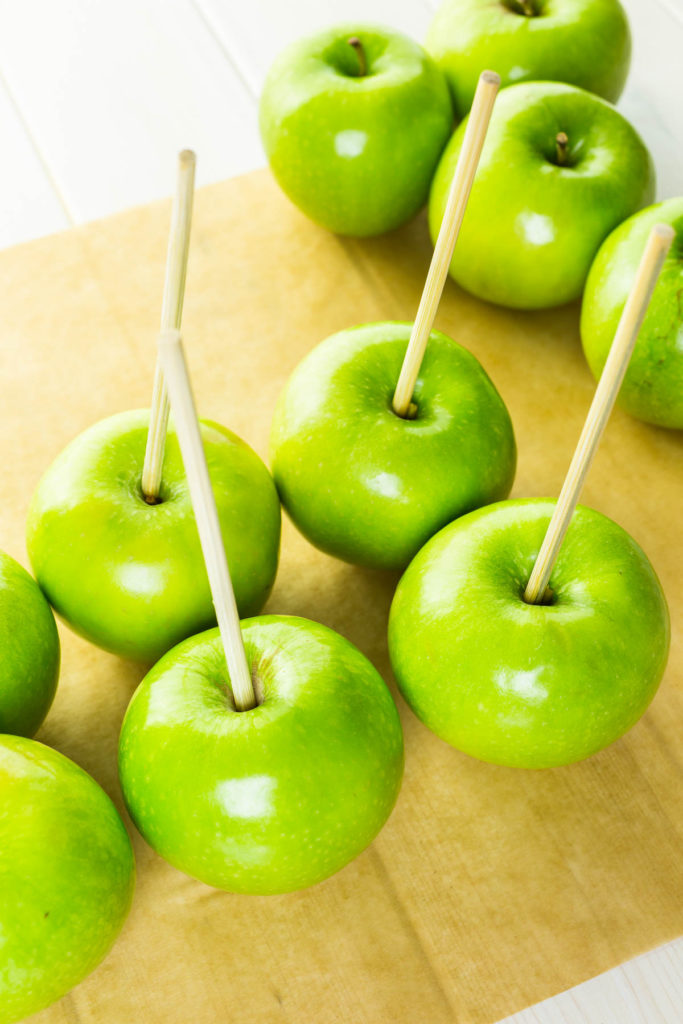
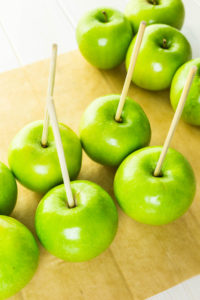
- First, gather up and measure out all of the ingredients. Then, wash the apples and thoroughly dry them off with a few paper towels. Remove the stems from the apples and skewer the core of each one with a short bamboo skewer and then set them aside on a sheet of parchment paper.
- Next, combine the water, sugar, light corn syrup, and red food coloring in a saucepan- I like to use one with a pouring lip- and bring the mixture to a simmer over medium heat. Continuously stir the mixture with a silicone spatula or whisk until the sugar completely dissolves, about 20 minutes.
- While cooking, occasionally scrape down the mixture along the inside of the pot, so that no leftover sugar crystals mess with the final consistency.
- The colored candy is ready when it reaches 310ºF on a candy thermometer or reaches the “hard crack stage”.
- To see if the syrup is ready without a candy thermometer, just drop a little bit of the boiling sugar mixture into a glass of ice-cold water. The sugar drop should form hard, brittle threads that indicate that it has reached the right temp.
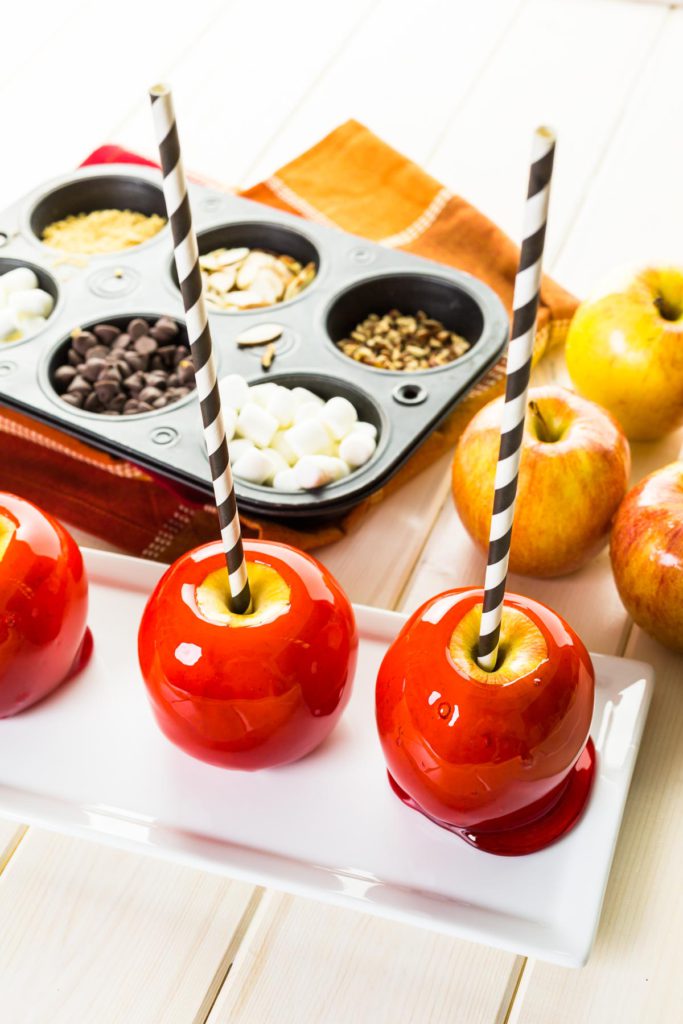
- Finally, carefully dip each apple into the red syrup one at a time. Swirl the pan around from one side to the other to thoroughly coat each apple with the candy mixture, and then carefully transfer the candied apple to a sheet of parchment paper to cool and harden completely.
- Before serving, cover each of the bamboo skewers with a Halloween-themed paper straw.
- Candied apples are usually ready to eat in about 10 minutes.
How to Store Candied Apples
To properly store candied apples: wrap the candied apples individually in cellophane wrap and tie it off well to prevent any air from reaching the apples. The apples will stay fresh like this, at room temperature for up to 3-5 days, out of the sun. Candied apples can be kept in the fridge, stored in an airtight container for up to 1 week, but the moisture from the fridge can make the candy coating start to sweat. So for the crispest results, I recommend the room temperature storage method.
No Tricks, All Treats
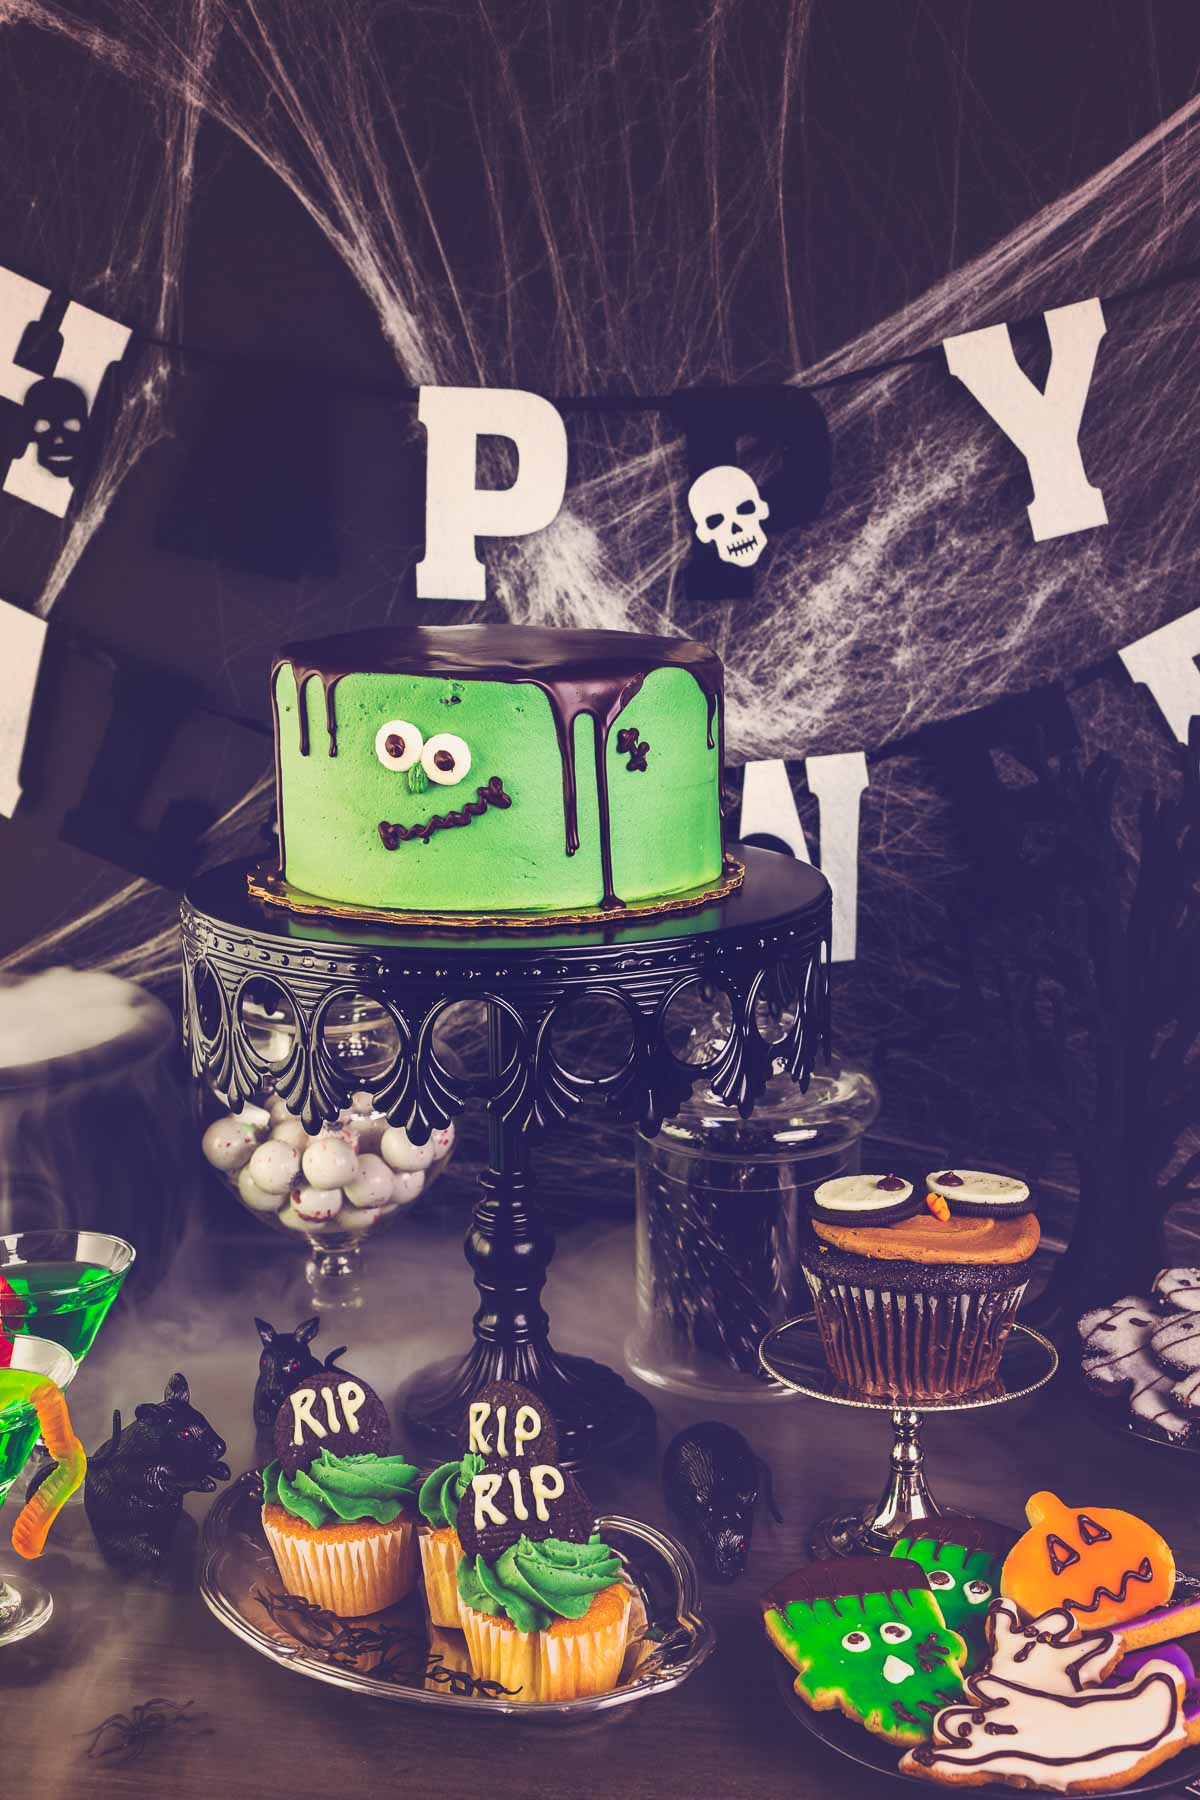
These red candy apples are the perfect Halloween treat! They give that traditional spooky feeling to any Halloween celebration. Want more ideas for fun and spooky treats for your spook-tacular get-together? Then check out some more of my family’s favorite spooky or fairy tale-themed sweet treat recipes:
Enchanting Halloween party recipes:
- Black Candy Apples
- Orange Candy Apples
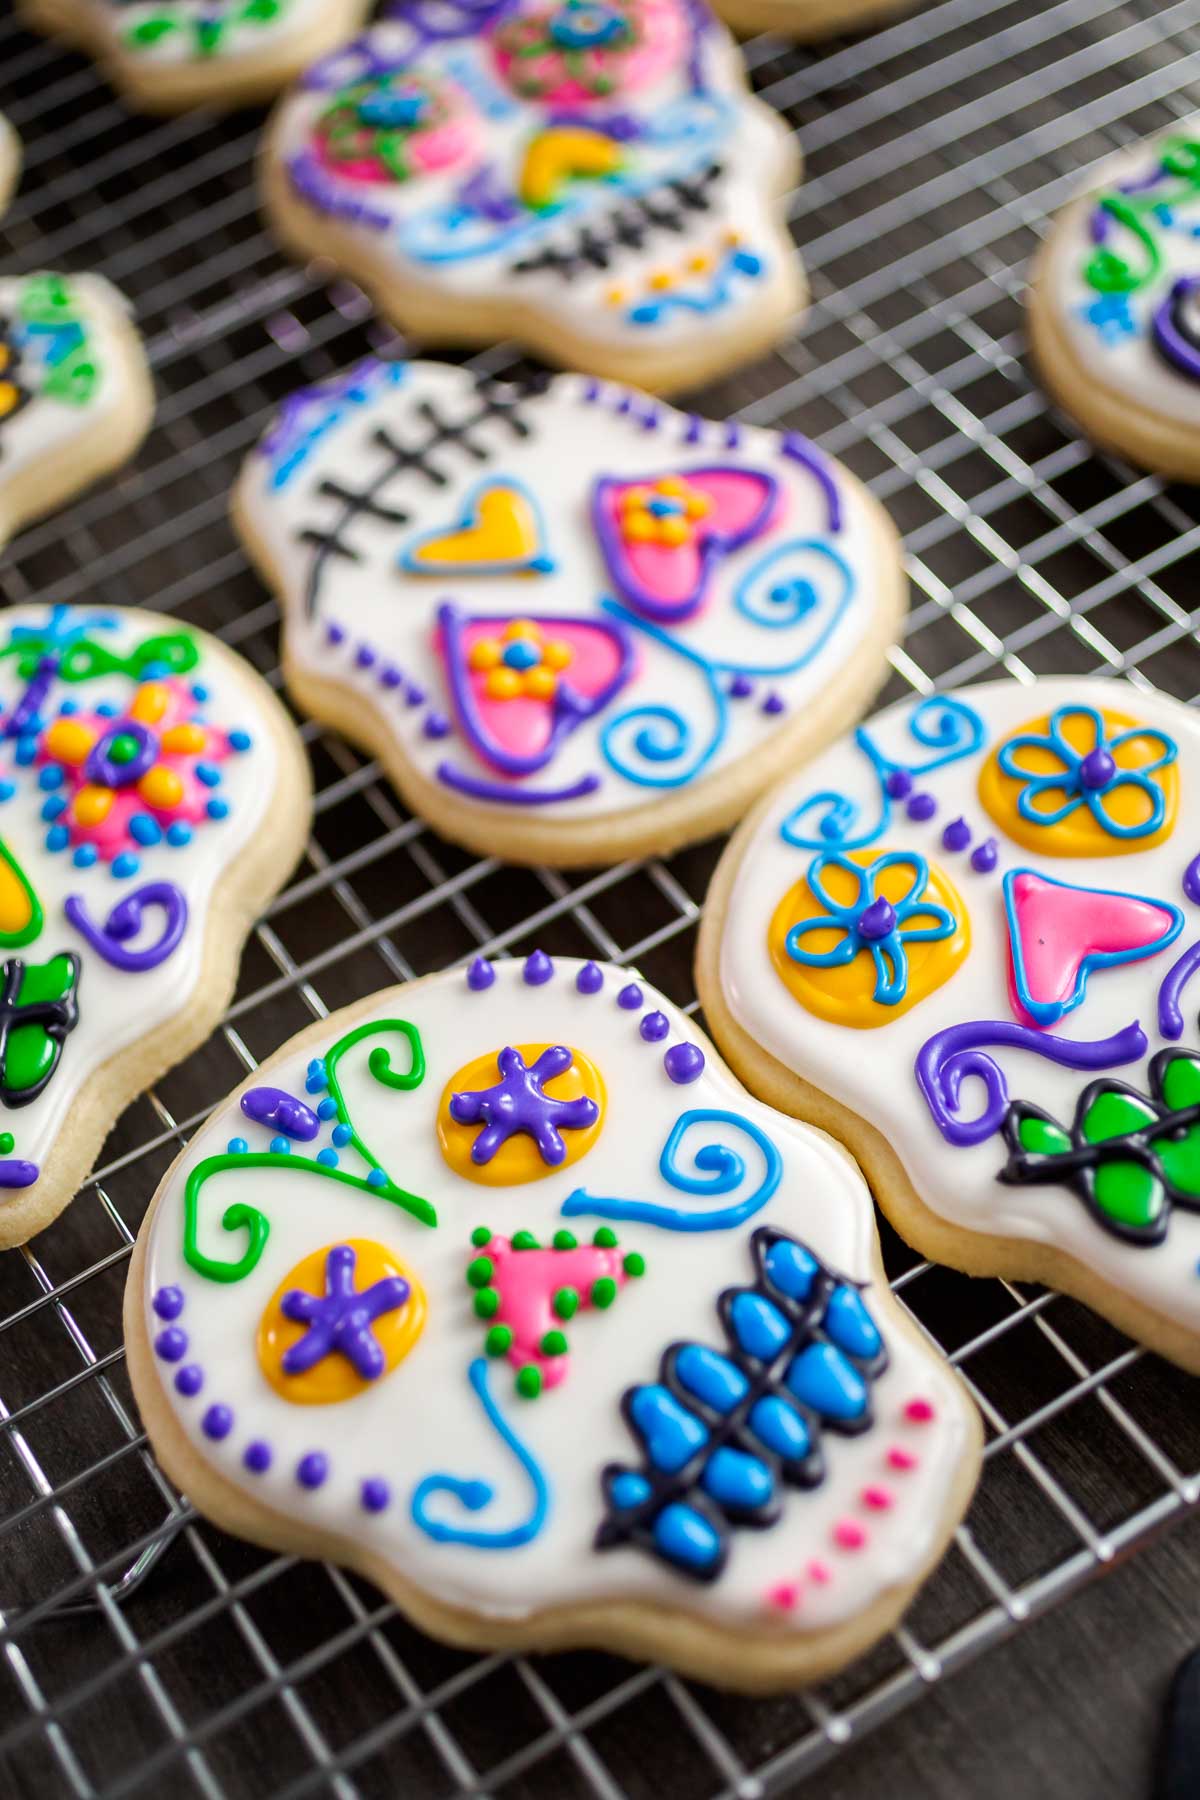
- Skull Halloween Sugar Cookies
- Mermaid Cake Popsicles
- Mermaid Pretzel Rods
- Chocolate Mermaid Tails
- Mini Mermaid Chocolate Bars
- Unicorn Chocolate Chip Cookies
- Unicorn Meringue Pops
- Unicorn Meringue Cookies
- Unicorn Rainbow Cupcakes
Red Candy Apples
Equipment
Ingredients
- 4 Granny Smith apples
- 2 cups sugar
- ½ cup light corn syrup
- ¾ cup water
- Food Coloring Red
Instructions
- First, gather up and measure out all of the ingredients. Then, wash the apples and thoroughly dry them off with a few paper towels. Remove the stems from the apples and skewer the core of each one with a short bamboo skewer and then set them aside on a sheet of parchment paper.
- Next, combine the water, sugar, light corn syrup, and red food coloring in a saucepan- I like to use one with a pouring lip- and bring the mixture to a simmer over medium heat. Continuously stir the mixture with a silicone spatula or whisk until the sugar completely dissolves, about 20 minutes.While cooking, occasionally scrape down the mixture along the inside of the pot, so that no leftover sugar crystals mess with the final consistency.
- The colored syrup is ready when it reaches 310ºF on a candy thermometer or reaches the “hard crack stage”.To see if the syrup is ready without a candy thermometer, just drop a little bit of the boiling sugar mixture into a glass of ice-cold water. The sugar drop should form hard, brittle threads that indicate that it has reached the right temp.
- Finally, carefully dip each apple into the red syrup one at a time. Swirl the pan around from one side to the other to thoroughly coat each apple with the candy mixture, and then carefully transfer the candied apple to a sheet of parchment paper to cool and harden completely.Before serving, cover each of the bamboo skewers with a Halloween-themed paper straw.Candied apples are usually ready to eat in about 10 minutes.
Notes
Food Photography & Video Tips from My Studio
Here’s a peek at the tools, gear, and camera setups I use to film my recipe videos and photograph food at home. Over the years, I’ve tested dozens of different setups, and now I’m sharing what actually works for me—whether I’m filming overhead shots for YouTube or styling still photos for my blog. If you’re curious about how I create the content you see here, these posts are a great place to start.










Leave a Reply