Mastering the Art of Apology with Homemade Sugar-Free 'I'm Sorry' Cookies
This post contains affiliate links.
Life is a tapestry woven with countless moments, some bright, others a bit shadowed by our missteps. Mistakes, as I've come to learn, are not just inevitable but essential parts of our journey, teaching us, guiding us, and sometimes humbling us. It's from these moments that we learn the art of making amends, a lesson I believe is crucial from an early age.
This belief was put to the test not too long ago with my daughter, Sophia. Like any other vibrant soul of her age, she found herself in a little pickle—a mistake made, a lesson waiting to be learned. It was one of those days that reminded me that teaching by example is the most potent lesson of all. So, we turned to our family kitchen, a place of warmth and learning, to craft an apology as sincere as any words spoken.
Baking has always been more than just creating treats in our home; it's a way of expressing feelings, of weaving love into the very essence of what we create. We decided on sugar cookies, simple and sweet, a canvas waiting for a message. Together, we measured, mixed, and rolled, each step a part of the apology, each ingredient a building block of responsibility and reconciliation.
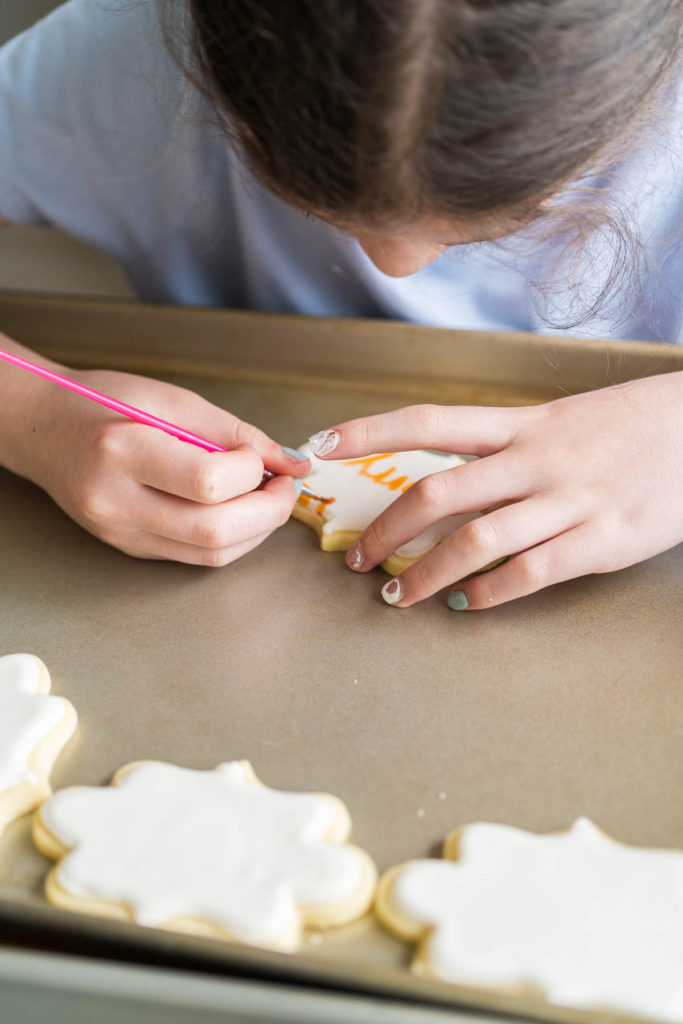
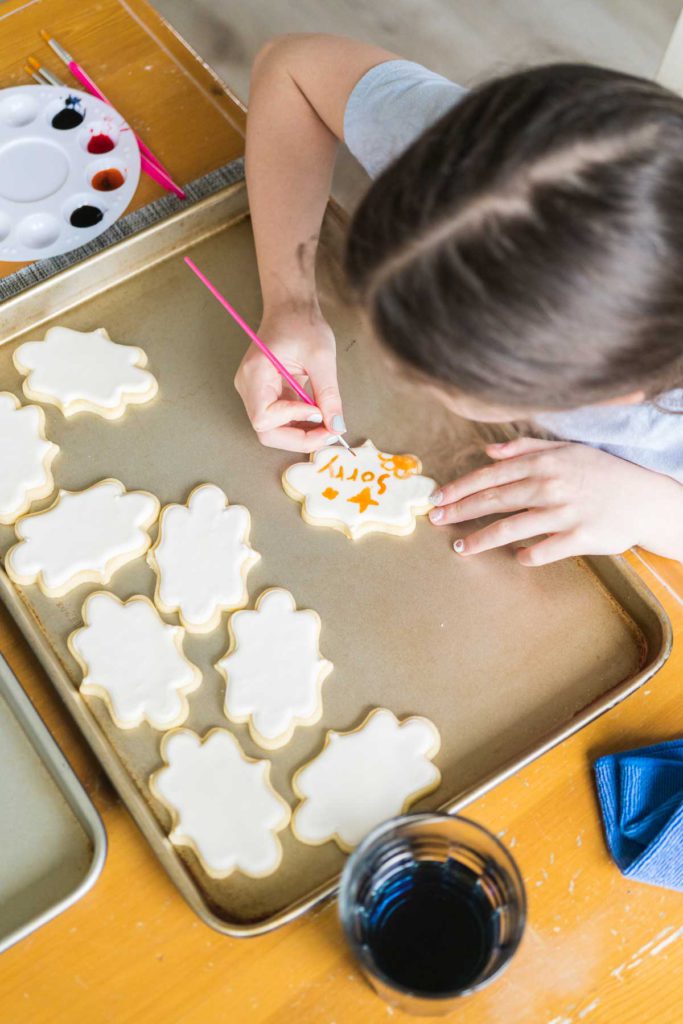
Royal icing became our pen for writing a heartfelt "I'm sorry." Sophia took the lead, her tiny hands carefully decorating each cookie, her concentration a mirror of her regret and her desire to make things right. It was a moment of growth, of understanding the weight of her words through the careful crafting of her apology.
When the last cookie was decorated, we placed them gently into a white paper box with a clear window, not just revealing the cookies within but also the sincerity of the apology they carried. It was a simple gesture, a small act in the grand scheme of things, yet it carried the weight of genuine remorse and the hope for forgiveness.
The cookies were accepted, the apology embraced, and the lesson learned. Through this experience, Sophia learned not just the art of baking but the grace of making amends. It was a reminder for both of us that apologies, when crafted with sincerity and presented with genuine remorse, have the power to heal and mend. In our home, we believe in the power of a heartfelt apology, and sometimes, that apology comes in the form of a sugar cookie.
To write on royal icing, prepare it with confectioners' sugar, meringue powder, and water. Once dry, use a fine brush dipped in food coloring and clear vanilla extract or vodka to pen your message on the cookies.
Choosing Your Recipe
A genuine apology begins with the right foundation, mirroring the essentials of crafting the perfect cookie—simple, sincere, and made with care.
EQUIPMENT
- 3 Baking sheet A baking sheet provides a flat, heat-resistant surface for baking cookies in the oven. They are essential for evenly baking the cookies and preventing them from sticking to the pan.
- 3 Silicone Baking Mat Silicone baking mats are placed on baking sheets to provide a non-stick surface. They ensure that cookies can be easily removed after baking without breaking, and they help with even heat distribution during baking.
- 3-Tier Cooling Rack for Cookies A 3-tier cooling rack is designed to save space on your countertop while allowing freshly baked cookies to cool down quickly and evenly. The vertical stacking ensures air circulation around the cookies, preventing sogginess and helping them maintain their texture.
- Adjustable rolling pin An adjustable rolling pin ensures that your cookie dough is rolled out to a uniform thickness, which is crucial for even baking. The adjustable rings also help in achieving the exact thickness needed for the recipe, ensuring consistency in all your cookies.
- Cookie Cutter Plaques Cookie cutter plaques are used to cut the dough into various decorative shapes. These tools allow for creativity in designing your cookies, making them not just tasty but also visually appealing.
- Needle Modelling Tool A needle modelling tool is handy for adding fine details to your cookies or fixing minor imperfections in the icing. It can be used to create textures, patterns, or clean up edges for a professional finish.
- Royal icing piping bags Piping bags filled with royal icing are used for decorating cookies. They allow for precise control when outlining, filling, or adding intricate details to the cookies with icing.
- Food coloring Food coloring is used to tint the royal icing, allowing for a wide range of creative decorations. It can transform the icing into any color needed to bring your cookie designs to life.
- Paint brushes and pallets Paint brushes and pallets are used for the detailed application of food coloring or edible paint on the cookies. This tool is essential for adding fine, artistic touches or writing messages on cookies with precision and creativity.
INGREDIENTS
Sugar cookies
- 1 cup unsalted butter softened. Swap for coconut oil to introduce a rich texture and a hint of coconut flavor. Alternatively, unsweetened applesauce can be used to keep the cookies moist with less fat.
- ⅔ cup sugar Replace with coconut sugar for a lower glycemic index option, or use maple syrup or honey for their natural sweetness and nutrient content.
- 1 egg A flax egg (1 tablespoon ground flaxseed mixed with 3 tablespoons water, left to thicken) serves as a great vegan alternative, enriching your cookies with fiber and omega-3 fatty acids.
- 1 tsp vanilla Extract
- ½ tsp salt Opt for Himalayan pink salt or sea salt for a boost in mineral content without altering the taste.
- 2 ½ cups flour sifted. Whole wheat flour can be used in place of all-purpose flour for added fiber. For a gluten-free option, try almond or oat flour, adjusting the quantity as needed.
Royal icing
- 1 lb confectioners sugar
- 3 tbsp meringue powder For a vegan option, whipped aquafaba (the liquid from a can of chickpeas) can mimic the consistency of meringue powder when combined with cream of tartar.
- 6 tbsp warm water.
- 1 tsp vanilla extract
Painting cookies
- food coloring Use natural food colorings derived from fruits, vegetables, and spices to avoid synthetic dyes.
- Clear vanilla extract or vidka. Lemon juice can be a completely natural alternative for mixing with natural food colorings.
Sugar Cookies Instructions:
- Preheat oven to 350° F.
- In a medium bowl, combine flour and salt.
- In a large bowl, using a hand mixer, beat butter and sugar until smooth.
- Add vanilla extract and egg.
- Gradually add dry ingredients. When the dough becomes stiff, finish kneading with your wet hands.
- Chill the dough for 3 hours before rolling.
- On a lightly floured counter, roll out the dough to ¼" thick and cut with cookie cutters. Transfer cookies to a baking sheet lined with a silicone mat.
- Chill the cutouts in the fridge for 5-10 minutes before baking to maintain their shape.
- Bake for 8-10 minutes.
- Allow cookies to cool slightly on the baking sheet, then transfer to a wire rack to cool completely.
Royal Icing Instructions:
- Combine confectioners' sugar and meringue powder in a large bowl.
- Gradually add water, one spoon at a time, then add vanilla extract. Mix on low speed until shiny.
- Increase speed to medium and beat for 5-7 minutes. Add food coloring if desired.
- Transfer a third of the icing into a piping bag for edging the cookies.
- Add 1 teaspoon of water to the remaining icing for a thinner consistency for flooding.
- Transfer the thinned icing into another piping bag for flooding the cookies.
- Edge and then flood the cookies with the respective icings.
- Let the icing air dry for 24-48 hours on a wire rack.
Painting Cookies Instructions:
- Ensure the icing is completely dry before painting.
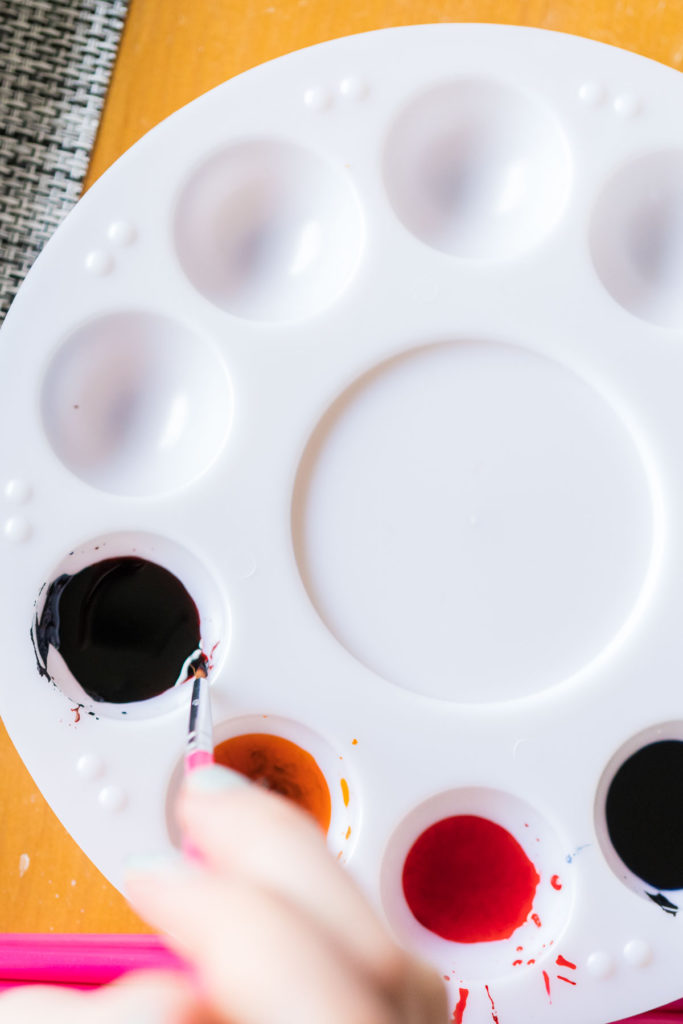
- Mix a tiny amount of food coloring with 1 teaspoon of clear vanilla extract or vodka in a paint palette.
- Use a paintbrush to apply your message or design onto the dried icing.
Crafting Your Message
At the heart of these cookies is the message they carry. Whether it's a heartfelt "I'm sorry, Suzanne" or a unique, personal apology, the royal icing transforms into your canvas. If you're new to the art of icing, don't worry—I've got you covered. My post on Gingerbread Cookies with Royal Icing is the perfect starting point to mastering the perfect icing consistency for your message.
Adding a Personal Touch: The Signature of Your Apology
Apologies, like the people who offer them, come in all shapes and forms, each carrying its own depth, its own story. In the same vein, every 'I'm Sorry Sugar Cookie' you bake holds the potential to be as unique and personal as the apology itself. It's in the subtleties—the choice of food coloring, the precision of your icing technique, or the addition of bespoke decorations—that your cookie transforms from a simple treat to a deeply personal message of contrition.
Dive into the realm of customization with my guide on Decorating Cookies with Chocolate Icing. Here, I explore the endless possibilities of decoration, from elegant chocolate detailing to vibrant icing designs. These techniques not only add a visual delight but also infuse your cookies with a personal touch, making each one as individual as the apology it represents.
Presentation Ideas: The Art of Apology in Packaging
The impact of your apology doesn’t stop at the cookie itself; how you present your 'I'm Sorry Sugar Cookies' can significantly amplify the sincerity of your gesture. Think of the packaging as the frame to your heartfelt artwork, the final touch that ties everything together. In my explorations on How to Individually Package Cookies for Gifts and Package Homemade Cookies and Fudge, I delve into creative and thoughtful ways to present your baked apologies, ensuring they capture both the eye and the heart.
These posts are treasure troves of inspiration, offering ideas from elegant boxes with clear windows that showcase your creations, to personalized wrappers that convey warmth and care. The right packaging does more than protect your cookies; it serves as an extension of your apology, enhancing the message and elevating the entire gesture.
Whether you’re opting for simplicity with a clear, windowed box that lets your cookies take center stage, or going the extra mile with ribbons and custom tags, the goal is to make your recipient feel truly special. The effort put into not just baking, but also thoughtfully packaging your cookies, speaks volumes, turning a simple apology into a memorable and touching experience.
In the end, every aspect of your 'I'm Sorry Sugar Cookies'—from the bake to the decoration, to the way they're presented—contributes to the narrative of your apology. It's about creating something that doesn't just say "I'm sorry" but rather, embodies the sentiment in every detail, making for a truly personal and heartfelt expression of regret.
Smart Storage Solutions: Maximizing Freshness and Flavor
Storing your 'I'm Sorry Sugar Cookies' correctly is just as crucial as the baking and decorating process. Proper storage not only ensures they stay fresh and delicious but also maintains their aesthetic appeal—the vibrant colors, the crisp edges, and the soft centers. Here’s how to keep your apologies sweet over time, whether they’re waiting on the countertop, chilling in the fridge, or frozen for future contrition.
Countertop Storage:
For those cookies destined to be enjoyed in the immediate aftermath of your apology, a tightly sealed container on the countertop works wonders. Kept away from direct sunlight and moisture, your sugar cookies will stay fresh for up to a week, retaining their texture and taste.
Fridge Storage:
If you've used perishable ingredients in your icing or if you're battling warmer climates, consider refrigerating your cookies. In an airtight container, they'll last for up to two weeks. Just ensure they're brought to room temperature before serving, to best enjoy their flavors.
Freezer Storage:
For those of us who like to plan our apologies in advance or love to have a sweet gesture ready at a moment's notice, freezing is the ultimate solution. Both baked cookies and cookie dough freeze beautifully. Baked cookies can be stored in a freezer-safe container or bag for up to 3 months. Whenever you wish to serve them, simply thaw at room temperature and they’re ready to delight. Cookie dough, on the other hand, can be rolled into balls or cut with your favorite shapes and frozen on a baking sheet before transferring to a bag. When the need arises, bake straight from the freezer, adding a couple of extra minutes to your baking time.
I personally swear by freezing my cookies and dough. It's a game-changer for those unexpected moments when you need a quick, heartfelt gesture or when you simply want to shorten the prep time for your next baking session. Plus, having cookie dough ready in the freezer means you’re always prepared, whether it’s for a sudden craving, a quick gift, or an impromptu apology.
Remember, the key to freezing both dough and cookies is to ensure they're well protected from air and moisture. Wrap tightly with cling film and then place in airtight containers or freezer bags. Labeling with the date and type of cookie can also help you keep track of your frozen treasures.
Homemade Food Gift Ideas
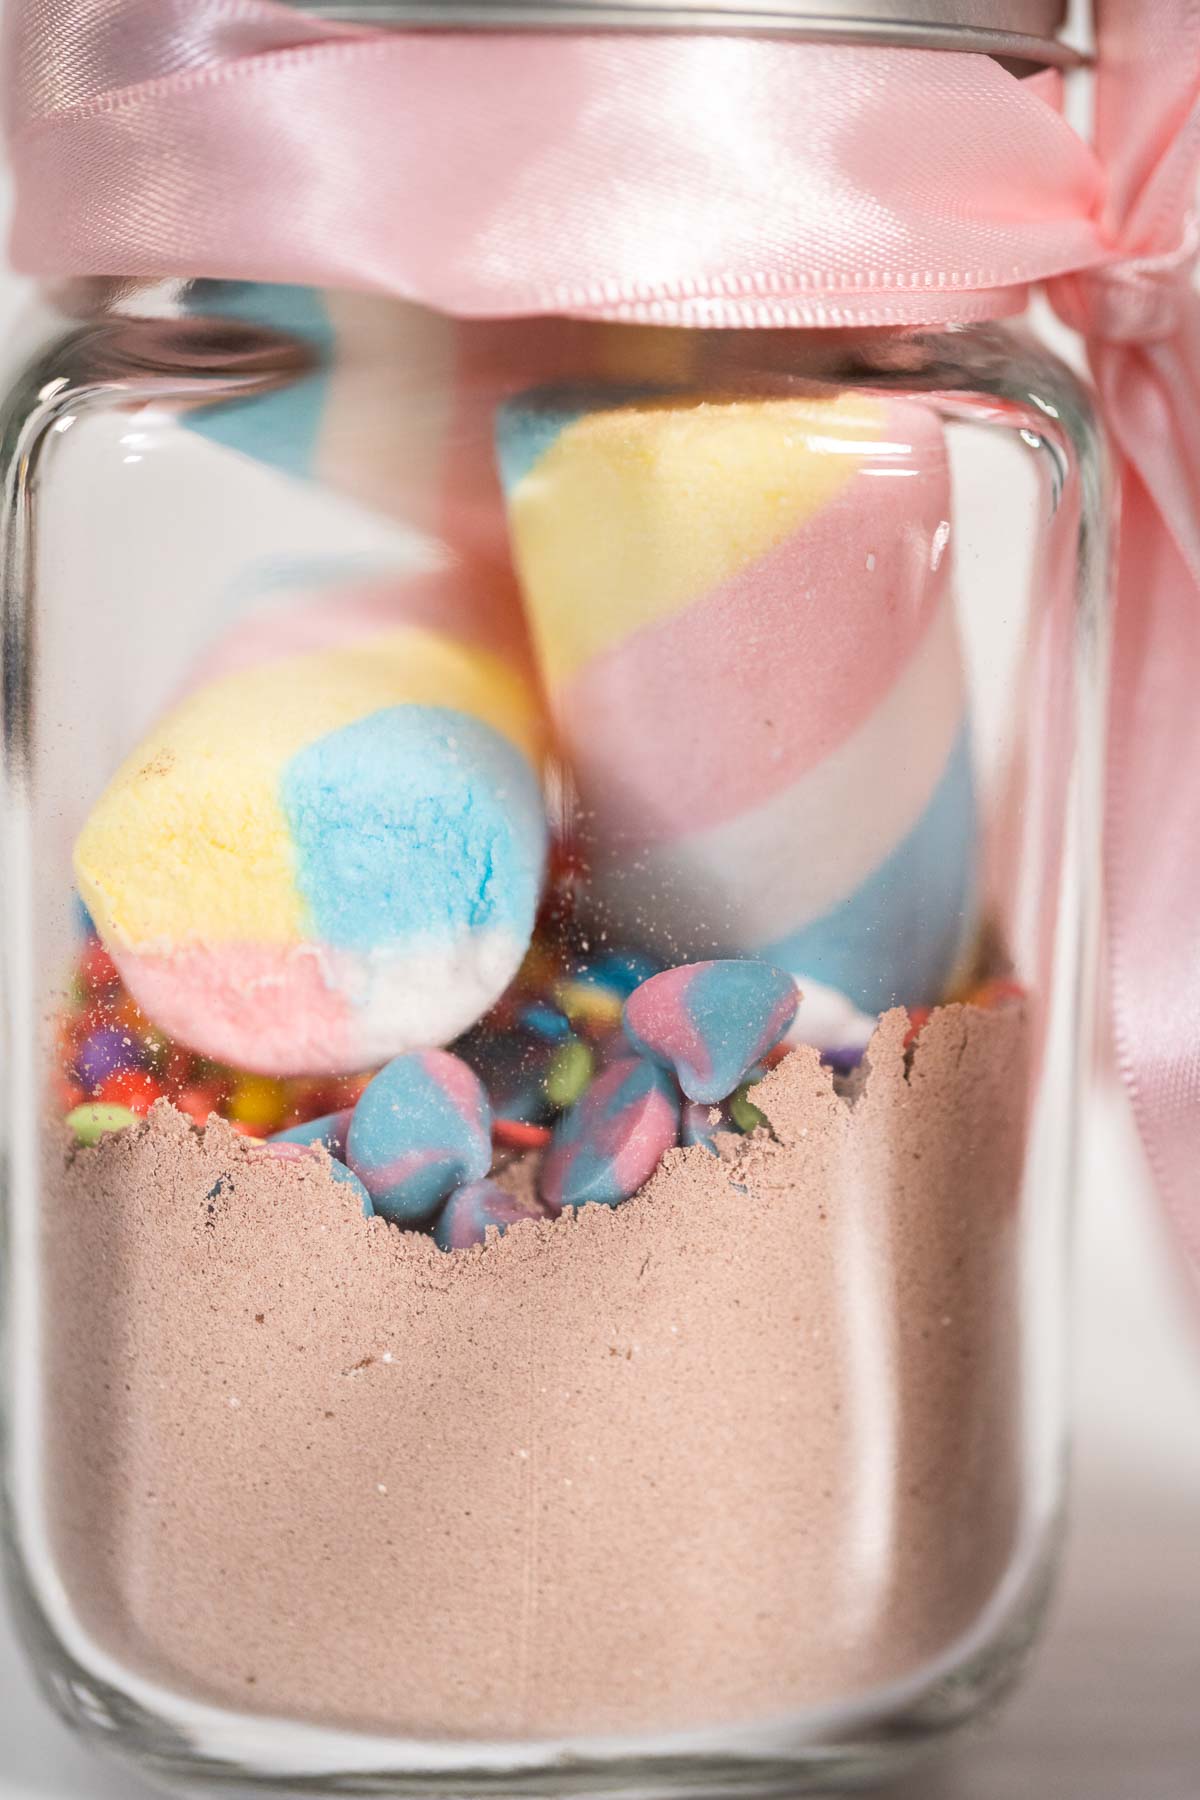
- Unicorn Hot Chocolate Mix
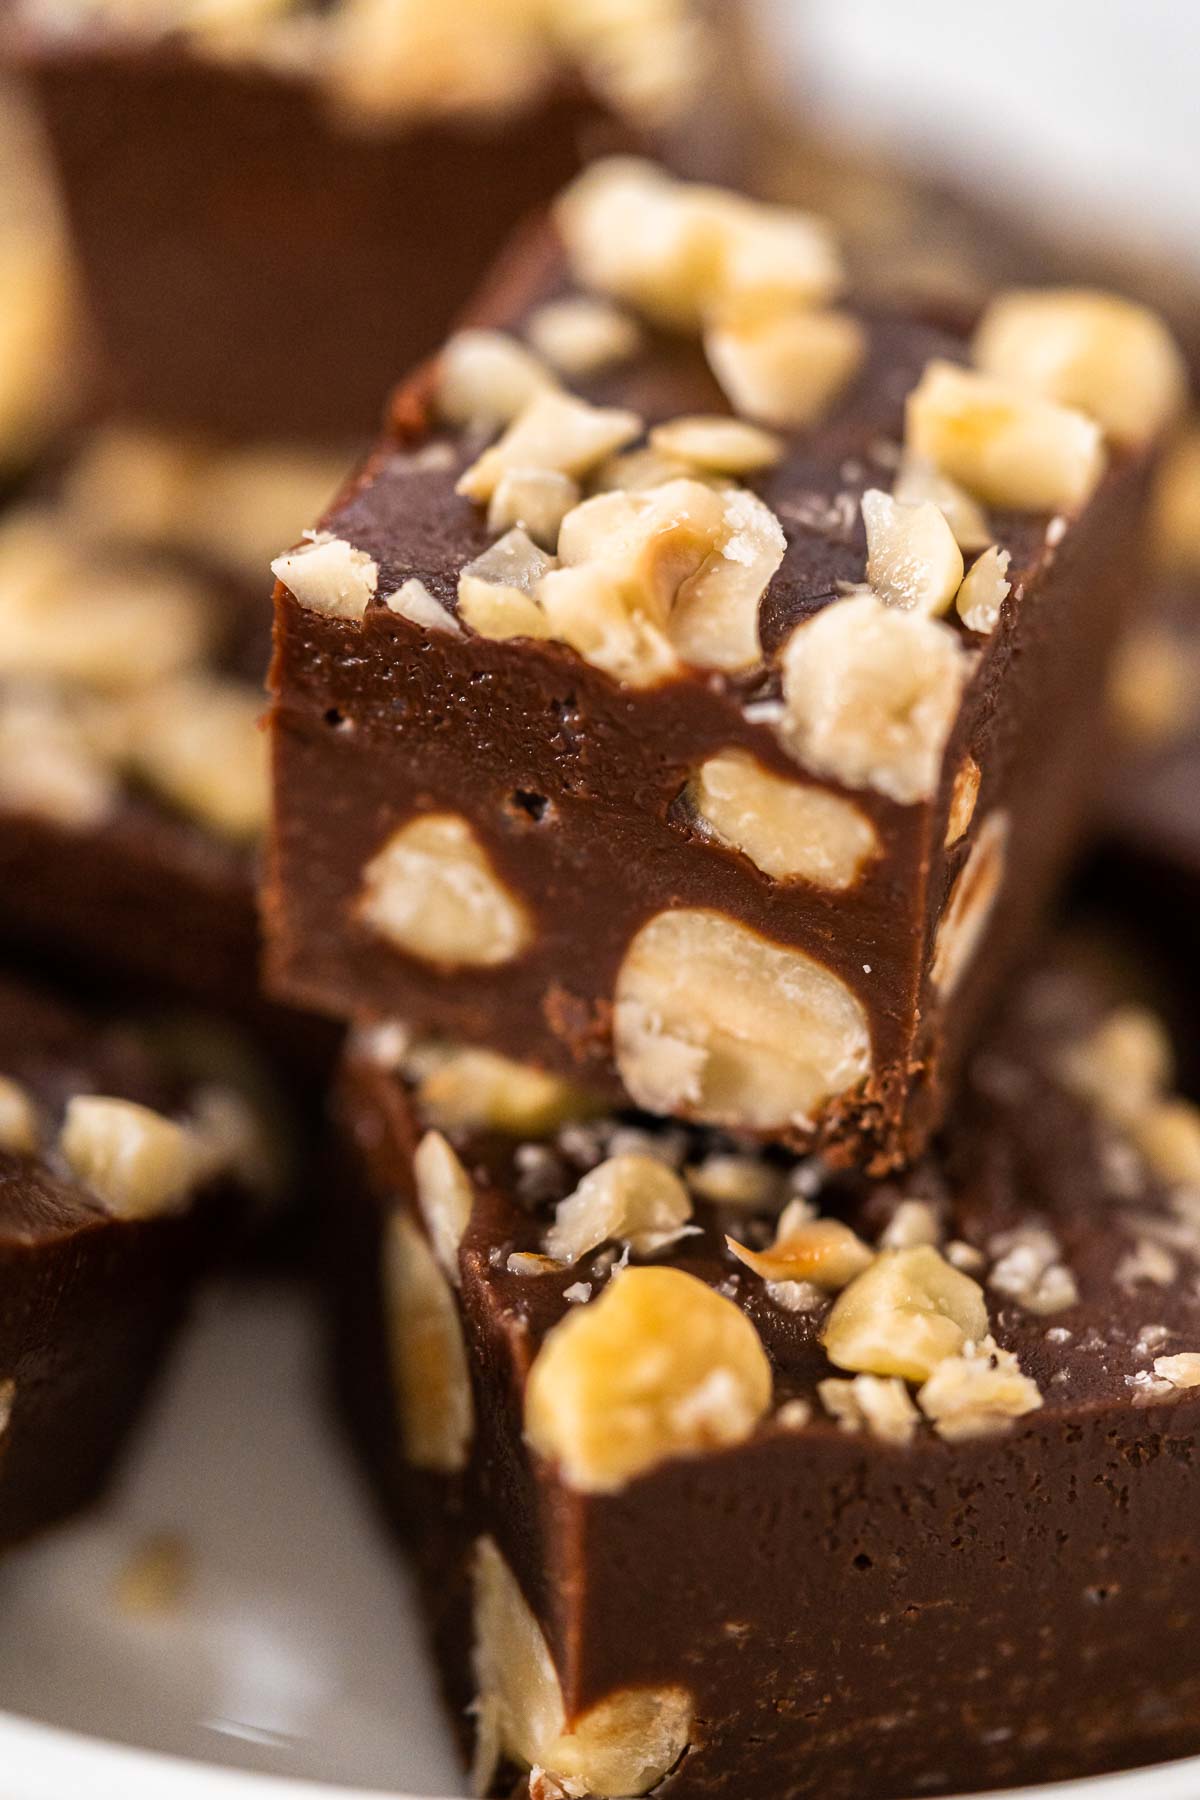
- Chocolate Hazelnut Fudge – Rich, Creamy, and Nutty
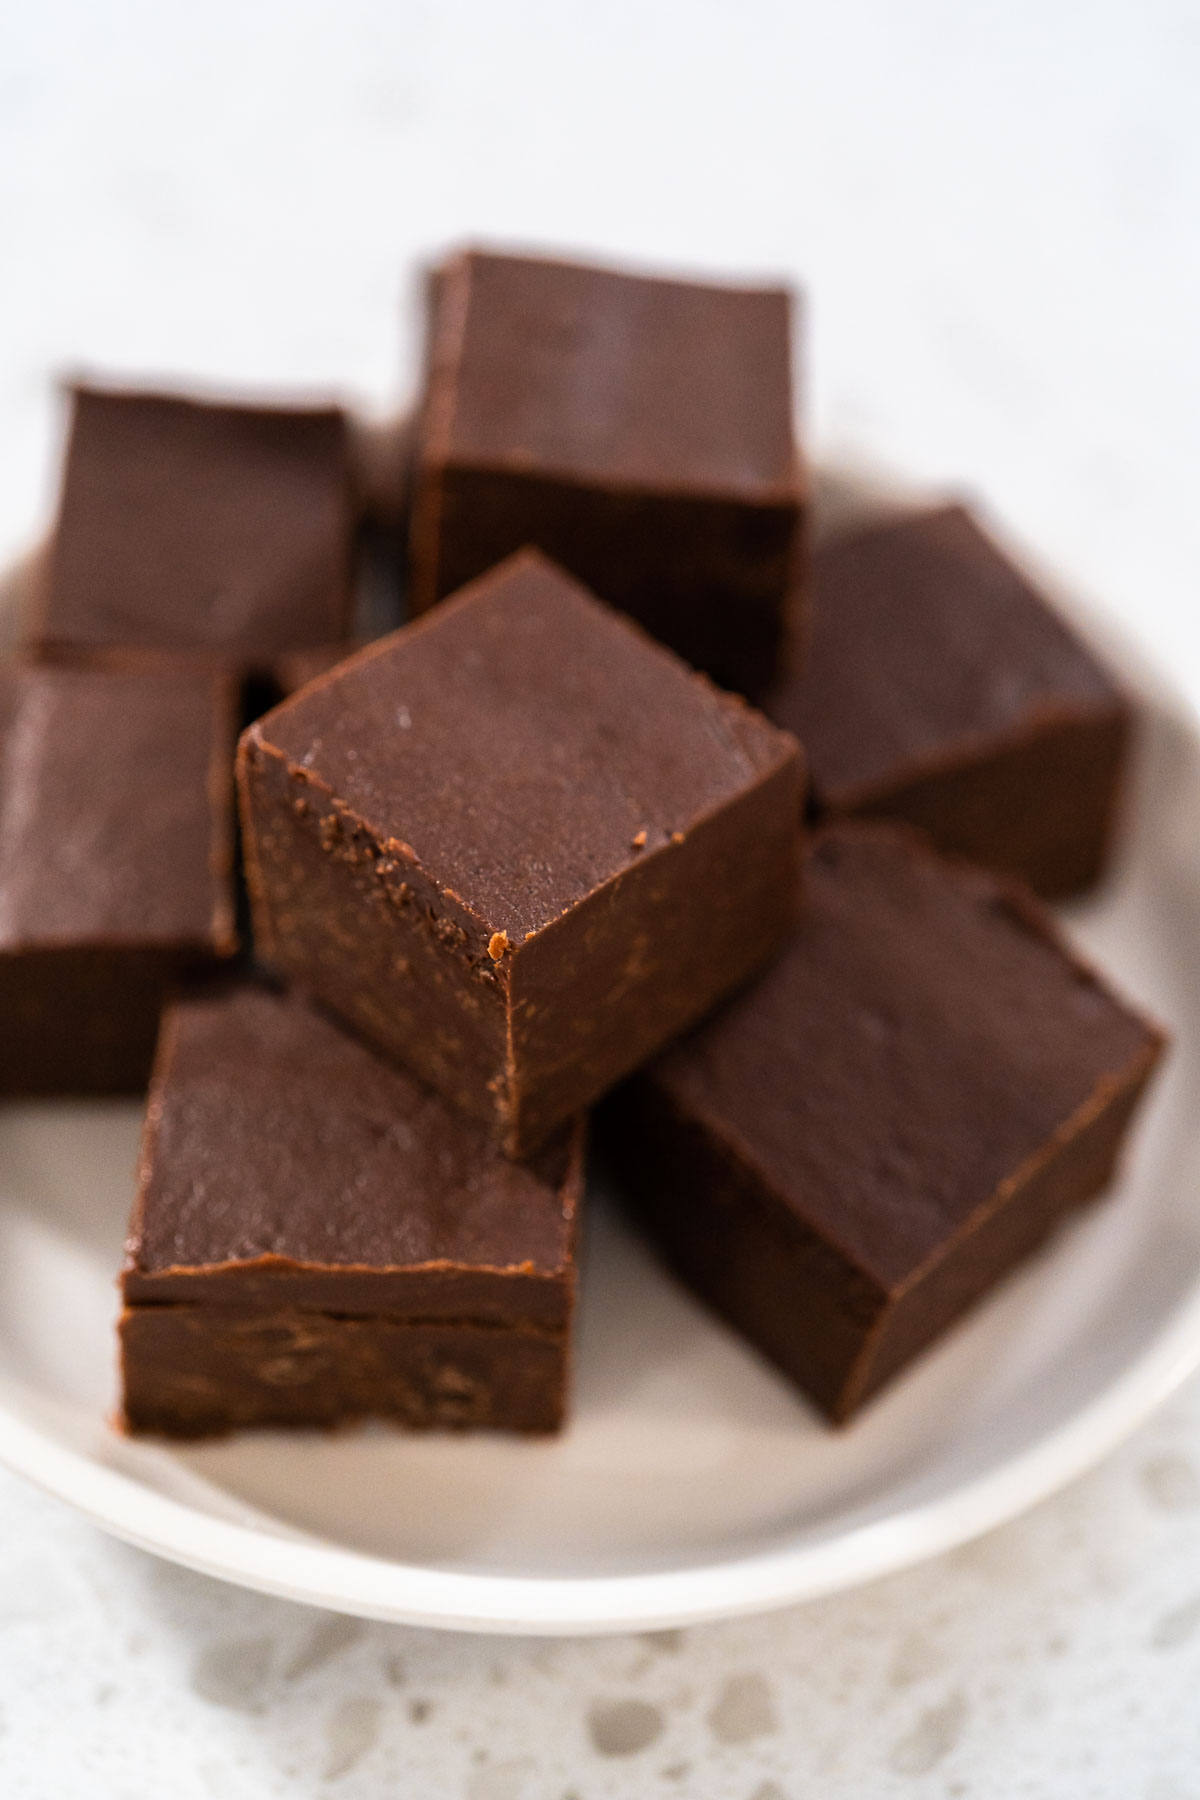
- Classic Chocolate Fudge – Rich, Creamy, and Easy to Make
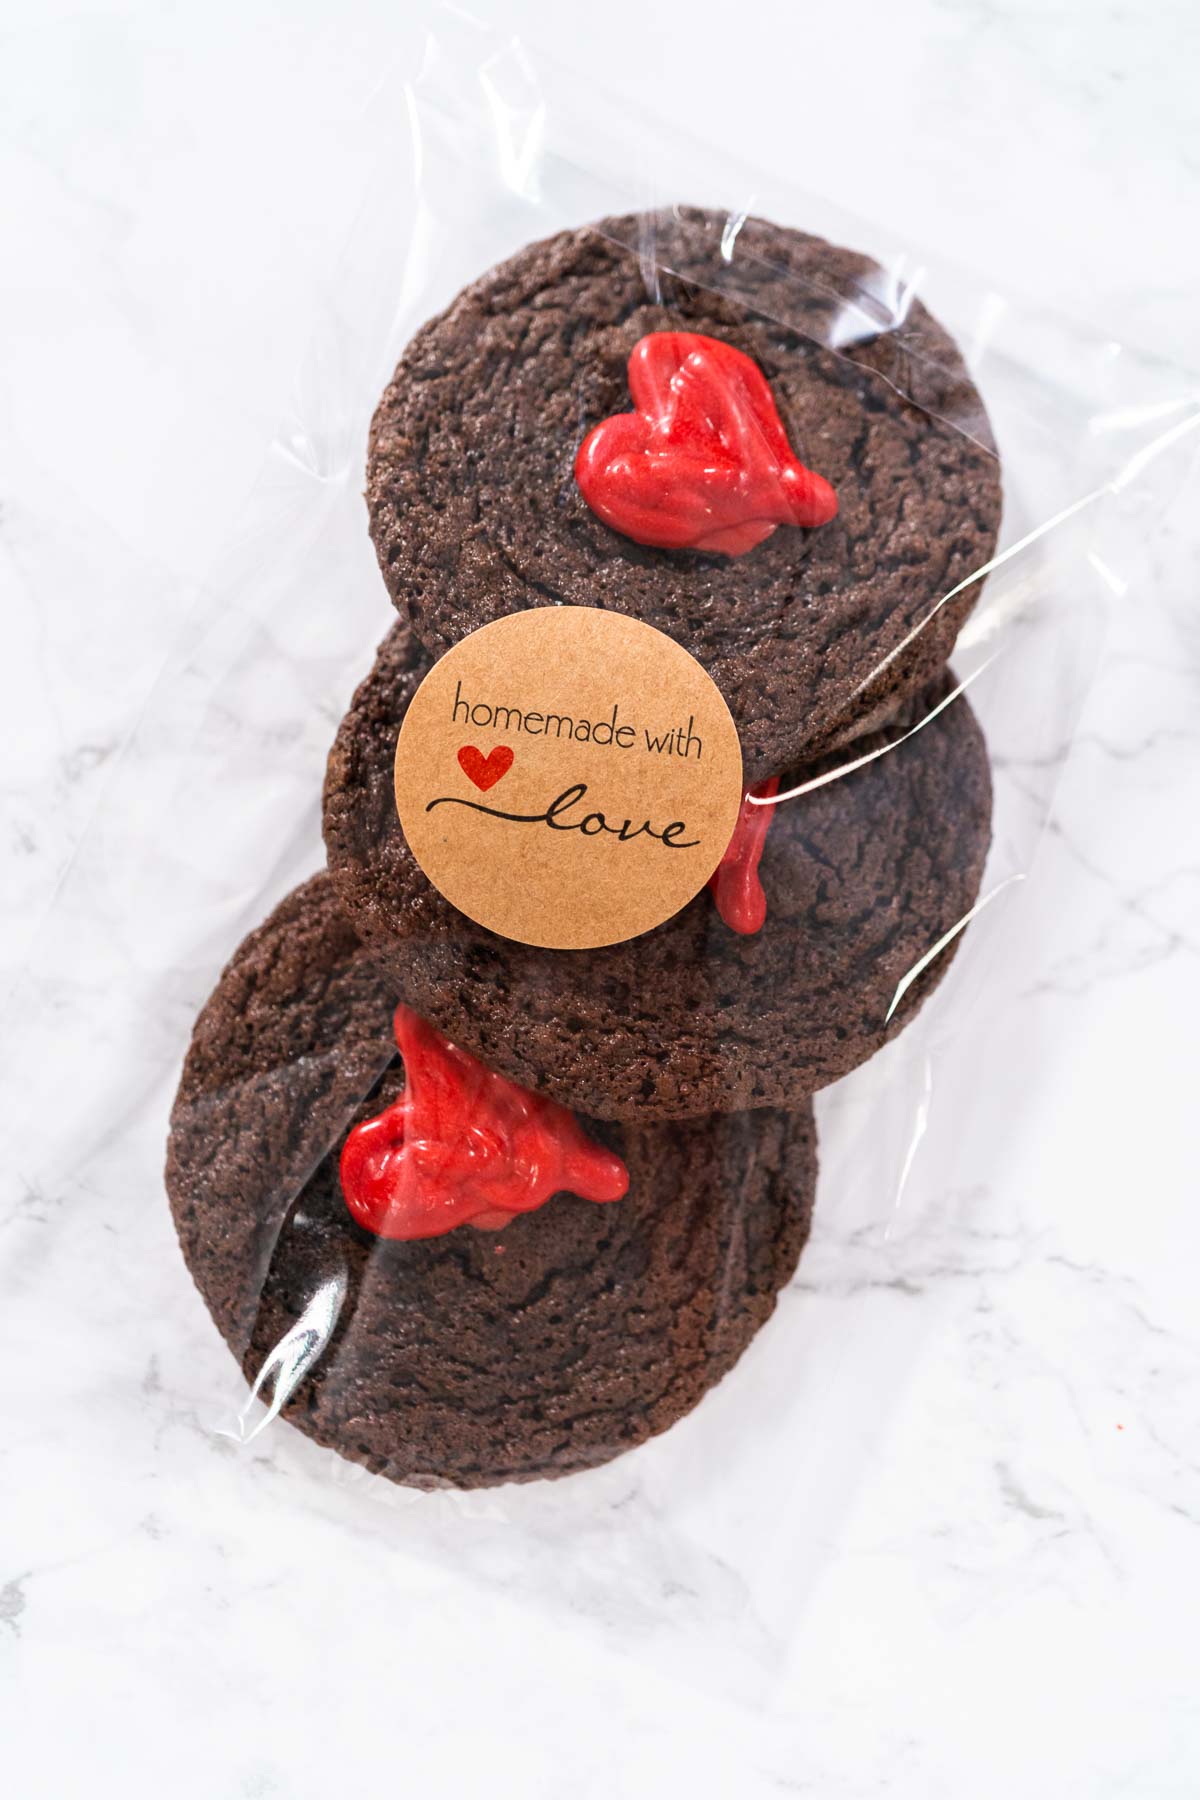
- How to Individually Package Cookies for Gifts (Fresh, Cute & Easy Ideas)
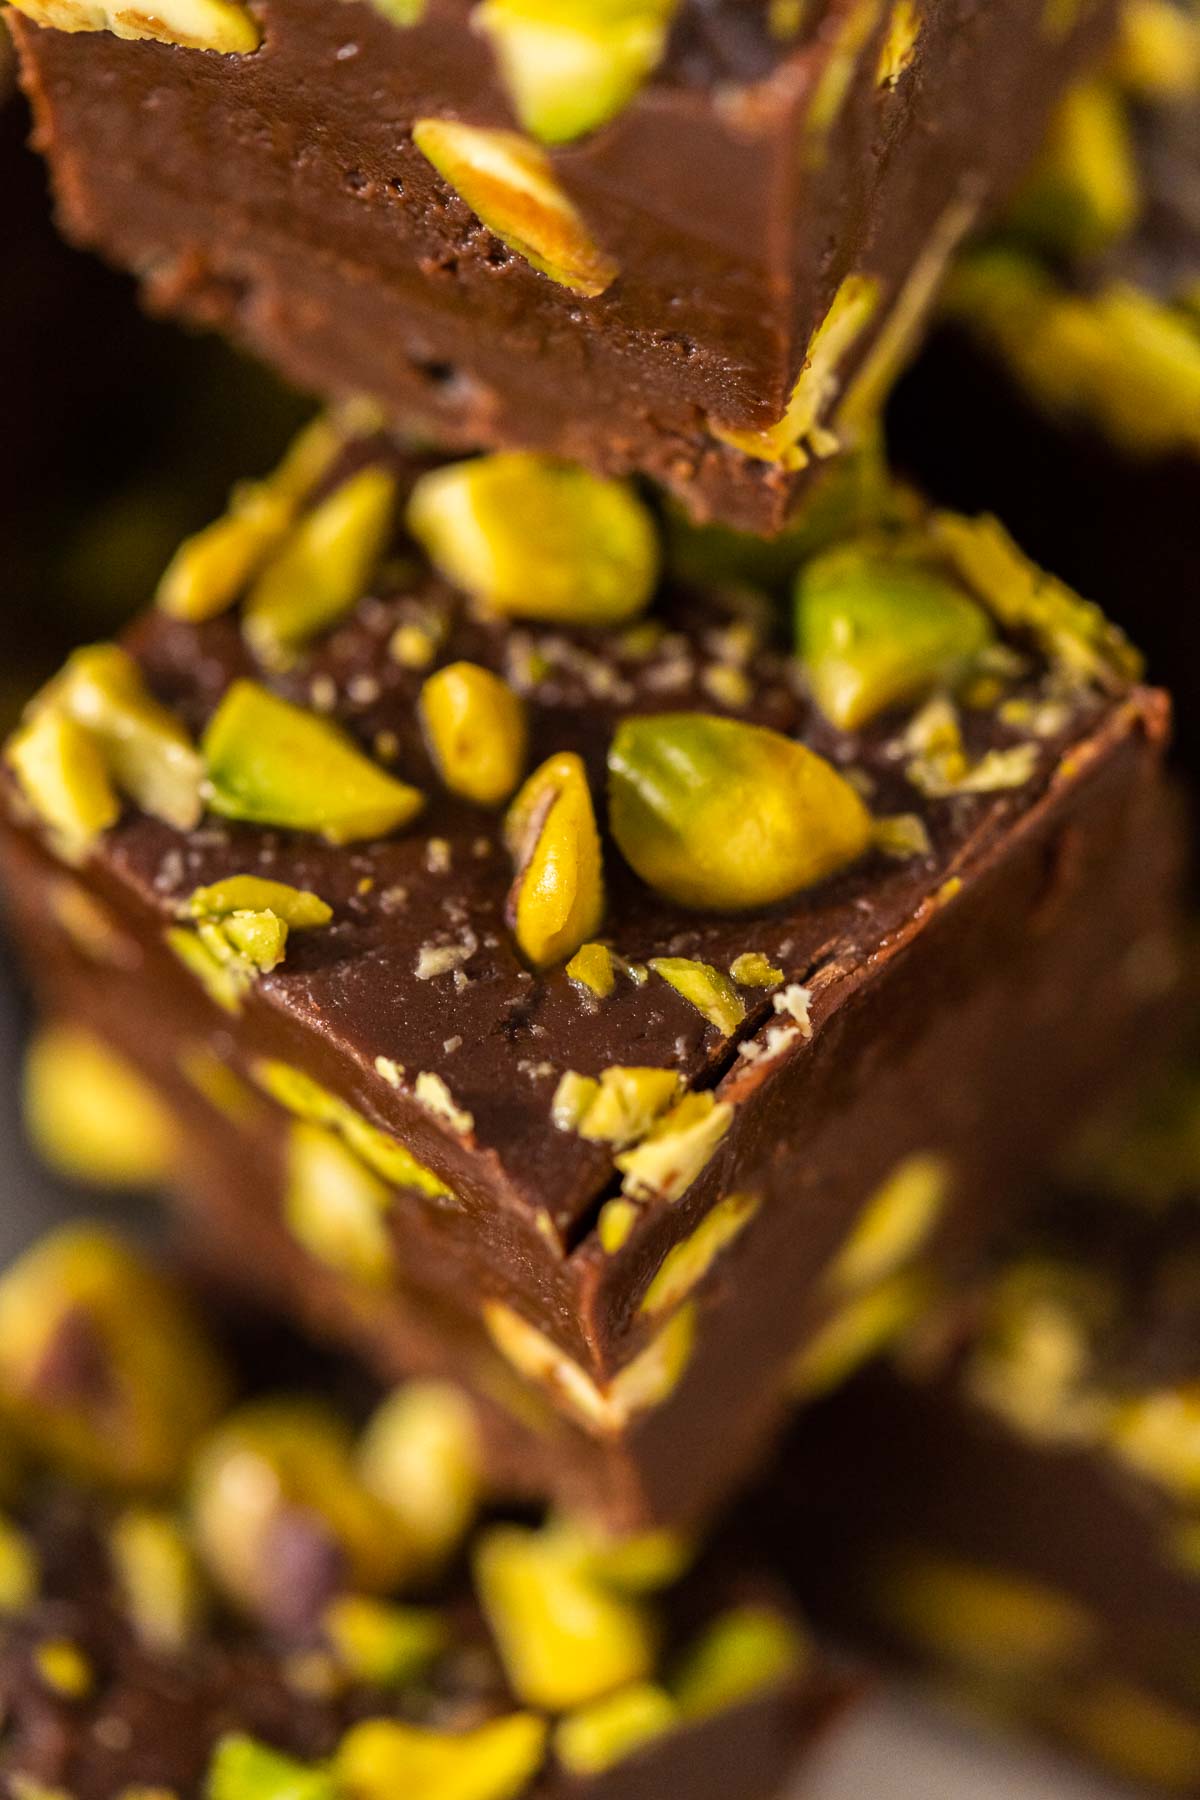
- How to Make Chocolate Pistachio Fudge (Easy No Bake Recipe)
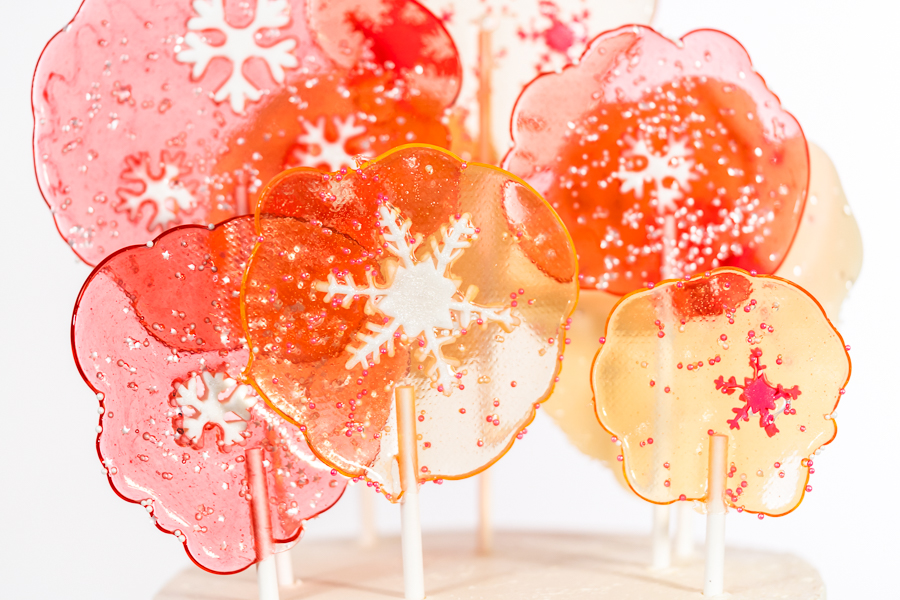
- How to Make Clear Sugar Lollipops at Home
Conclusion: The Sweetness of Forgiveness
In our journey through life, to err is human, but so too is the capacity to forgive. These 'I'm Sorry Sugar Cookies' are more than just a recipe; they are a testament to the power of heartfelt gestures. I've shared this guide with the hope that it offers you a means to express apologies in moments where words may fall short. It's a simple act, crafting these cookies, yet within this simplicity lies the profound truth that sometimes, the smallest actions carry the greatest weight.
In every sprinkle of flour, every swirl of icing, there's an opportunity to weave apology, love, and forgiveness into something tangible. A cookie, after all, can be savored, held in the hands, and remembered long after it's been enjoyed. It's my sincerest wish that through baking, decorating, and gifting these cookies, you find a unique and meaningful way to bridge gaps, mend hearts, and convey apologies in a manner that resonates deeply.
Remember, while mistakes are inevitable, they also give us the chance to grow, to show kindness, and to extend forgiveness. Let these 'I'm Sorry Sugar Cookies' be your olive branch, a gesture that speaks volumes in its simplicity and sincerity. Because in the end, it's often the little things—the quiet apologies, the small acts of kindness—that truly count the most.
For further inspiration and techniques, explore these additional resources:
- Gingerbread Cookies with Royal Icing: A primer on perfecting your icing skills.
- Decorating Cookies with Chocolate Icing: Techniques for adding unique touches to your cookies.
- How to Individually Package Cookies for Gifts: Ideas for presenting your cookies beautifully.
- Package Homemade Cookies and Fudge: Creative packaging tips for your sweet apologies.
These links provide a wealth of knowledge and ideas to help you on your baking journey, whether you're seeking forgiveness or simply sharing love through the art of cookie making.
I'm Sorry Sugar Cookies
Video
Equipment
Ingredients
Sugar cookies
- 1 cup unsalted butter softened
- ⅔ cup sugar
- 1 egg
- 1 teaspoon vanilla Extract
- ½ teaspoon salt
- 2 ½ cups flour sifted
Royal icing
- 1 lb confectioners sugar
- 3 tablespoon meringue powder
- 6 tablespoon warm water
- 1 teaspoon vanilla extract
Painting cookies
- food coloring
- Clear vanilla extract or vidka
Instructions
Sugar cookies
- Preheat oven to 350° F
- In medium bowl combine flour and salt.
- In a large bowl beat in the bowl with hand mixer butter and sugar until smooth
- Add vanilla extract and egg
- Add dry ingredients a little at a time. When dough will get stiff finish kneading with your wet hands.
- Chill dough 3 hours before rolling.
- Roll out on a lightly floured counter to ¼" thick and cut with cookie cutters. Transfer cookies to cookie sheet with silicone liner.
- Before baking, place the baking sheet of cookie cutouts in the fridge and let chill for 5-10 minutes. This is so the cookies will keep their form and not spread out while baking.
- Bake about 8-10 minutes.
- Let cookies cool slightly on cookie sheet, then transfer to a wire rack to cool completely.
Royal icing
- In a large bowl combine confectioners' sugar and meringue powder.
- Gradually add water, one spoon at a time, then add vanilla extract. Start mixing on low speed until the mixture becomes shiny.
- Increase the speed to medium and beat for 5-7 minutes. Add food coloring if desired.
- Transfer one-third of the icing into a piping bag and tie a knot at the end. This will be used for edging the cookies.
- Add 1 teaspoon of water to the remaining icing and mix until everything is well combined.
- Transfer the rest of the icing into another piping bag and tie a knot. This bag will be used for flooding the cookies.
- Cut a tiny tip off the edging bag and trace the edges of the cookies.
- Cut a slightly larger tip from the flooding bag and fill the inside of the cookies with icing.
- Gently tap the cookie on the table to even out the icing.
- Allow the icing to air dry for 24-48 hours on a wire rack.
Painting cookies
- The icing on the cookies needs to be completely dry before painting.
- In a clean or new paint palette, add 1 teaspoon of clear vanilla and a tiny amount (use the tip of a toothpick) of food coloring. Mix together with the toothpick. Repeat this process for each color you wish to use.
- Using a clean or new paintbrush, start writing your message on the dried icing.
Food Photography & Video Tips from My Studio
Here’s a peek at the tools, gear, and camera setups I use to film my recipe videos and photograph food at home. Over the years, I’ve tested dozens of different setups, and now I’m sharing what actually works for me—whether I’m filming overhead shots for YouTube or styling still photos for my blog. If you’re curious about how I create the content you see here, these posts are a great place to start.























Leave a Reply