How to use luster dust on homemade chocolates to add sparkle!
This post contains affiliate links.
Whether I’m trying to make a customized birthday cake or a stunning batch of holiday cupcakes, I always want to make sure my homemade treat stands out with an undeniable “Wow!” factor. Taste is important no doubt, but for crafty bakers like myself, a swoon-worthy display is also a must-have factor!
Luckily, adding custom and personalized charms to homemade sweets is as easy as learning how to make homemade chocolates using silicone molds. Here’s my simple guide on 3 Ways to Melt Candy Melts if you need the process. Once you get that fun and easy process down, the next thing to learn is How to Use Luster with Chocolates!
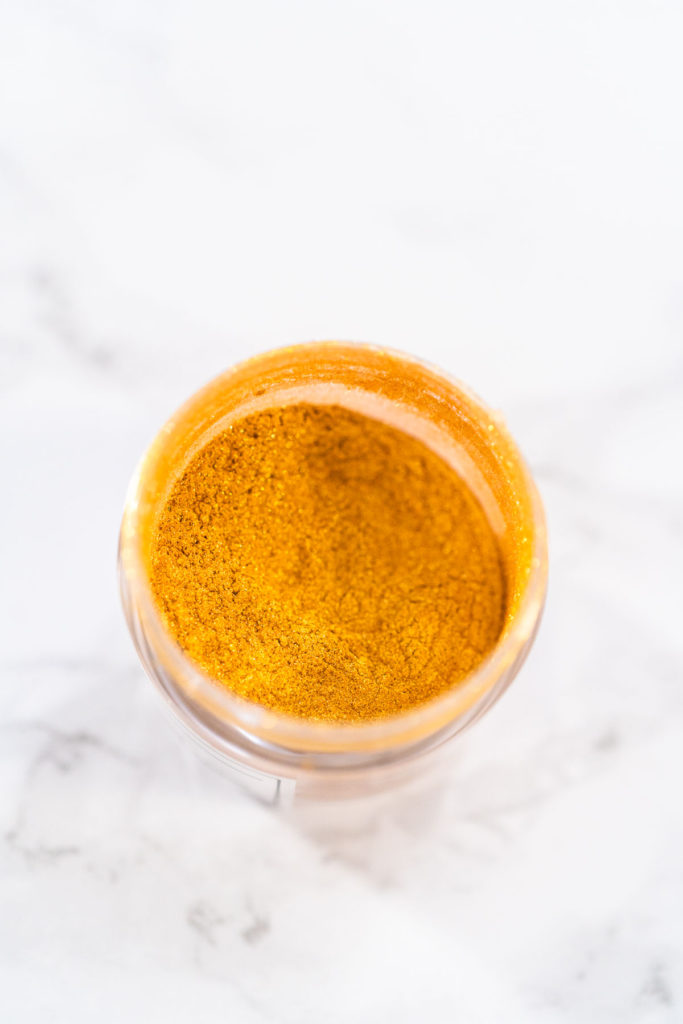
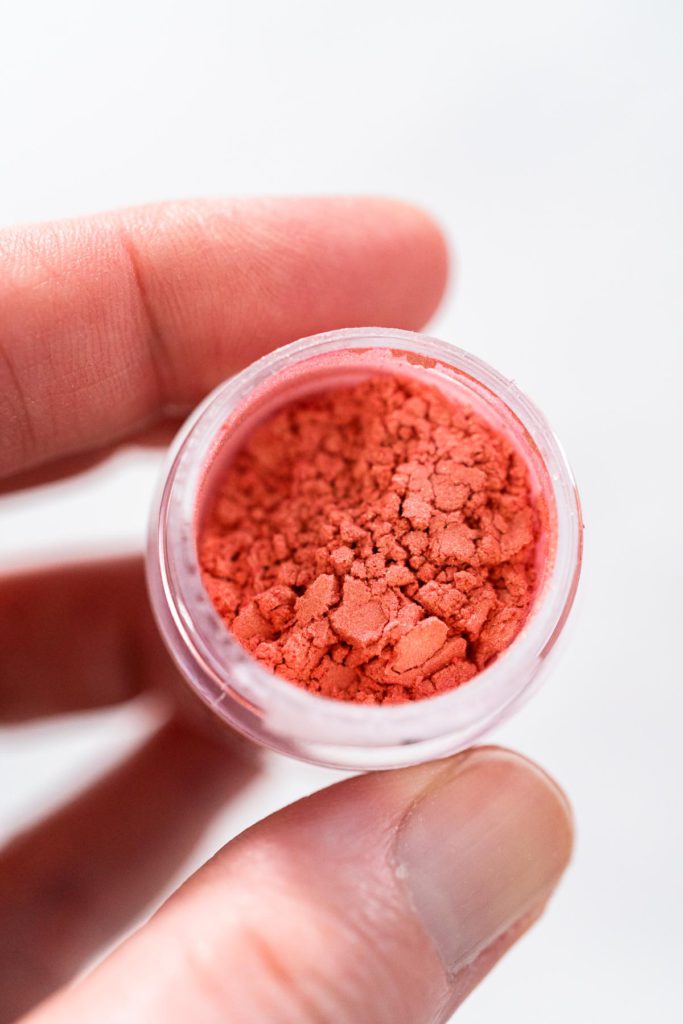
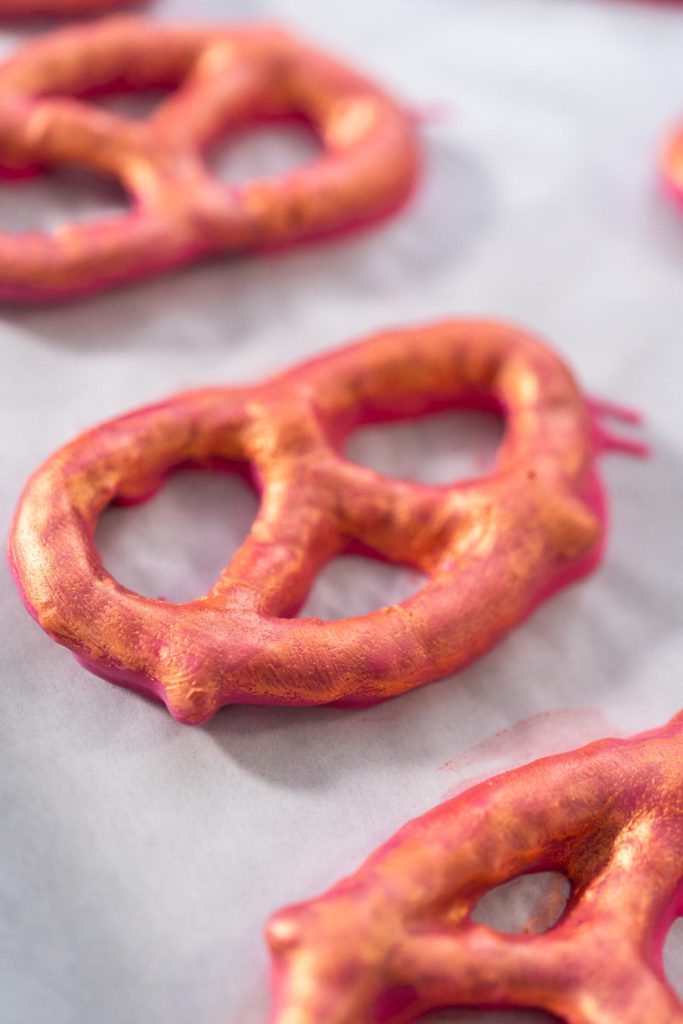
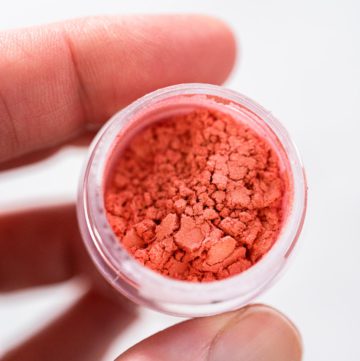
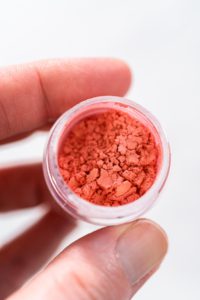
What’s luster, you may ask? It’s an edible, shimmering dust that can be added to chocolates to add even more razzle dazzle to homemade sweets and treats! It makes your homemade chocolates sparkle and shine!
There are actually 3 methods I’m going to break down for you today on using this edible luster dust on homemade chocolates. Ready to make your homemade sweets shine and shimmer? Then let’s get started! Here’s how to use luster with chocolates.
Chocolatier Equipment
First, let’s go over my short and simple equipment list. These 4 simple kitchen tools are all you need for any of the 3 luster methods I’m going to cover. Here are the tools I use to add luster to chocolates:
Lustrous Ingredients
Now let’s go over the simple ingredients needed for each of the methods. Not much is needed at all for any of these methods so look forward to an easy ingredient round-up on these. Here are the ingredients I use to add luster to chocolates:
Wet method:
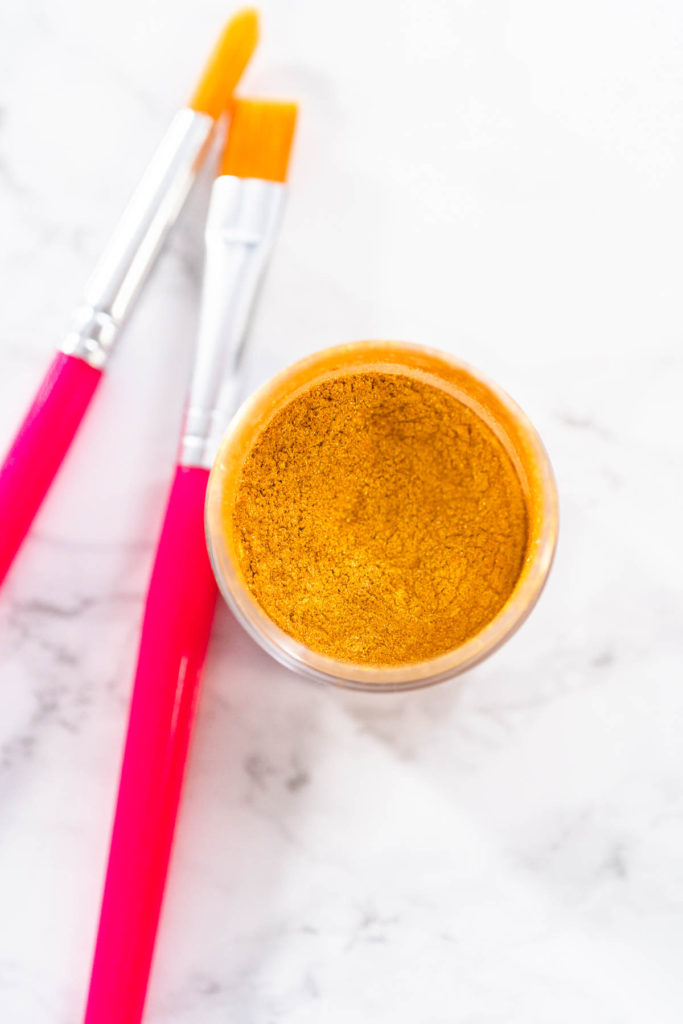
- 1 teaspoon Gold Luster Powder Dust or other color luster
- ¼ tsp Clear vanilla extract or vodka
Dry method:
- 1 tsp Gold Luster Powder Dust or other color luster
Dry method for chocolate molds:
- 1 teaspoon Gold Luster Powder Dust or other color luster
How To Use Luster With Homemade Chocolates
And now for the fun part! This process is the most simple (and in my opinion, the most fun) part of making customized treats so let’s get started. Here are my 3 methods on how to use luster with chocolates:
Method 1: Wet Luster:
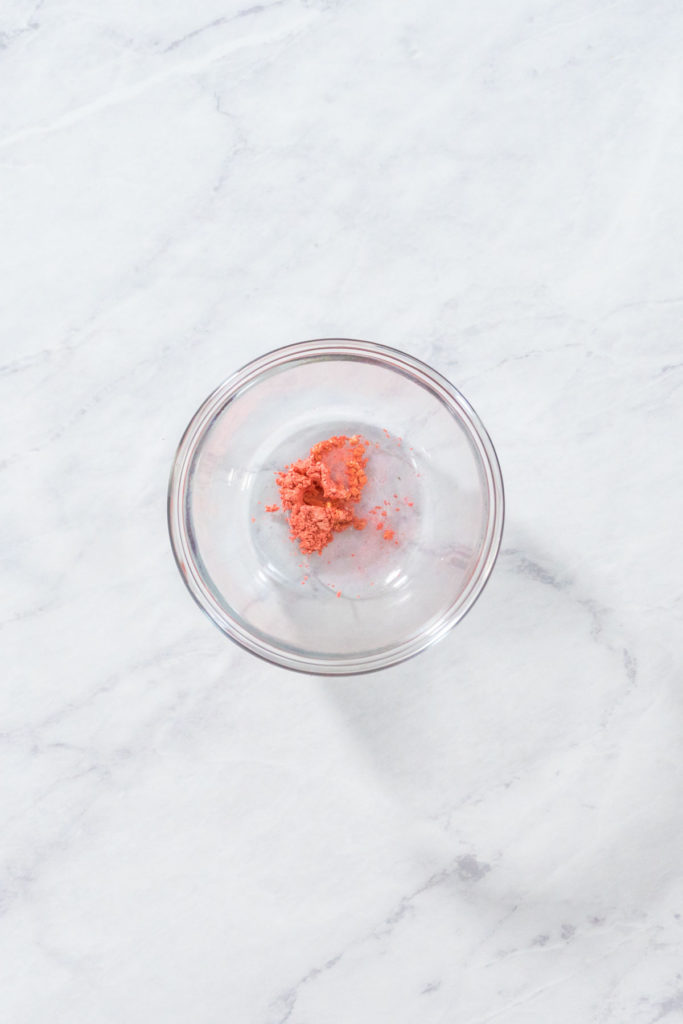
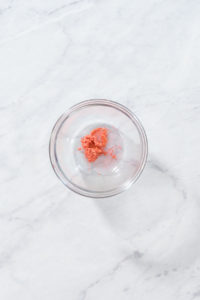
- First, measure out the gold luster dust and clear vanilla extract (or vodka) with the measuring spoon.
- Next, in a glass pinch bowl, combine the vanilla and luster.
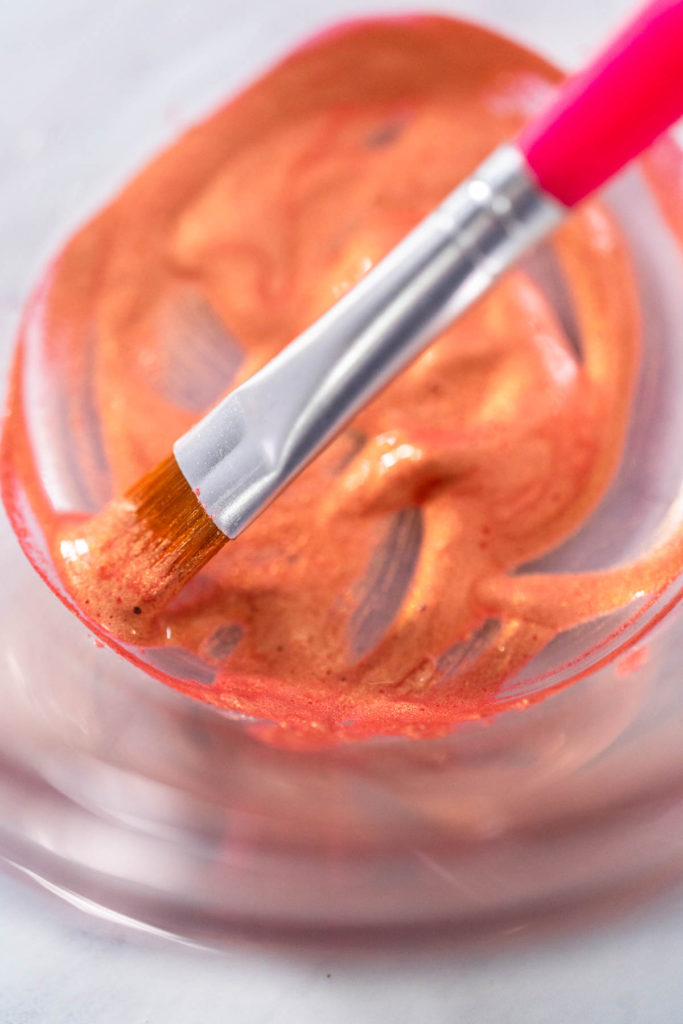
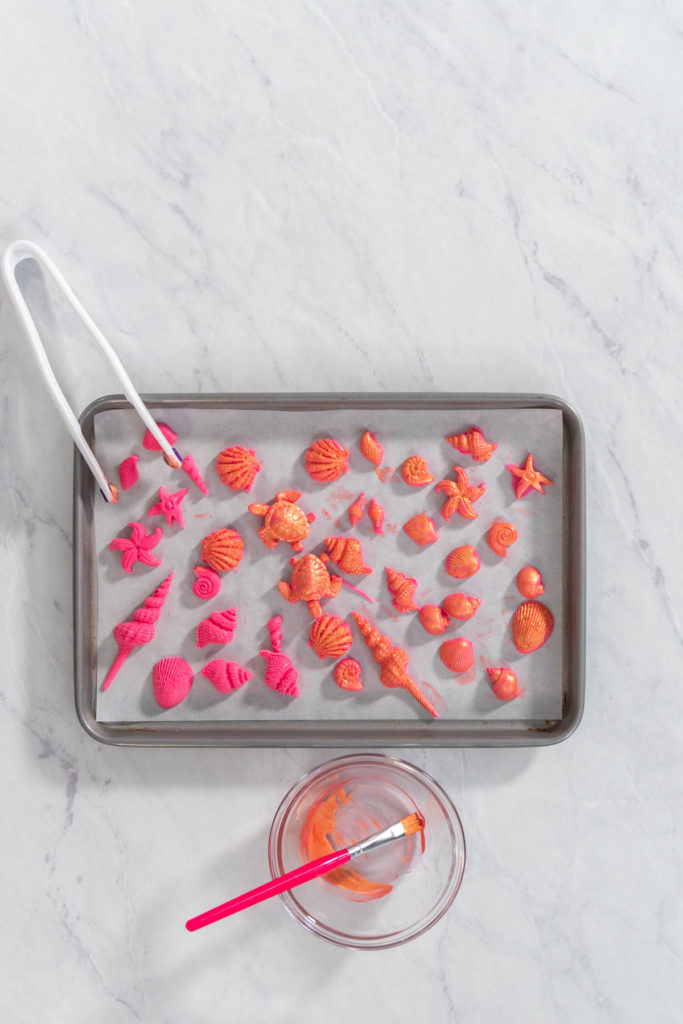
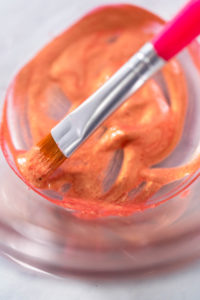
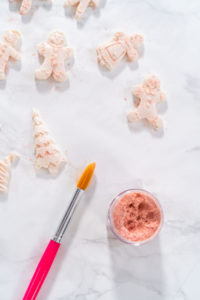
- Mix the luster “paint” together using a cake brush.
- If you use vodka instead of extract, it will evaporate faster. So you might need to keep adding more vodka as you paint.
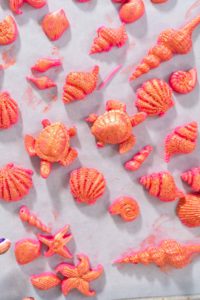
- Finally, brush and decorate chocolates!
Tip: You can also use this wet luster method on Easter eggs like in my easy recipe for Gold-Painted Easter Eggs!
Method 2: Dry Luster:
- First, measure out the luster dust. I recommend using disposable gloves since the dust will fly everywhere.
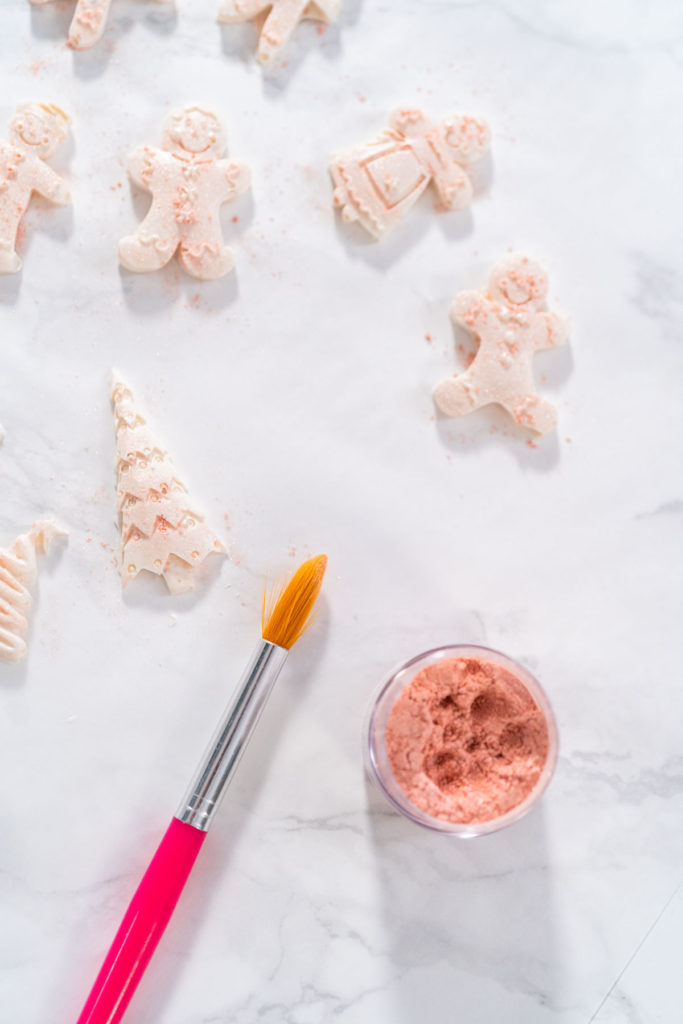
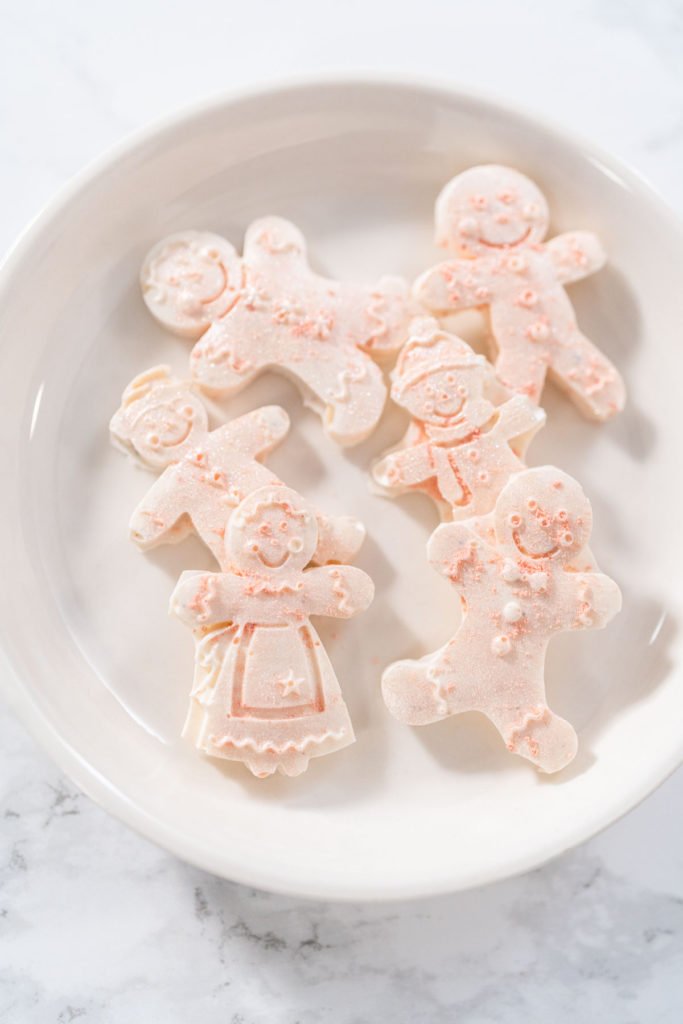
- Then, use a cake brush to dry brush the luster over the chocolates.
Method 3: Dry Luster with Chocolate Molds:
- First, generously brush the inside of a silicone mold with luster dust. I recommend using disposable gloves for this step since the dust will fly everywhere.
- Then, pour in the melted chocolate and finish the routine as usual.
Tips on Making Homemade Chocolate
- Always start candy-making projects with clean and dry tools!
- Make sure not to accidentally overcook your candy by using a setting that is too high or by heating the candy melts for too long. The melted candy can easily burn or lose the perfect consistency.
- Always be careful when handling hardened candies because the body heat from your hands can make the chocolates start to melt.
Chocolate Storage
To store homemade chocolates with luster: transfer the hardened candies to an airtight container, in between layers of wax paper to keep them from breaking or sticking together. Store them either in the fridge for 2 weeks or in the freezer for up to 3 months. Always mark the date on the outside of the container to keep up with freshness.
More Baking Hacks
The Best Homemade Chocolates
Want to try out these lustrous methods? Check out some of my luster-detailed chocolate recipes, along with a few of my favorite homemade chocolate recipes:
Check out my step-by-step luster chocolate tutorials:
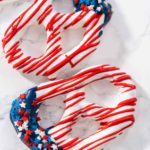
- Gourmet Chocolate-Covered Pretzel Twists
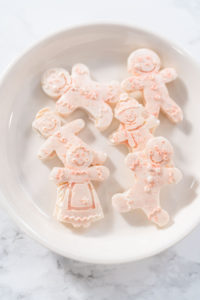
- Gingerbread Man Chocolates
- Chocolate Mermaid Tails
- Mermaid Cake Popsicles
- Unicorn Meringue Pops
- Mini Mermaid Chocolate Bars
- Chocolate Seashells
More easy homemade chocolates:
- Heart-Shaped Chocolates without A Mold
- Mini Chocolate Bars with Sprinkles
- Homemade Star-shaped Chocolates
- Mini Chocolate Bars
- Chocolate Lips and Hearts
How To Use Luster With Chocolate
Ingredients
Wet method
- 1 teaspoon Gold Luster Powder Dust or other color luster
- ¼ teaspoon Clear vanilla extract or vodka
Dry method
- 1 teaspoon Gold Luster Powder Dust or other color luster
Dry method for chocolate molds
- 1 teaspoon Gold Luster Powder Dust or other color luster
Instructions
Dry method for chocolate molds
- generously brush to the inside of the mold with a dry brush. Gloves reccomended
- pour in melted chocolate
Notes
Food Photography & Video Tips from My Studio
Here’s a peek at the tools, gear, and camera setups I use to film my recipe videos and photograph food at home. Over the years, I’ve tested dozens of different setups, and now I’m sharing what actually works for me—whether I’m filming overhead shots for YouTube or styling still photos for my blog. If you’re curious about how I create the content you see here, these posts are a great place to start.





Leave a Reply