How to get the perfect size parchment paper for your baking pan!
This post contains affiliate links.
When it comes to lining baking pans and dishes with parchment paper, you may think you don’t have anything new to learn about it. But don’t you still get annoyed when the edges of the paper won’t lay flat? No matter which way you flip it, the parchment still insists on rolling up at the edges, even with a scoop of cookie dough on it?!
Ok, so there are actually a few pros and cons to know about using Pre-cut vs. Rolled Parchment Paper. Then, there’s the frustration of not being able to get the sheet of parchment paper to fit right in one of the square or odd shaped pans.
How about deciphering between When to Use Parchment Paper vs. A Silicone Mat for the best nonstick baking results? Turns out there are actually many tips, tricks, and methods to keep in mind for the best and easiest baking results!
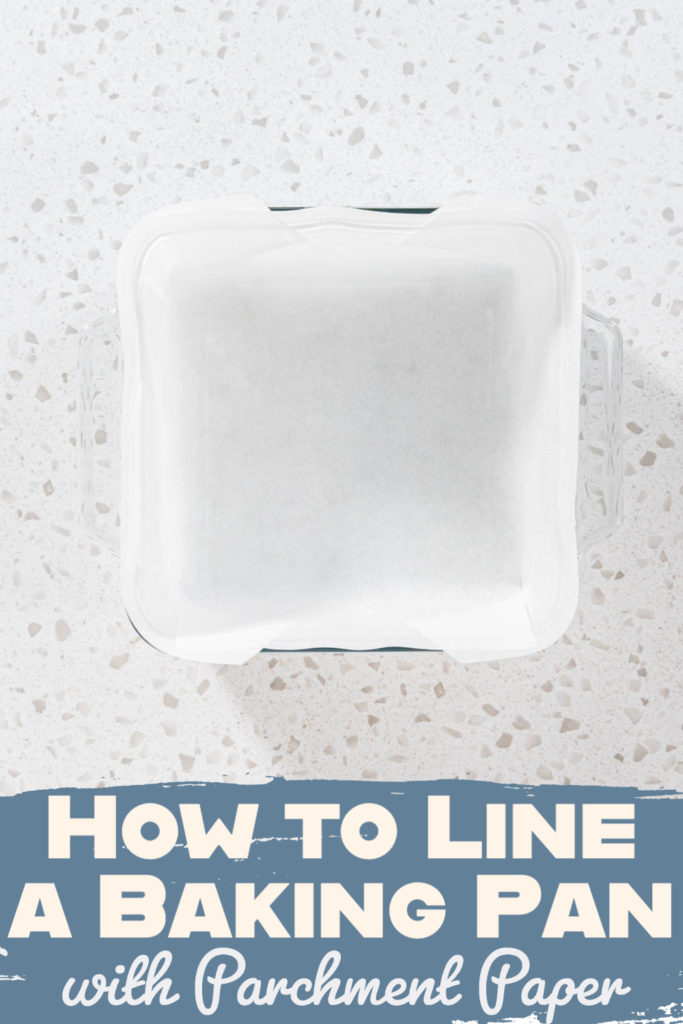
I’ve got a few tips and suggestions of my own that will help you cut and fit parchment paper to any baking pan without any hassle! Here’s my simple method on How to Line a Baking Pan with Parchment Paper.
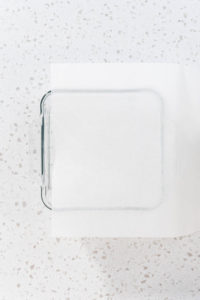
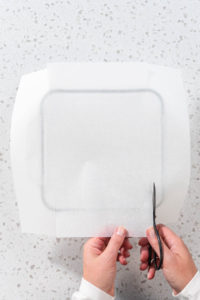
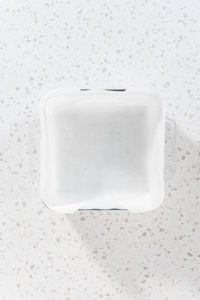
To cut the perfect parchment paper size for your baking pan, all you need is: a baking dish, scissors, parchment paper, and cooking oil spray (optional). First, if you want to secure the parchment paper to the pan extra well, start by lightly spraying the pan with the cooking oil spray. Then, measure and cut the parchment paper so it is about 1.5- 2 inches wider than the baking pan. Then, cut one slit in the parchment at each 4 of the corners of the baking dish across from each other. Finally, gently push the parchment paper into the pan, and fold the corners so the paper fits securely.
Lining Equipment and Materials
First, I’ll go over my small and simple material list. I don't need a ton of supplies, just a few typical baking utensils. Here’s everything I use to prepare parchment paper to line a baking pan with:
Equipment:
Materials:
- 1 Parchment paper sheet
- 1 8x8 Baking Dish
- 1 Cooking spray oil (optional)
How to Line a Baking Pan with Parchment Paper
Now, let me break down my quick and simple method for cutting and fitting parchment paper to any baking pan! I am using a square baking pan for my example but this method will work for any shape or size baking pan. Here’s how to line a baking pan with parchment paper:
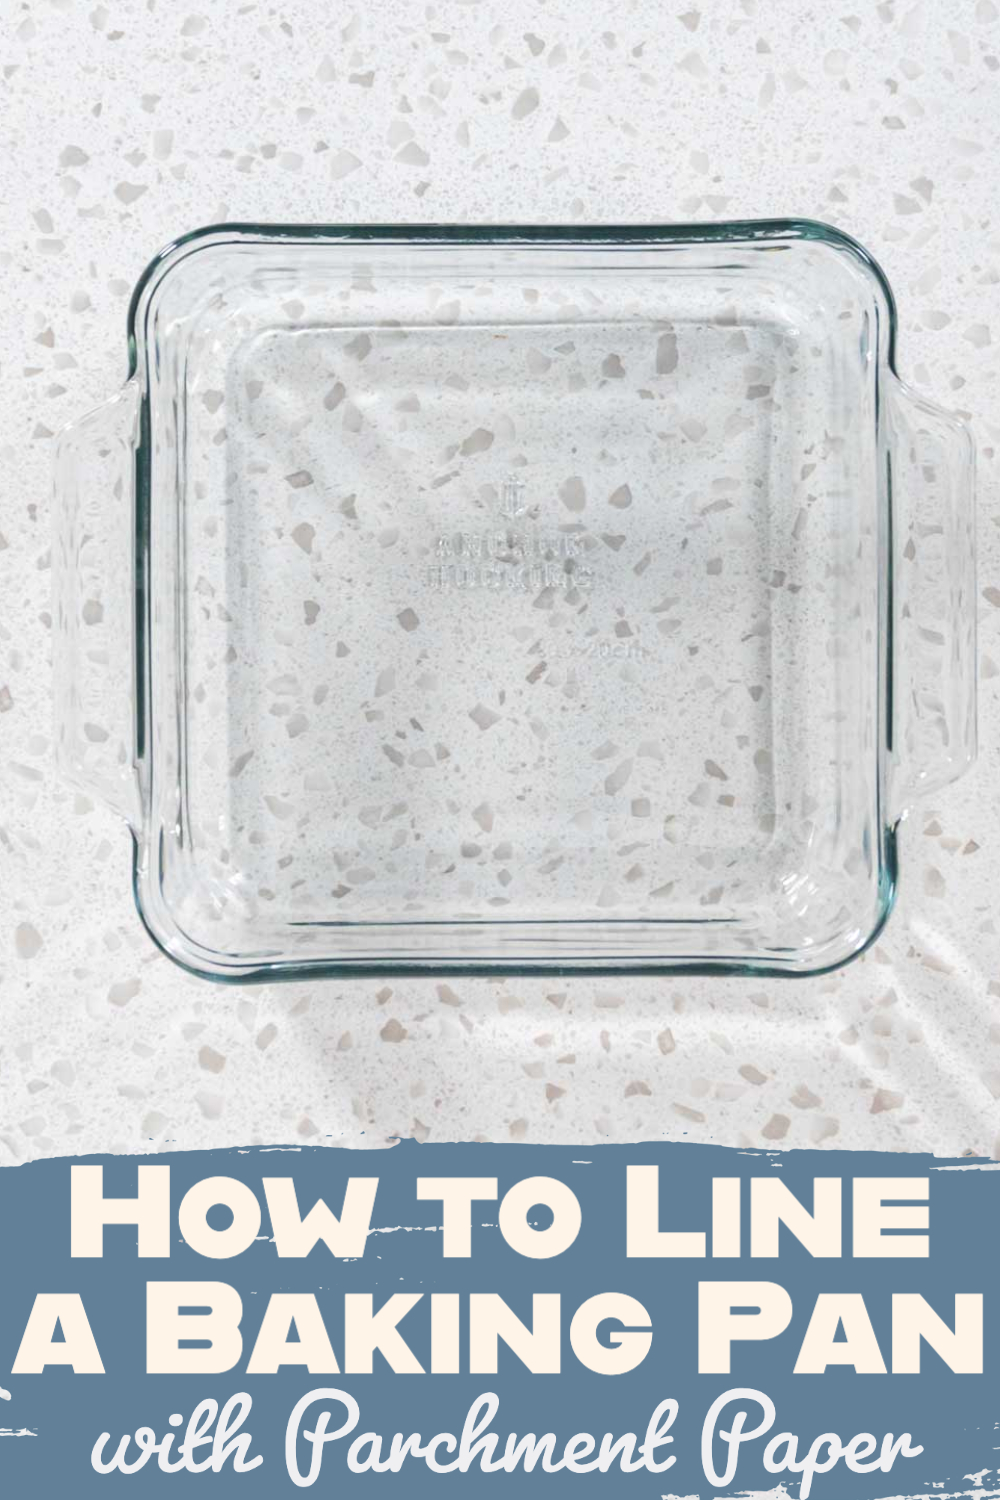
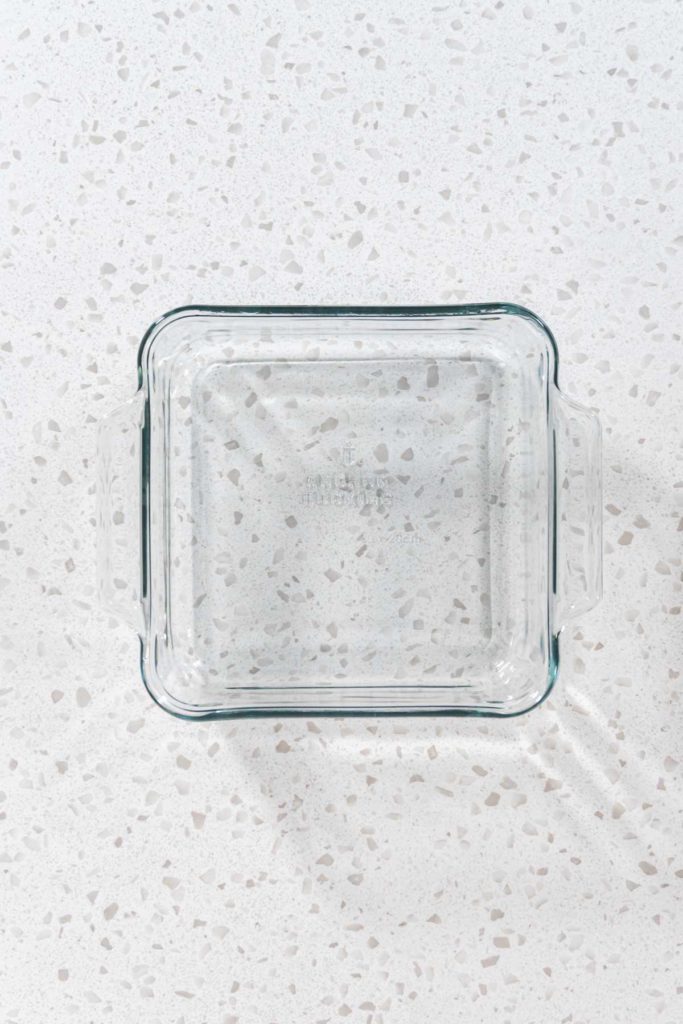
- First, grab a baking dish and the materials. If you want to secure the parchment paper to the pan extra well, then start by lightly spraying the pan with the cooking oil spray.
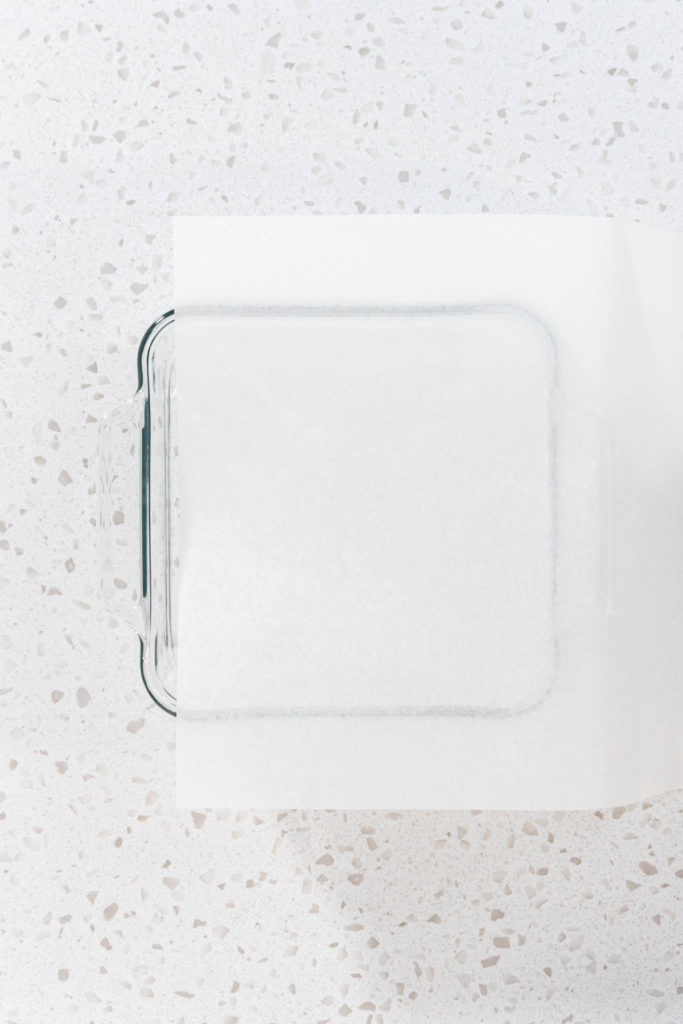
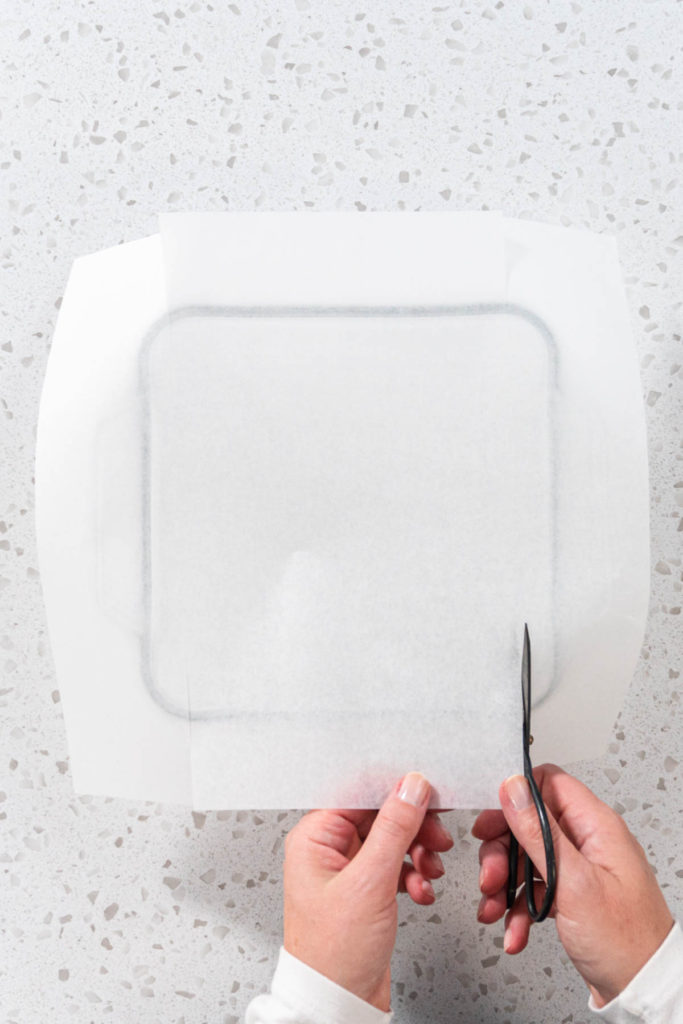
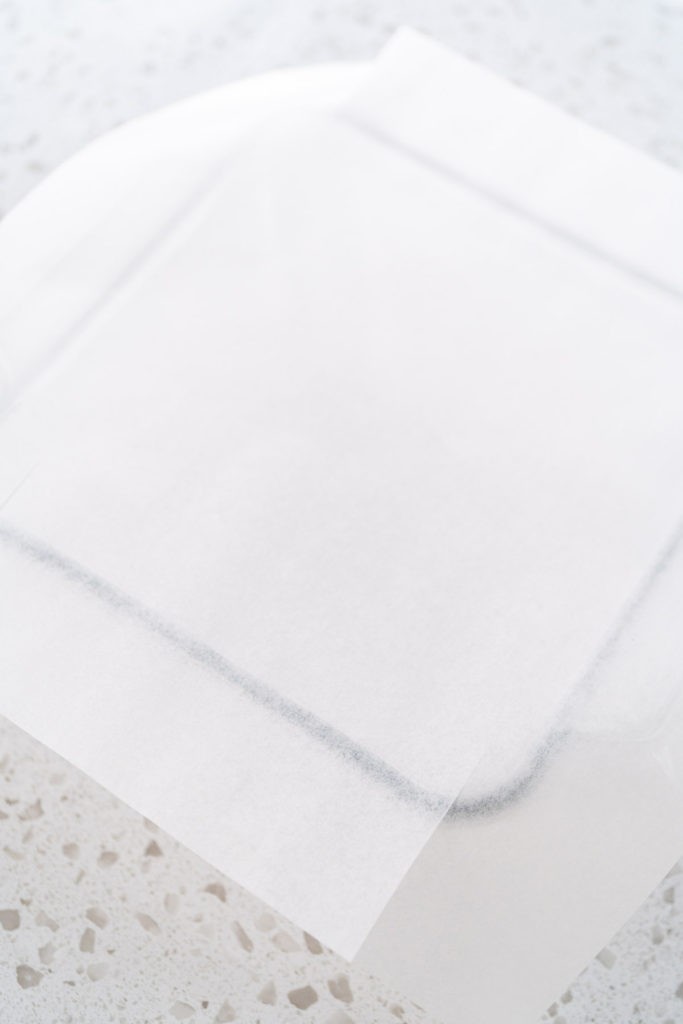
- Next, measure how big of a piece you need by putting the parchment sheet flat over the top of the dish. Cut the paper so it is about 1.5- 2 inches wider than the baking pan.
- I prefer to use a parchment paper sheet so they don't curl like the rolls of parchment do.
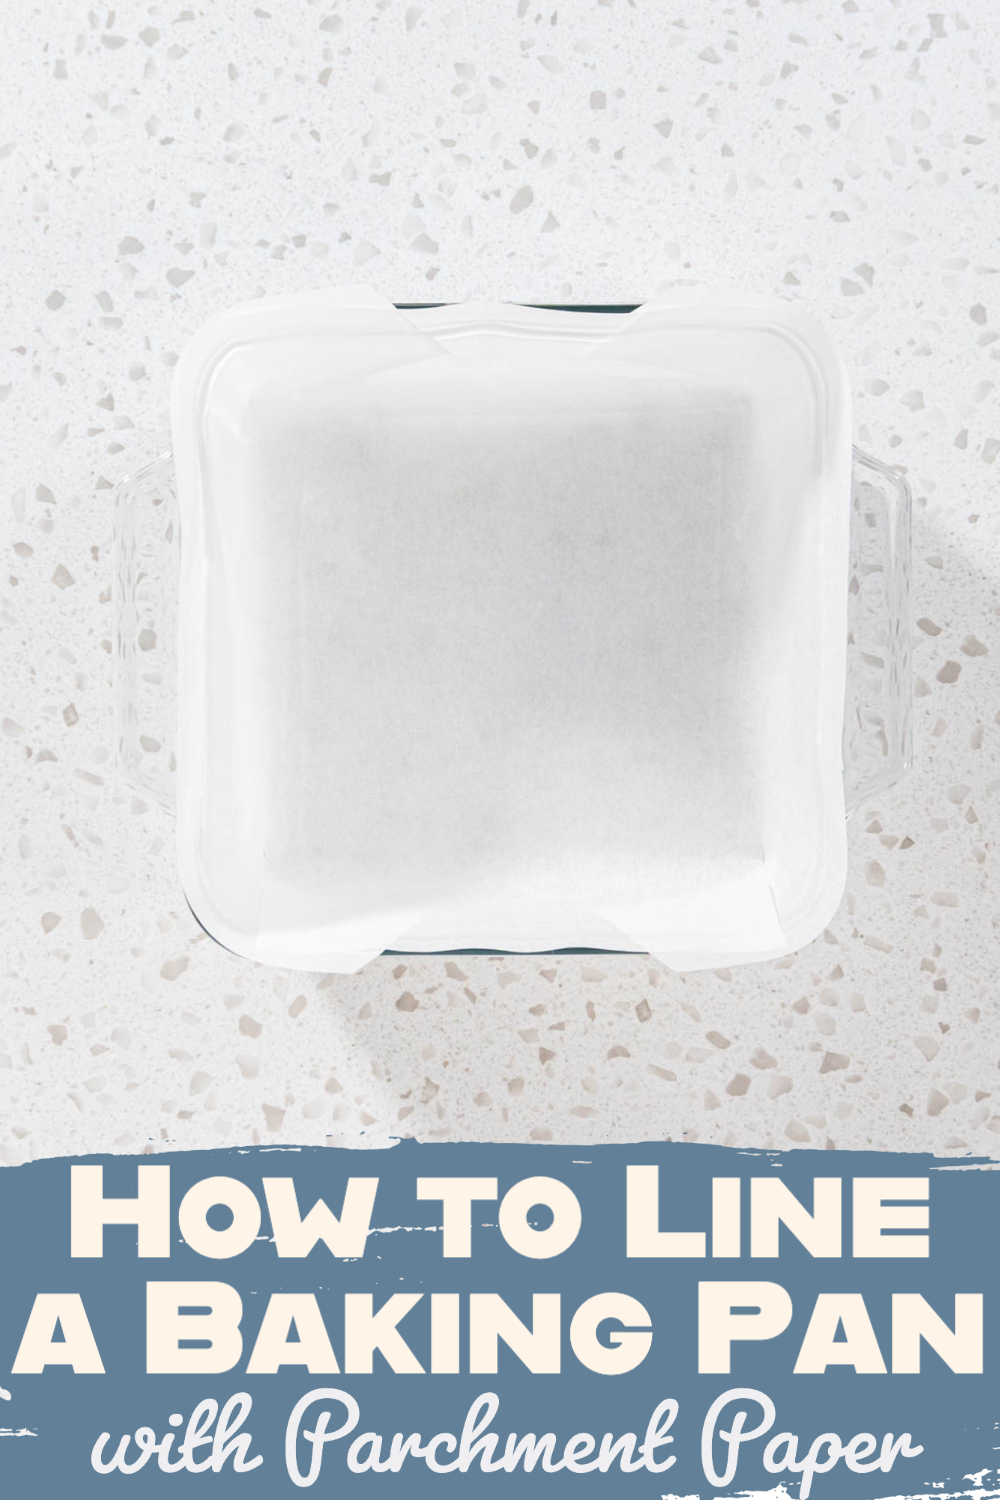
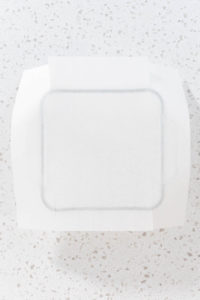
- Then, use the scissors to cut one slit in the parchment at each of the corners of the baking dish across from each other.
- Repeat for all 4 corners.
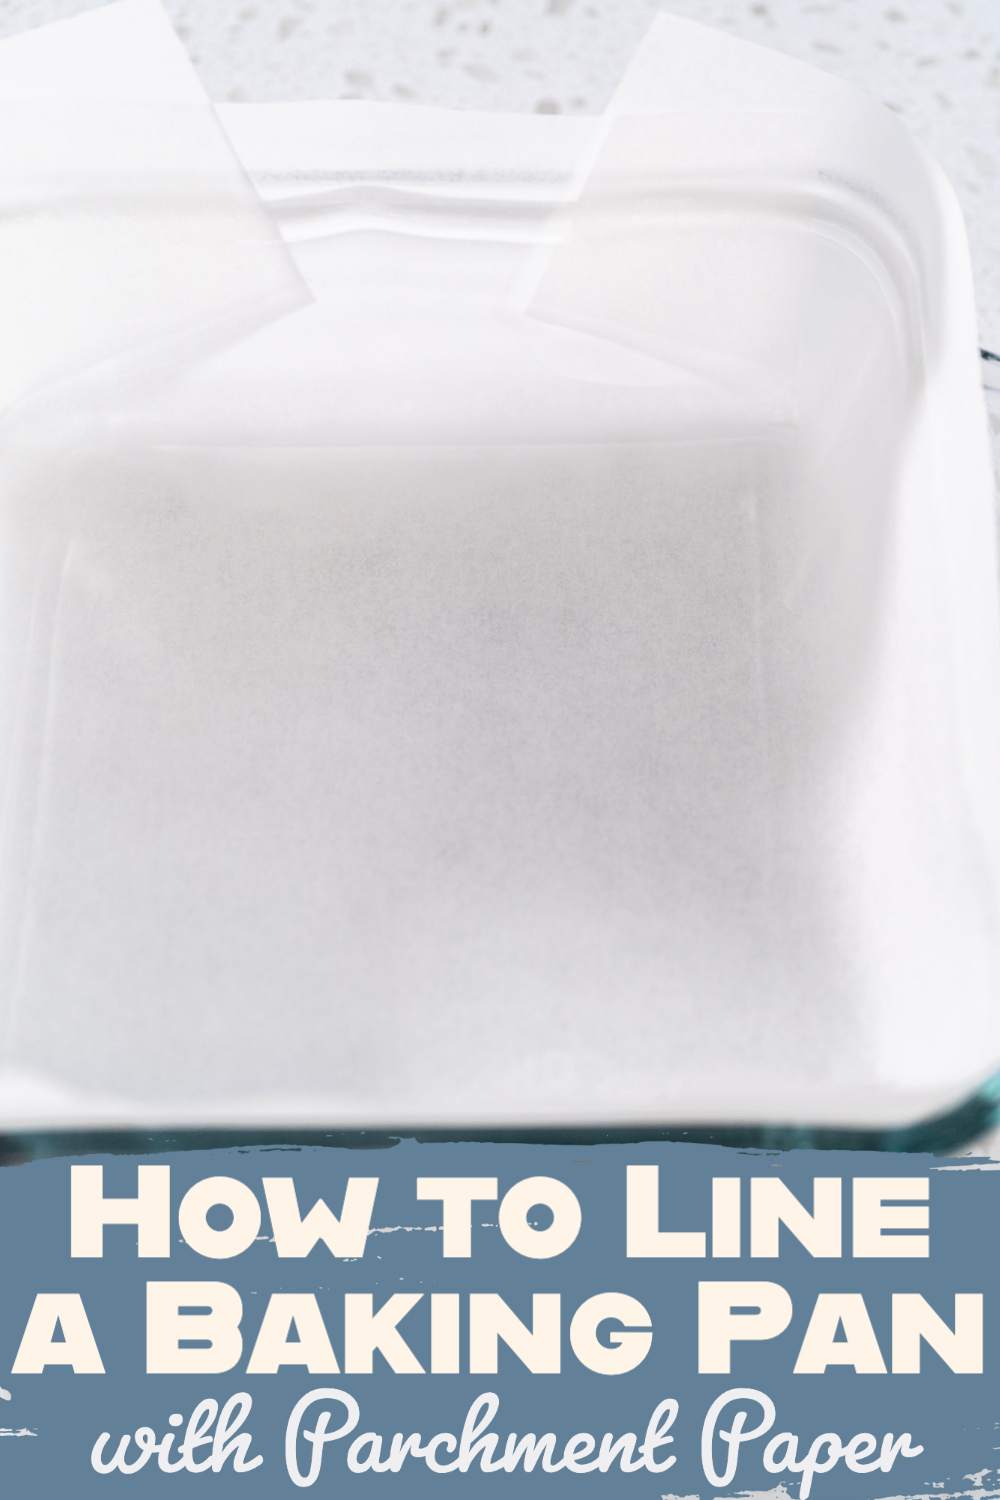
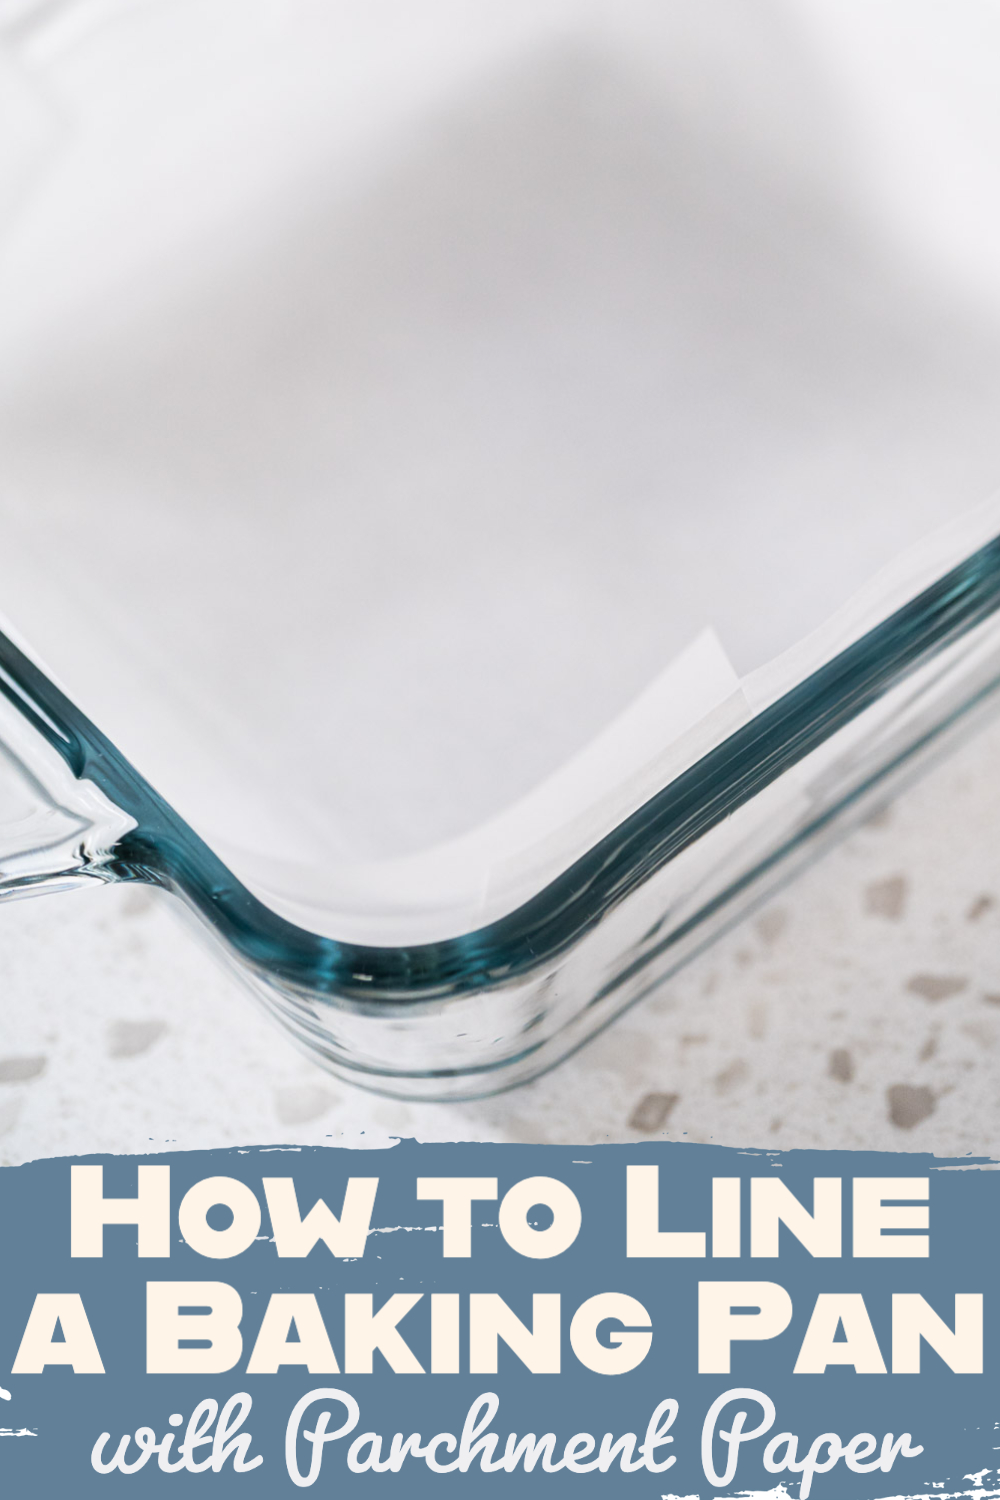
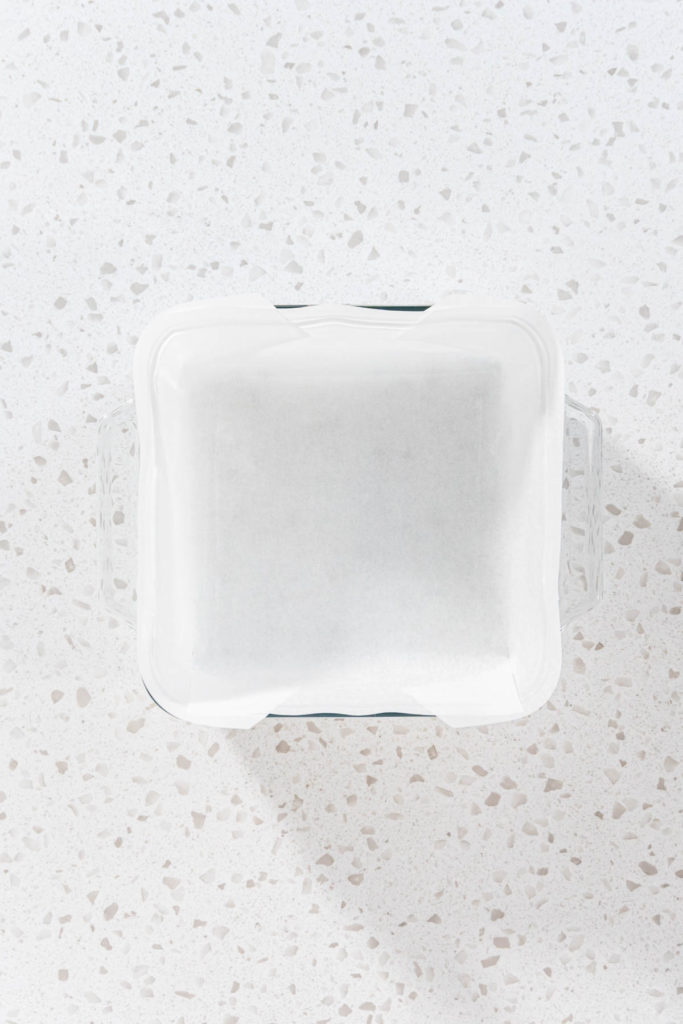
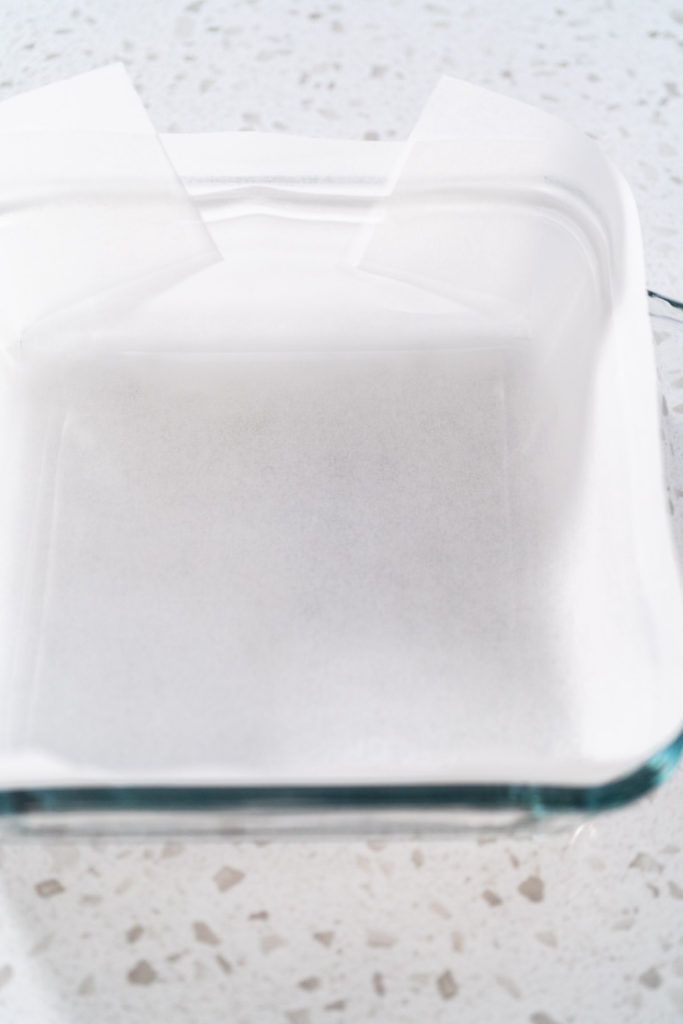
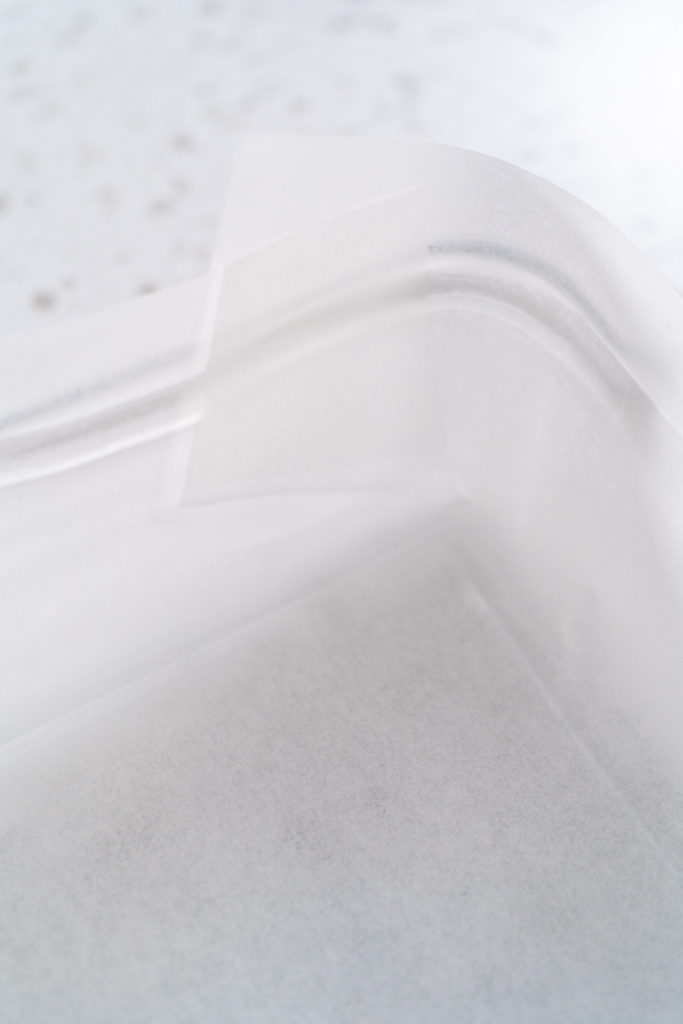
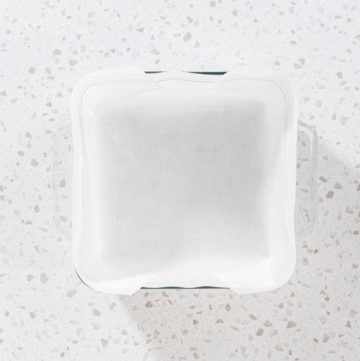
- Finally, gently push the parchment paper into the pan, and fold the corners so the paper fits securely. Now you’re ready to bake!
More Baking Hacks
More Help Around the Kitchen
Want even more tips and tricks on everything from using bakeware to testing ingredients, making simple candy projects, and my best tips for busy moms around the kitchen? I’ve got you covered with helpful articles on all your kitchen questions!
- 10 Busy Mom Tips on Saving Time in the Kitchen
- Plastic Piping Bag Tips
- How To Use Luster With Chocolate
- When to Use Parchment Paper vs. A Silicone Mat
- Pre-cut vs. Rolled Parchment Paper
- Silicone vs. Metal Baking Pans
- How to Grease A Pan
- How to Test Yeast
- How to Clean Enamel Cast Iron Cookware
- How to Easily Melt Candy Melts
- How to Assemble a Charcuterie Board
- How to Crush Candies
- How to Keep Strawberries Fresh
How to Line a Baking Pan with Parchment Paper
Video
Equipment
Ingredients
- 1 Parchment paper sheets
- 1 8x8 Baking Dish
- 1 Cooking spray oil optional
Instructions
- First, grab a baking dish and the materials. If you want to secure the parchment paper to the pan extra well, then start by lightly spraying the pan with the cooking oil spray.
- Next, measure how big of a piece you need by putting the parchment sheet flat over the top of the dish. Cut the paper so it is about 1.5- 2 inches wider than the baking pan.I prefer to use a parchment paper sheet so they don't curl like the rolls of parchment do.
- Then, use the scissors to cut one slit in the parchment at each of the corners of the baking dish across from each other.
- Repeat for all 4 corners.
- Finally, gently push the parchment paper into the pan, and fold the corners so the paper fits securely. Now you’re ready to bake!
Food Photography & Video Tips from My Studio
Here’s a peek at the tools, gear, and camera setups I use to film my recipe videos and photograph food at home. Over the years, I’ve tested dozens of different setups, and now I’m sharing what actually works for me—whether I’m filming overhead shots for YouTube or styling still photos for my blog. If you’re curious about how I create the content you see here, these posts are a great place to start.







Leave a Reply