Mastering the Art of Greasing Bundt Pans: Essential Techniques for Flawless Cakes
This post contains affiliate links.
Hi everyone, Arina here! As a food photographer and avid baker, I've had my fair share of baking adventures and misadventures. Today, I want to talk about a crucial step that often doesn't get enough attention—properly greasing a Bundt pan. It might sound simple, but believe me, it's where the magic begins (or where it can all fall apart!).
I've ruined more Bundt cakes than I care to admit by not greasing the pan correctly. Those cakes were supposed to be the stars of my photoshoots, but instead, they ended up as sad, crumbled messes (not very photogenic!). It's a common challenge among us bakers, and it's not just about the wasted ingredients—it's watching your beautiful creation break apart right before your eyes.
Greasing a Bundt pan properly can feel like prepping a slip-n-slide for your cake. Miss a spot, and your cake might decide to cling on for dear life, refusing to leave its metallic home. It’s a common tale in the baking world, and one that every baker dreads—especially when you're trying to impress friends, family, or blog followers.
So, let’s dive into why this seemingly simple step is actually your secret weapon to achieving a perfect Bundt cake that slips out of the pan as if it’s eager to show off its beautiful shape. And if you're wondering just how long you should let your cake cool to get that perfect demold, check out my guide on How Long Should a Bundt Cake Cool before attempting to flip that pan.
Why Proper Greasing is Crucial
If there’s one thing I’ve learned from all my baking escapades, it's that greasing the pan is not just a step—it’s an art. The main role of greasing is ensuring that your beautiful Bundt cake releases cleanly from the pan without leaving half of itself behind. Think of it as greasing the wheels of a bike; without it, you're in for a bumpy and possibly non-functional ride.
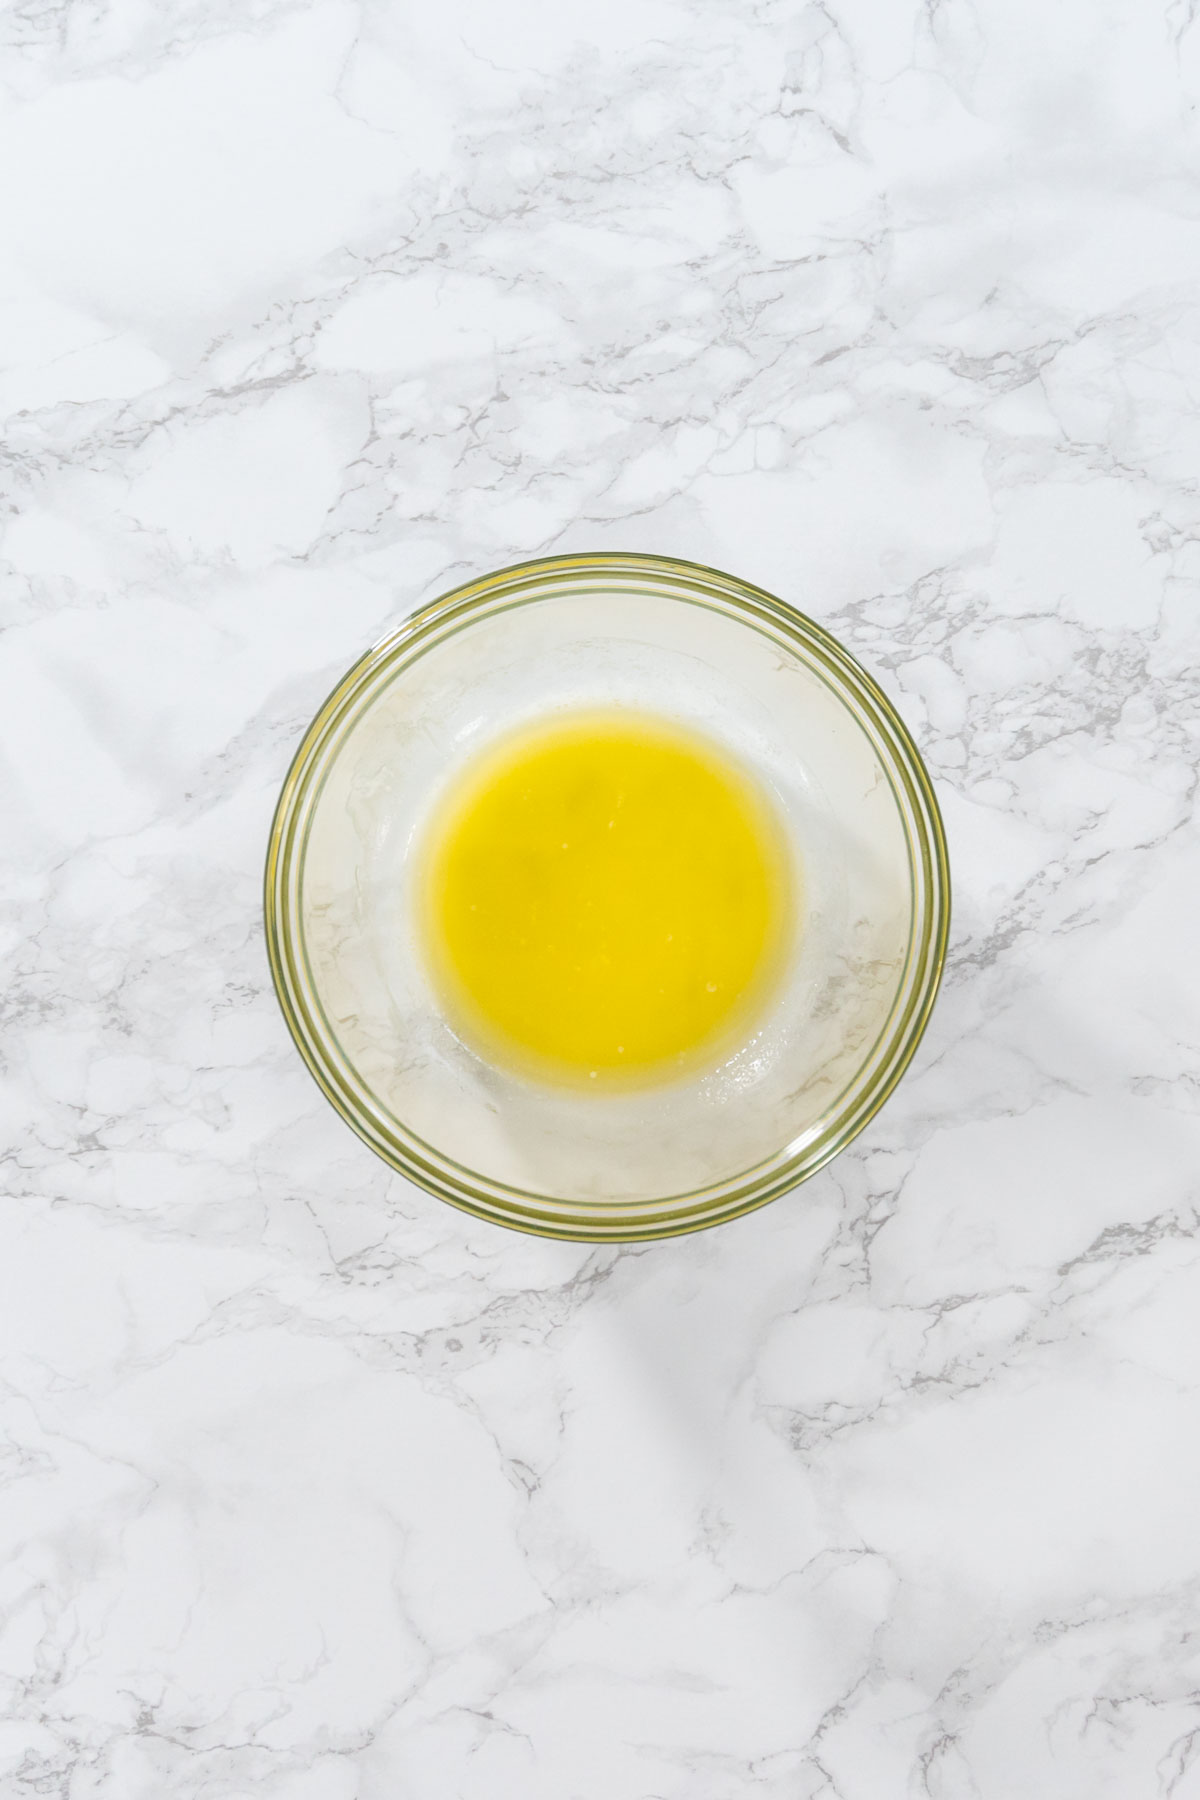
Different greasing methods can also profoundly affect the texture and shape of your cake. For instance, using butter gives you a lovely golden crust but can be tricky if not melted and brushed on evenly. On the other hand, vegetable shortening is foolproof for coverage but doesn’t contribute much flavor. And let’s not forget about those times I tried dusting with flour after greasing—let’s just say it’s a fine line between well-coated and turning your cake into a floury ghost!
Each method impacts how your cake bakes and browns, which is crucial for us who not only want a tasty cake but also need that picture-perfect finish. It’s all about finding the right balance between non-stick and culinary delight. If you need more insights on achieving that golden perfection, check out my Bundt Cake Baking Hacks for more tips and tricks.
The texture of your cake is at stake too. Improper greasing can lead to uneven cooking, where some parts are beautifully baked, and others are sadly undercooked—a true horror story in the baking community. So, mastering the art of greasing isn’t just about aesthetics; it’s essential for the delicious taste and texture we all strive for in our Bundt cakes.
For those of you diving into this baking journey, be sure to explore my posts on Bundt Cake Baking Tools and Equipment for the right gear, and if you're up for some delicious experiments, don't miss out on my Bundt Cakes Recipes or even try making a Simple Vanilla Bundt Cake From Box Cake to get started. And after the baking is done, learning How To Clean Bundt Pan effectively will save you lots of time and preserve your pan for future baking bliss!
Stay tuned as I guide you through the ins and outs of greasing your Bundt pan like a pro—trust me, your cakes will thank you, and your taste testers will too! For those looking to add that extra dazzle, don't forget to check my guide on Powdered Sugar Dusting For Bundt Cakes and tips on how to Dress Up Bundt Cake For Any Occasion. Happy baking!
EQUIPMENT
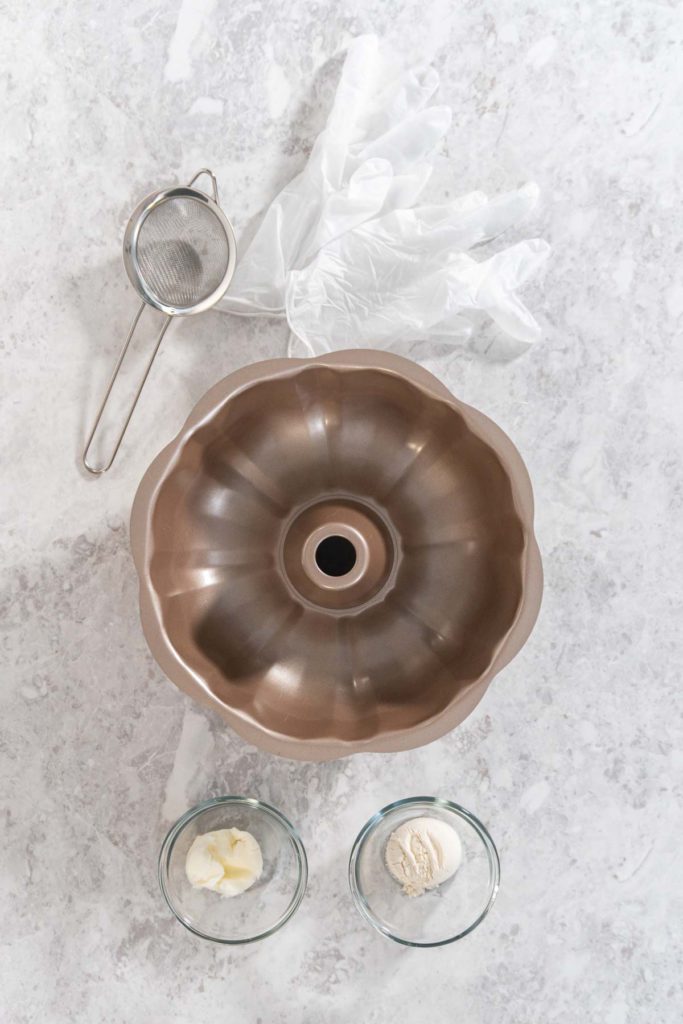
- Measuring spoons
- 1 Sifter small
- 1 Disposable Vinyl Gloves
INGREDIENTS
- 1 tbsp Vegetable shortening
- 1 tbsp all-purpose flour
INSTRUCTIONS
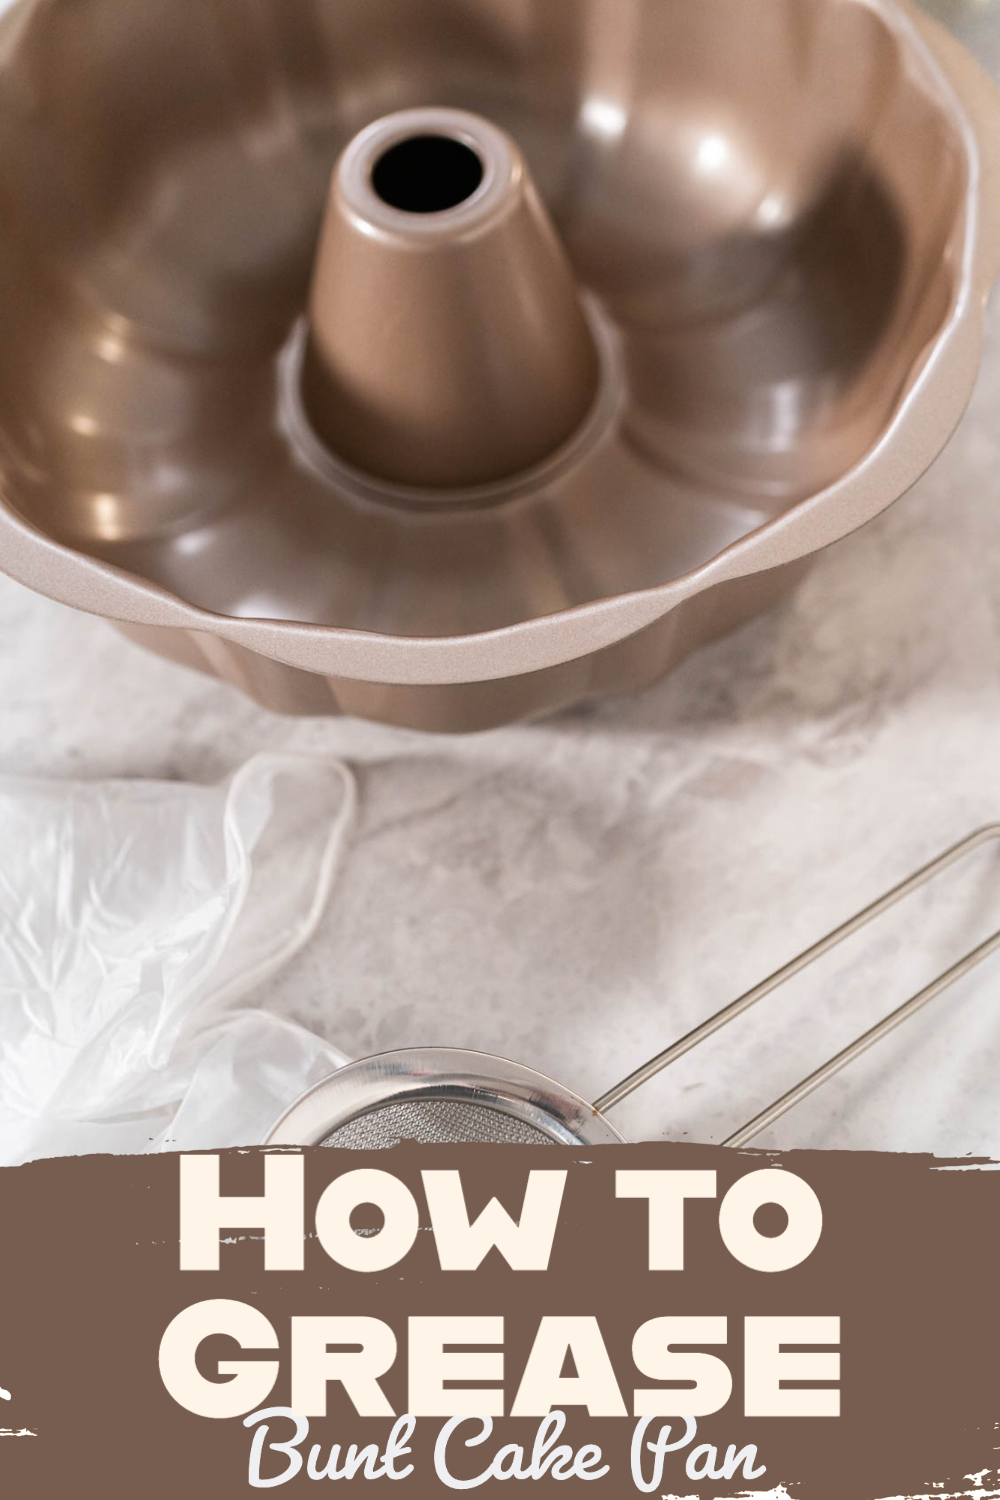
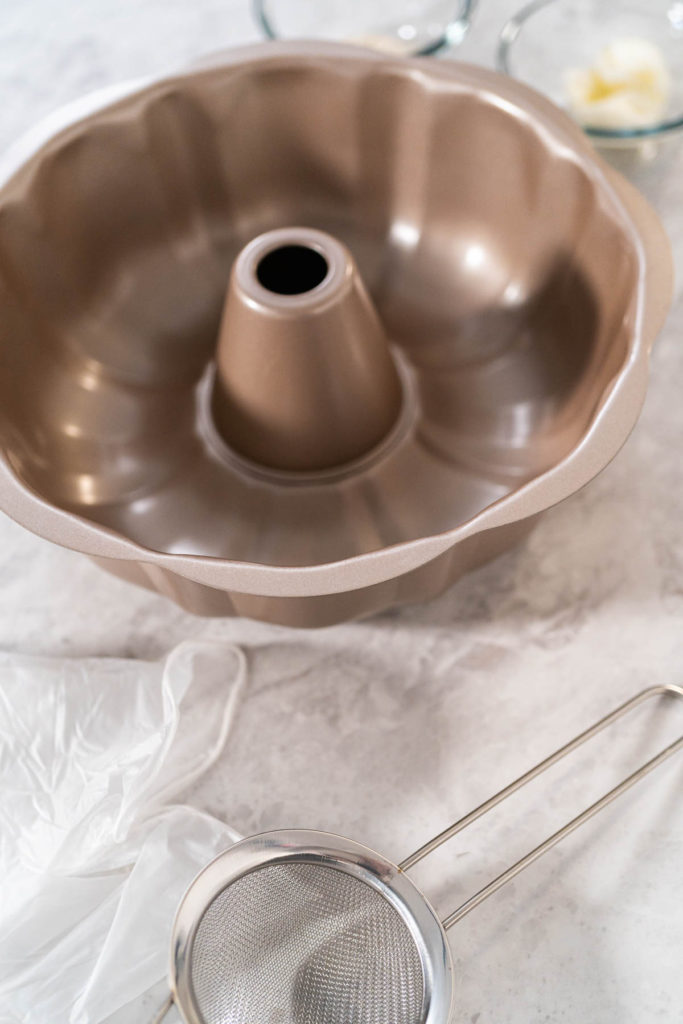
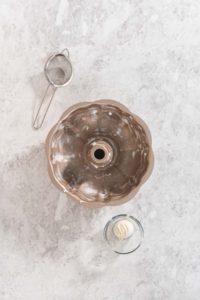
- Measure and prepare all ingredients needed for the recipe.
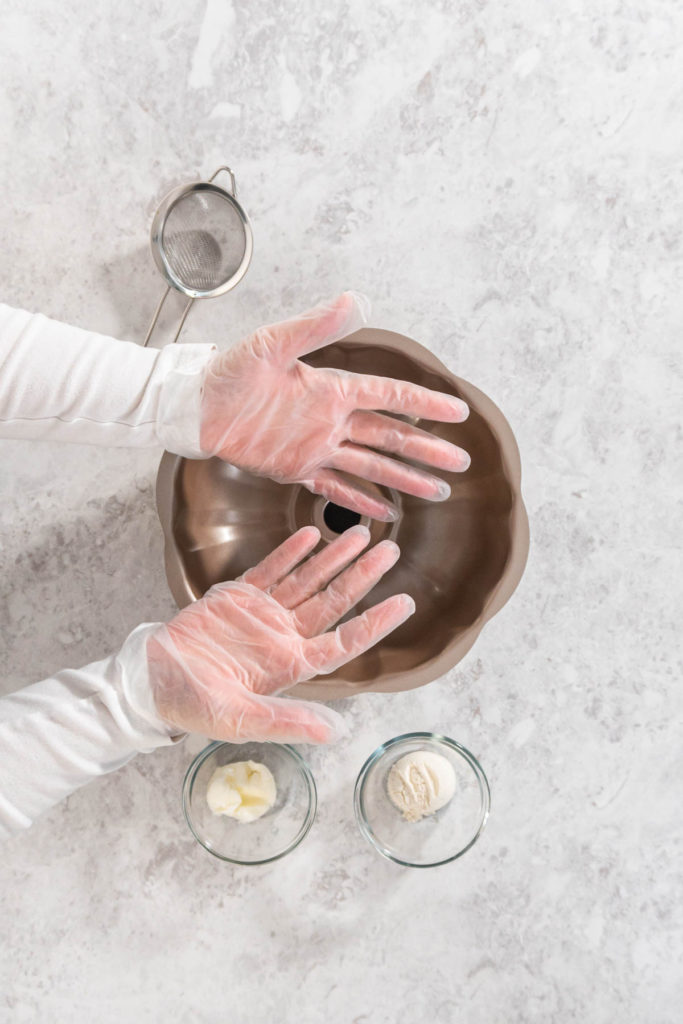
- Put on disposable vinyl gloves; if unavailable, use a ziplock plastic bag to keep your hands clean.
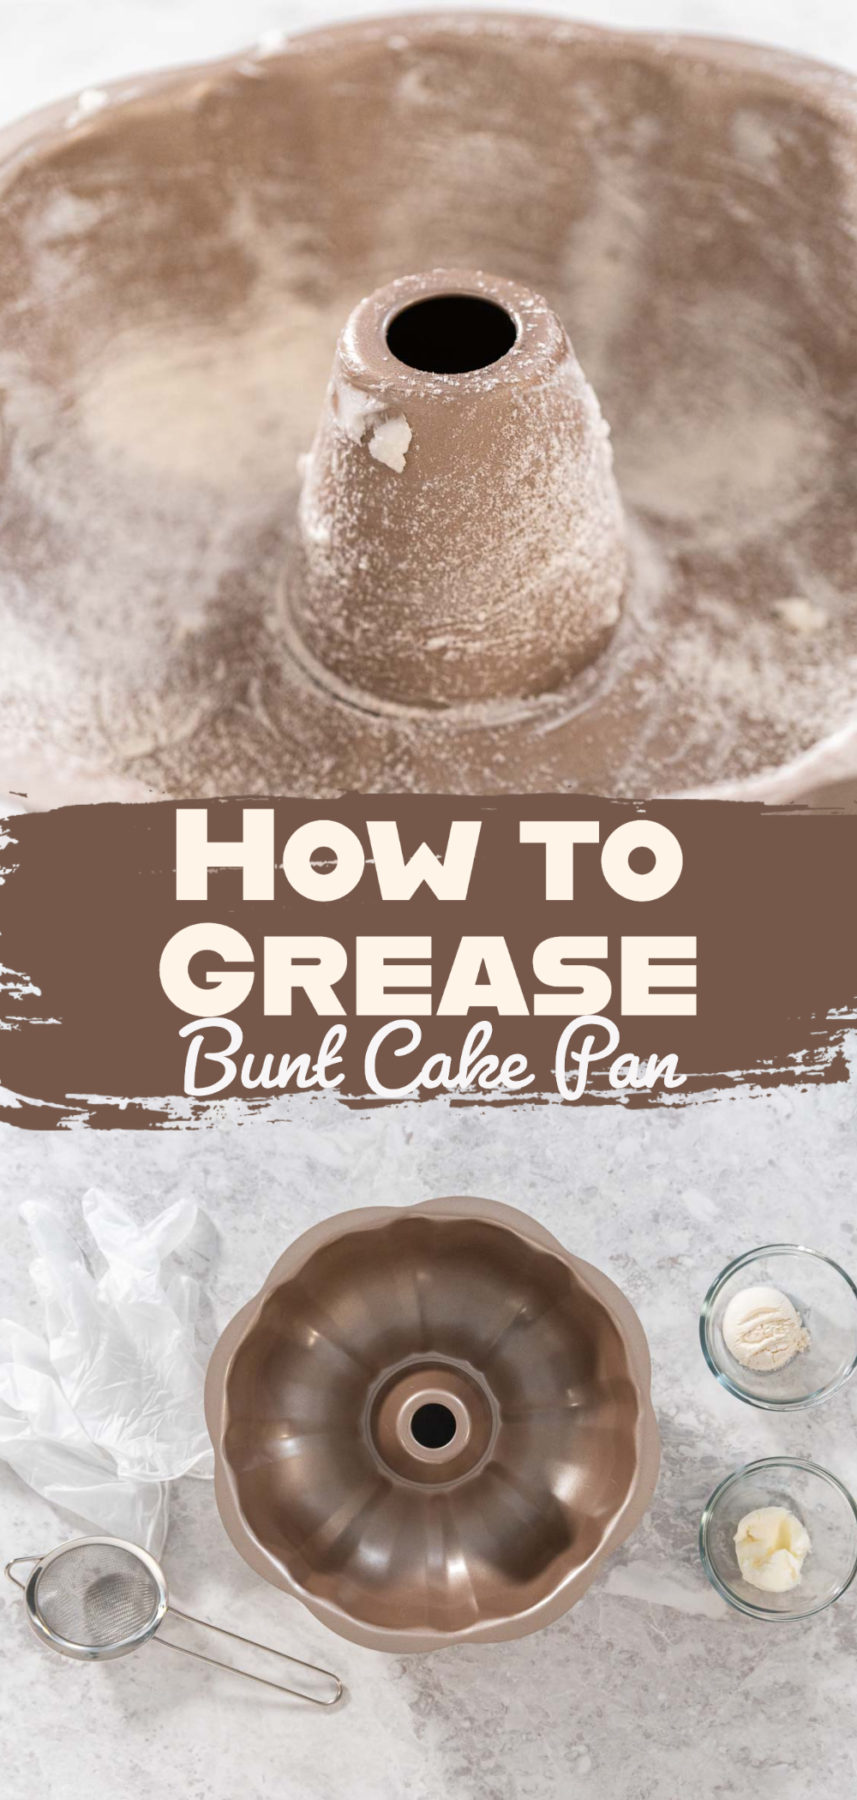
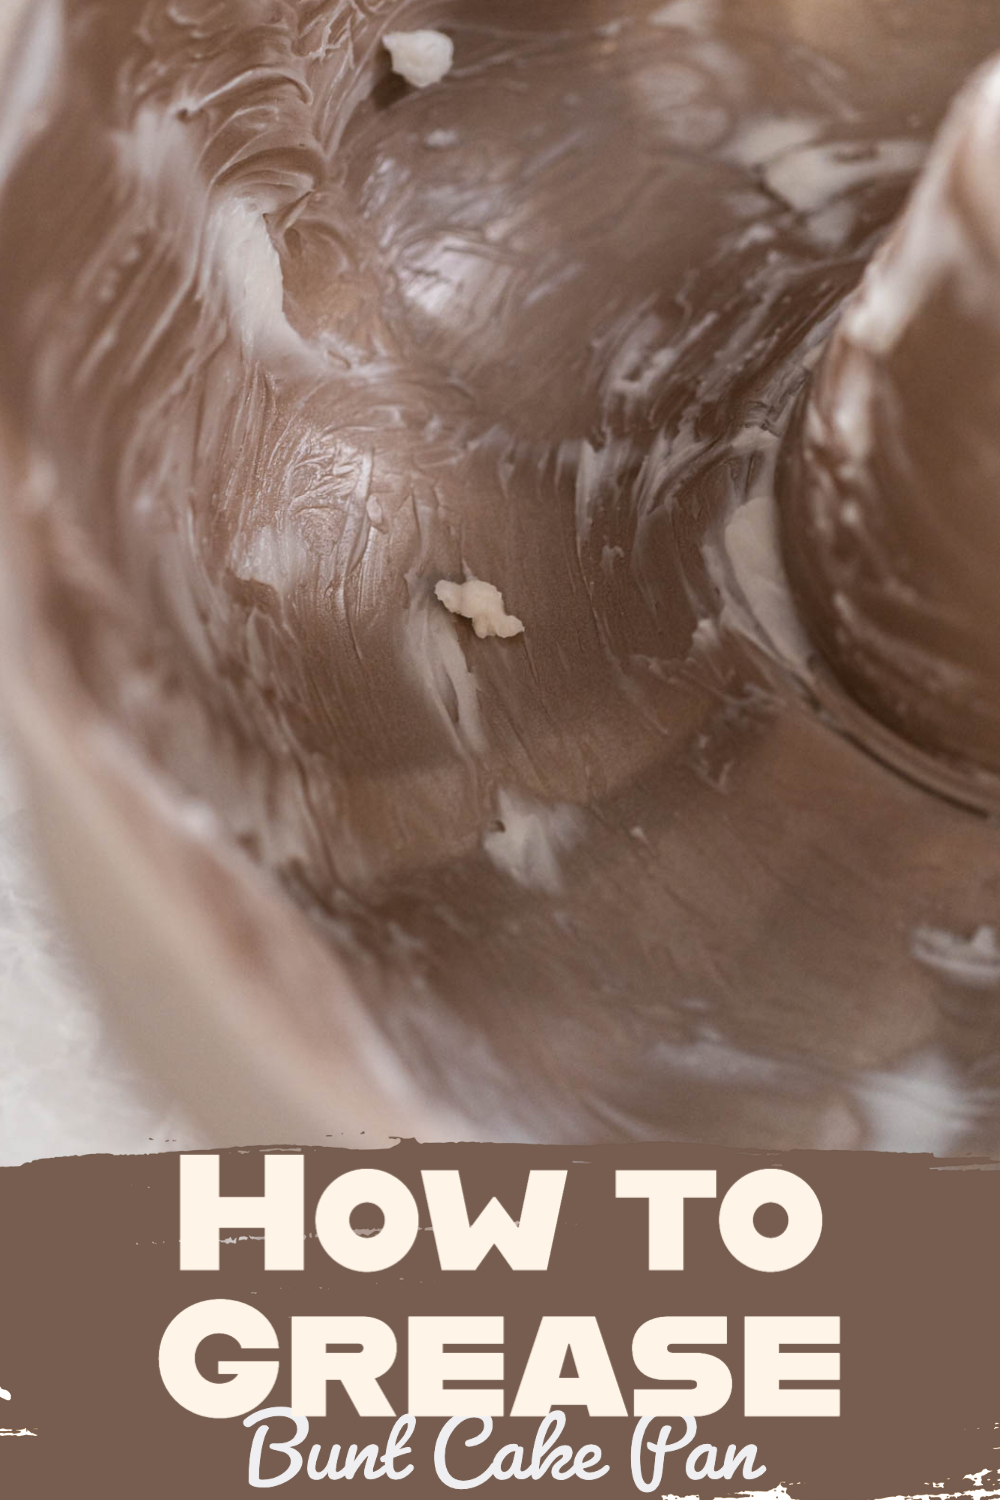
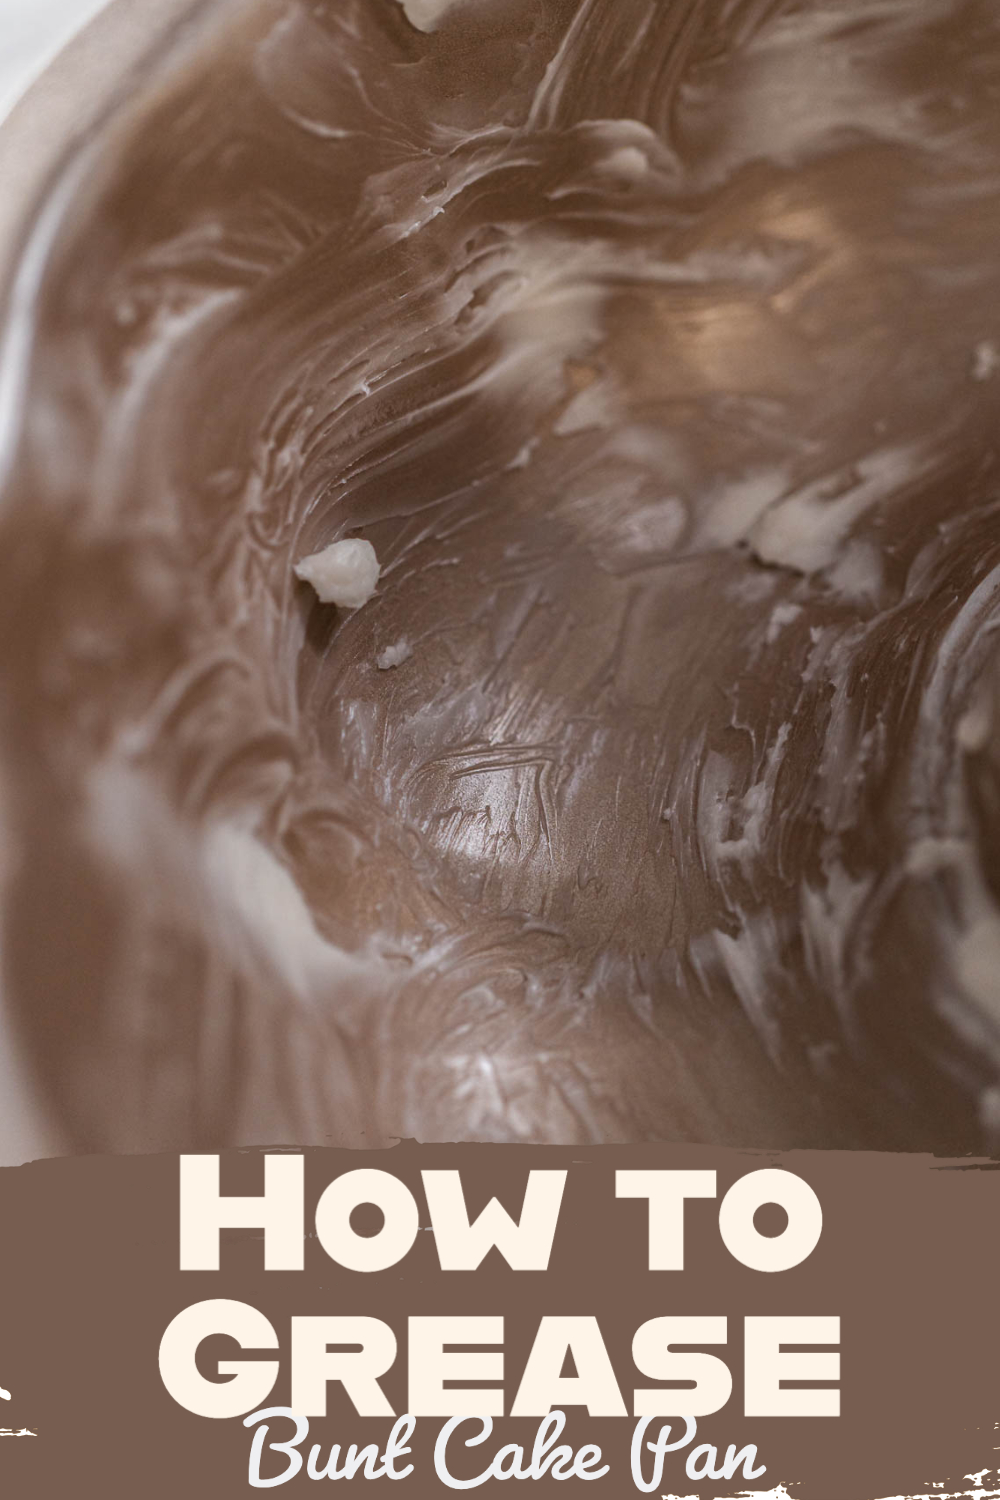
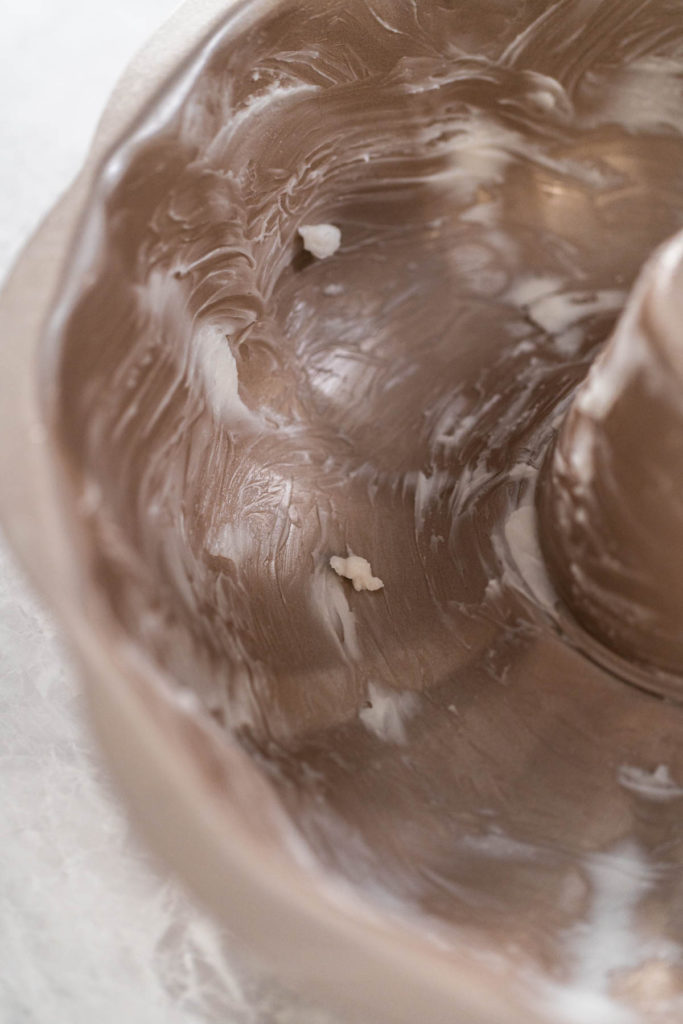
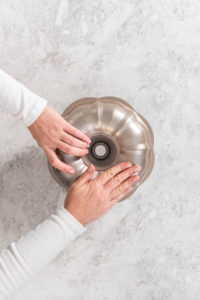
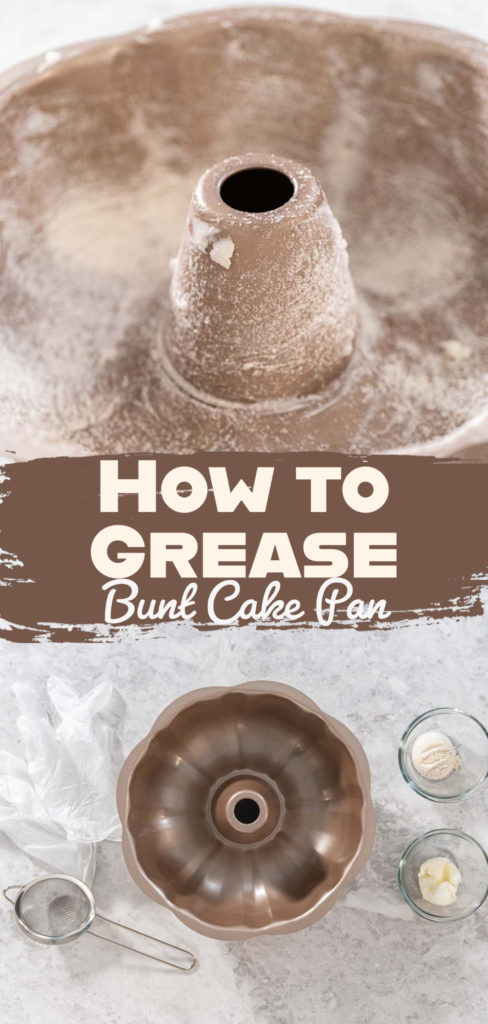
- Grease the Bundt pan evenly with vegetable shortening, ensuring no spots are missed.
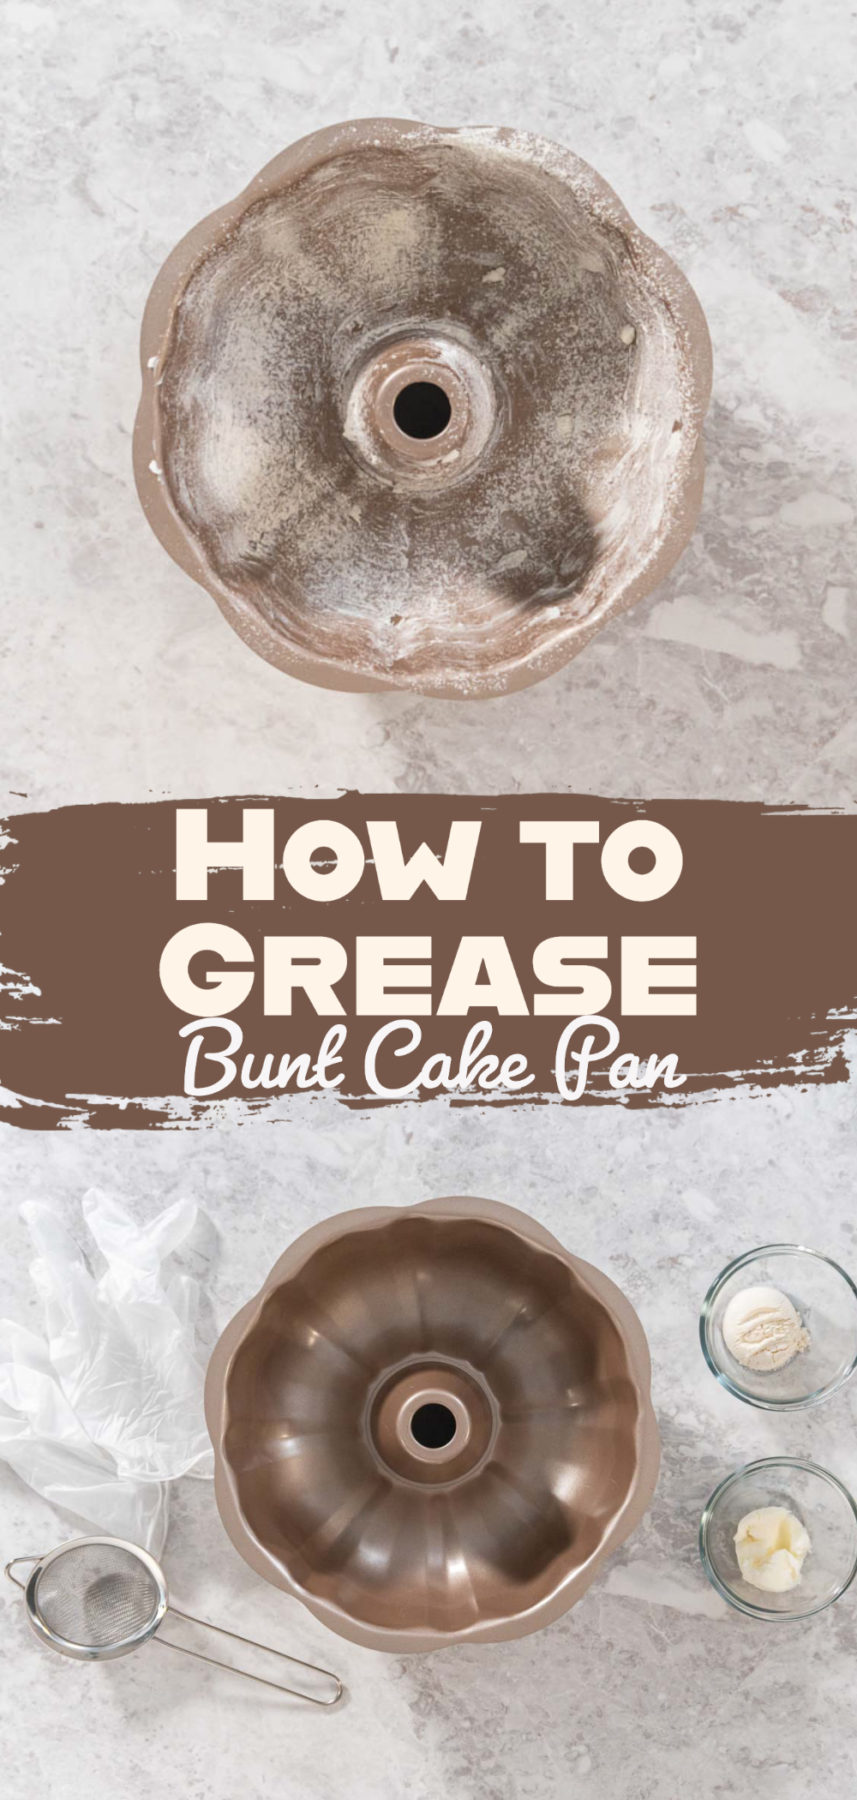
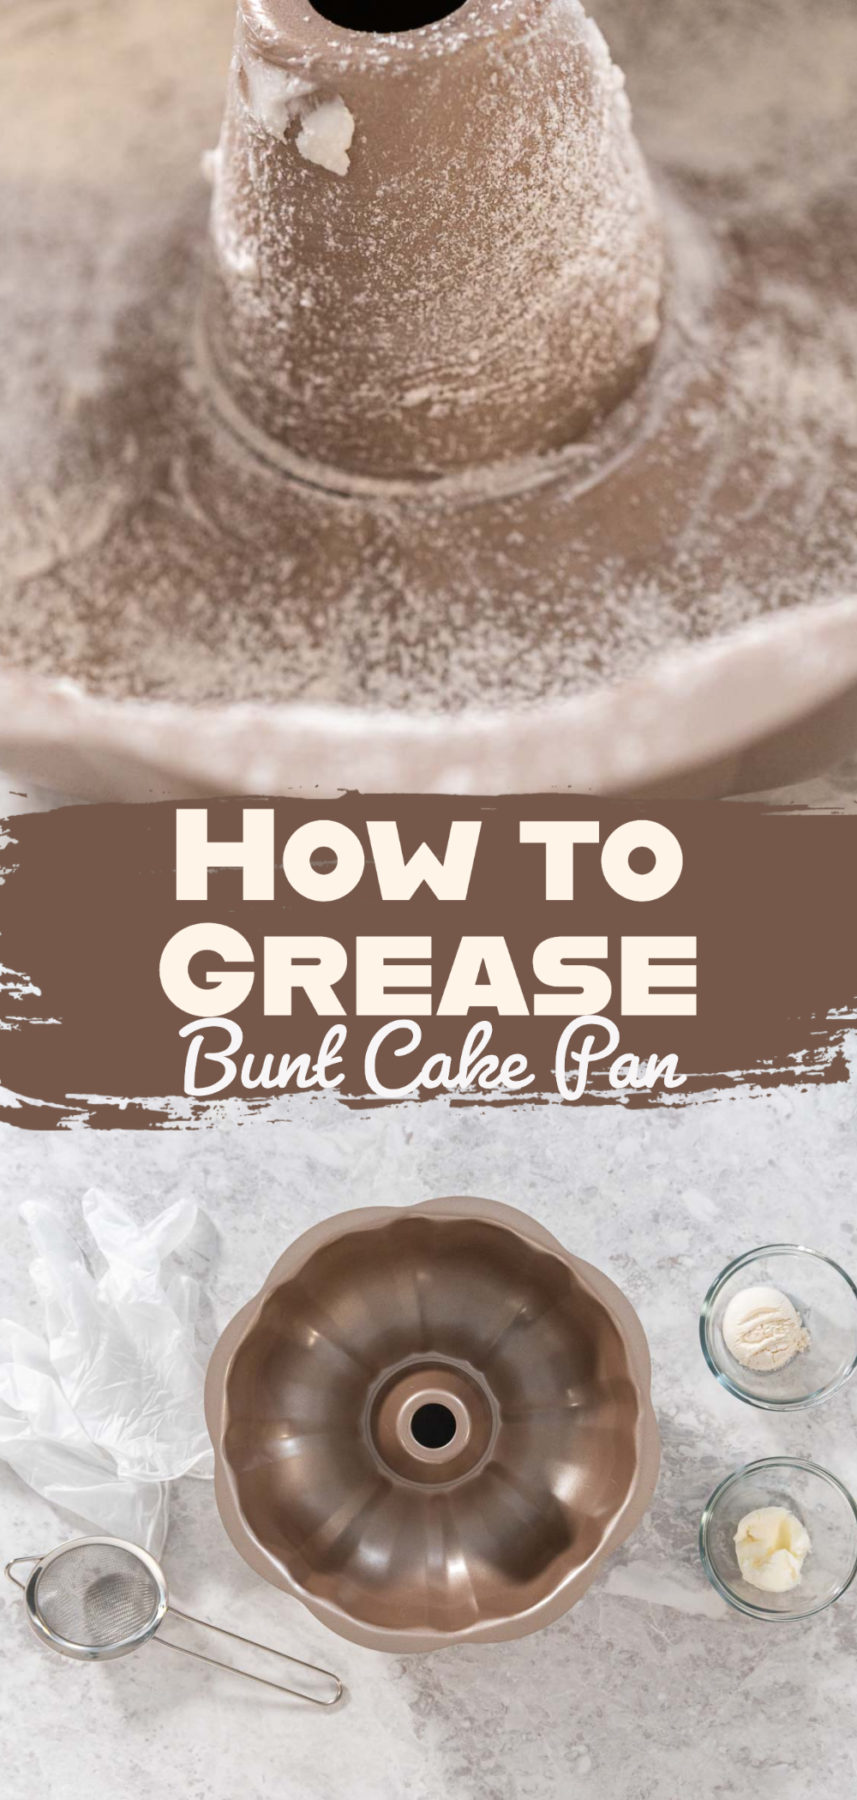
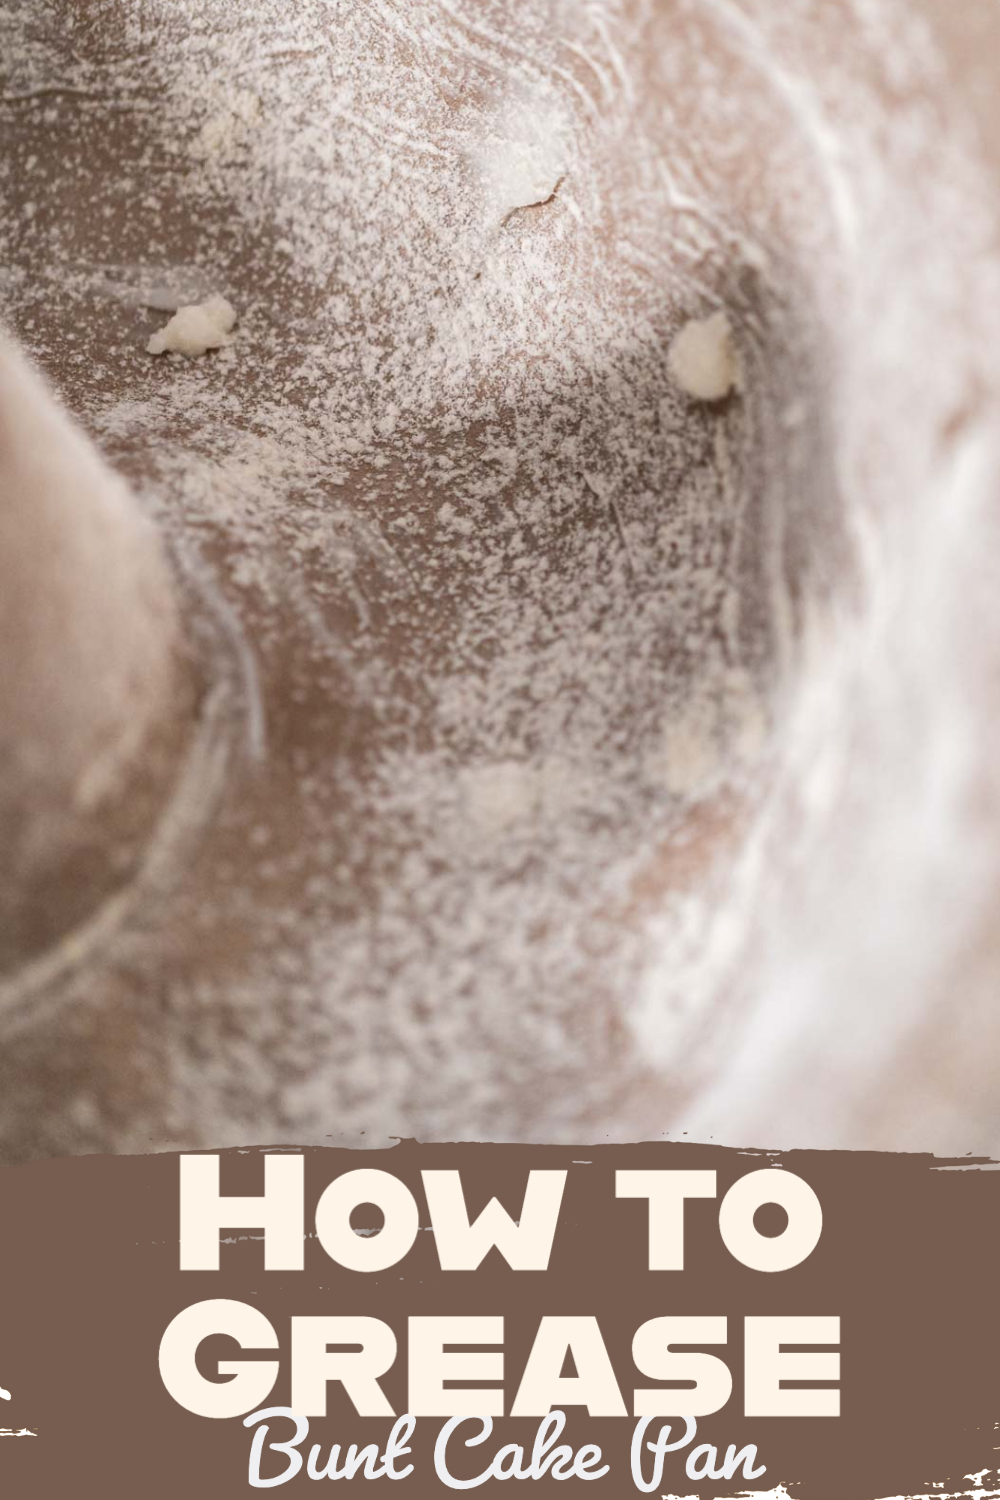
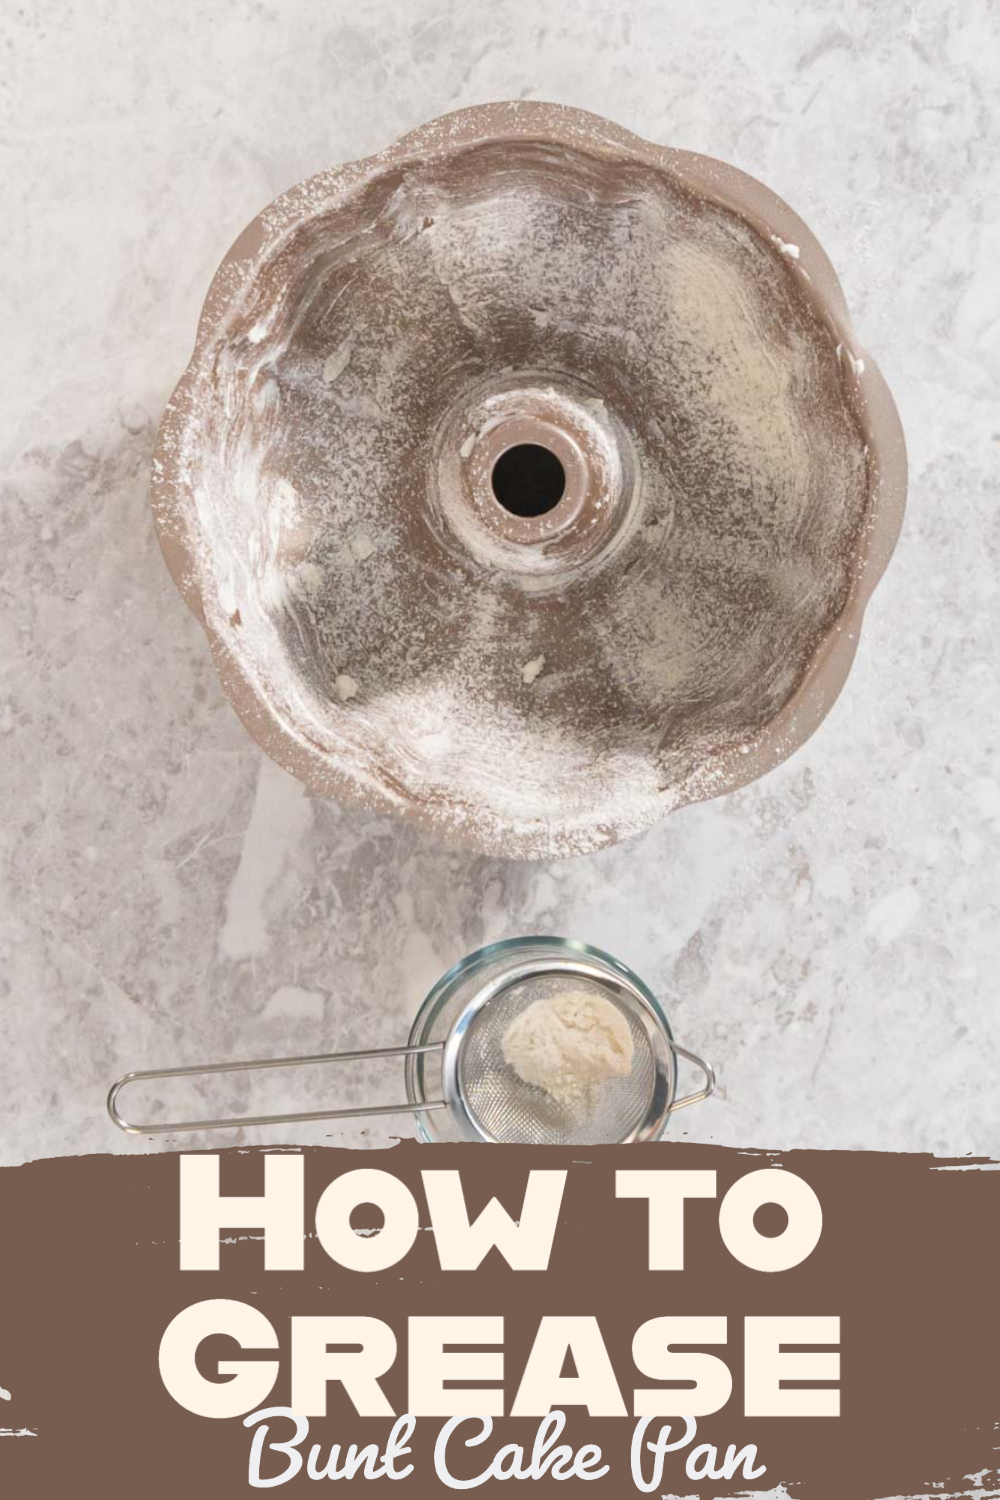
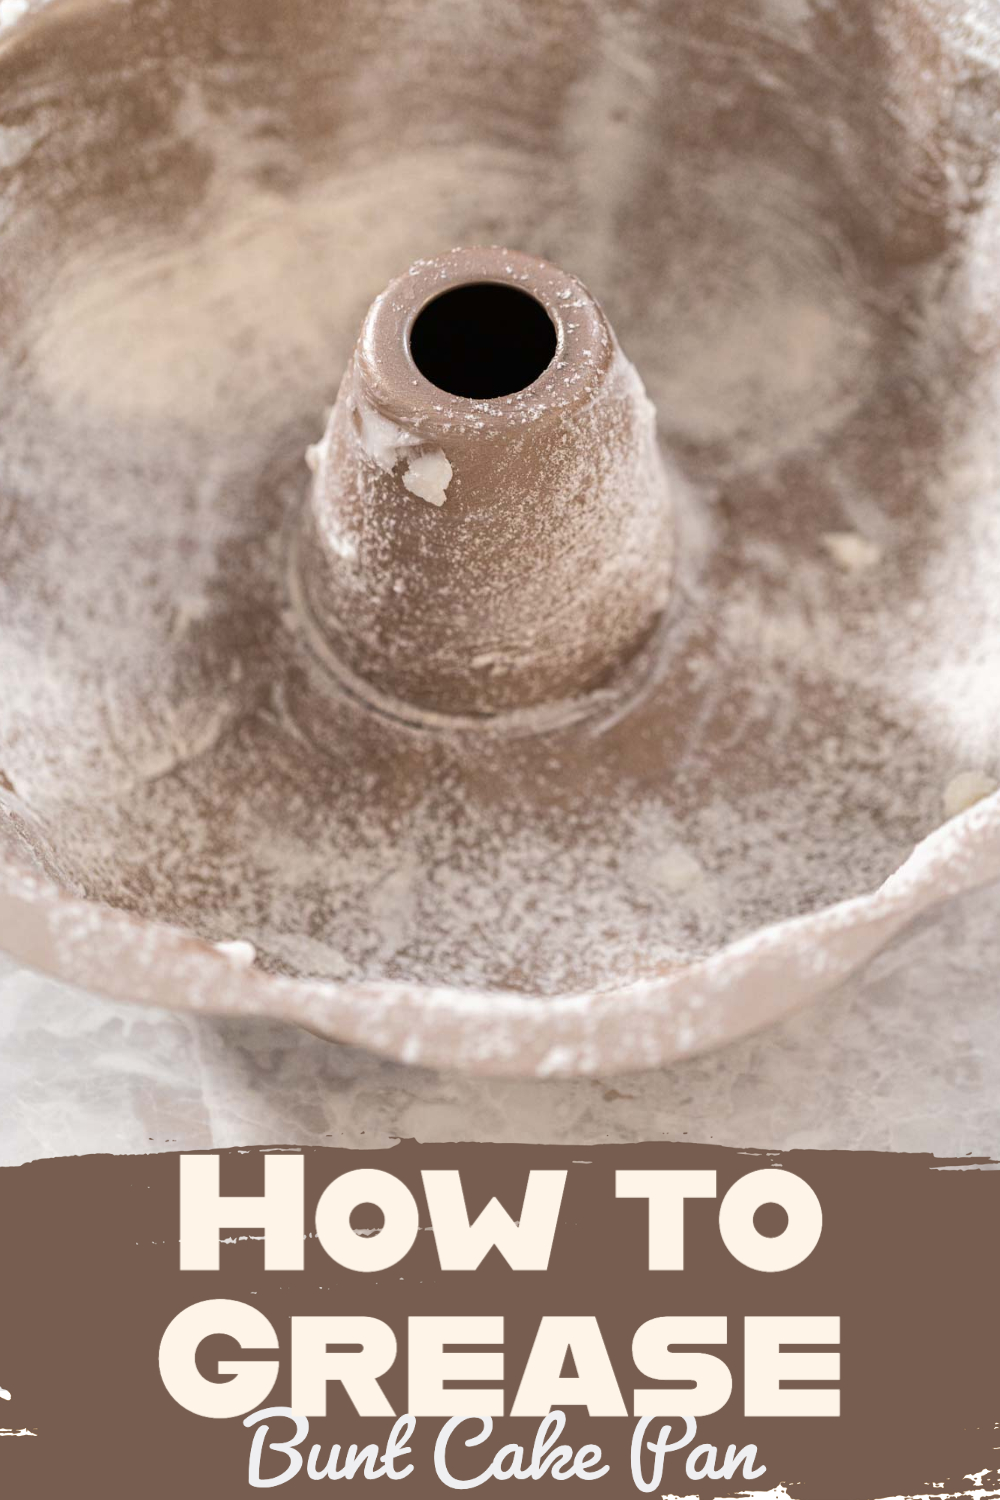
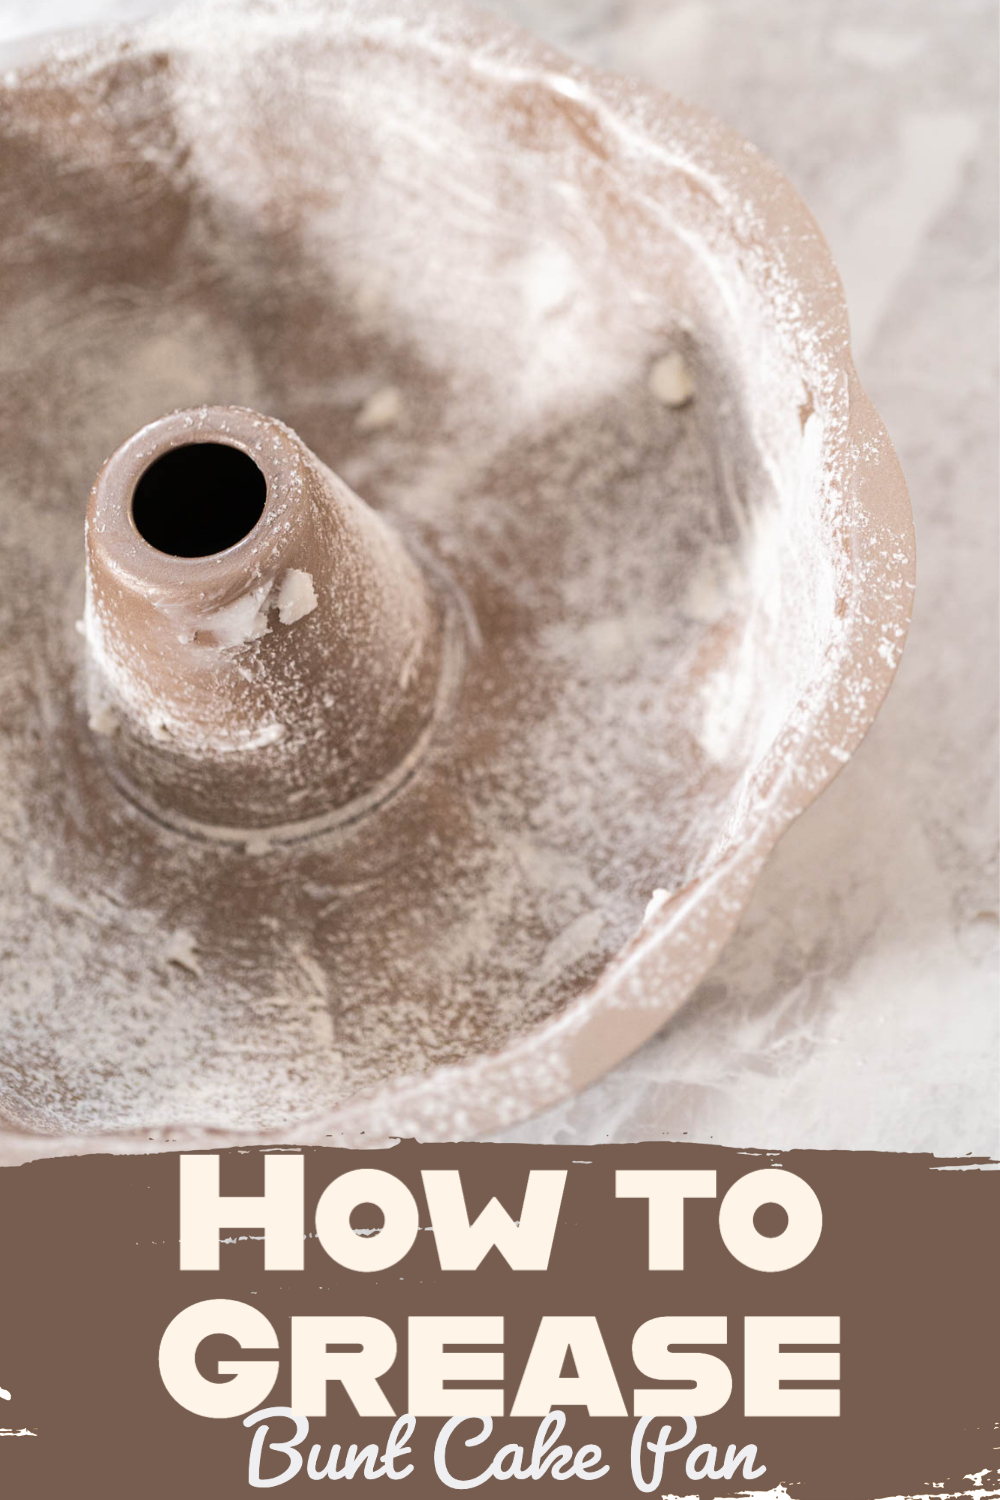
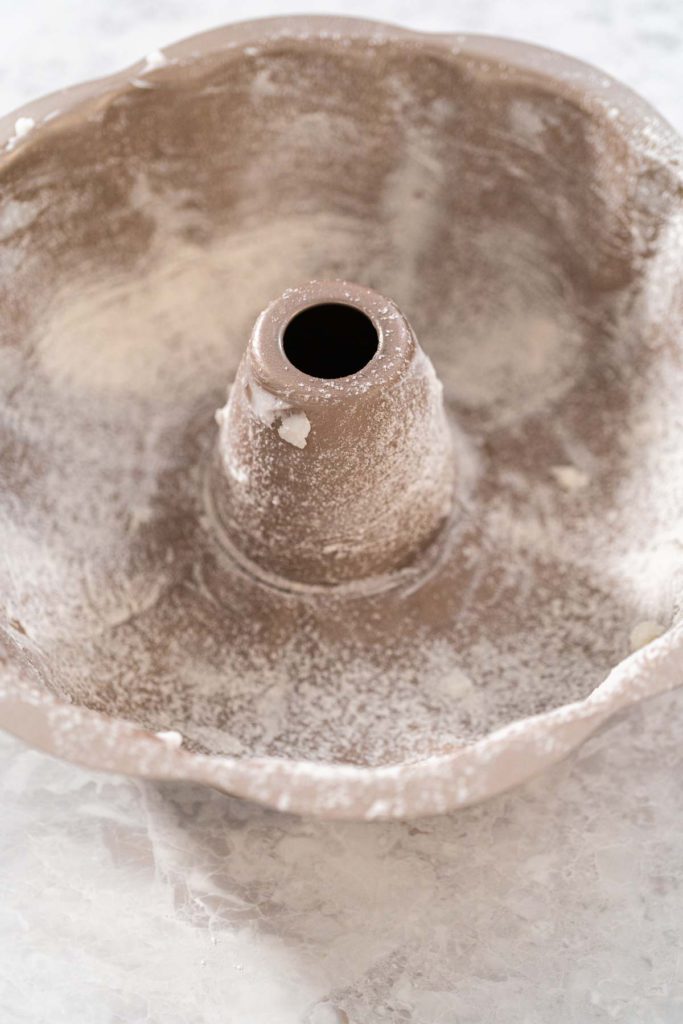
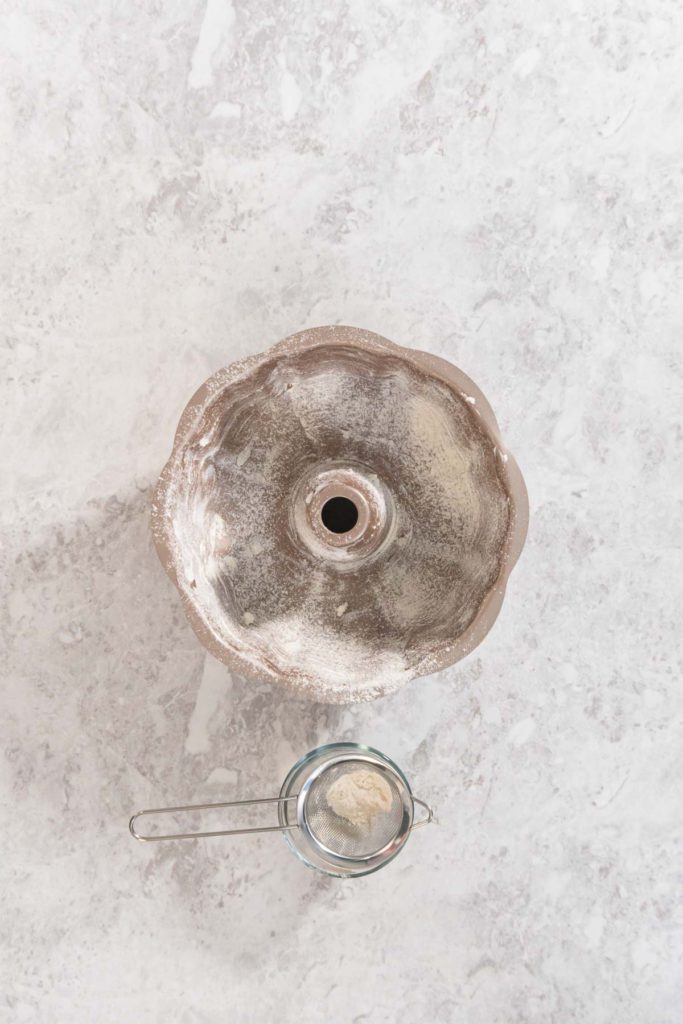
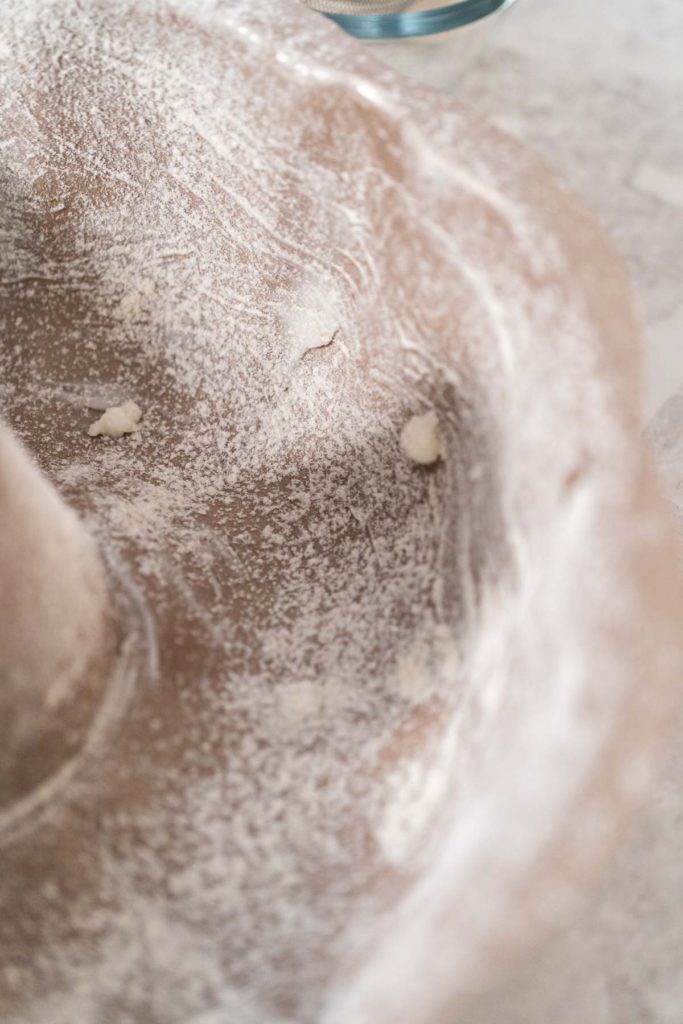
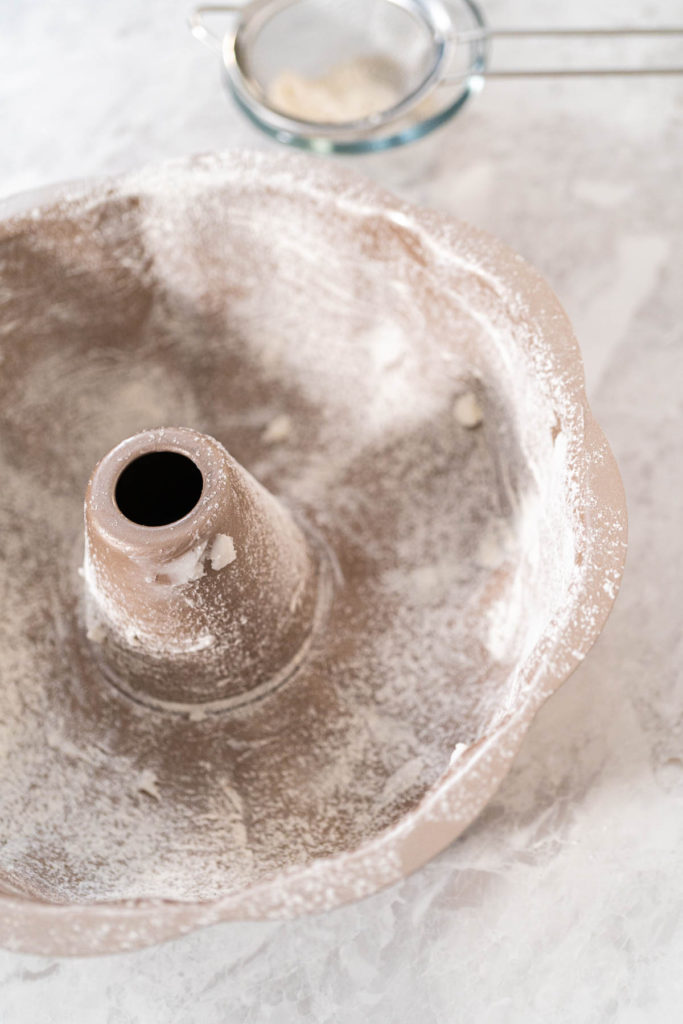
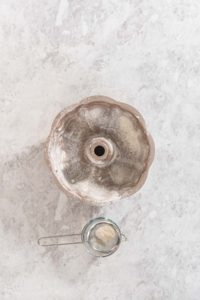
- Sift flour over the greased pan, covering all the inside surfaces of the Bundt pan.
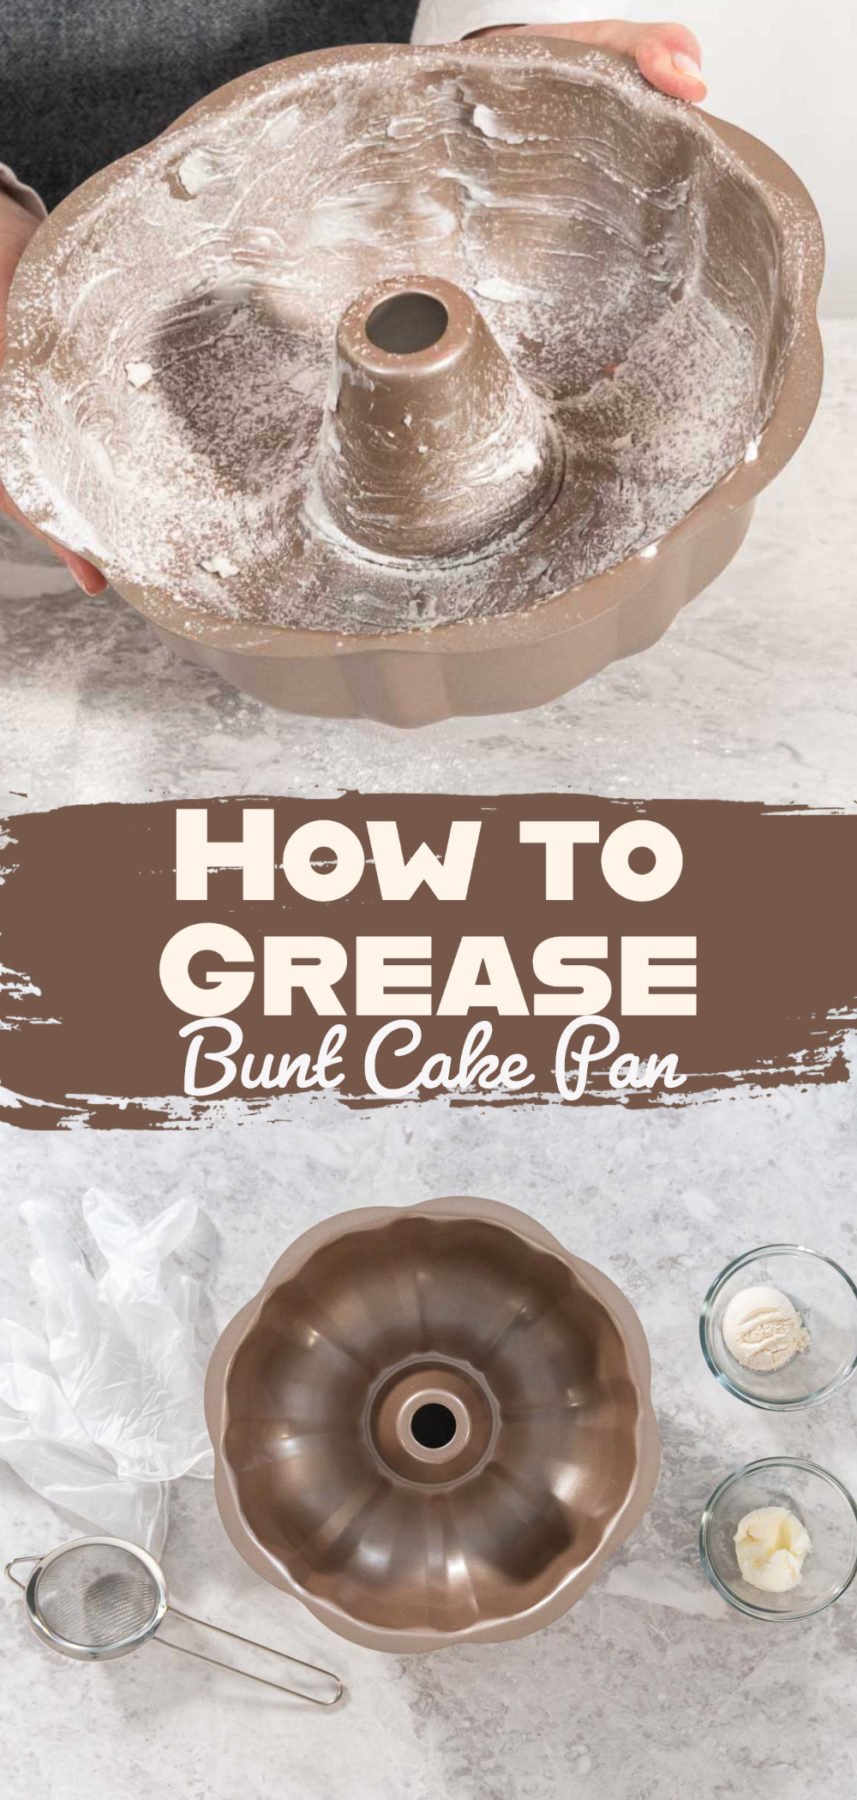
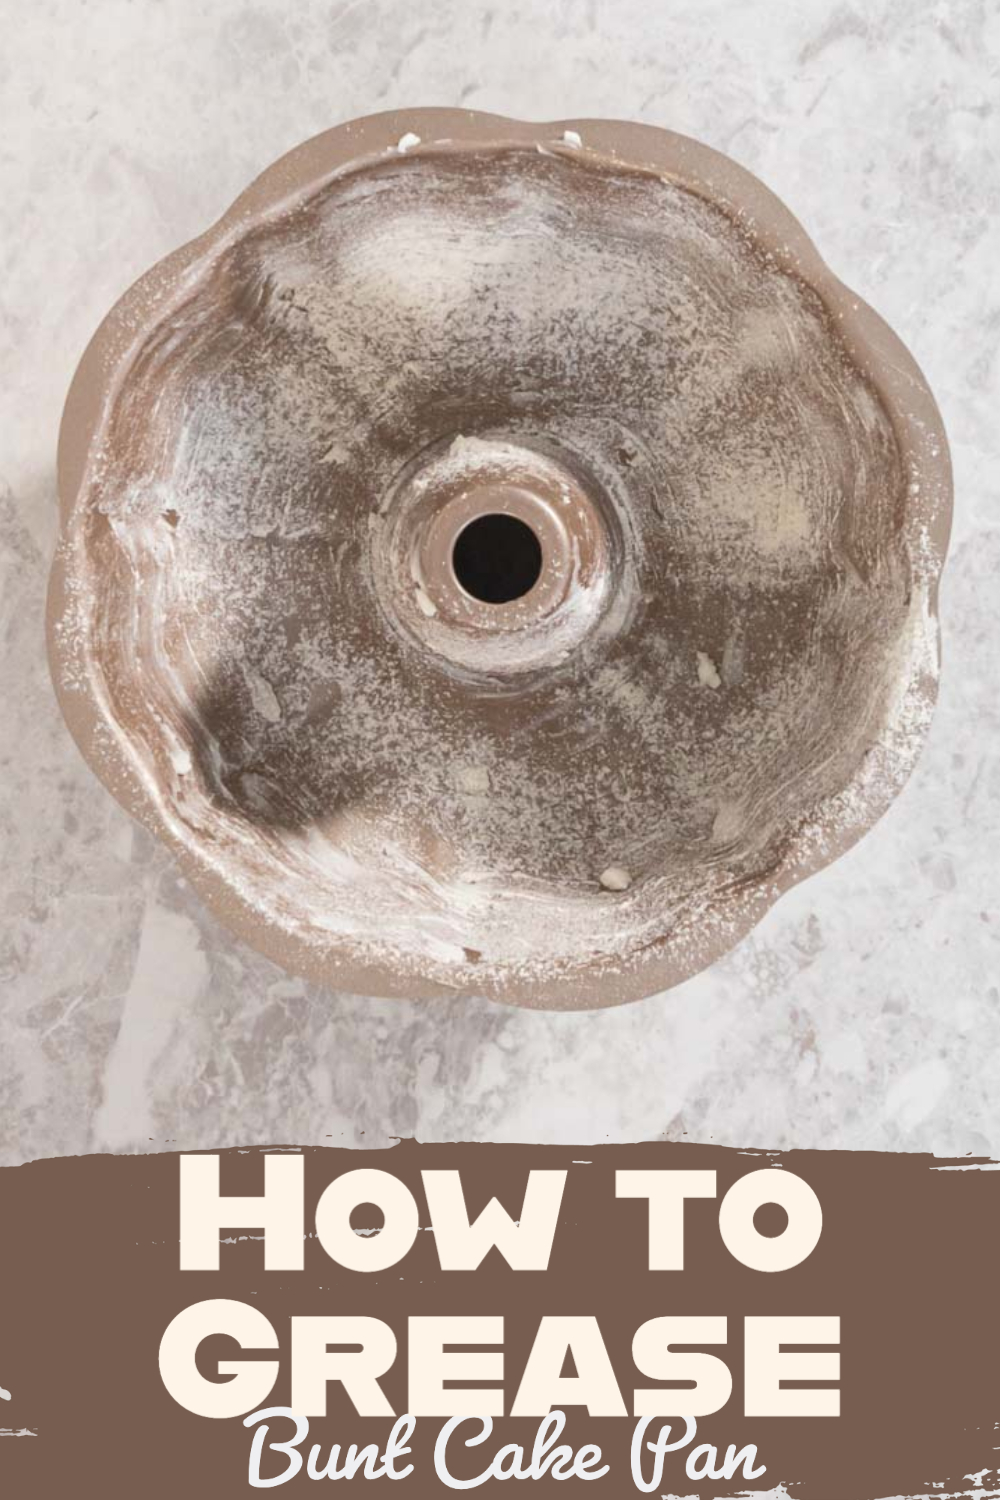
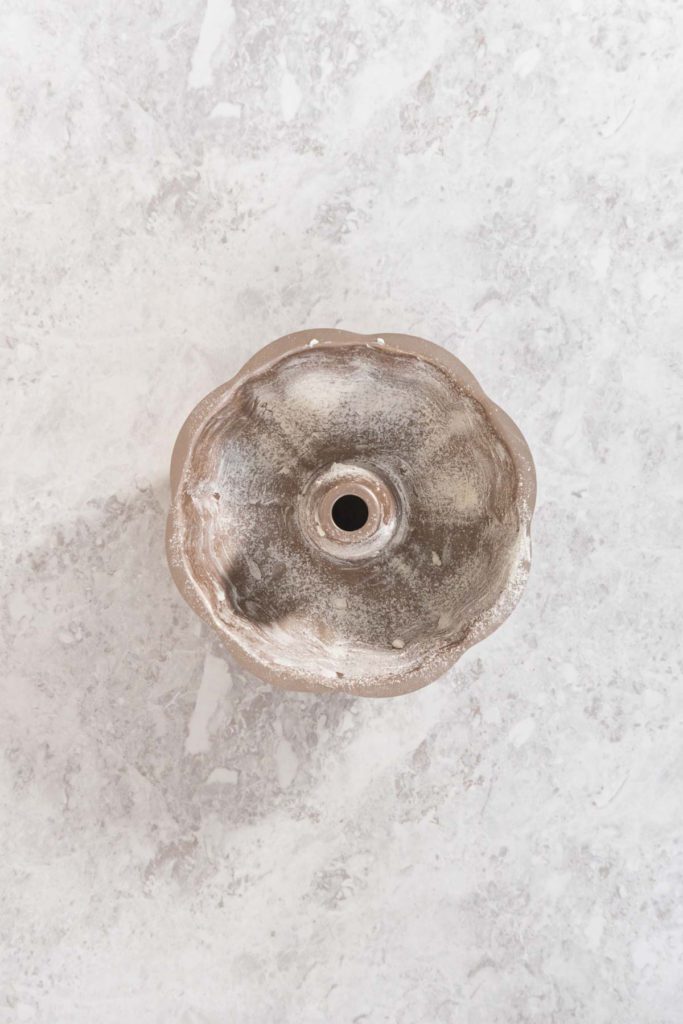
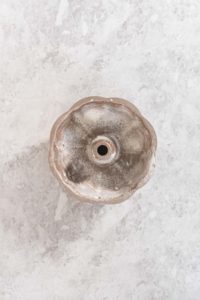
- Flip the pan over and gently tap on it to shake off any excess flour.
- Your Bundt pan is now greased and ready for baking.
Tips and Tricks
Over the years, I've picked up a few tricks that have made all the difference in ensuring that my Bundt cakes turn out beautifully. First off, achieving complete coverage of the pan can be tricky, but I've found that using a soft pastry brush to apply the grease helps get into all those intricate designs of a Bundt pan. It’s all about the brush strokes—gentle and thorough.
When it comes to choosing your grease, there’s a world of options. Butter gives a wonderful flavor and golden color to your cakes but can sometimes burn if not careful. Vegetable shortening is great for a non-stick surface, and I’ve experimented with combining it with flour or even almond meal for different textures and flavors. For those interested in alternatives, check out my post on "Choosing the Right Grease for Your Bundt Pan."
Troubleshooting common issues is also key. Sticky spots or uneven coating often plague even seasoned bakers. My top tip here is to not skimp on the grease and to pay special attention to the center tube and the crevices where batter likes to cling. If you ever run into these issues, take a peek at "Bundt Cake Baking Hacks" for more detailed solutions.
More Baking Hacks
Conclusion
We’ve covered a lot today—from choosing the right tools and ingredients to the actual steps of greasing your Bundt pan effectively. Remember, the type of grease you choose can greatly affect the outcome of your cakes, both in terms of taste and texture. I encourage you all to experiment with different greases to see what works best for you. Whether it’s a classic butter approach or something more unconventional like coconut oil, the results can be surprisingly delightful.
I’d love to hear how your Bundt cakes turn out using these methods. Feel free to share your results and any additional tips you might have discovered in the comments below. If you’re looking for more tips or recipes, don’t miss my "Dress Up Bundt Cake For Any Occasion" or dive into some delicious experiments with "Bundt Cakes Recipes." Happy baking, and let’s keep making those perfect Bundt cakes together!
How to Grease Bundt Cake Pan
Video
Equipment
- 1 Sifter small
Ingredients
- 1 tablespoon Vegetable shortening
- 1 tablespoon all-purpose flour
Instructions
- Measure and prepare all ingredients needed for the recipe.
- Put on disposable vinyl gloves; if unavailable, use a ziplock plastic bag to keep your hands clean.
- Grease the Bundt pan evenly with vegetable shortening, ensuring no spots are missed.
- Sift flour over the greased pan, covering all the inside surfaces of the Bundt pan.
- Flip the pan over and gently tap on it to shake off any excess flour.
- Your Bundt pan is now greased and ready for baking.
Food Photography & Video Tips from My Studio
Here’s a peek at the tools, gear, and camera setups I use to film my recipe videos and photograph food at home. Over the years, I’ve tested dozens of different setups, and now I’m sharing what actually works for me—whether I’m filming overhead shots for YouTube or styling still photos for my blog. If you’re curious about how I create the content you see here, these posts are a great place to start.






Leave a Reply