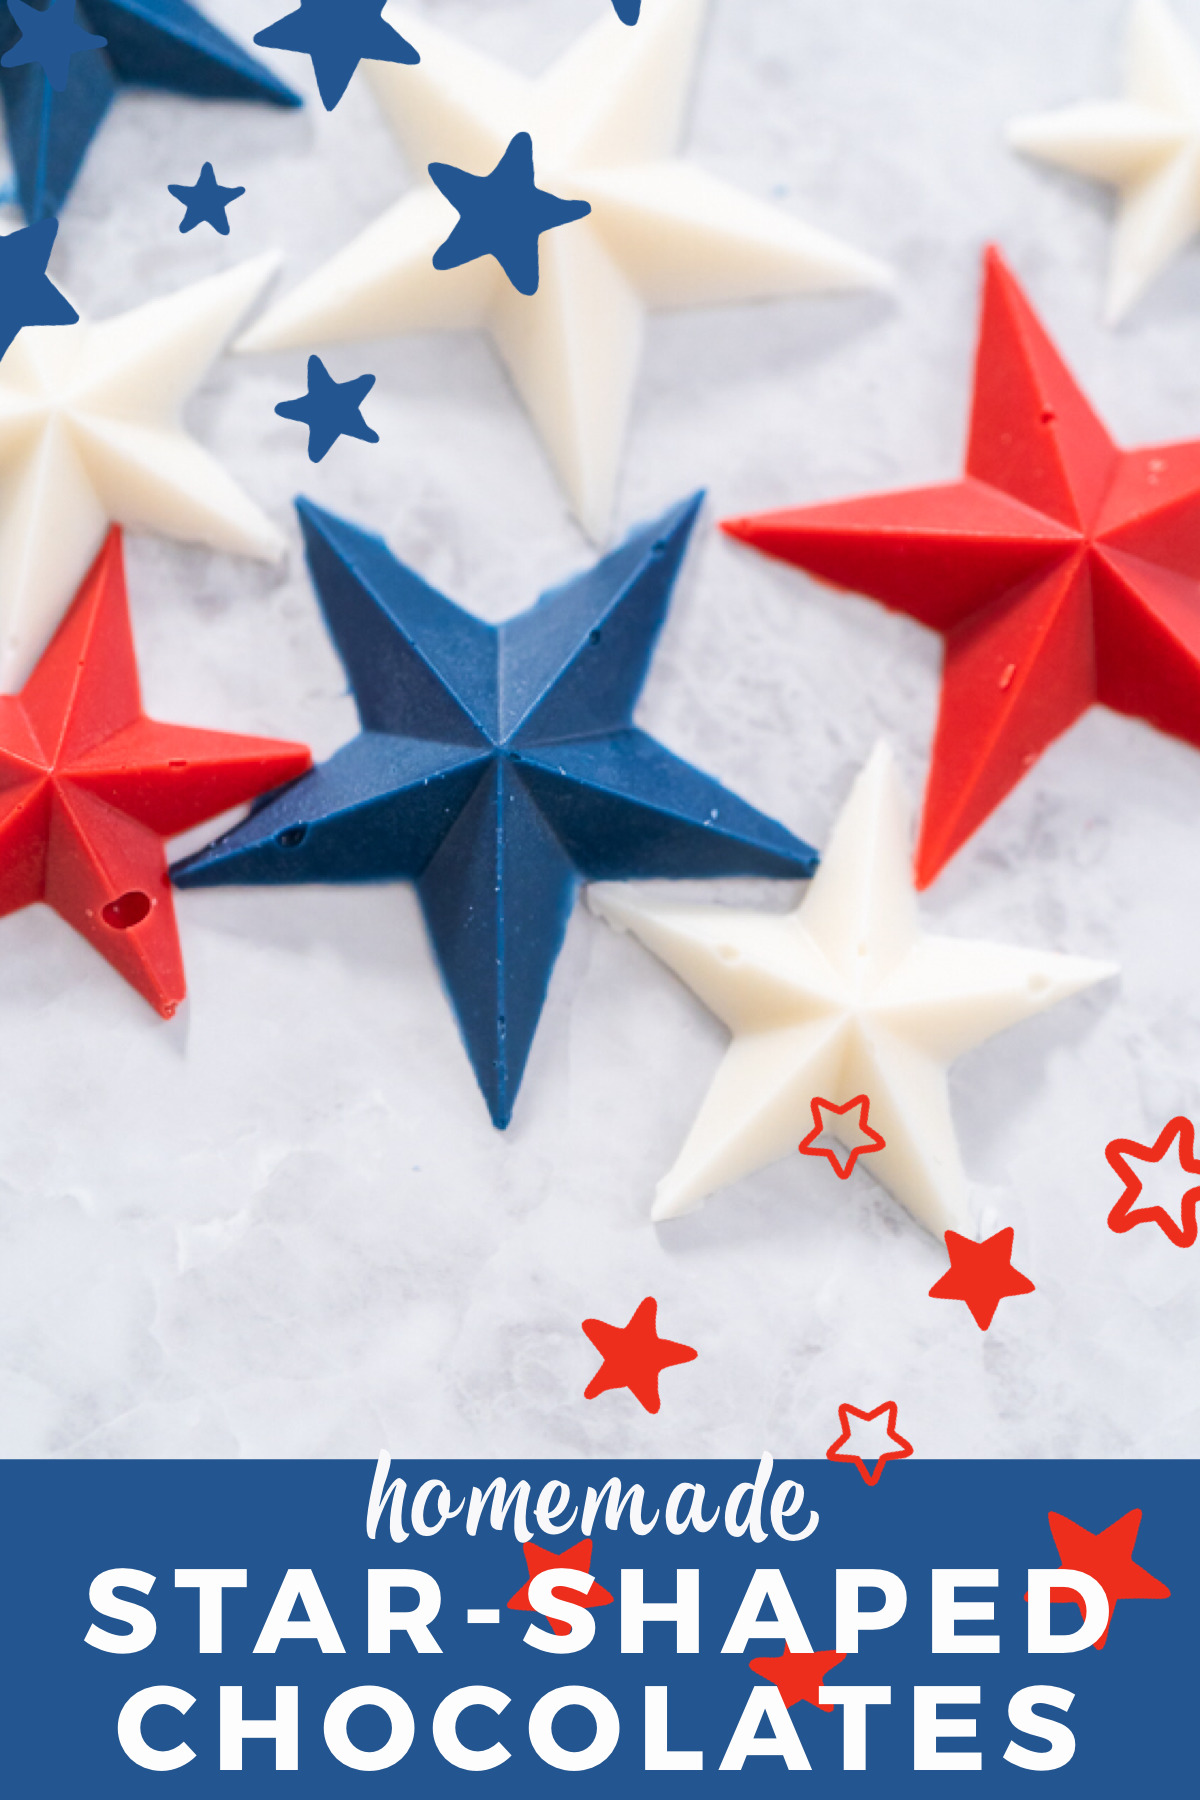
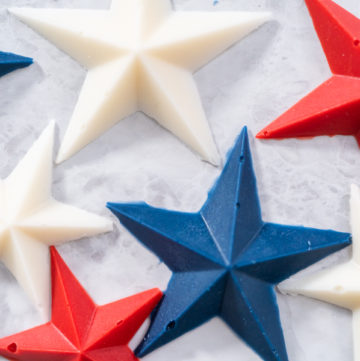
How to make quick, easy, and colorful homemade star-shaped chocolates for decorating any patriotic treat!
This post contains affiliate links.
I don’t know about you but I love baking up sweets and treats that match holiday schemes and add a special ambience to the atmosphere at my parties or family gatherings. Having such a busy family, I love it even more when those homemade treats are easy to make and do not require a lot of equipment, time, or extra effort. Especially if the treat I’m focusing on making is actually a homemade dessert topper made to dazzle and decorate a more intricate baking recipe like a fancy cake or cute cupcakes.
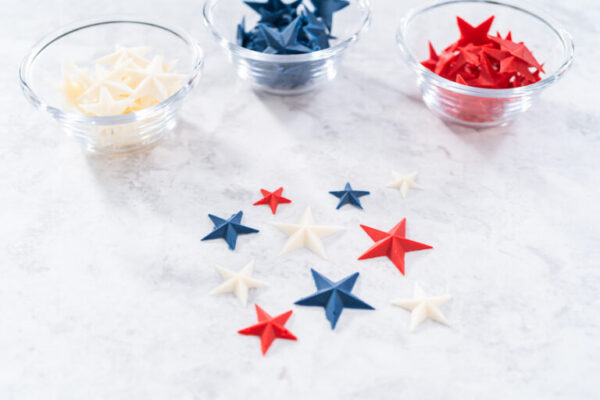
So with the upcoming 4th of July holiday approaching fast I want to share one of the most simple, yet incredibly charming, recipes I know of to make your sweet celebrations even better and easier than ever before! I am going to walk you through the super simple process of making your own patriotic homemade star- shaped chocolates!
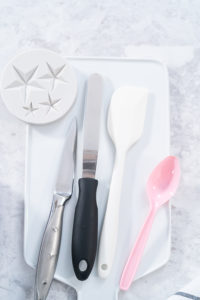
To make easy homemade star- shaped chocolates all you need is some different colored candy melts, coconut oil, a candy melt pot, some star- shaped silicone molds, and some spatulas. Just melt the candies and oil together in the melting pot, pour the melted candy into the molds, scrape off any excess chocolate, and freeze flat.
Simple Candy- Making Equipment
Making homemade chocolates in the comfort of your own kitchen is a lot of fun and really adds a special touch to any homemade treat or dessert! One of the best parts about these easy candies is that they only require a few tools and equipment to make. Even better, each tool needed is super easy to clean so there is no need to fret over that either!
Mixing and Melting Equipment:
Helpful Hint:
I specifically like using my candy melt pot over all other melting methods for any kind of candy making projects because it keeps the chocolate at the perfect temperature through the melting process making it much easier and stress free! Plus the silicone lining makes it super easy to clean between different colored batches!
Colorful Candy Ingredients
Another great thing about these homemade chocolates is that they only require a couple of ingredients. In fact, I can not think of many other homemade recipes that require as few ingredients as these cute little star candies do!
Red Stars:
- ½ cup Red Wilton Candy Melts
- ¼ teaspoon Coconut Oil
Blue Stars:
- ½ cup Royal Blue Wilton Candy Melts
- ¼ teaspoon Coconut Oil
White Stars:
- ½ cup Bright White Wilton Candy Melts
- ½ teaspoon Coconut Oil
Melting into the Magic
The cooking process for these homemade chocolate stars is just as delightfully simple and easy as getting the tools and ingredients ready. This is definitely one of those homemade recipes that involves way more fun and way less stress than a lot of other baking recipes. There are just a few key notes to keep in mind though to make sure your homemade chocolates come out flawless but don’t worry, I am going to cover all of that for you.
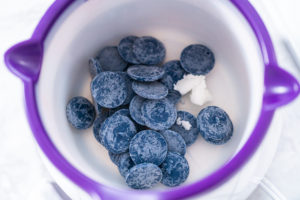
- First, combine one set of the colored candy melts and coconut oil in the candy melt pot. Melt them together on high and keep stirring regularly with a heat-resistant spatula.
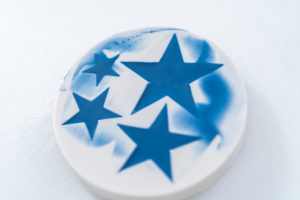
- After the candy melts and oil are completely combined together, spoon the melted chocolate into the star-shaped silicone molds.
- I suggest using at least 2 silicone molds. I personally like to use 3 molds at the same time to speed up my process.
- Then, use a cake spatula to scrape off the excess chocolate.
- Next, place the silicone molds on a small baking sheet and transfer them to the freezer to freeze for about 7- 10 minutes.
- Make sure to lay them flat in the freezer!
- After the chocolate has hardened completely, carefully remove the star-shaped chocolates from the silicone molds. Use a small knife to carefully cut off any extra chocolate from the edges.
- Be careful not to handle the chocolates in your hands for too long because the candies will start to melt from the body heat.
- Then, wash and dry the silicone molds and melting pot to prepare for the next batch.
- Make sure you do this step between each color!
- Repeat the melting and freezing process for the remaining colors.
Safe Homemade Chocolate Storage
These homemade chocolate stars can actually stay fresher tasting for much longer than other homemade desserts, like cupcakes or cookies, if they are stored properly.
- Transfer the homemade chocolate stars to an airtight container.
- Use small cuts of parchment paper or wax paper in between the layers to help keep the chocolates separated and intact.
- Homemade chocolates can be stored for up to 2 or 3 weeks, either stored in the fridge or in a cool, dry place out of the sun’s warm reach.
- Always note the date when storing so you can keep track of the freshness and quality.
July 4th Theme
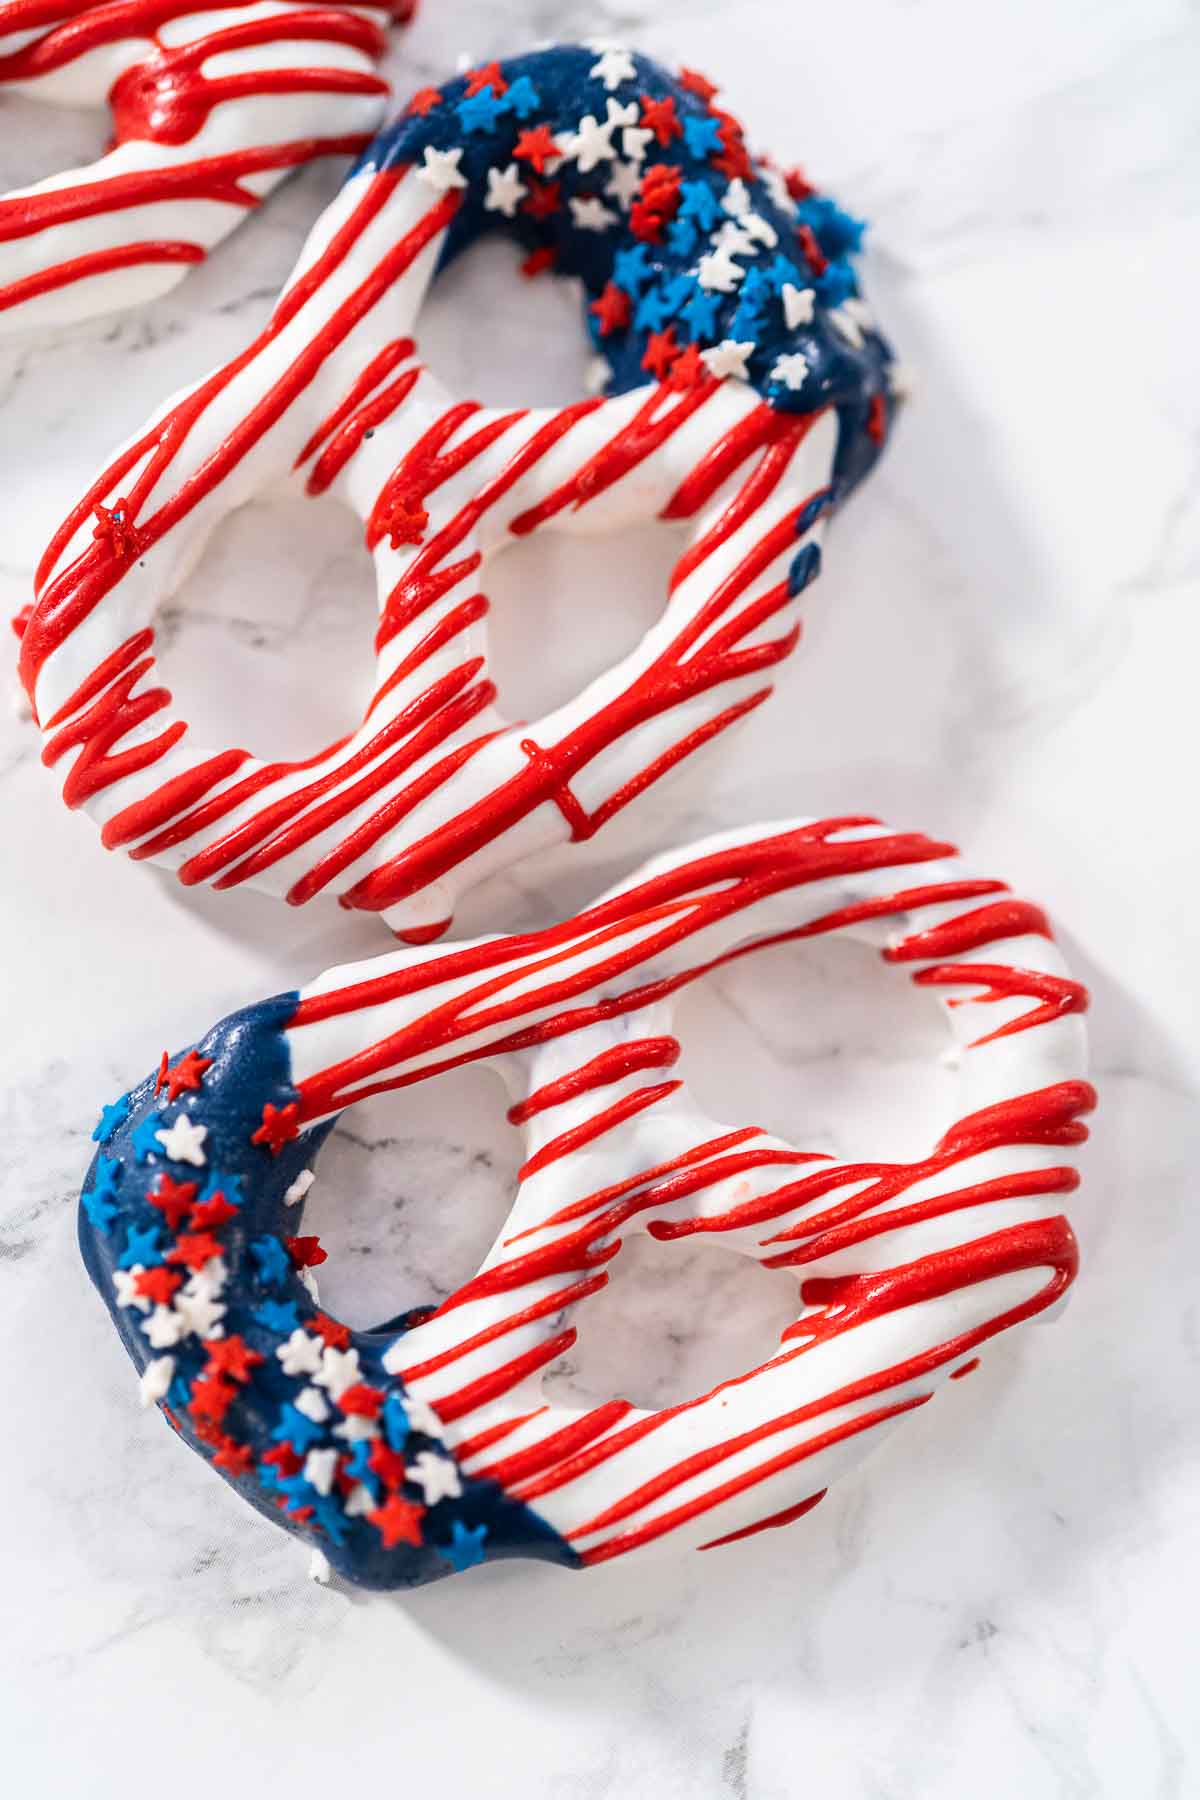
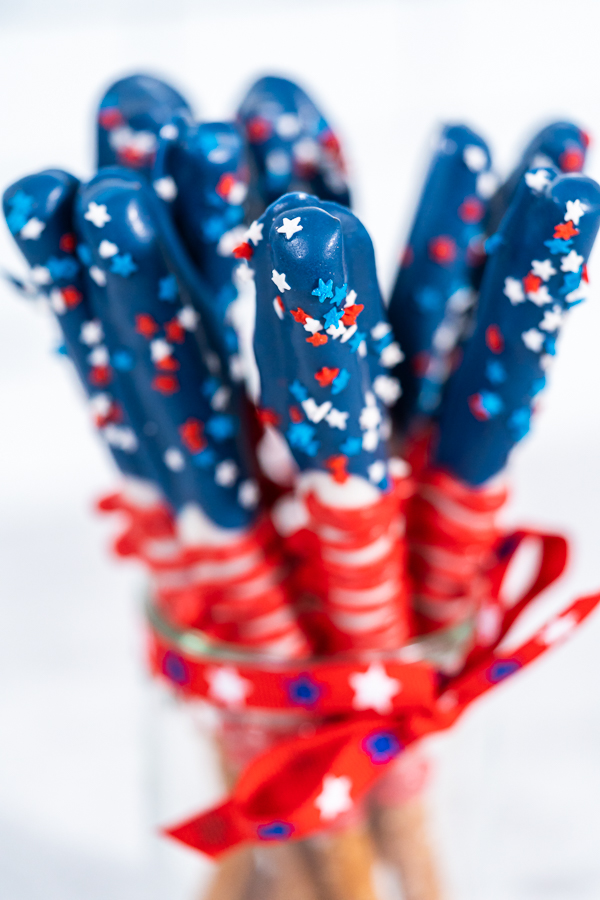
- How to Make American Flag Chocolate Covered Pretzel Twists
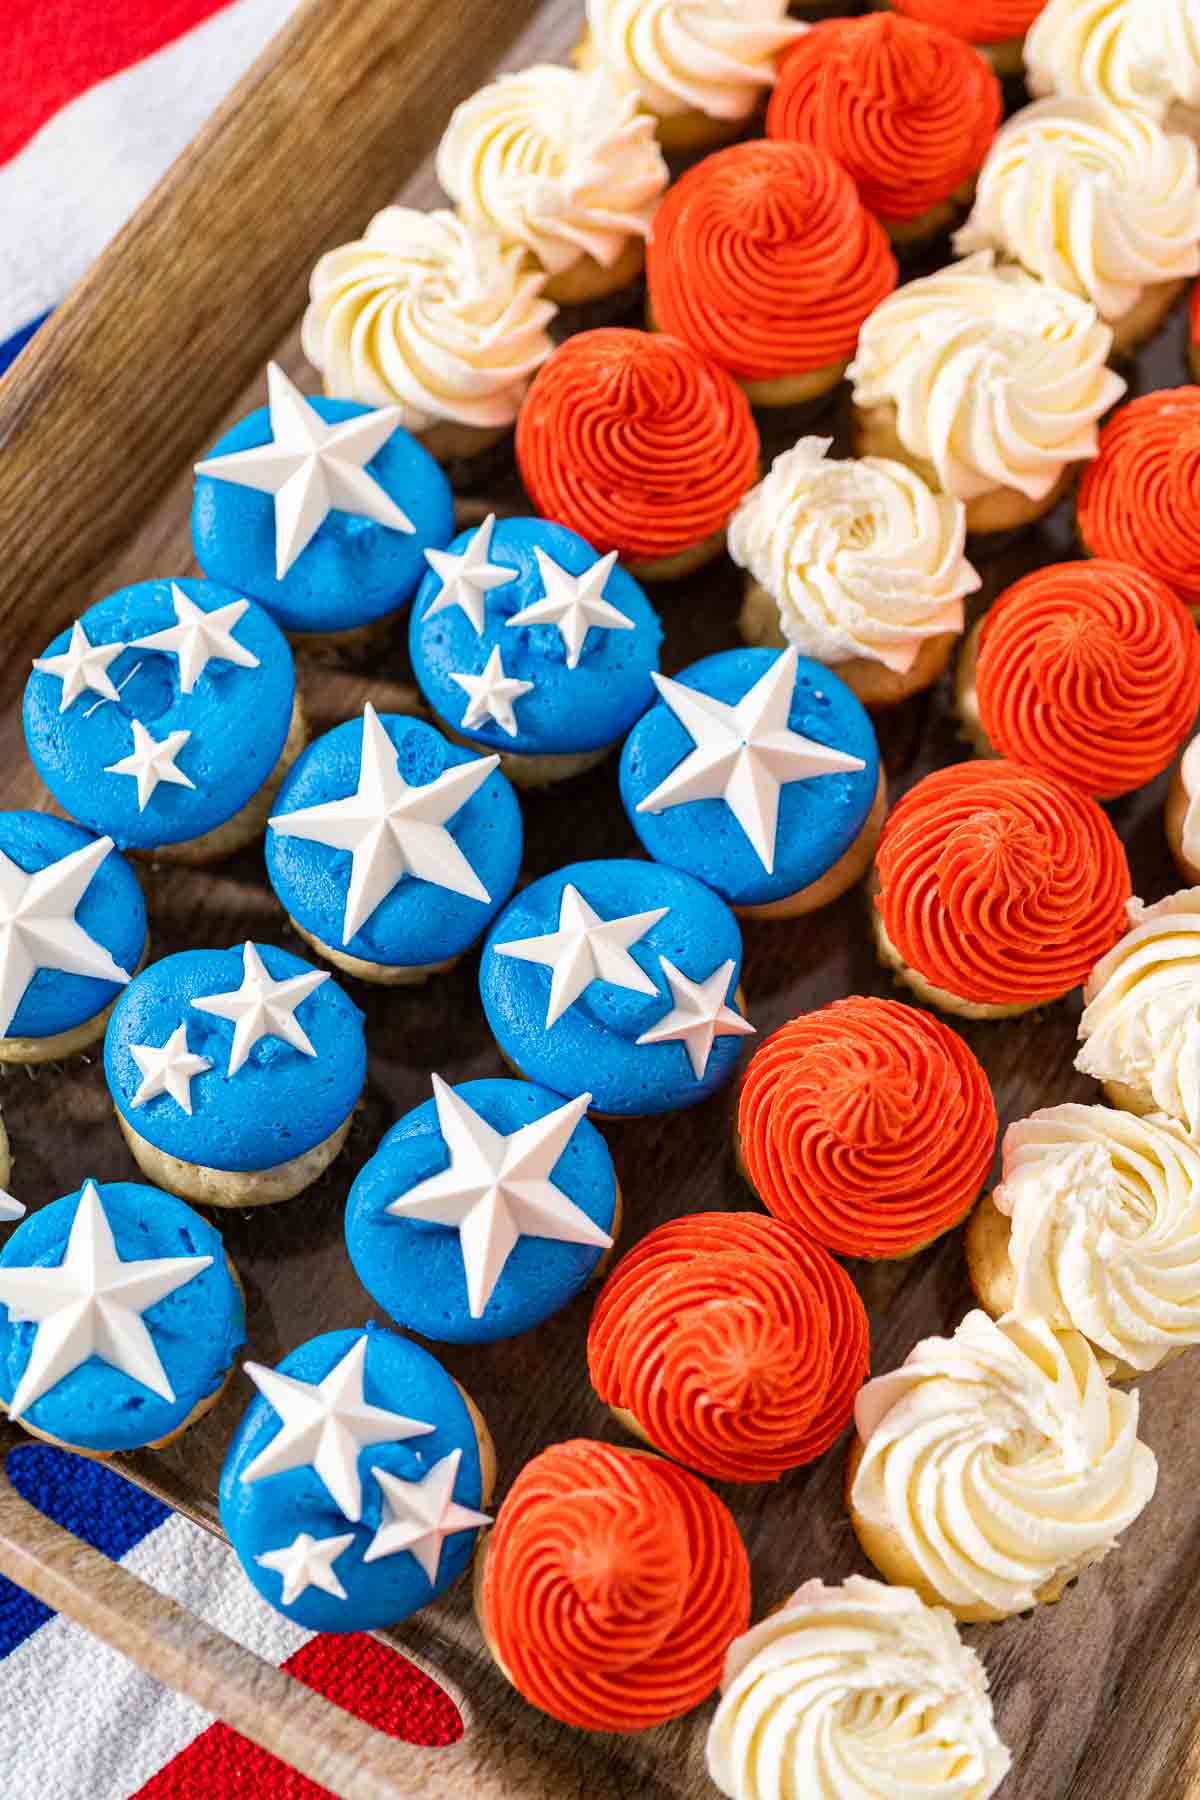
- How to Make American Flag Mini Cupcakes for 4th of July
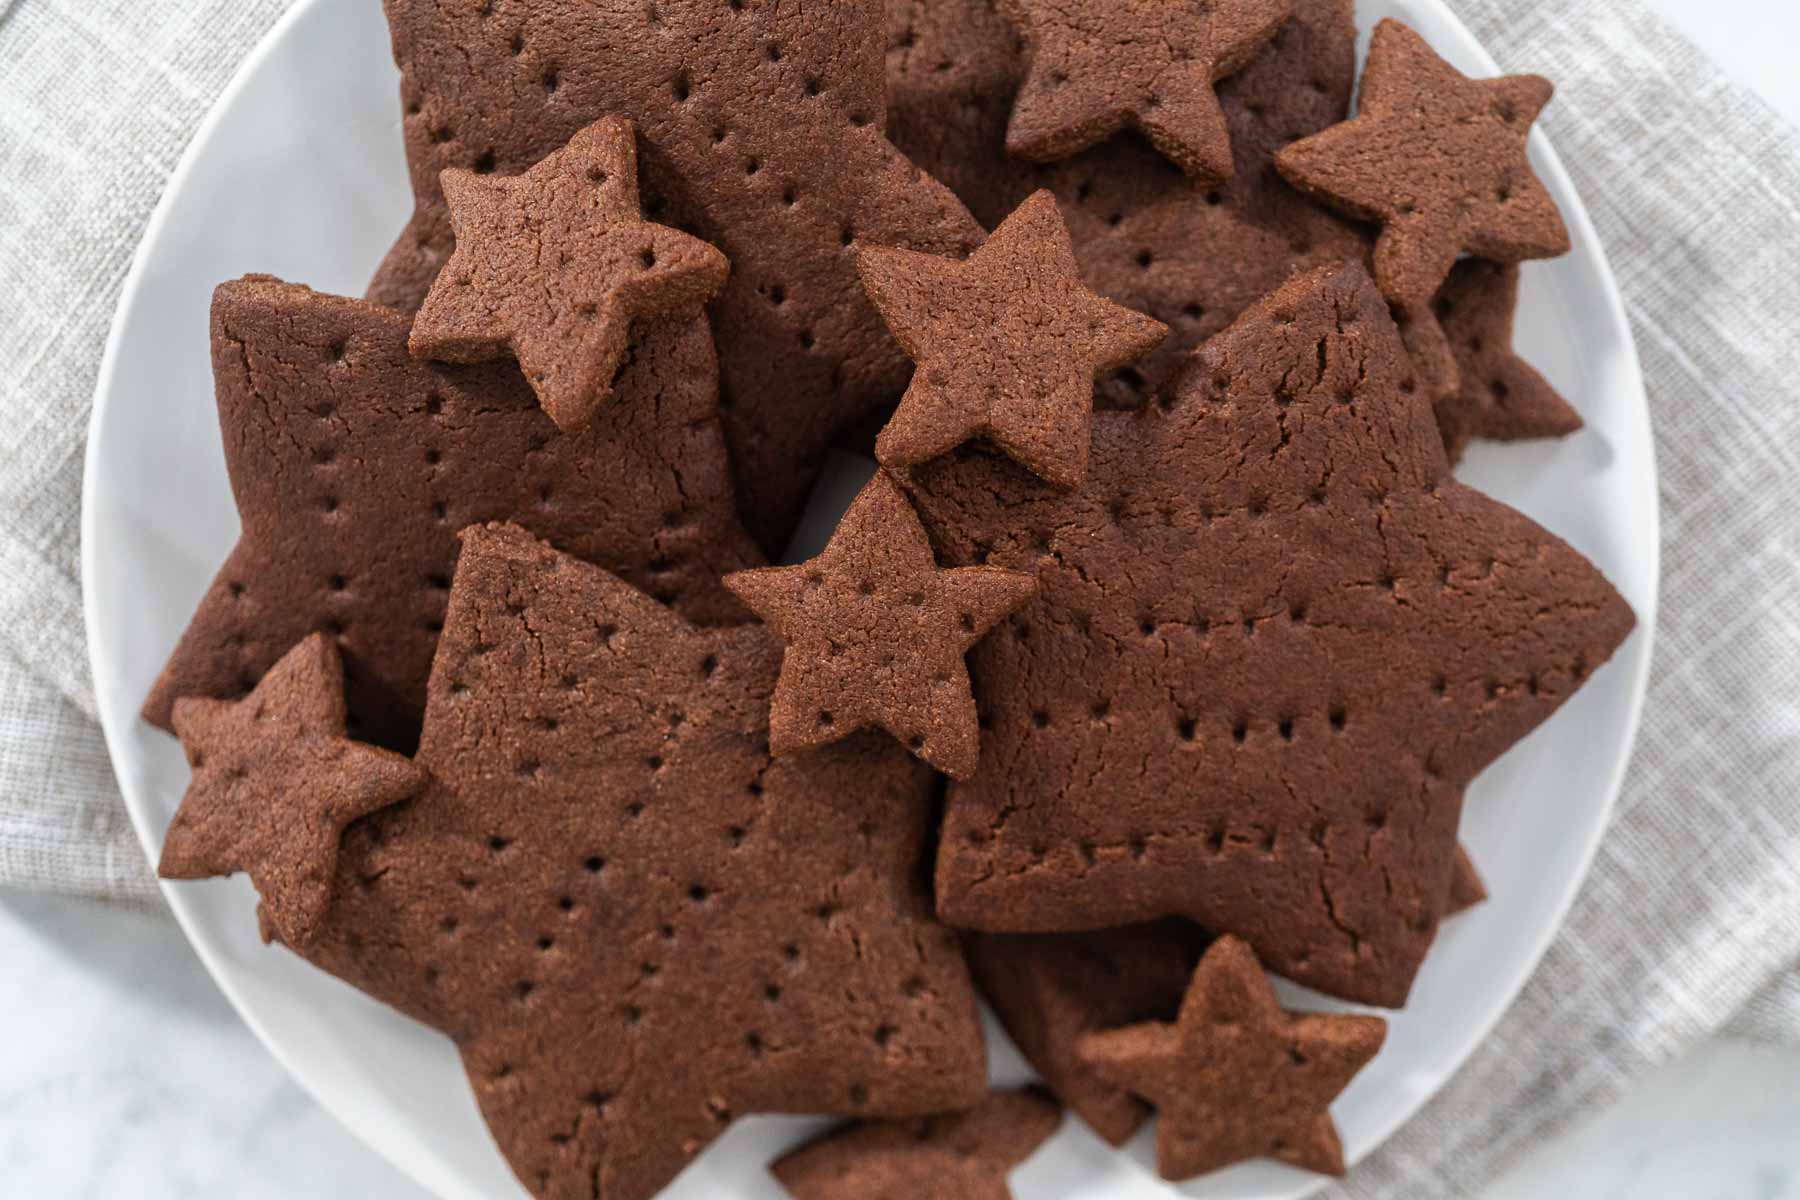
- Homemade Chocolate Graham Crackers in Fun Star Shapes
- Chocolate Covered Pretzel Rods for 4th of July Parties
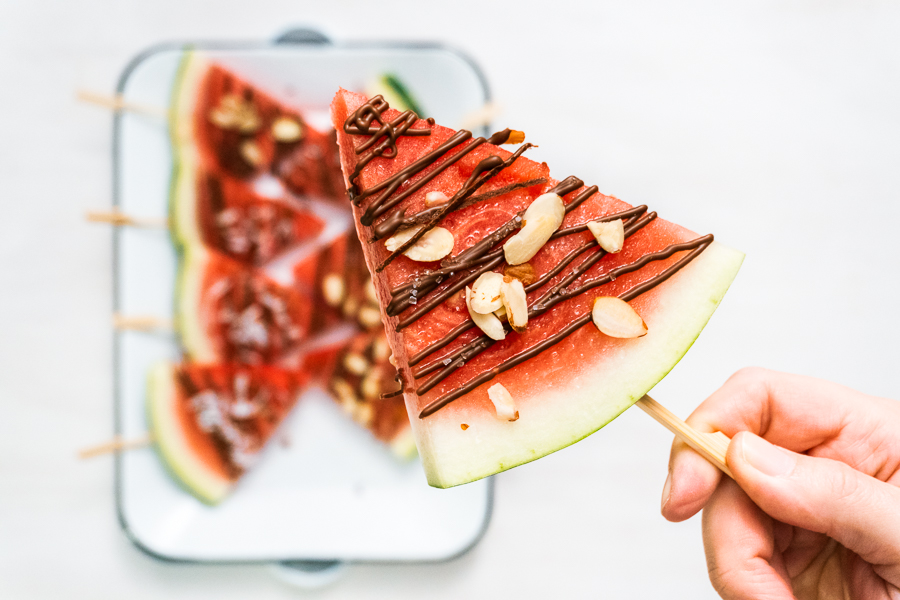
- Watermelon Popsicles with Chocolate Drizzle
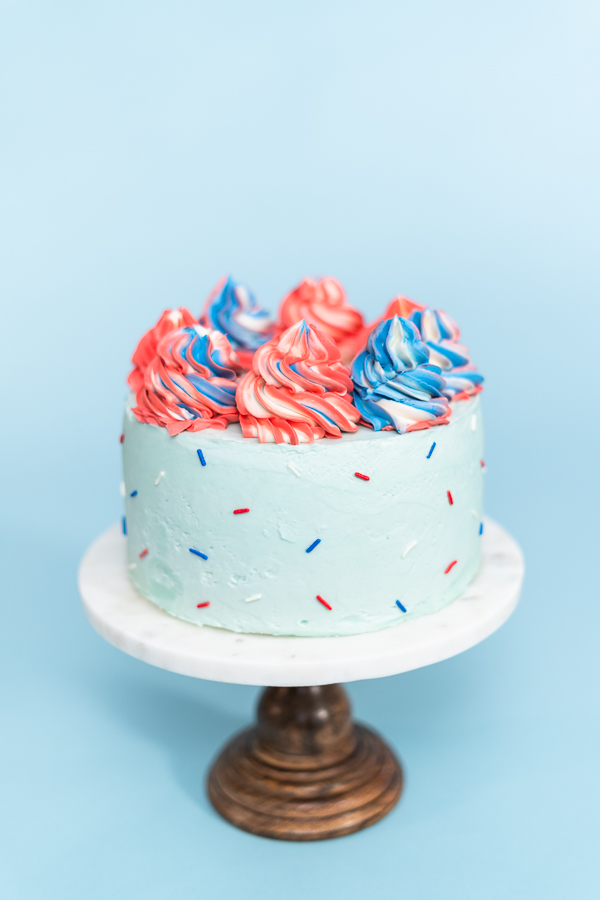
- Fast Homemade Vanilla Cake Recipe – Bake and Frost in 3 Hours
Serving Up Starry Eyes and Starry Treats
These homemade chocolate stars are the most charming way to add a colorful patriotic touch to just about any homemade dessert you plan to make in honor of the 4th of July this year! Need a few dessert ideas? Serve these cuties on top of colorful, patriotic- themed treats such as:
- Cakes - whether it is one full- sized cake or mini individual cakes.
- cupcakes
- cookies
- brownies
- Smoothies
- Ice cream or sundaes
- With patriotic 4th of July star- shaped crackers
Here are just a few more serving ideas that I personally like for some of my other favorite baking holidays and occasions:
- Want to use this idea for a fancy birthday cake or cupcakes? Just change up the colors to match the theme or color scheme of the birthday party!
- Use romantic colors such as red, pink, and white-colored melts for cute Valentine’s day chocolate stars to serve with homemade Chocolate Hearts and Lips.
- For Christmas, you can use red, green, and white candy melts.
- For Mardi Gras, you can use purple, green, and yellow.
Basically you can swap up the colors however you like based on whichever holiday or special occasion you are celebrating!
Homemade star-shaped chocolates
Video
Ingredients
Red Stars
- ½ cup Red Wilton candy melts
- ¼ teaspoon Coconut oil
Blue Stars
- ½ cup Royal Blue Wilton Candy Melts
- ¼ teaspoon Coconut oil
White Stars
- ½ cup Bright white Wilton Candy Melts
- ½ teaspoon Coconut oil
Instructions
- Combine candy melts and coconut oil in a candy melt pot. Keep melting on high, stirring regularly.
- Spoon melted chocolate into silicone molds. Scrape excess chocolate with a cake spatula.
- Place silicone molds on a small baking sheet and freeze them for 7-10 minutes.
- Carefully remove chocolates from the silicone molds when the chocolate hardens. With a small knife, cut any extra chocolate from the edges.
- Wash and dry silicone molds and melting pot. Repeat the process for each color.
- Happy July 4th!
Food Photography & Video Tips from My Studio
Here’s a peek at the tools, gear, and camera setups I use to film my recipe videos and photograph food at home. Over the years, I’ve tested dozens of different setups, and now I’m sharing what actually works for me—whether I’m filming overhead shots for YouTube or styling still photos for my blog. If you’re curious about how I create the content you see here, these posts are a great place to start.








Leave a Reply