|
 |
This post contains affiliate links.
Why You’ll Love This Recipe
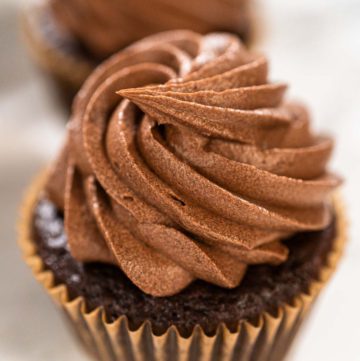
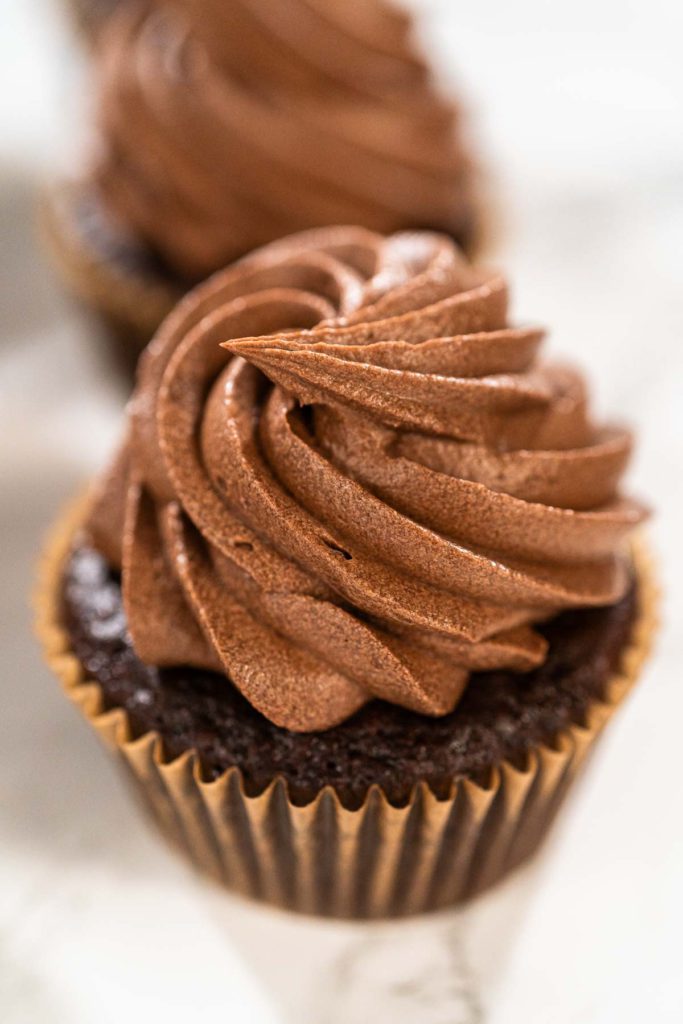
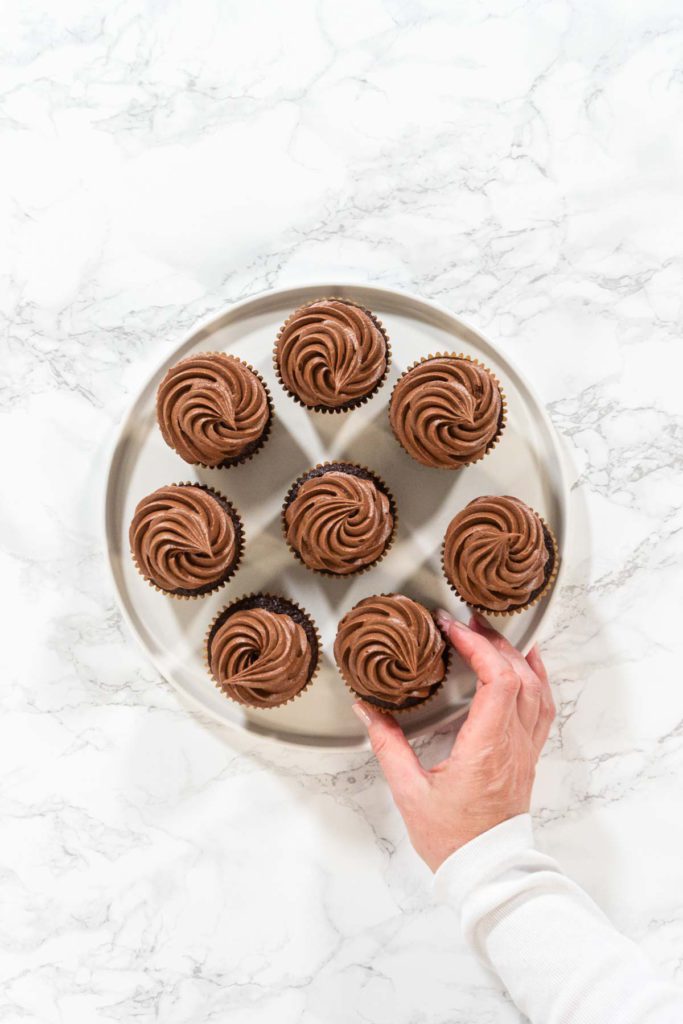
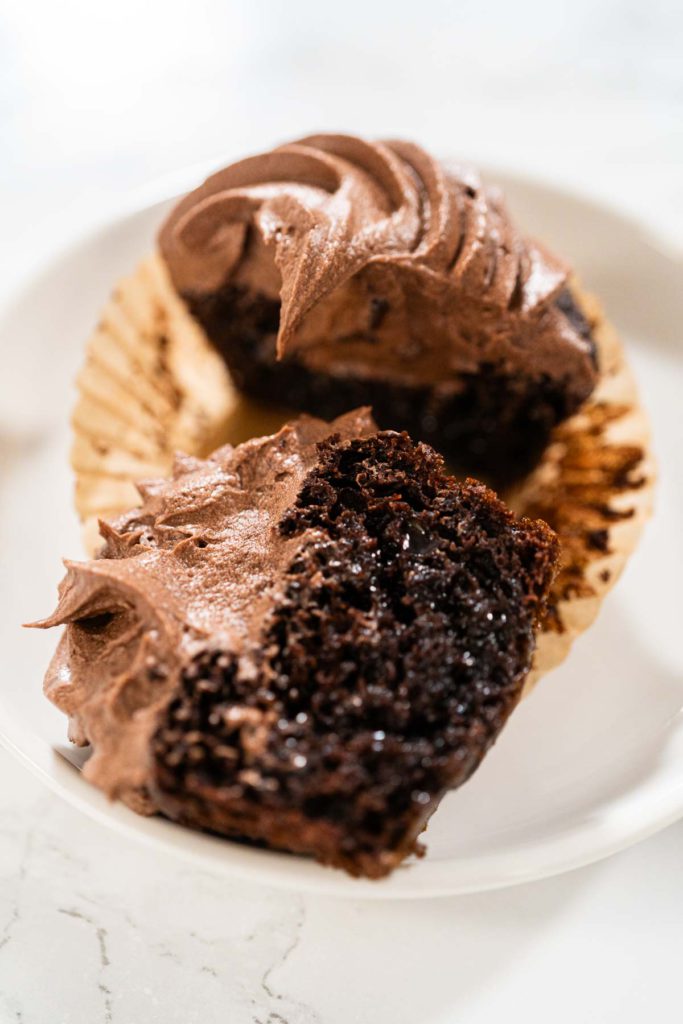
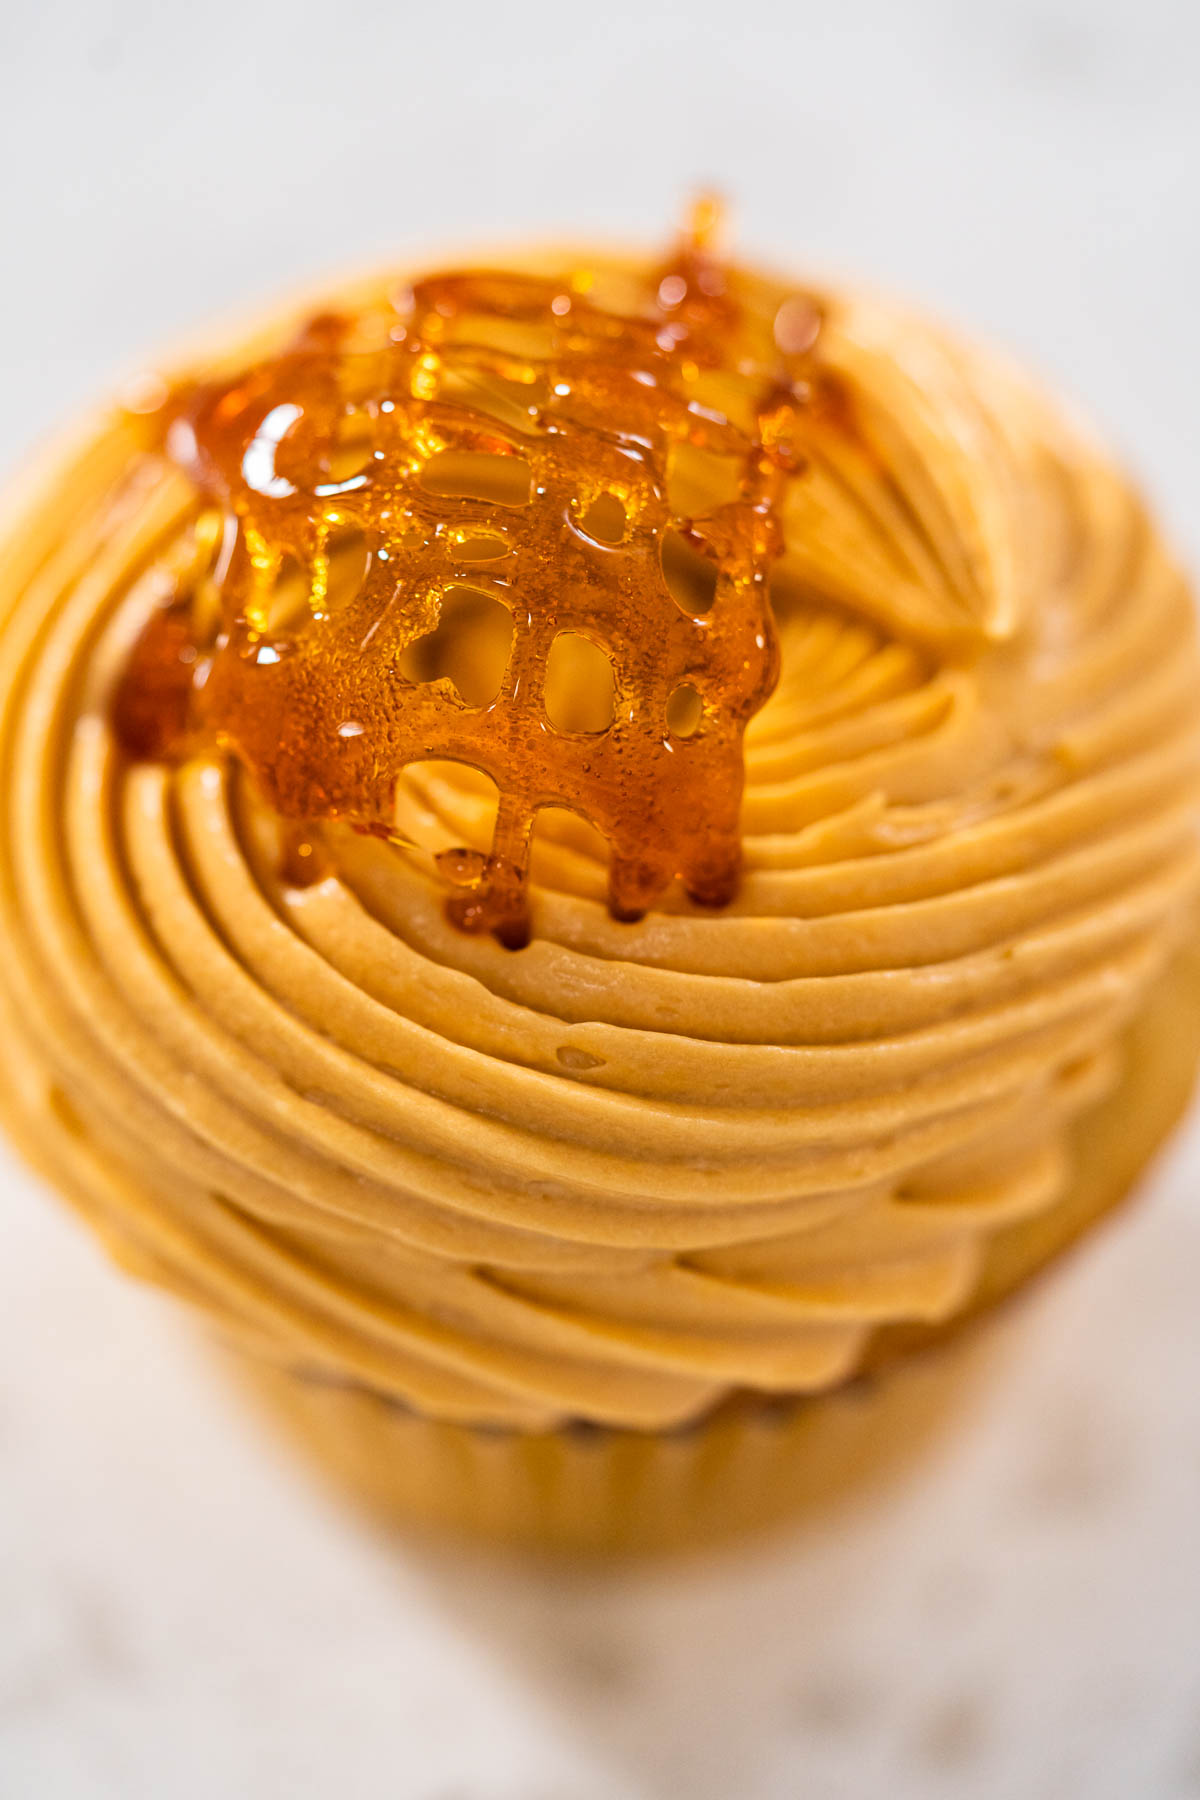
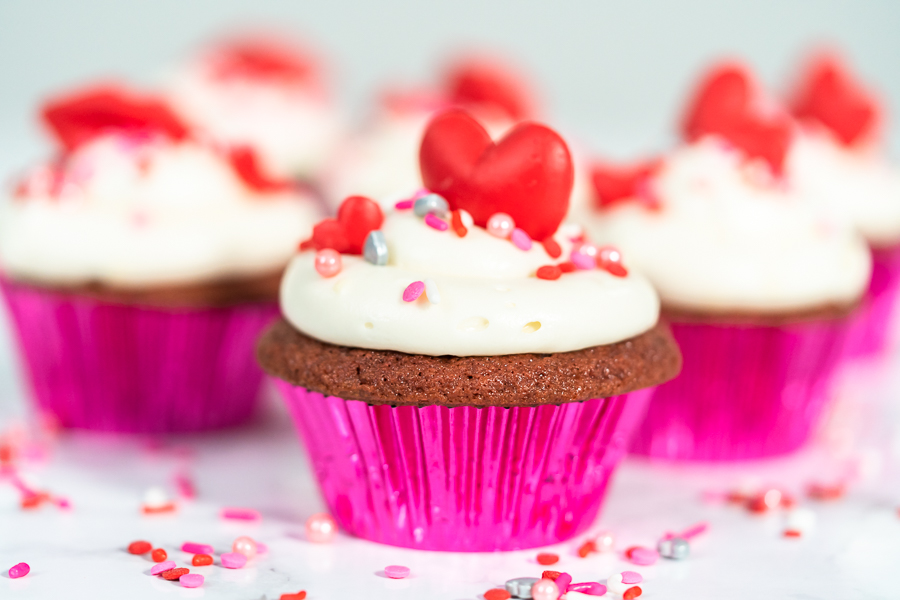
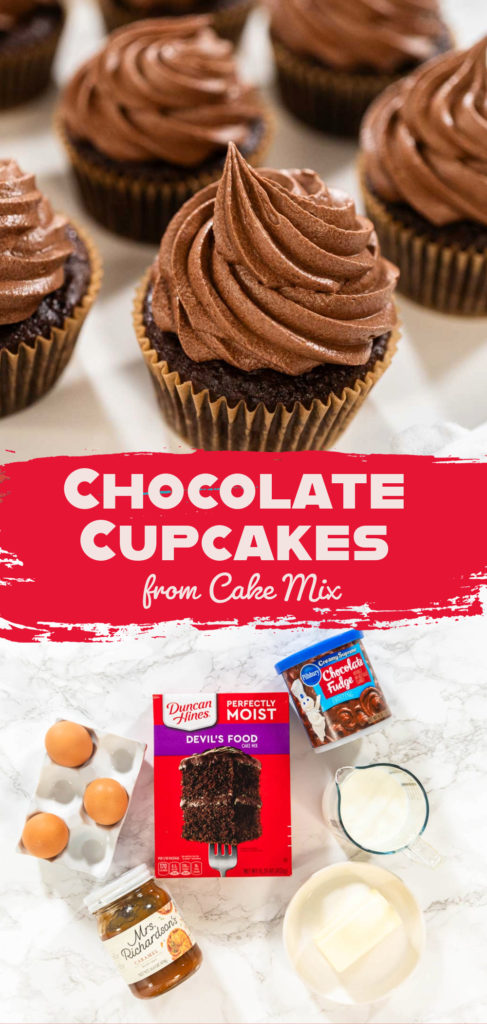
These Fancy Chocolate Cupcakes from Cake Mix are my secret weapon when I want to bake something quick but still wow everyone. They’re soft, super chocolatey, and filled with gooey caramel that surprises every time you bite in. And guess what? You don’t need to be a professional baker to make these look and taste like something from a fancy bakery.
I first whipped these up when I was rushing to bake something for a bake sale. I had no time for scratch recipes, so I used a box of Devil’s Food cake mix, added a few pantry staples, and went all-in with a caramel filling and swirly chocolate frosting. They were gone in 15 minutes—and I’ve been making them ever since!
They’ve since become my go-to for birthday parties, holidays (you should see how cute they look on a 4th of July Dessert Table, especially next to my Pinwheel Cookies for the 4th of July), and even after-school treats. I usually double the batch and freeze half unfrosted. When life gets busy—like it always does—I just thaw, decorate, and serve.
If you’re new to baking or just need a shortcut that doesn’t taste like one, this one’s for you. And while you’re at it, check out my Store-Bought Buttercream Frosting Hacks if you want to dress these up even more!
Watch how I make this recipe
Tools That Make It Easier
- Measuring spoons Measuring spoons are essential for accurately measuring small quantities of ingredients like baking powder, baking soda, and vanilla extract. Precise measurements ensure your cupcakes turn out perfectly every time.
- Measuring Cup A measuring cup is used for measuring larger liquid and dry ingredients, such as milk and flour. Accurate measurements are crucial for maintaining the right consistency in your cupcake batter.
- Glass mixing bowl A glass mixing bowl is ideal for mixing ingredients because it is non-reactive and allows you to see the contents clearly. It's perfect for combining the cake mix, eggs, butter, and milk without affecting the flavor of the ingredients.
- Blending whisk A blending whisk is used to break up any lumps in the dry cake mix and to mix the batter smoothly. It helps ensure an even distribution of ingredients, which is key for consistent texture and flavor.
- Hand mixer A hand mixer makes it easy to beat ingredients together quickly and efficiently. For this recipe, it's used to whip the buttercream frosting until it's fluffy and forms peaks, giving the frosting a light, airy texture.
- 2 Muffin Pan Muffin pans are used to bake the cupcakes in a smaller, bite-sized form. This recipe uses two pans to make a batch of 24 cupcakes, perfect for parties and gatherings.
- 24 Brown cupcake liners Cupcake liners are used to line the muffin pans, making it easier to remove the cupcakes after baking and keeping the pans clean. The brown color adds a touch of elegance to the presentation.
- Dough scoop A dough scoop is used to evenly distribute the cupcake batter into the liners. It ensures each cupcake is the same size, which helps them bake uniformly.
- Piping bags Piping bags are used to fill the cupcakes with caramel sauce and to pipe the buttercream frosting on top. They make it easy to control the flow of filling and frosting for a neat, professional look.
- Piping bag ties Piping bag ties secure the top of the piping bags, preventing the frosting or filling from spilling out while you decorate the cupcakes. They help maintain a steady flow and reduce mess.
- Jumbo piping tips Jumbo piping tips are used to create large, decorative swirls of frosting on top of the cupcakes. They allow you to achieve a beautiful, bakery-style finish.
- Apple Corer An apple corer is used to remove the center of the cupcakes, making space for the caramel filling. It creates a neat, uniform hole without damaging the rest of the cupcake, ensuring the filling is evenly distributed.
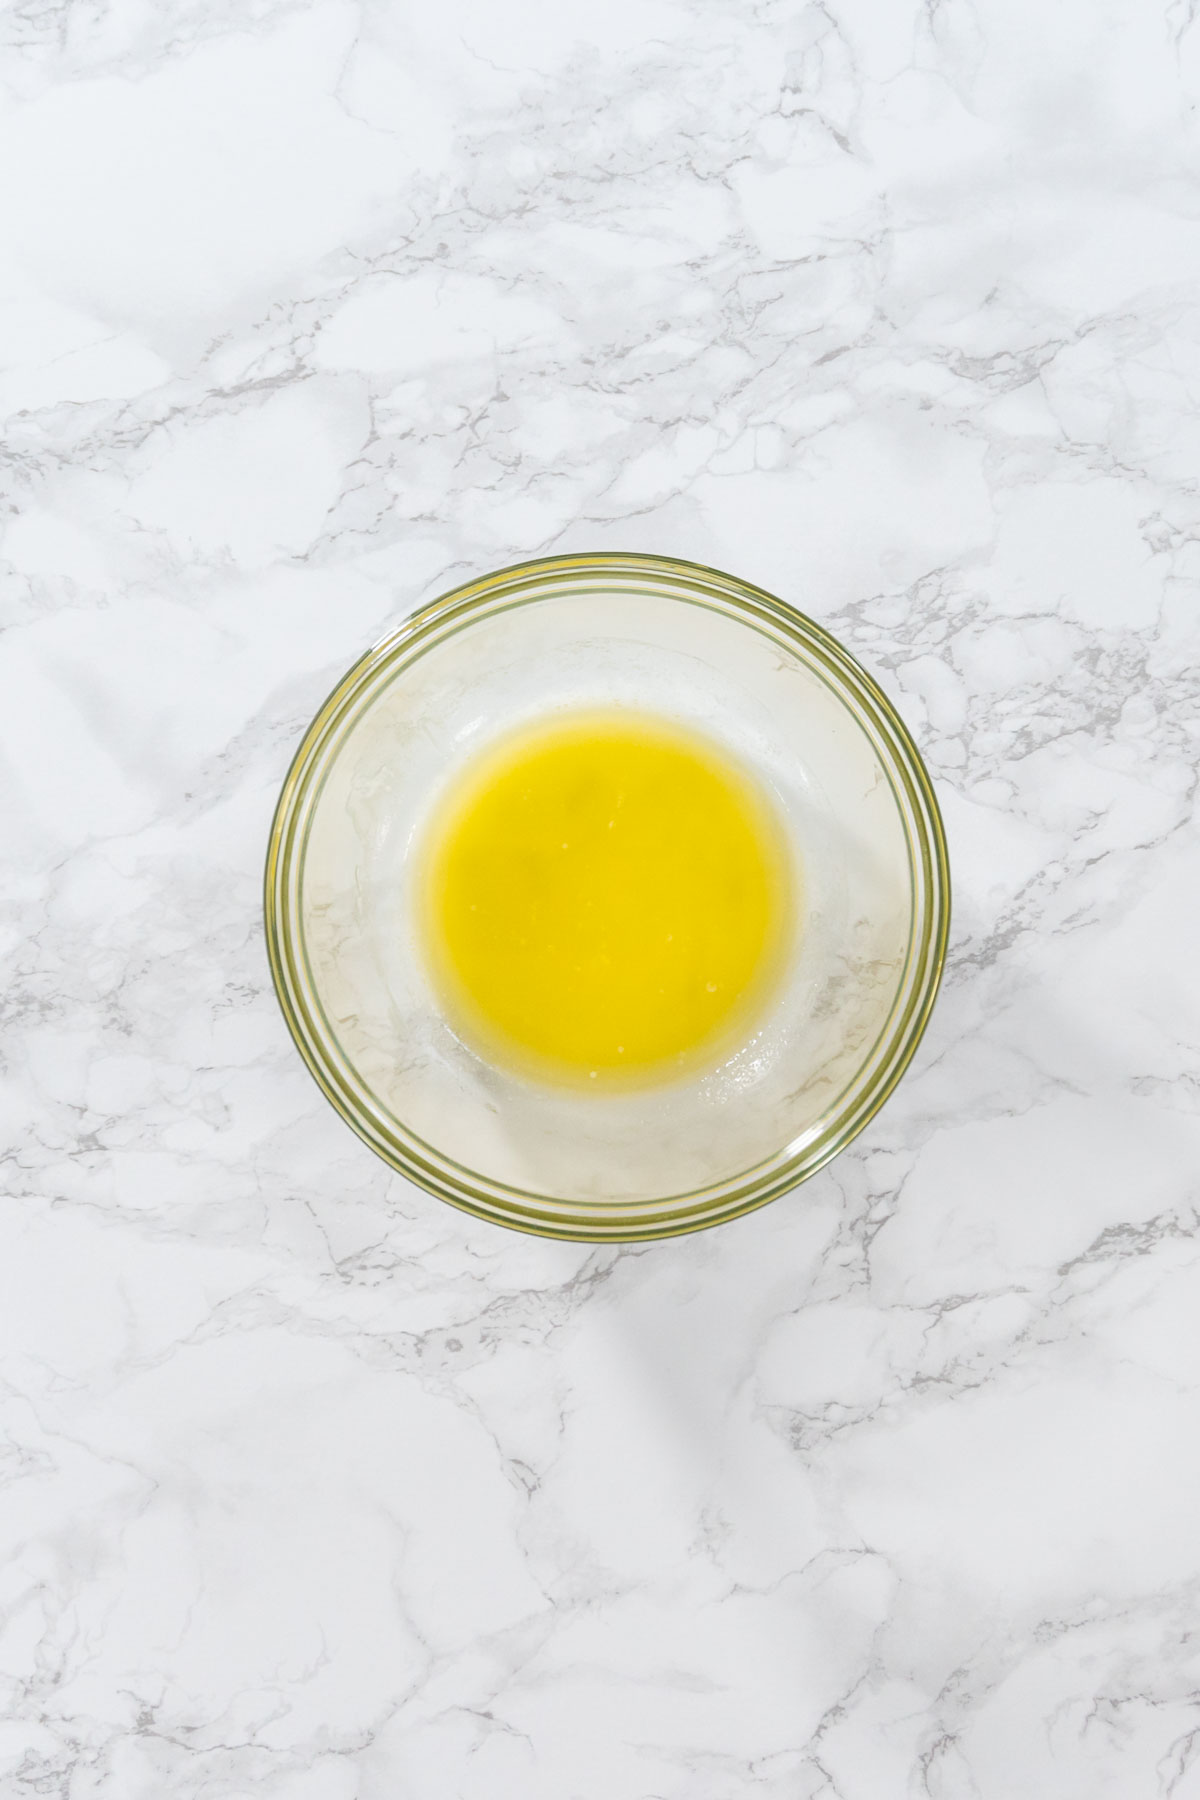
How to melt butter
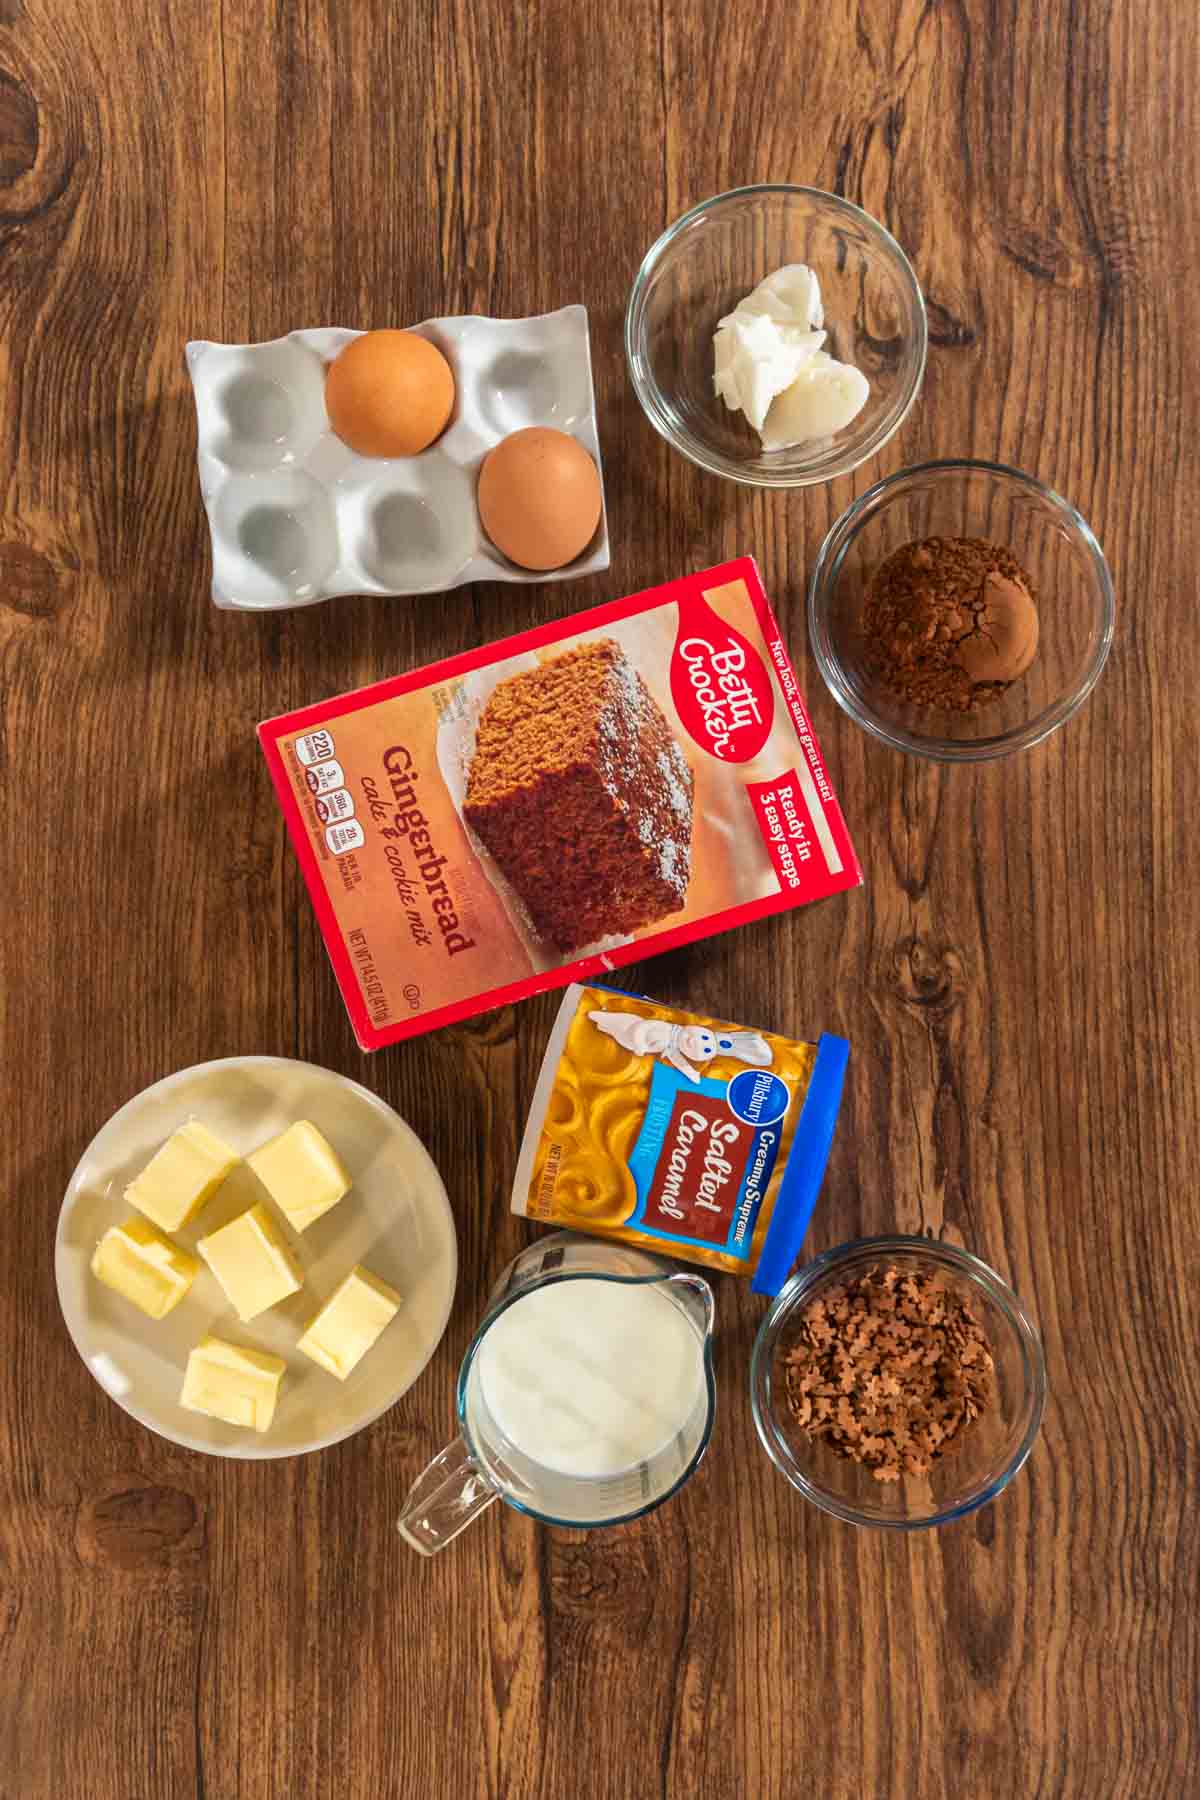
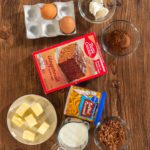
What You’ll Need From Your Pantry
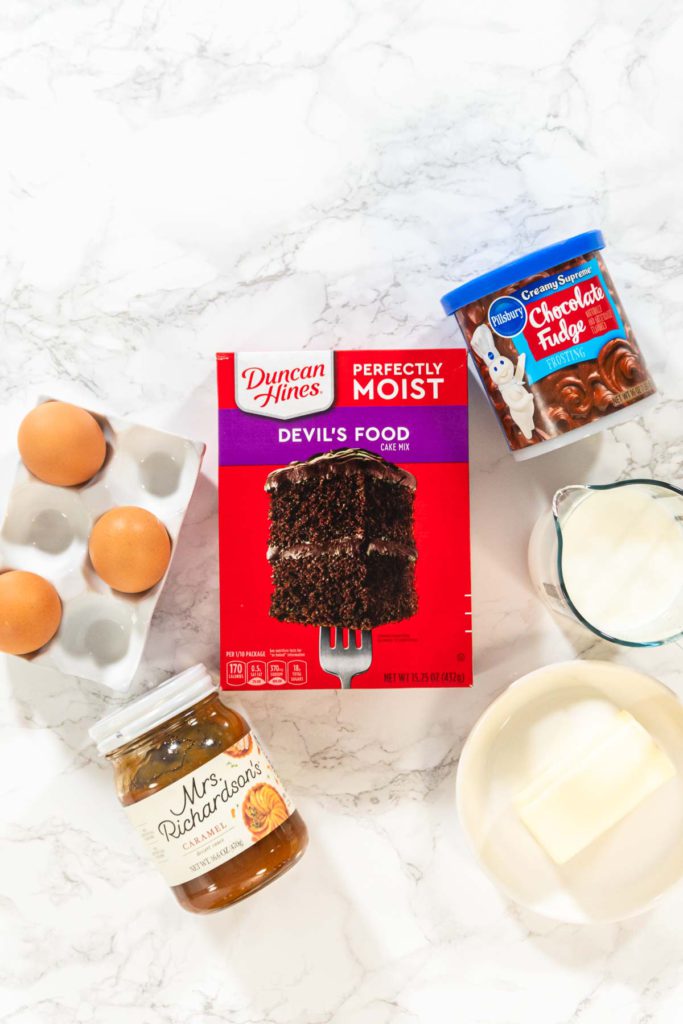
Cupcakes
- 1 box Devil's Food cake mix, you can use a whole grain or gluten-free cake mix for added fiber and a lower glycemic index.
- 3 eggs Substitute with 3 flaxseed eggs (1 tablespoon ground flaxseed mixed with 3 tablespoons water per egg). This reduces cholesterol and adds omega-3 fatty acids.
- ½ cup unsalted butter melted and cooled, try using ½ cup unsweetened applesauce to cut down on fat and calories while keeping the cupcakes moist.
- 1 cup Milk Replace with 1 cup almond milk or another plant-based milk to reduce saturated fat and calories.
- Cooking spray oil
Caramel filling
- 1 jar caramel sauce opt for a homemade date caramel (blend dates with a little hot water and a pinch of salt) for a natural sweetener with fiber and nutrients.
Buttercream frosting
- 2 cans Chocolate Fudge frosting Replace with a homemade avocado chocolate frosting (blend ripe avocado with cocoa powder and a natural sweetener like honey or maple syrup). This version is lower in sugar and adds healthy fats.
Garnish
- rainbow sprinkles Swap for cacao nibs or toasted coconut flakes to reduce sugar and add a crunchy, nutritious topping.
Packaging
Before You Start: My Quick Tip
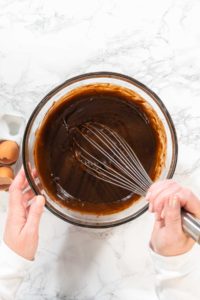
Whisk the dry cake mix first—this helps eliminate clumps and gives a smoother batter. Make sure your butter is melted and cooled before adding, so it blends without curdling the mixture.
Need help softening butter quickly? I use the microwave in 5-second bursts or cut it into cubes to speed up the process. For more methods, check out my full guide on How to Soften Butter Quickly.
Latest Video
Cake mix recipes
Let’s Make It Together
- Preheat oven to 350°F (175°C).
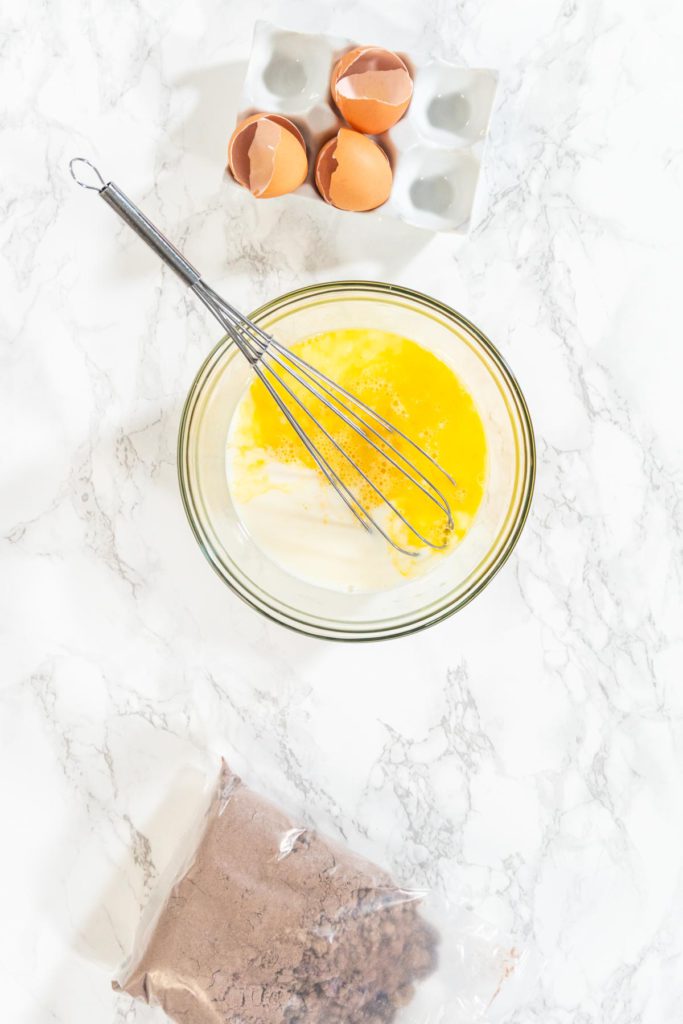
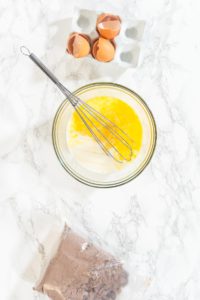
- In a medium bowl, whisk the eggs, then stir in the milk.
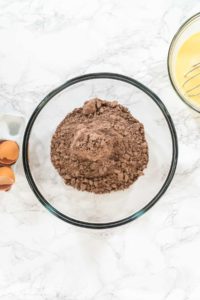
- In a large bowl, whisk the dry cake mix until smooth.
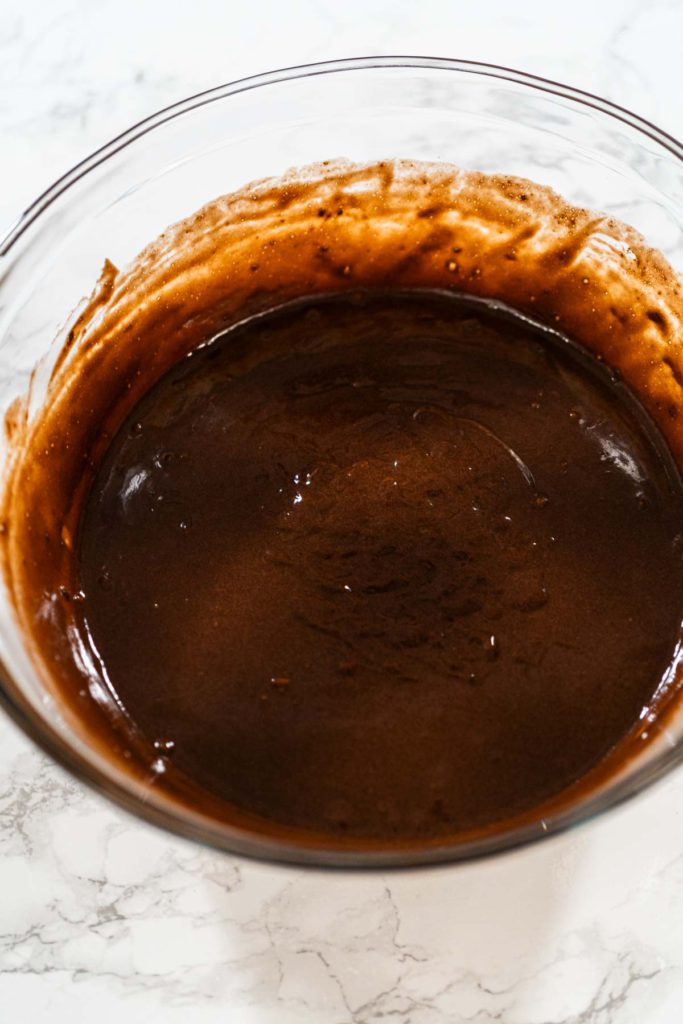
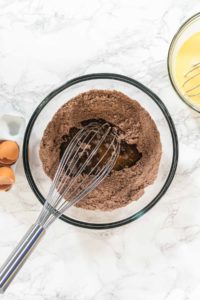
- Pour in the melted butter and stir until just combined.
- Add the egg-milk mixture and mix until smooth, without overmixing.
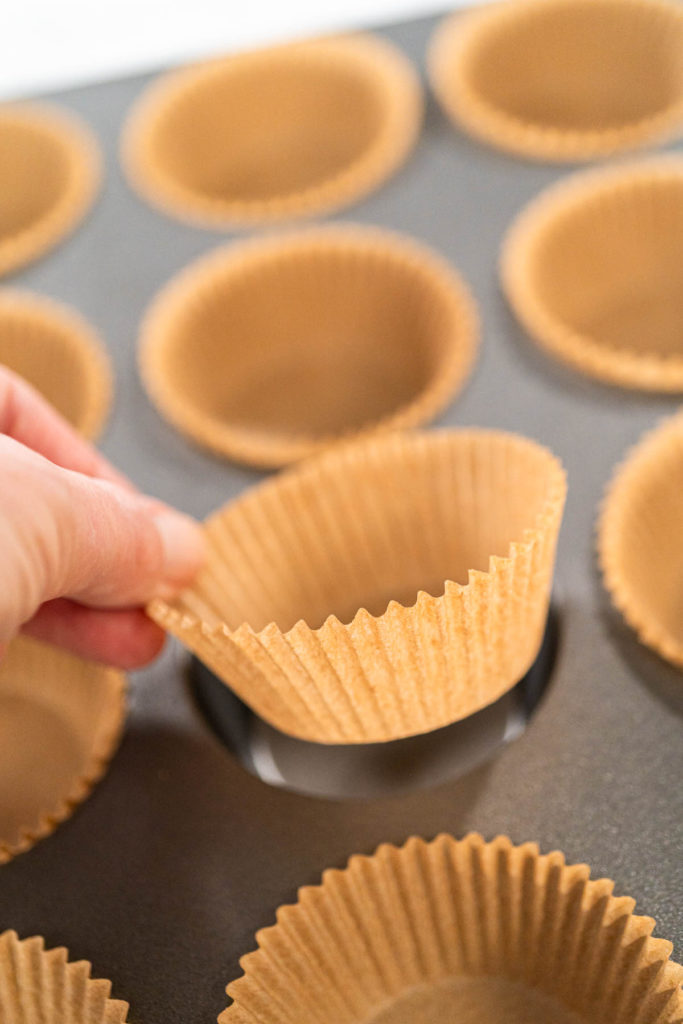
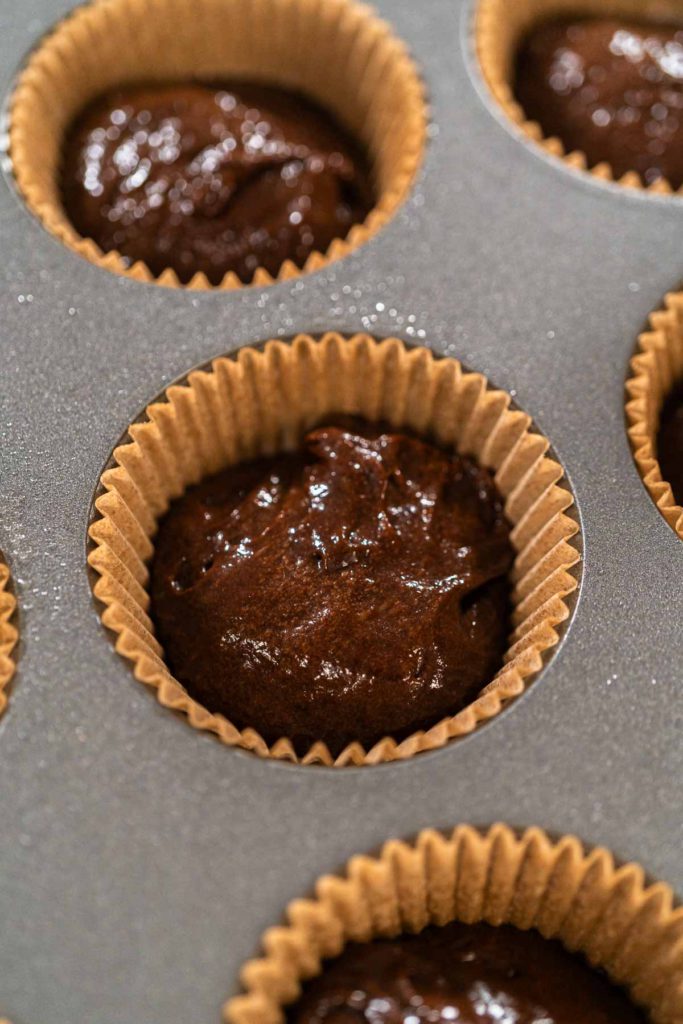
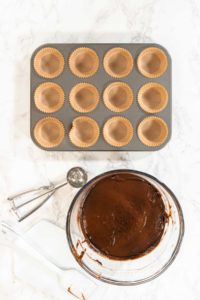
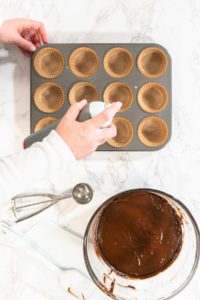
- Line muffin pans with cupcake liners and lightly spray with cooking spray.
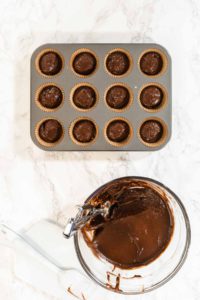
- Use a scoop to fill each liner about ⅔ full.
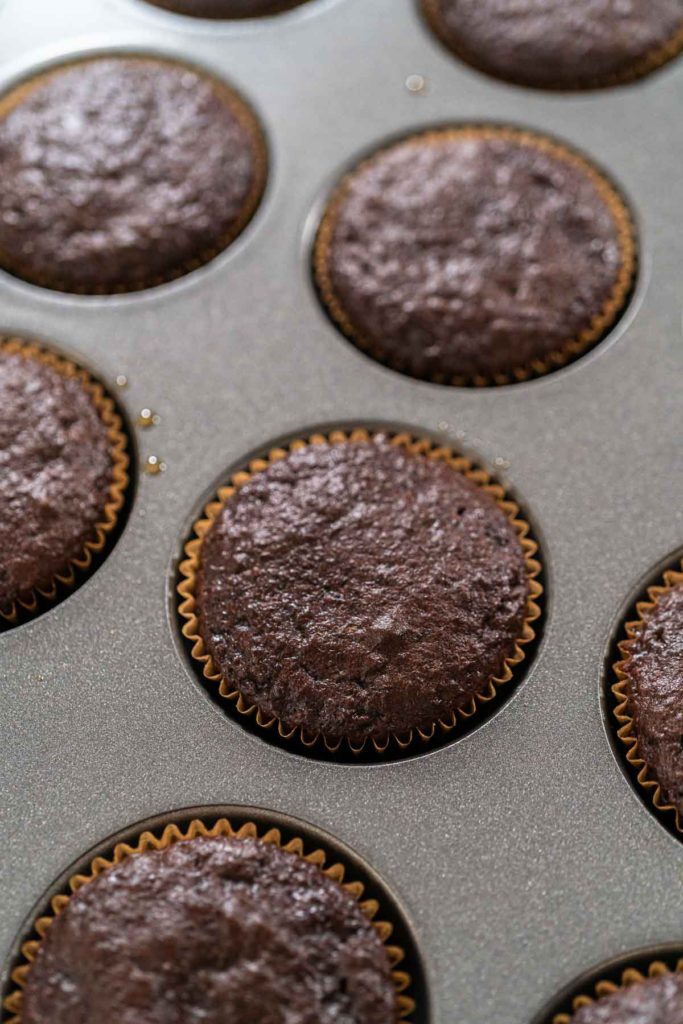
- Bake for 18–21 minutes, or until a toothpick comes out clean.
- Cool for 10 minutes in the pan, then move to a wire rack.
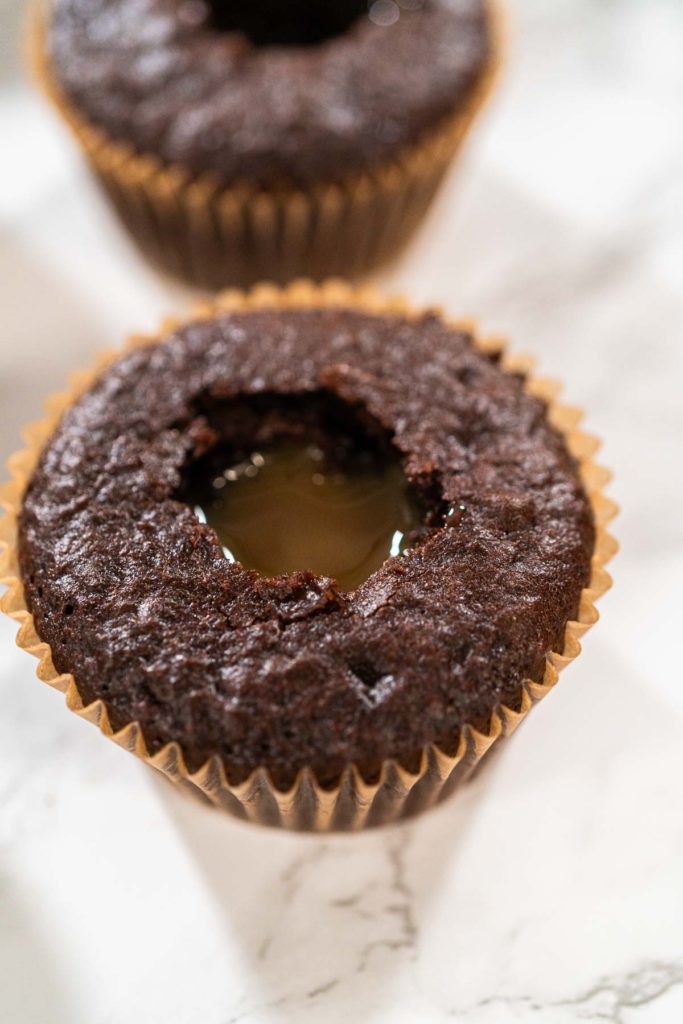
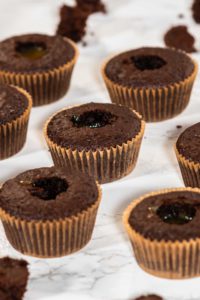
- Once completely cool, use an apple corer to create space for filling.
- Fill each center with caramel sauce using a piping bag.
- Replace the top piece to seal the filling.
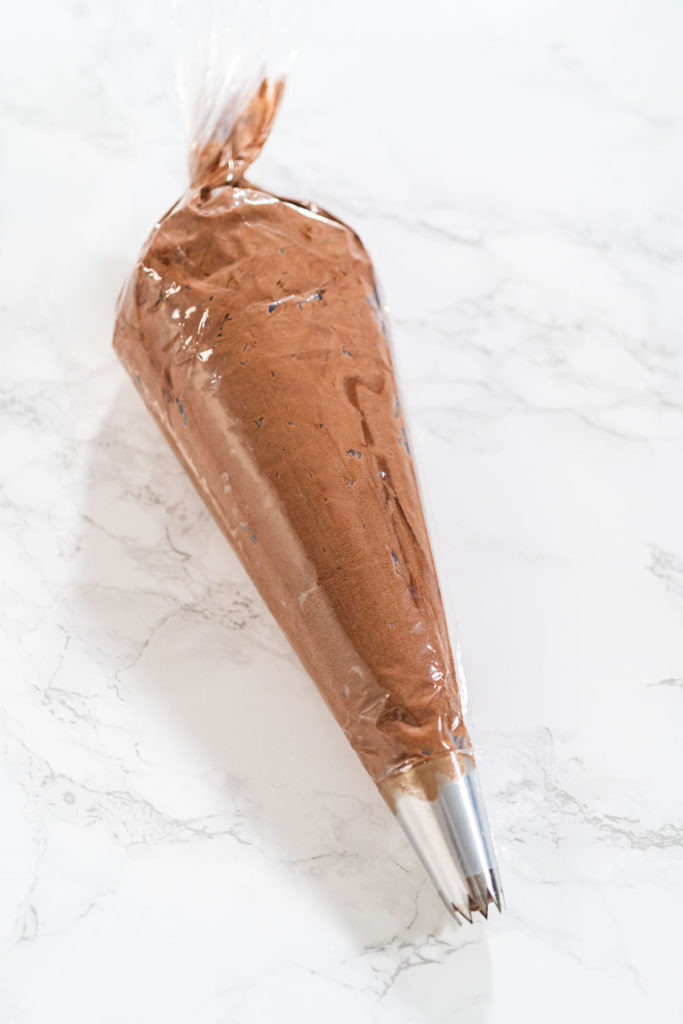
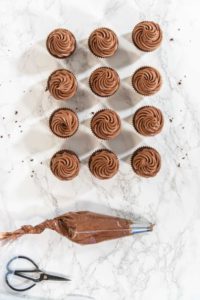
- Whip the frosting until fluffy, then pipe a generous swirl on top.
- Decorate with rainbow sprinkles before the frosting sets.
Recipe variations
- Chocolate Cake Mix Alternatives: Try red velvet, milk chocolate, or triple chocolate.
- Cupcake Filling Ideas: Swap caramel for raspberry jam, peanut butter, or chocolate ganache.
- Frosting Flavors: Vanilla, cream cheese, or espresso buttercream work beautifully.
- Toppings: Add mini chocolate chips, crushed nuts, or edible glitter for flair.

Cut, Serve, and Store It Like a Pro
These cupcakes are perfect for making ahead:
- Unfrosted Cupcakes: Store in an airtight container at room temperature for up to 3 days.
- Frosted Cupcakes: Refrigerate for up to 4 days. Let them come to room temp before serving.
- Freezing: Freeze unfrosted cupcakes for up to 1 month. Thaw overnight in the fridge before decorating.
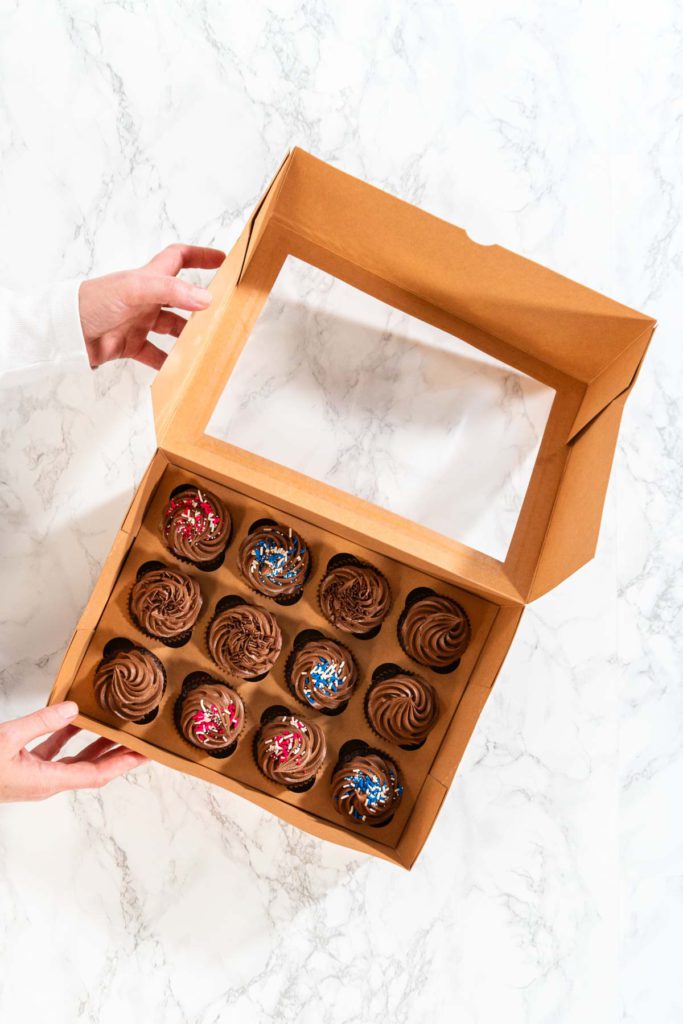
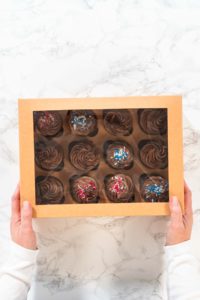
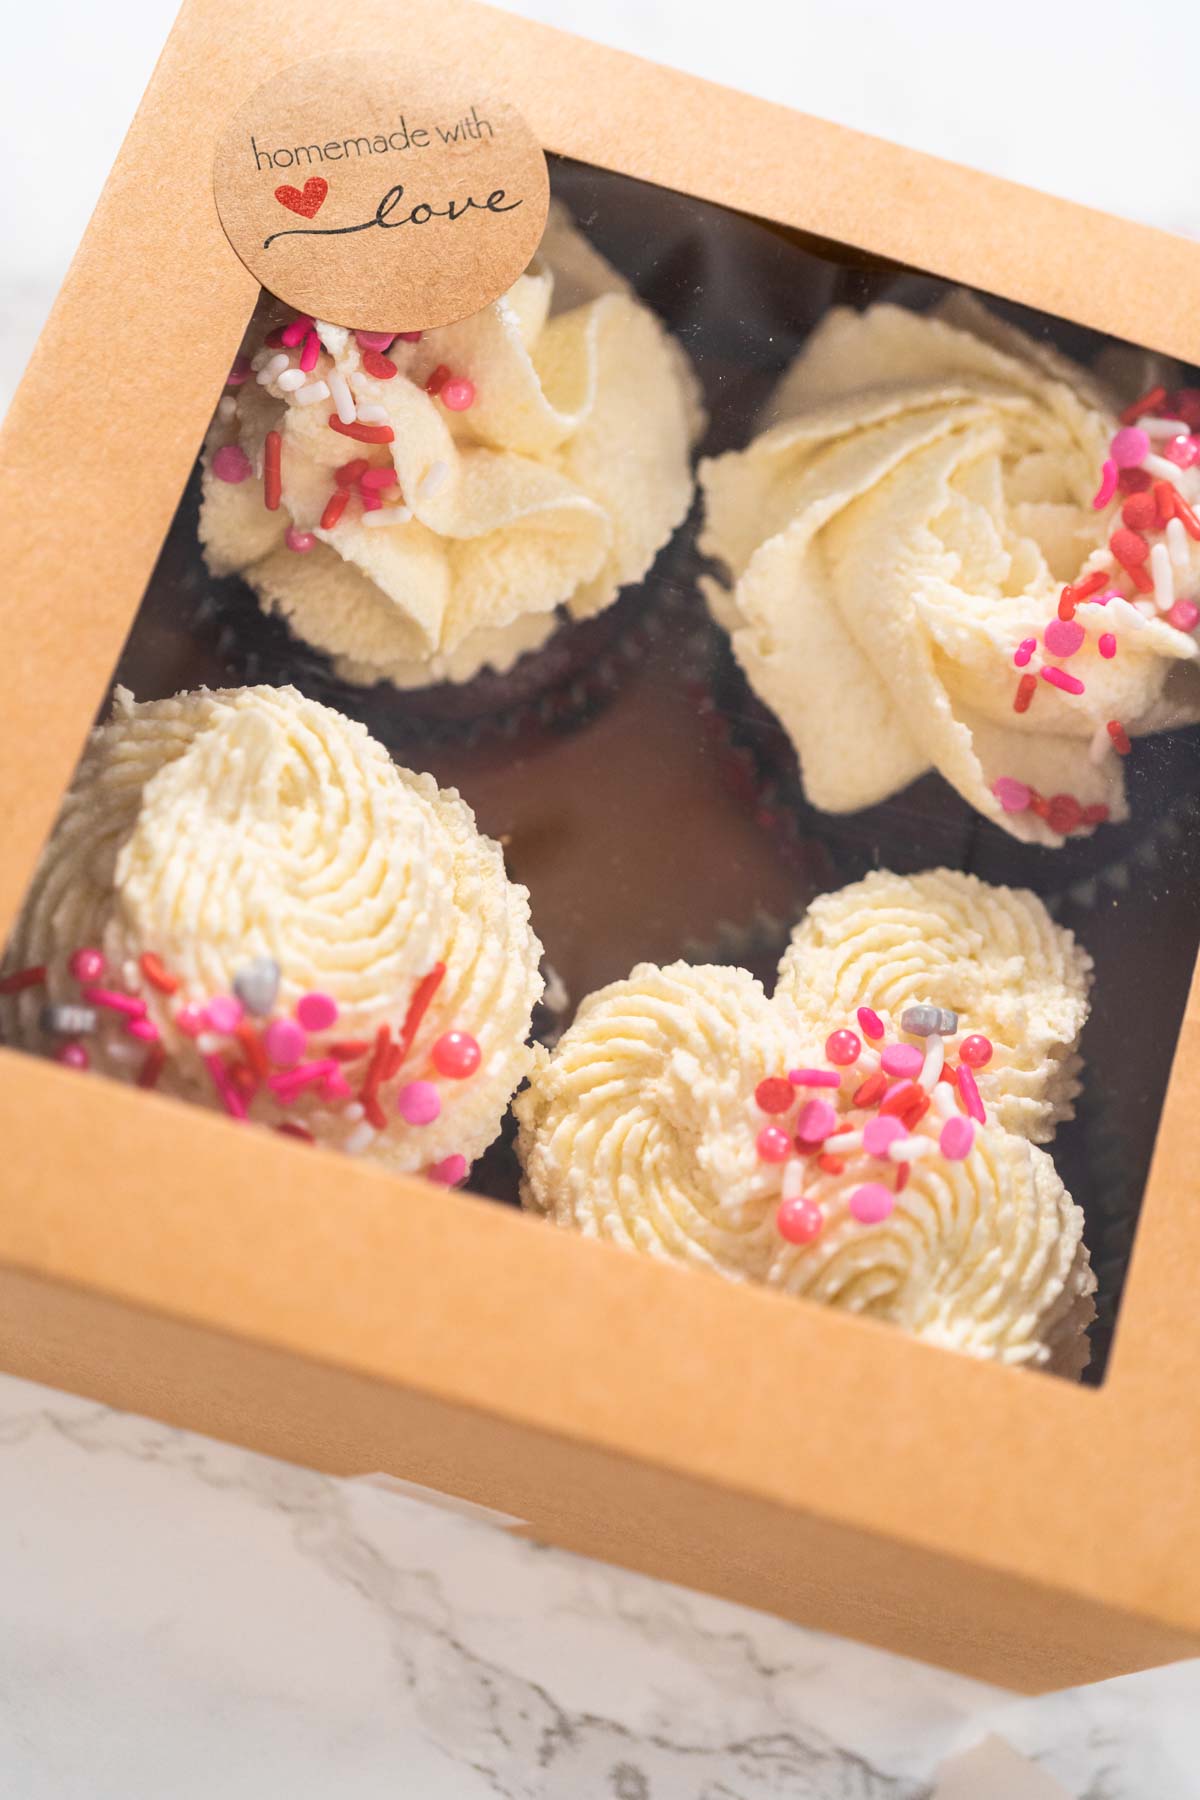
To gift these cupcakes, let the frosting set first. Then package in cupcake boxes with inserts and a clear lid for presentation. I often refrigerate decorated cupcakes for 15 minutes before boxing so the frosting stays perfect.
Want to turn these into a full dessert gift? Pair with a small bottle of espresso, chocolate-covered pretzels, or a handwritten note for a thoughtful touch.
A Sweet Note from My Kitchen
These easy chocolate cupcakes with caramel filling are my favorite way to dress up a cake mix. They’re simple, delicious, and always a crowd-pleaser. If you’re new to baking or just short on time, this is the perfect recipe to try. You’ll be surprised by how fancy they look—and how easy they are to make.
If you enjoy recipes like this, you might also love:
- Raspberry Chocolate Cupcakes
- Vanilla Mermaid Cupcakes
- S’mores Cupcakes
- Red Velvet Cupcakes with White Chocolate Ganache
For even more tips and baking hacks, visit:
- Cupcake Tools and Equipment
- How to Bake with Silicone Cupcake Liners
- How to Package Cupcakes for Gifts
- Silicone vs. Paper Cupcake Liners
Fancy Chocolate Cupcakes From Cake Mix
Video
Equipment
- 2 Muffin pan
Ingredients
Cupcakes
- 3 eggs
- 1 cup Milk
- 1 box Devil's Food cake mix
- ½ cup unsalted butter melted and cooled
- Cooking spray oil
Caramel filling
- 1 jar caramel sauce
Buttercream frosting
- 2 cans Chocolate Fudge frosting
Garnish
Packaging
Instructions
Cupcakes
- Gather and measure all your ingredients. Preheat the oven to 350°F (175°C).

- Crack the eggs into a medium bowl and whisk until smooth.
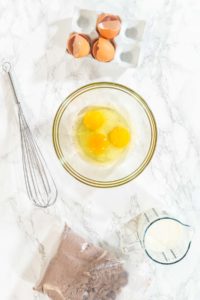
- Add the milk to the eggs and whisk together. Set aside.
- Pour the cake mix into a large mixing bowl. Use a clean whisk to break up any clumps.
- Add the melted, cooled butter to the cake mix and whisk until just combined.
- Pour the egg and milk mixture into the butter and cake mix bowl.
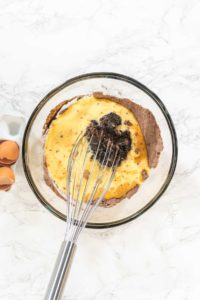
- Mix until everything is fully combined, but don’t overmix—just until smooth.
- Line two muffin pans with cupcake liners.
- Lightly spray the liners with cooking spray to prevent sticking.
- Divide the batter evenly into the liners, filling each about ⅔ full. Bake for 18–21 minutes, or until a toothpick inserted in the center comes out clean.
Caramel Filling
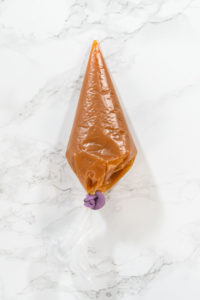
- Spoon the caramel sauce into a piping bag and set aside.
Buttercream Frosting
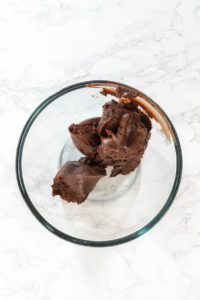
- Scoop the buttercream frosting into a large bowl.
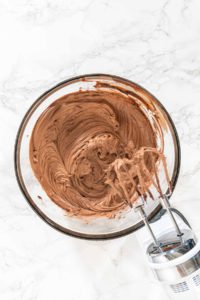
- Beat it with an electric hand mixer for about 5 minutes, until fluffy and it holds soft peaks.
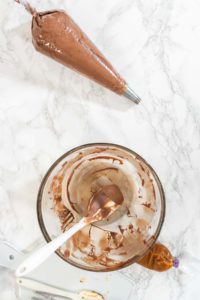
- Transfer the frosting into a piping bag fitted with a jumbo tip for decorating.
Putting everything together
- Check if the cupcakes are done using a toothpick. Let them cool in the pan for about 10 minutes.

- Carefully remove cupcakes from the pan and let them cool completely—about 30 minutes.

- Use an apple corer to cut out the center of each cupcake. Keep those center pieces—you’ll use them again.
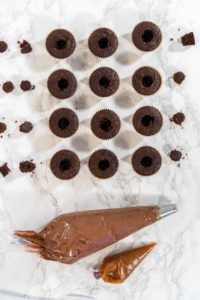
- Fill the center of each cupcake with the caramel using the piping bag.
- Place the cupcake tops you removed back over the caramel to seal it in.

- Pipe buttercream swirls over each cupcake. Add sprinkles immediately so they stick before the frosting sets.
Packaging
- Assemble your cupcake boxes and get them ready.
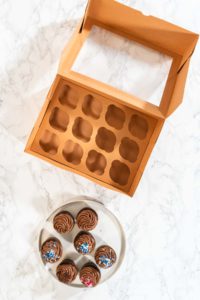
- Gently place each decorated cupcake into the box.
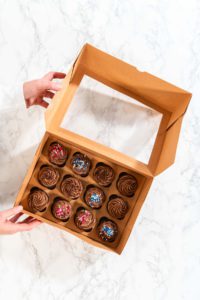
- They’re now ready to be gifted or taken to your celebration!
From My Kitchen to Yours
Pin It For Later
Food Photography & Video Tips from My Studio
Here’s a peek at the tools, gear, and camera setups I use to film my recipe videos and photograph food at home. Over the years, I’ve tested dozens of different setups, and now I’m sharing what actually works for me—whether I’m filming overhead shots for YouTube or styling still photos for my blog. If you’re curious about how I create the content you see here, these posts are a great place to start.

What is in my toolbox?

3 ways camera setup for Tasty-style video recipes

Leave a Reply