How to make easy and buttery grilled shrimp
This post contains affiliate links.
Summertime brings us all kinds of fun and easy recipes to chow down on. Unlike in the colder months, where you don’t mind huddling up in the warm kitchen to create intricate meals, most of us like to savor the long daylight hours of the summer as much as we can by being outside! So that means we usually opt for making quicker and easier recipes, and preferably recipes that can be cooked outdoors. Lucky for us that outdoor grills are easy to come by! This is where simple summer recipes like this Easy Grilled Shrimp come into play.
Yes! That irresistibly delectable buttery, grilled shrimp! These tasty little guys can be cooked up in just a few minutes and are absolutely perfect for providing that fresh seafood flavor that pairs oh so wonderfully with that summertime heat. Not only are these grilled shrimp awesome for a summer snack or appetizer on their own, but they are downright delicious served in full meals with veggies, tortillas, rice, or pasta. And the best part? Shrimp has a much lighter feeling on the stomach compared to chicken or steak so you can easily enjoy these grilled shrimp outdoors without feeling heavy in the heat afterwards. That puts these grilled shrimp snacks at the tip top of refreshing summer recipes!
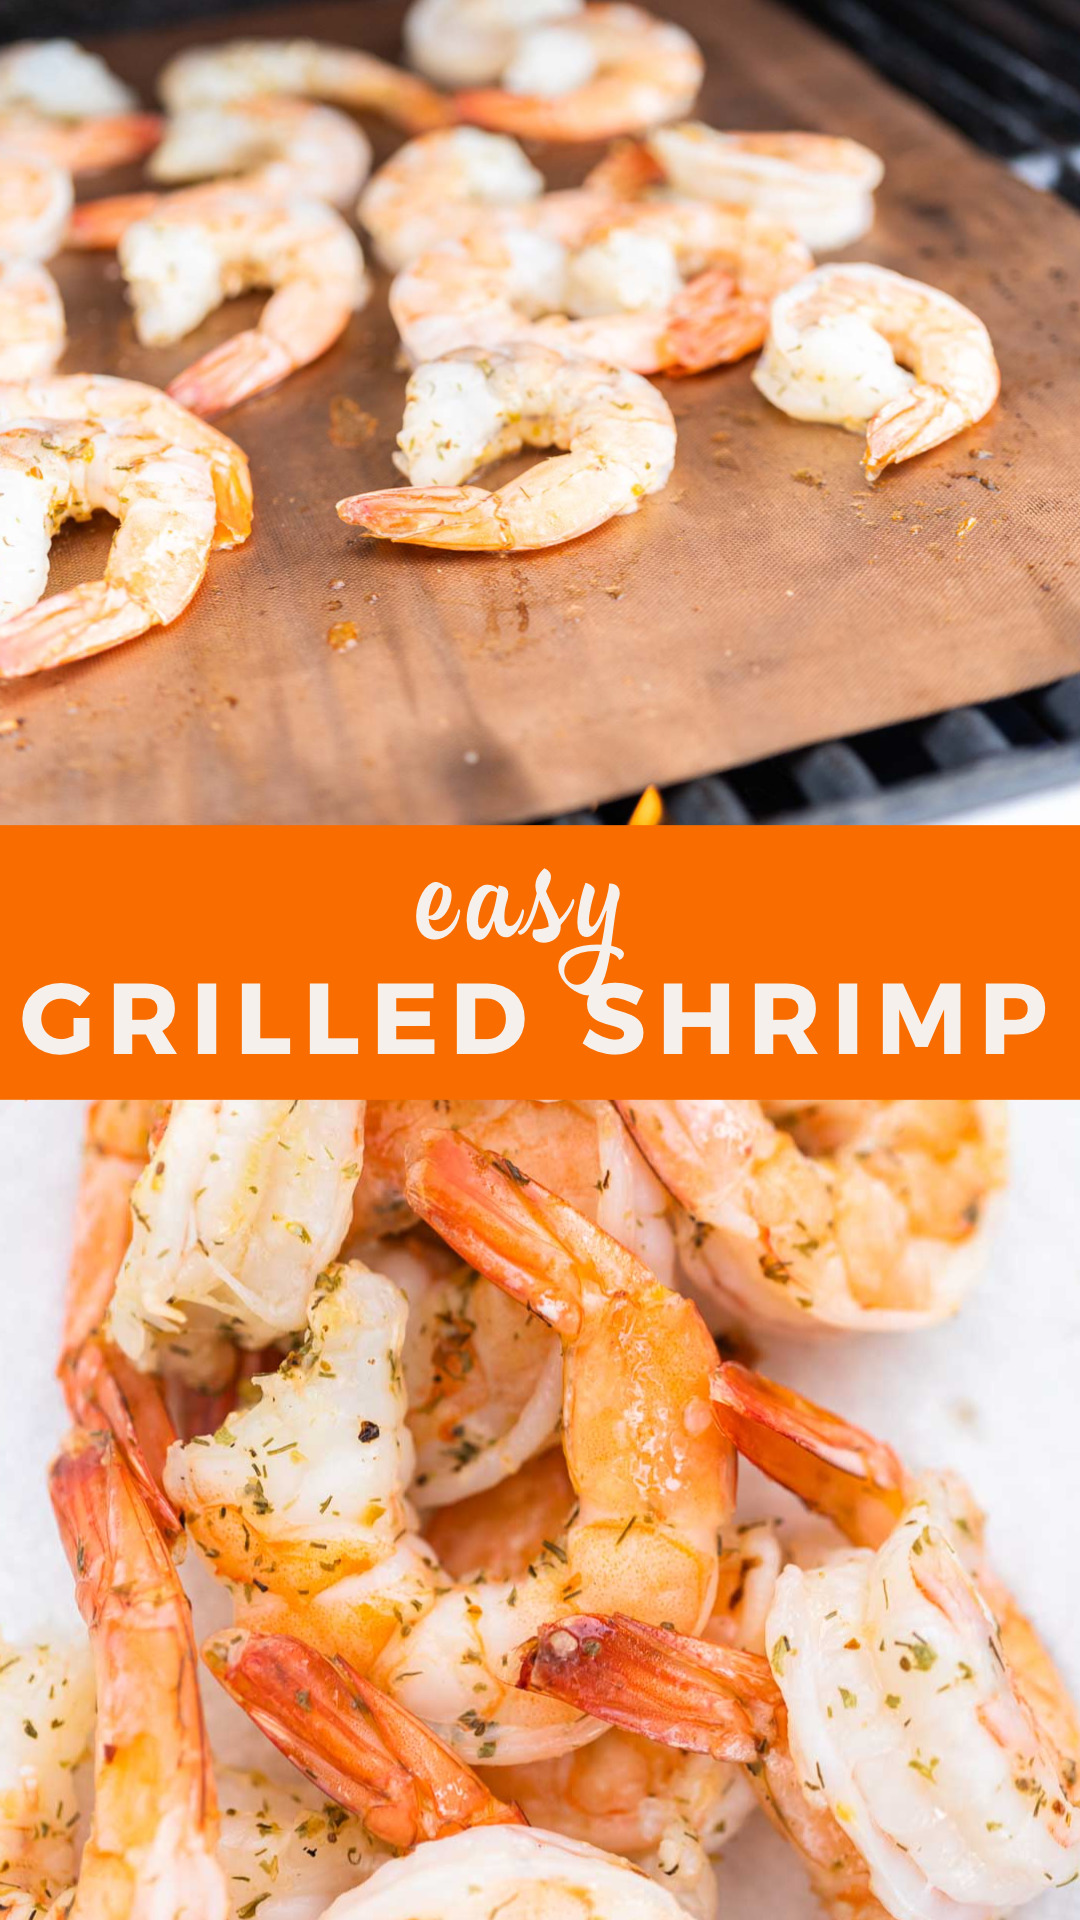
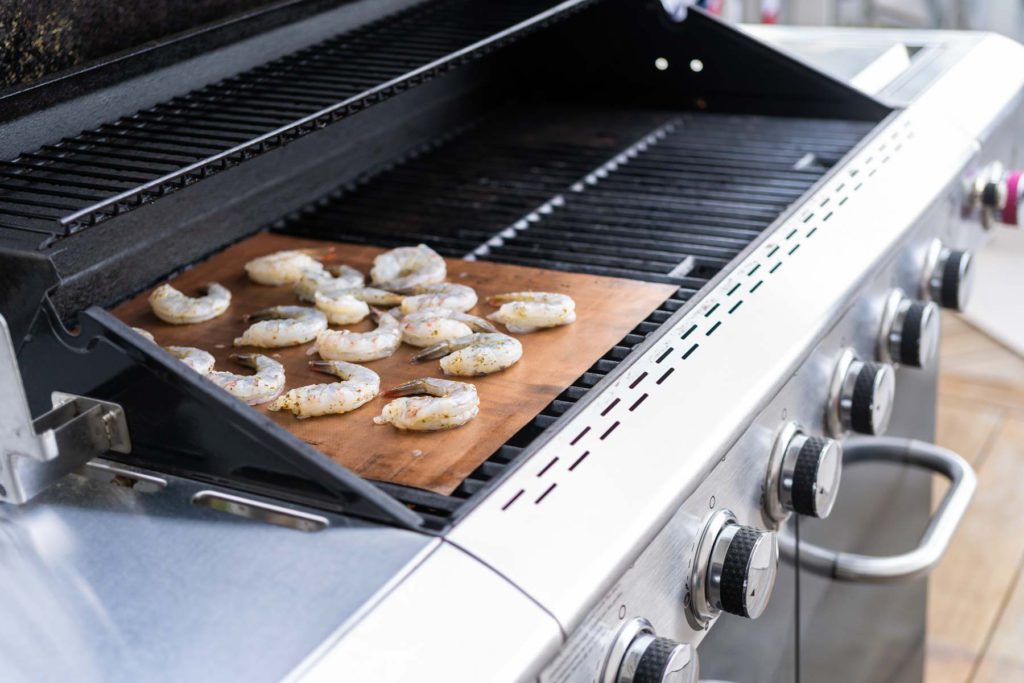
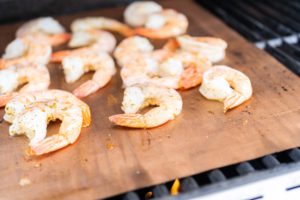
To easily grill shrimp, all you need is some thawed shrimp, melted butter, seafood seasoning, a mixing bowl, a copper grill mat, and some grilling tools. Once you’ve safely thawed the shrimp, rinse them and remove the shells. Pat them dry, then transfer to a bowl and toss with the melted butter, then again with seasoning. Move the shrimp to the grilling mat over a preheated grill and cook on each side for 2 - 3 minutes.
Grilling Equipment
I promised this would be a simple recipe and I absolutely meant that! Simple recipes usually require a small amount of tools or equipment to put together and that is exactly the case in this easy summer recipe. For this simple grilled shrimp recipe you will only need a handful of grilling equipment:
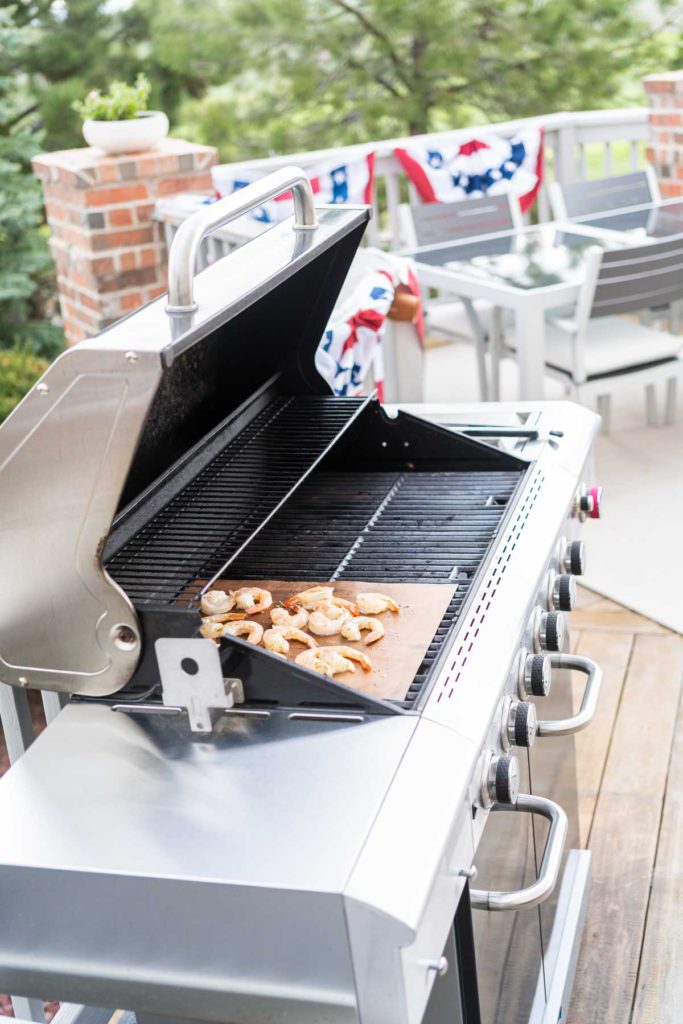
- Copper Grill Mat
- Glass mixing bowl
- Grilling kit
Savory Shrimp Ingredients
You might be a little surprised to find out that you only need 3 ingredients to make these mouthwatering grilled shrimp. Actually though, when it comes to seafood recipes, less tends to be better. For the most part, just some butter and simple seasonings will be just right!
- 1 bag Frozen Shell-On & Tail-On Shrimp 32 oz
- ⅓ cup unsalted butter melted
- I like to melt the butter in my Wilton’s Candy Melting Pot rather than in the microwave because it gets the job done without making a big mess and without burning the butter.
- 2 tablespoon Seafood seasoning
More grilling recipes
How to Easily Grill the Best Shrimp
Got your ingredients and cooking equipment all set out and ready to go? Great! Get that grill preheating while I break down the steps on how to prepare, season, and cook these easy and buttery grilled shrimp.
- First, completely thaw the shrimp according to the instructions on the bag. Then, rinse the thawed shrimp in cold water and remove the shells but leave the tails on. Pat the shrimp dry with a paper towel.
- Then, transfer the thawed shrimp to a glass mixing bowl and toss them in the melted butter.
- Next, add in the seafood seasoning and toss the shrimp again until they are all coated evenly.
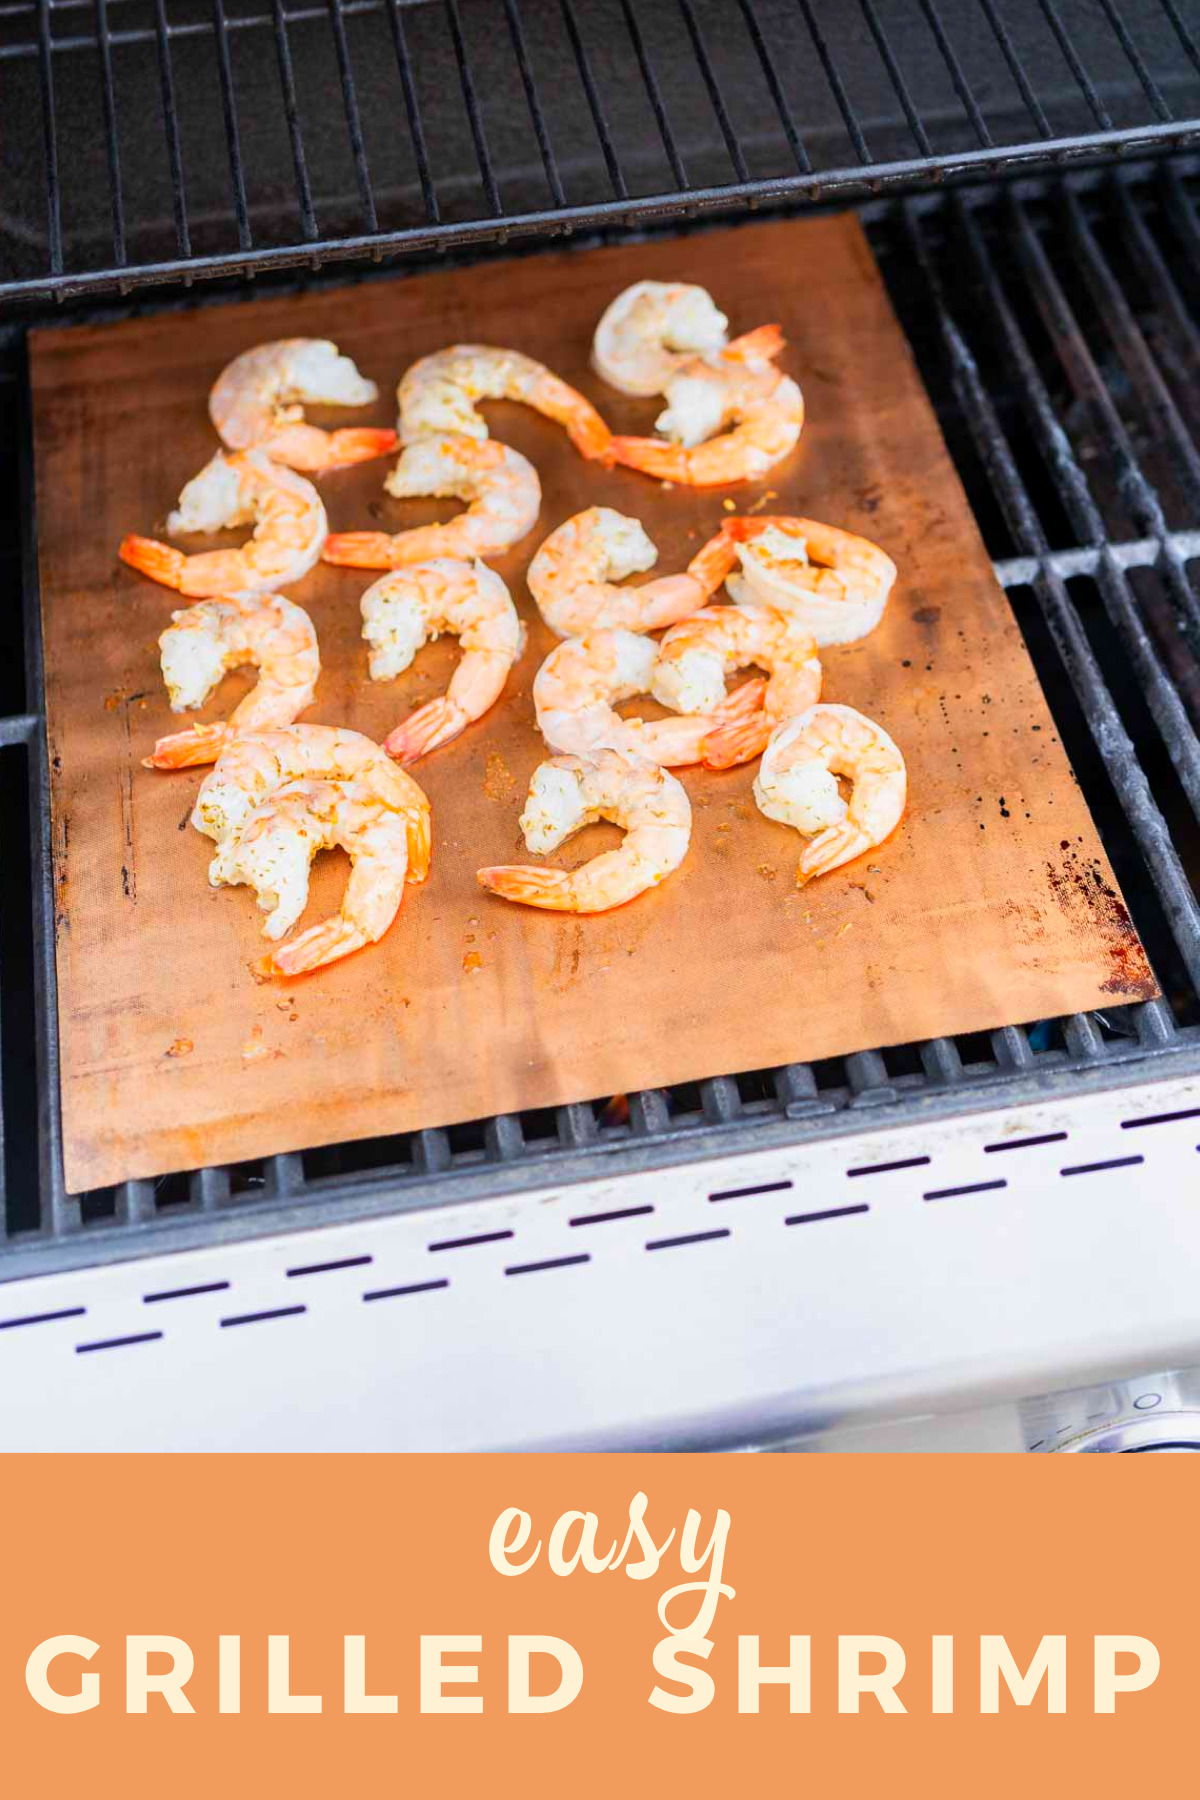
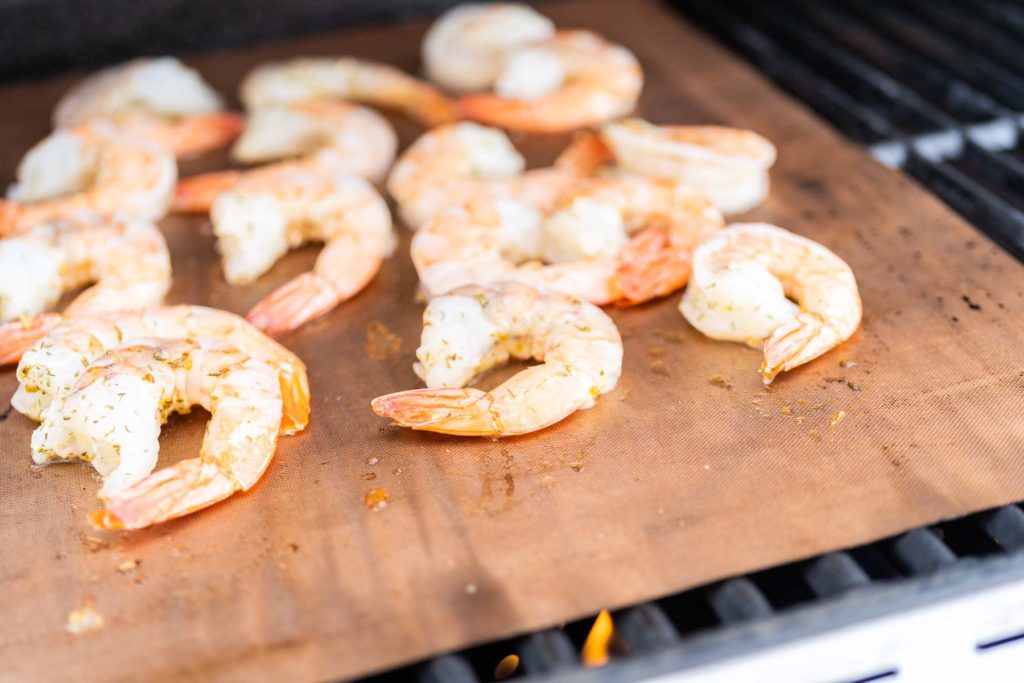
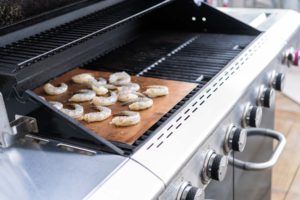
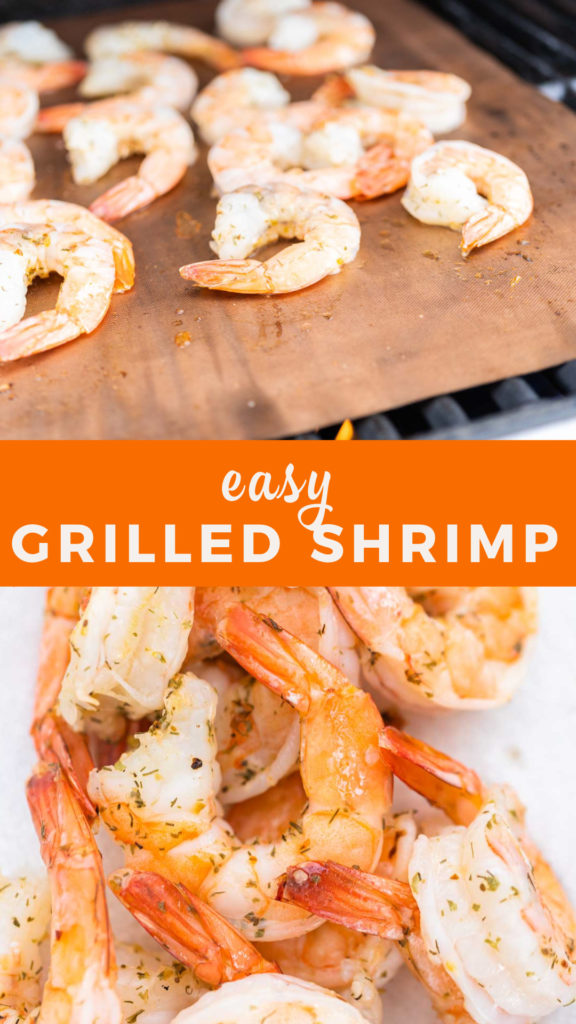
- Move the seasoned shrimp to a copper grill mat over a preheated grill. Grill the shrimp for 2- 3 minutes per side, making sure to keep the lid closed while cooking.
- I like to use the tools from my Grilling kit for all my grilling projects.
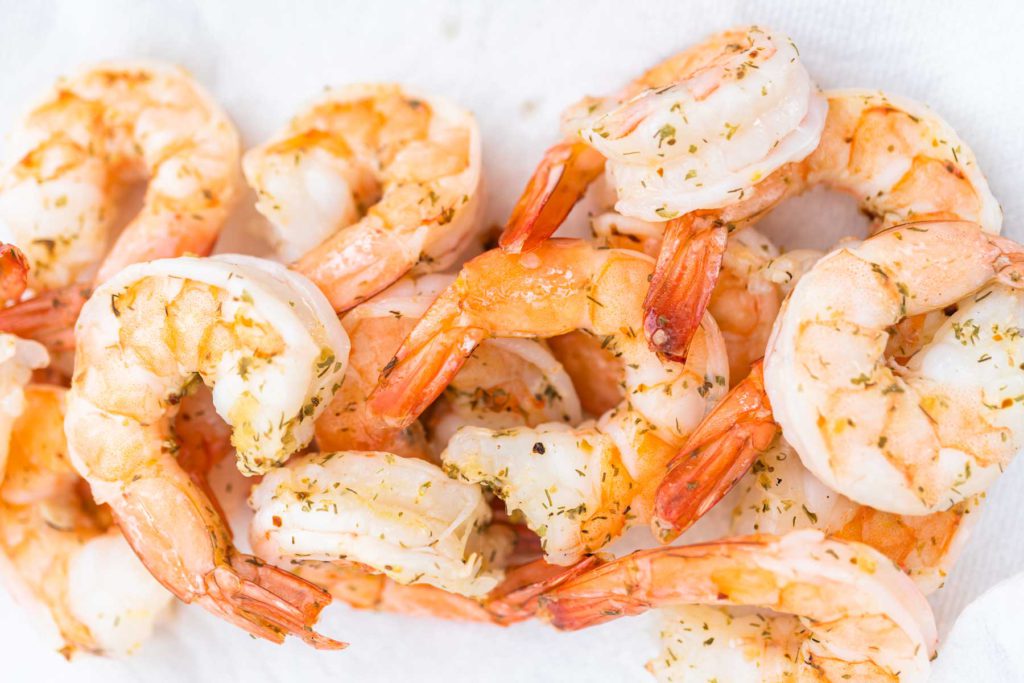
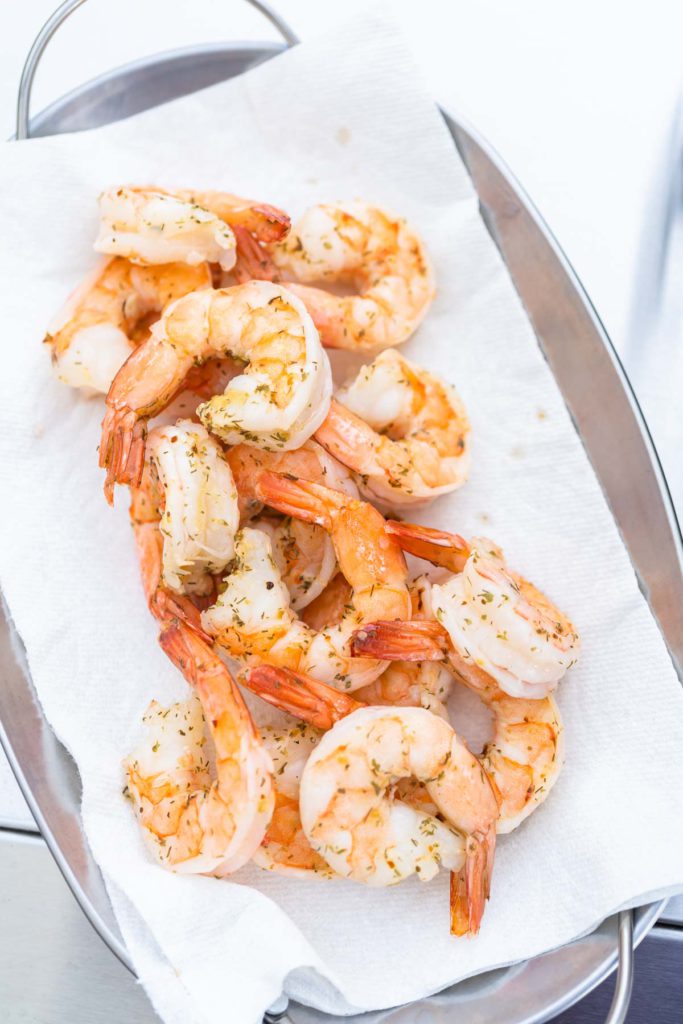
- Finally, once all the shrimps have been thoroughly cooked, carefully remove them from the grill and serve!
Safe Shrimp Storage
For the absolute best quality of taste and freshness, I highly recommend enjoying this grilled shrimp the same day it has been cooked. But if you do end up with some shrimp leftover, you can actually safely store it and enjoy it again later.
Preferred Shrimp Storage Method:
- Refrigerate within 2 hours of cooking.
- Transfer cooked shrimp to an airtight container.
- These can be safely kept in the fridge for up to 3 days
If necessary, you can re-freeze cooked shrimp.
- First, allow the shrimp to cool completely in the fridge.
- Then, transfer to an airtight container or a ziploc freezer bag and mark the date on the outside.
- This re-frozen shrimp can be kept for up to 6 months.
Grilled Shrimp Serving Ideas
There are tons and tons of tantalizing recipes that involve grilled shrimp! From salads to fajitas, shrimp tastes great with just about any meal. In fact, there are so many recipe ideas to consider that I went ahead and listed a few different ways to serve this grilled shrimp and a couple of my favorite recipes that can be served along with it.
Serve grilled shrimp for:
- 4th of July
- Easy appetizer
- Summer cookouts or gatherings
- On grilled quesadillas, tacos, or
- On a grilled fajita bar
- With grilled veggies
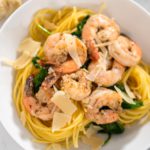
- On top of rice, pasta, or salad
Serve this easy grilled shrimp along with:
Easy grilled shrimp
Ingredients
- 1 bag Frozen Shell-On & Tail-On Shrimp 32 oz
- ⅓ cup unsalted butter melted
- 2 tablespoon Seafood seasoning
Instructions
- First, completely thaw the shrimp according to the instructions on the bag. Then, rinse the thawed shrimp in cold water and remove the shells but leave the tails on. Pat the shrimp dry with a paper towel.
- Then, transfer the thawed shrimp to a glass mixing bowl and toss them in the melted butter.
- Next, add in the seafood seasoning and toss the shrimp again until they are all coated evenly.
- Move the seasoned shrimp to a copper grill mat over a preheated grill. Grill the shrimp for 2- 3 minutes per side, making sure to keep the lid closed while cooking. I like to use the tools from my Grilling kit for all my grilling projects.
- Finally, once all the shrimps have been thoroughly cooked, carefully remove them from the grill and serve!
Food Photography & Video Tips from My Studio
Here’s a peek at the tools, gear, and camera setups I use to film my recipe videos and photograph food at home. Over the years, I’ve tested dozens of different setups, and now I’m sharing what actually works for me—whether I’m filming overhead shots for YouTube or styling still photos for my blog. If you’re curious about how I create the content you see here, these posts are a great place to start.





Leave a Reply