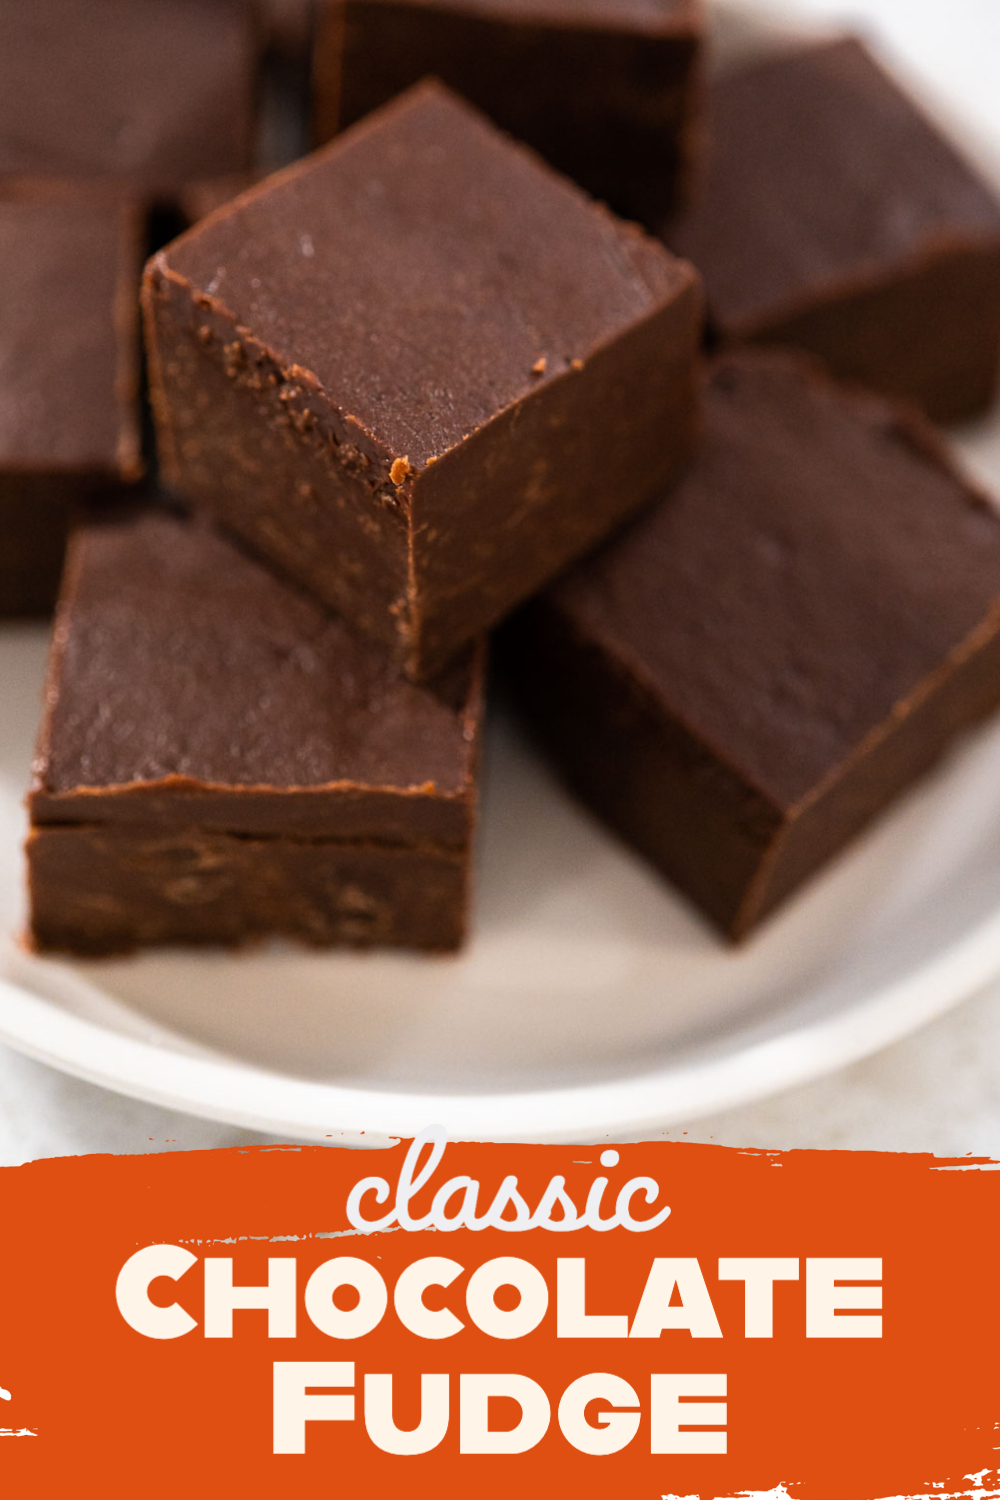
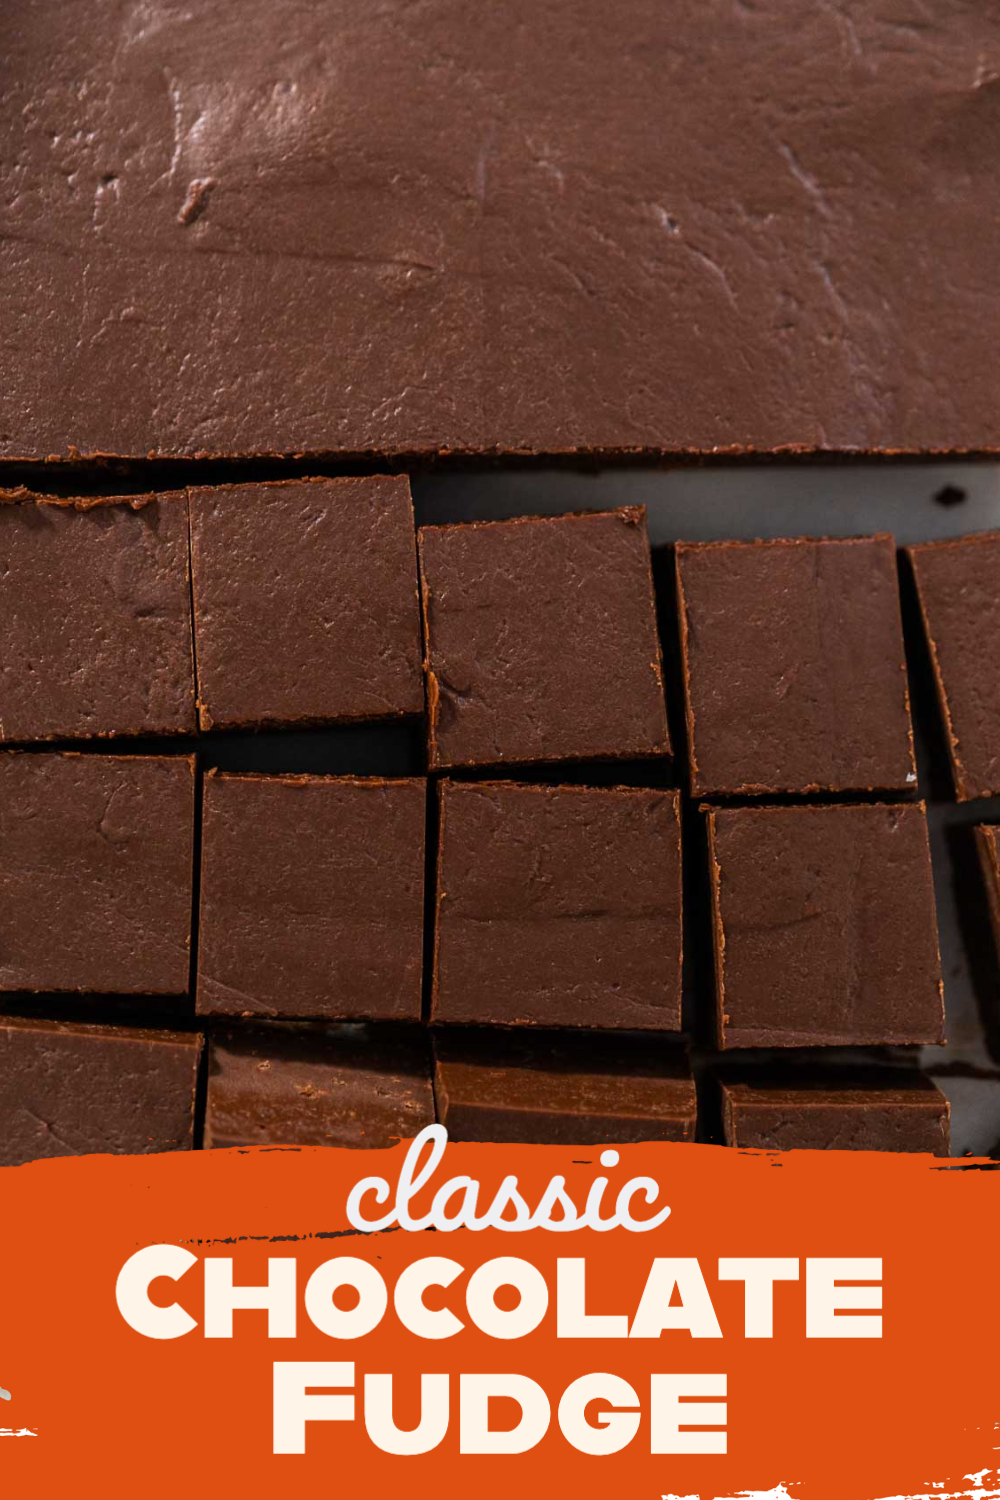
How to make perfect, smooth classic chocolate fudge!
This post contains affiliate links.
I consider myself to be very lucky that I have so many friends and loved ones that I hold dear to my heart. However, once Christmas time comes around, that long list of loved ones starts looking kind of expensive. I don’t worry about it too much, though, because my family and friends know that my love language is food!
Since I have so many people that I want to celebrate the holidays with, I typically make sweet homemade food gifts to pass out to everyone. While some of my favorites have been my Homemade Hot Chocolate Mix and jars of my homemade Apple Butter, one of my top favorite food gifts for the holidays is fudge!
I like to get really creative sometimes and have experimented with flavor combinations like Chocolate Fudge with Peanut Butter Swirl and White Chocolate Cranberry Pecan Fudge, and I still plan to experiment a lot more. But I always know that you can never go wrong with a classic like my Classic Chocolate Fudge!
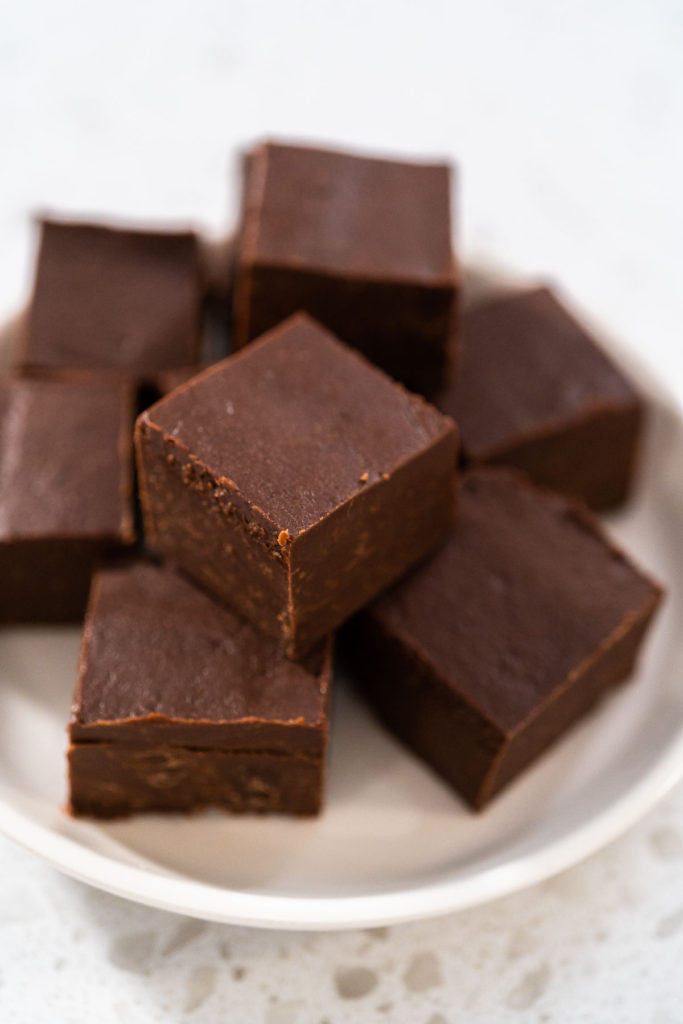
My classic chocolate fudge is perfect to make for the holidays like Christmas and Valentine’s Day, or for more personal events like birthday parties, baby showers, or graduation ceremonies! Whatever you want to make it for, it’s sure to be a huge hit! Here’s how to make my Classic Chocolate Fudge!
Fudge Equipment
Let’s start by going over my fudge equipment list. There’s nothing out of the ordinary to worry about here, just a few typical baking utensils and materials. Here’s everything I use to make my classic chocolate fudge:
- Measuring Cup
- Measuring spoons
- 1 Saucepan
- Glass mixing bowl large
- 1 Spatulas
- 1 8X8 Glass baking pan
- 1 Parchment paper sheet
- 1 Disposable Vinyl Gloves
- White cutting board
- Knife
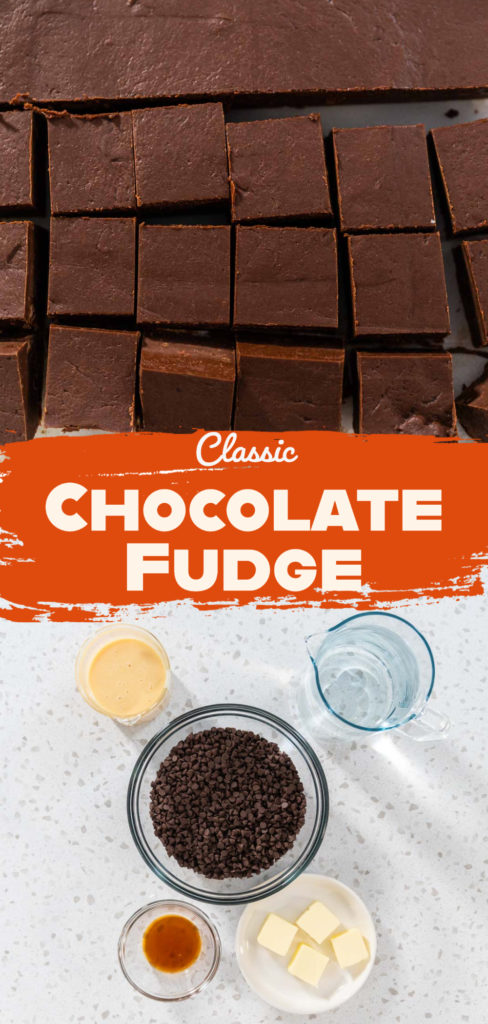
Classic Fudge Ingredients
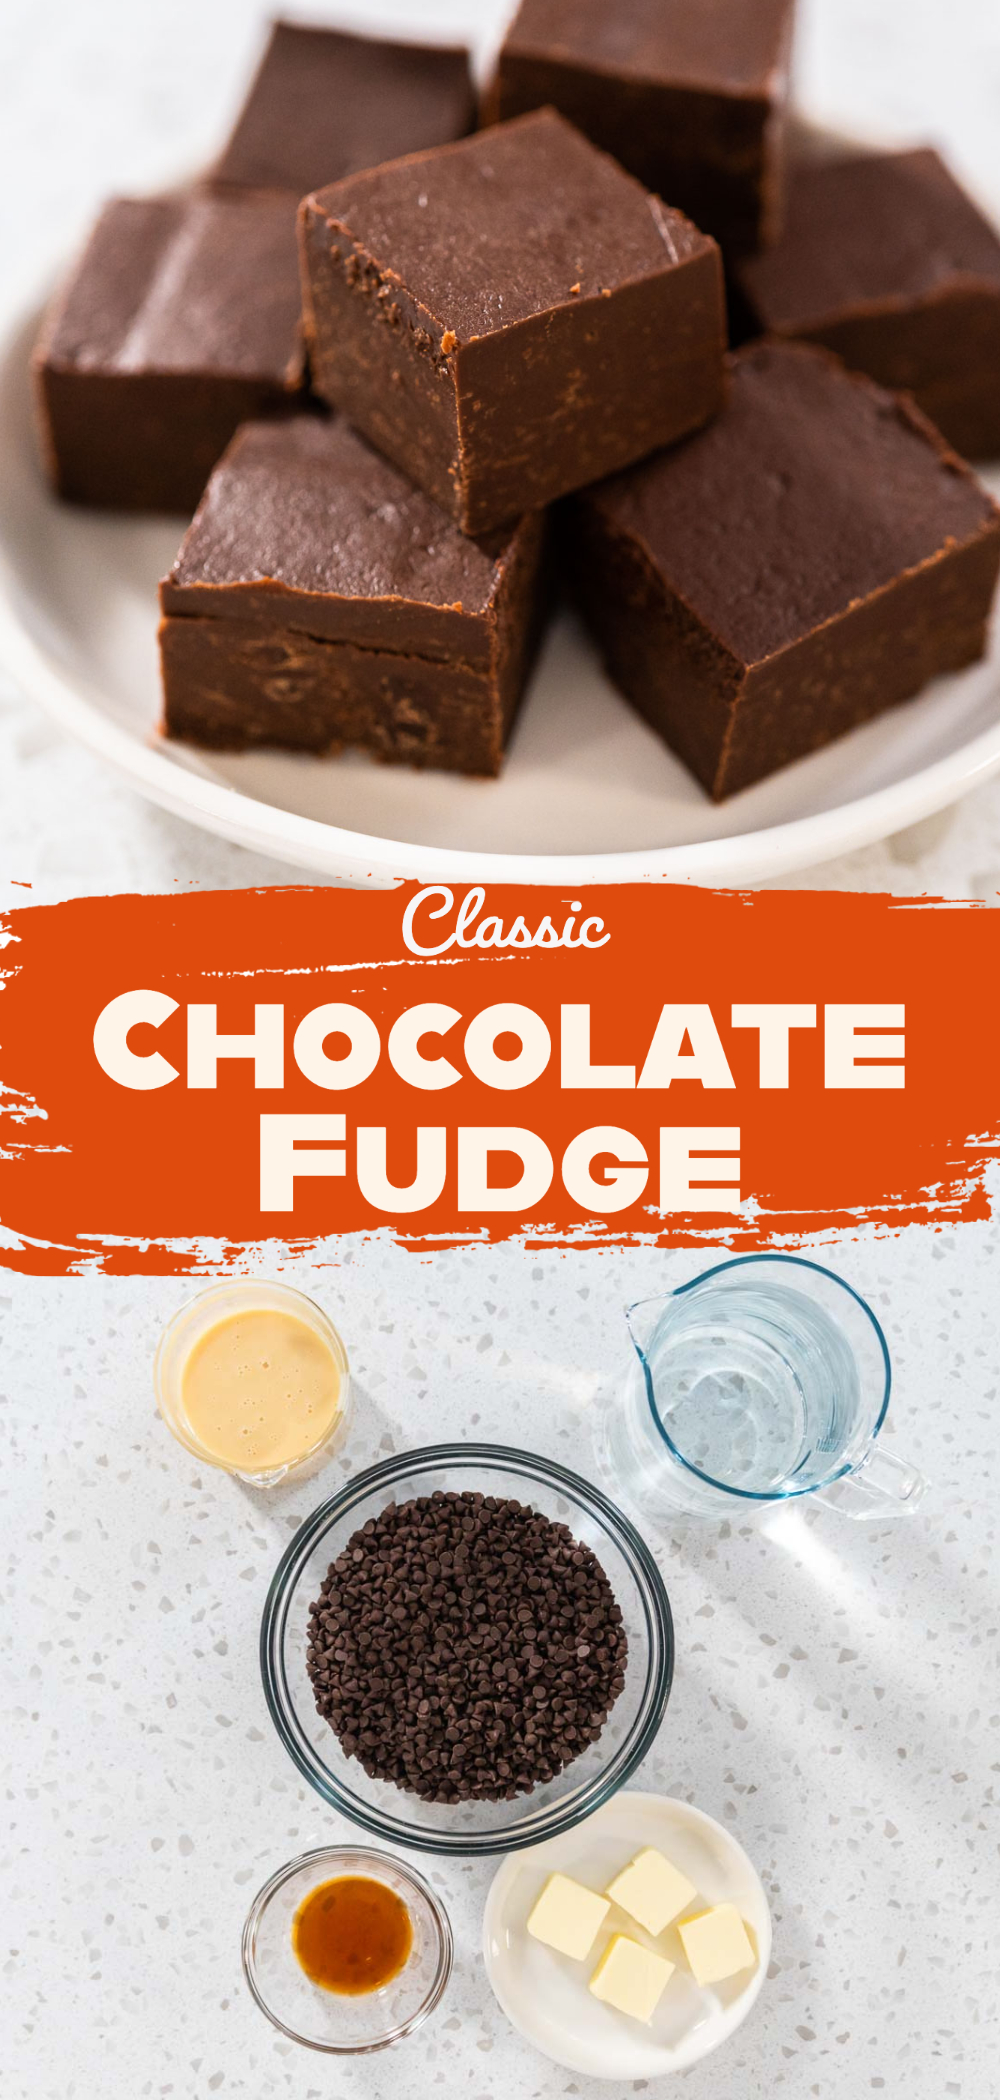
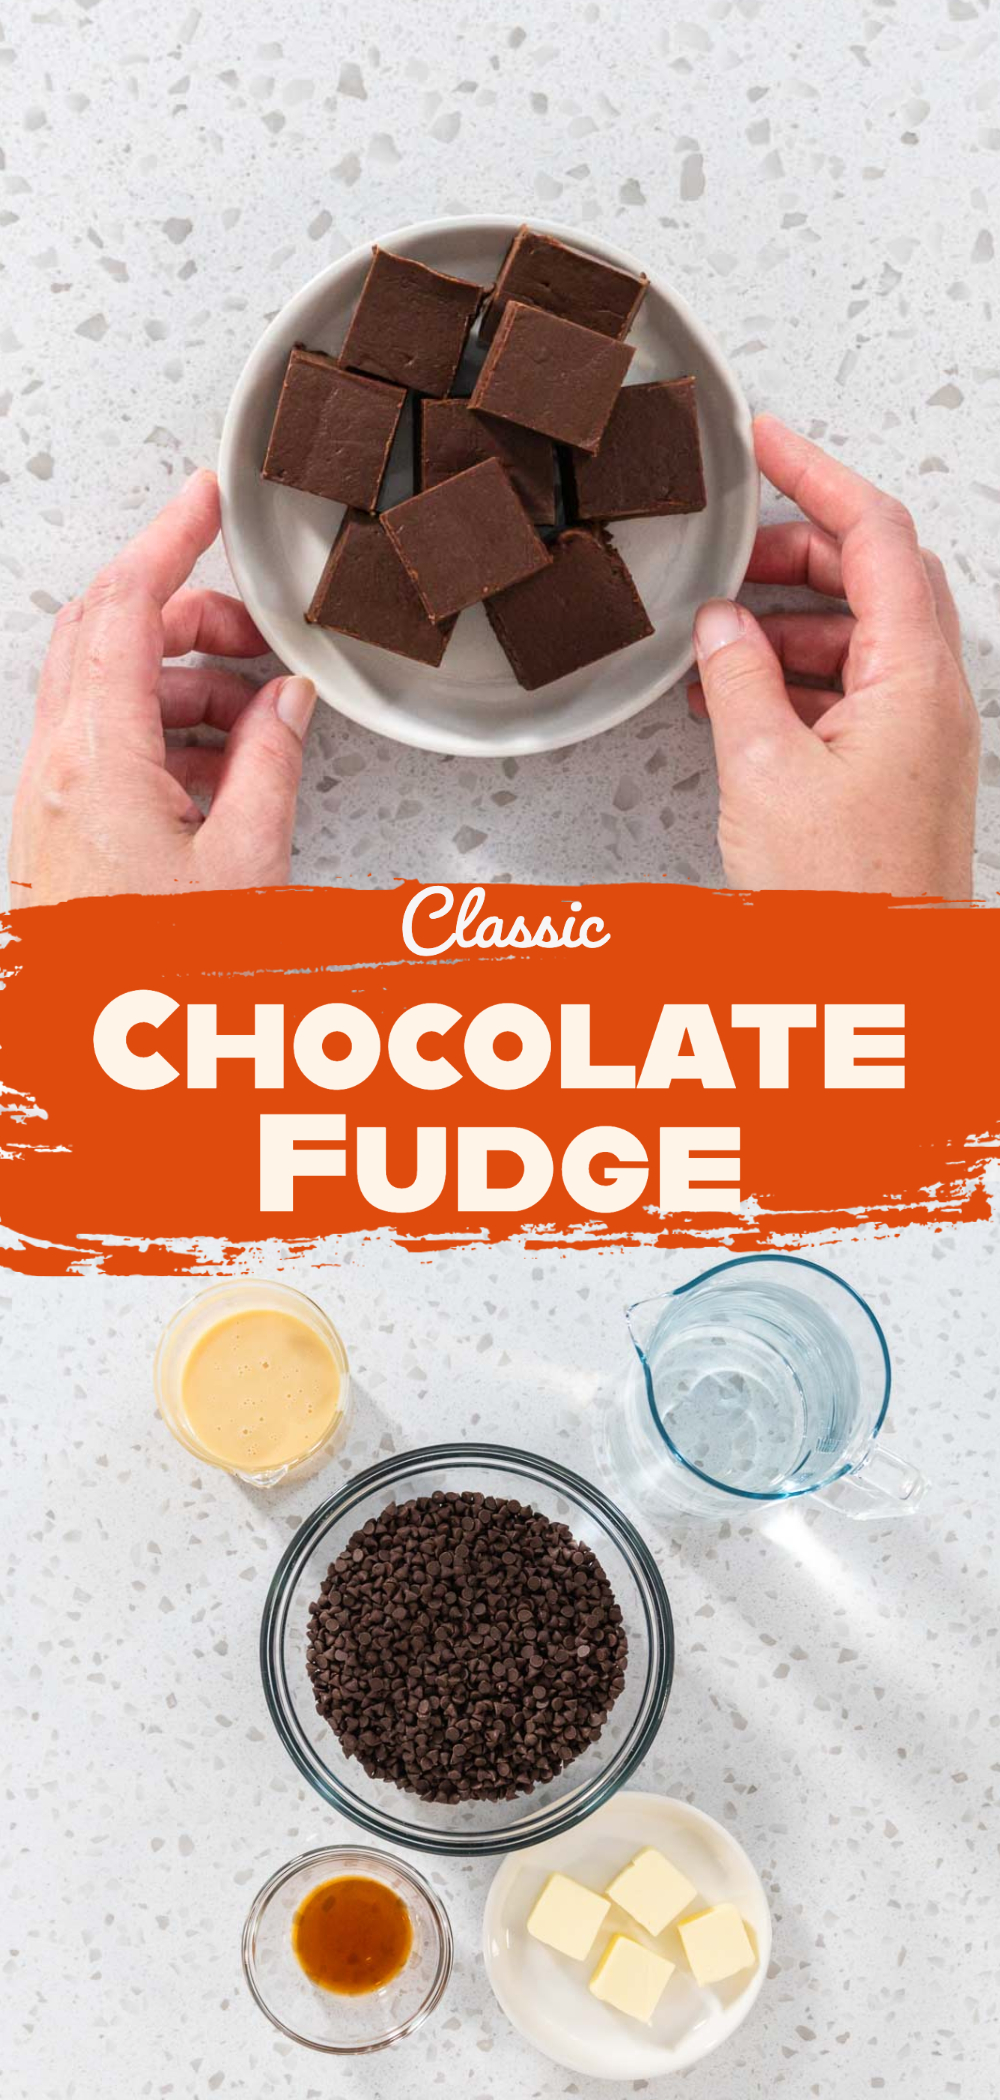
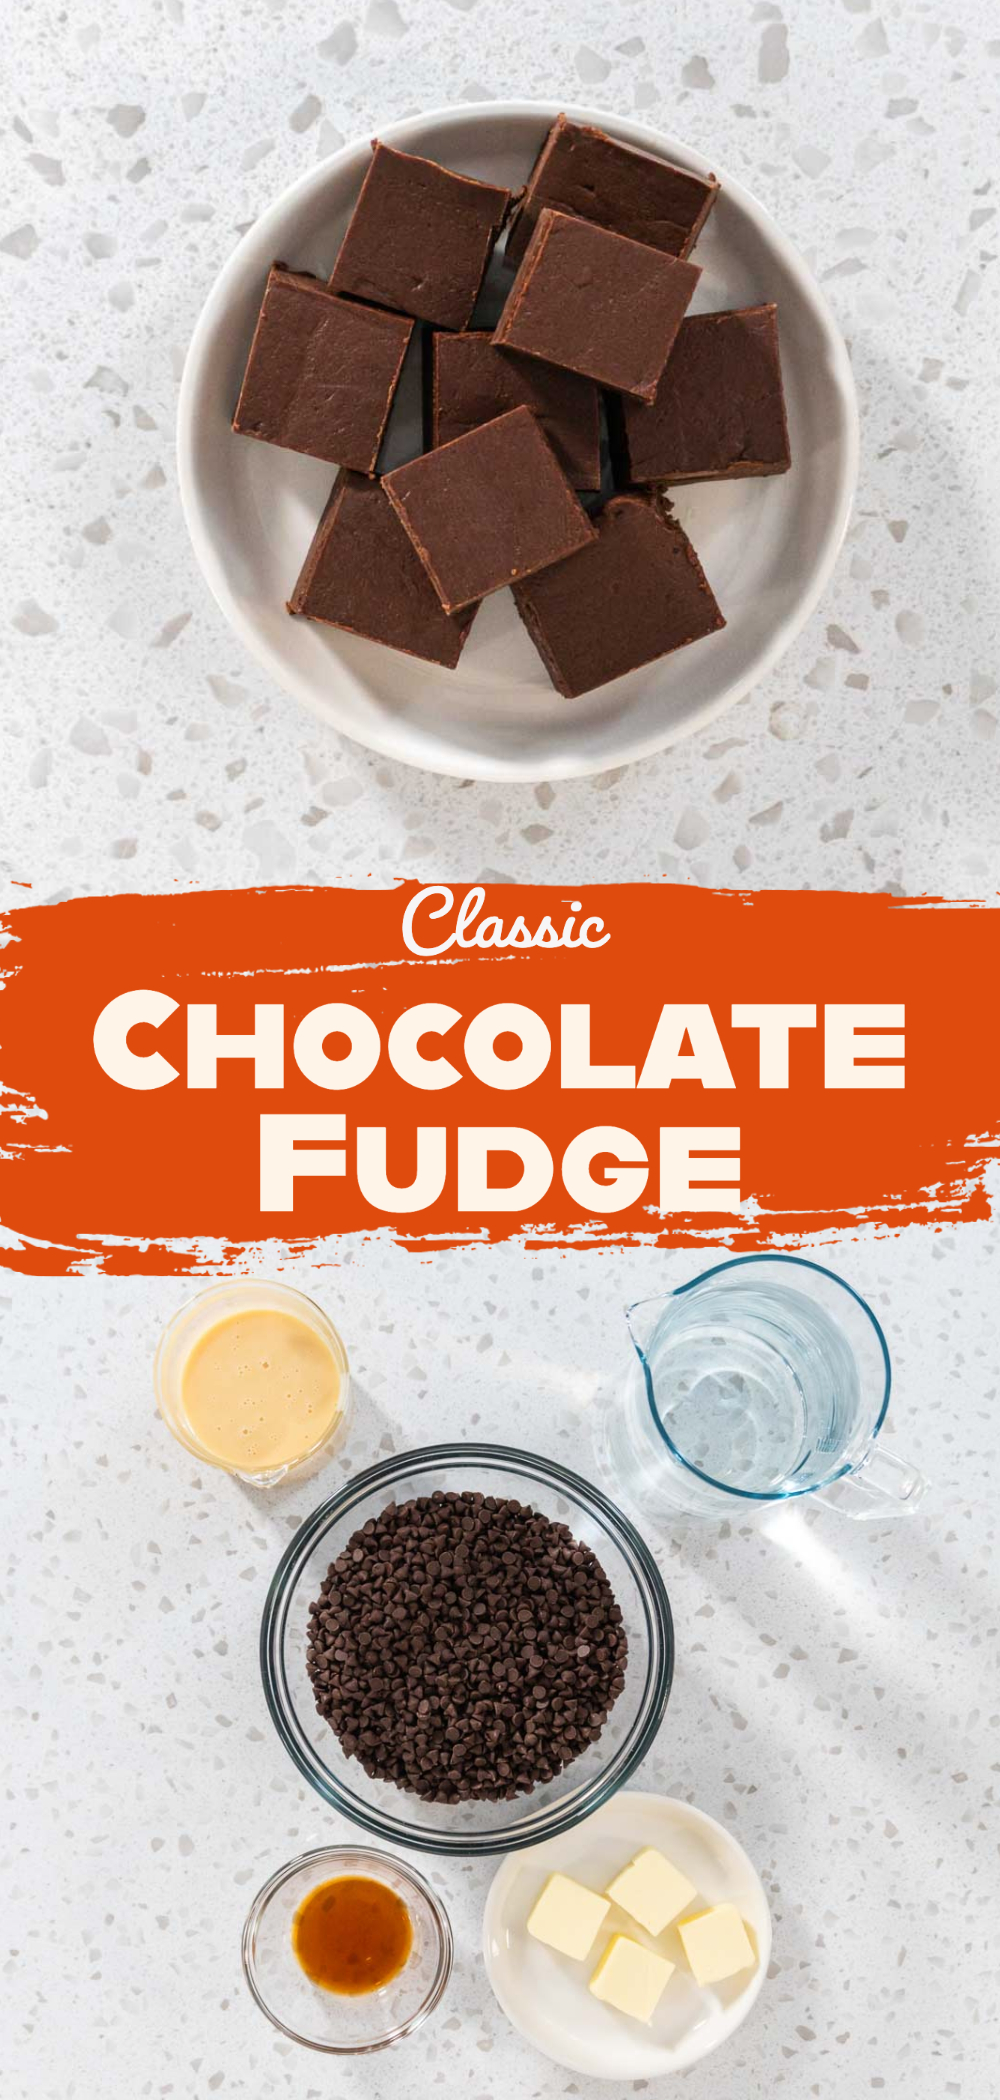
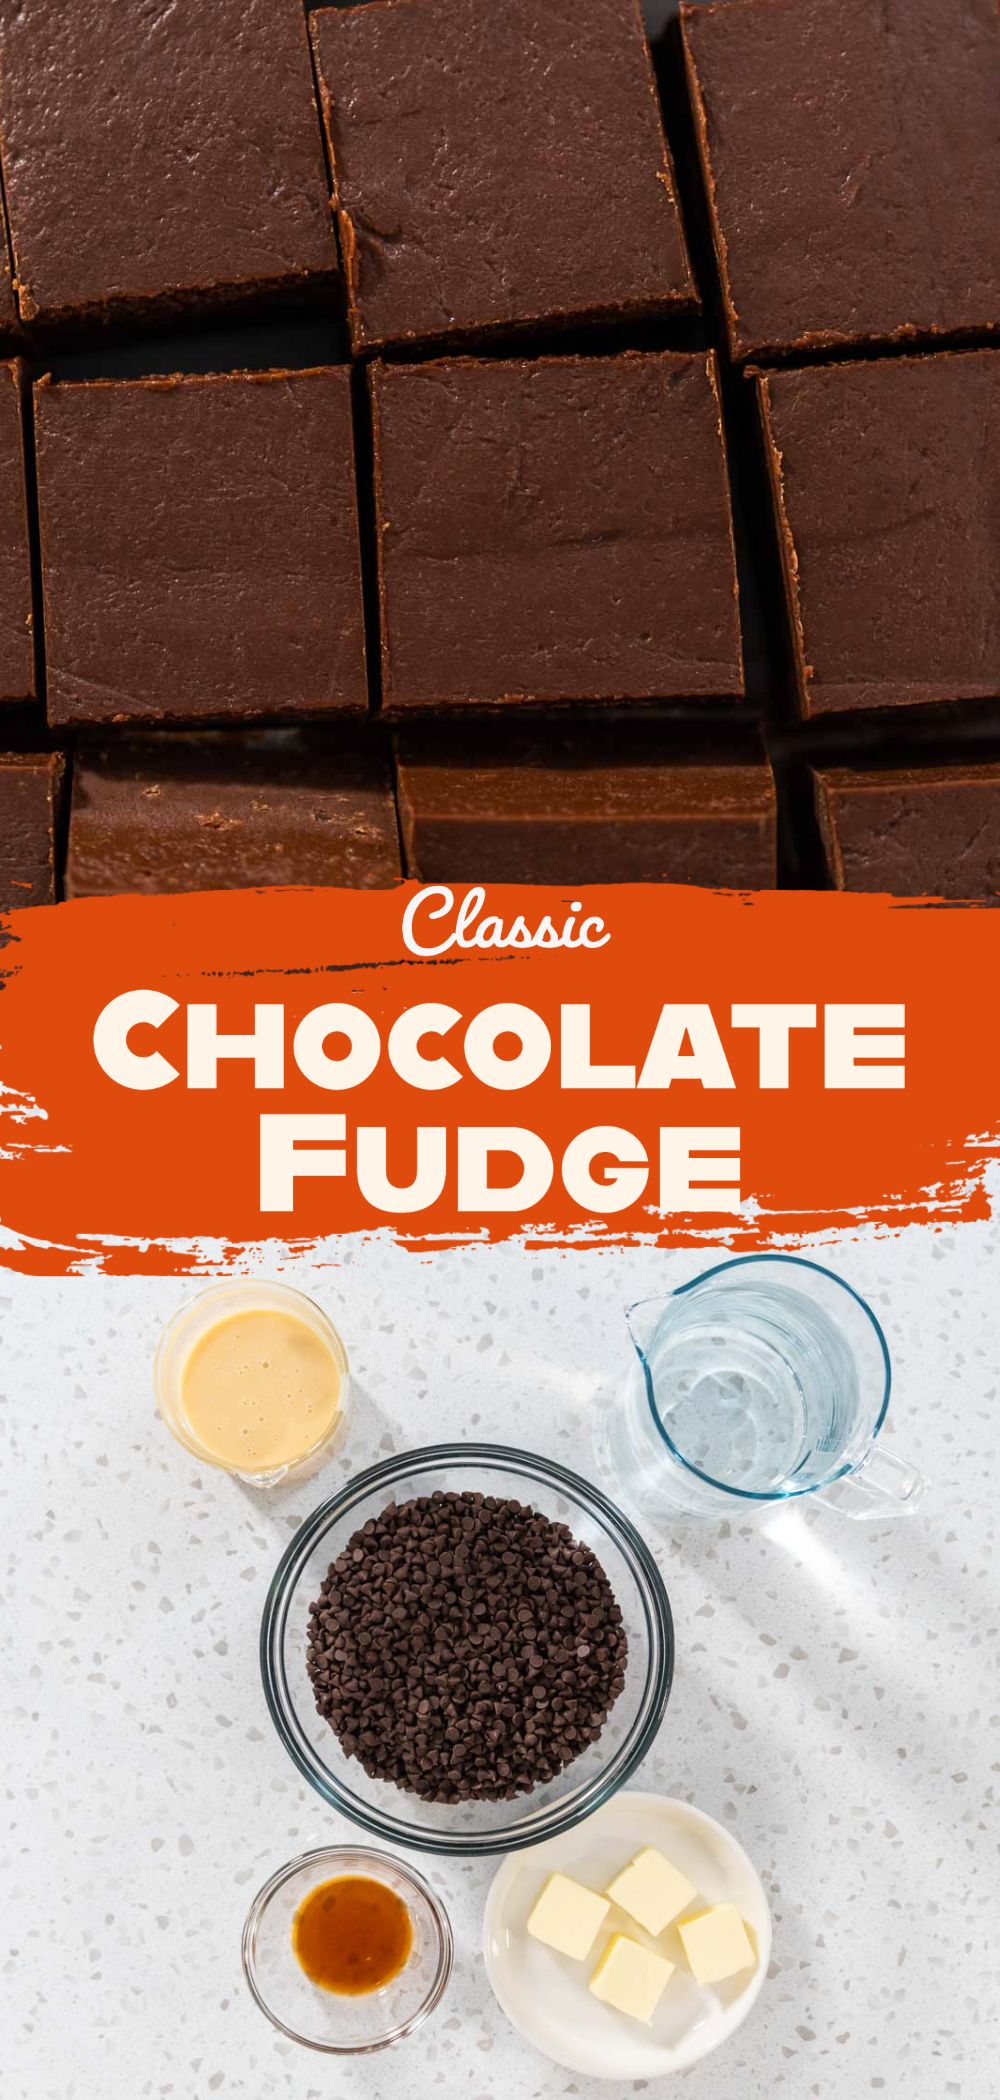
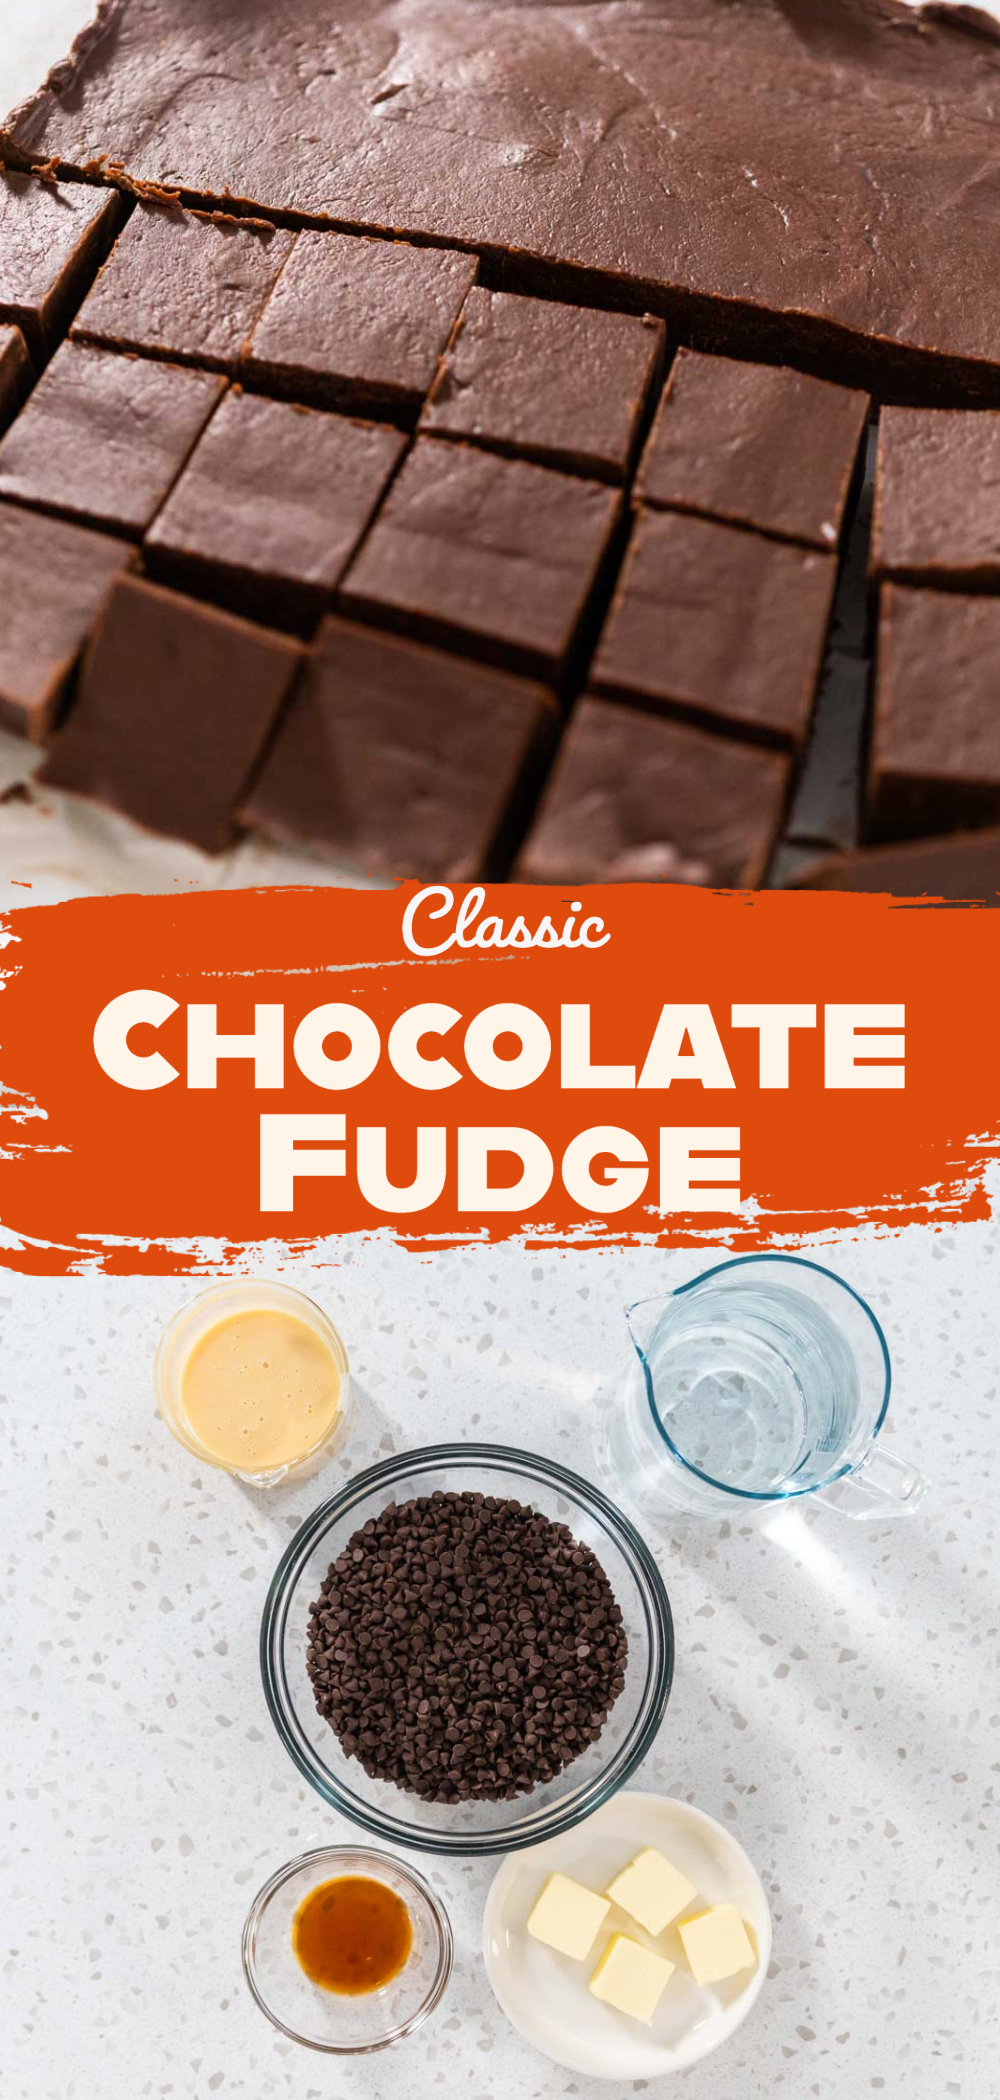
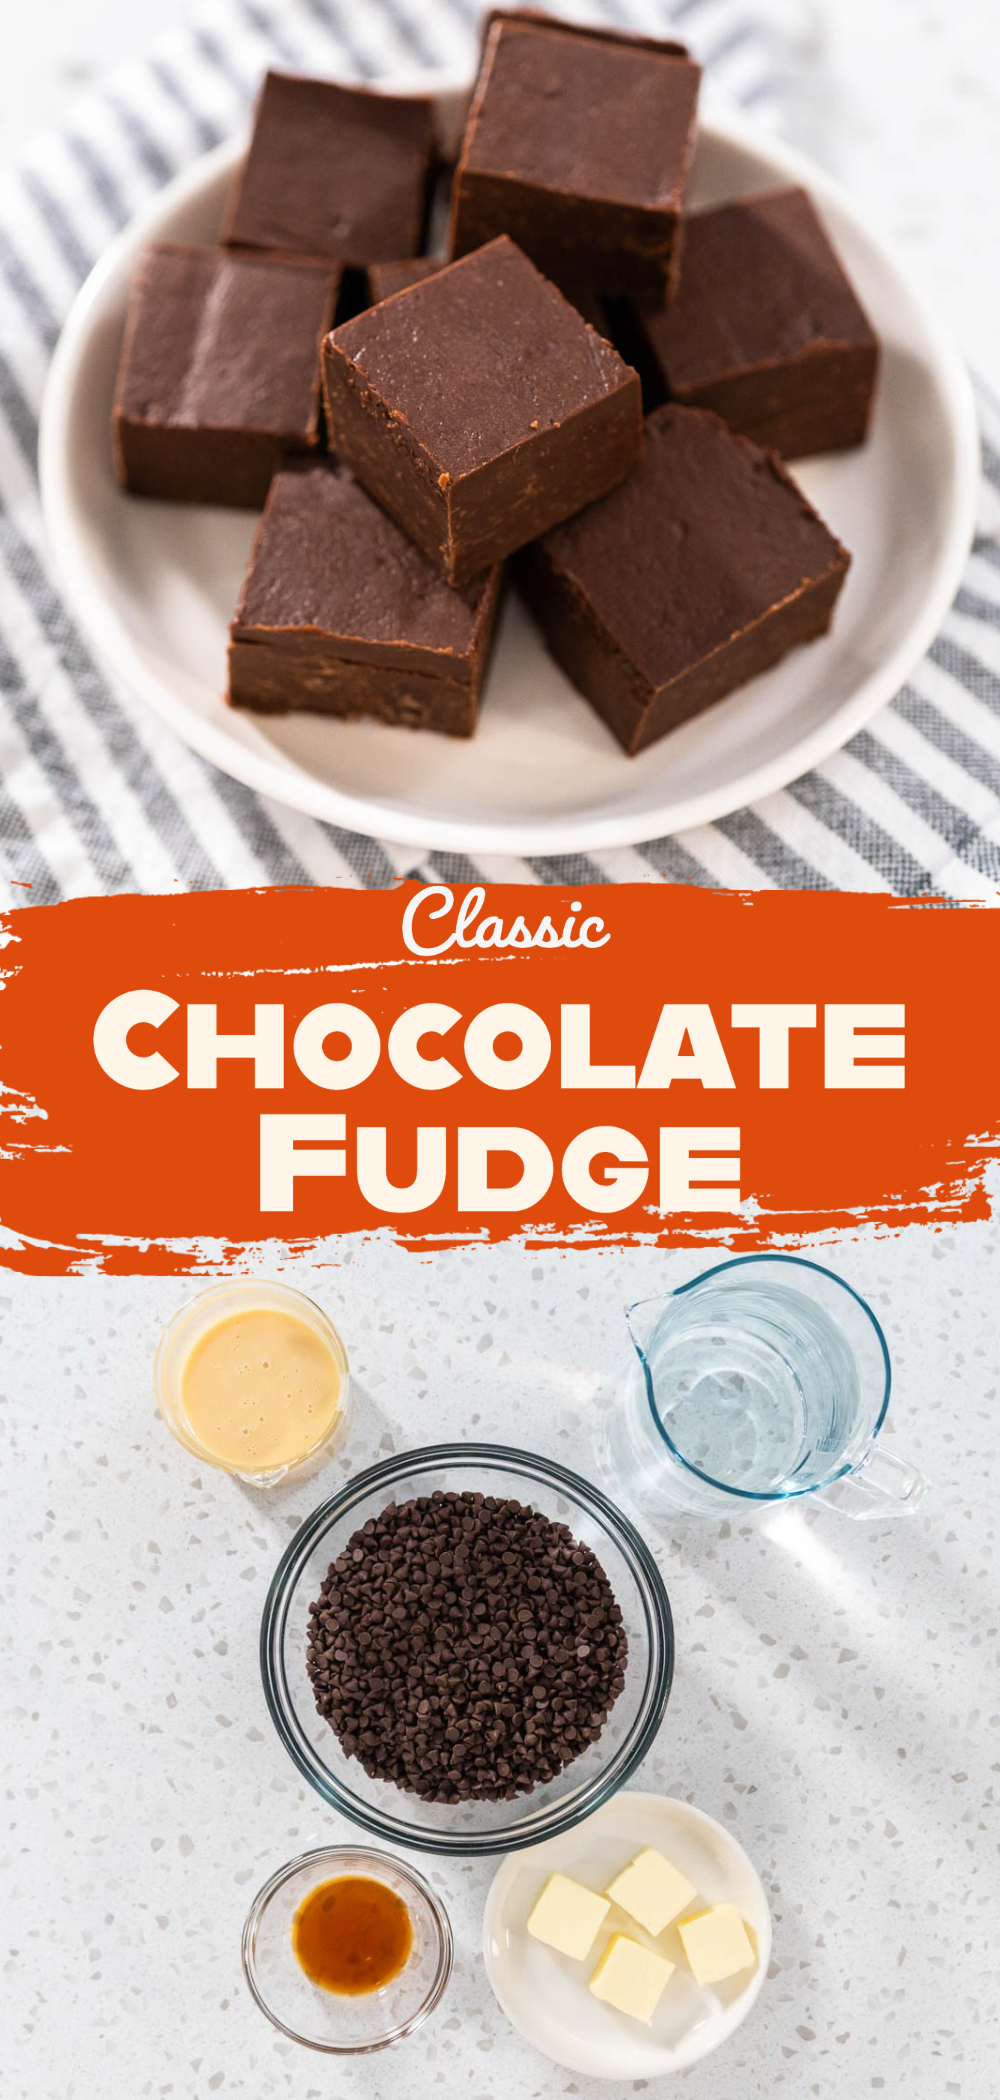
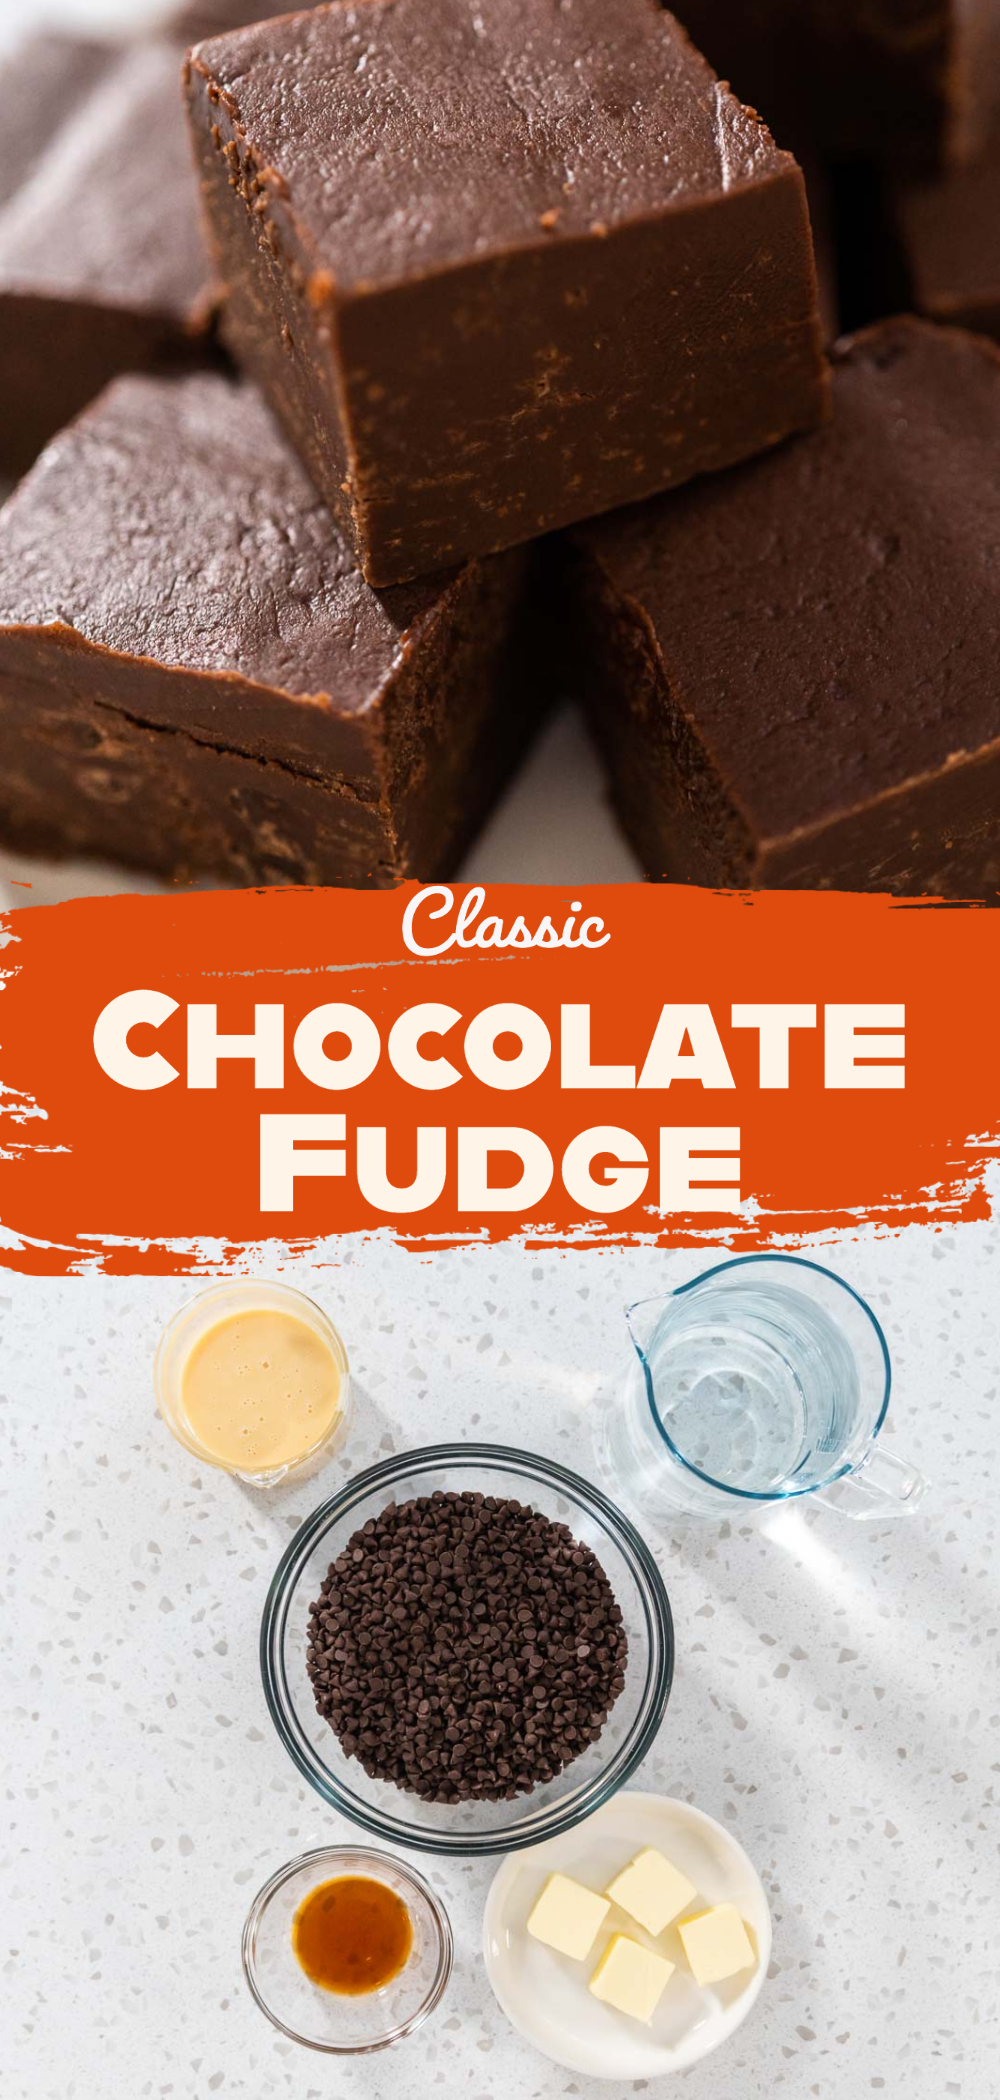
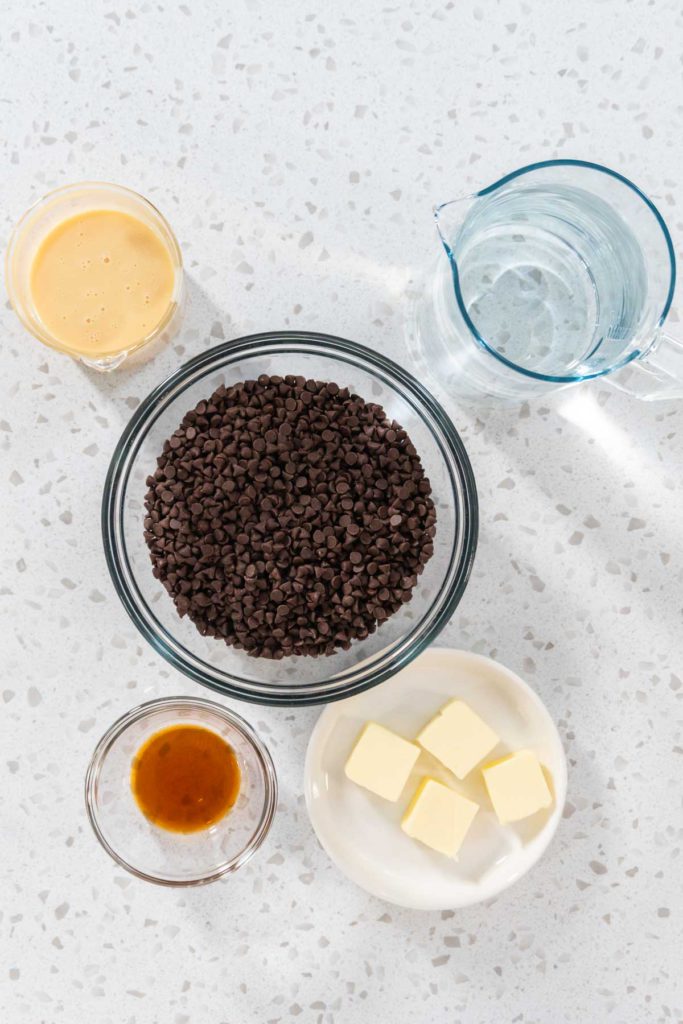
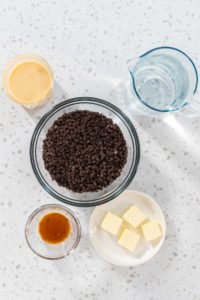
Next, let’s go over my small and simple ingredient list! For this sweet and spectacular homemade treat, you will only need 5 simple ingredients! Here’s what I make my homemade chocolate fudge out of:
- Water (enough to fill up the cooking pot ½ way)
- 3 cups Semi-Sweet Chocolate Chips
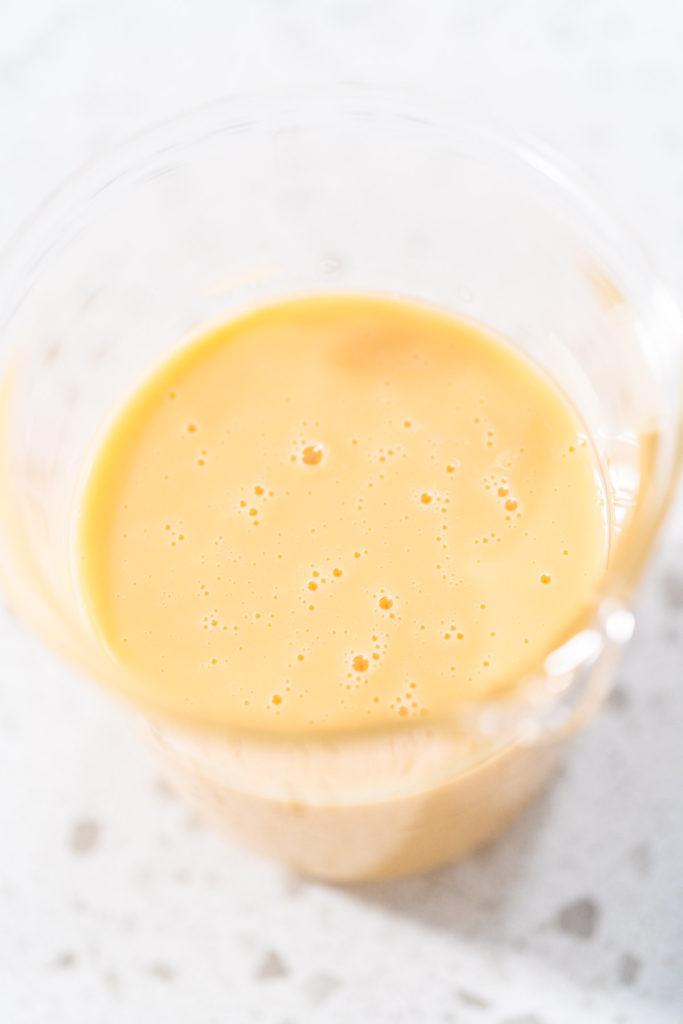
- 1 can- 14 oz sweetened condensed milk
- 1 tsp vanilla extract
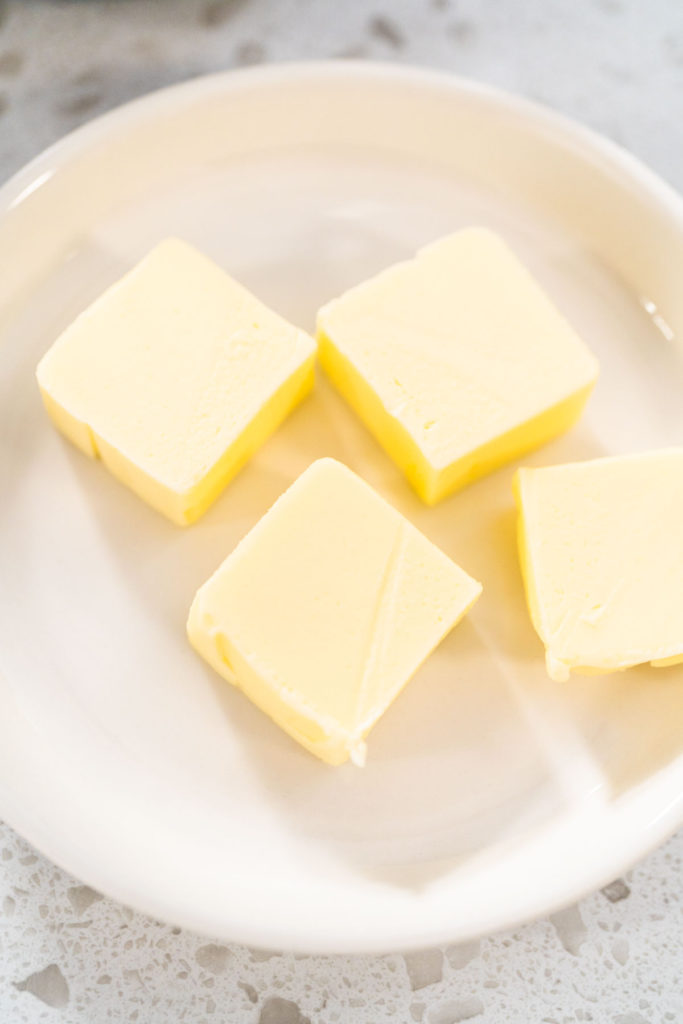
- ¼ cup unsalted butter
How to Make Classic Chocolate Fudge
Ready to try one of the easiest, tastiest, and most excellent homemade food gifts ever? Then let’s get started! Here’s my step-by-step breakdown of how to prep, make, and store classic chocolate fudge:
Prep Tip: I know a lot of people tend to use kitchen foil to line the baking dish when making fudge, but I much prefer to use parchment paper instead. Here’s why:
- It gives the fudge a much smoother bottom since parchment doesn’t have wrinkles as foil does.
- Parchment paper is easier to peel away from the cooled fudge.
- You also don’t have to worry about double-checking for any little pieces left behind as you do with the foil since it tends to stick to the fudge.
How to Make Chocolate Fudge:
- First, gather up all the fudge ingredients. Use the measuring cup and spoons to measure everything out.
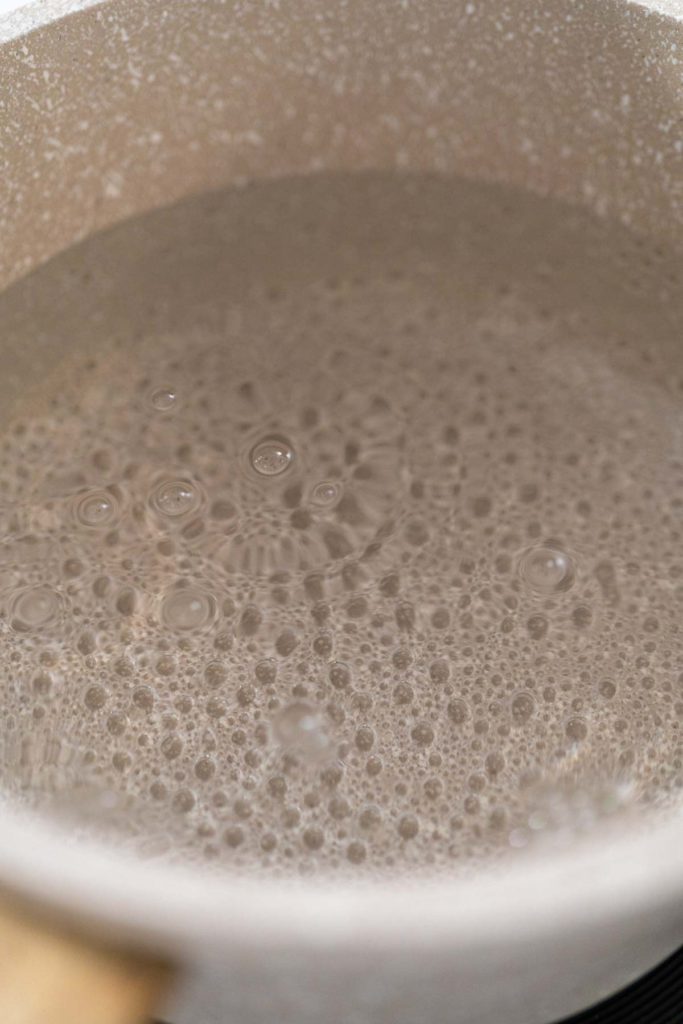
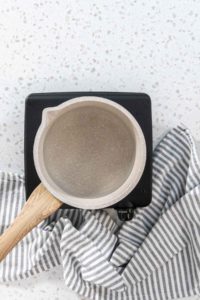
- Then, fill the saucepan ½ way full of water. Bring the water to a boil over medium-high heat.
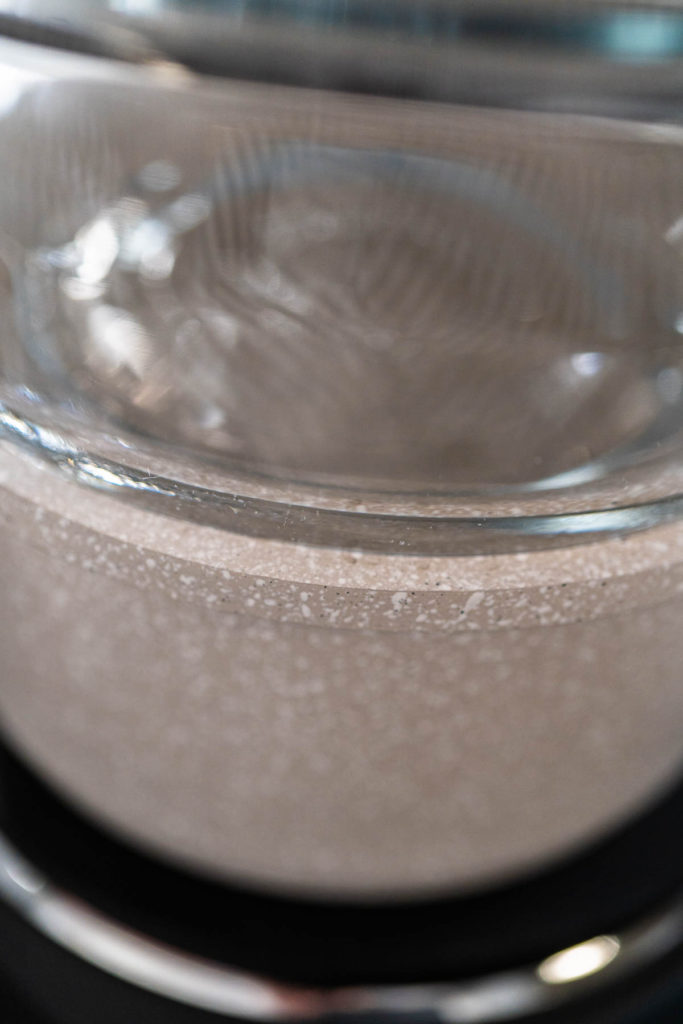
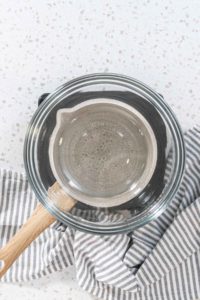
- Once boiling, carefully position a large glass bowl in the saucepan over the boiling water.
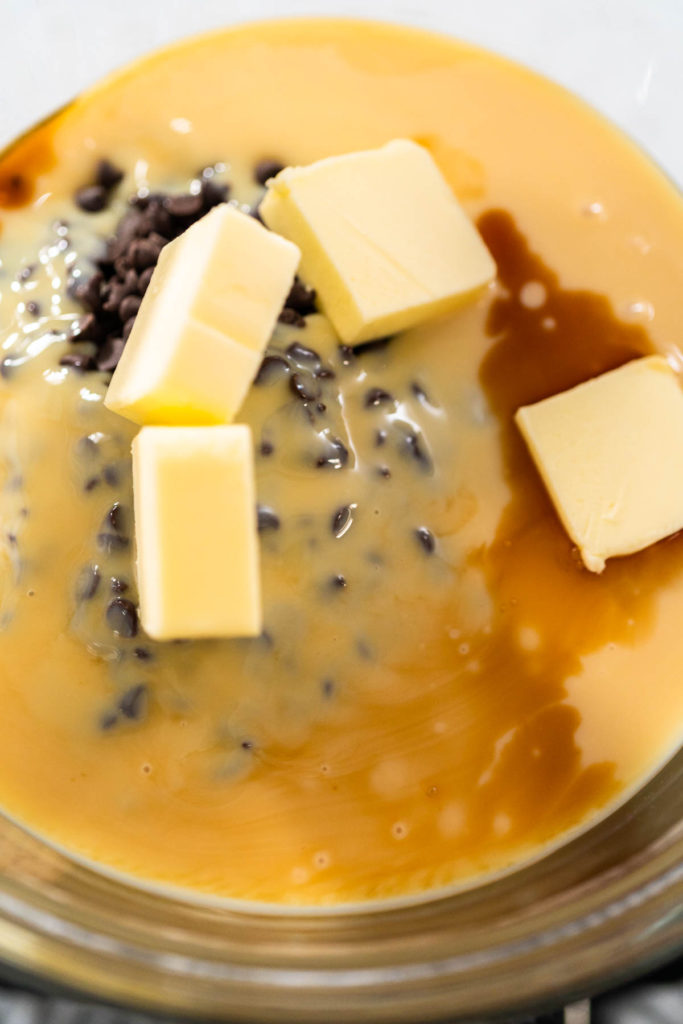
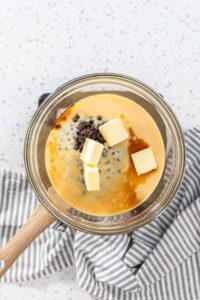
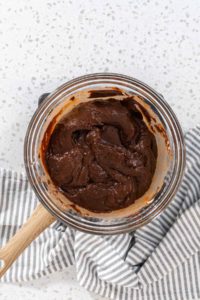
- Next, pour the chocolate chips, condensed milk, vanilla, and butter into the glass bowl.
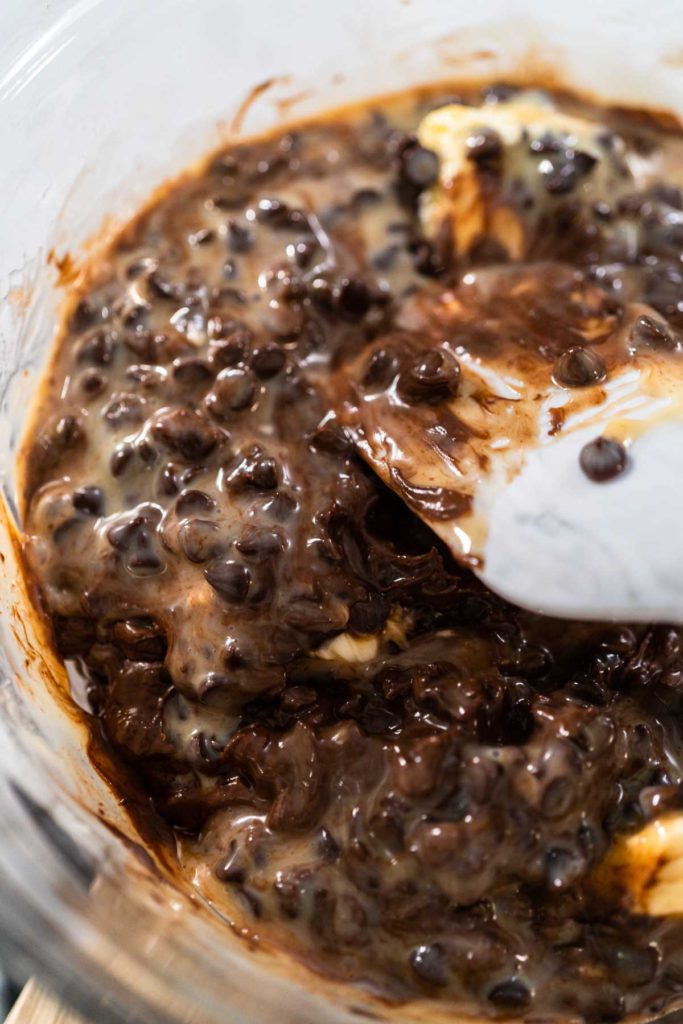
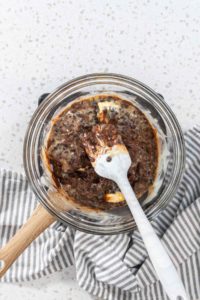
- Regularly stir the mixture with a spatula until the chocolate chips have completely melted.
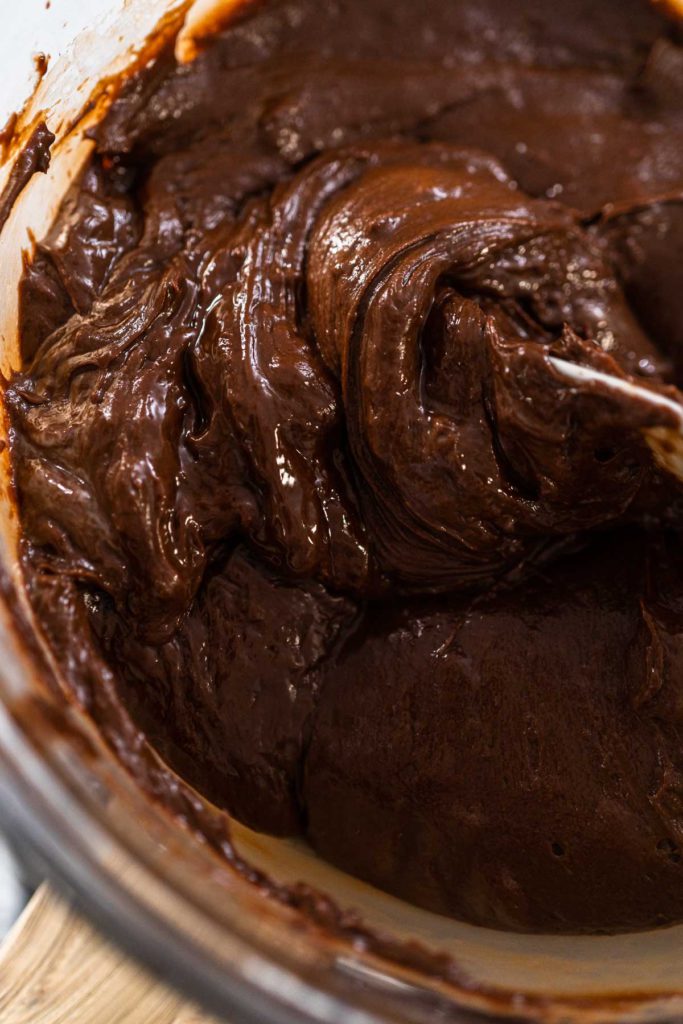
- The fudge “batter” is ready once all the ingredients are combined into a smooth mixture.
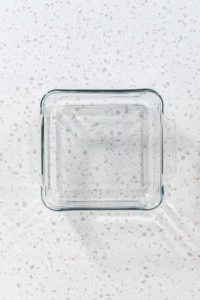
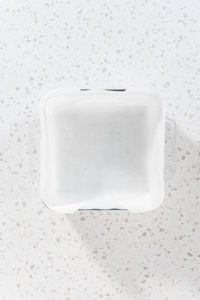
- Next, grab a square glass baking pan or square cheesecake pan if you have one.
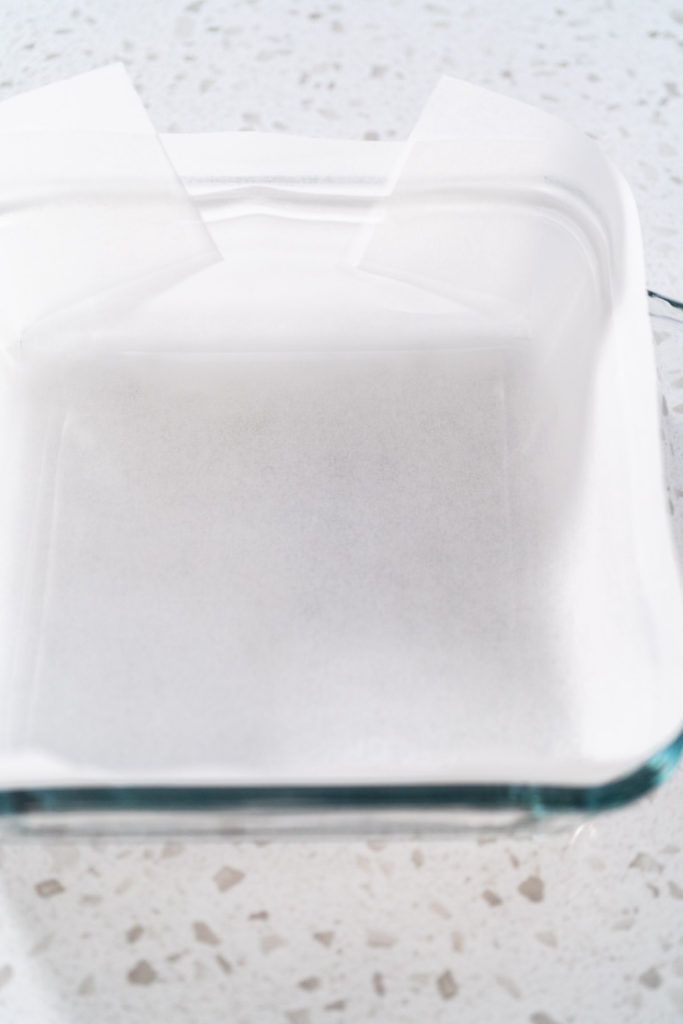
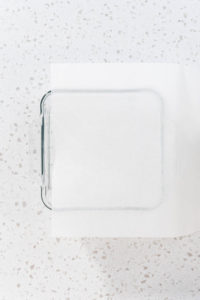
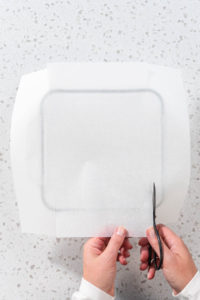
- Measure out a piece of parchment paper by placing a parchment sheet flat over the top of the dish. Cut the paper, so it is about 1.5- 2 inches wider than the baking pan.
- Then, cut one slit in the parchment at each of the 4 corners of the baking dish across from each other.
- Push the parchment paper into the pan while folding the corners in so the paper fits securely.
- If desired, you can lightly spray the pan with cooking oil spray first to make the paper extra secure.
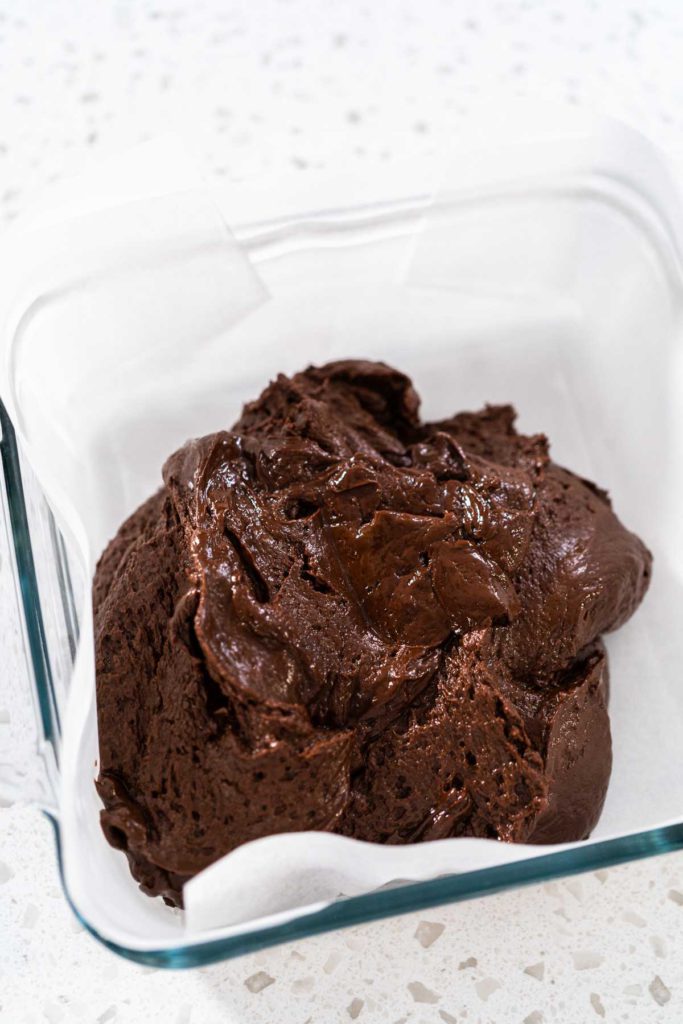
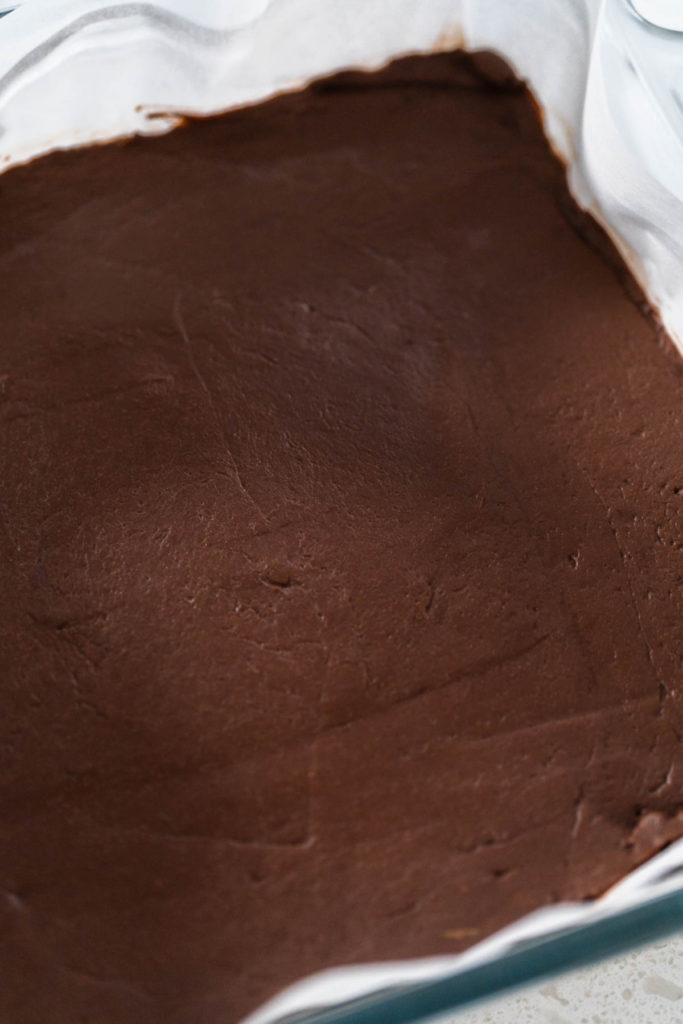
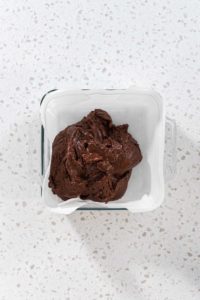
- Next, scoop the fudge “batter” into the lined baking pan.
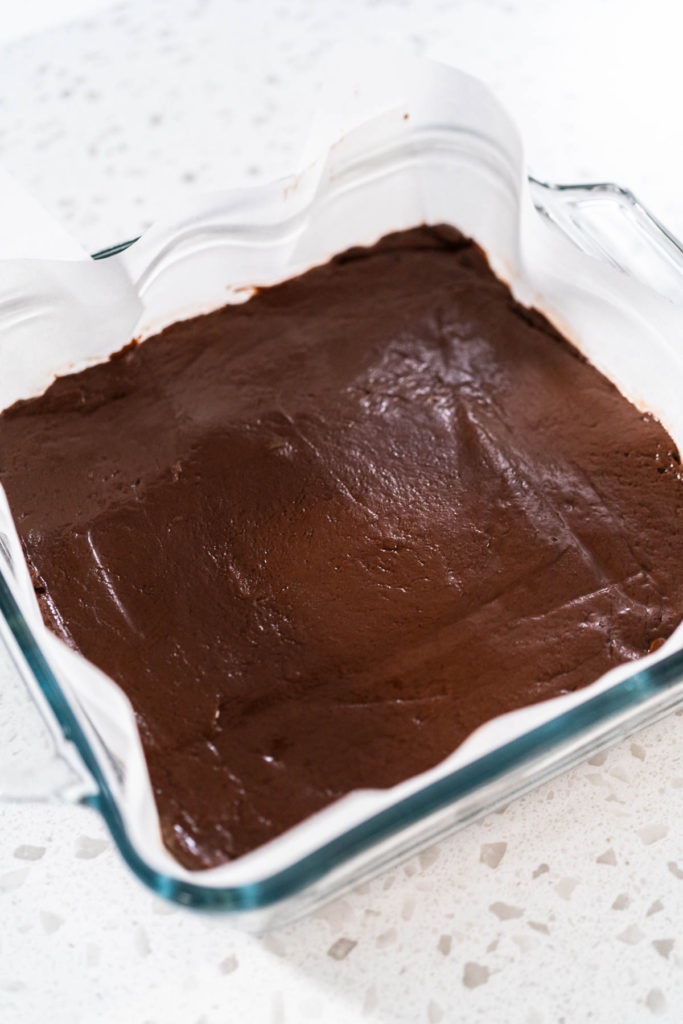
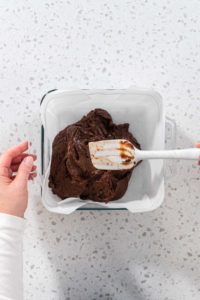
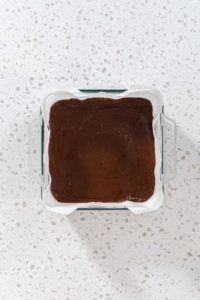
- Spread the fudge around in the pan as evenly and smoothly as you can with a spatula to get the best results.
- Refrigerate the chocolate fudge for at least 2 hours, but it’s really best to leave them overnight. Then, remove the fudge from the fridge, pan, and parchment paper.
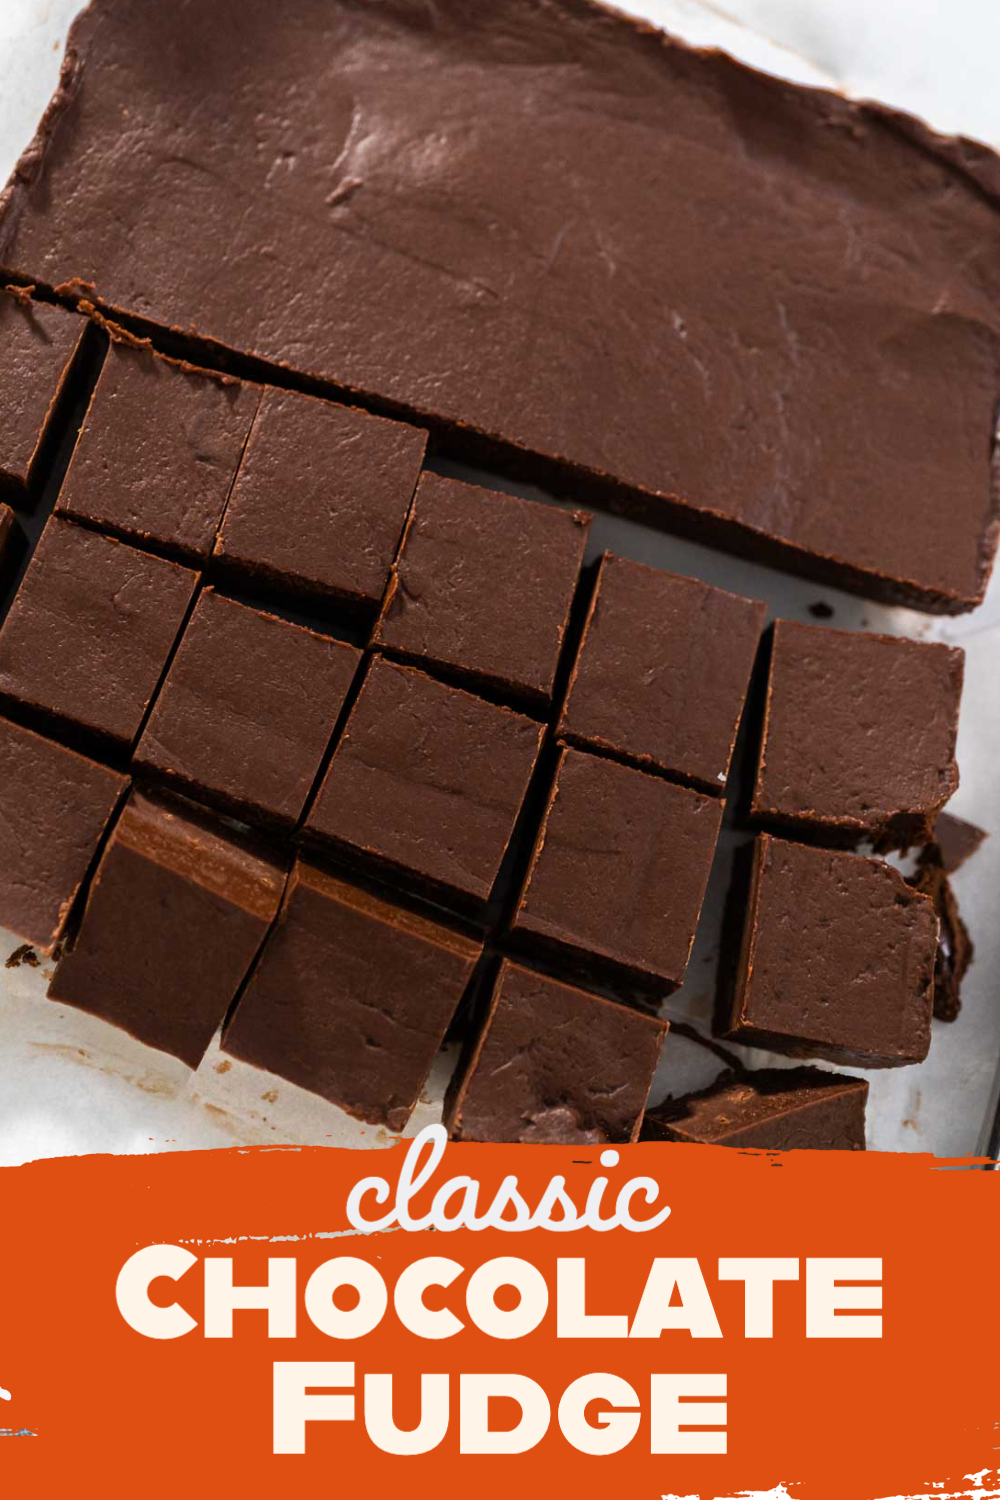
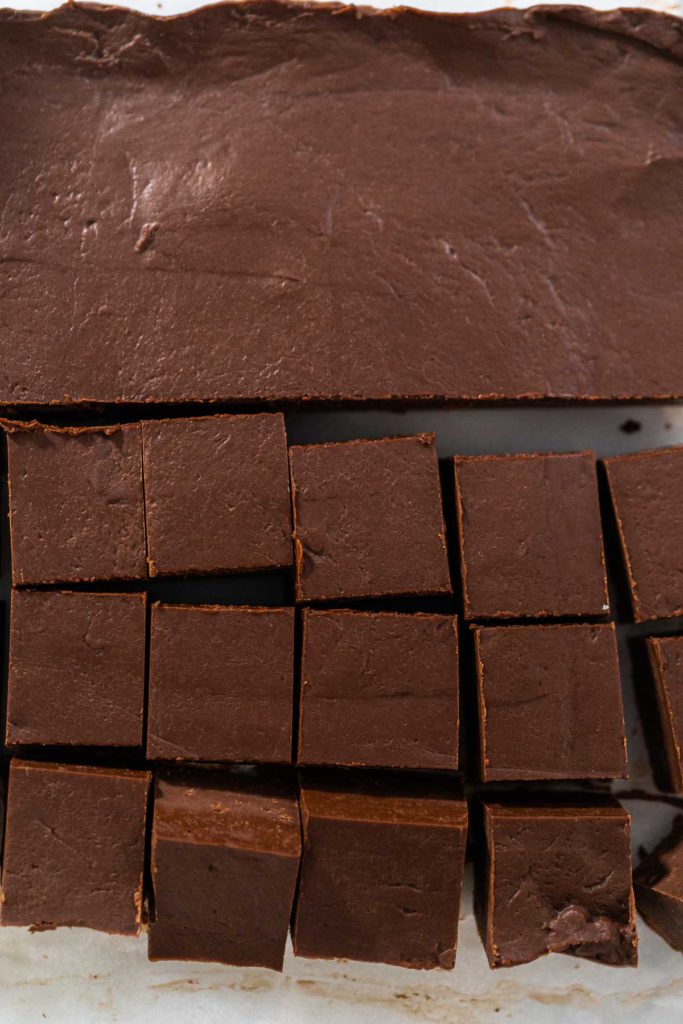
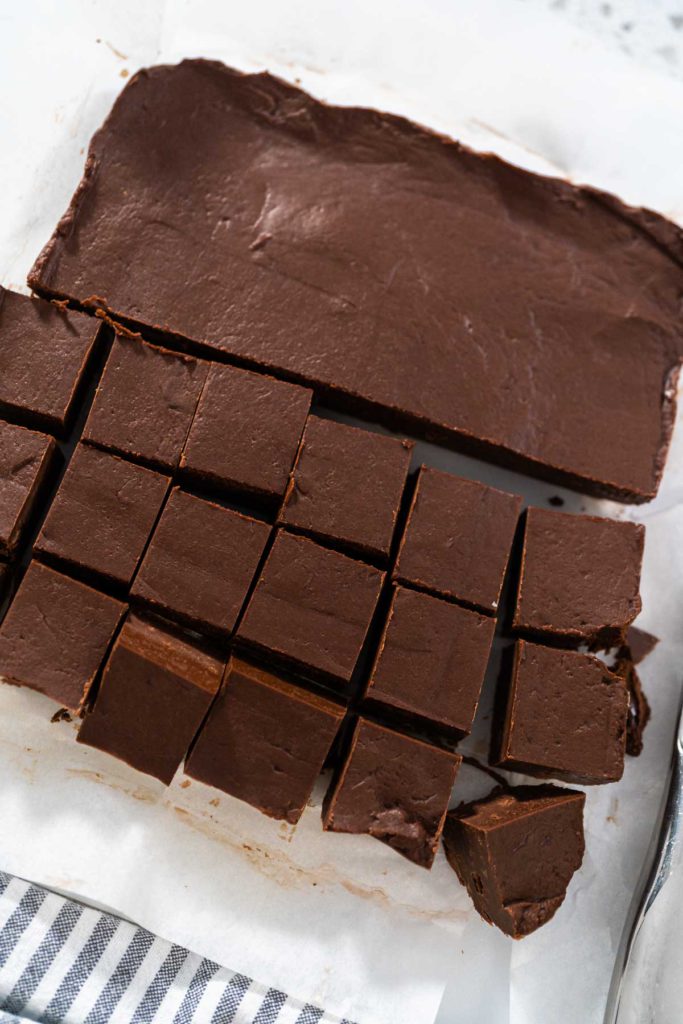
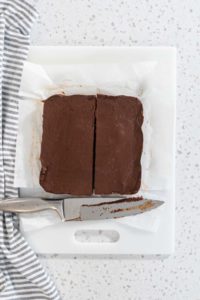
- Place the fudge on a cutting board and heat a large knife blade in boiling hot water. Wipe it with a paper towel and cut the fudge directly in the middle.
- Repeat the knife heating and wiping process before each cut.
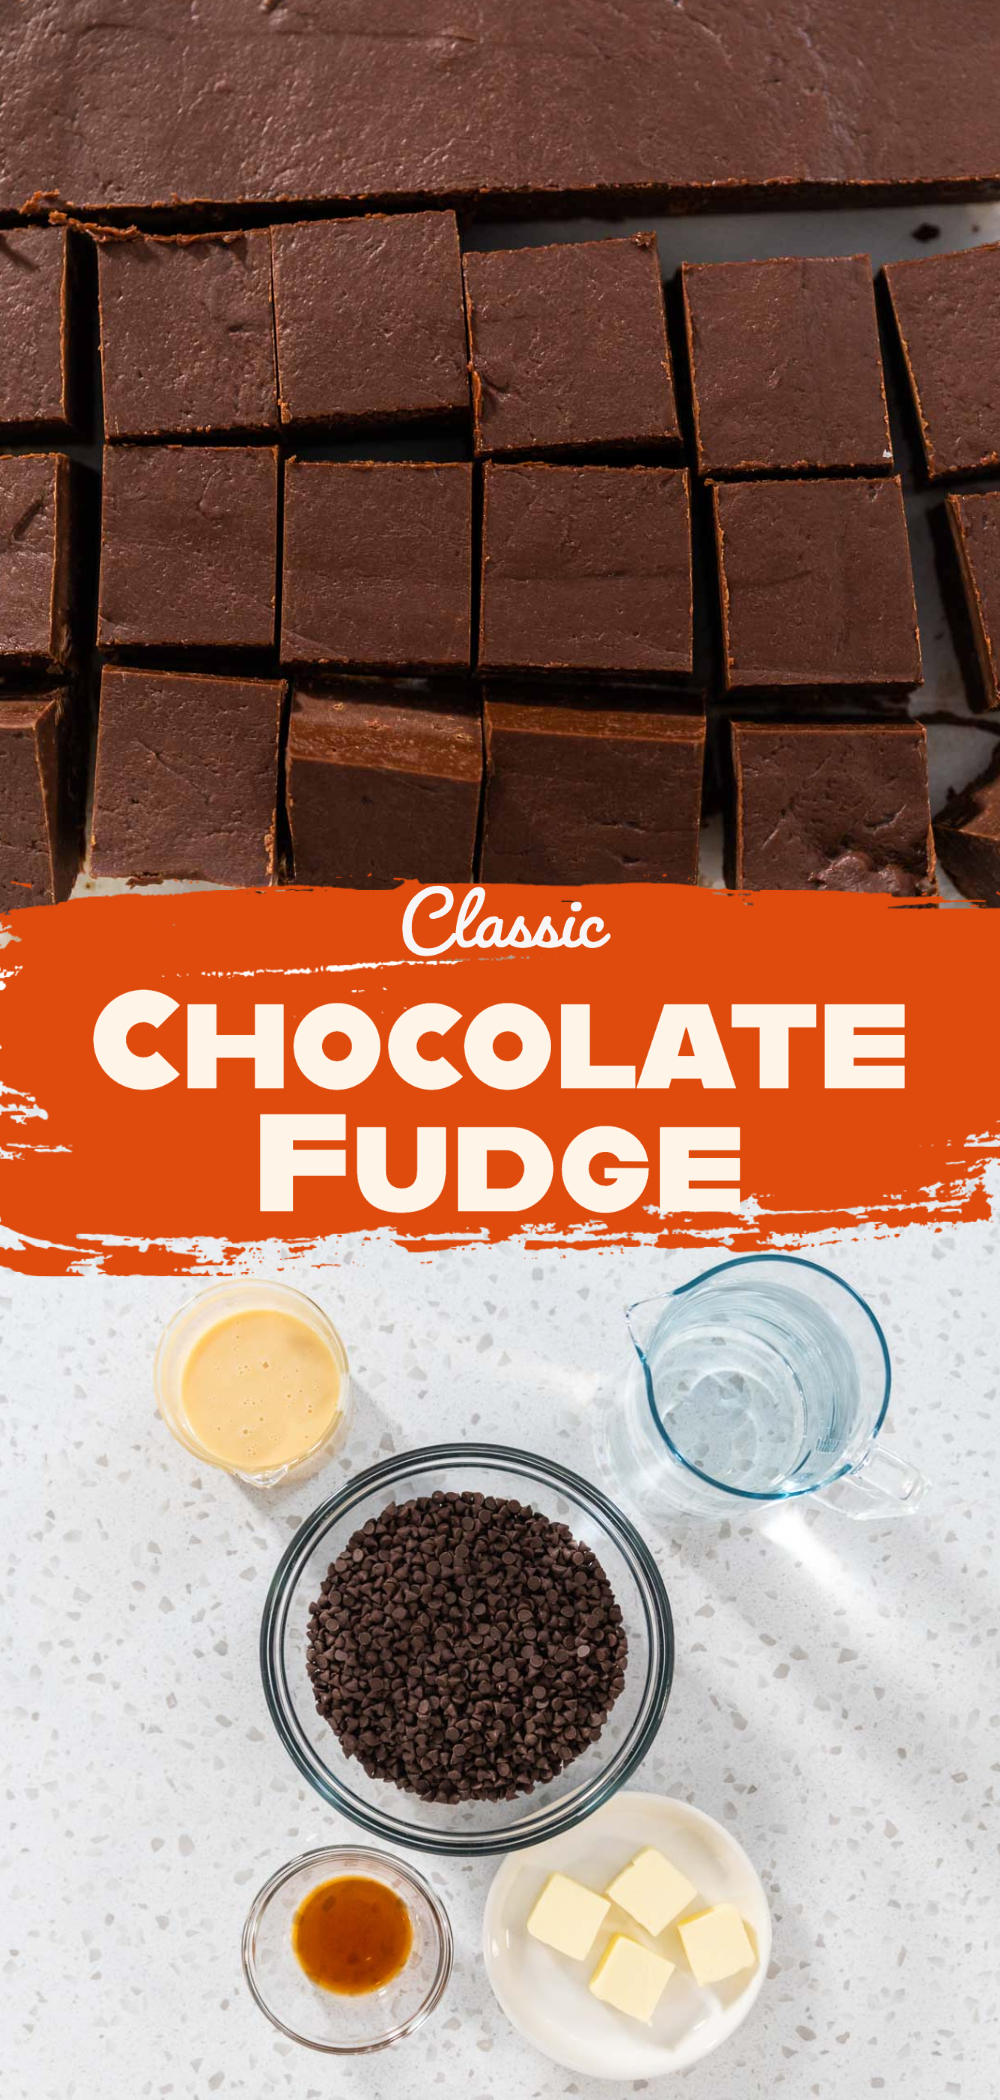
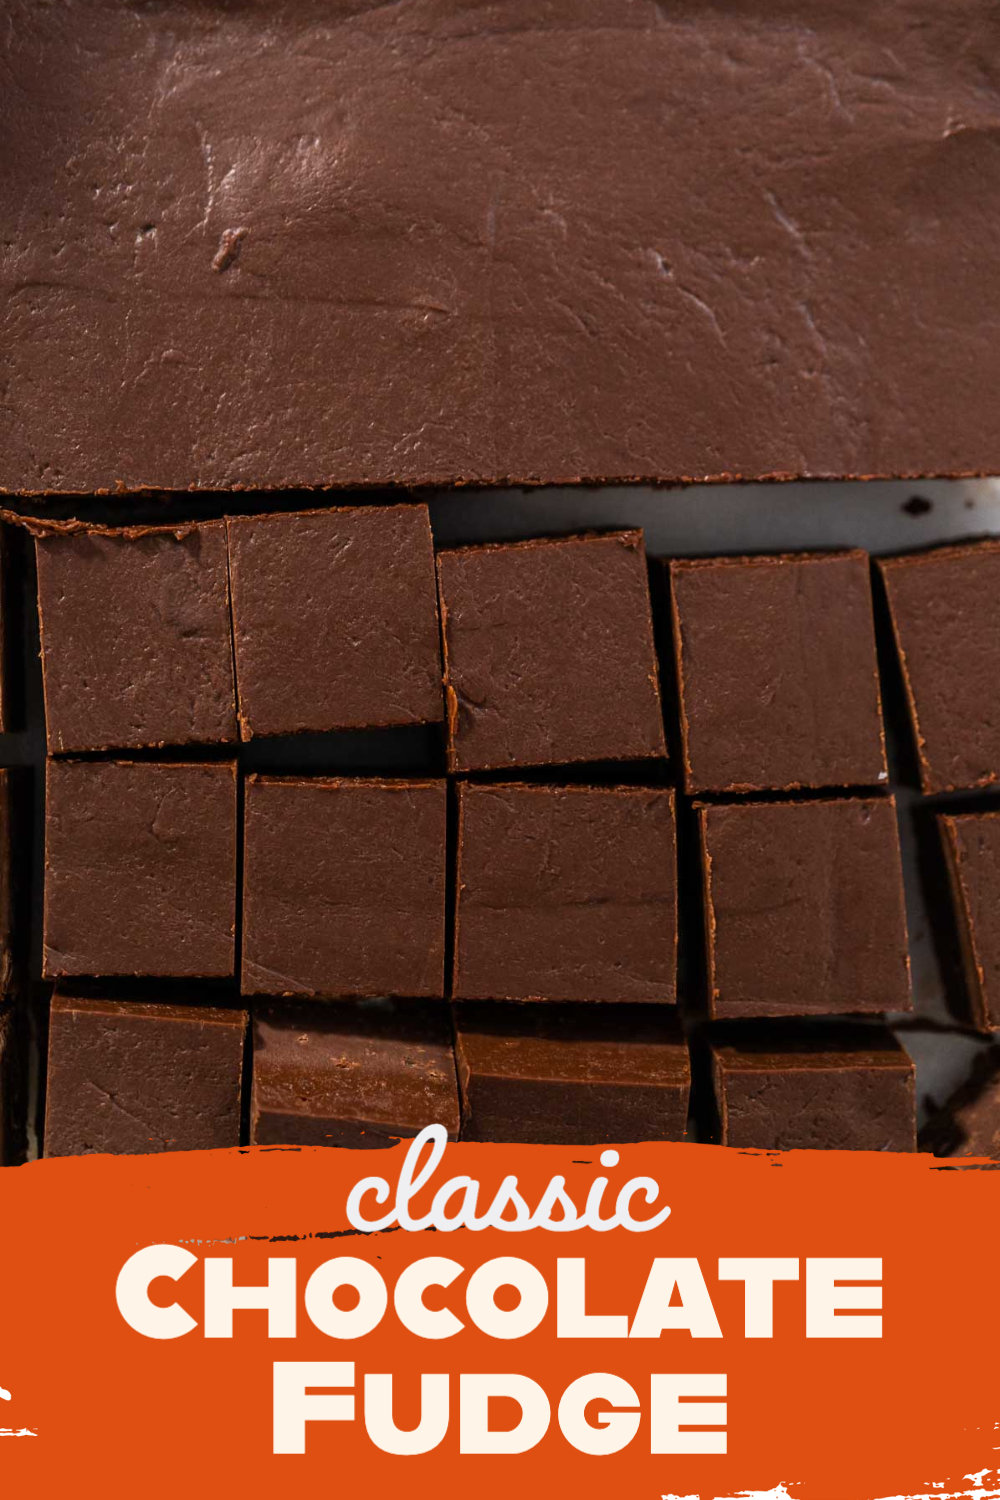
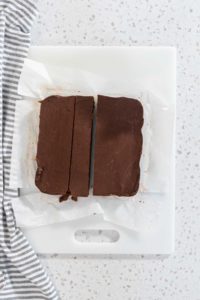
- Cut 2 more vertical columns in one half of the fudge about 1.5 inches apart.
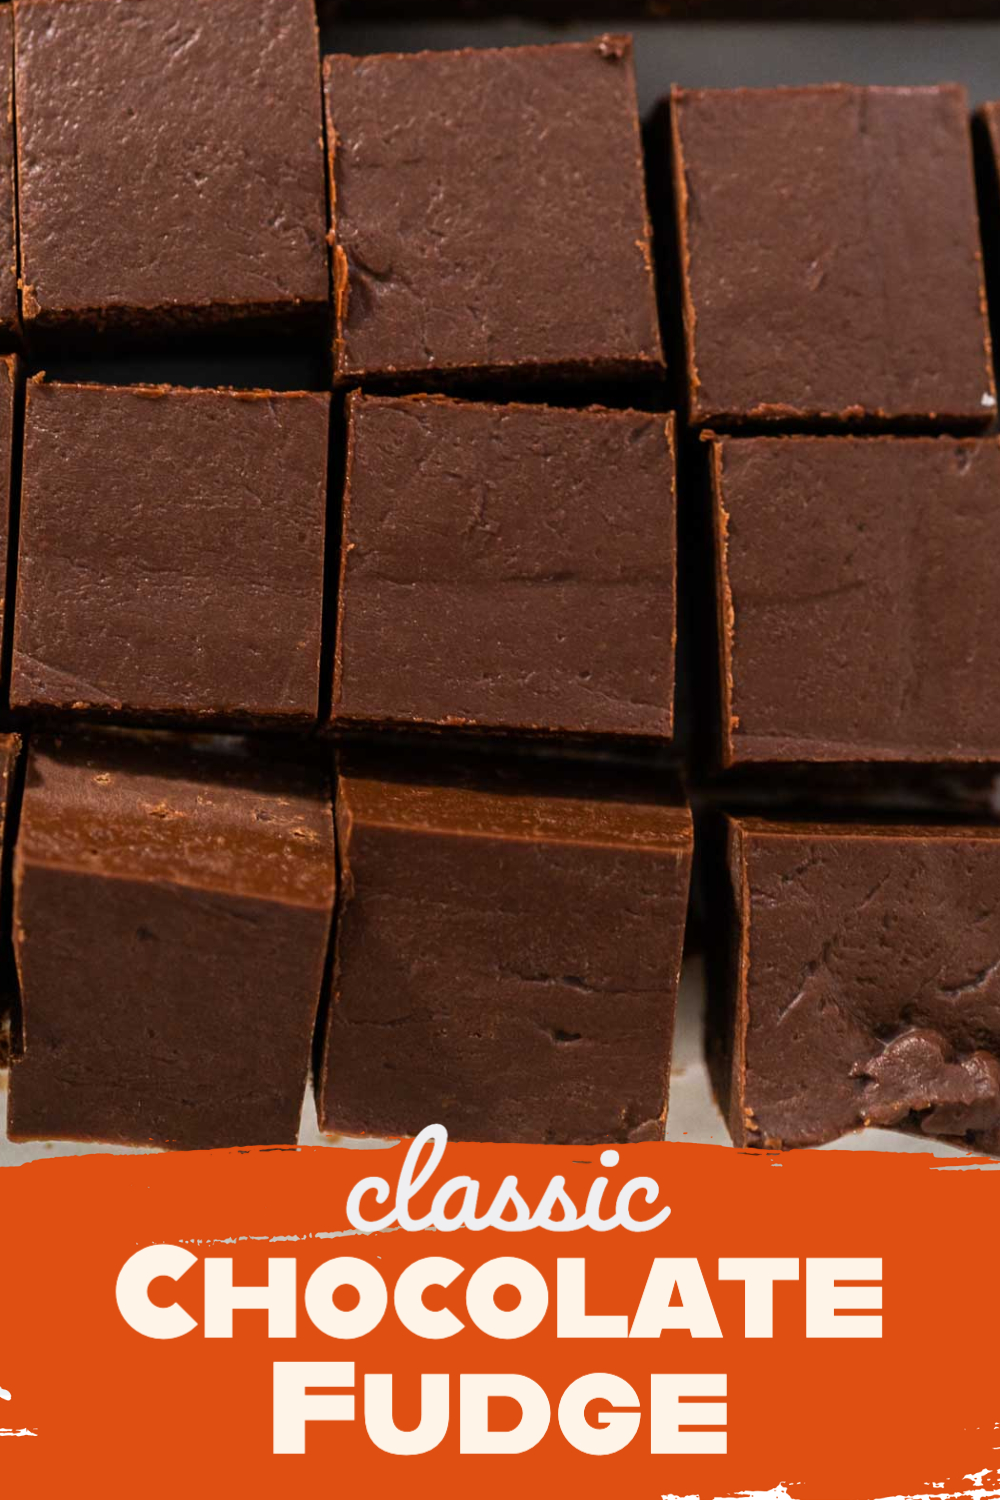
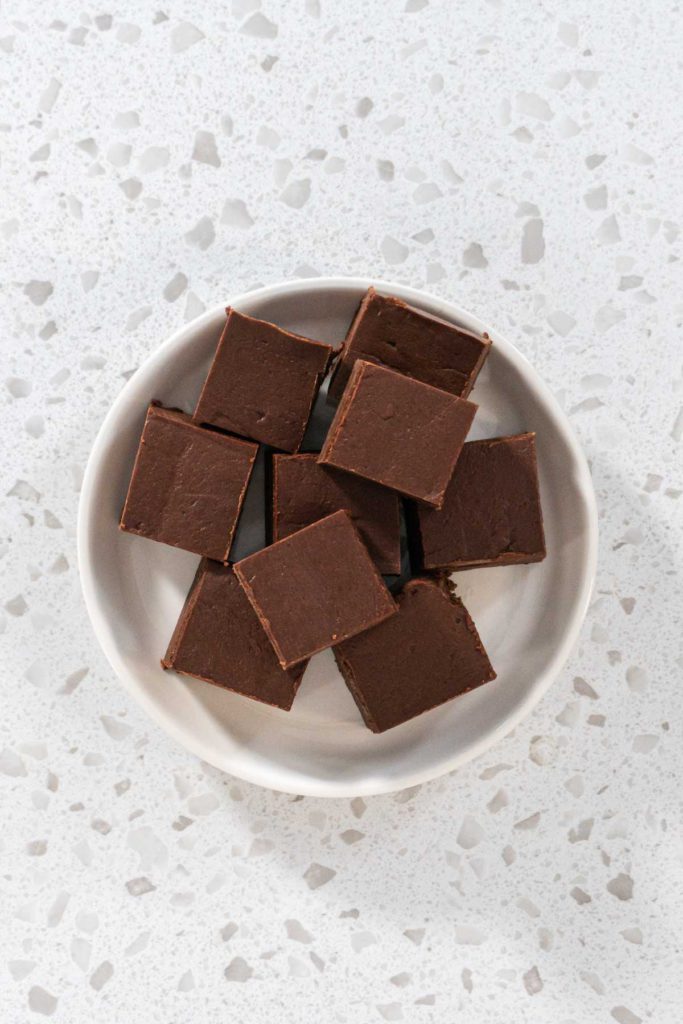
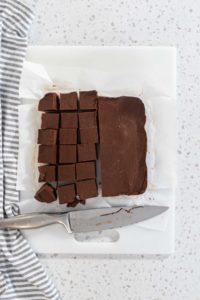
- Then, cut several horizontal columns down the fudge, about 1.5 inches apart, to create perfect fudge squares.
- To make perfect fudge squares with a template, check out How to Cut Fudge into Perfect Squares.
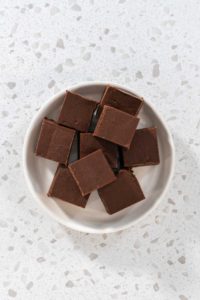
- Finally, repeat the cutting process for the other half of the fudge, serve, and enjoy!
Storing Fudge
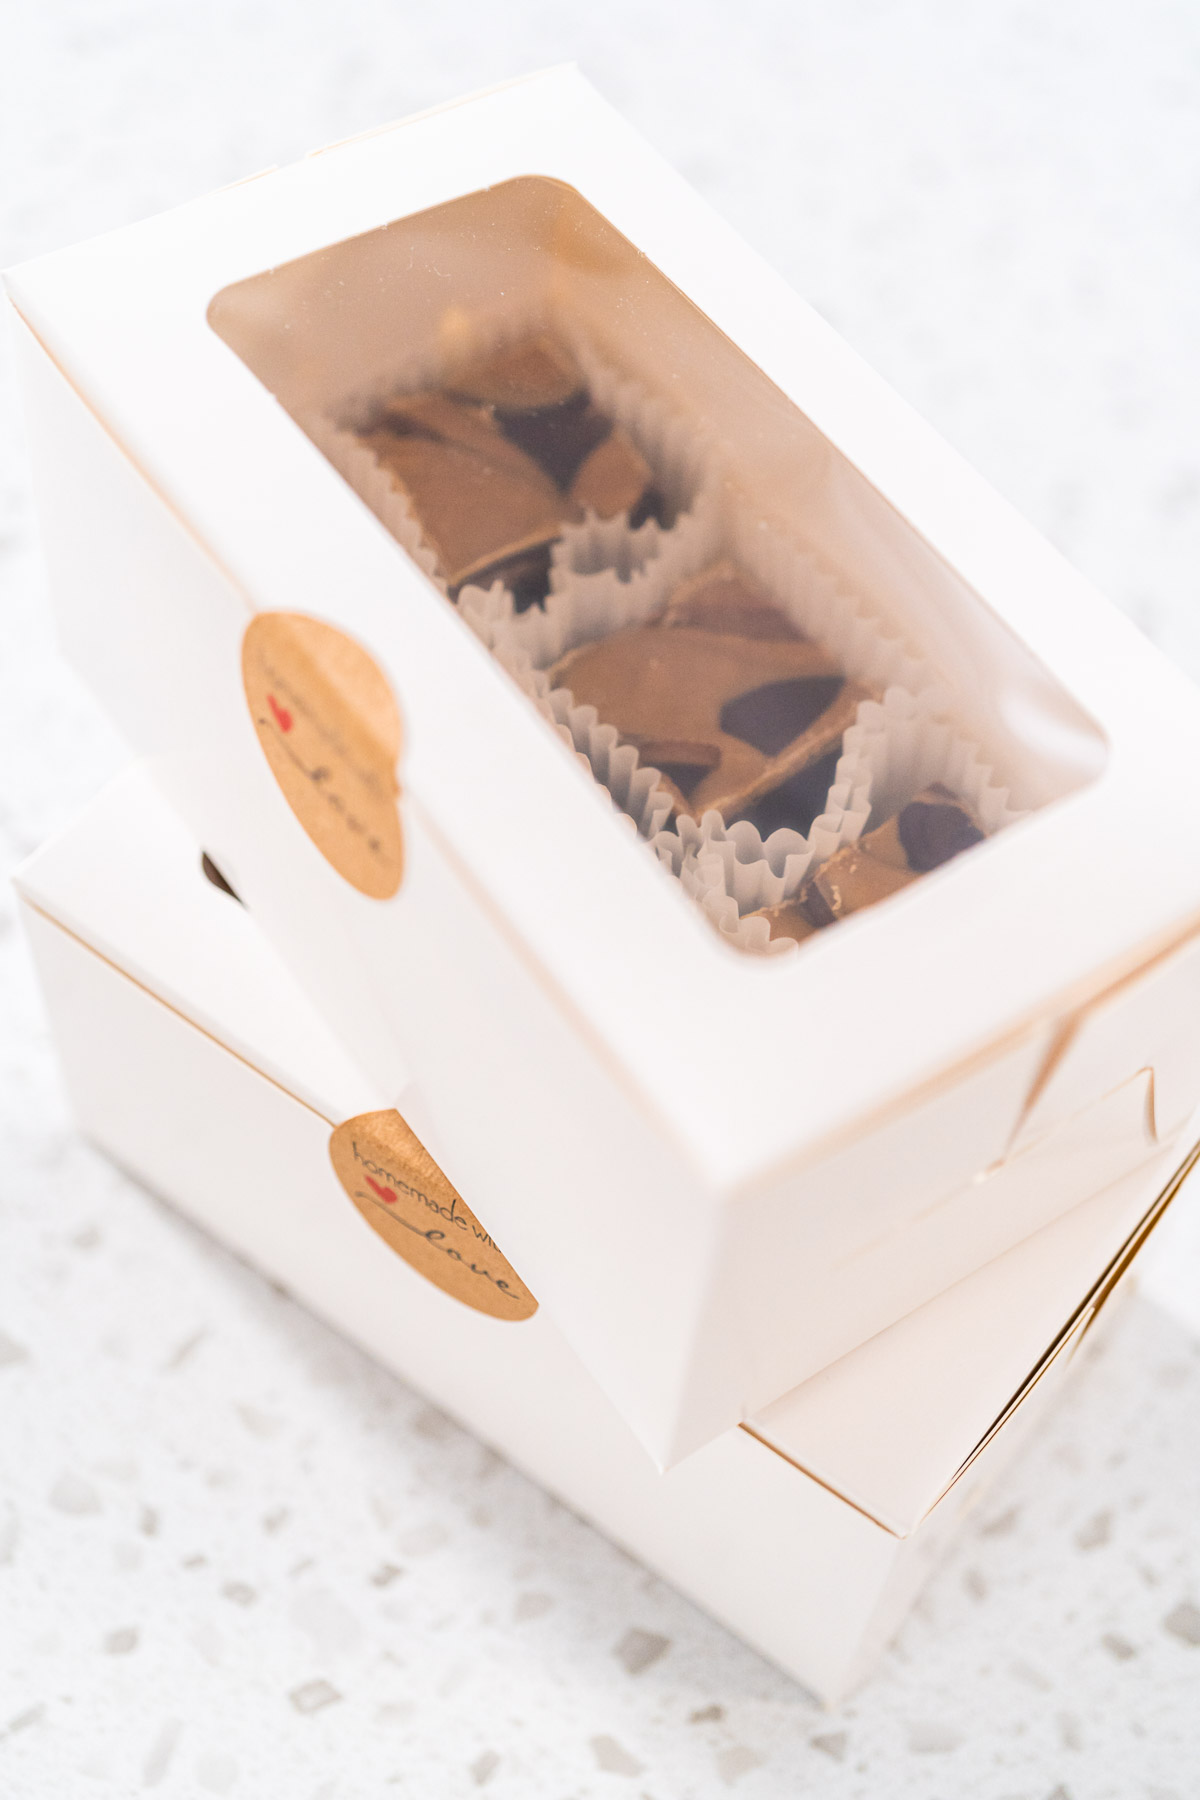
To store fudge: first, wrap it securely in parchment paper or transfer it to an airtight container. Then, label the date on the outside of the wrapping and store it at room temperature for up to 2-3 weeks.
To freeze uncut fudge: first, grab a freezer-safe Ziploc bag and label the date on the outside. Transfer the block of fudge to the bag and release the extra air while sealing the bag closed. Store the fudge in the freezer for 2-3 months. Move the frozen fudge to the fridge to thaw for 2 days before cutting and serving.
Christmas food gift ideas
Fantastic Fudge Recipes
Loved this classic chocolate-y treat? Then you’ll probably enjoy some of my other easy but fancy fudge recipes along with some of my other favorite food gifts for all times of the year!
Fabulous Fudge:
- Chocolate Fudge with Peanut Butter Swirl
- White Chocolate Cranberry Pecan Fudge
- Chocolate Peanut Butter Fudge
- Candy Corn Fudge
- Eggnog Fudge
- Caramel Fudge
- Pistachio Fudge
Food Gifts:
- Unicorn Meringue Cookies
- Apple Butter
- Gourmet Chocolate Covered Pretzels
- Mermaid Chocolate Covered Pretzels
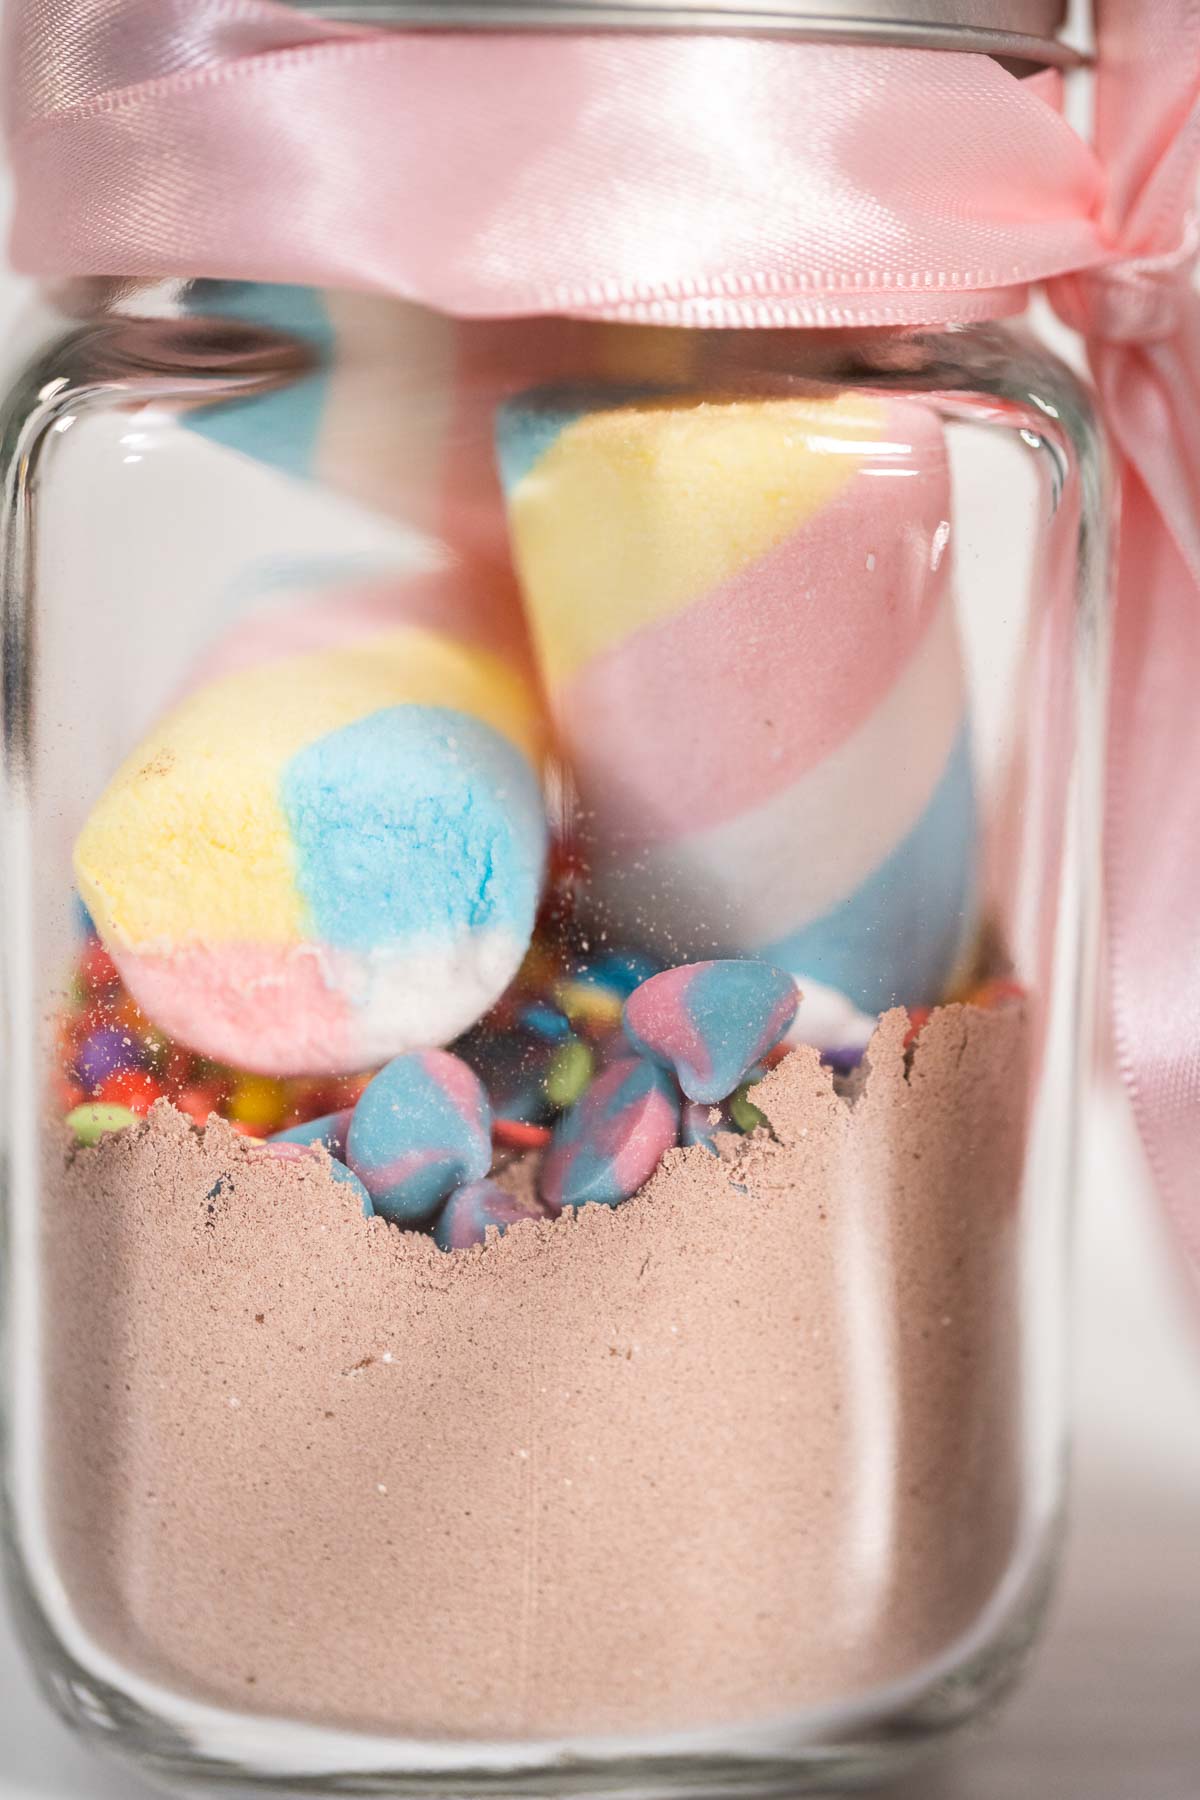
- Homemade Hot Chocolate Mix
- Unicorn Hot Chocolate Mix
- Unicorn Meringue Pops
- DIY Unicorn Party Favor Cookie Kits
- Chocolate Dipped Strawberries
- Christmas Hot Chocolate Bombs
- Valentine’s Charcuterie Board
Classic Chocolate Fudge
Video
Equipment
- 1 Saucepan
- Glass mixing bowl large
- 1 Spatulas
Ingredients
- water to fill cooking pot ½ way
- 3 cups Semi-Sweet Chocolate Chips
- 14 oz sweetened condensed milk 1 can
- 1 teaspoon vanilla extract
- ¼ cup unsalted butter room temperature
Instructions
- First, gather up all the fudge ingredients. Use the measuring cup and spoons to measure everything out.
- Then, fill the saucepan ½ way full of water. Bring the water to a boil over medium-high heat.
- Once boiling, carefully position a large glass bowl in the saucepan over the boiling water.
- Next, pour the chocolate chips, condensed milk, vanilla, and butter into the glass bowl.
- Regularly stir the mixture with a spatula until the chocolate chips have completely melted.
- The fudge “batter” is ready once all the ingredients are combined into a smooth mixture.
- Next, grab a square glass baking pan or square cheesecake pan if you have one.
- Measure out a piece of parchment paper by placing a parchment sheet flat over the top of the dish. Cut the paper, so it is about 1.5- 2 inches wider than the baking pan.
- Then, cut one slit in the parchment at each of the 4 corners of the baking dish across from each other.
- Push the parchment paper into the pan while folding the corners in so the paper fits securely.If desired, you can lightly spray the pan with cooking oil spray first to make the paper extra secure.
- Next, scoop the fudge “batter” into the lined baking pan.
- Spread the fudge around in the pan as evenly and smoothly as you can with a spatula to get the best results.
- Refrigerate the chocolate fudge for at least 2 hours, but it’s really best to leave them overnight. Then, remove the fudge from the fridge, pan, and parchment paper.
- Place the fudge on a cutting board and heat a large knife blade in boiling hot water. Wipe it with a paper towel and cut the fudge directly in the middle.Repeat the knife heating and wiping process before each cut.
- Cut 2 more vertical columns in one half of the fudge about 1.5 inches apart.
- Then, cut several horizontal columns down the fudge, about 1.5 inches apart, to create perfect fudge squares.To make perfect fudge squares with a template, check out How to Cut Fudge into Perfect Squares.
- Finally, repeat the cutting process for the other half of the fudge, serve, and enjoy!
Notes
Nutrition
Food Photography & Video Tips from My Studio
Here’s a peek at the tools, gear, and camera setups I use to film my recipe videos and photograph food at home. Over the years, I’ve tested dozens of different setups, and now I’m sharing what actually works for me—whether I’m filming overhead shots for YouTube or styling still photos for my blog. If you’re curious about how I create the content you see here, these posts are a great place to start.





Leave a Reply