Mastering the Art of Bundt Cake Baking: Tips, Tricks, and Easy Recipes for Every Baker
This post contains affiliate links.
Hey there, fellow baking enthusiasts! It's me, diving into the world of Bundt cakes—a journey filled with twists, turns, and tantalizing flavors. As someone who's whisked and frosted their way through countless recipes, I'm thrilled to share the culmination of all those flour-dusted days. From the Christmas Chocolate Bundt Cake with its luxurious chocolate frosting to the zesty Lemon Cranberry Bundt Cake adorned with sugared cranberries, each cake tells a story, and today, I'm letting you in on all the behind-the-scenes secrets.
Bundt cakes hold a special place in my heart. There's just something about their intricate designs and the way they make every occasion feel extra special. Whether it's a simple Vanilla Glaze drizzled over a Lemon Bundt Cake or diving into the richness of a Red Velvet Bundt Cake with Chocolate Hearts, these cakes have been my canvas for creativity and my comfort in times of need.
But let's be real—Bundt cakes can be tricky. They're like the divas of the baking world; stunning and worth every bit of effort, but sometimes, they need a little extra coaxing to shine. That's why I've compiled all my top hacks, from ensuring a smooth release from the pan to getting that perfect crumb. Whether you're a seasoned baker or just starting out, I've got something for you.
So, grab your favorite Bundt pan and let's get baking! I'm here to guide you through each step, sharing my personal experiences and the tips that have transformed my baking. It's all about creating those wow moments, one Bundt cake at a time. Let's create, bake, and celebrate together!
Choosing the Right Bundt Pan
Choosing the right Bundt pan marks the beginning of a deeply personal journey through the heart of my kitchen, where each pan unfolds stories of triumphs, lessons, and moments of shared joy. The act of preheating my oven, selecting ingredients, and preparing the batter feels like a beloved ritual, much like thumbing through a well-loved cookbook brimming with tales and recipes passed down through generations.
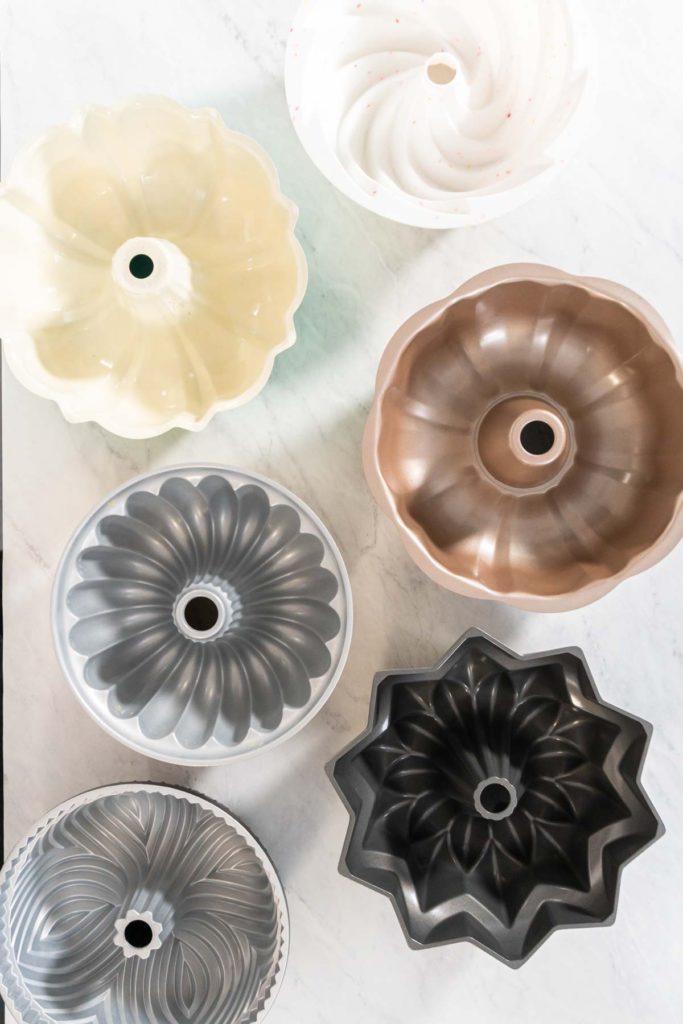
Over the years, my adventures in baking have led me to an undeniable conclusion: the necessity of a high-quality, non-stick Bundt pan. This seemingly simple choice often presents a dilemma between the modern, flexible allure of silicone and the classic, enduring appeal of metal. Initially, the promise of silicone pans, with their ease of use and promise of a perfect release, seemed too good to resist. However, their performance sometimes fell short with the denser, more elaborate cakes I love to bake, such as my Chocolate Pumpkin Bundt Cake with Toffee Glaze, which taught me that sometimes, tradition trumps innovation.
This journey has solidified my preference for metal Bundt pans. Their reliability and consistency resonate with the baking traditions that have been a cornerstone of my family. The Lemon Blueberry Bundt Cake, a staple in our home, always turns out perfectly when I use a metal pan, offering an even bake and a golden crust that's simply unmatched. The non-stick coating is a modern blessing, ensuring that each cake is as beautiful to look at as it is delicious to eat.
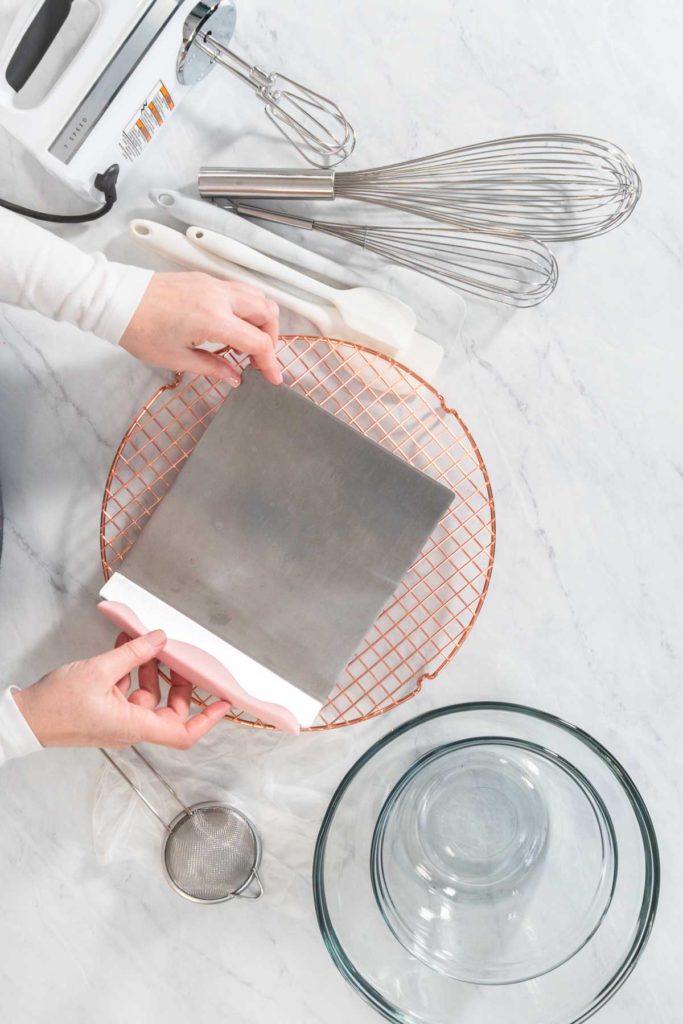
My exploration of Bundt pans has inspired me to share my insights in a detailed guide on Bundt Cake Baking Tools and Equipment, where I dive deep into the essentials for perfect Bundt cake baking. From the indispensable metal pans that have become my go-to for every occasion to the versatile Easy Bundt Cake Glaze that adds the perfect finishing touch, this guide is an accumulation of my experiences and a testament to my love for baking.
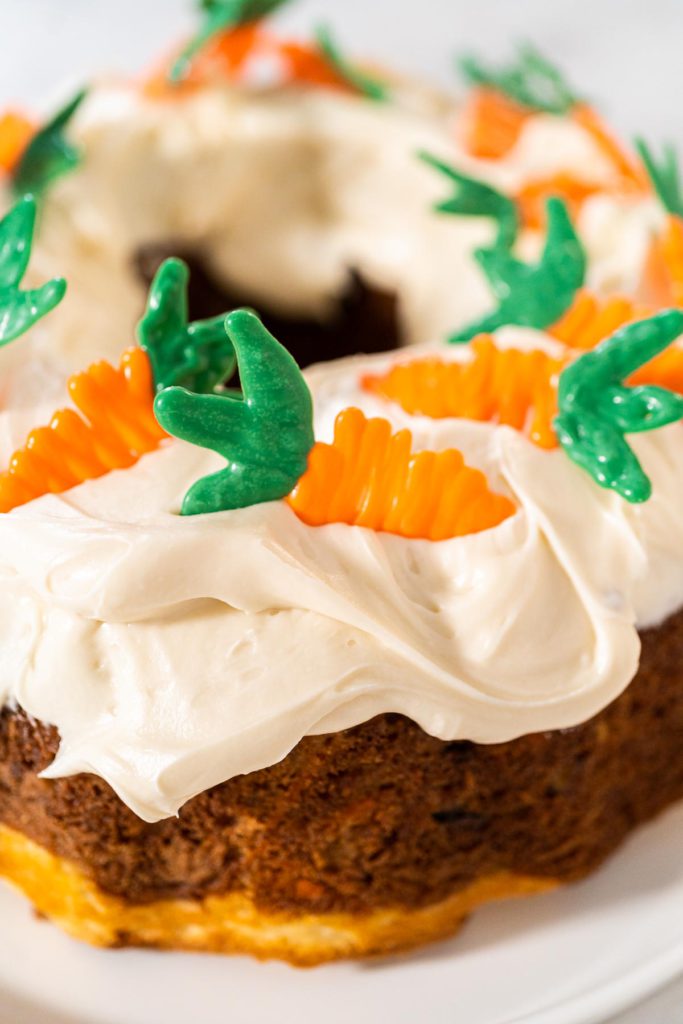
Choosing your Bundt pan is a significant decision that influences the outcome of your baking endeavors. While I've experimented with various types, it's the metal pans that have earned a permanent place in my kitchen. Their durability and even heat distribution are qualities that I value immensely, especially when baking favorites like the Eggnog Bundt Cake during the holiday season or the Carrot Bundt Cake with Cream Cheese Frosting for a family gathering.
Incorporating links to other recipes and guides, such as the Vanilla Glaze for Bundt Cake or tips on How to Remove a Bundt Cake from a Bundt Pan, enriches the story of each bake. It's not just about the pan; it's about the entire process, from preparation to presentation, and every step in between.
As I reach for my trusted metal Bundt pan, I'm reminded of the countless cakes it has helped me create, each with its own story, shared at tables filled with laughter and love. It's these moments, facilitated by the right tools and recipes, that make baking such a cherished part of my life.
Preparing Your Bundt Pan
Preparing your Bundt pan for baking is an essential step in the journey toward perfecting the art of Bundt cake making. Through years of baking and experimenting in my kitchen, I've discovered several methods to ensure a smooth release, each with its unique benefits, culminating in a recent favorite technique that combines efficiency with a mess-free approach.
Initially, I relied heavily on non-stick baking spray, a quick and effective way to coat every intricate crevice of the Bundt pan. The key is an even, light application, ensuring complete coverage without excess pooling. This method has served me well, providing a reliable foundation for countless cakes.
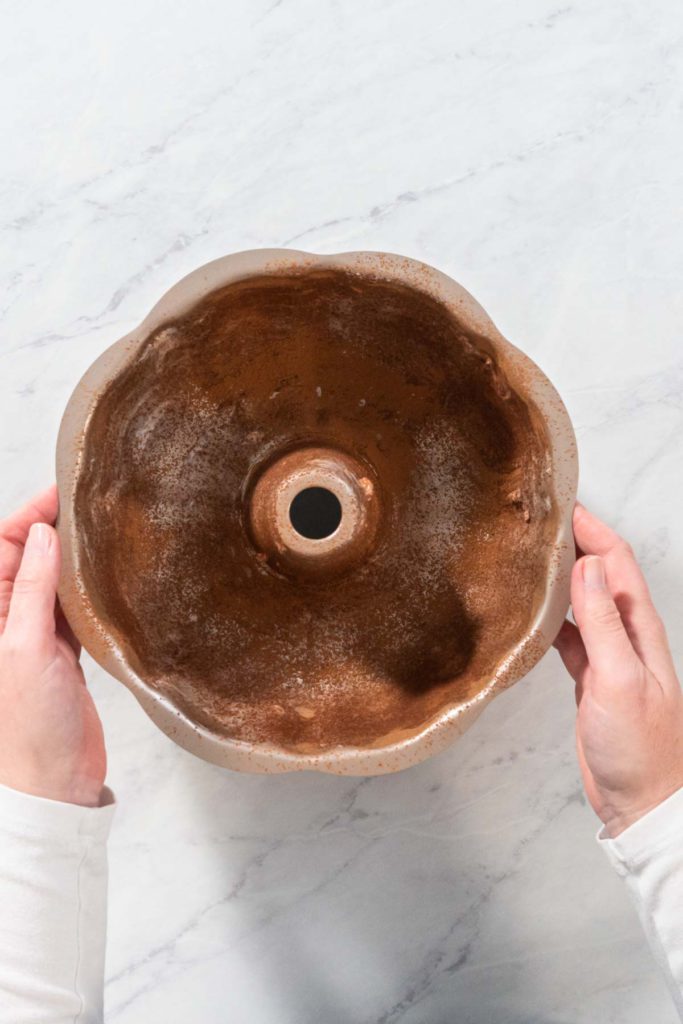
For those who cherish the traditions of baking, buttering and flouring the pan offers not just a method, but a ritual. There's a tactile pleasure in brushing softened butter over the pan's surfaces, followed by a dusting of flour or cocoa powder for chocolate cakes. This technique not only aids in the non-stick process but also imparts a subtle flavor and texture to the cake's crust. In my exploration, I've found that substituting flour with almond flour adds an exquisite nutty aroma, enhancing the overall flavor profile of the cake.
Delving deeper into the craft, my blog posts How to Remove a Bundt Cake from a Bundt Pan and Bundt Cake Baking Tools and Equipment reflect on these traditional methods and more, drawing from personal anecdotes and shared wisdom.
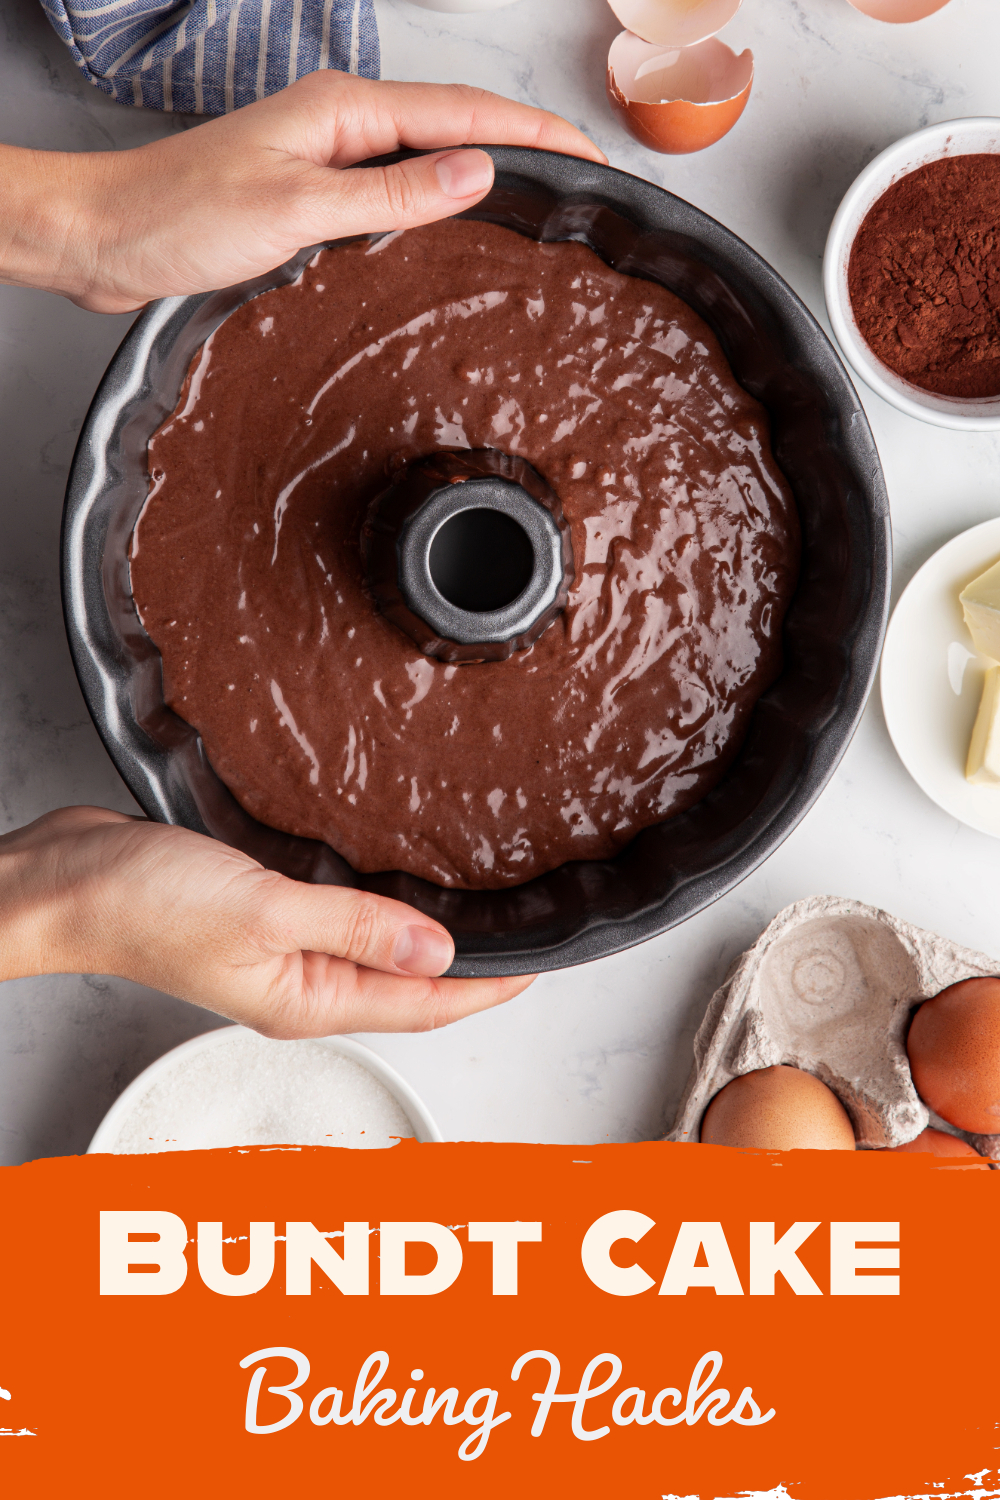
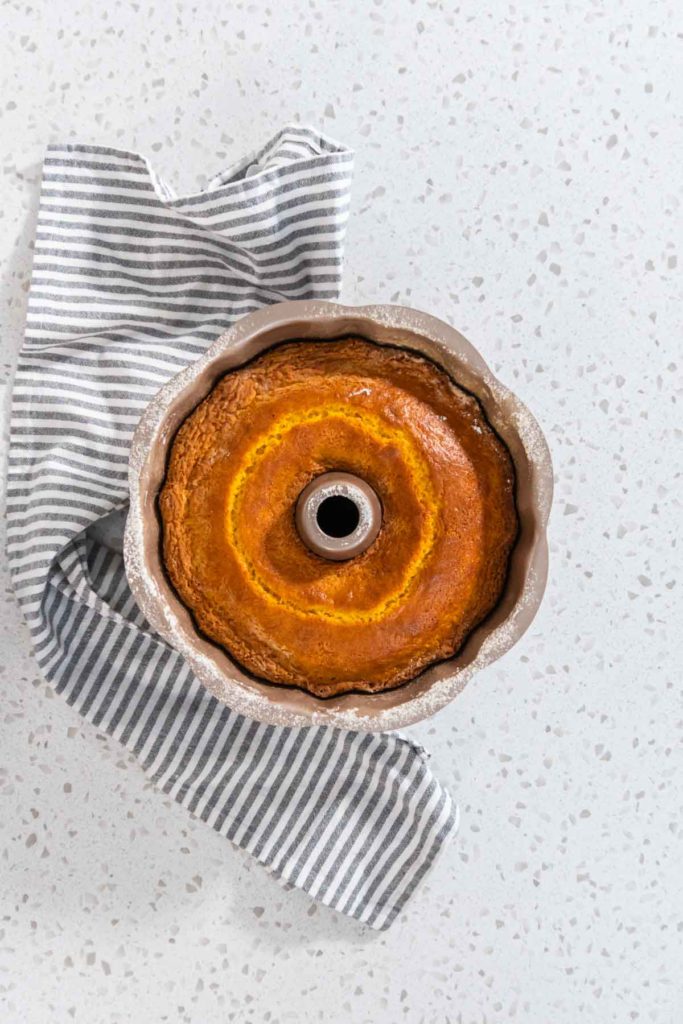
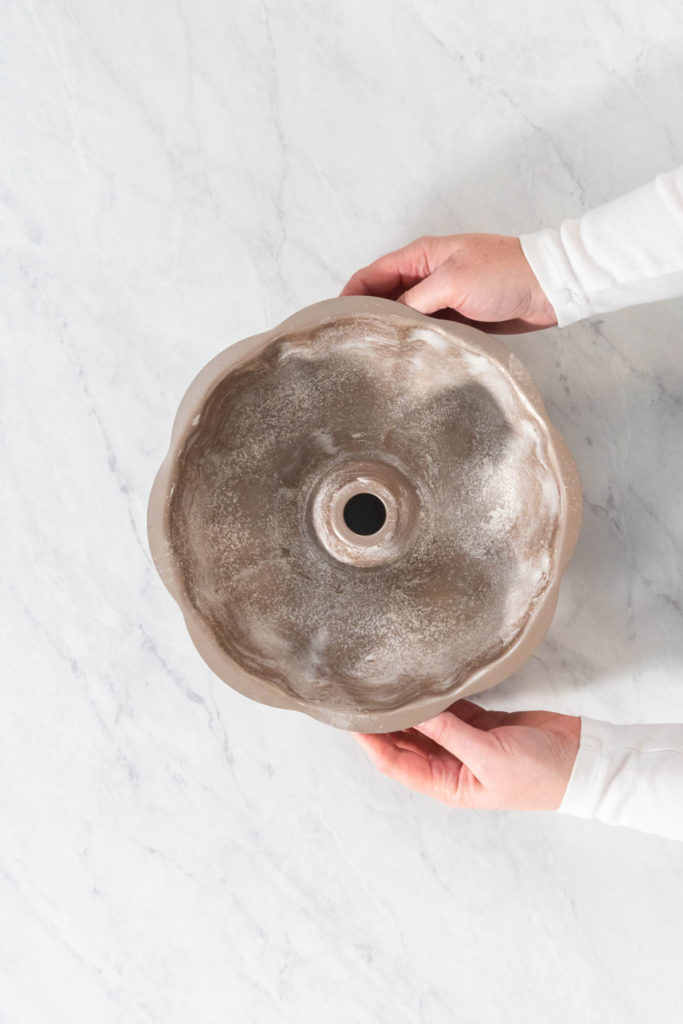
My latest discovery, however, has revolutionized my approach to preparing Bundt pans. By melting vegetable shortening in a candy melting pot and incorporating either flour or cocoa powder based on the cake's flavor, I've crafted a preparation method that's both fast and foolproof. Using a pastry brush, I apply this mixture to the pan, ensuring an even coating with minimal effort and no mess. This technique is especially effective for detailed pans, ensuring that every design element is perfectly captured and the cake releases cleanly.
This evolution in my pan preparation technique—from the simplicity of sprays to the ritual of buttering and flouring, and finally to the innovative use of melted shortening—exemplifies the blend of tradition and innovation that defines my baking philosophy. Each method has its place in my kitchen, but the latest approach has quickly become my favorite, ensuring that every Bundt cake, whether a Chocolate Bundt Cake or a Lemon Cranberry Bundt Cake, begins its journey to perfection with the best possible foundation.
The Secret to Perfect Batter
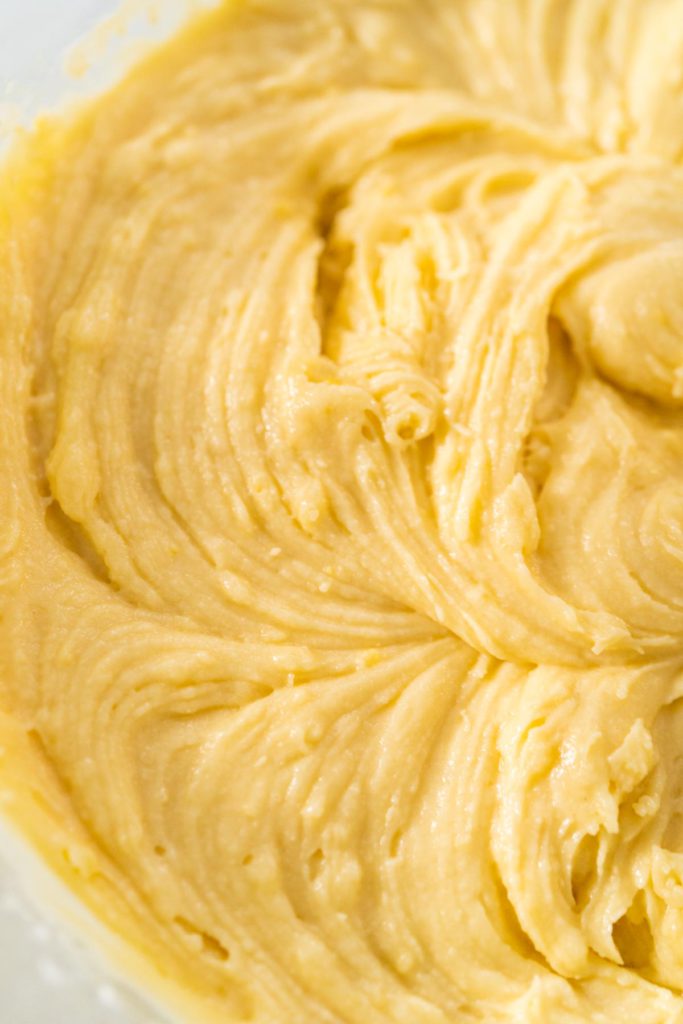
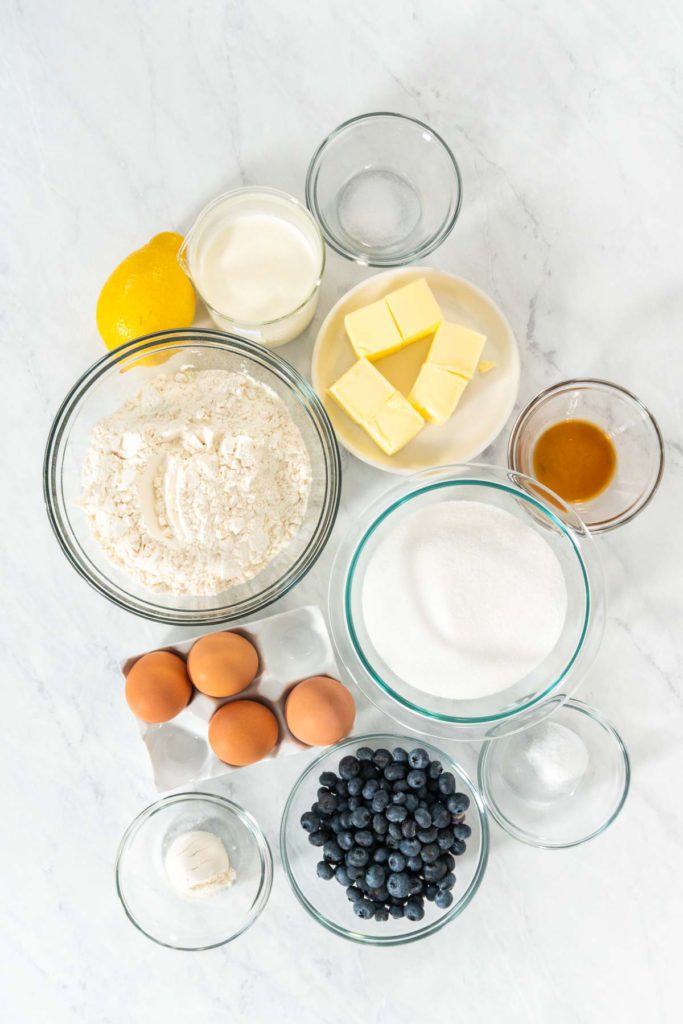
Crafting the perfect batter is the cornerstone of a sublime Bundt cake experience. In my culinary adventures, I've learned that the secret lies not just in the quality of your ingredients, but in the care and technique applied during the mixing process. Each ingredient, from the butter to the eggs and milk, plays a pivotal role in the batter's consistency and, ultimately, the cake's texture and flavor.
I can't stress enough the importance of bringing ingredients to room temperature before starting. This simple step makes a world of difference, ensuring that your batter is smooth and emulsified, without any clumps of butter or streaks of egg. It's a tip I've shared in my blog post, Easy Bundt Cake Baking Hacks, where I dive into the nuances of ingredient preparation and its impact on your baking.
Flavorings like vanilla extract or almond extract are my secret weapons for adding depth and richness to the cake. A dash of vanilla can elevate a simple batter, while almond extract can offer an aromatic twist that complements fruits and nuts beautifully. In my "Vanilla Glaze for Bundt Cake" and "Cream Cheese Filling for Bundt Cake" recipes, I discuss how these extracts can be used to enhance not just the batter but the fillings and glazes as well.
The mixing process is where the magic happens, or doesn't. Overmixing is a common pitfall that can lead to a tough cake. In my journey, I've found that mixing just until the ingredients are combined is the sweet spot for achieving that tender, moist crumb we all crave in a Bundt cake. This principle is something I elaborate on in my post, "How Long Should a Bundt Cake Cool," emphasizing the importance of gentle handling at every stage of the baking process.
However, I also recognize the value in shortcuts that don't compromise on quality, especially for those moments when time is of the essence. For a quick and easy Bundt cake, using a high-quality cake mix out of the box can be a game-changer. It's a practical solution that I've explored in my post, "Simple Vanilla Bundt Cake From Box Cake," where I share tips on enhancing boxed mixes to give them a homemade touch. This approach can be a lifesaver for busy days, allowing you to enjoy the warmth and comfort of a freshly baked Bundt cake with minimal effort.
Sharing these insights and techniques with fellow bakers has become a passion of mine, as seen in my collection of recipes and tips, from the festive "4th of July Bundt Cake" to the decadent "Chocolate Frosting for Bundt Cake." Each post is a chapter in my baking journey, offering a glimpse into the trials and triumphs that have shaped my approach to creating the perfect Bundt cake batter.
Baking Your Bundt Cake to Perfection
The moment of truth in the Bundt cake baking process is undoubtedly when you slide your creation into the oven. Achieving that perfect bake, with a golden crust and a moist, tender crumb, is an art form that hinges on precision and a bit of intuition. Through trial and error, I've discovered that most Bundt cakes find their sweet spot at a cozy 350°F. However, the baking time can be a variable feast, influenced by the specific recipe and the unique temperament of your oven.
One crucial piece of advice I've embraced over the years is to always start with the lowest suggested baking time in the recipe. This approach has saved many of my cakes from the brink of overbaking. It's a strategy I detail in my blog post, "How Long to Bake a Bundt Cake at 350," highlighting the importance of patience and attentiveness in the baking process.
A solid guideline I've come to rely on is to start checking my cake for doneness around the 45-50 minute mark. I use a cake tester or a thin skewer, inserting it into the thickest part of the cake. If it emerges clean, with no batter clinging to it, the cake is ready to grace us with its presence. This technique is crucial for navigating the delicate balance between a fully baked cake and one that has crossed into the realm of dryness.
Understanding that every oven has its own character is crucial. Some run hotter, others cooler, affecting how your cake bakes. It's essential to get acquainted with your oven's quirks, as I've discussed in "Bundt Cake Baking Time." Knowing whether your oven has hot spots or tends to bake unevenly can help you adjust the position of the cake or the baking time to ensure an even, perfect bake every time.
In my journey through the world of Bundt cakes, from the Chocolate Pumpkin Bundt Cake with Toffee Glaze to the Eggnog Bundt Cake, mastering the bake has been key to their success. Each recipe has taught me more about the delicate balance of heat, time, and batter consistency that leads to the perfect Bundt cake.
Sharing these insights and tips with my readers is a joy, as I hope to demystify the process and encourage more bakers to embrace the beauty and satisfaction of baking Bundt cakes. Whether you're a novice eager to learn or a seasoned baker looking for refinement, understanding the art of baking your Bundt cake to perfection is a rewarding step on your culinary journey, always beginning with the recipe's lowest suggested baking time.
Letting Your Bundt Cake Cool
Ah, the art of patience—nowhere is it more tested than in the moments following the removal of a Bundt cake from the oven. The aroma fills the kitchen, tempting you to turn it out and admire your handiwork. However, I've learned that this is the time for restraint. Allowing your Bundt cake to cool properly is not just a step in the baking process; it's a crucial technique that can make or break your cake's final presentation.
From personal experience, I've found that a cooling period of about 10 minutes strikes the perfect balance for the initial phase. It's a window that allows the cake to firm up just enough to maintain its beautiful shape while preventing it from becoming too cozy with the pan. This golden timing is something I emphasize in my blog post, "How Long Should a Bundt Cake Cool," where I delve into the science and rationale behind cooling times.
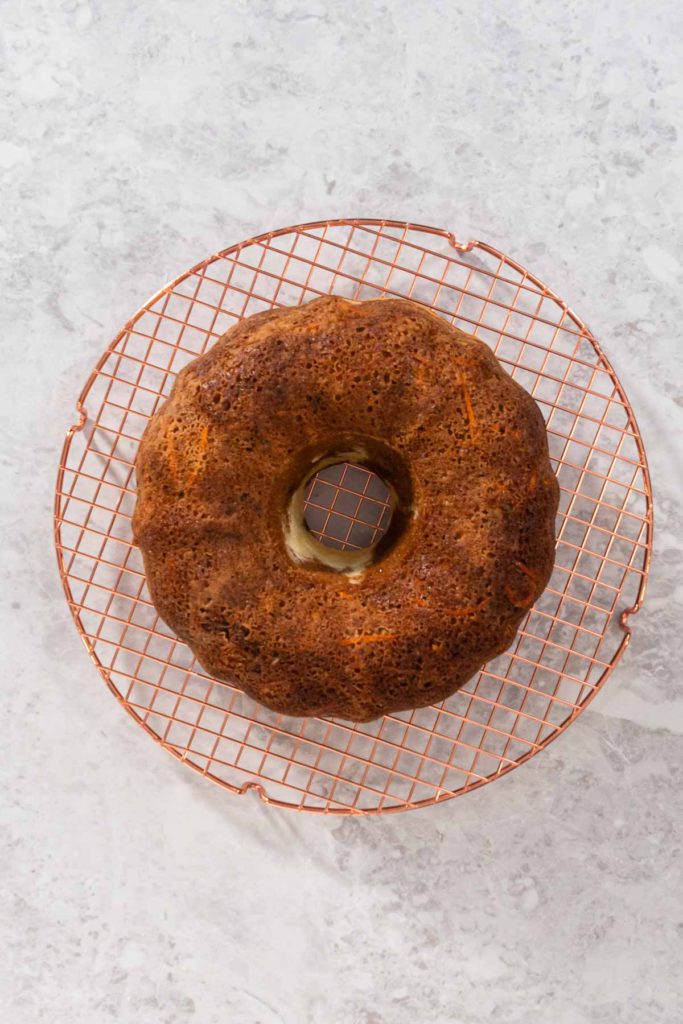
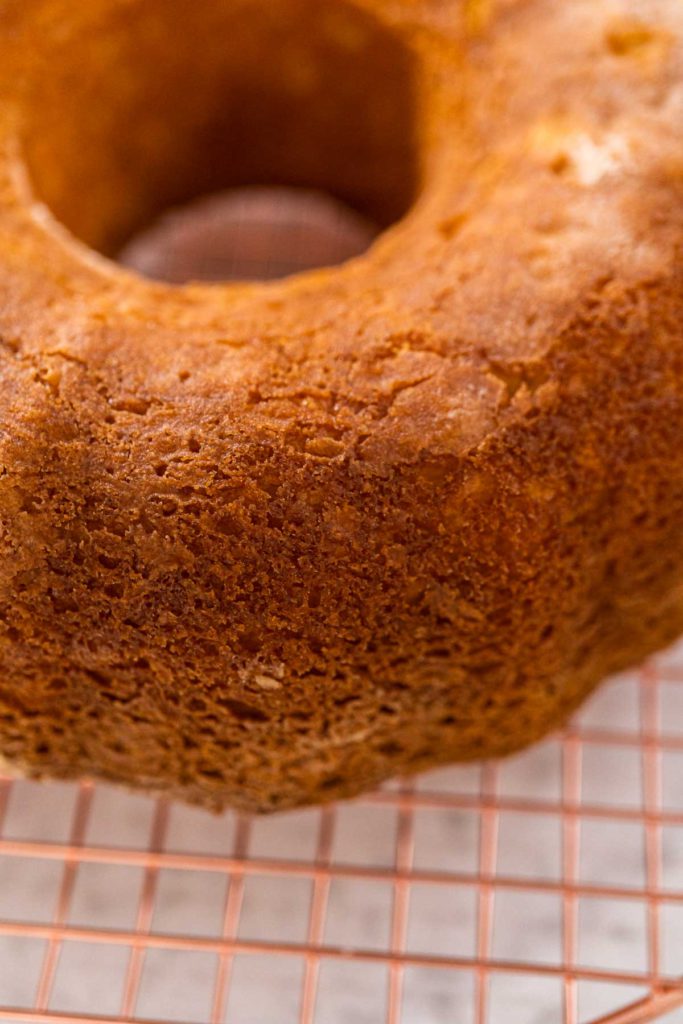
But the cooling journey doesn't end there. Before you can cut or decorate your Bundt cake, it needs to cool to room temperature, typically between 68°F to 72°F (20°C to 22°C). Rushing into slicing or adorning your cake with glazes or icing while it's still warm can lead to a host of issues, from melting decorations to a compromised cake structure. The ideal approach is to let the cake cool on a wire rack for an additional 30-45 minutes after turning it out. If you're in doubt about whether it's reached the right temperature, a digital thermometer can be your best friend. A quick check should confirm that your cake has cooled sufficiently within this range.
The temptation to hurry the process is understandable, but the consequences of impatience can be a cake that crumbles under the pressure of premature release or, conversely, one that stubbornly sticks to the pan. To navigate this delicate phase, I recommend using this time to set up your cooling rack and prepare any glazes or toppings as detailed in my post, "Easy Bundt Cake Glaze."
Understanding the importance of this cooling period came from both triumphs and mishaps. For example, my Eggnog Bundt Cake taught me the value of patience, emerging as a masterpiece of texture and taste after adhering to the recommended cooling time. On the other hand, a slightly rushed Lemon Blueberry Bundt Cake served as a humble reminder that even the most eager anticipation must yield to the demands of the cake.
Sharing these moments of learning and insight has become a passion of mine, aiming to guide fellow bakers through the nuanced stages of Bundt cake creation. Whether it's your first time baking or you're a seasoned pro looking to refine your technique, remember: patience in the cooling process is not just a virtue; it's a critical element of success. Trust in the timing, allowing your cake to cool completely before cutting or decorating, and you'll be rewarded with a Bundt cake that's as delightful to turn out as it is to taste.
The Perfect Unmolding: How to Remove Cake from Bundt Pan Without Sticking
The crescendo of the Bundt cake baking symphony is undoubtedly the moment of unmolding. It's when the hours of preparation, mixing, baking, and cooling come to fruition, revealing the masterpiece you've created. This stage, fraught with anticipation, is where the true magic of baking shines through. Over the years, I've honed a method that ensures a smooth release, turning what could be a moment of tension into a seamless transition.
After allowing the cake to cool to the optimal temperature, the process of loosening it begins. I've found that a gentle hand is key. I take a butter knife and carefully run it around the edges of the pan and the inner ring. This isn't just about detachment; it's an act of encouragement, coaxing the cake away from its metal confines with care and precision. This technique has been a focal point in my guide, "How to Remove a Bundt Cake from a Bundt Pan," where I delve into the nuances of ensuring a clean release.
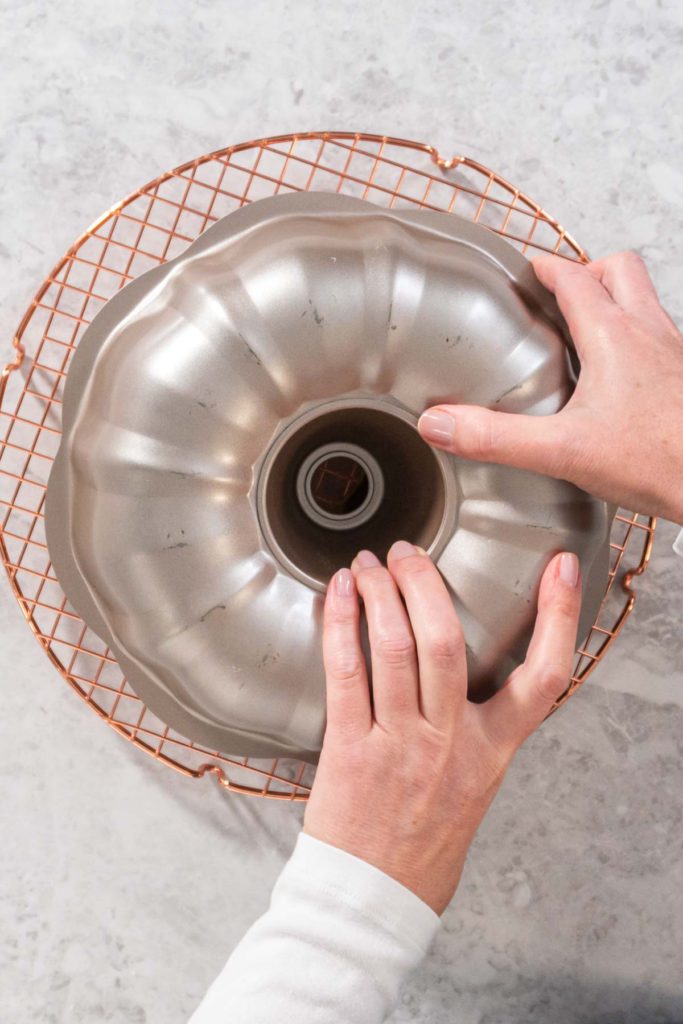
Next, the stage is set for the grand reveal. Placing a cooling rack atop the pan, I embrace the moment, flipping the ensemble with a confident yet gentle motion. A soft tap on the bottom of the pan often serves as the final nudge needed for the cake to gracefully descend onto the rack. If the cake has been properly coaxed, it should glide out, leaving behind a pan that bears only the faintest traces of its presence.
However, even with the best preparations, there are times when the cake may shy away from parting with the pan. In such instances, I turn to a trick that's as effective as it is simple. Placing the pan over low heat on the stove for a brief minute or two can work wonders, gently warming the bottom and encouraging the cake to release its hold. This method, shared in my exploration of "Bundt Cake Baking Tips," has saved many cakes from the brink of sticking disaster.
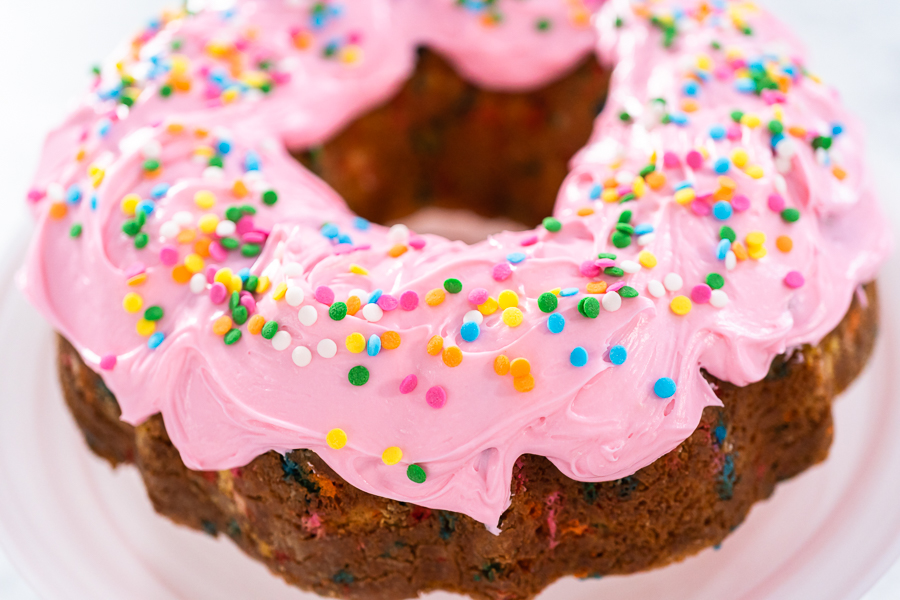
The journey from pan to plate is a testament to the blend of art and science that is baking. It's a reminder that patience, technique, and a touch of ingenuity can overcome even the stickiest of situations. Sharing these strategies and successes with my readers, from the joyous release of a Funfetti Bundt Cake to the triumphant turn-out of a Chocolate Bundt Cake, fuels my passion for baking and teaching.
The perfect unmolding of a Bundt cake is a moment worth savoring, a culmination of effort and care that results in a beautiful, delicious creation ready to be adorned and enjoyed. It's a process that underscores the beauty of baking—a blend of anticipation, precision, and the simple joy of seeing your cake, in all its glory, ready to take center stage.
Decorating Your Bundt Cake
Decorating a Bundt cake is where your creativity gets to shine alongside the cake's natural elegance. After meticulously baking and carefully unmolding your masterpiece, the final step is to dress it for the occasion. This stage, for me, is as much about enhancing the cake's visual appeal as it is about adding an extra layer of flavor. My kitchen adventures have led me to discover that sometimes, less is indeed more.
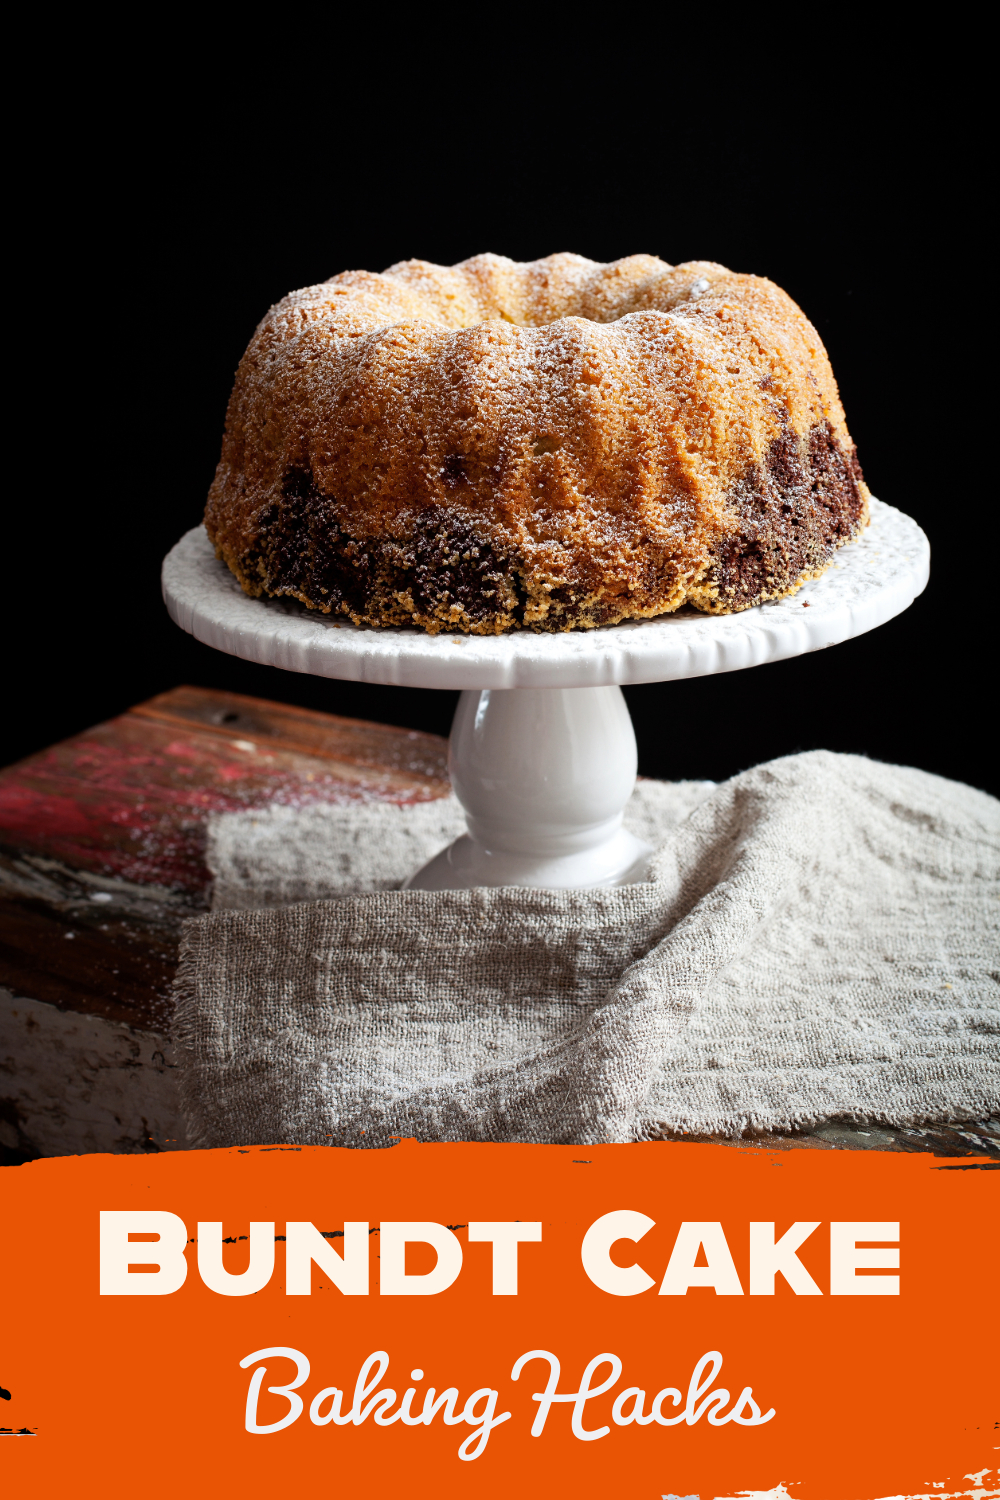
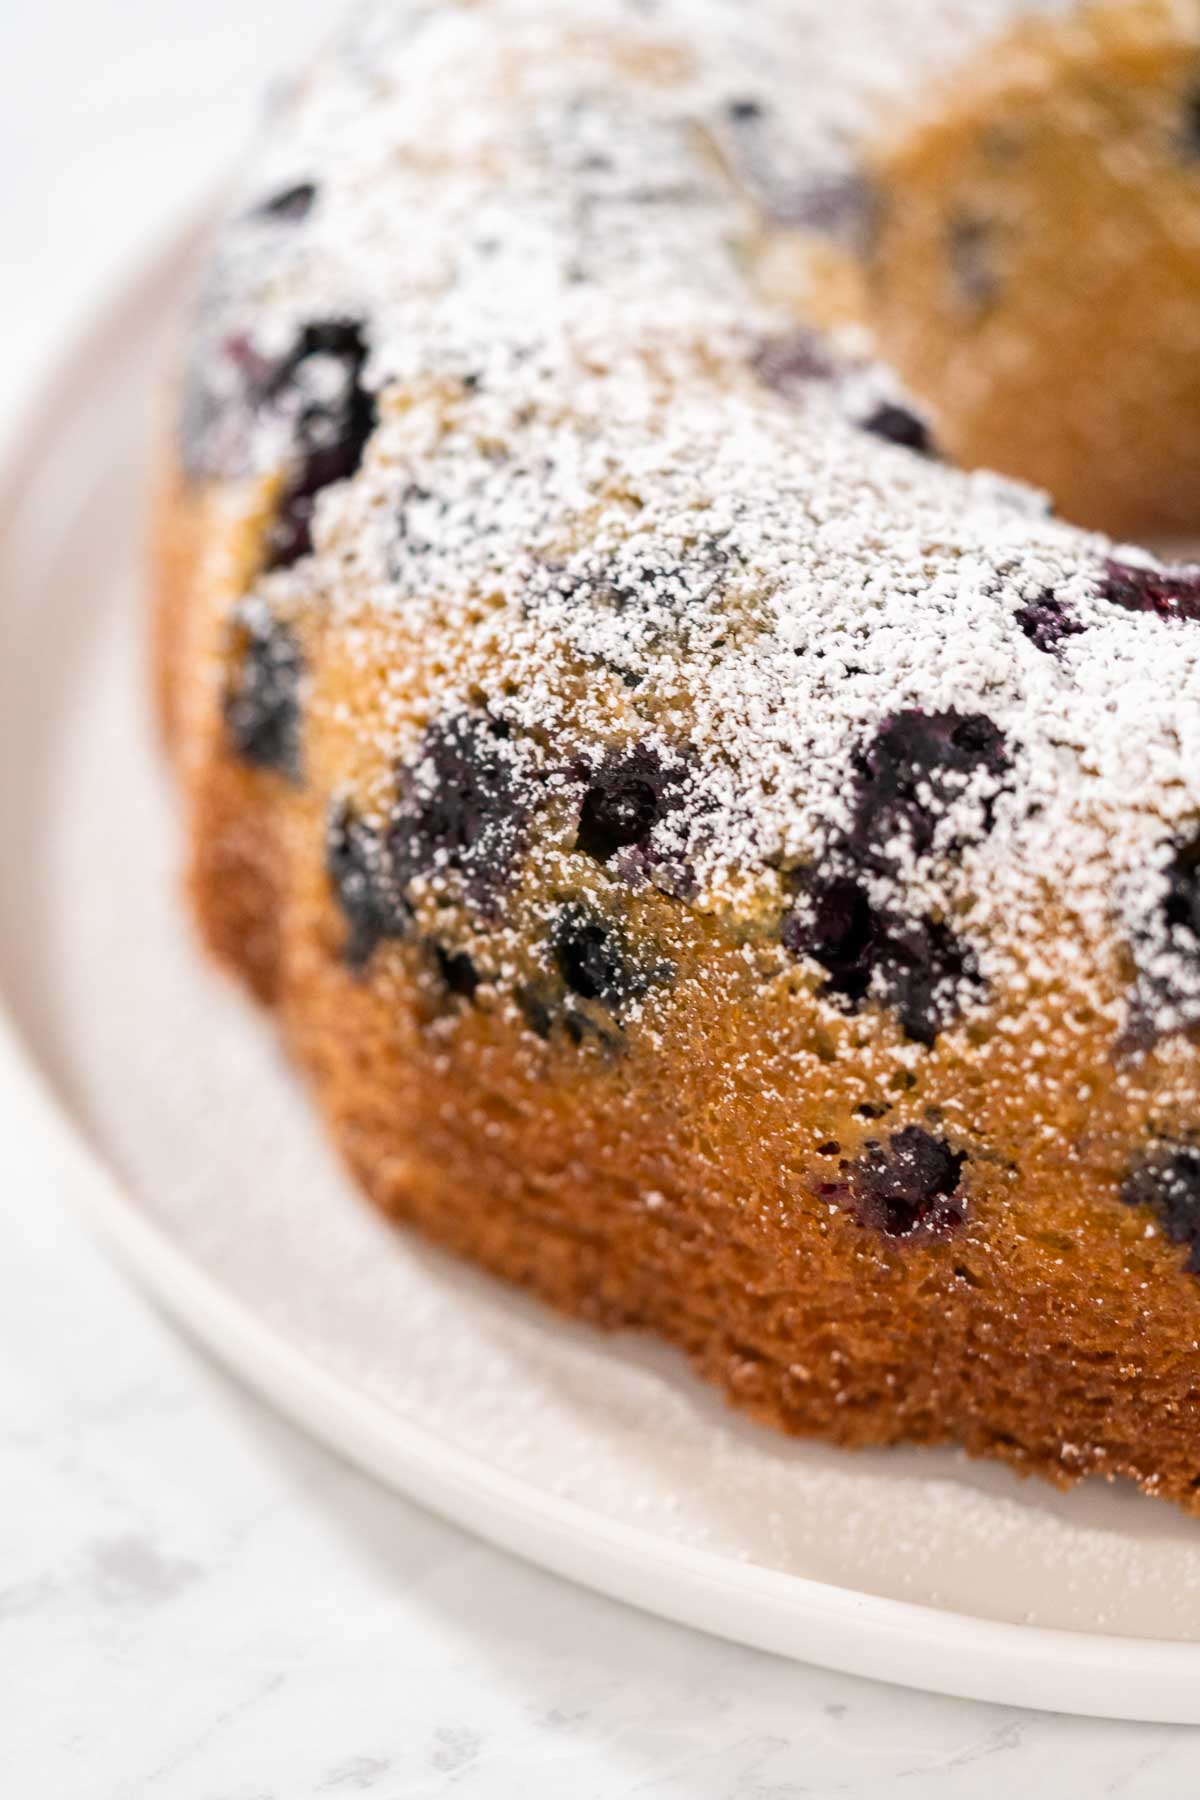
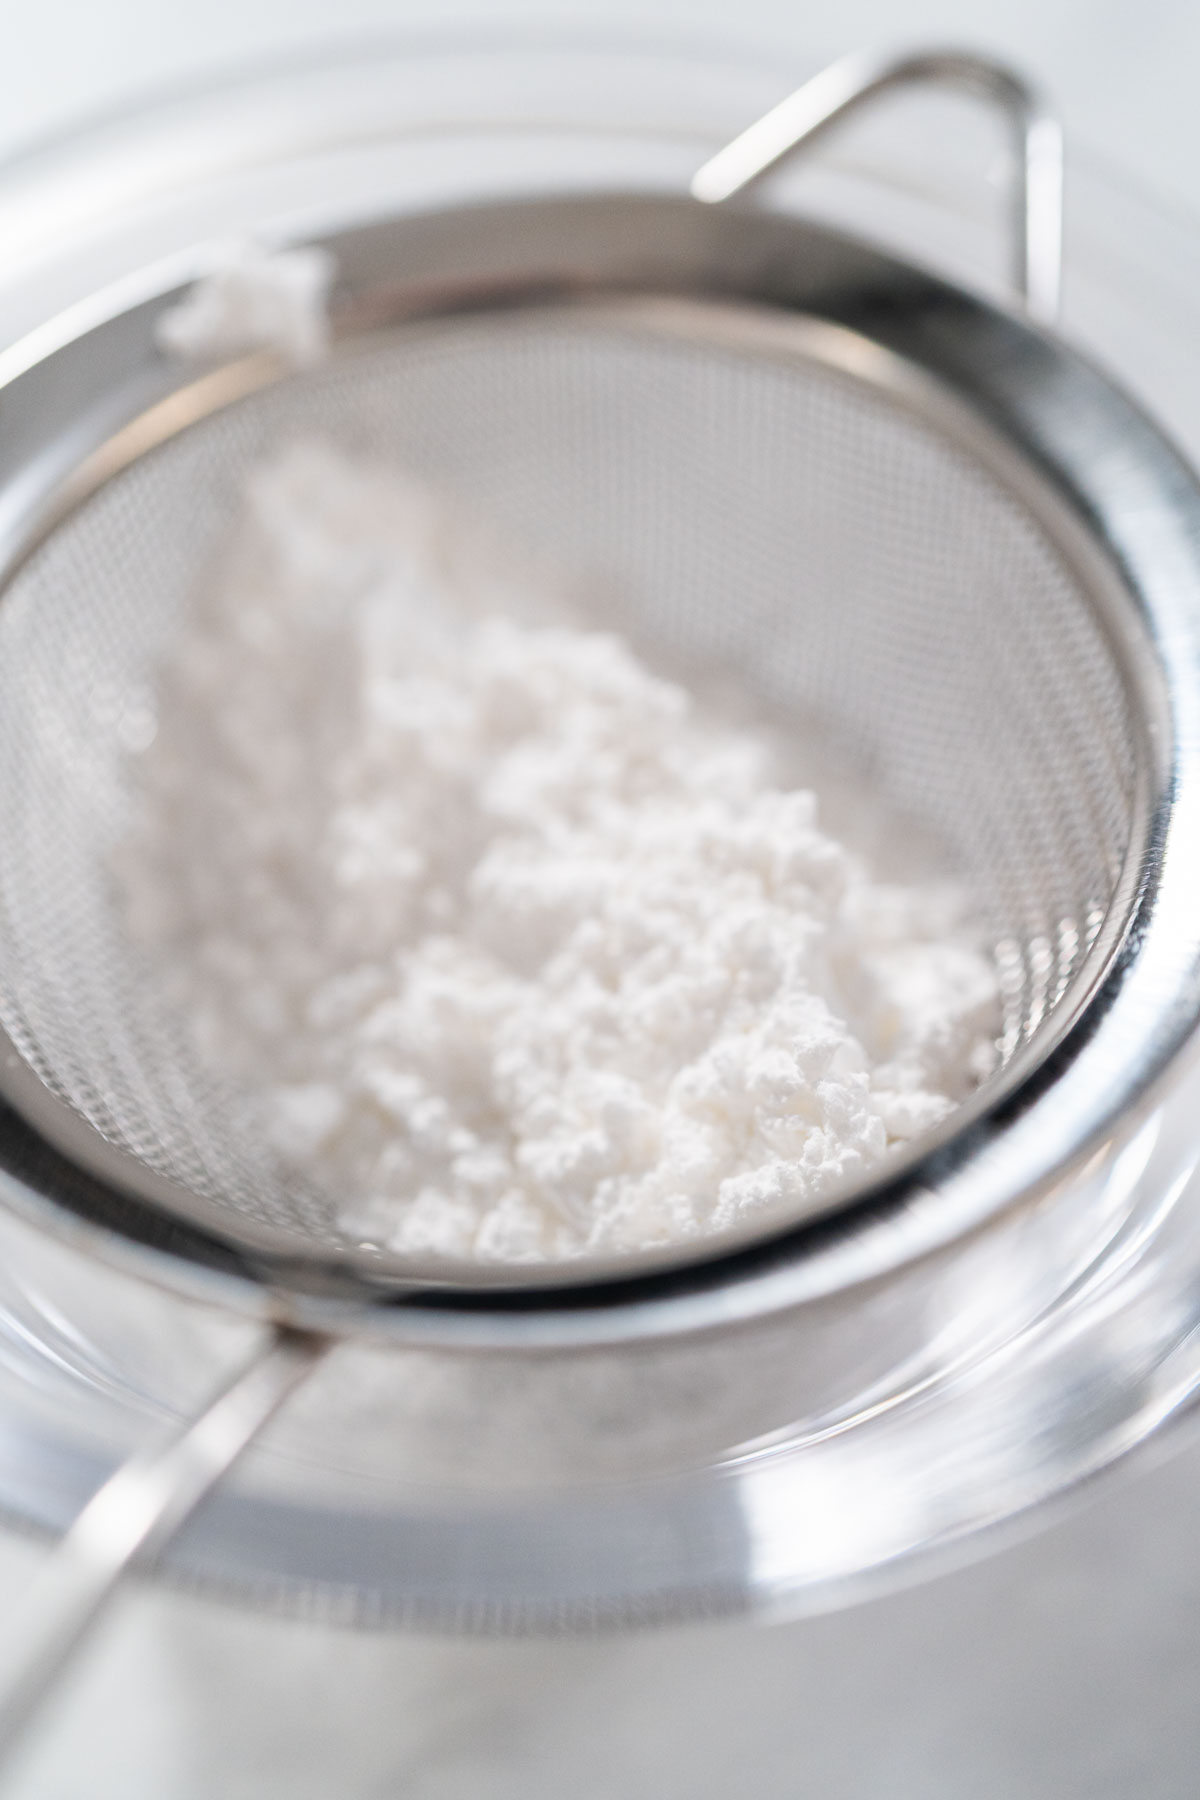
The intrinsic beauty of Bundt cakes, with their distinctive grooves and curves, means they stand out with very minimal adornment. A simple yet transformative decoration technique I frequently turn to is a dusting of powdered sugar. It's amazing how this fine sprinkle can give the cake a sophisticated, snowy finish, perfect for any setting. I delve into this and more in my blog post, "Easy and Elegant Bundt Cake Decorating Ideas," where I explore the art of turning simplicity into elegance.
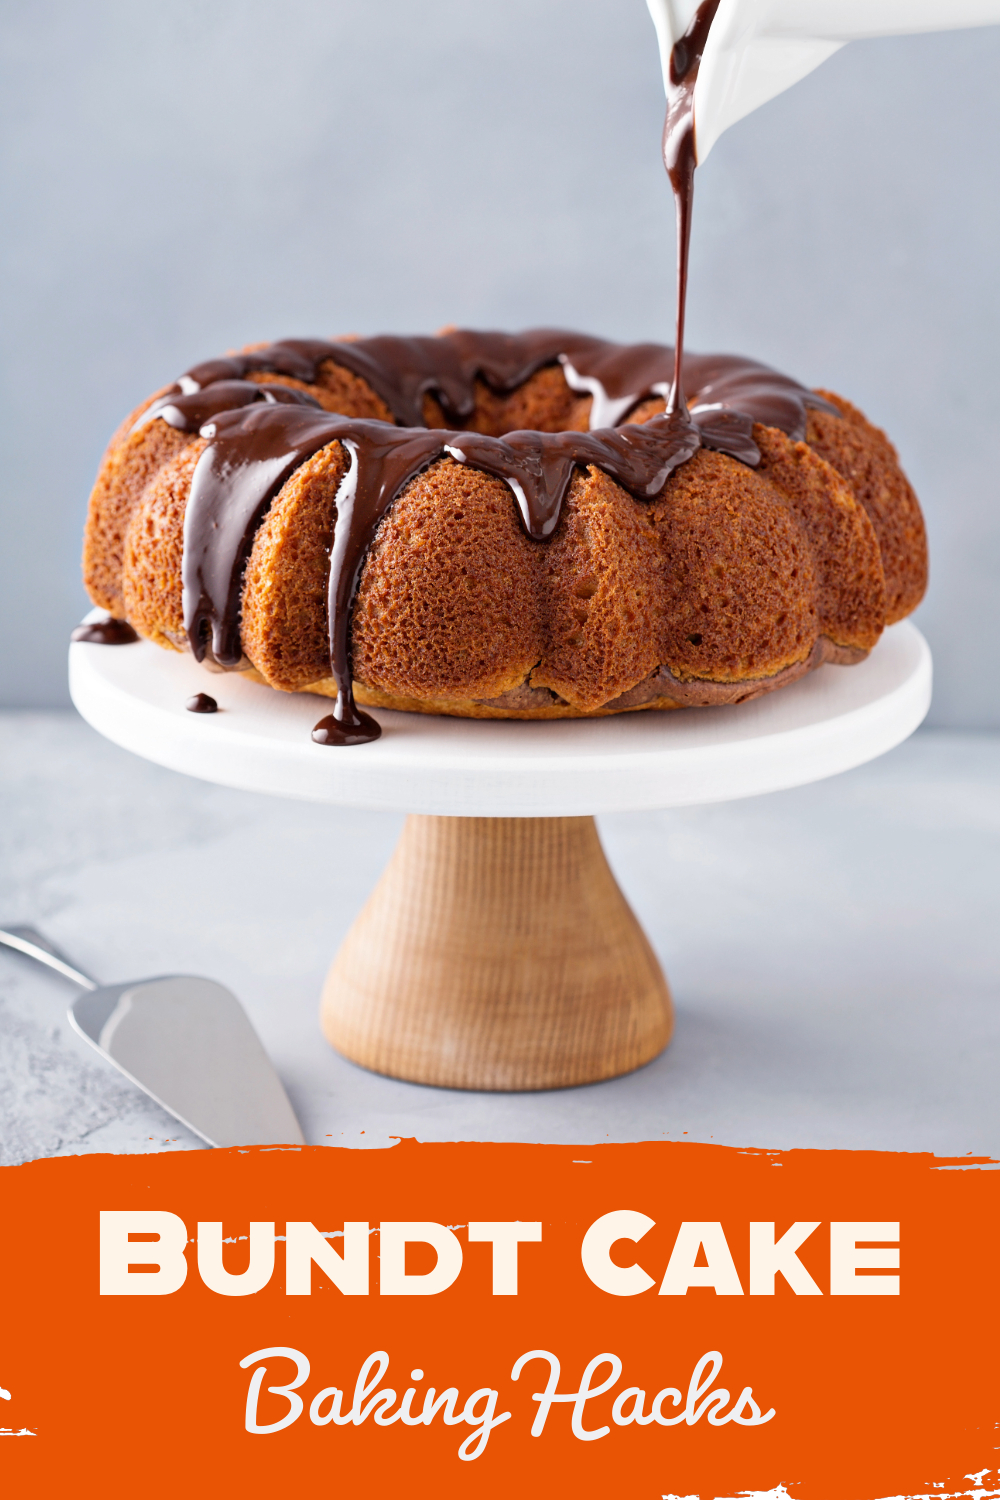
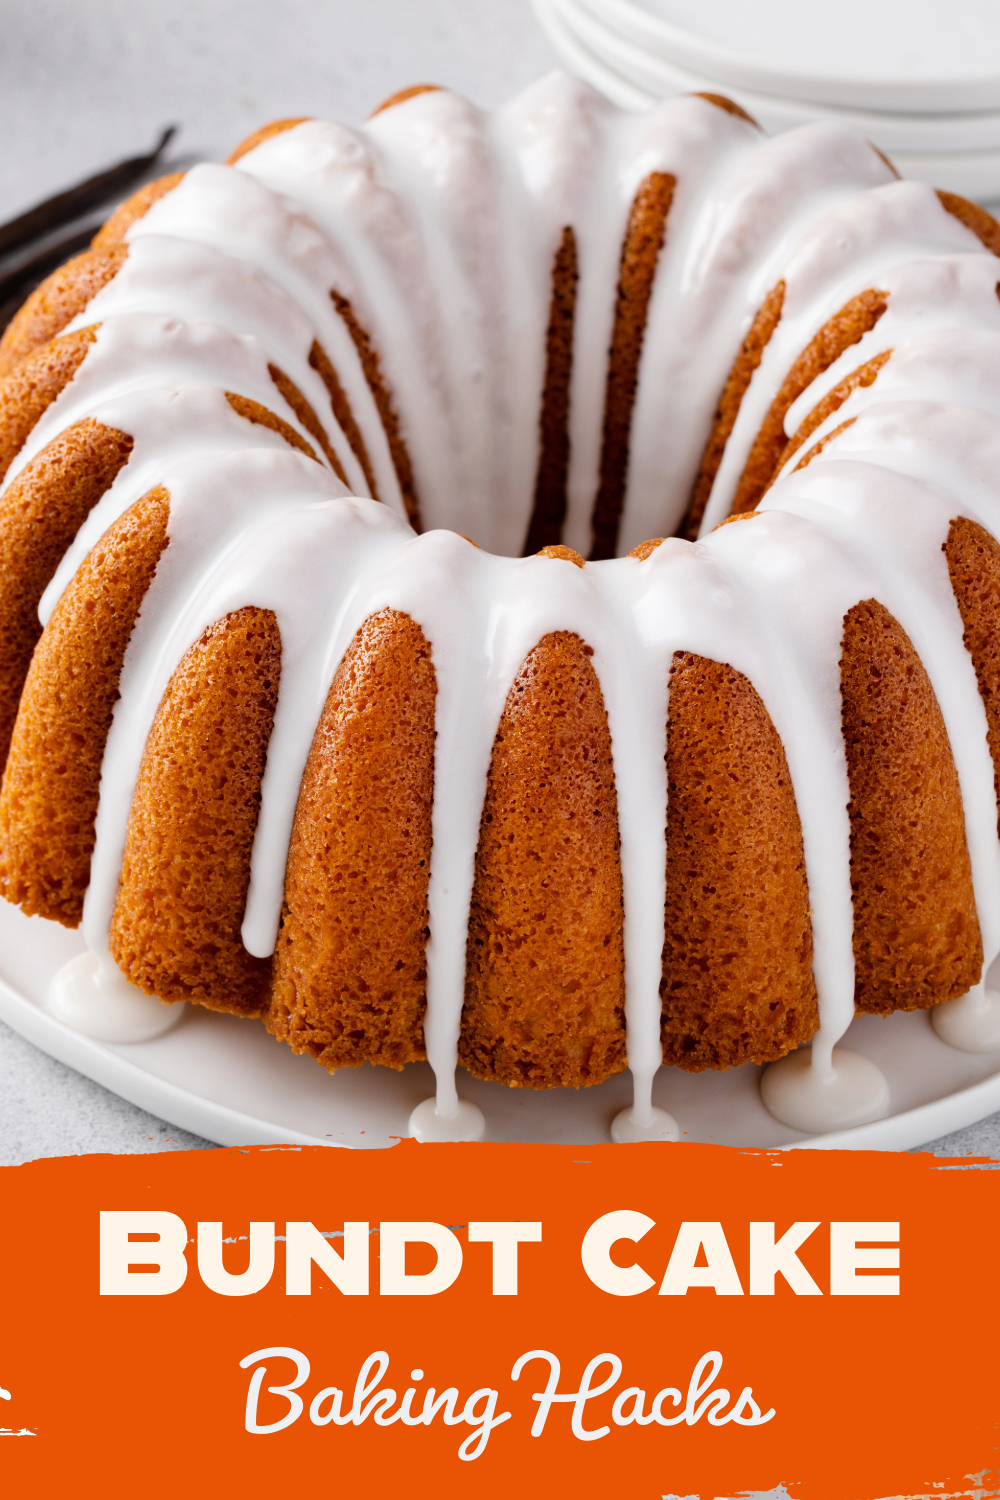
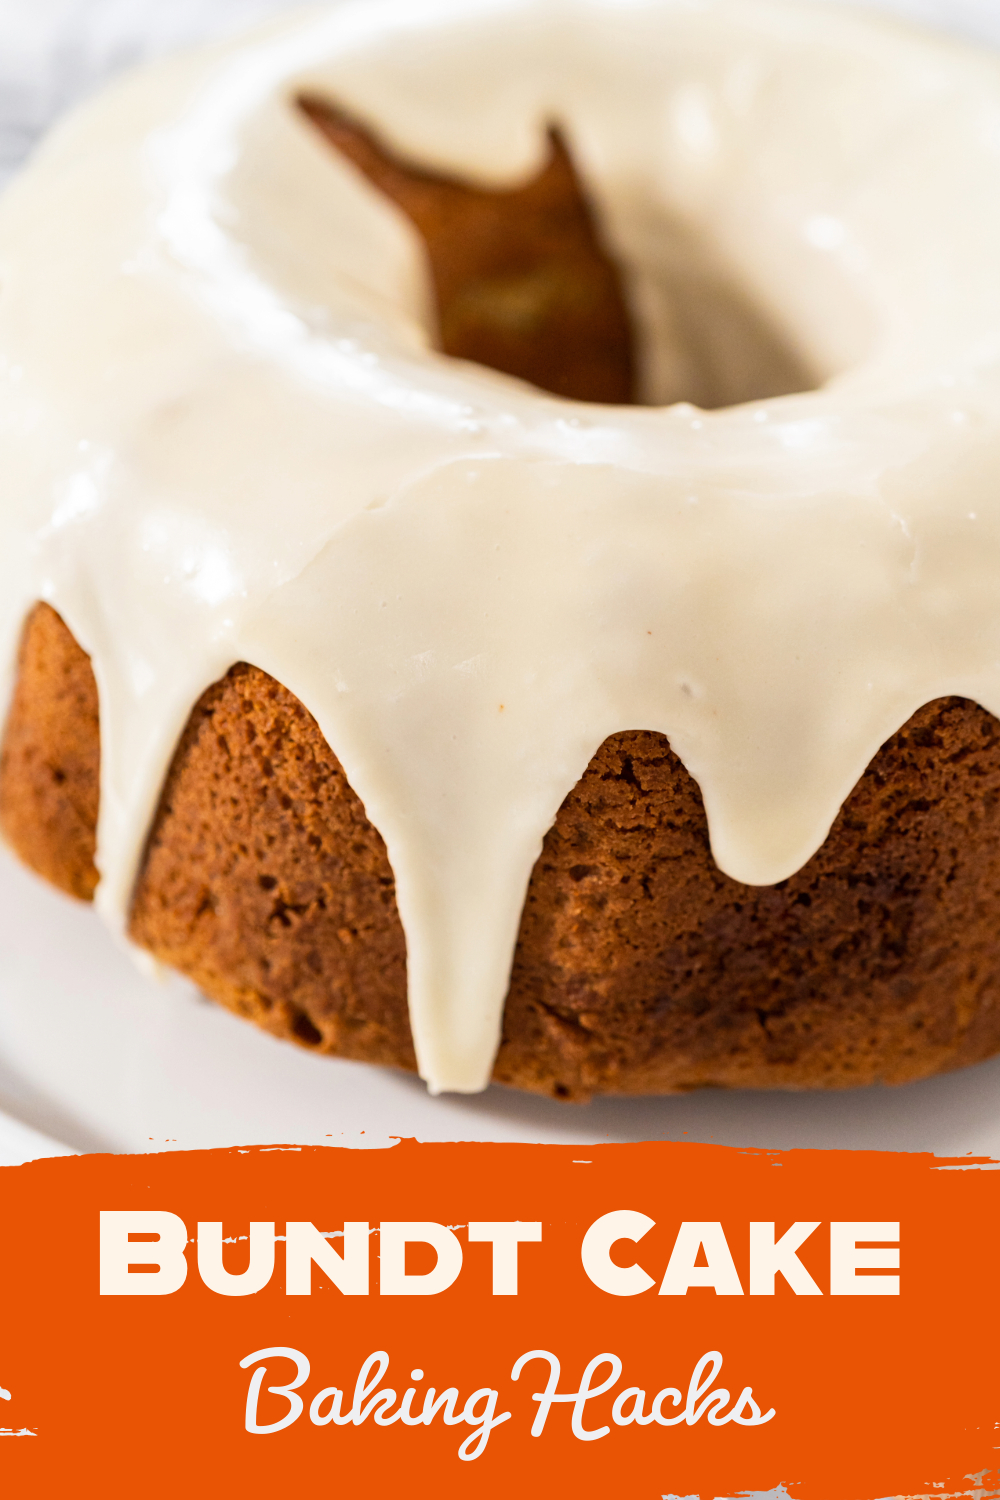
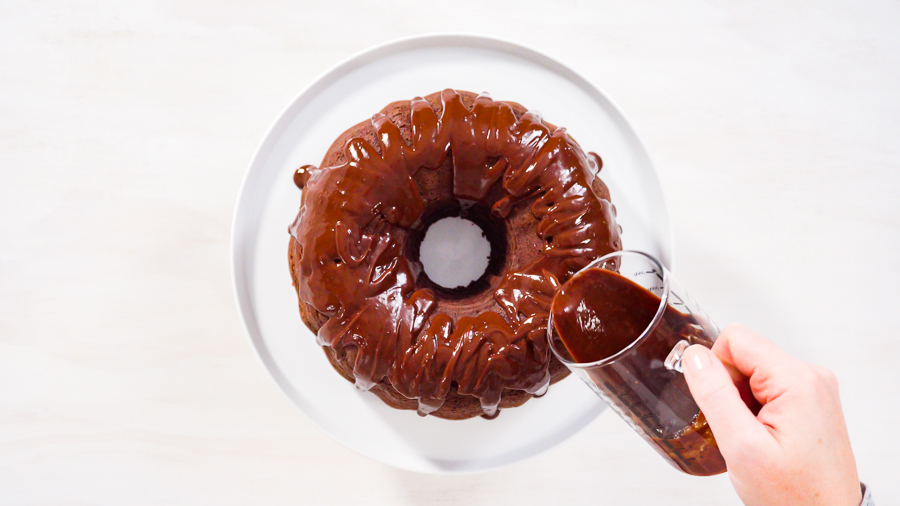
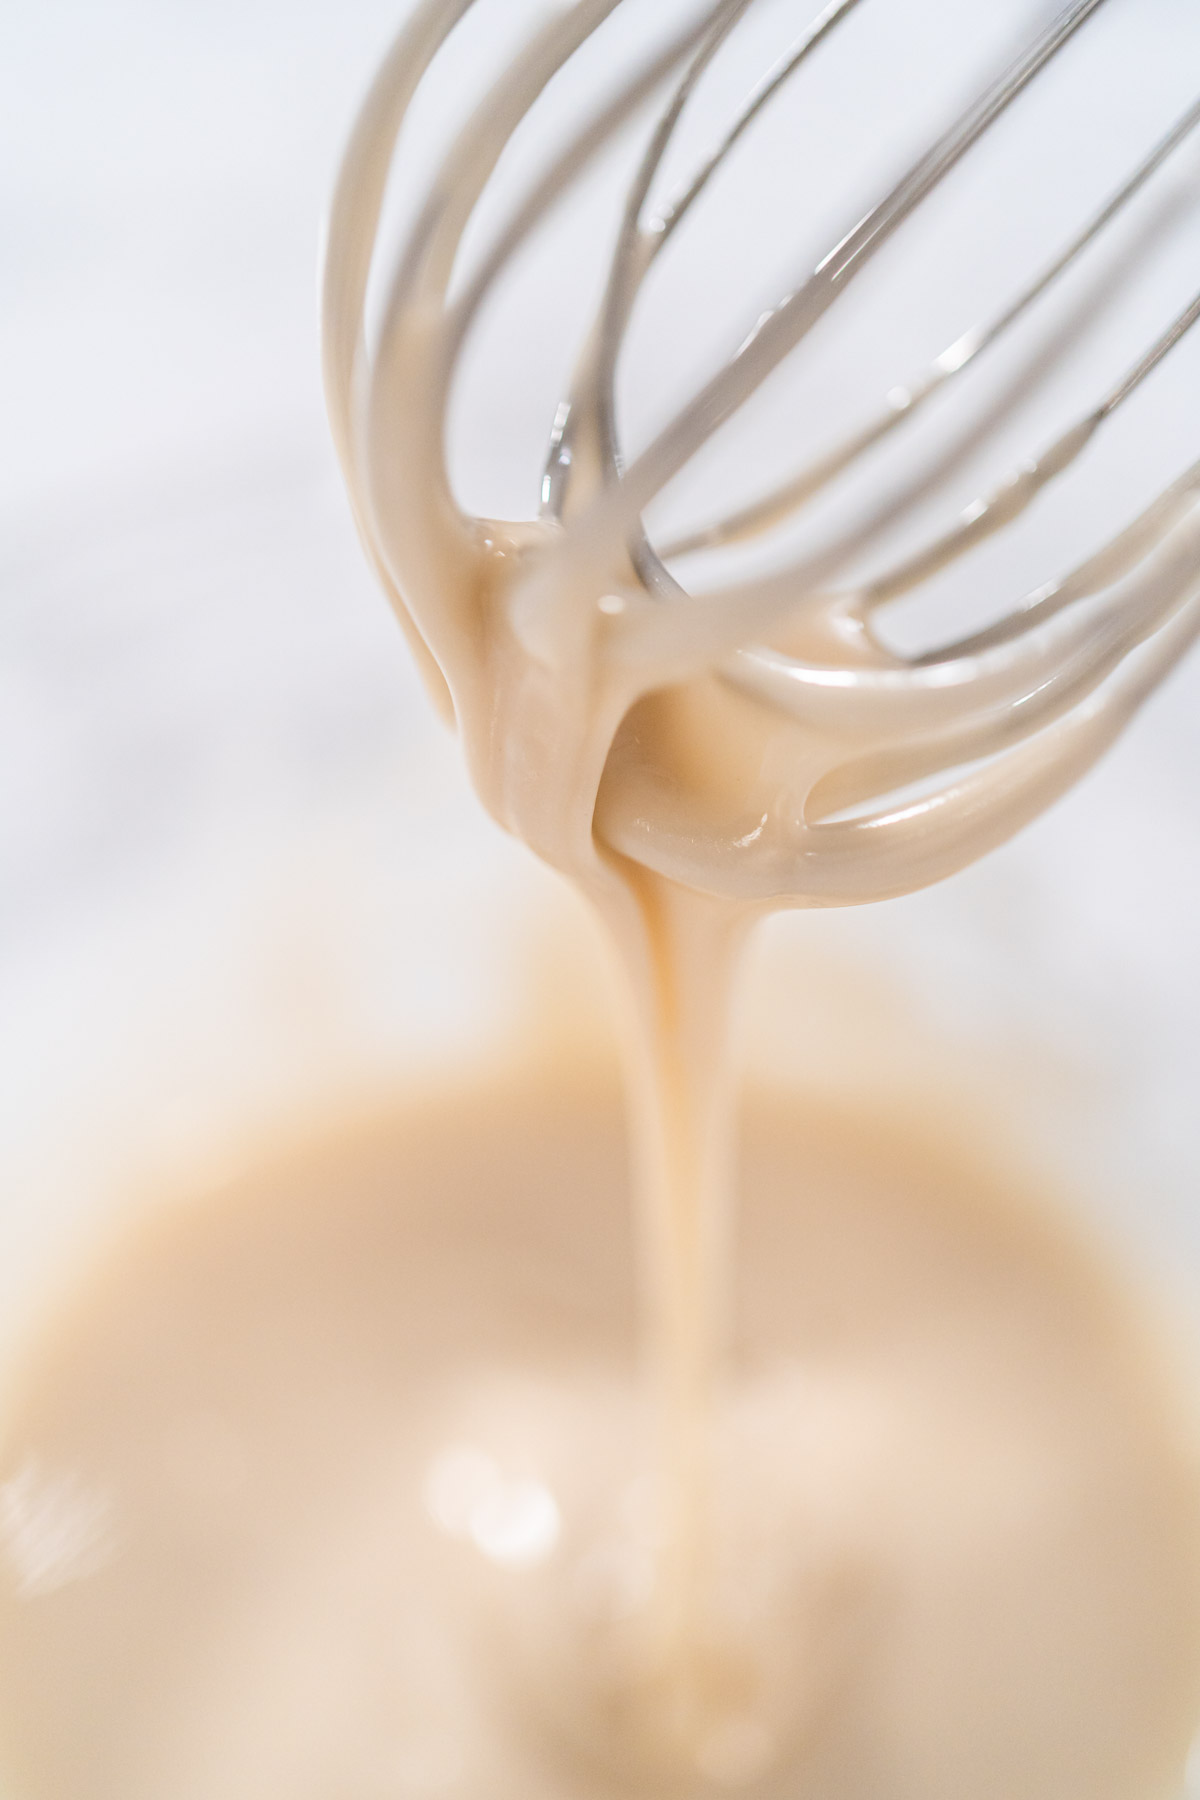
For those moments when I'm aiming for a bit more flair, a glaze is my go-to. Whether it's a vanilla glaze for its classic charm and simplicity or a rich chocolate frosting for a touch of indulgence, the key is in the pour. Drizzling the glaze over the cake, allowing it to naturally follow the cake's contours and cascade down its sides, is an act of beauty. It not only adds a visually stunning element but also introduces an extra dimension of flavor that complements the cake beneath.
In my exploration of festive decorations, "Festive Bundt Cake Decorating Tips," I share how adapting your decoration to the season or occasion can add a personalized touch that resonates with your guests. Whether
Easy Bundt Cake Baking Hacks
In the world of baking, sometimes it's those little twists and tweaks that elevate a simple bake into something truly memorable. Through my baking journey, I've stumbled upon a few hacks that I now consider indispensable, secrets that I'm eager to share with fellow baking enthusiasts. These aren't just tricks; they're the culmination of many moments of inspiration (and a few happy accidents) that have transformed my approach to Bundt cake baking.
One of my all-time favorite hacks is introducing an element of surprise within the cake itself. There's something magical about slicing into a Bundt cake to reveal a hidden layer—a ribbon of rich cream cheese filling or a swirl of toffee glaze that crunches delightfully with every bite. This technique isn't just about the flavors; it's about creating an experience, a moment of discovery that delights the senses. The trick here is to carefully layer your batter and fillings, being mindful not to overfill the pan. This ensures that the surprise element remains a delightful secret until the cake is cut, rather than spilling over during the bake.
Another game-changer in my baking repertoire is the use of a baking core or a flower nail placed in the center of the pan. This hack is born out of the need to achieve even baking, especially for larger Bundt cakes that might otherwise bake unevenly. By conducting heat to the center of the cake, this method ensures that the middle bakes at the same rate as the edges, eliminating the dreaded soggy bottom or overcooked sides.
Embracing these hacks has not only enhanced my cakes but also infused my baking sessions with a sense of adventure and experimentation. Whether it's the anticipation of cutting into a cake to reveal a hidden filling or the satisfaction of achieving an evenly baked masterpiece, these little touches have become integral to my baking process.
Sharing these hacks with you brings me joy, as I hope to inspire the same sense of wonder and achievement in your baking adventures. Whether you're a seasoned baker or just starting out, remember that it's these small, thoughtful adjustments that can transform a good cake into an unforgettable one. So, go ahead, experiment with fillings, try out that flower nail, and see where these hacks take you on your Bundt cake journey.
Chocolate Bundt Cake Baking Hacks
Chocolate Bundt cakes hold a special place in my heart and my kitchen, reminiscent of the cozy warmth and rich flavors that make every bite a celebration. Achieving that perfect blend of rich flavor and moist texture can sometimes feel like navigating a culinary maze. Yet, through countless trials and joyful discoveries, I've unlocked a few key hacks that have transformed my chocolate Bundt cakes into the stars of any dessert table.
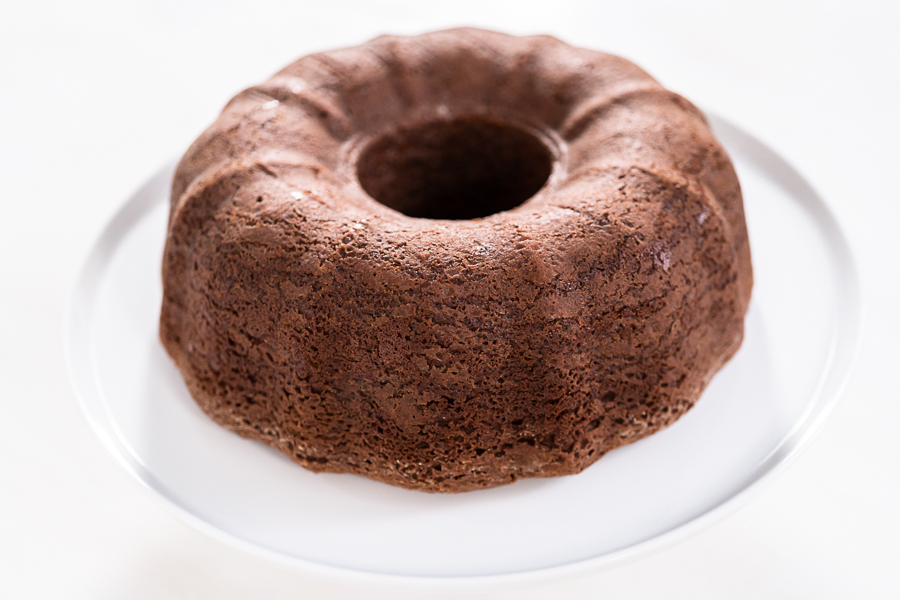
The journey begins with the right cocoa powder. The epiphany came when I embraced high-quality, unsweetened cocoa powder, a choice that deepened the flavors of my cakes, making them not just delicious but memorable. This crucial ingredient is the backbone of many of my creations, including the decadent Christmas Chocolate Bundt Cake with Chocolate Frosting, where the cocoa's rich depth pairs beautifully with the smooth frosting for a festive delight.
Adding a dollop of sour cream or Greek yogurt to the batter became my next revelation. This simple addition, inspired by my Pumpkin Bundt Cake with Cream Cheese Frosting, transforms the texture of your chocolate cake, making each slice moist and tender. It's a technique I've explored further in recipes like the Chocolate Pumpkin Bundt Cake with Toffee Glaze, where the moist crumb contrasts exquisitely with the crunch of toffee.
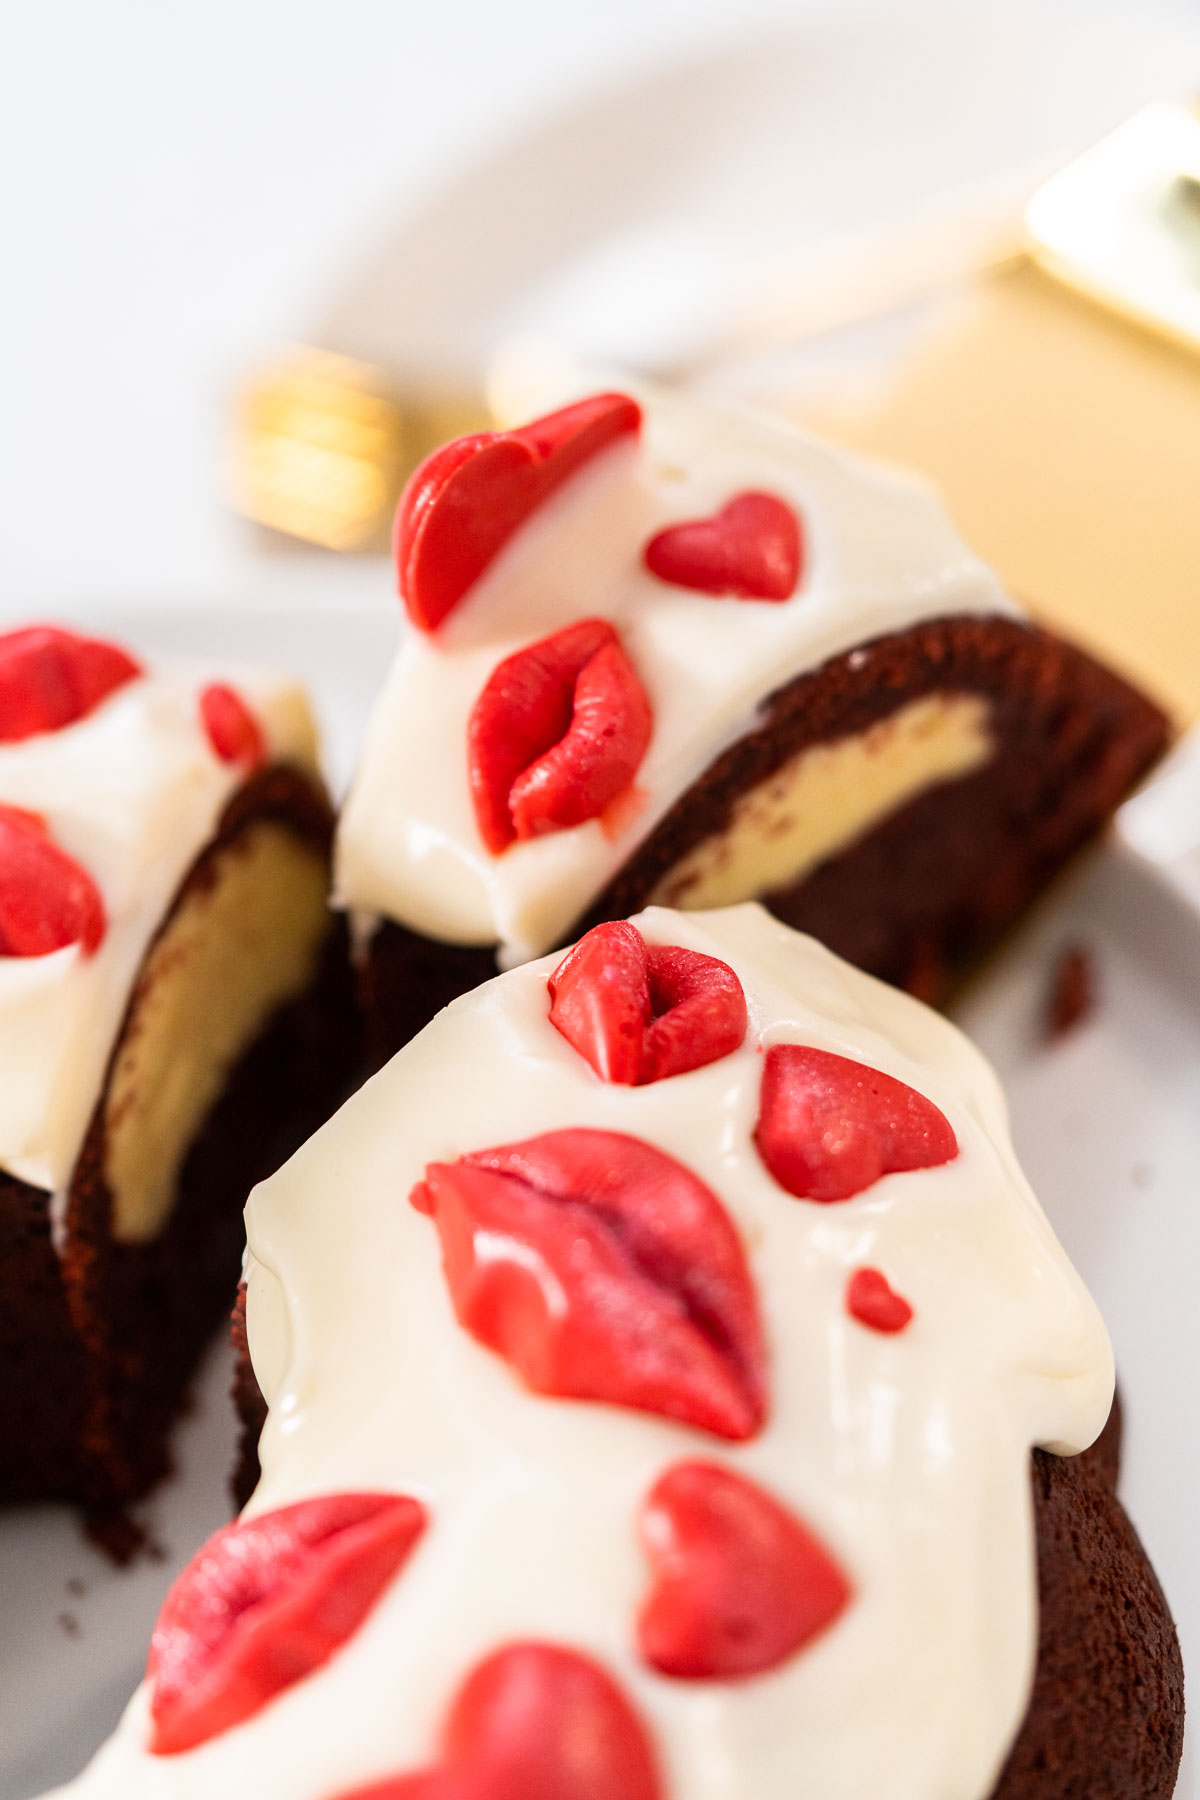
Decorating these chocolate marvels has become an extension of their flavor journey. A sprinkle of creativity can elevate them from simply homemade to heavenly. Whether it's a drizzle of Easy Bundt Cake Glaze or the elegance of a Cream Cheese Glaze, the final touch is about complementing the cake's rich flavor. For special occasions, like Valentine's Day, I venture into the whimsical, adorning my cakes with themed decorations such as those featured in the Red Velvet Bundt Cake with Chocolate Hearts.
Sharing these hacks and inspirations is akin to inviting you into my kitchen, where each cake tells a story. From the joyous Funfetti Bundt Cake that brings smiles to family gatherings, to the Lemon Blueberry Bundt Cake that sings of summer, these recipes are my way of connecting with fellow bakers and chocolate lovers alike.
So, as you embark on your next baking adventure, remember that the secret to a stunning chocolate Bundt cake lies not just in the ingredients but in the care, creativity, and love you pour into it. Whether you're refining your technique with Bundt Cake Baking Tools and Equipment or seeking the perfect finish with Chocolate Frosting for Bundt Cake, each step is a brushstroke in your baking masterpiece.
Bundt Cake Recipes for Every Occasion
Bundt cakes are my year-round companions, perfectly capturing the essence of each season with their flavors and decorations. Here’s a quick guide to my favorite Bundt cake recipes, ideal for any time of year:
- Winter Warmth:
- Eggnog Bundt Cake – A holiday favorite that brings the festive spirit to your table.
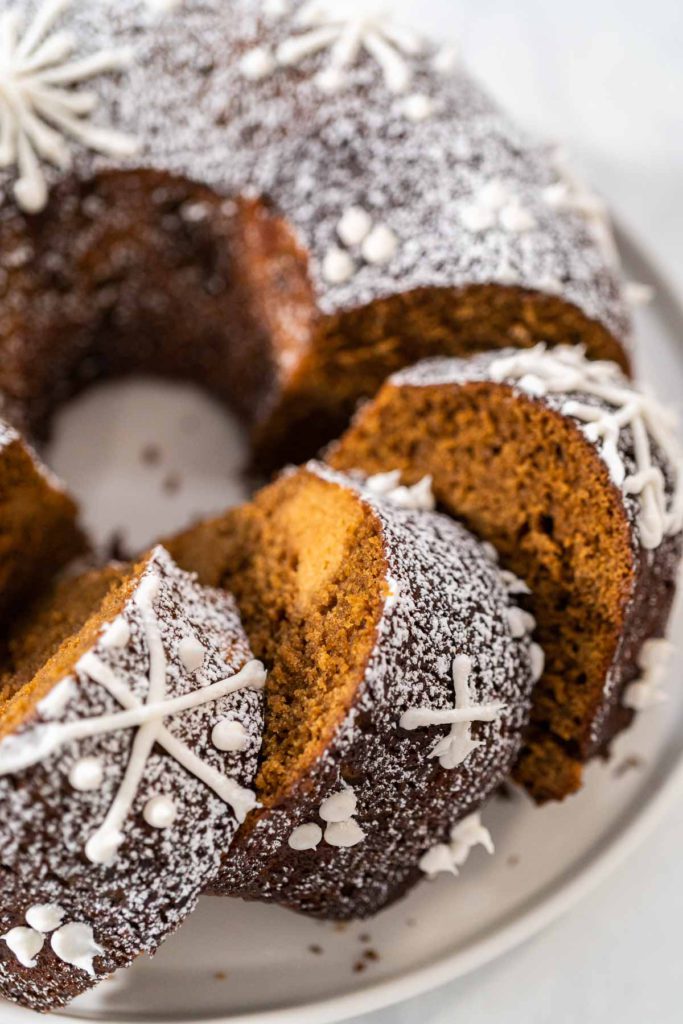
- Gingerbread Bundt Cake With Caramel Filling – The perfect blend of rich spices and sweet caramel.
- Spring Refresh:
- Lemon Cranberry Bundt Cake with Sugared Cranberries – A zesty and refreshing cake that’s perfect for Easter and spring gatherings.
- Summer Vibes:
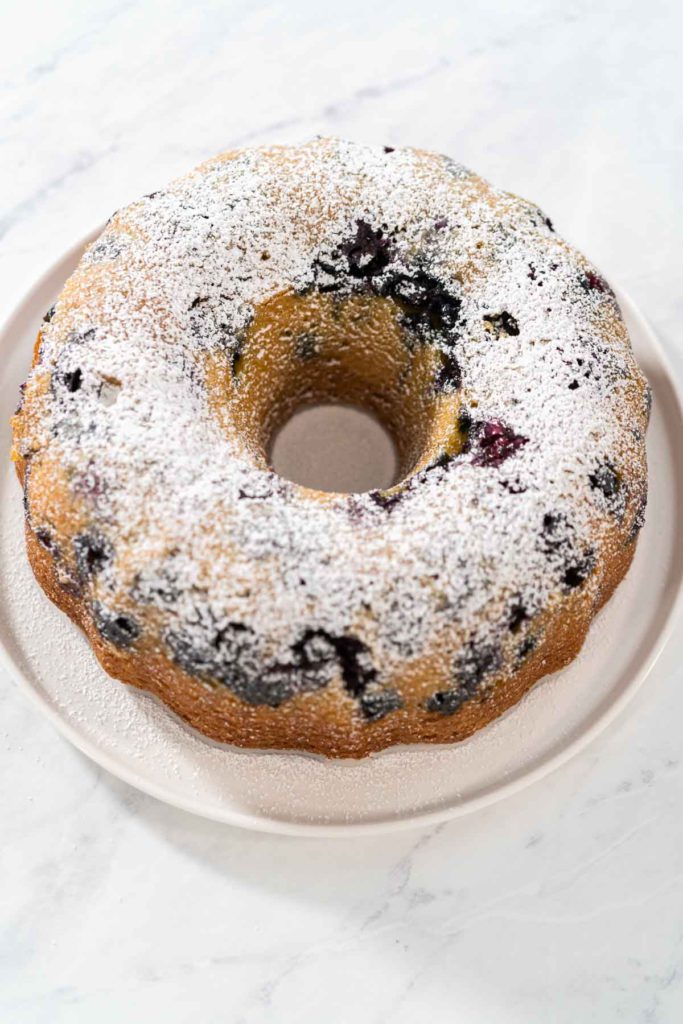
- Lemon Blueberry Bundt Cake – Bursting with fresh blueberries and a tangy lemon glaze, ideal for picnics and BBQs.
- Autumn Harvest:
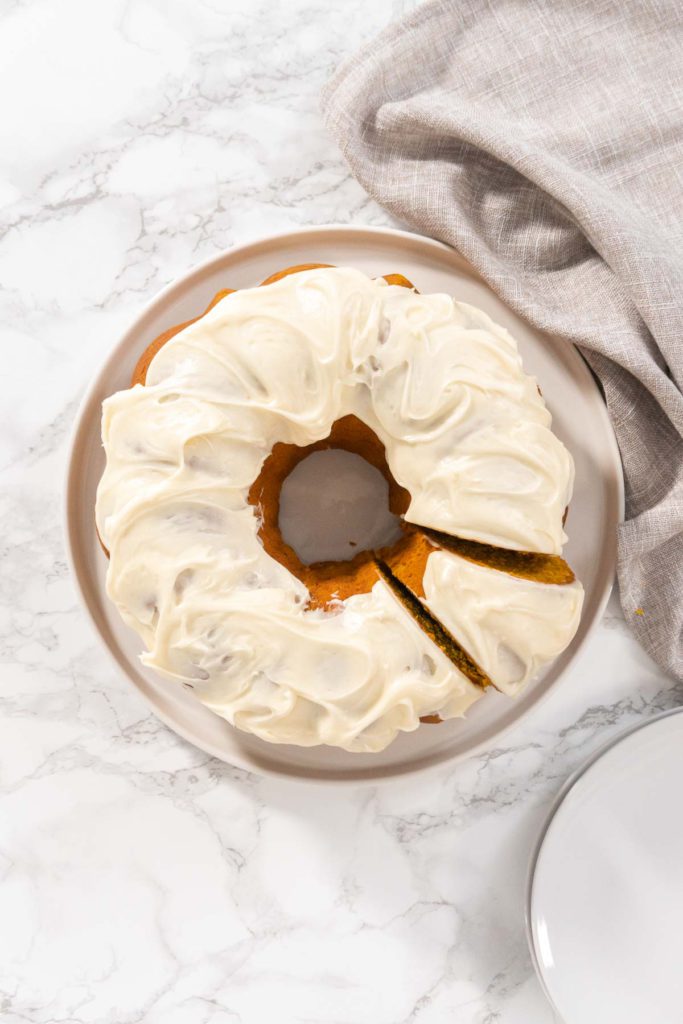
- Pumpkin Bundt Cake with Cream Cheese Frosting – Embraces the flavors of fall with pumpkin and spices, topped with creamy frosting.
- All-Year Classics:
- Simple Vanilla Bundt Cake – A versatile classic that’s perfect for any occasion.
- Carrot Bundt Cake with Cream Cheese Frosting – A moist and flavorful cake that’s great for cozy gatherings.
These cakes are not just desserts; they're a way to celebrate the seasons and create lasting memories. Whether you're looking for something festive, refreshing, or simply comforting, there’s a Bundt cake recipe in my collection for every moment.
Remember, the links provided (#LinkTo...) should be replaced with the actual URLs to direct your readers to each delicious recipe on your blog. This way, they can easily find and enjoy baking these treats just as much as I do!
More frostings recipes
Storing Your Bundt Cake: Ensuring Freshness and Flavor
Whether you’re enjoying leftovers or preparing your cake in advance, here’s how to keep it tasting fresh:
- At Room Temperature:
For short-term storage (up to three days), keep the cake under a cake dome or wrapped in plastic wrap on the counter. Your Bundt cake will stay fresh for up to 3 days. This method is perfect for cakes that will be eaten in a short period. - Refrigerate for Longevity:
Wrap the cake tightly in plastic wrap or store it in an airtight container if you need to keep it fresh for up to five days. It can last up to 5 days in the refrigerator. Remember to let it come back to room temperature before serving to ensure the best flavor. - Freeze for Future Enjoyment:
Freezing is ideal for extended storage. Wrap your Bundt cake securely in plastic wrap, followed by aluminum foil, and freeze. Before freezing, mark the packaging with a Sharpie to note the date. Your cake will remain fresh for up to 3 months in the freezer. Thaw it in the refrigerator overnight and allow it to reach room temperature before enjoying. This method is ideal for planning ahead or keeping leftovers tasting as good as new.
By following these detailed serving and storage tips, you can enjoy your Bundt cake at its best, whether it's freshly baked or saved for later. Proper storage ensures every bite remains moist, flavorful, and just as satisfying as when it first came out of the oven.
Packaging bundt cakes for transportation or gifting
Whether sharing the love with a neighbor or bringing your signature Bundt cake to a family gathering, ensuring your cake is both securely packaged and elegantly presented is essential. I delight in turning each Bundt cake into a beautifully presented gift, a reflection of the care and creativity that went into its baking. Here’s how I ensure my Bundt cakes are ready for transport or gifting:
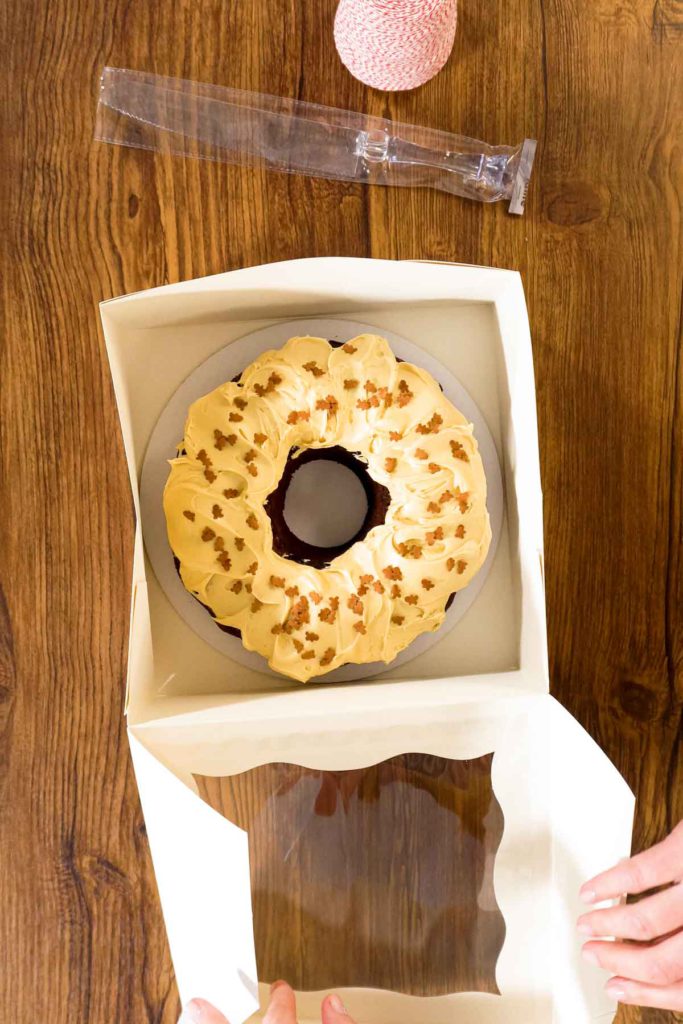
- Sturdy Cake Boxes with Clear Windows: A sturdy cake box with a clear window is my go-to for packaging Bundt cakes. This not only provides the necessary protection but also allows the beauty of the cake to shine through, making the first impression even before the box is opened. Decorative ribbons or custom labels can elevate these practical boxes into charming gift packages.
- Paper Box with Clear Window: Instead of traditional cake boards, I prefer using paper boxes with clear windows for an added touch of elegance. These boxes serve a dual purpose: they offer stability during transportation and allow a sneak peek of the cake, heightening anticipation and adding a visual delight. The clear window showcases the cake's design and any decorative touches, making it an integral part of the gift presentation.
- Personalized Notes: Adding a handwritten note or a custom card with the cake's name and a short, heartfelt message personalizes your gift, making it even more special. This small gesture can convey a lot of warmth and thoughtfulness to the recipient.
- Instructions for Serving: Providing serving instructions, such as refrigeration guidelines or best-before dates, on a small card inside the box is a thoughtful detail. It ensures that the cake is enjoyed in the best possible condition, enhancing the overall experience. When sending a Bundt cake to my husband's office, I always include a plastic disposable cake knife for convenience, ensuring everyone can easily enjoy a slice without any fuss.
Elegantly packaging a Bundt cake for transportation or as a gift extends the joy of baking into the joy of giving. These tips not only ensure the cakes arrive in perfect condition but also turn each offering into a memorable experience for the recipient. Whether showcasing a Lemon Glaze for Cookies and Bundt Cake adorned treat or a Chocolate Frosting for Bundt Cake delight, the right packaging highlights your baking artistry and shares your passion for delightful desserts.
Bundt Cakes
- Lemon Blueberry Bundt Cake – Bright, Moist, and Full of Flavor
- Funfetti Bundt Cake with Vanilla Glaze and Rainbow Sprinkles
- Red Velvet Bundt Cake Recipe with Heart-Shaped Chocolate Topping
- Easy Lemon Glaze for Cookies and Bundt Cake
- Bundt Cake Baking Tools and Equipment
- Powdered Sugar Dusting for Bundt Cakes – Simple and Elegant
Wrapping Up Our Bundt Cake Journey
Navigating the world of Bundt cakes is a delightful journey filled with discoveries, creativity, and, of course, a sprinkle of challenges along the way. My hope is that the insights and techniques shared here light up your baking path, guiding you to craft Bundt cake creations that dazzle both the eyes and the taste buds. Remember, the essence of baking lies not just in the scrumptious end results but in the joy and exploration of the process itself. Embrace every opportunity to try something new, to learn from the unexpected, and most importantly, to infuse each recipe with your unique touch of joy.
I'm eager to hear about your own ventures in Bundt cake baking! Were these suggestions the secret ingredient to your latest baking triumph? Or perhaps you've unearthed some wisdom of your own you're itching to share? Drop your stories and tips in the comments section below—let's keep this sweet dialogue flowing. Here's to many more happy baking moments ahead!
Food Photography & Video Tips from My Studio
Here’s a peek at the tools, gear, and camera setups I use to film my recipe videos and photograph food at home. Over the years, I’ve tested dozens of different setups, and now I’m sharing what actually works for me—whether I’m filming overhead shots for YouTube or styling still photos for my blog. If you’re curious about how I create the content you see here, these posts are a great place to start.






Leave a Reply