How to make enchanting homemade mini chocolate bars dazzled with sprinkles!
This post contains affiliate links.
I have got a simple dessert topping recipe that is going to add next-level charm and magic to any of your favorite homemade desserts! No joke! After whipping up a batch of these magically sweet treats you will definitely start referring to yourself as the Kitchen Witch. But don’t worry, you don’t need a lot of experience in the kitchen to be able to successfully make these Mini Chocolate Bars with Sprinkles. Making these unique dessert toppers can be quickly accomplished with a few of the right kitchen tools and a handful of sweet ingredients.
Where did the inspiration for these mini charming chocolates come from, you ask? From my main baking inspiration, my daughter! She absolutely loves anything to do with fairytales, magic, and, of course, sprinkles! After trying out a special batch of pink Homemade Mini Chocolate Bars for her, I decided to experiment with the recipe even further to add more of her favorite things. This is where the lovely pink drizzle and charming candy sprinkles come in. My daughter absolutely loved these enchanting chocolates! So if you’ve been trying to figure out how to make your little one feel extra special lately, or if you've been looking for the perfect sweet treat to add to their school lunchbox, then your search ends here! These mini chocolate bars with sprinkles may be exactly what you’ve been looking for!
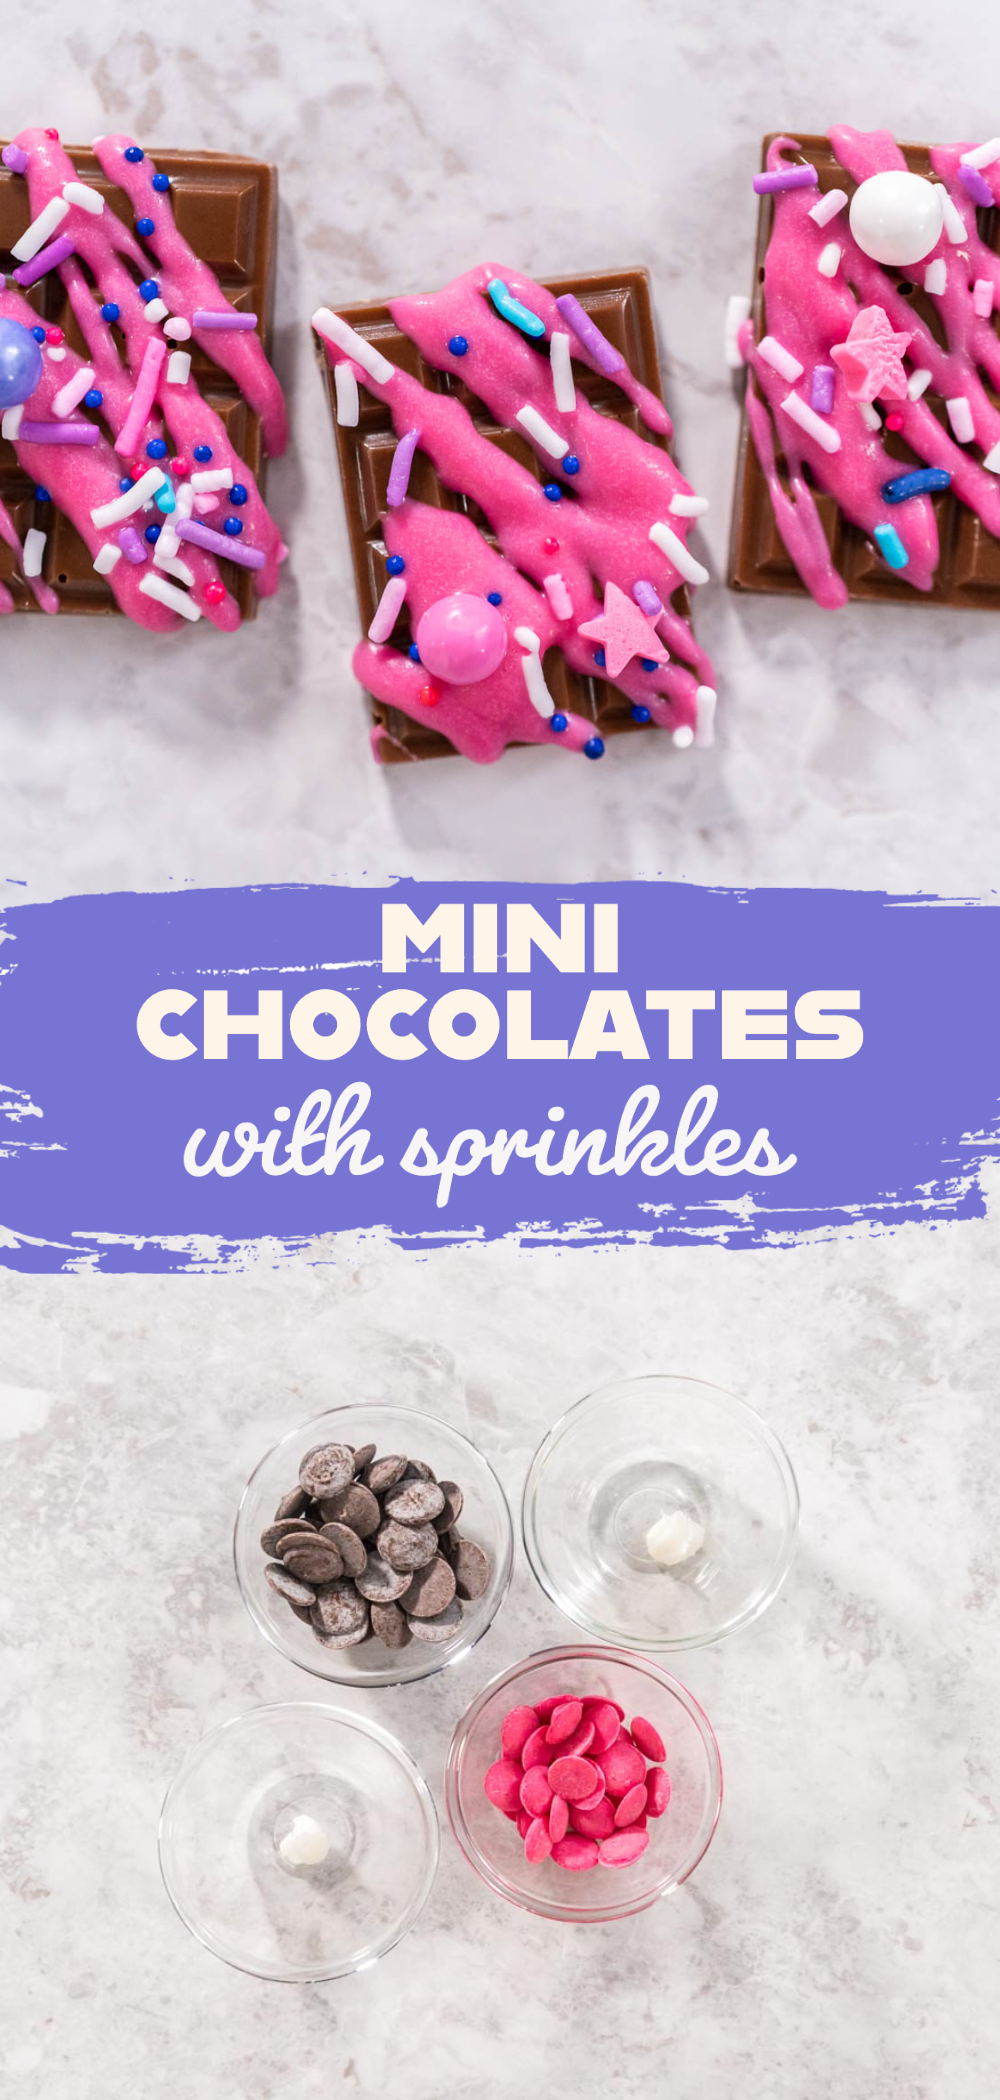
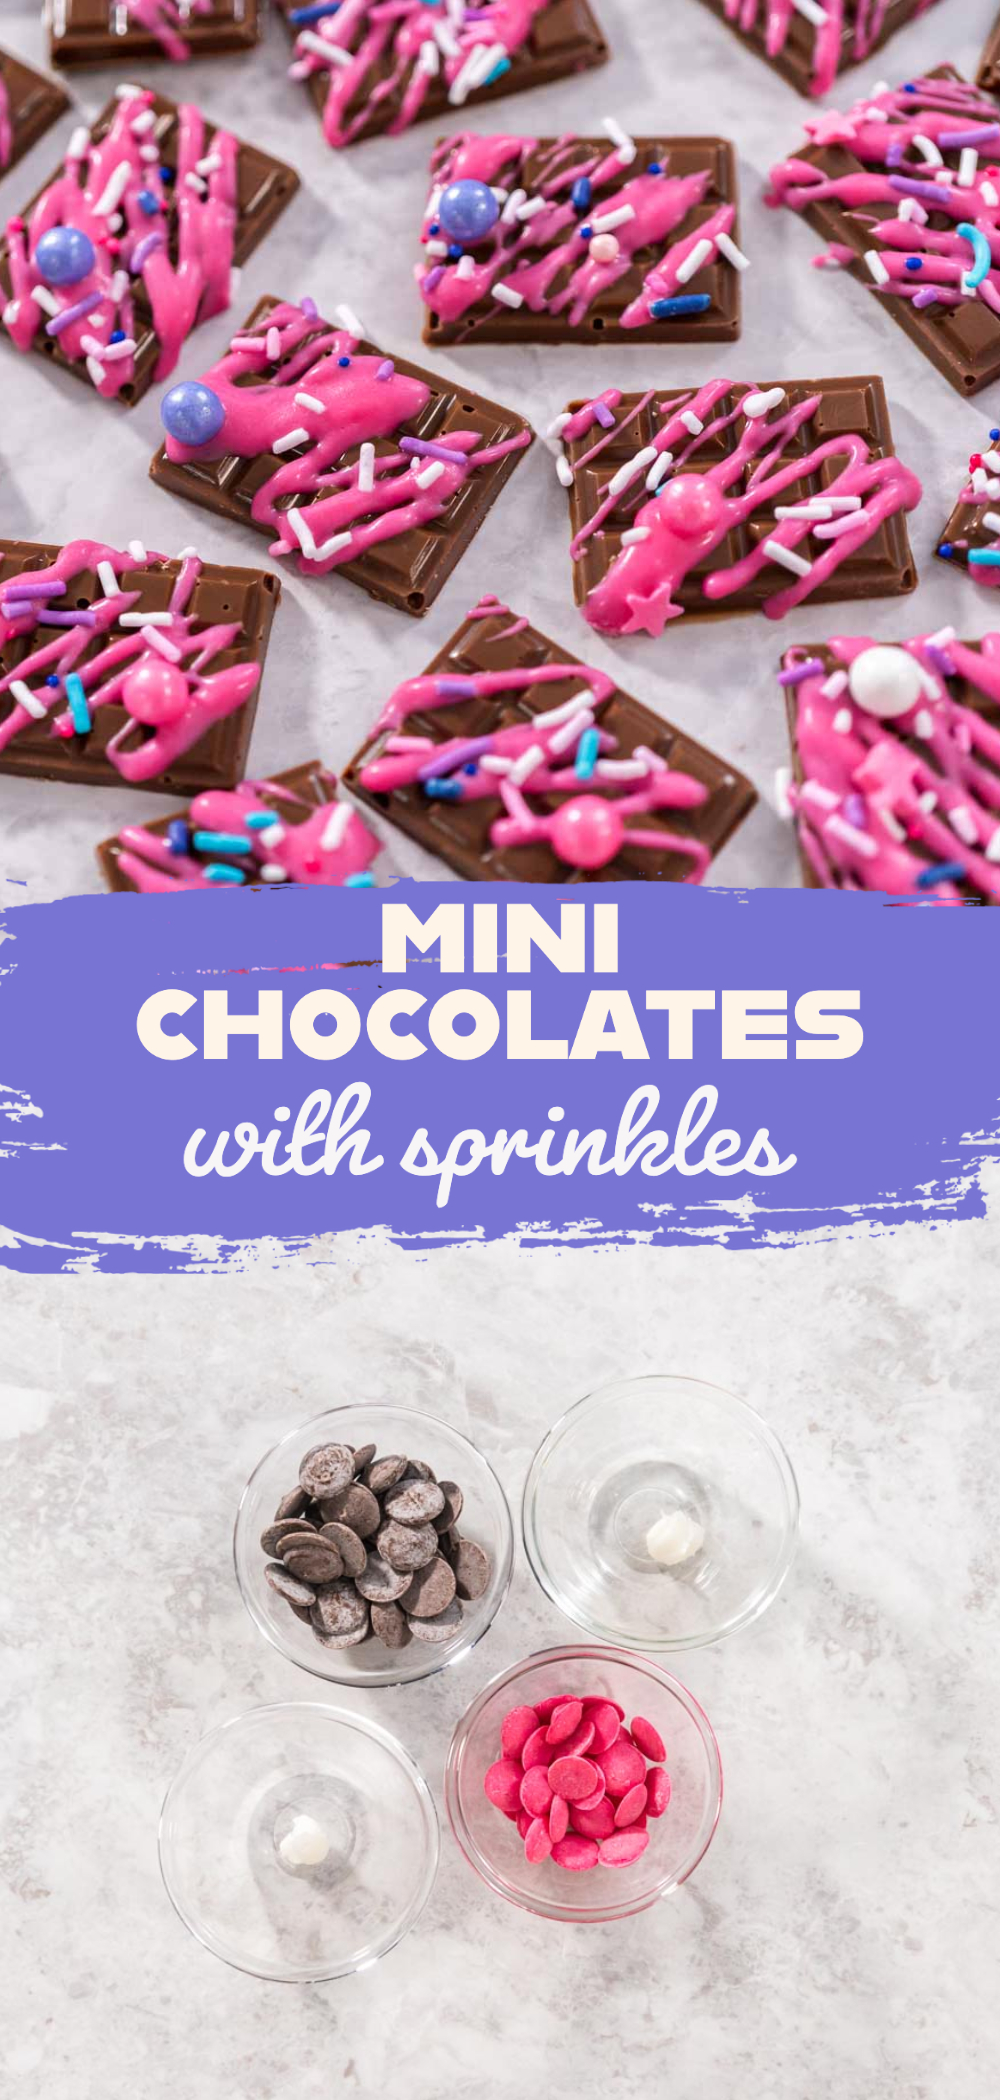
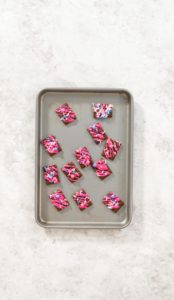
To make homemade mini chocolate bars with sprinkles all you need is some cocoa and pink colored candy melts, coconut oil, sprinkles, a candy melt pot, some chocolate bar-shaped silicone molds. First, melt the cocoa candies and oil together in the melting pot, spoon the melted candy into the molds, scrape off any excess chocolate, and freeze flat. Then repeat the melting process with the pink candies and drizzle over the mini candy bars. While the pink drizzle is wet, immediately top with the sprinkles. Finally, transfer them to the fridge to harden completely.
Candy Bar Equipment
To make this whole candy bar- making process go smoothly and quickly, I do use a particular set of tools for candy- making success. Most of these can probably already be found in your kitchen and the other tools are easy to get and well worth adding to your kitchen tool collection!
- Wilton candy melts pot
- Spatulas
- Silicone chocolate bar mold
- Cake Spatula
- Saucier Drizzle Spoon
- Small baking sheet
Helpful Hint:
I specifically like using my candy melt pot over all other melting methods for any kind of candy-making projects! Since it keeps the chocolate at the perfect temperature through the melting process without ever overcooking the chocolate, it makes the entire process much easier and stress-free! Plus the silicone lining makes it super easy to clean up afterwards.
Mini Chocolate Bar Ingredients
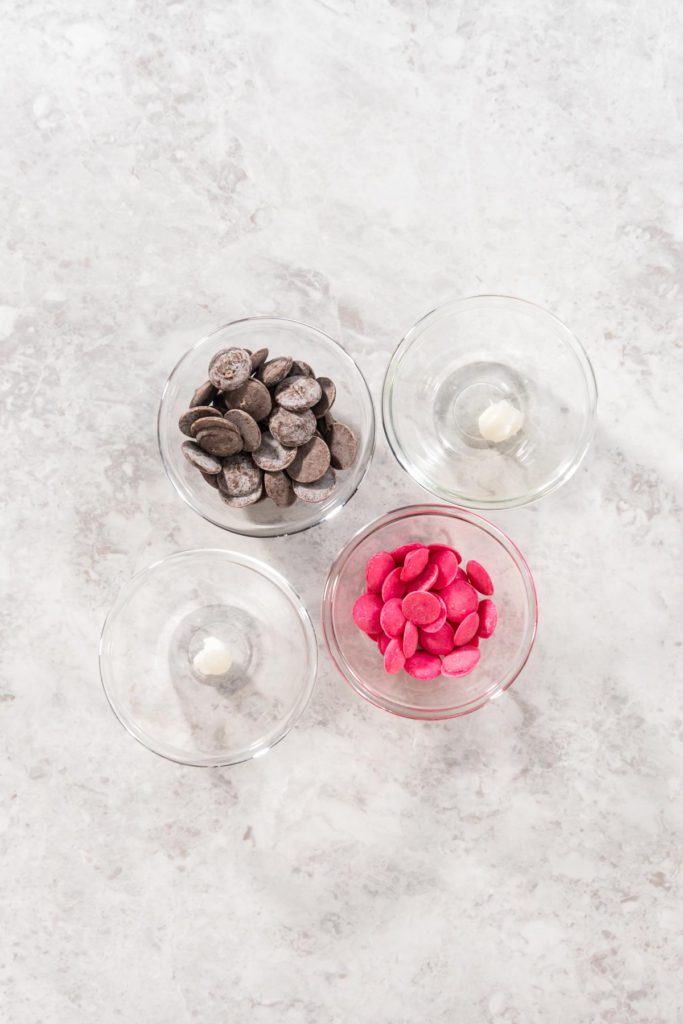
This easy dessert topping recipe only requires a few simple ingredients to make. You can swap out any of the candy colors as you desire, but these are the specific colors and ingredient items that I used in this recipe.
- 1 cup Wilton Dark Cocoa Candy Melts Candy
- ¼ tsp Coconut oil
- ½ cup Pink Wilton candy melts
- ½ teaspoon Coconut oil
- Tutu sweet sprinkles
How to Make Mini Chocolate Bars with Sprinkles
Now let’s break down the steps of making the magic happen! This entire process is refreshingly easy to do and the results are simply enchanting! So, without further ado, here is how to make your very own charming mini chocolate bars with sprinkles.
Candy- making Tip:
Always be careful when handling homemade candies because the body heat from your hands is enough to make the chocolates start to melt.
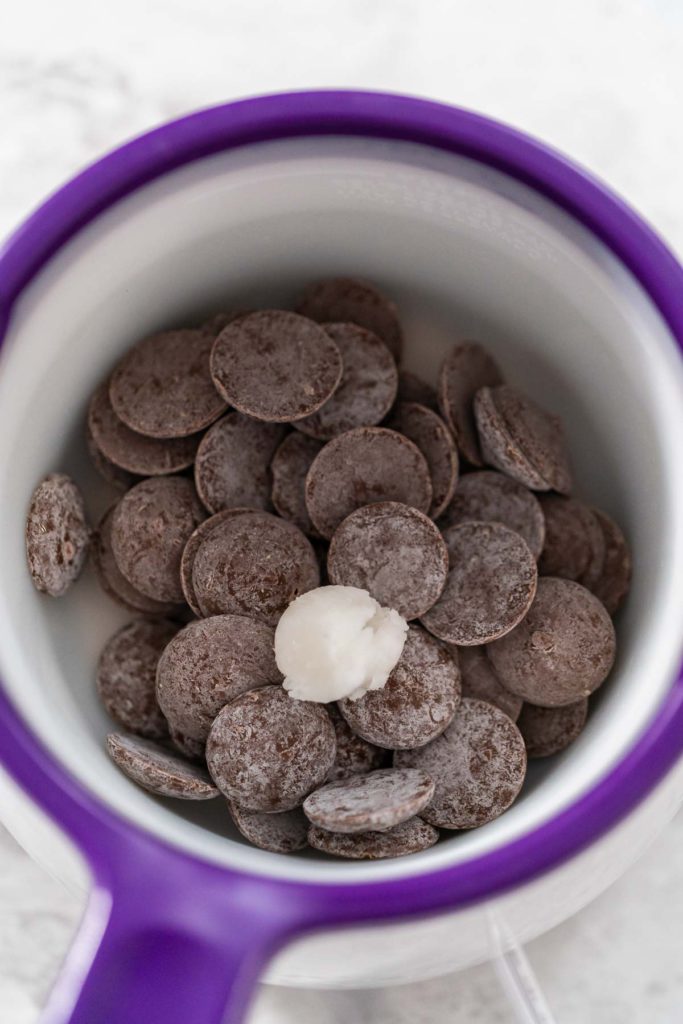
- First, combine the dark cocoa candy melts and ¼ teaspoon of coconut oil in the candy melt pot. Melt them together on high, stirring regularly with a silicone spatula.
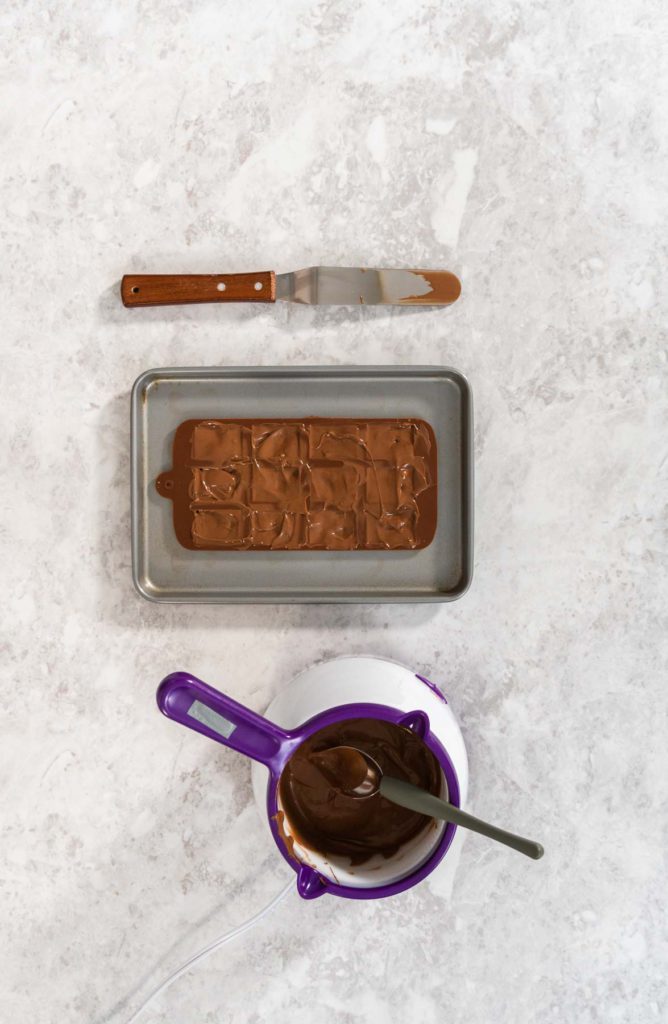
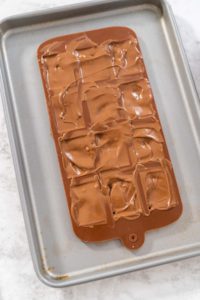
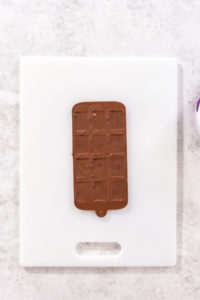
- Then, use a Saucier Drizzle Spoon to carefully spoon the melted chocolate into the candy bar- shaped silicone molds. Scrape off the excess chocolate with a cake spatula. Tap the tray gently on the table a few times to remove any air bubbles.
- Next, place the silicone molds on a small baking sheet and freeze them for 10 minutes or refrigerate for 15 minutes. Be sure that the molds sit absolutely flat while the candy hardens!
- While the candy hardens, rinse and dry the silicone lining for the candy melt pot.
- After the candy has hardened completely, carefully remove the chocolates from the silicone molds. Use a small knife to cut away any extra chocolate from the edges.
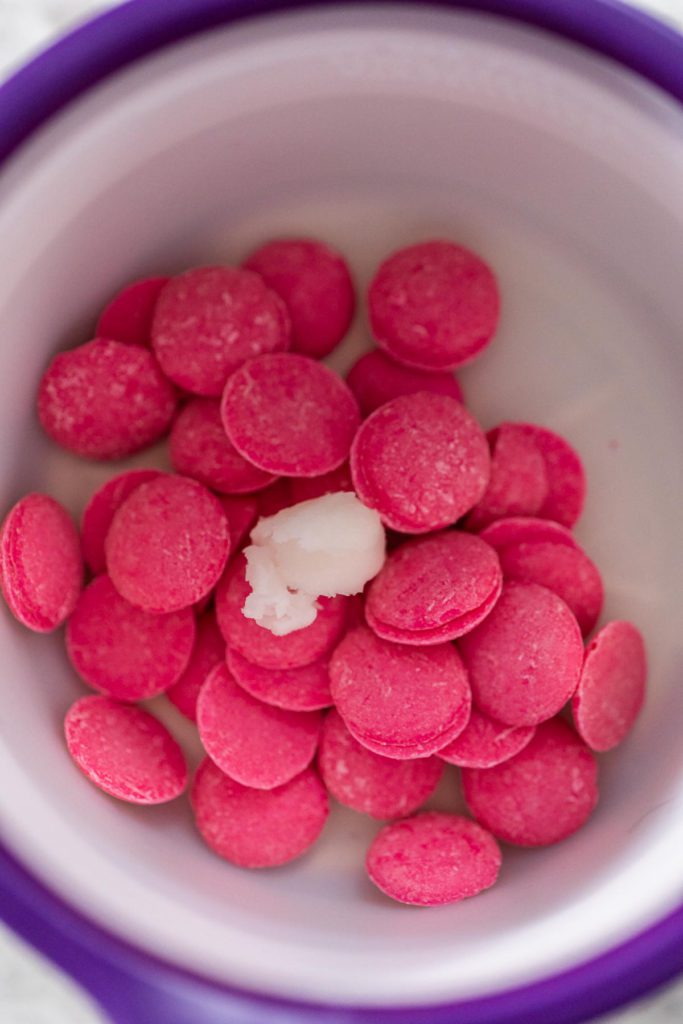
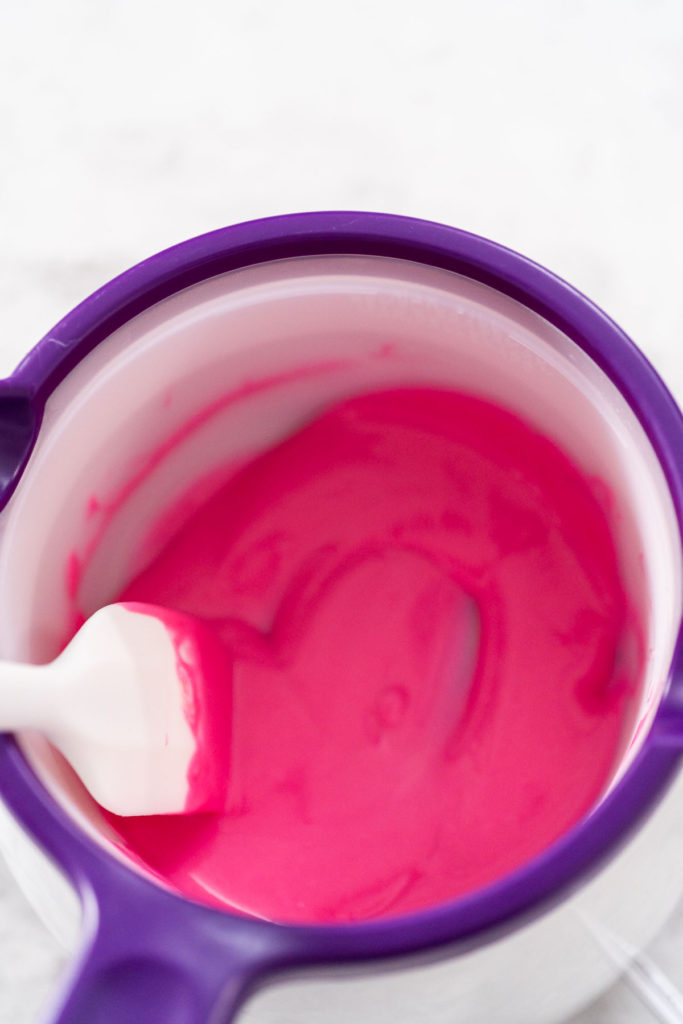
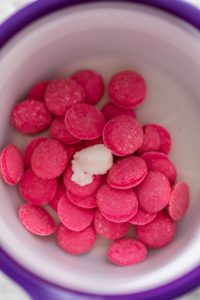
- Then, combine the pink candy melts and ½ teaspoon of coconut oil in the clean candy melt pot. Melt them together on high, stirring regularly.
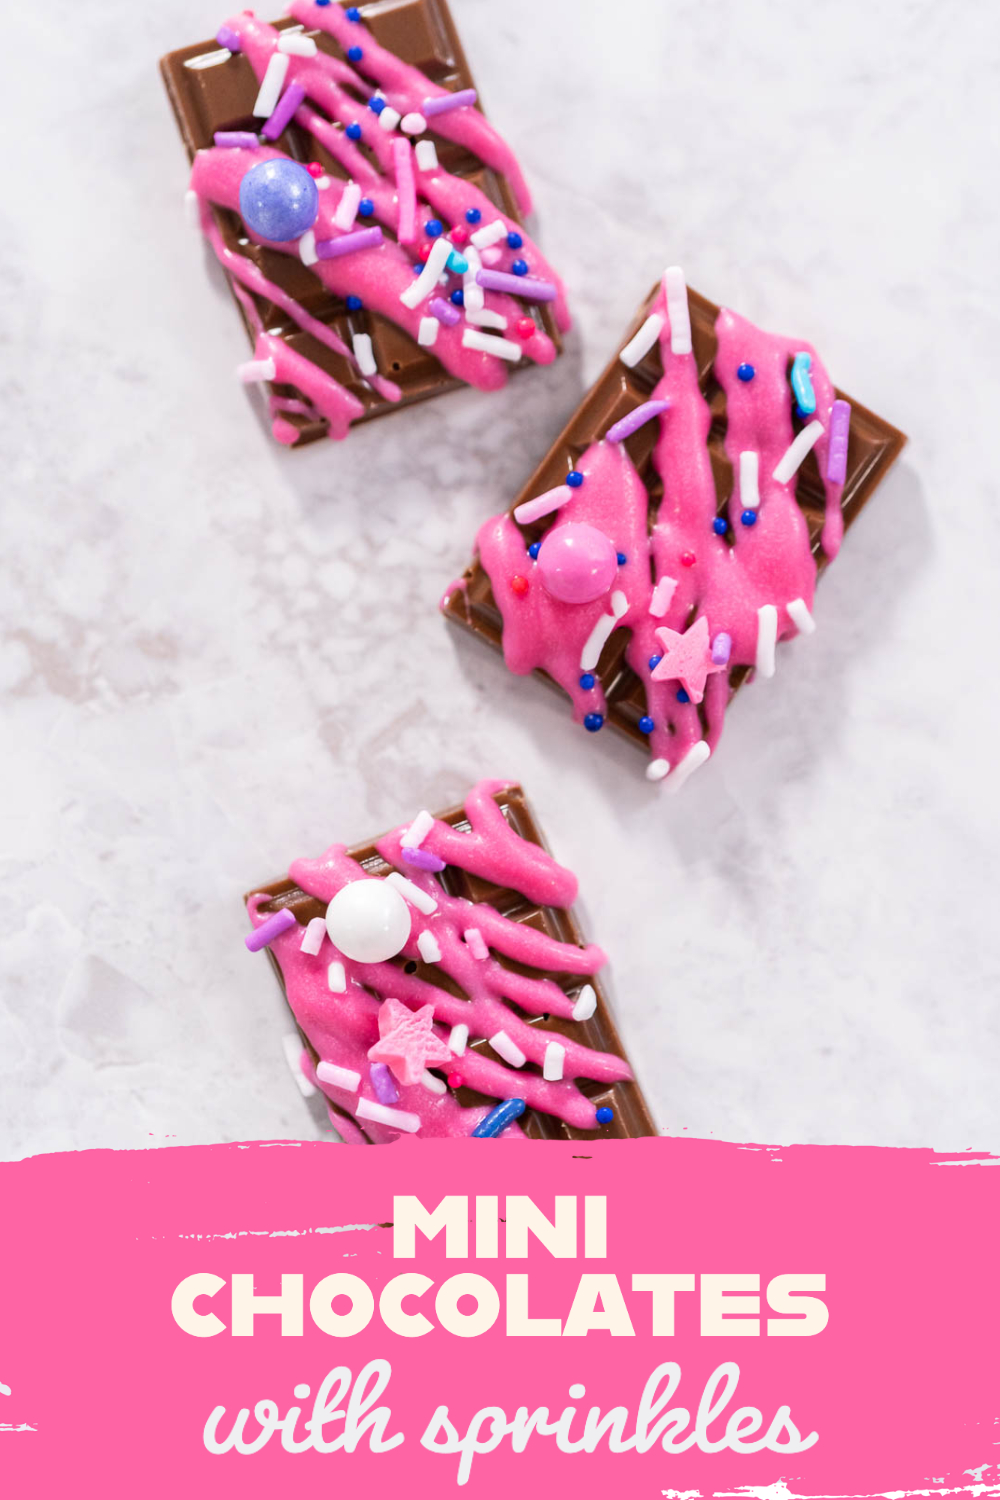
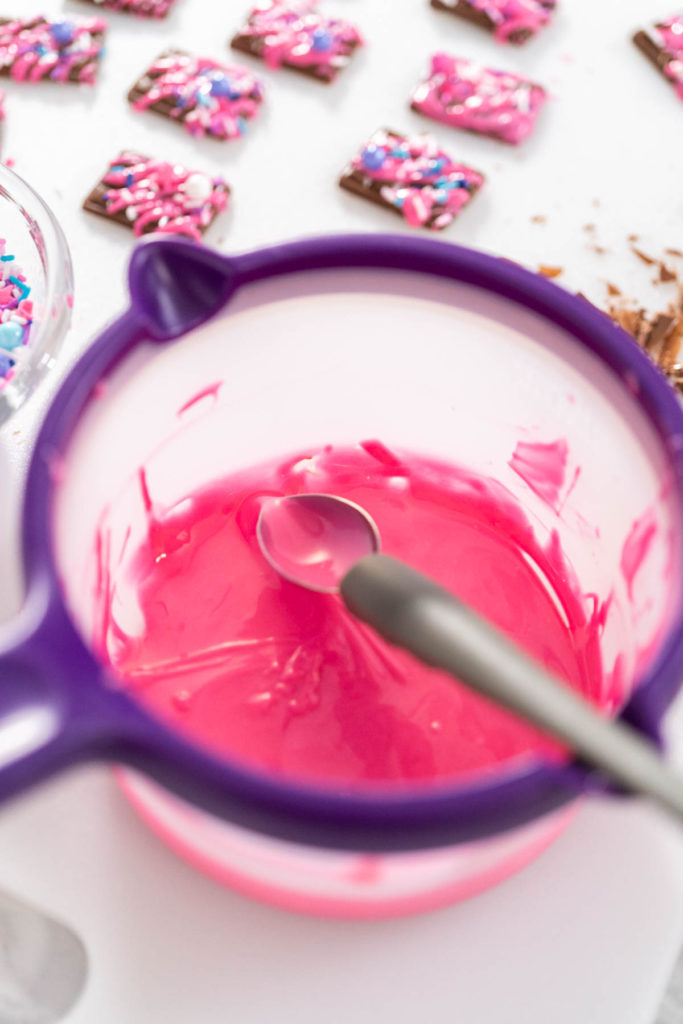
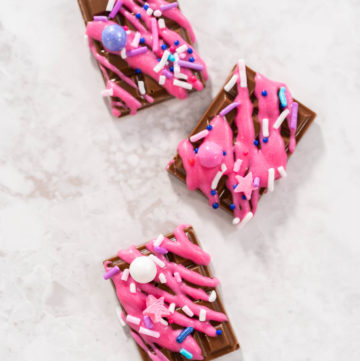
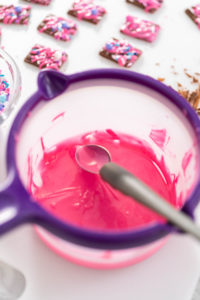
- After the pink candy has melted, lightly drizzle it on top of the mini chocolate bars.
- I like to bring all of the hardened mini chocolates together into one big rectangle beforehand, to make drizzling easier.
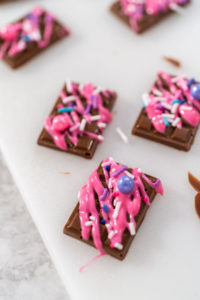
- Immediately apply the Tutu sweet sprinkles while the pink candy drizzle is wet.
- Finally, refrigerate the mini sprinkle chocolate bars for 10 minutes to harden completely before serving.
Cake & Cupcake Toppers
- Heart-Shaped Chocolates Without a Mold
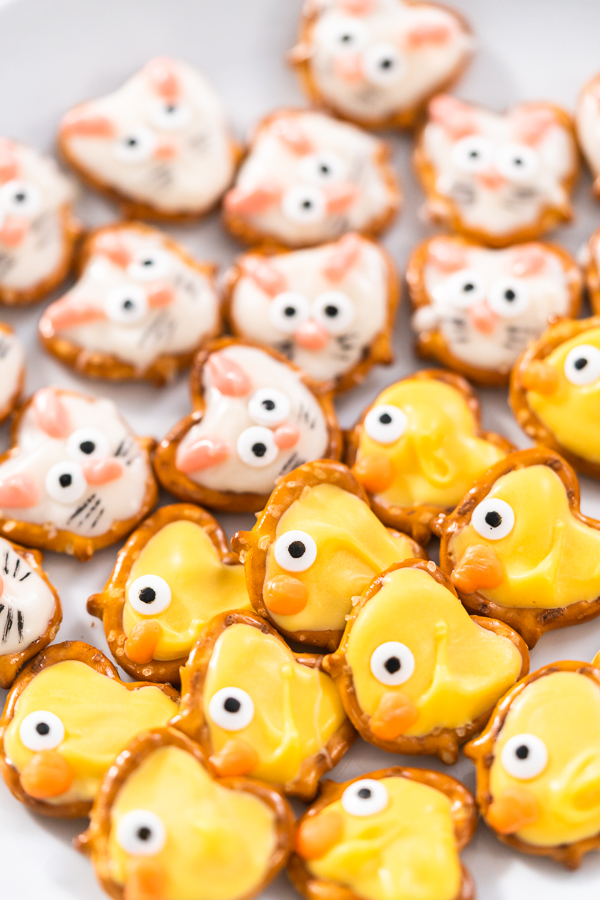
- Easter Chocolate Covered Pretzel Bunnies and Ducklings
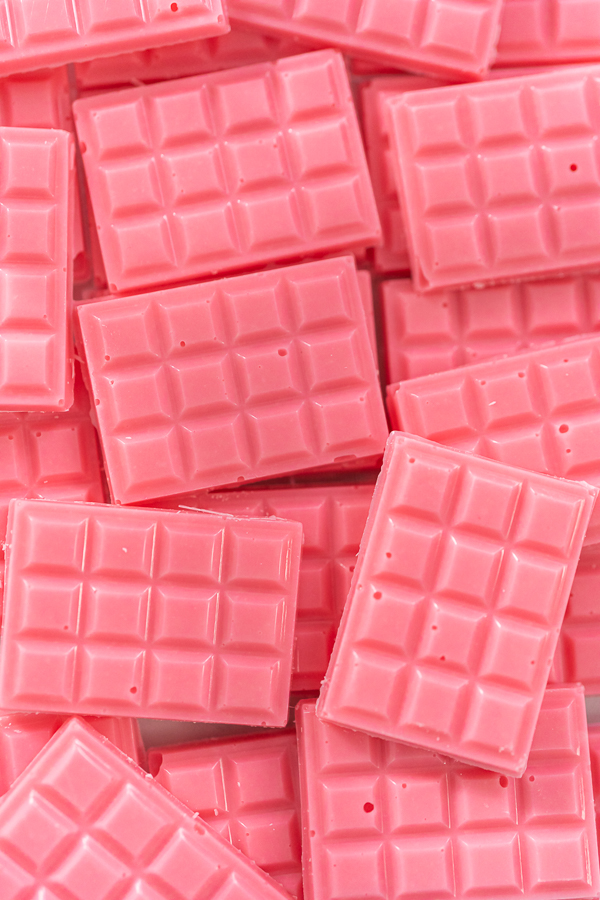
- Make Custom Chocolate Bars for Cupcake and Cake Garnishes
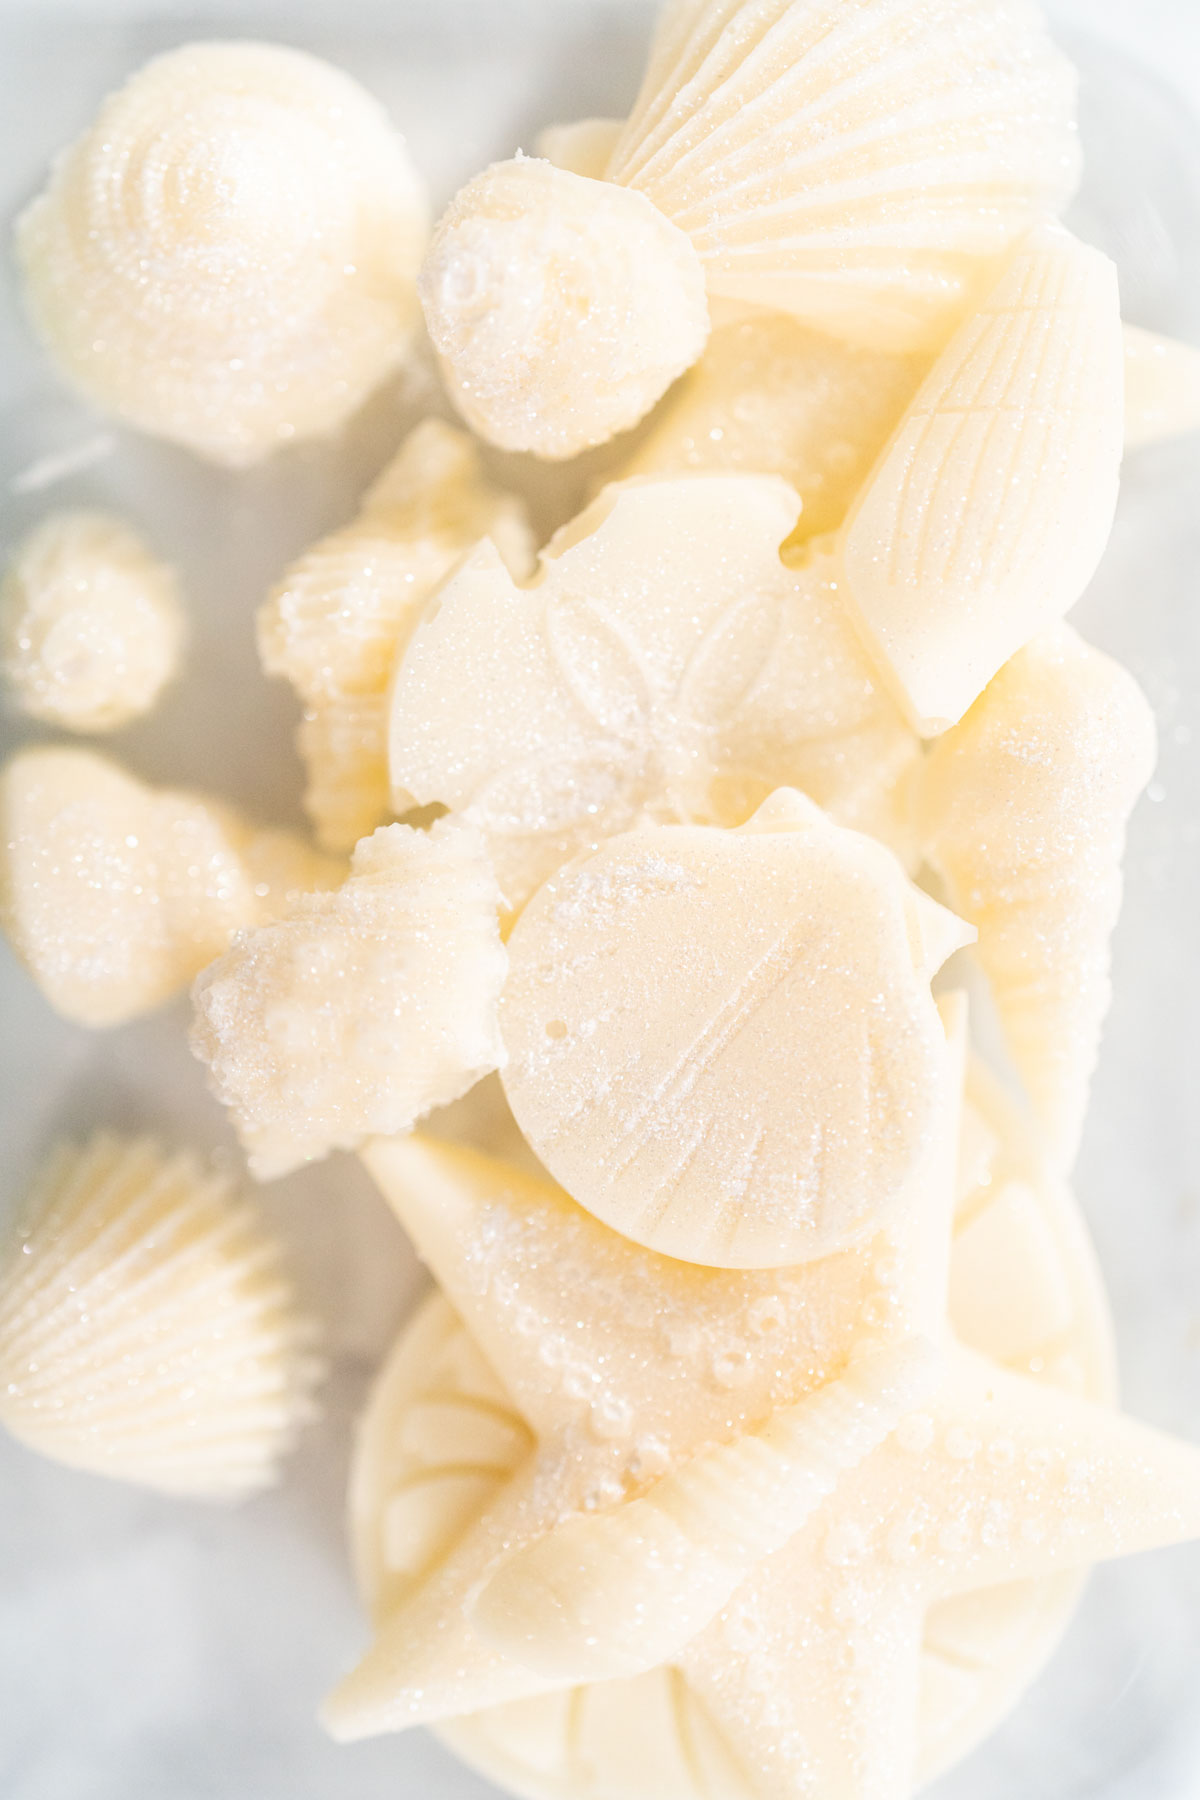
- How to make chocolate seashells
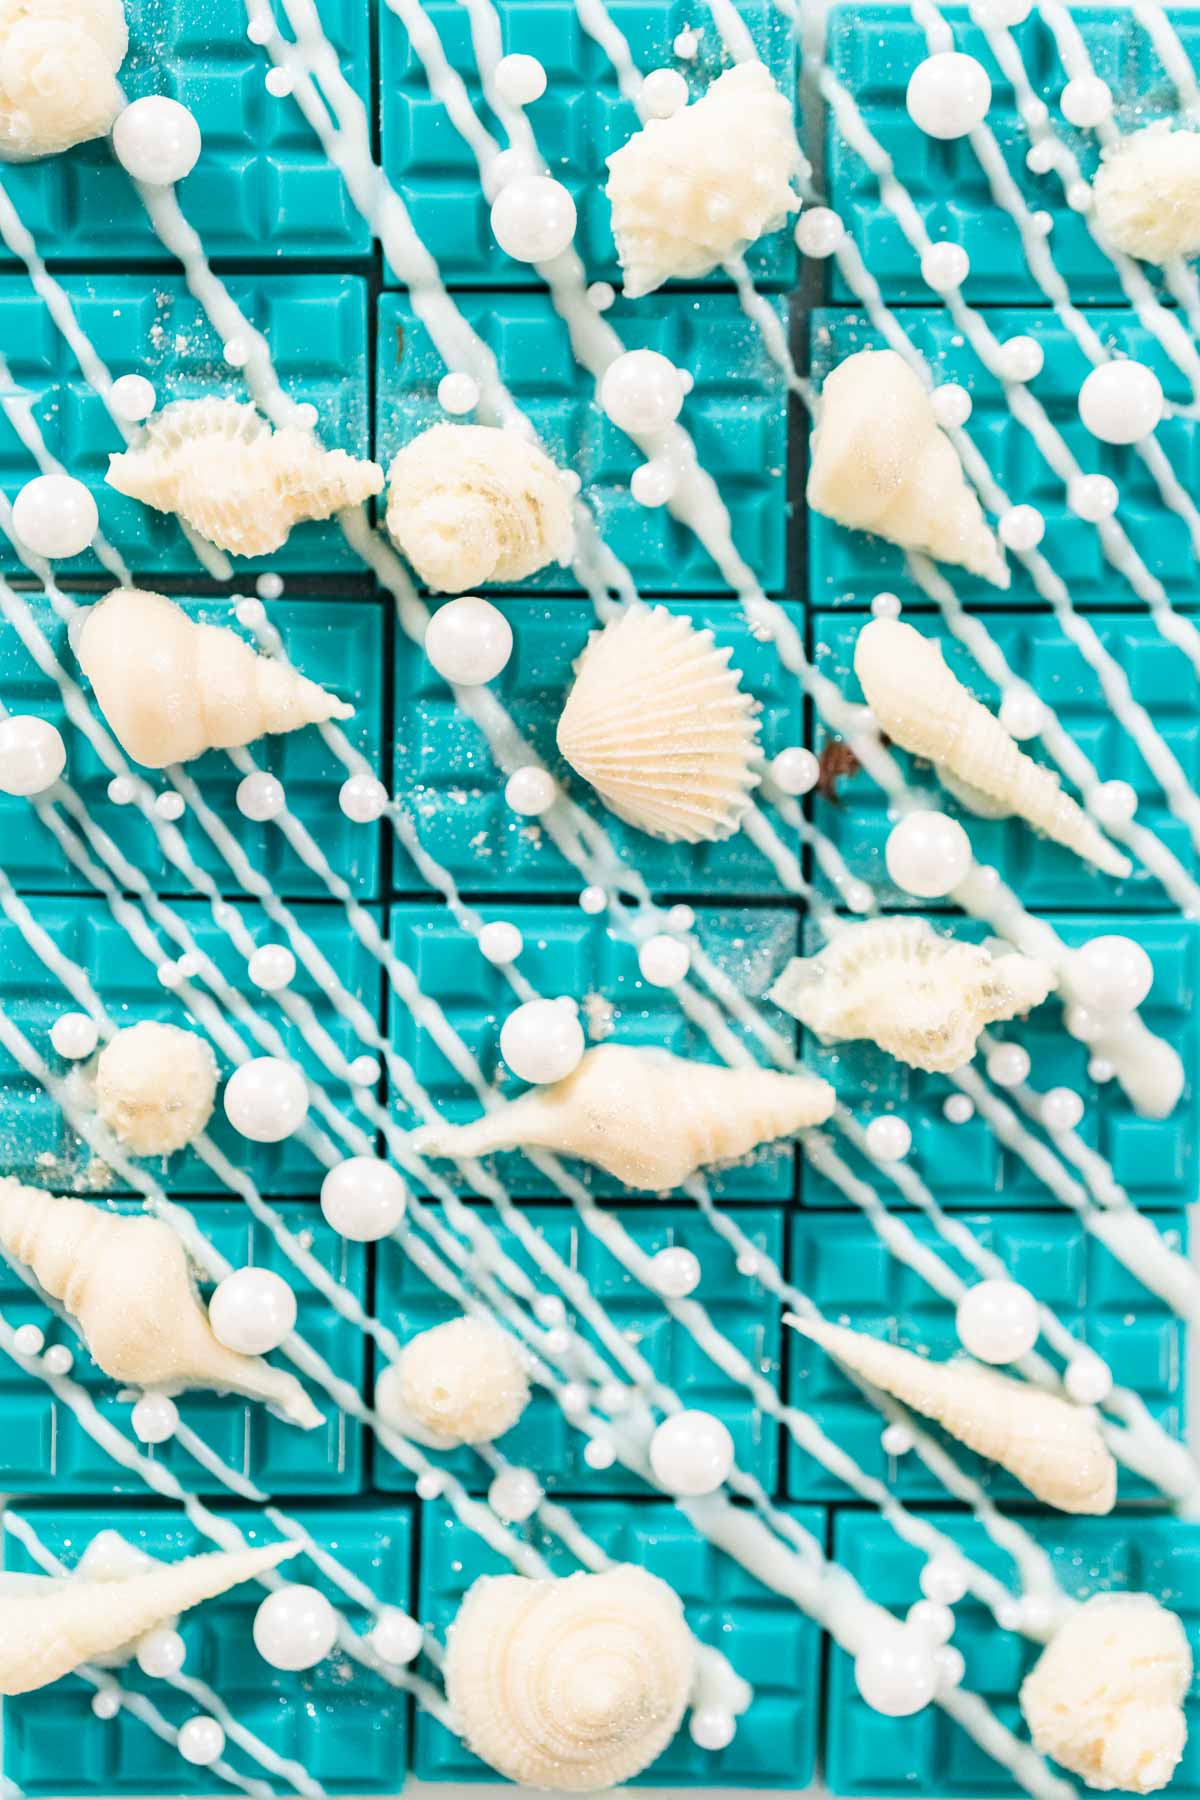
- Mini Mermaid Chocolate Bars for Decorating Cakes and Cupcakes
- Gingerbread Man Chocolates for Garnishing Cookies, Cupcakes, and Cakes
Candy Bar Storage:
To store homemade mini chocolate bars with sprinkles, just transfer the mini chocolate bars to an airtight container and store either in the fridge for 2 weeks or in the freezer for up to 3 months. If you want to, you can use small cuts of parchment paper or wax paper in between the layers to help keep the chocolates separated and intact. Always mark the date on the outside of the container to keep up with freshness.
Sweet Serving Ideas
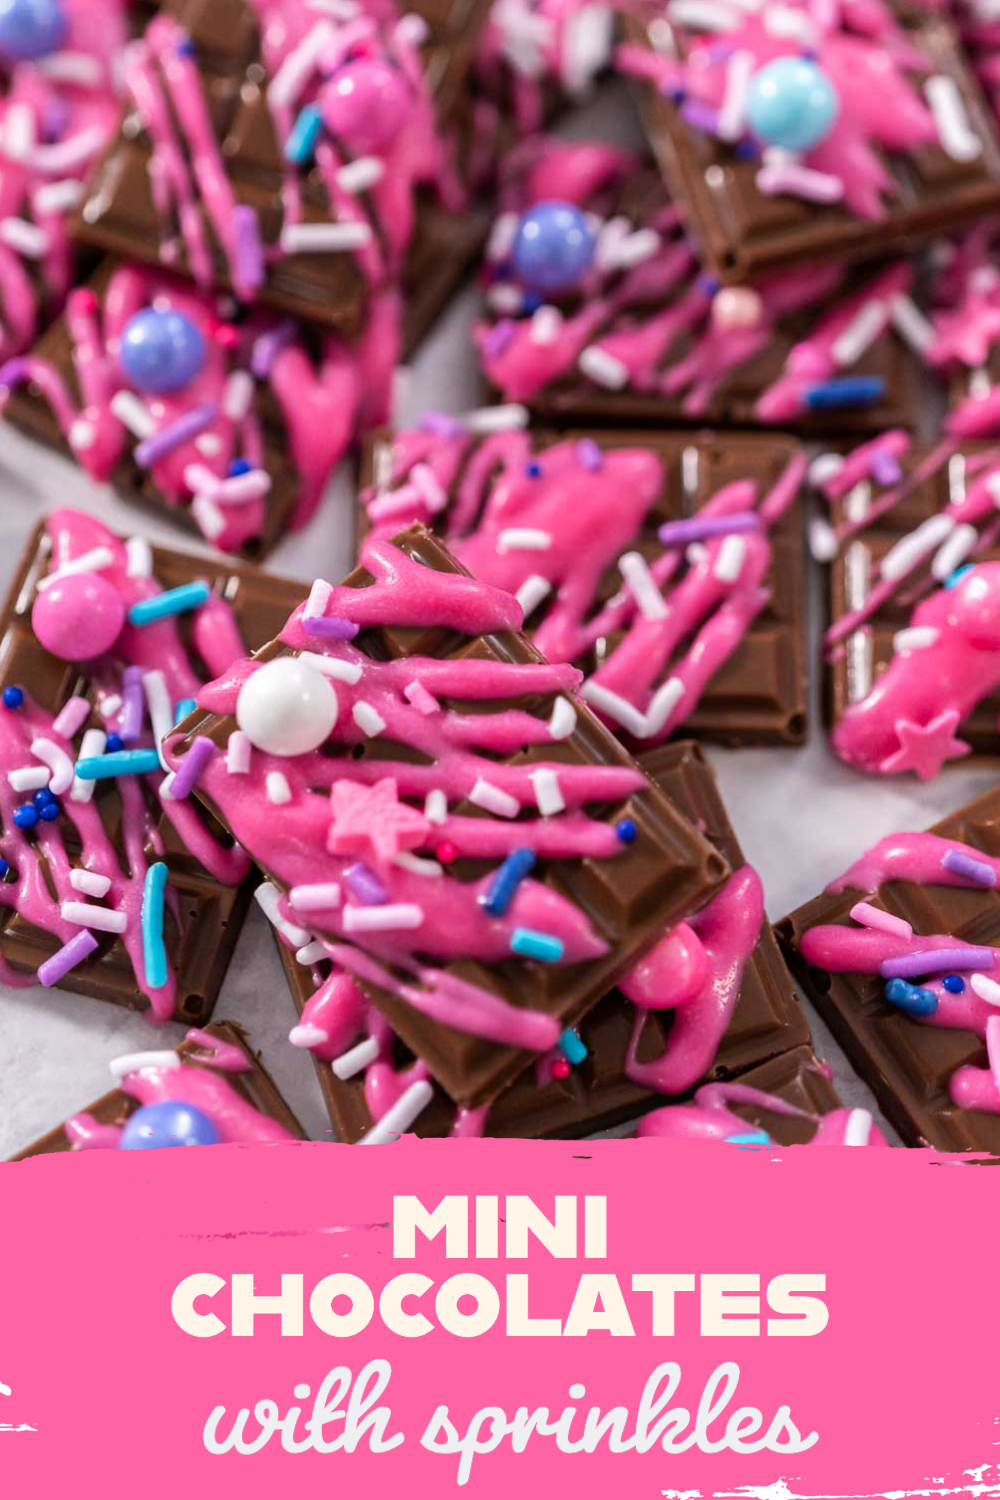
These adorable mini chocolate bars with sprinkles can be enjoyed all on their own as the mini treats that they are! Or these mini delights can be served up in all kinds of fun recipes and desserts. Whether by themselves or topped on a treat, these mini candy bars are sure to bring a little spark of magic and enchantment!
Serve homemade mini chocolate bars with sprinkles on/ as:
- Cake toppers
- Cupcake toppers
- cookies
- brownies
- Smoothies
- Ice cream or sundaes
- Featured as a topping on a Hot Chocolate Bar
- This hot chocolate bar idea is easy and perfect for any kind of fall and winter birthday parties or holiday gatherings!
You can also change up the candy colors and sprinkles to match any party theme or color scheme of a party or holiday celebration! Try these out for special occasions such as:
- Kids birthday parties
- Baby Shower
- Valentine’s day - these are perfect on a Valentine’s Charcuterie Board
- Easter
- 4th of July
- Christmas
- Halloween
Mini chocolates with sprinkles
Video
Equipment
Ingredients
- 1 cup Wilton Dark Cocoa Candy Melts Candy
- ¼ teaspoon Coconut oil
- ½ cup Pink Wilton candy melts
- ½ teaspoon Coconut oil
- Tutu sweet sprinkles
Instructions
- First, combine the dark cocoa candy melts and ¼ teaspoon of coconut oil in the candy melt pot. Melt them together on high, stirring regularly with a silicone spatula.
- Then, use a Saucier Drizzle Spoon to carefully spoon the melted chocolate into the candy bar- shaped silicone molds. Scrape off the excess chocolate with a cake spatula. Tap the tray gently on the table a few times to remove any air bubbles.
- Next, place the silicone molds on a small baking sheet and freeze them for 10 minutes or refrigerate for 15 minutes. Be sure that the molds sit absolutely flat while the candy hardens!While the candy hardens, rinse and dry the silicone lining for the candy melt pot.
- After the candy has hardened completely, carefully remove the chocolates from the silicone molds. Use a small knife to cut away any extra chocolate from the edges.
- Then, combine the pink candy melts and ½ teaspoon of coconut oil in the clean candy melt pot. Melt them together on high, stirring regularly.
- After the pink candy has melted, lightly drizzle it on top of the mini chocolate bars.I like to bring all of the hardened mini chocolates together into one big rectangle beforehand, to make drizzling easier.
- Immediately apply the Tutu sweet sprinkles while the pink candy drizzle is wet.
- Finally, refrigerate the mini sprinkle chocolate bars for 10 minutes to harden completely before serving.
Notes
Food Photography & Video Tips from My Studio
Here’s a peek at the tools, gear, and camera setups I use to film my recipe videos and photograph food at home. Over the years, I’ve tested dozens of different setups, and now I’m sharing what actually works for me—whether I’m filming overhead shots for YouTube or styling still photos for my blog. If you’re curious about how I create the content you see here, these posts are a great place to start.















Leave a Reply