How to Make Traditional Italian Easter Bread – A Festive Braided Bread with Colored Eggs
This post contains affiliate links.
Soft, Sweet Braided Bread for Easter Celebrations
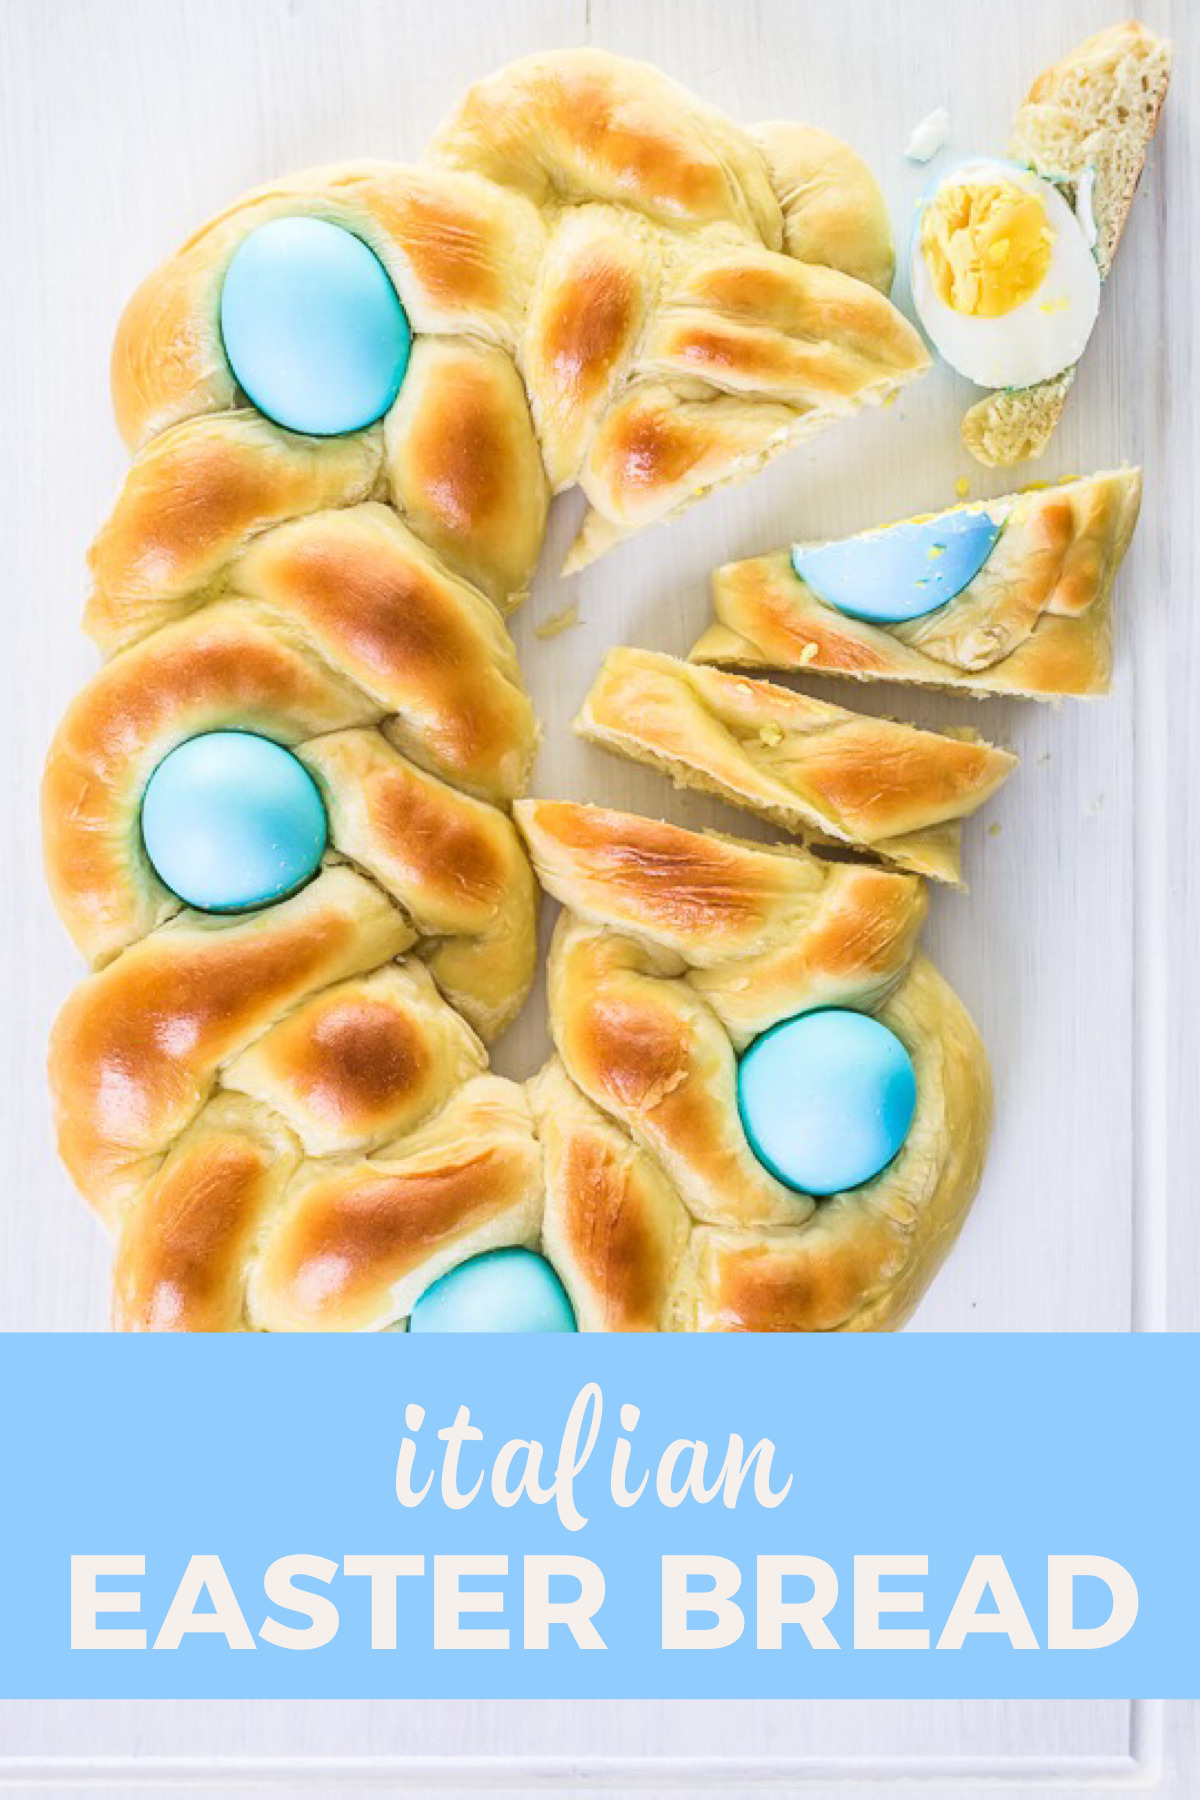
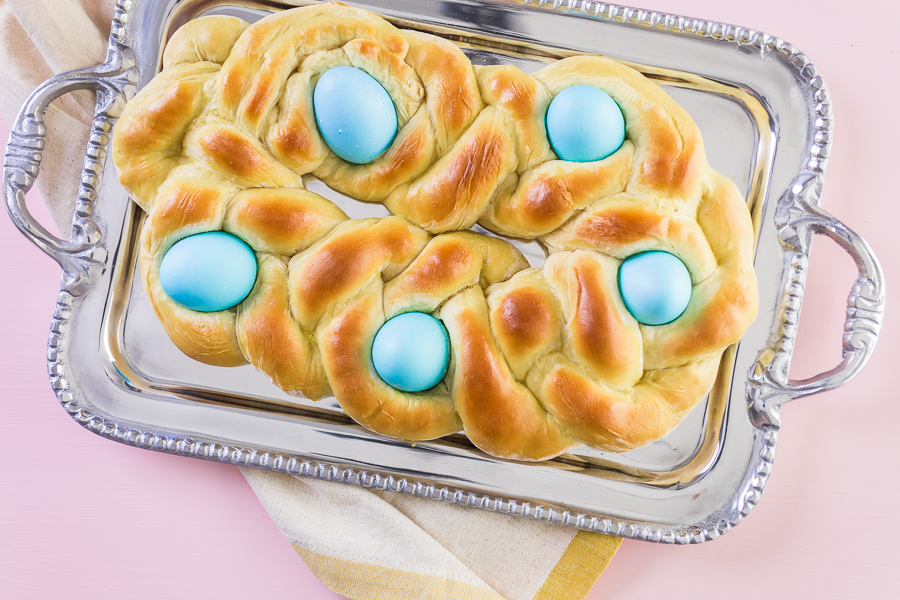
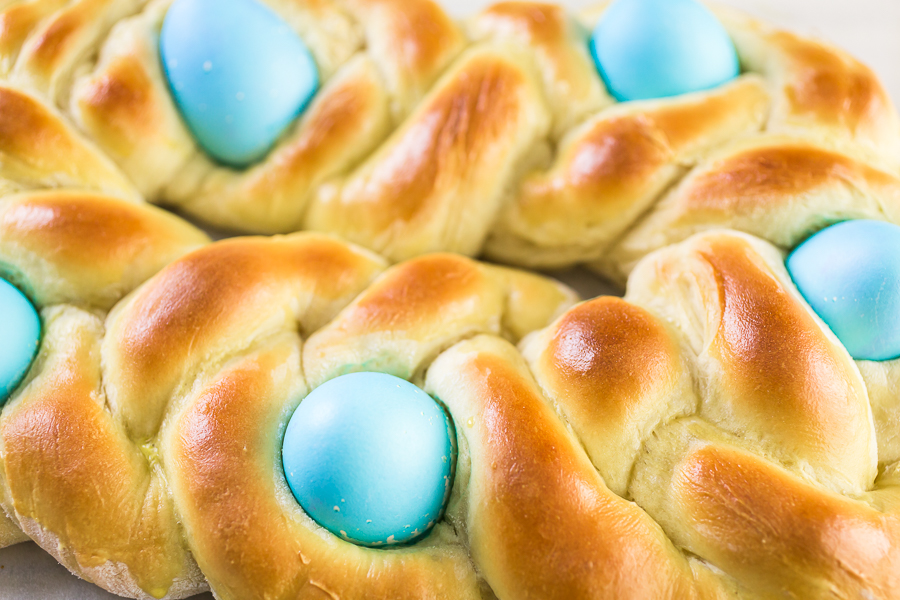
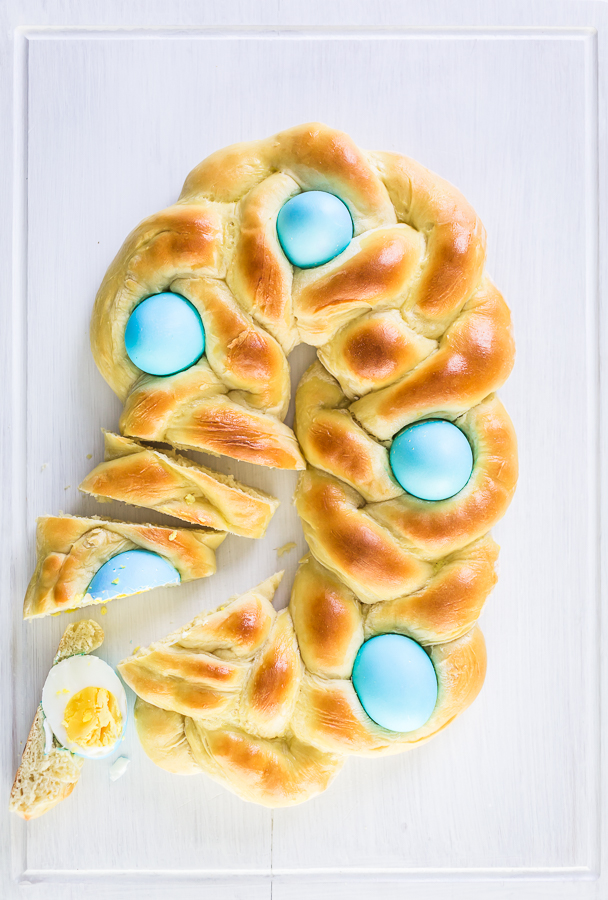
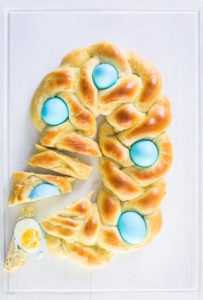
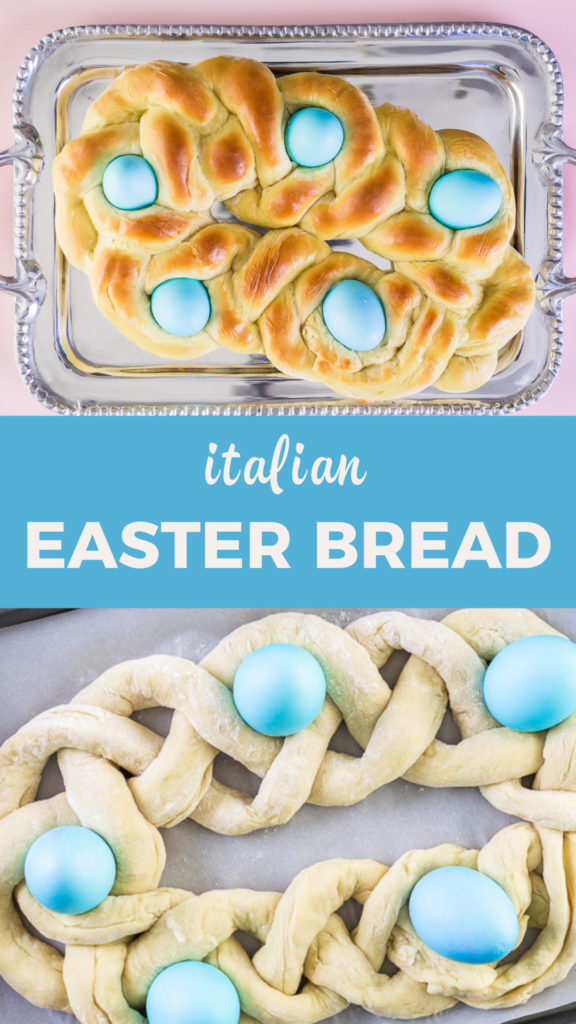
Easter is one of my favorite times to bake, and I get so much joy from making Italian Easter Bread. It’s a beautiful, braided sweet bread with a golden crust and colorful eggs nestled inside—an absolute showstopper for any Easter table.
I love recipes that bring a little creativity into the kitchen, and this one does just that. Between braiding the dough, dyeing the eggs, and watching it bake to perfection, the whole process feels special. Plus, it fills the house with the most amazing buttery, slightly sweet aroma—just the thing to set the mood for Easter morning.
Whenever I make this bread, I can’t help but think of all the Easter gatherings I’ve had with my family. Sitting around the table, breaking into warm, fresh bread, sharing stories, and laughing—it’s one of those simple joys I’ll always cherish. Now, I’m excited to share this recipe with you so you can create your own Easter memories!
Looking for more Easter baking ideas? Try my Easter Sugar Cookies for beautifully decorated treats or my Easter Bunny Cupcakes for a fun and festive dessert!
Why I Love This Recipe
- Traditional & Festive – A classic Italian Easter staple that’s as beautiful as it is delicious.
- Soft & Buttery – Light, fluffy, and slightly sweet, with a rich, golden crust.
- Fun & Customizable – The colorful eggs add a festive touch, and you can tweak the flavors by adding vanilla, anise, or citrus.
- Perfect for Easter Brunch – Tastes amazing with butter, jam, or a drizzle of honey.
Equipment I Use
Baking Sheet – This is a flat, rectangular metal tray, often with edges, that provides an even surface for baking. It ensures that the heat distributes evenly under your bread, preventing uneven baking. It’s typically used for placing dough before it goes into the oven.
Silicone Baking Mat – This is a non-stick mat that you place on the baking sheet. It prevents the bread from sticking to the sheet and also ensures that the bottom crust of the bread bakes evenly. It’s reusable and easy to clean, making it a great alternative to parchment paper.
Glass Mixing Bowl – A mixing bowl made of glass is perfect for combining and kneading dough because it’s non-reactive and won’t absorb odors. The transparent nature of glass lets you see the texture and consistency of your dough as you mix it. It’s also sturdy and doesn’t retain heat, which is ideal for mixing bread dough.
Heat Mat – A heat mat helps maintain a warm and consistent temperature, which is perfect for proofing (rising) dough. Bread dough requires warmth to rise properly, and this mat ensures a comfortable, controlled temperature, helping the yeast work effectively.
Zester – A zester is a small, fine tool used to scrape the zest (the colored outer skin) off fruits like lemons or oranges. It’s great for adding a burst of fresh citrus flavor to your bread, giving it a fragrant, aromatic kick. It’s especially useful when you want to add zest without the bitter white pith.
Silicone Pastry Brush – A silicone pastry brush is used to apply egg wash or butter to the top of your bread before baking. This gives the bread a glossy, golden finish after baking. The silicone bristles are flexible and easy to clean, making it more durable and hygienic than traditional brushes.
Cooling Rack – A cooling rack is a wire grid that allows air to circulate around the bread as it cools. This helps the bread cool evenly without trapping moisture at the bottom, ensuring that the crust remains crispy and the inside stays soft.
Latest Video
Ingredients & Healthier Substitutions
For the Bread
1 lemon (zest and juice, optional) – Adds a hint of citrus freshness.
⅓ cup sugar – Adds sweetness. (Use honey, maple syrup, or coconut sugar for a natural, less refined alternative.)
4 cups all-purpose flour – Gives the bread structure. (For added fiber and nutrients, swap in whole wheat flour or a mix of whole wheat and all-purpose flour.)
2 teaspoon active dry yeast – Helps the dough rise.
1 teaspoon salt – Enhances the flavor.
½ cup unsalted butter, melted – Makes the bread soft and rich. (Substitute with coconut oil for a dairy-free option, or Greek yogurt for a lighter, protein-packed alternative.)
¾ cup lukewarm milk – Activates the yeast. (Use almond or oat milk for a dairy-free alternative.)
2 eggs – Adds fluffiness. (For a vegan version, replace with flax eggs: 1 tablespoon flaxseed meal + 3 tablespoon water per egg.)
For the Colored Eggs
- 5 eggs – Traditionally baked into the bread. (Use plant-based egg replacements if needed.)
- 1 teaspoon white vinegar – Helps the dye stick to the eggs.
- Food coloring – Brightens up the eggs for a festive look. (Use natural dyes like beet juice, turmeric, or spirulina.)
- 2 cups boiled water – Used to create the dye.
For the Glaze
- 1 egg – Gives the bread a golden shine. (Swap with maple syrup mixed with plant-based milk for a vegan option.)
- 1 teaspoon water – Thins out the glaze for easy application.
Instructions
Step 1: Dye the Eggs
- Place uncooked eggs in a medium pot and cover with cold water.
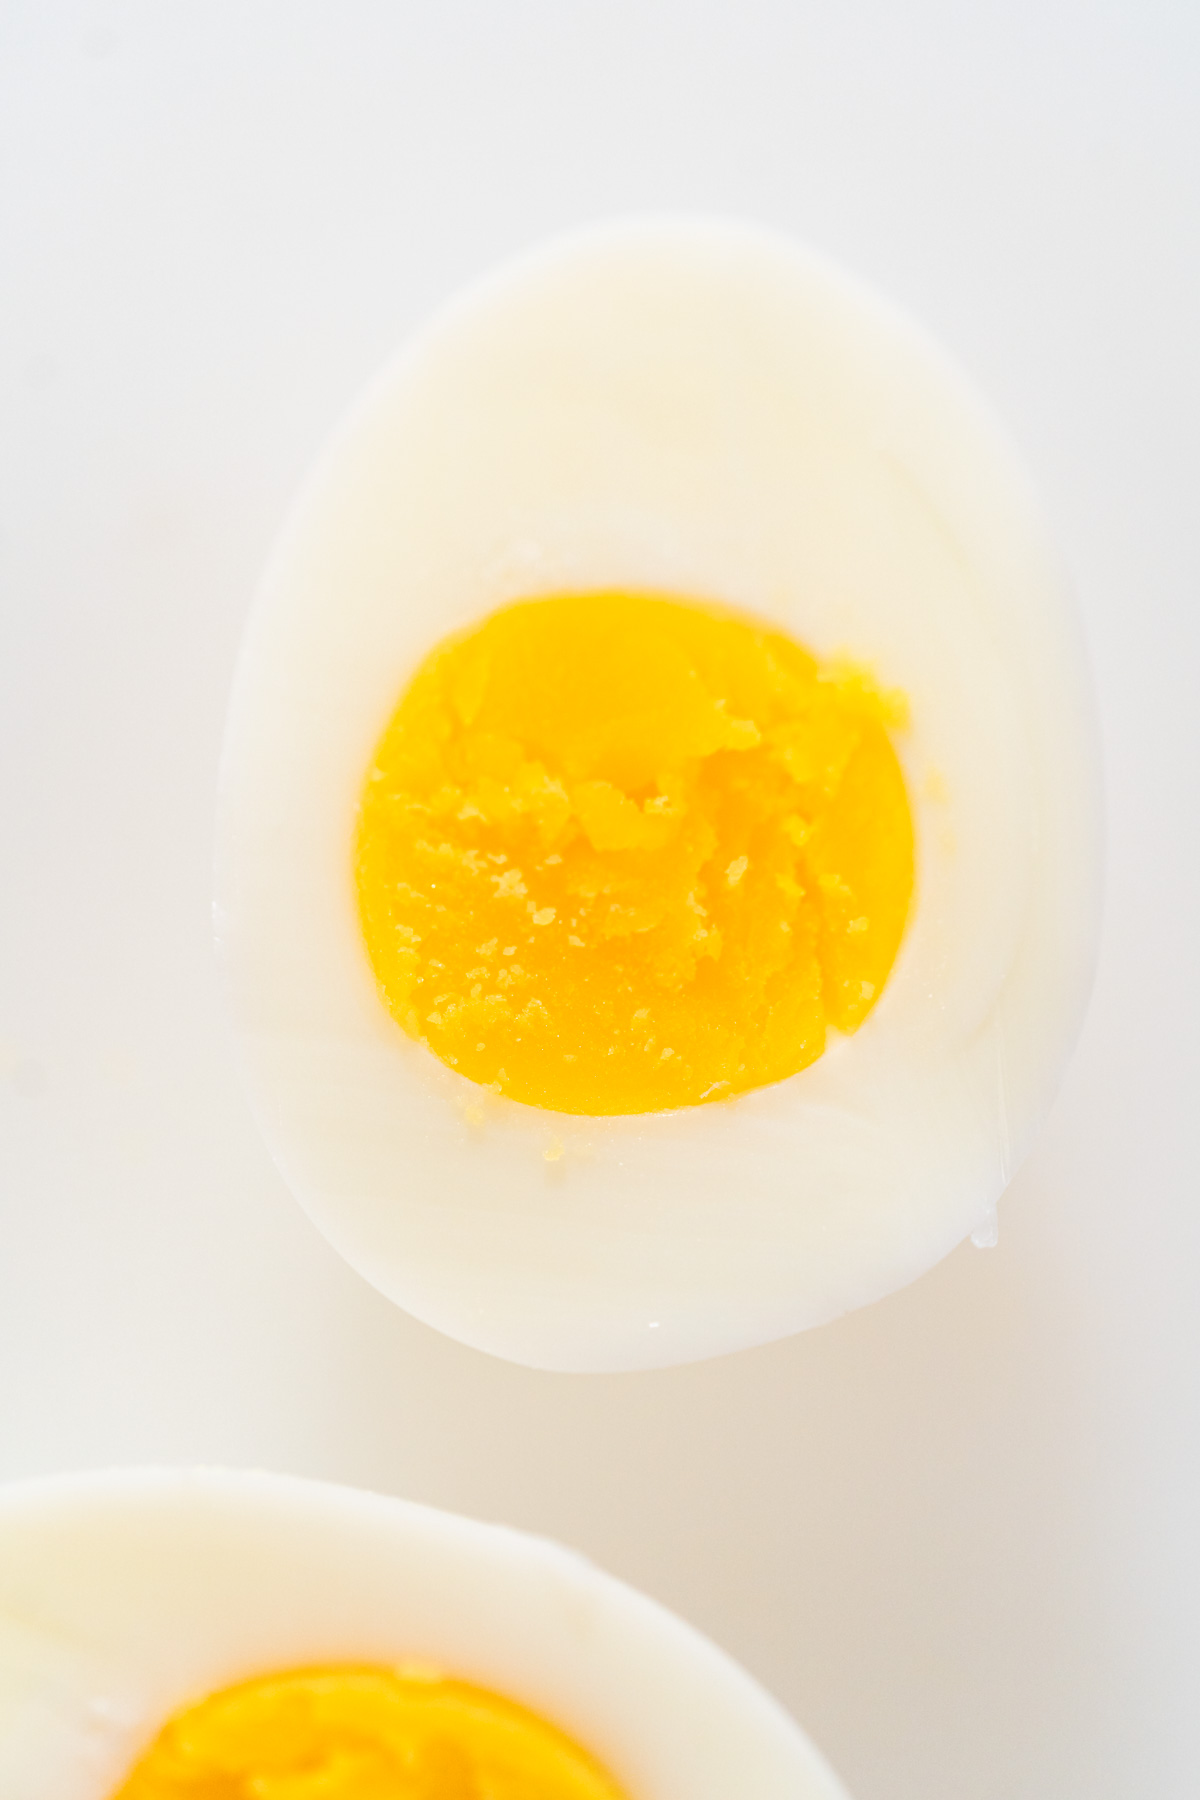
- Bring to a boil over medium heat, then remove from heat and let sit for 11 minutes.
- Transfer eggs to an ice bath and let them cool completely.
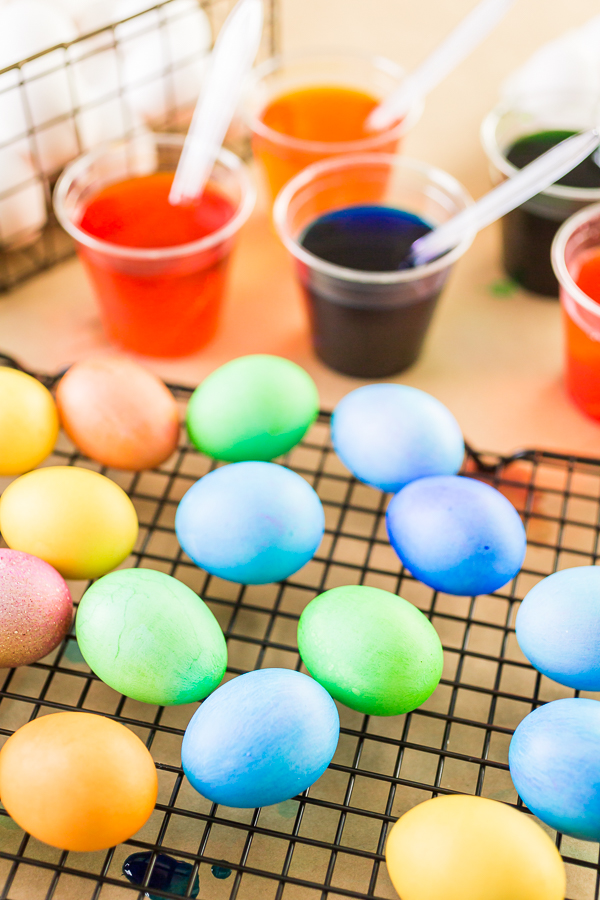
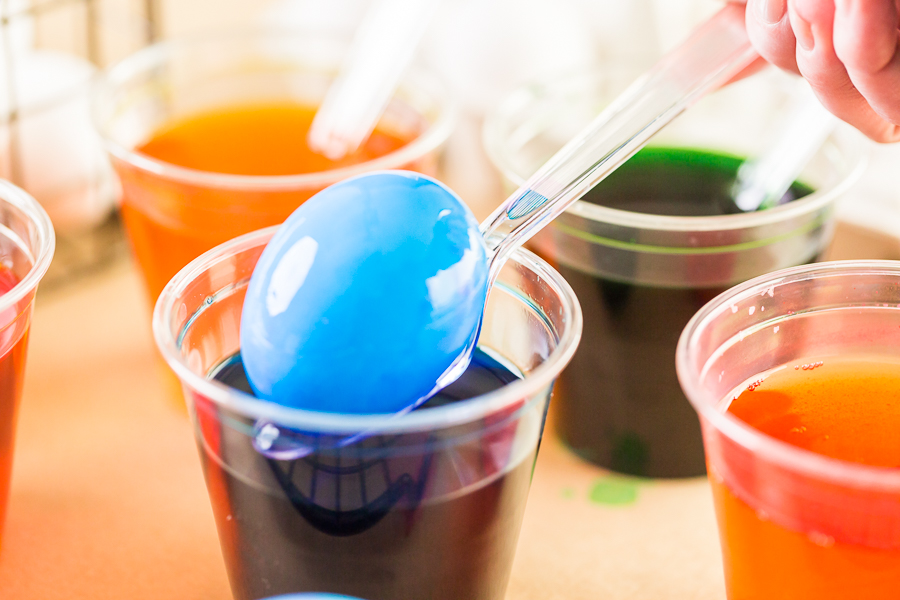
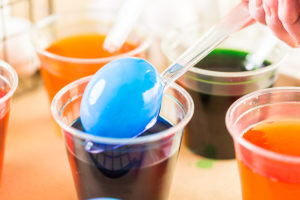
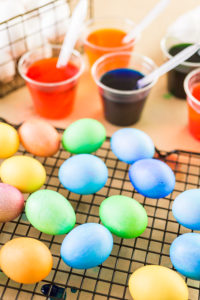
- In separate bowls, mix boiled water, vinegar, and food coloring.
- Submerge the eggs in the dye for 5-10 minutes, adjusting time for a deeper color.
- Transfer to a drying rack over paper towels.
Step 2: Make the Dough
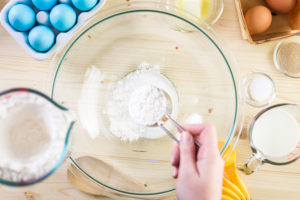
- In a glass mixing bowl, whisk together sugar, flour, yeast, and salt.
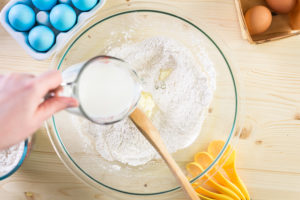
- Add butter, milk, and eggs, mixing between each addition.
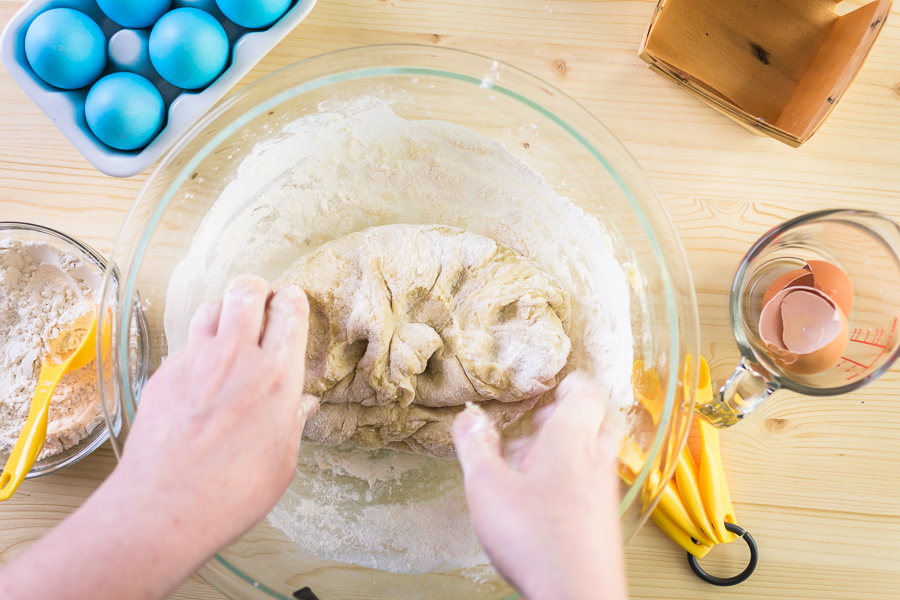
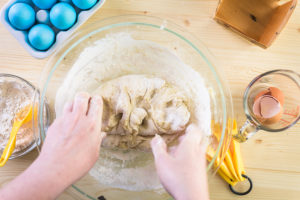
- Knead the dough for 5-10 minutes until smooth and elastic.
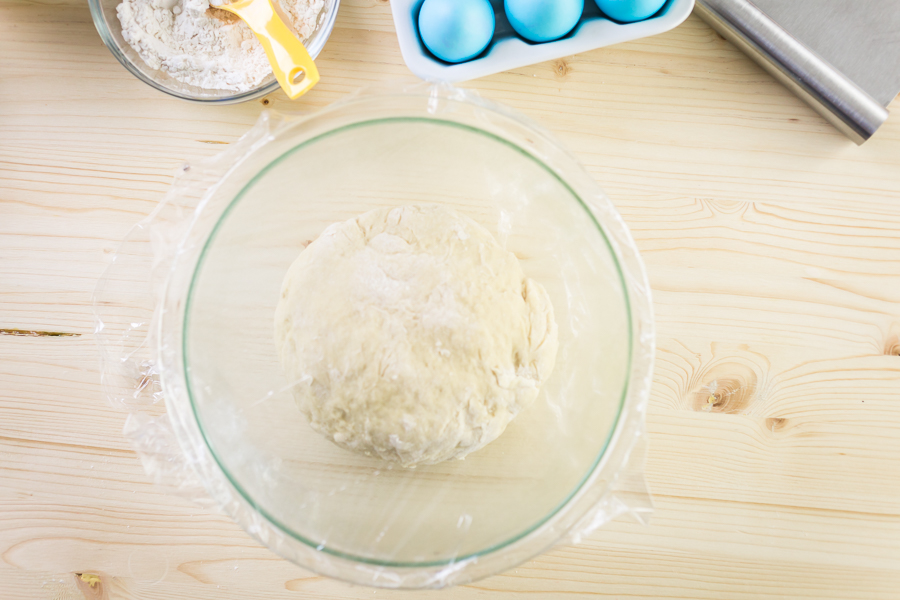
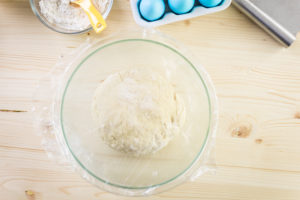
- Form into a ball and place in a lightly greased bowl to rise.
- Cover with a towel and plastic wrap, and let rise for 1 hour, or until doubled in size.
Step 3: Shape the Dough
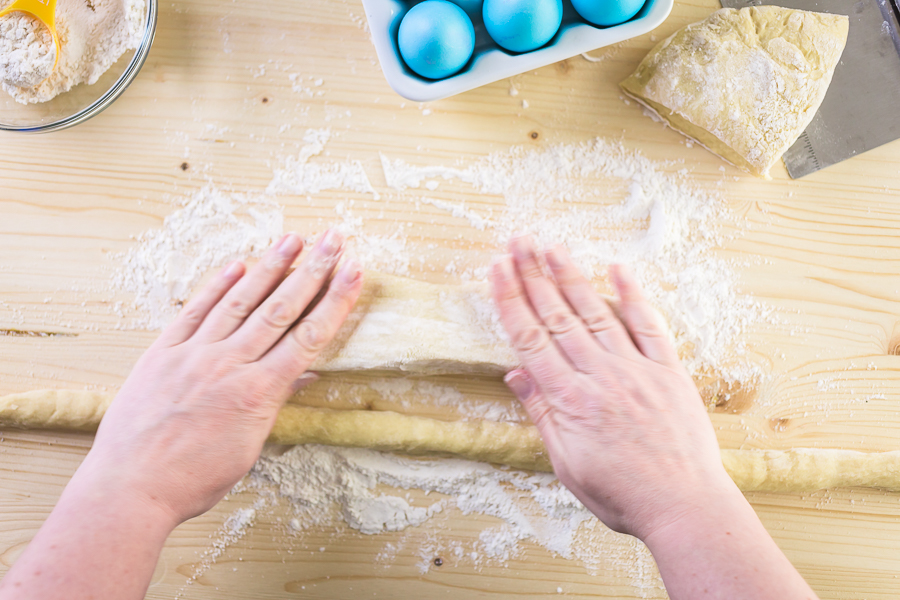
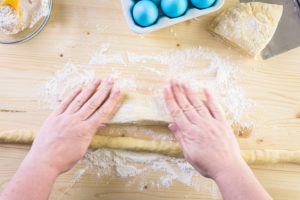
- Turn the dough onto a lightly floured surface.
- Divide into three equal parts, then roll each portion into a 24-inch rope.
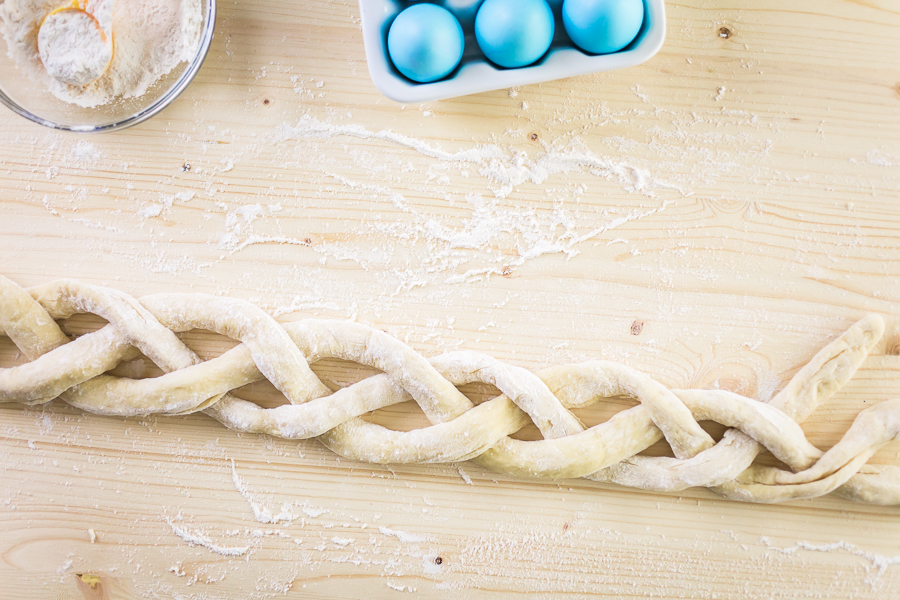
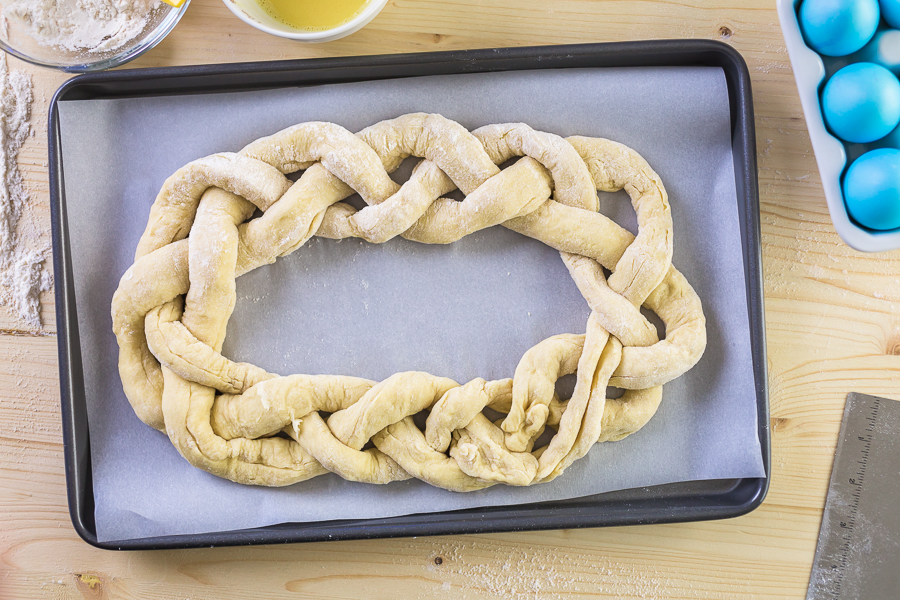
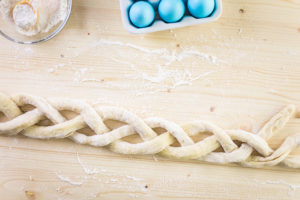
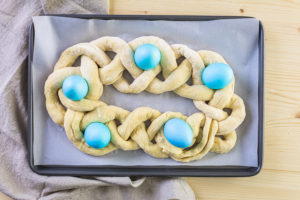
- Pinch the ends together and loosely braid the ropes, leaving space for the second rise.
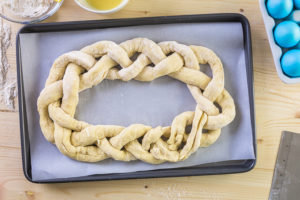
- Transfer to a baking sheet lined with a silicone mat, then shape into a circle.
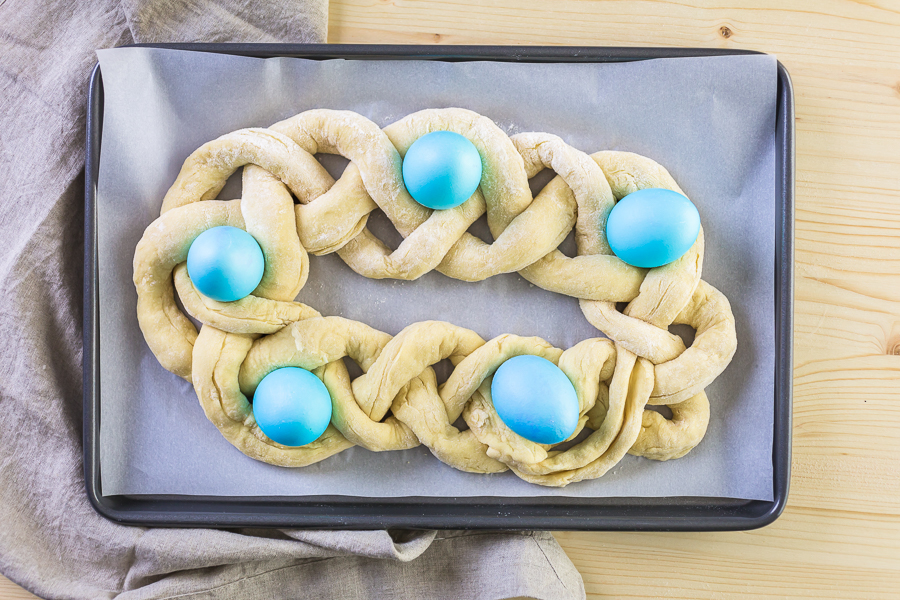
- Nestle colored eggs into the braid, spacing them evenly.
- Cover and let rise for another hour, or until doubled in size.
Step 4: Bake the Bread
- Preheat oven to 350°F.
- In a small bowl, whisk together egg and water to create the glaze.
- Carefully brush the dough with the glaze, avoiding the eggs.
- Bake for 25 minutes, or until golden brown.
- Let cool on the baking sheet for 10 minutes, then transfer to a cooling rack for 30-50 minutes.
How to Store Italian Easter Bread & Keep It Fresh
- Room Temperature – Store in an airtight container for up to 3 days. Keep it wrapped in plastic wrap or foil to maintain freshness.
- Refrigeration – While not necessary, you can refrigerate it for up to 5 days if you want to keep it longer. Warm it slightly before serving.
- Freezing – Wrap the bread tightly in plastic wrap, then place it in a freezer-safe bag. It will stay fresh for up to 2 months. Thaw at room temperature before serving.
- Reheating – Warm in a 300°F oven for a few minutes to bring back its fresh-baked texture.
Other Easter Recipes
More Easter Recipes to Try
- Easter Bunny Cupcakes – Fun, adorable, and perfect for Easter celebrations.
- Easter Sugar Cookies – Beautifully decorated with royal icing for a festive touch.
- Italian Easter Mini Bread – A smaller version of this classic bread, great for gifting.
- Easter Charcuterie Board – A creative and colorful board filled with Easter-themed treats.
- Gold Painted Easter Eggs – A unique way to decorate eggs for your Easter display.
I hope you enjoy making this Italian Easter Bread as much as I do! It’s such a fun and rewarding bake, and nothing beats the feeling of slicing into a fresh, homemade loaf.
Happy Easter and happy baking! 🐣🍞
Traditional Italian Easter Bread Recipe – Soft, Sweet, and Perfect for Easter Brunch
Equipment
Ingredients
- ⅓ cup sugar
- 4 cups all-purpose flour
- 2 teaspoon active dry yeast
- 1 teaspoon salt
- ½ cup unsalted butter melted
- ¾ cup milk lukewarm
- 2 eggs
- 1 lemon lemon zest and juice optional
Eggs coloring
- 5 eggs
- 1 teaspoon white vinegar
- food coloring
- 2 cups water boiled
Glaze
- 1 egg
- 1 teaspoon water
Instructions
Eggs coloring
- Place uncooked eggs into a medium-size pot and fill with cold water to cover eggs.
- Bring to boil over medium heat. Remove from the heat and let it sit for 11 minutes.
- Transfer eggs into cold water with ice.
- In a medium bowls, combine boiled water with vinegar and food coloring. Add one 1 egg at a time into the bowl for 5-10 minutes. Keep longer if you want to color of the egg to be darker.
- Transfer colored eggs on the kitchen drying rack over the paper towel.
Glaze
- In a small bowl, whisk together egg and water.
Dough
- In a large bowl, whisk together all dry ingredients: sugar, flour, yeast, and salt.
- Add butter, milk, eggs. Keep mixing between each addition.
- Knead the dough for 5-10 minutes, until smooth.
- Form dough into a bowl and place in a lightly greased large glass bowl to rise. Cover first with a towel and after with food wrap, and let rise for 1 hour, or until the dough doubled in size.
- Turn the dough out onto a lightly floured surface. After, divide the dough into equal three parts. Roll each portion into a 24-inch long rope.
- Start braiding by pinching all three ropes together. Braid very loosely by leaving gaps between the strings. Dought will need to have a space to rise.
- Transfer braid into the baking sheet lined with silicone baking mat. Shape into a circle.
- Place colored eggs into the braid, spacing them evenly.
- Cover first with a towel and after with food wrap, and let rise for 1 hour, or until the dough doubled in size.
- Preheat oven to 350°F.
- Carefully brush braid with egg glaze. Make sure not to get the glaze on the eggs.
- Bake for 25 minutes.
- Cool for 10 minutes on the baking sheet. After transferring bread to the cooling rack and let it cool completely for 30-50 minutes.
Food Photography & Video Tips from My Studio
Here’s a peek at the tools, gear, and camera setups I use to film my recipe videos and photograph food at home. Over the years, I’ve tested dozens of different setups, and now I’m sharing what actually works for me—whether I’m filming overhead shots for YouTube or styling still photos for my blog. If you’re curious about how I create the content you see here, these posts are a great place to start.









Leave a Reply