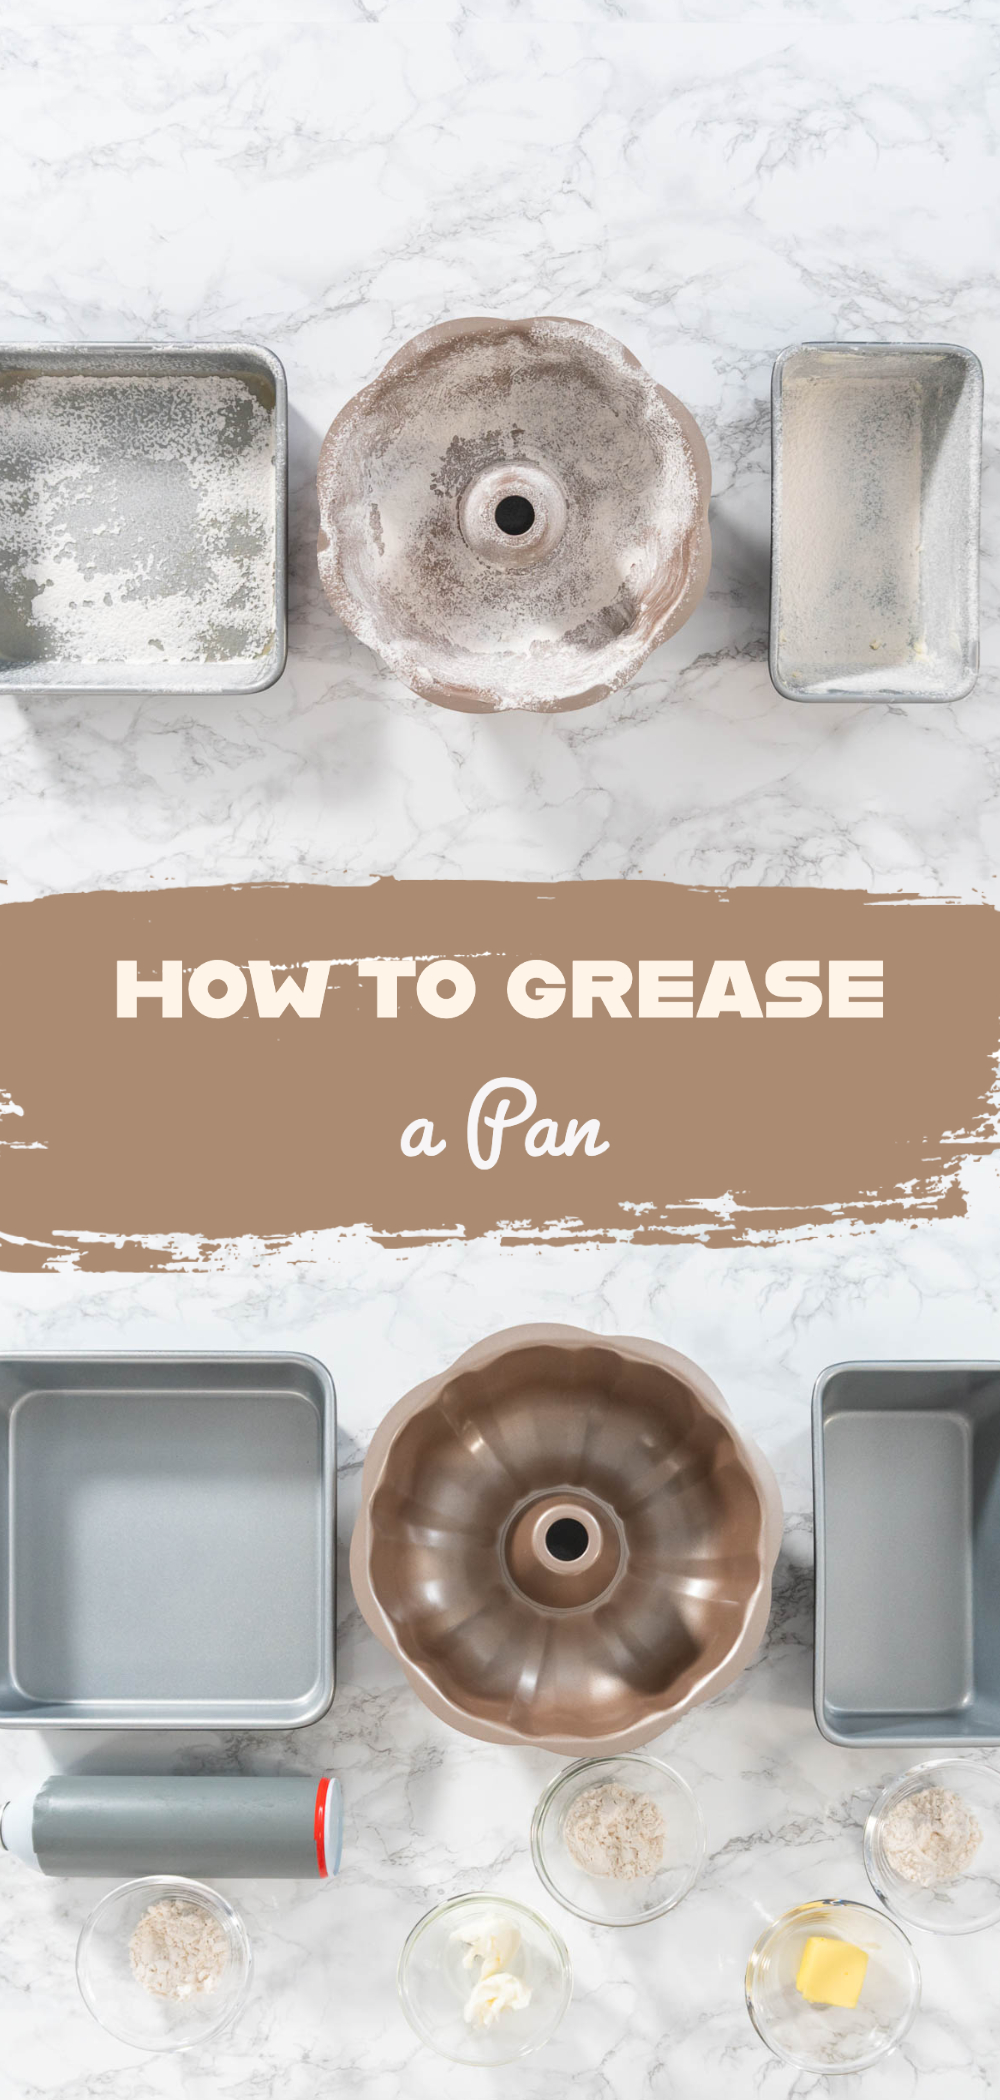
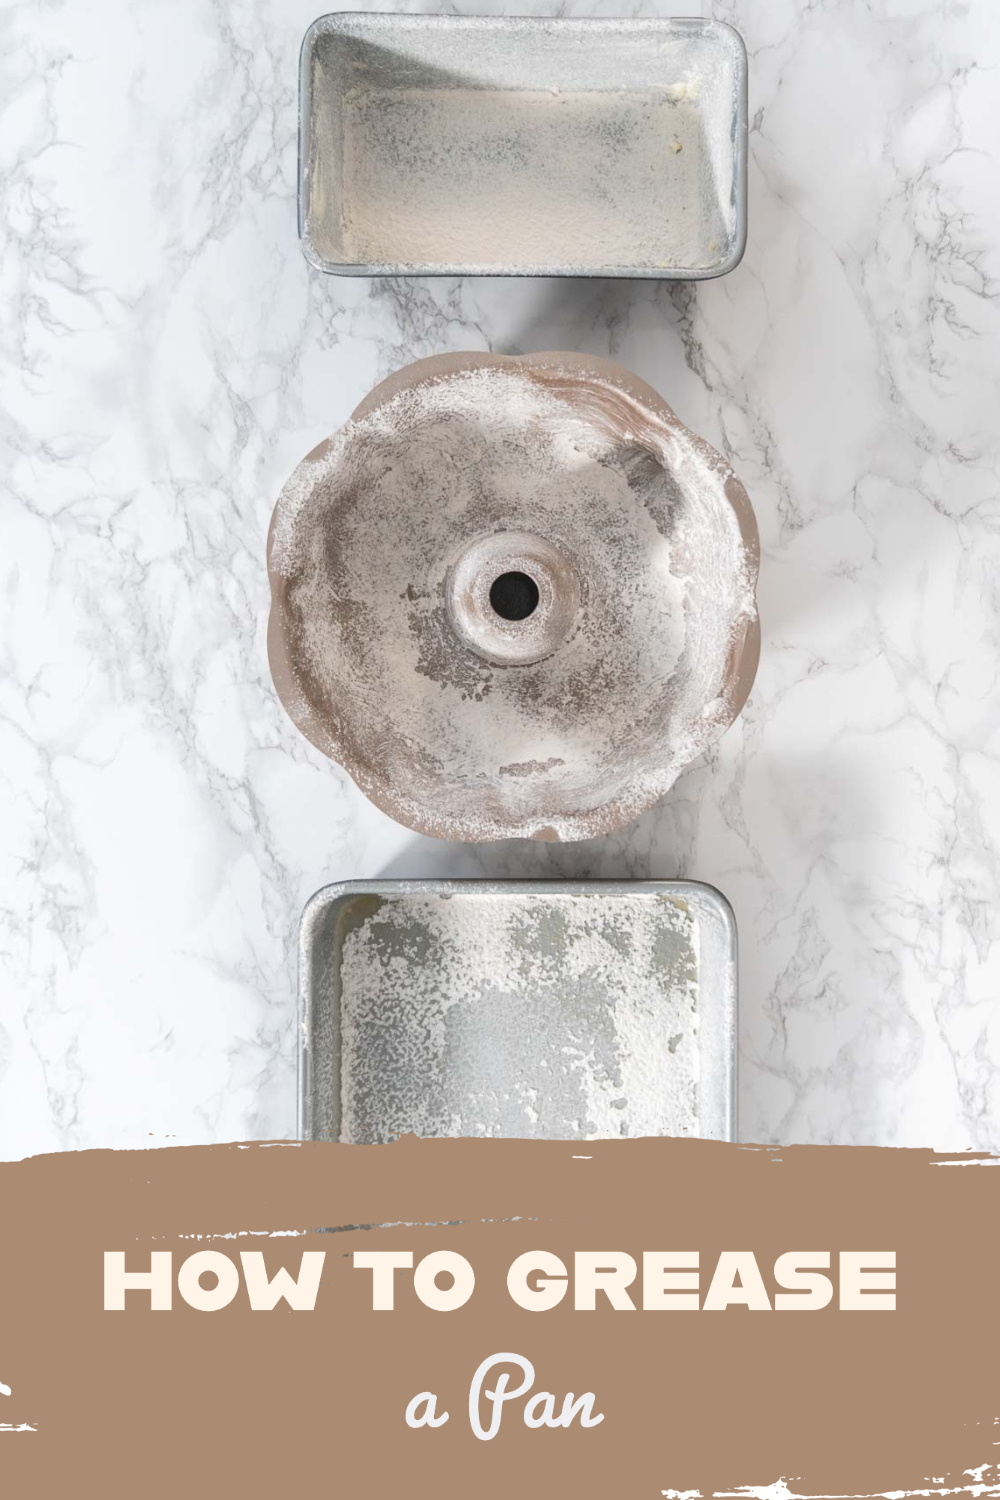
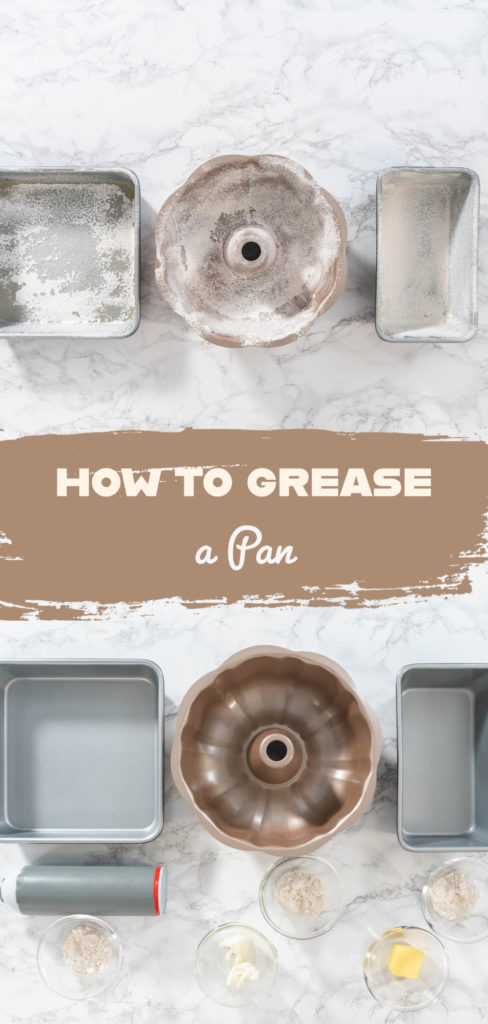
How to properly grease a baking pan in 3 different ways.
This post contains affiliate links.
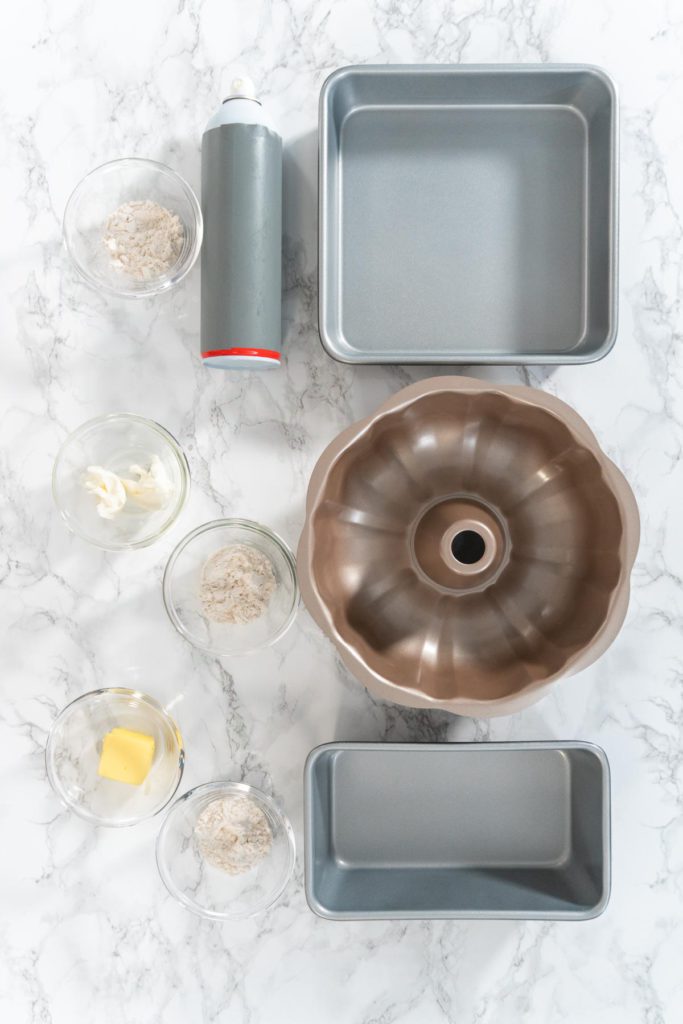
Any household baker knows how important it is to make sure their baking pan is properly greased before using it. But it’s not always clear what the best way is to do it, or what would be the best thing to use for greasing the pan. This is especially true with difficult, or more intricate pans like a bundt cake pan for example.
As someone who loves baking bundt cakes for every occasion imaginable, it actually took me several attempts to find the perfect greasing method for my bundt cake pan. At first, I ran into trouble with the cakes either crumbling to bits when I tried to remove them from the pan, or the cakes stuck to the pan completely and refused to come out at all. Growing up in Russia, my mother made us mini bundt cakes all the time so the trouble I kept running into was absolutely maddening!
Finally, after several attempts of trying out countless greasing methods, and after making my husband temporarily sick of bundt cakes, I found the answer I had been searching for! Now I’m going to share this golden nugget of knowledge with you! I’m going to break down 3 easy methods on How to (properly) Grease a Baking Pan, and which one is my personal favorite!
Tools to Keep Hands Clean
Before I get started breaking down the greasing methods, I want to quickly go over a couple of kitchen tools that make this process easier on your hands. It’s so easy to dry your hands out when you constantly have to wash them while cooking, especially when you get something really oily on them.
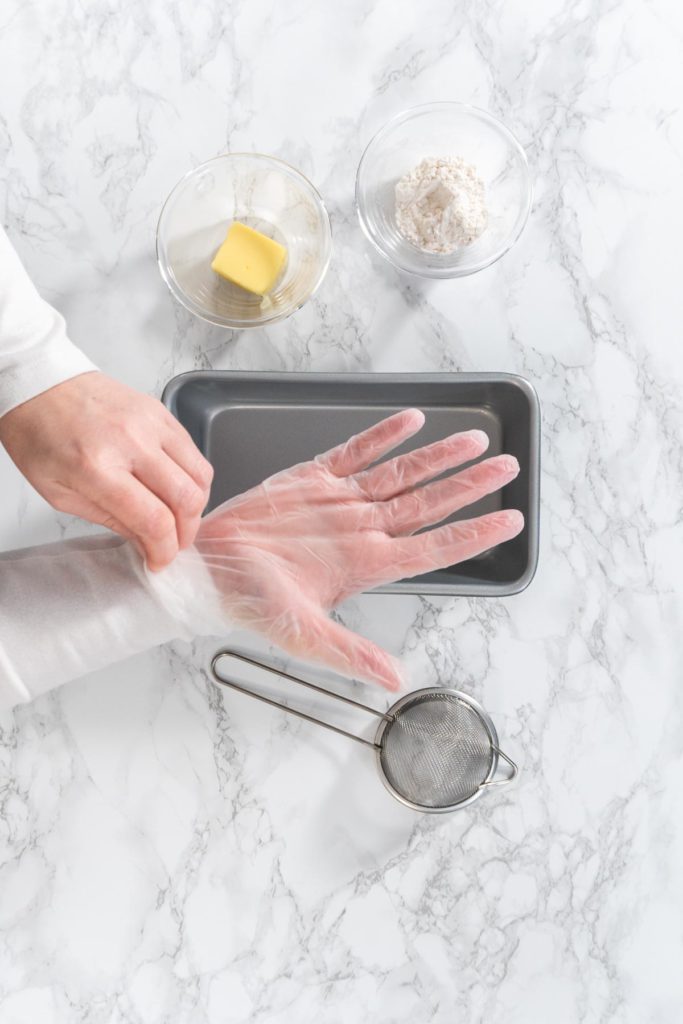
It can feel almost impossible to completely get rid of that icky, slimy feel no matter how many times you wash. To prevent this from happening at all, you can use one of these 2 protective measures to keep your hands from getting greased in the process:
- Disposable gloves -
- I much prefer to use these since they are made to fit hands perfectly and I don’t have to worry about them slipping off. They also make it much easier to use a single finger to grease tight corners.
- Ziplock bag -
- Alternatively, you can just use one of these to protect your hand but make sure to keep a tight grip on it if possible.
Method #1: How to Grease a Baking Pan with Butter
Butter is one of the most common greasing go-to’s because it’s usually already on hand in the kitchen. However, it usually is not the most effective method, especially when it comes to baking cakes or cupcakes. But don’t get me wrong, while the contents of butter may not be the best for a non-stick option, it usually provides a nice golden-brown crust on baked treats.
How to Grease a Baking Pan with Butter:
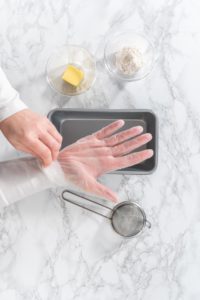
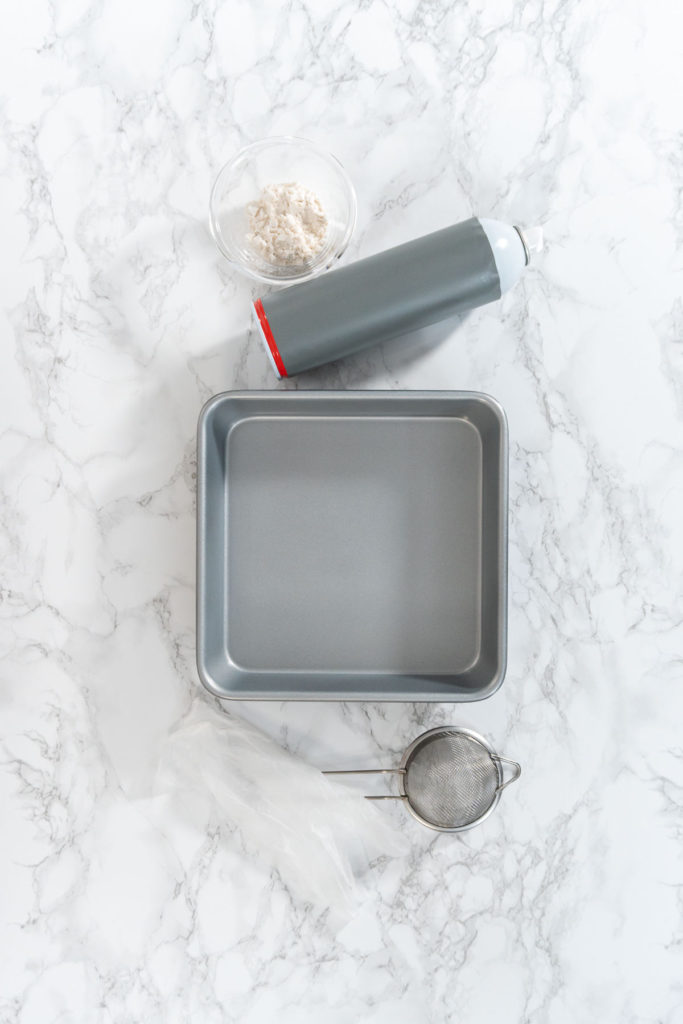
- First, cover your hands with either some disposable gloves or a Ziploc bag.
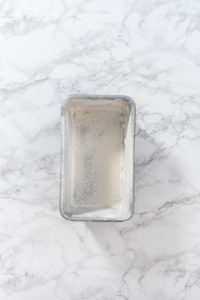
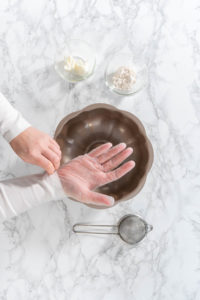
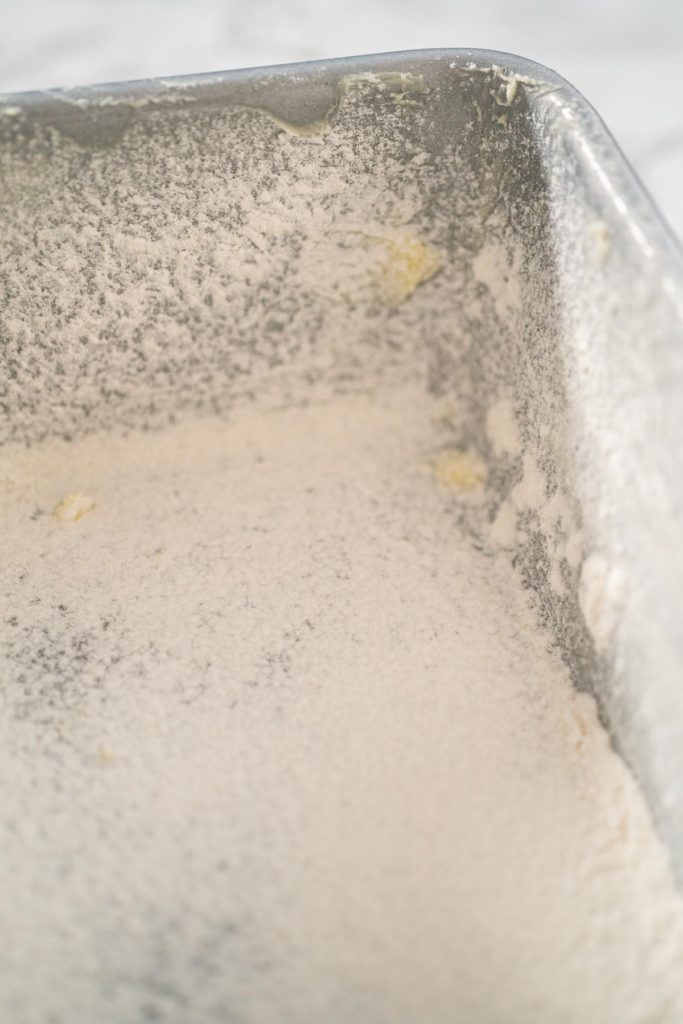
- Then, use your covered hands to spread some room temperature butter generously along the entire inside of the baking pan. Make sure to coat all the corners and sides.
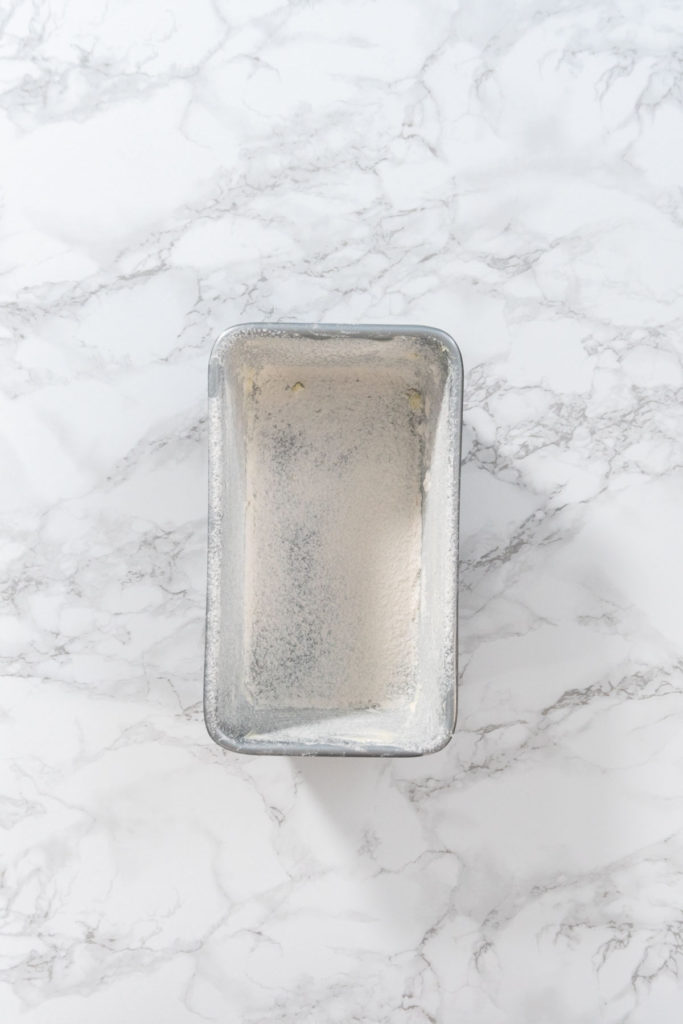
- You should achieve an even coating with no chunks of fat leftover.
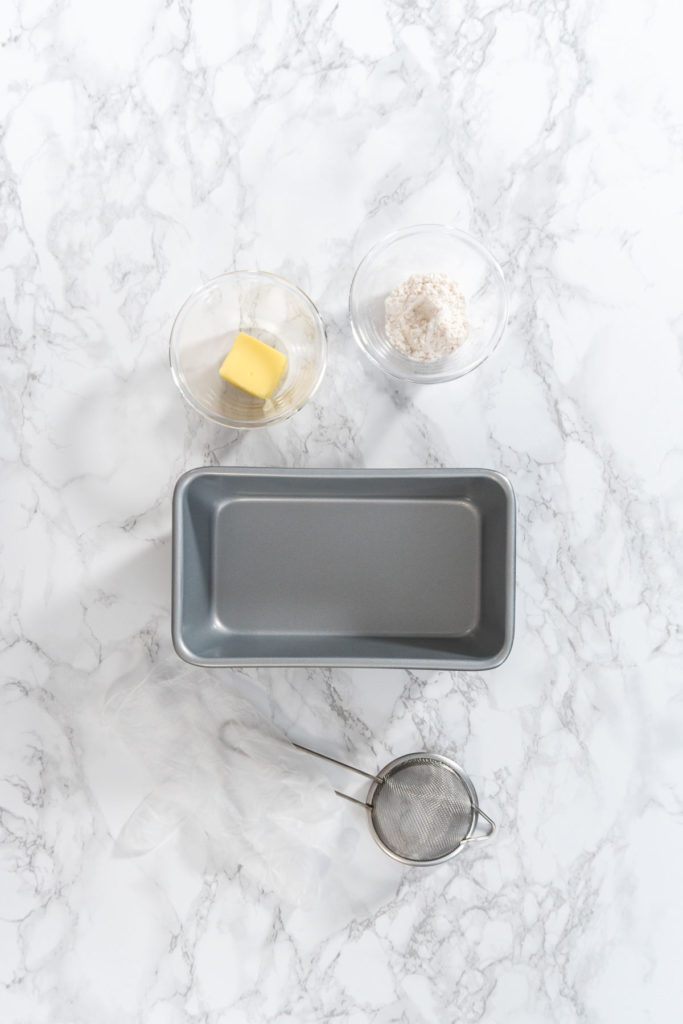
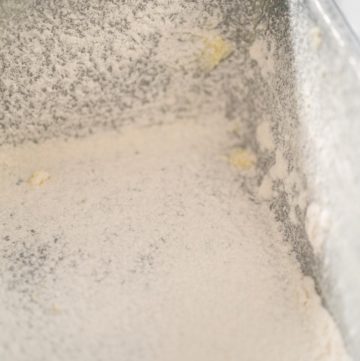
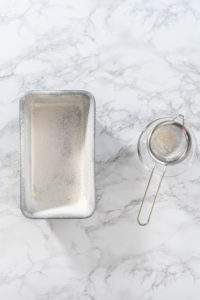
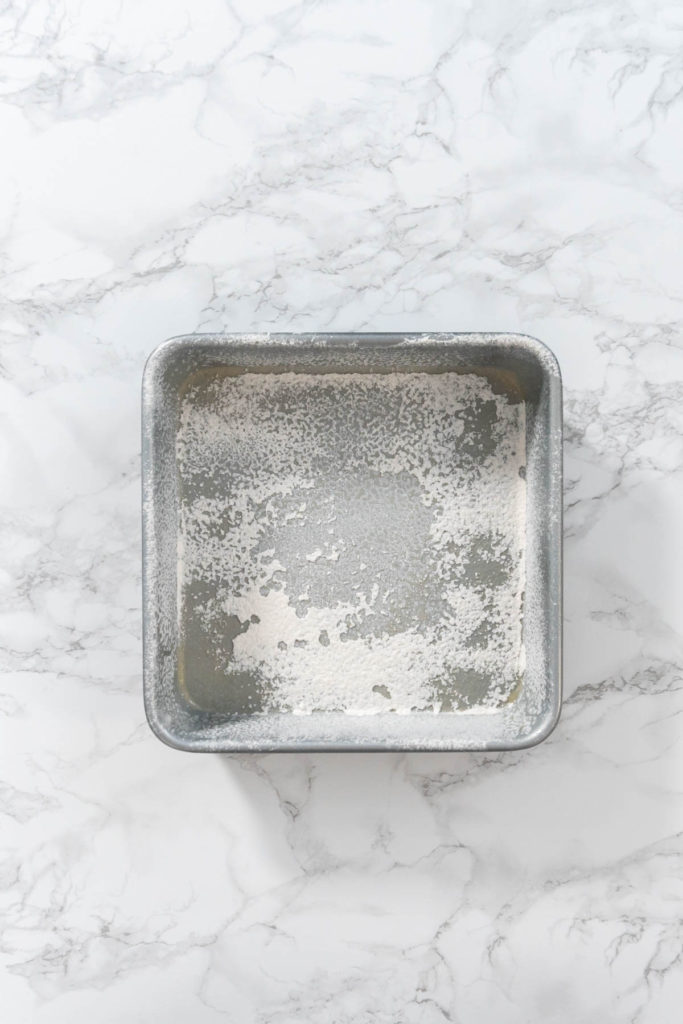
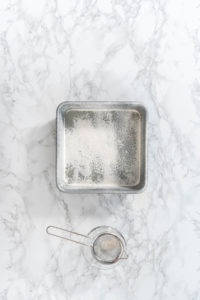
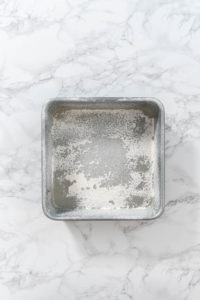
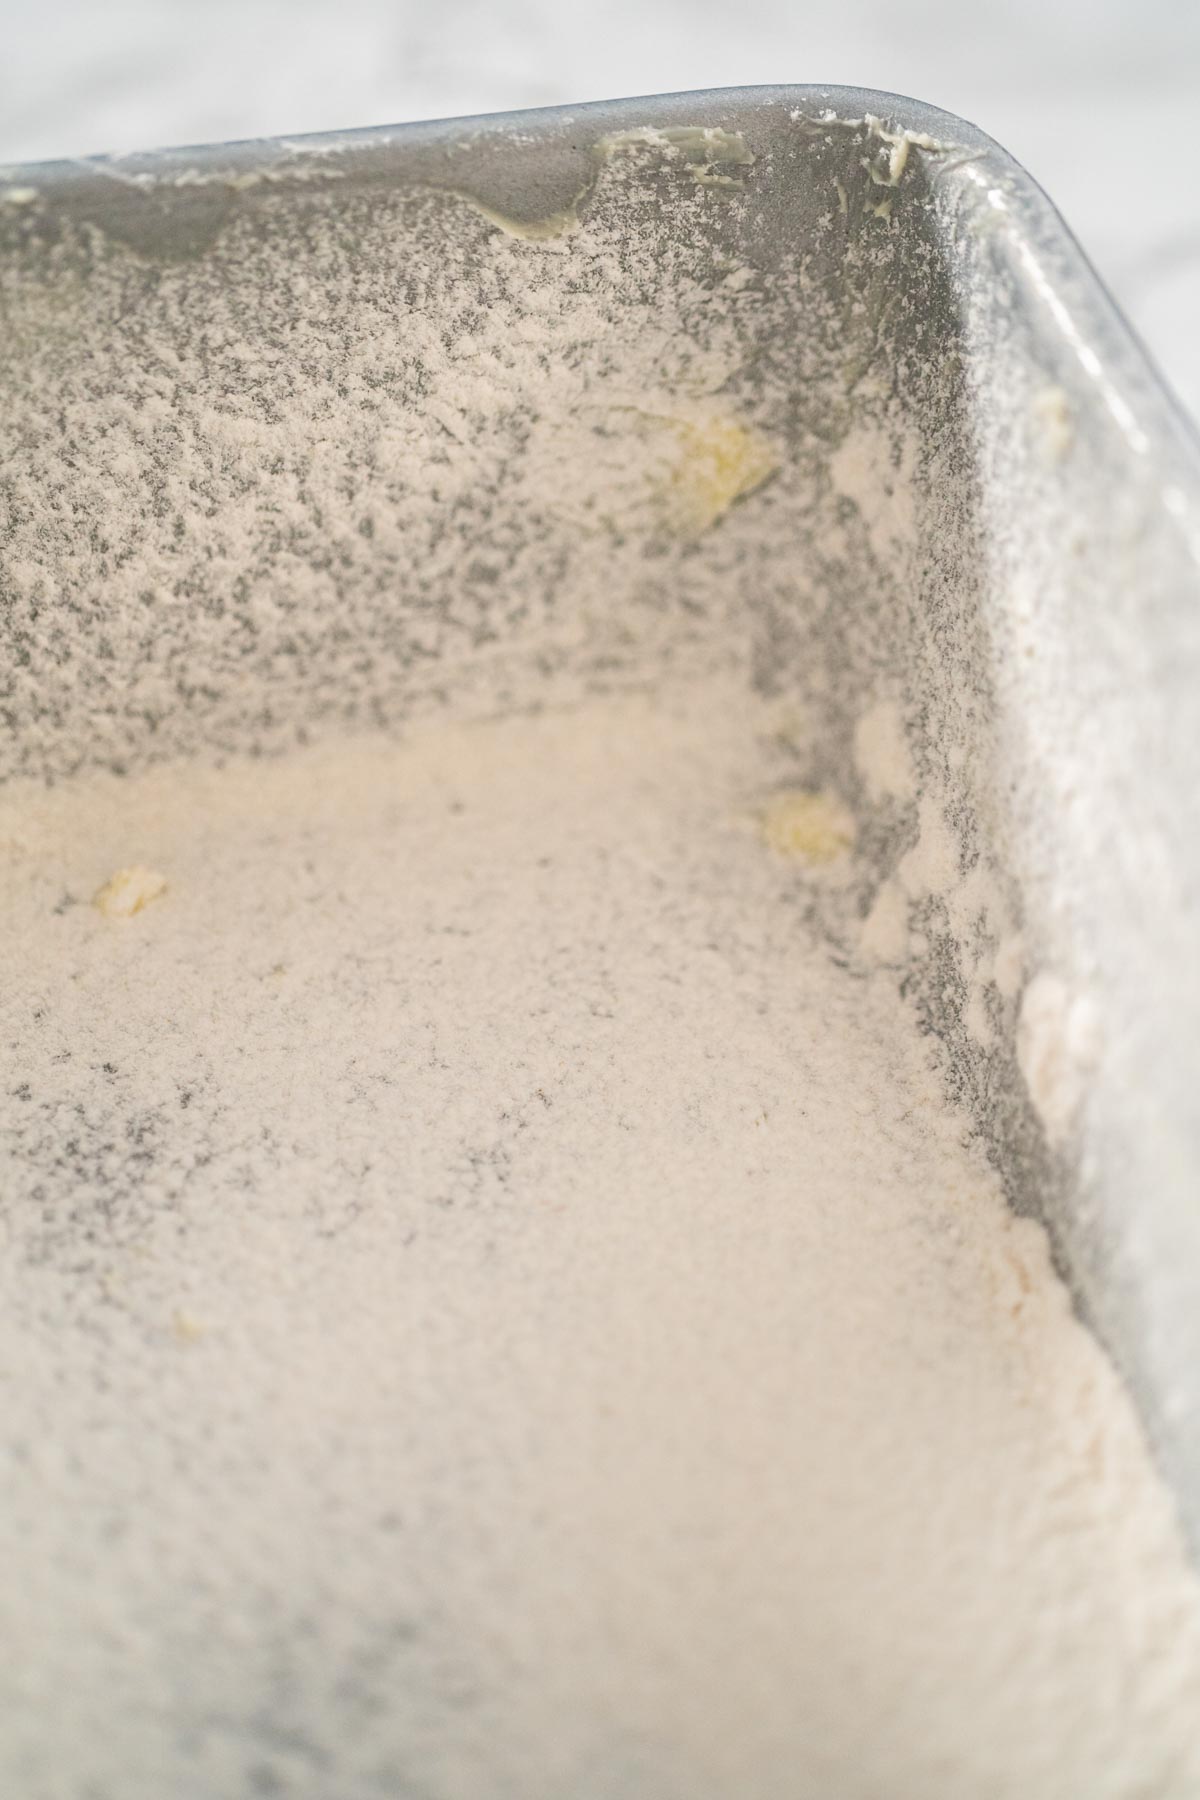
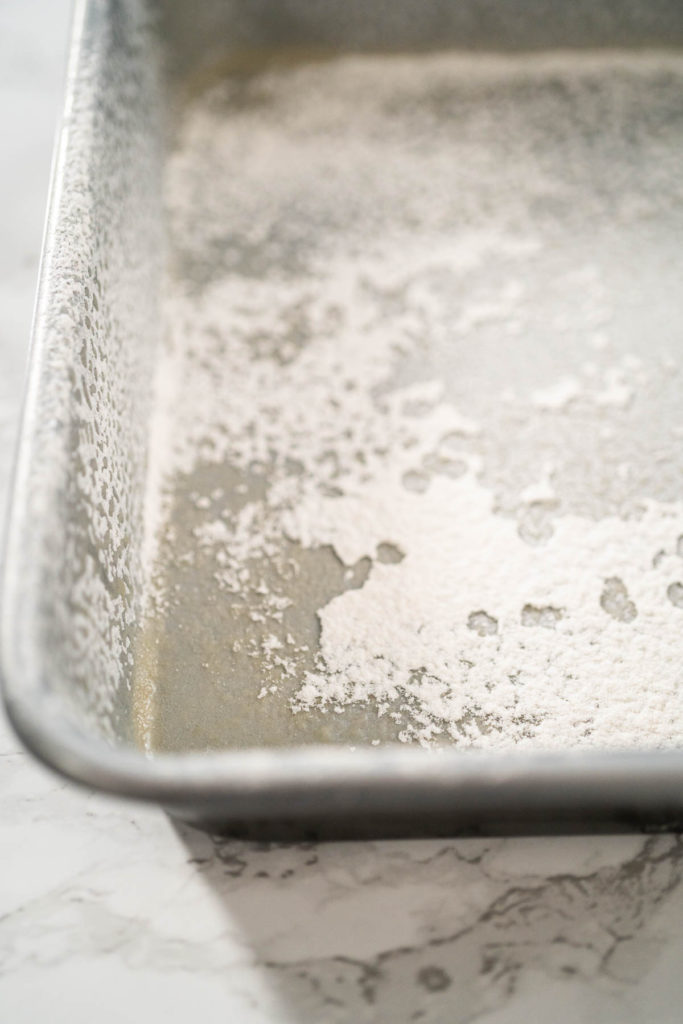
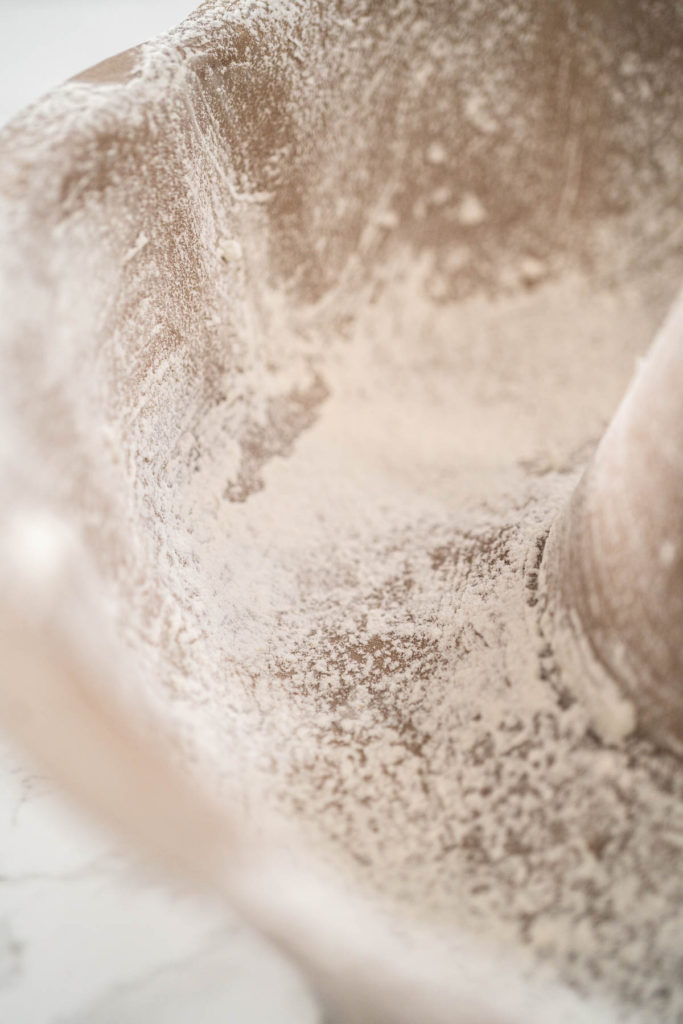
- If desired, use a small sifter to evenly distribute a small amount of flour across the inside of the coated pan. Then turn the pan over and tap out any excess flour.
- Finally, pour your prepared batter into the greased pan and bake away!
How to Grease a Baking Pan with Butter
Ingredients
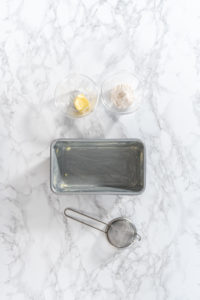
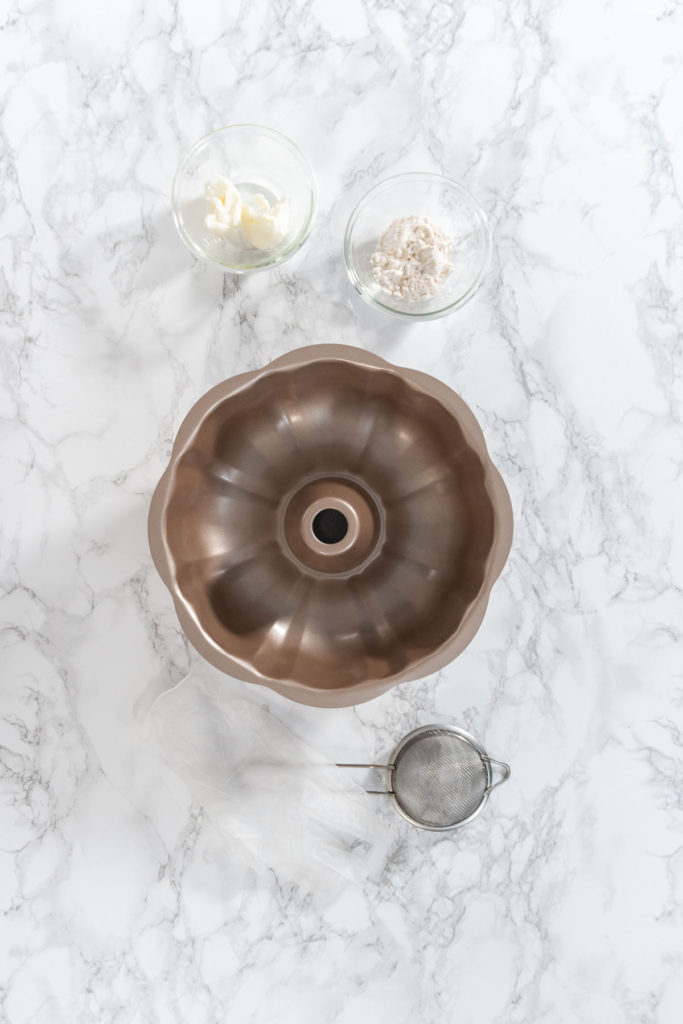
- 1 tablespoon unsalted butter room temperature
- 2 tablespoon all-purpose flour
Instructions
- First, cover your hands with either some disposable gloves or a Ziploc bag.
- Then, use your covered hands to spread some room temperature butter generously along the entire inside of the baking pan. Make sure to coat all the corners and sides. You should achieve an even coating with no chunks of fat leftover.
- If desired, use a small sifter to evenly distribute a small amount of flour across the inside of the coated pan. Then turn the pan over and tap out any excess flour.
- Finally, pour your prepared batter into the greased pan and bake away!
Method #2: How to Grease a Baking Pan with Vegetable Shortening - My Winner!
The vegetable shortening and flour methods are, by far, my preferred method! This is my fool-proof secret when it comes to baking perfect bundt cakes. Bundt cake pans usually have a more intricate design that involves a lot of corners and sharp angles which can make it really difficult to remove the baked cake in one piece.
Let me tell you, this method never fails me! If a bundt cake pan is greased properly, and then the baked cake is cooled properly after baking, it’s so much easier to get the cake out in one solid, beautiful piece.
How to Grease a Baking Pan with Vegetable Shortening:
- First, cover your hands with either some disposable gloves or a Ziploc bag.
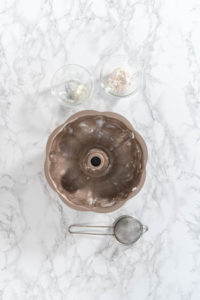
- Then, use your covered hands to spread some vegetable shortening generously along the entire inside of the baking pan. Make sure to coat all the corners and sides.
- Remember, you should have an even coating with no chunks of fat leftover.
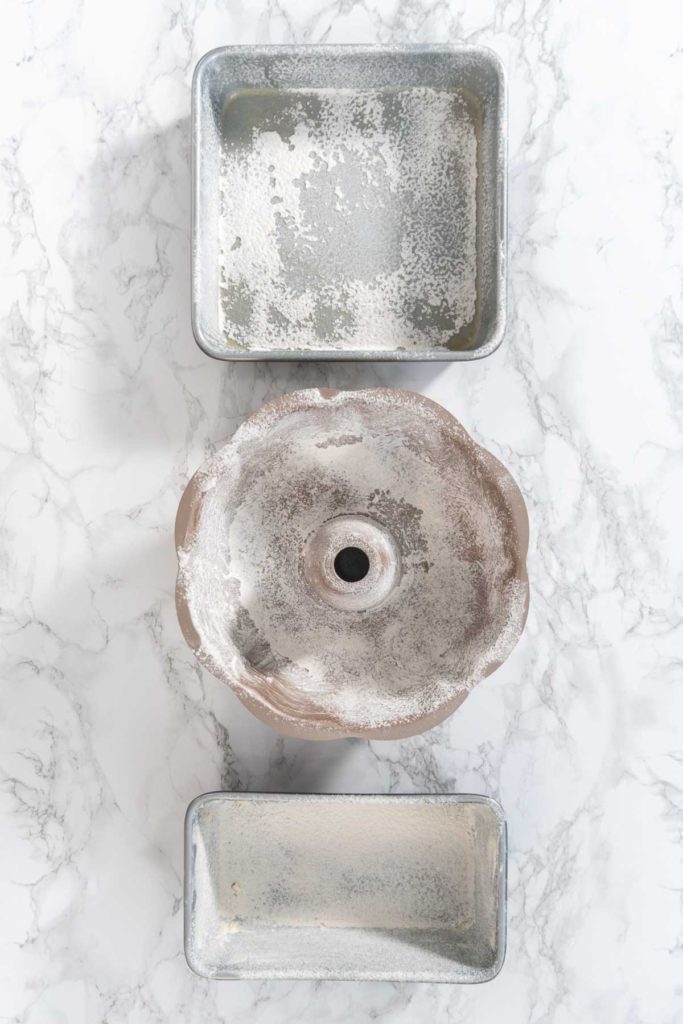
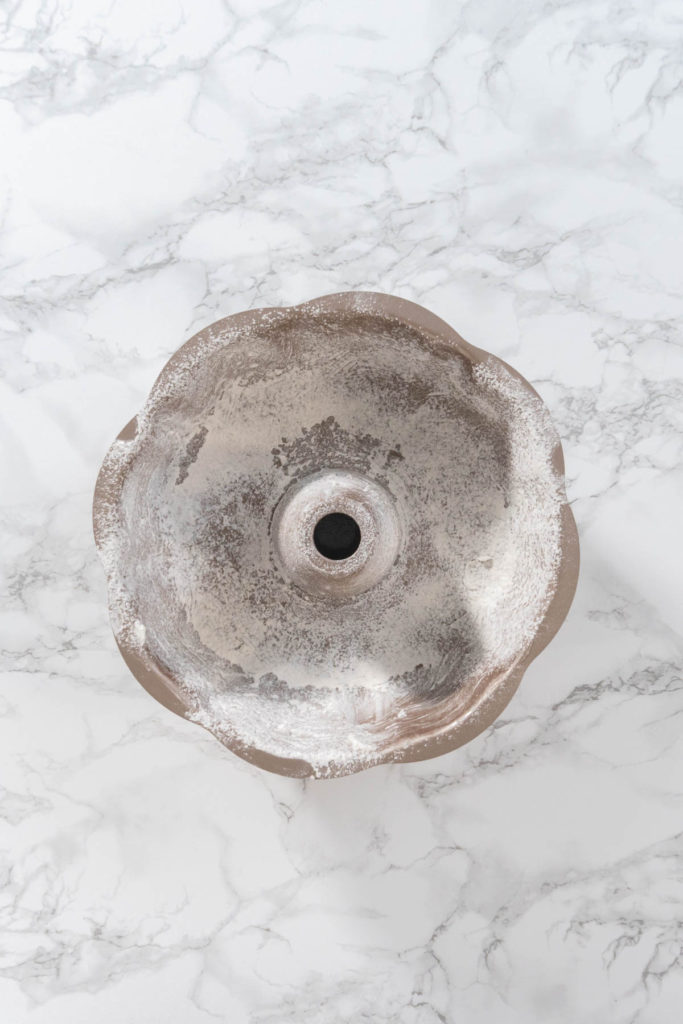
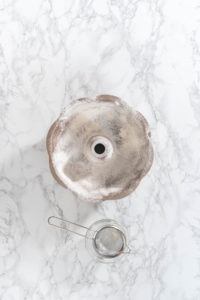
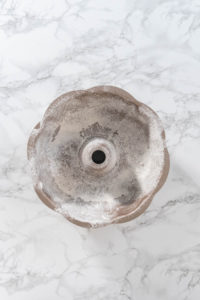
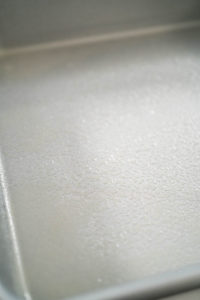
- Next, use a small sifter to evenly distribute a small amount of flour across the entire inside of the coated pan. Then turn the pan over and tap out any excess flour.
- Finally, pour your prepared batter into the greased pan and bake away!
How to Grease a Baking Pan with Vegetable Shortening
Ingredients
- 1 tablespoon Vegetable shortening room temperature
- 2 tablespoon all-purpose flour
Instructions
- First, cover your hands with either some disposable gloves or a Ziploc bag.
- Then, use your covered hands to spread some vegetable shortening generously along the entire inside of the baking pan. Make sure to coat all the corners and sides. Remember, you should have an even coating with no chunks of fat leftover.
- Next, use a small sifter to evenly distribute a small amount of flour across the entire inside of the coated pan. Then turn the pan over and tap out any excess flour.
- Finally, pour your prepared batter into the greased pan and bake away!
Method #3: How to Grease a Baking Pan with Cooking Spray
Now, this greasing method is the easiest overall, and it usually works pretty great! But, it may not always be the most effective. It really depends on the shape of the pan and what treatment you’re going to be baking. Always check the recipe instructions for the best greasing method for that treat.
How to Grease a Baking Pan with Cooking Spray:
- You can cover your hands if desired, but it’s not necessary.
- Spray the cooking spray oil generously along the entire inside of the pan including the sides and corners, of course.
- If desired, use a small sifter to evenly distribute a small amount of flour across the inside of the coated pan, then dump out the excess.
- That’s it! Pour in your batter and bake away!
How to Grease a Baking Pan with Cooking Spray
Ingredients
- Cooking spray oil
- 2 tablespoon all-purpose flour
Instructions
- You can cover your hands if desired, but it’s not necessary.
- Spray the cooking spray oil generously along the entire inside of the pan including the sides and corners, of course.
- If desired, use a small sifter to evenly distribute a small amount of flour across the inside of the coated pan, then dump out the excess.
- That’s it! Pour in your batter and bake away!
Kitchen hacks
Baking Tips:
- Always check the recipe instructions for the best greasing method for that particular recipe.
- Grease the inside of the pans after your batter is already prepared. Greasing too soon gives the oil or fat time to drip down the sides of the pan and pool at the bottom. No thanks!
- If your finished cake will be served without frosting or glaze, you may want to skip the flouring step as it can leave a powdery white residue on the outside of the cake.
- For that same reason, if you’re making brownies or chocolate cake that call for greasing and flouring, substitute cocoa powder for the flour.
- Cool bundt cakes for 1-2 hours after baking for easier cake removal. Use a butter knife to help separate the cake from the sides and corners.
Final Thoughts
Each one of these greasing methods is good for different reasons. Like I mentioned, my personal favorite is the vegetable shortening and flour method because it never fails me! As they say: If it’s not broke, don’t fix it. Right?
However, any of these methods will help your cake or treat keep from sticking to its pan. I highly recommend not to ever attempt to bake any kind of treats in ungreased pans, unless the instructions specifically state to do it that way. Always follow the instructions!
For more help around the kitchen, check out some more of my favorite kitchen tips and tricks:
- How to Assemble a Charcuterie Board
- 3 Ways to Easily Melt Candy Melts
- When to Use Parchment Paper vs. A Silicone Mat
- Silicone Bakeware vs. Metal Baking Pans
- How to Clean Enameled Cast Iron Cookware
- How to Soften Butter
- 4 Ways to Melt Butter
Food Photography & Video Tips from My Studio
Here’s a peek at the tools, gear, and camera setups I use to film my recipe videos and photograph food at home. Over the years, I’ve tested dozens of different setups, and now I’m sharing what actually works for me—whether I’m filming overhead shots for YouTube or styling still photos for my blog. If you’re curious about how I create the content you see here, these posts are a great place to start.






Leave a Reply