|
This post contains affiliate links.
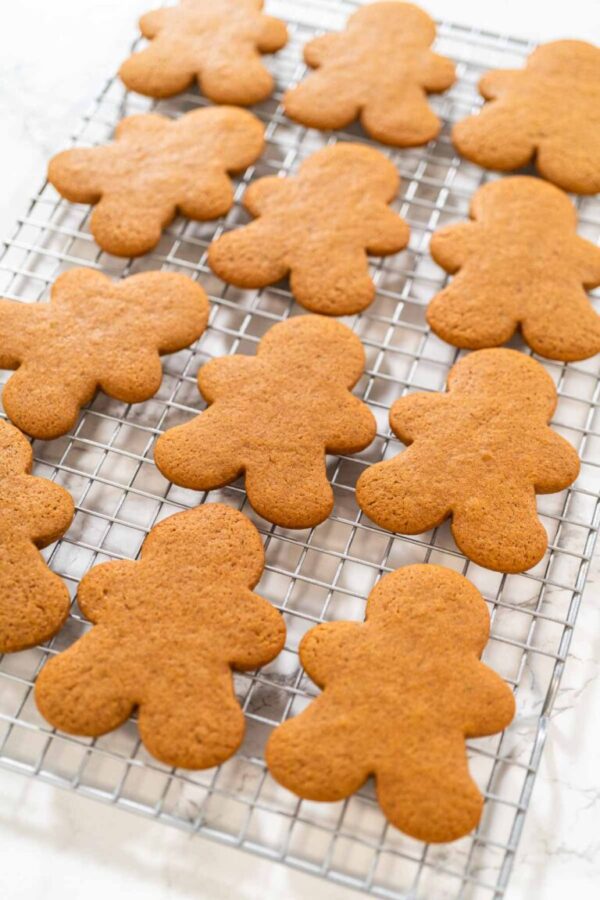
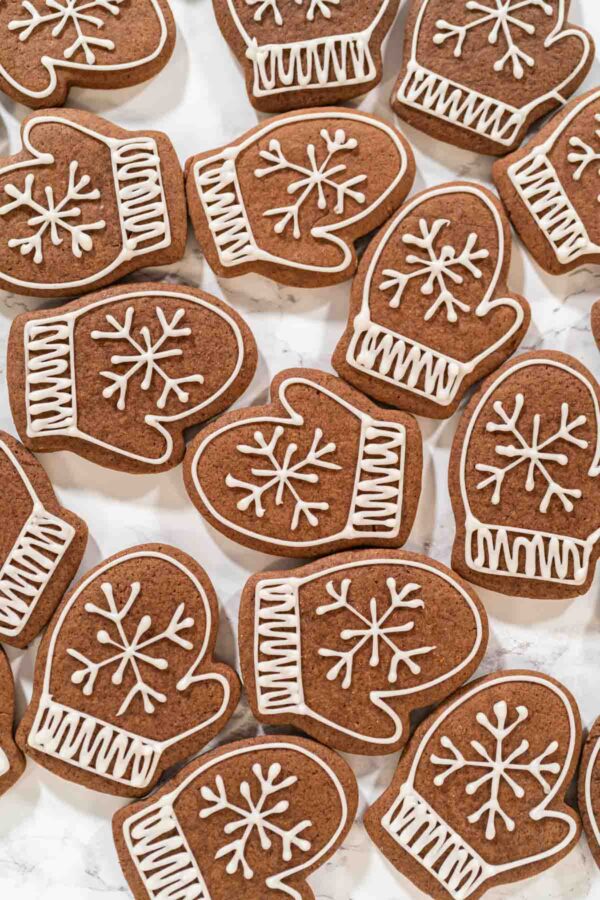
There’s something magical about baking gingerbread cookies in December—the warm spices, the smell of molasses, and the fun of decorating with royal icing. These cookies are my go‑to because they stay soft, hold their shape beautifully, and are so fun to decorate. Every year I make them for cookie boxes, photoshoots, and mailing to friends. If you’ve ever struggled with cookies spreading or turning out too hard, this method will change everything. I also talked about how I plan my holiday cookie gifting and shipping strategies in my Kitchen Wisdom Podcast, which you can listen to for even more behind‑the‑scenes tips.
Why you’ll love them
- Perfect for gifting. Both dough and baked cookies freeze well, so you can make them ahead of time.
- Soft bite, clean edges. The quick tray chill and short bake time keep these cookies tender while still holding sharp shapes.
- Decorator‑friendly. Meringue‑powder royal icing pipes like a dream and dries glossy.
Watch how I make this recipe
Recipe Talk: Stories, Tips, and Kitchen Talk
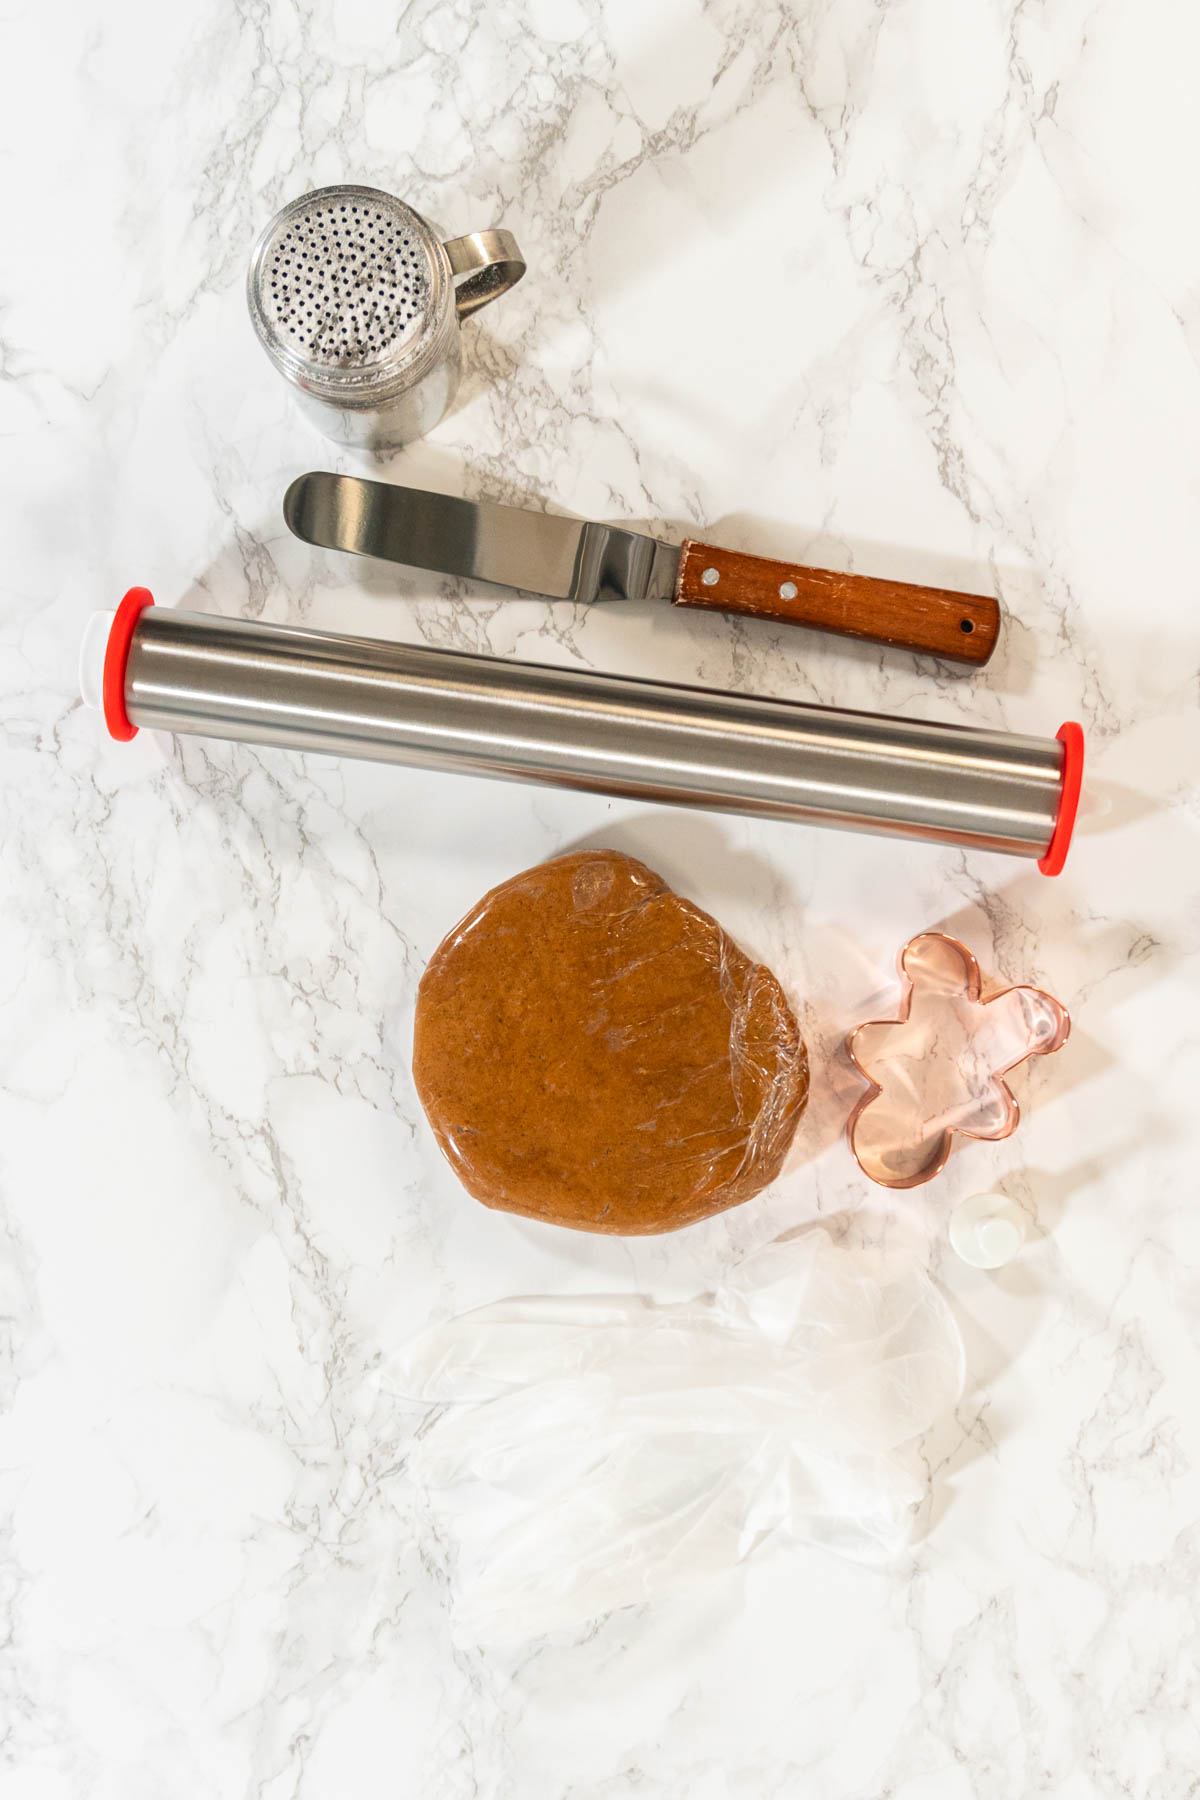
Tools I rely on
- Kitchen mixer with paddle
- Adjustable rolling pin + Christmas cookie cutters
- Silicone baking mats + baking sheets
- 3‑tier cooling rack
- Piping bags + couplers, small round tips
- Needle scribe / toothpick, food‑safe brushes
- Optional: heat gun on low for ultra‑smooth icing
Need gear inspiration? Check out my posts on Baking Tools for Perfect Cookies and Disposable Plastic Piping Bags & Tips.
What You’ll Need From Your Pantry
Gingerbread Cookies
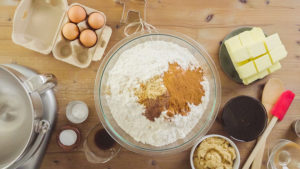
- 3 cups all‑purpose flour
- 1 tablespoon ground cinnamon
- 1 tablespoon ground ginger
- ¾ teaspoon baking soda
- ¾ teaspoon ground cloves
- ½ teaspoon ground nutmeg
- ½ teaspoon salt
- ¾ cup unsalted butter, room temp
- ½ cup packed brown sugar
- 1 large egg
- ½ cup molasses
- 1 teaspoon vanilla extract
Royal Icing
- 1 lb (454 g) confectioners’ sugar, sifted
- 3 tablespoon meringue powder
- 6 tablespoon warm water (add more as needed)
- 1 teaspoon vanilla extract
- Gel food coloring
If you use egg whites instead of meringue powder, be sure to review safe egg handling guidelines from the U.S. Department of Agriculture
Personal tips from my kitchen
When mailing cookies, I give the icing at least 12 hours to fully dry before wrapping.
I never skip the tray chill—it makes all the difference for keeping sharp edges.
At high altitude, I bake for exactly 9 minutes on silicone mats; longer and they get too hard.
I use unsulfured molasses for a smoother flavor.
Latest Video
Let’s Make It Together
- Whisk dry. In a bowl, whisk flour, spices, baking soda, and salt.
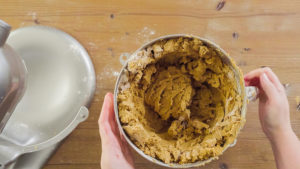
- Cream butter + sugar. Beat butter and brown sugar for about 2 minutes until fluffy.
- Add wet. Mix in egg, molasses, and vanilla.
- Combine. Slowly add dry mixture until dough just comes together.
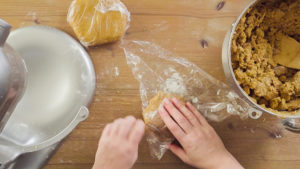
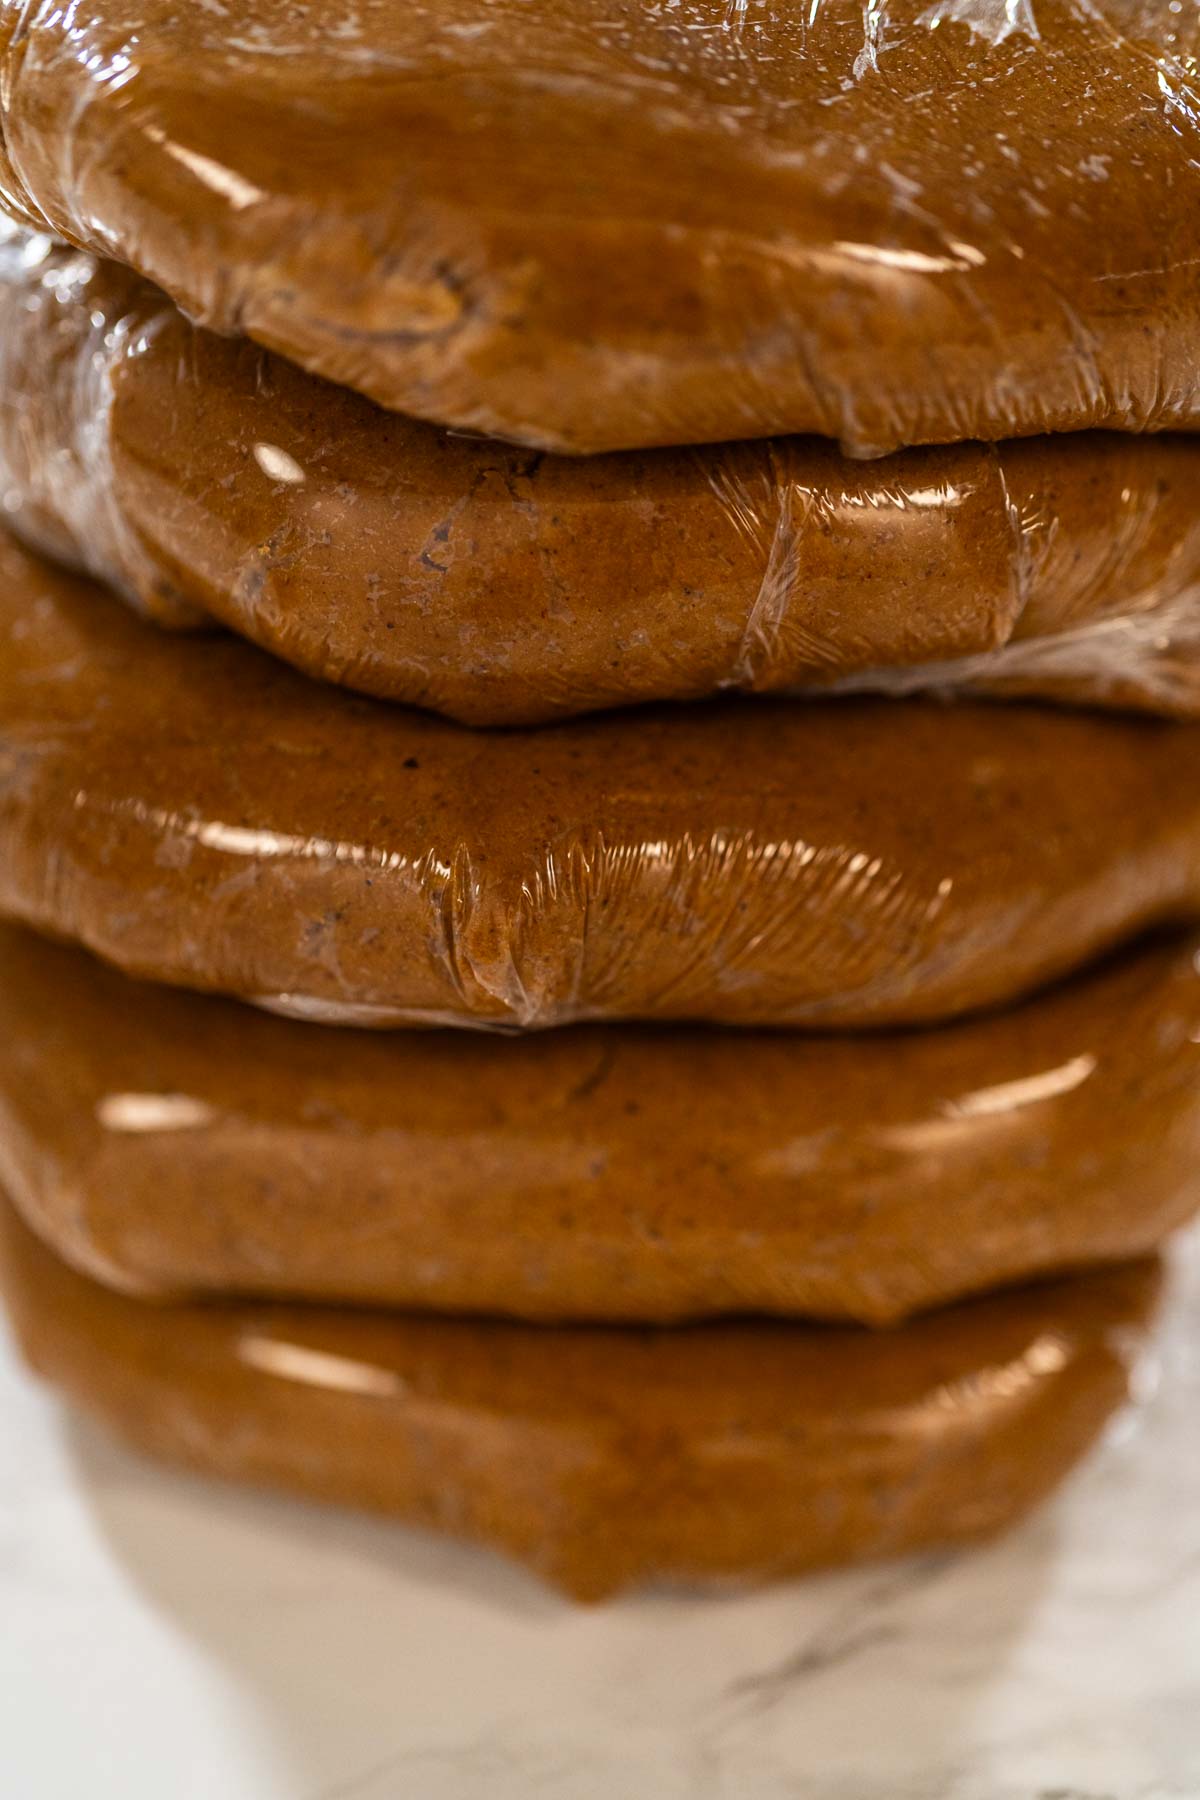
- Chill. Divide into 2 disks, wrap, and chill 2 hours or overnight.
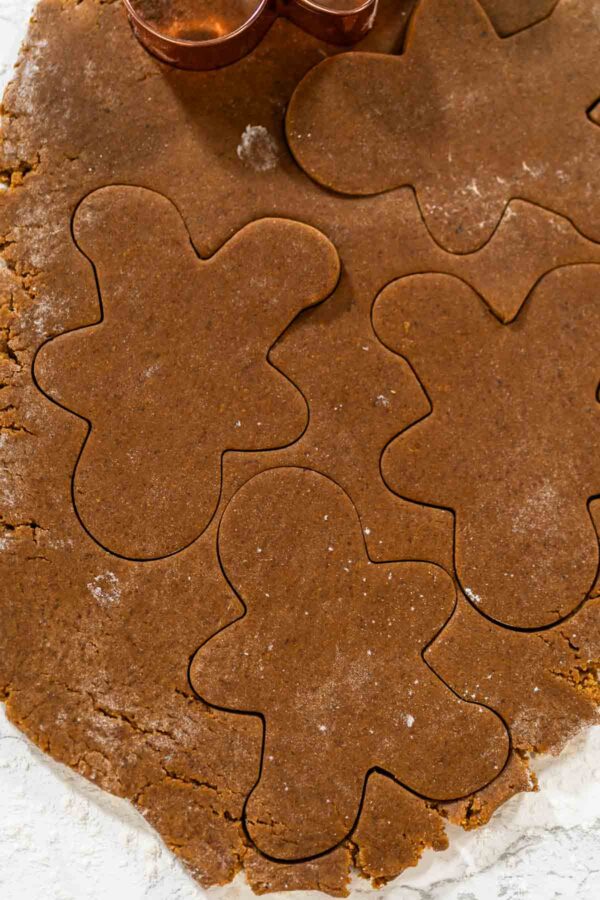
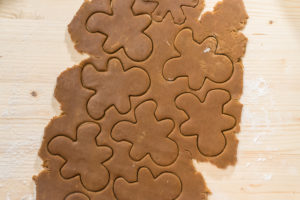
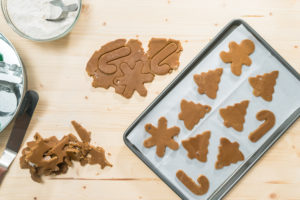
- Roll + cut. Roll to ⅛ inch for crisp cookies or ¼ inch for soft ones. Cut shapes.
- Tray chill. Place cutouts on a baking sheet and chill 5–10 minutes to prevent spreading.
- Bake. Bake at 350°F for 8–10 minutes (I do 9 minutes at high altitude).
- Cool. Let rest 5 minutes, then cool completely on racks.
Royal Icing
- Mix sugar and meringue powder.
- Add warm water + vanilla; beat 5–7 minutes until glossy stiff peaks form.
- Adjust consistency: thicker for piping, thinner for flooding.
- Color with gel food coloring and keep covered to prevent crusting.
- Transfer to piping bags.
Pro tip: To smooth out icing, pop bubbles with a scribe and pass a heat gun briefly over the surface.
Recipe variations
- Orange zest: Rub zest into sugar before creaming (see Orange Zest Gingerbread Cookies).
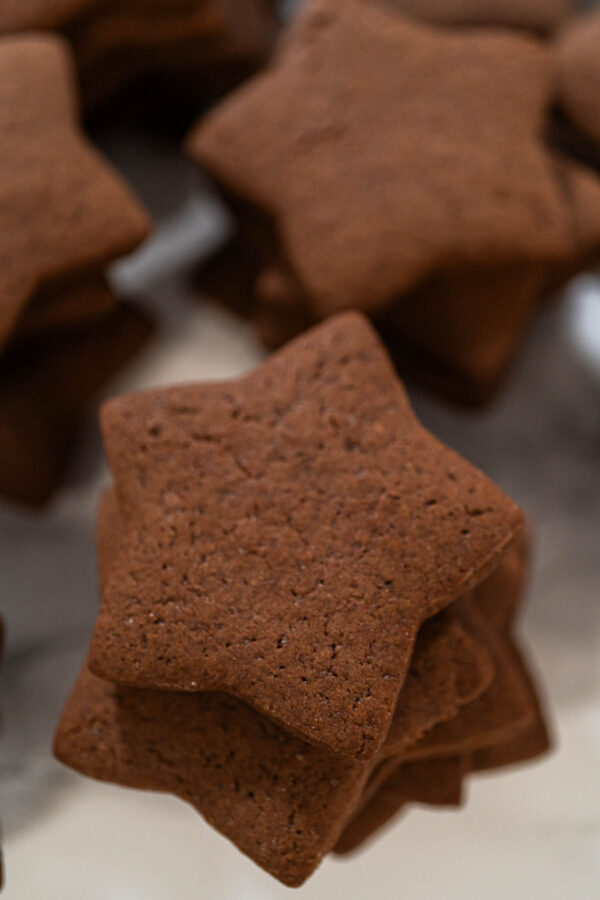
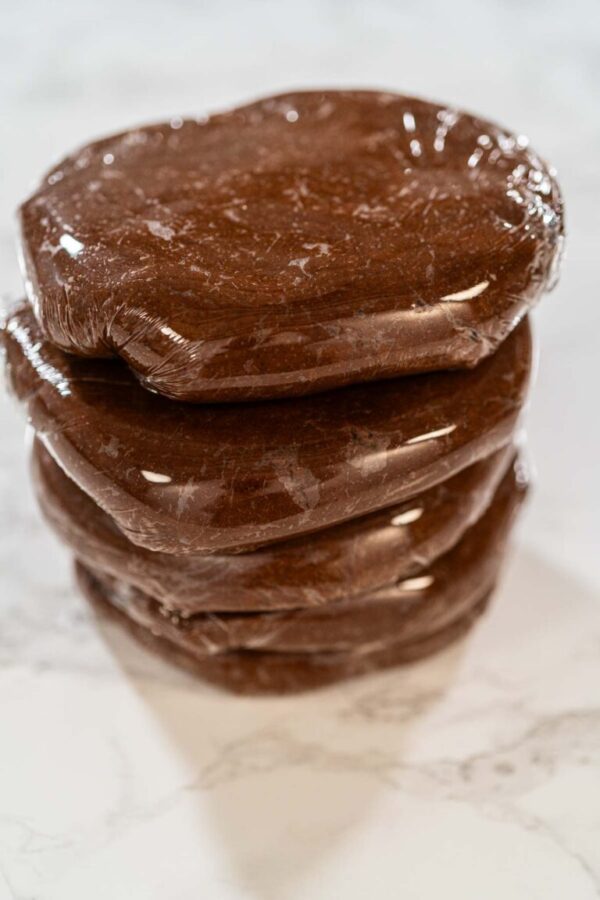
- Chocolate gingerbread: Swap ¼ cup flour for cocoa.
- Maple spice: Sub maple extract for vanilla.
- Holiday sparkle: Add glitter details once icing dries.
Decorating tips
- Outline with piping icing, then flood inside.
- Use wet‑on‑wet technique for dots or patterns.
- Wait for base layers to set before adding details like eyes or buttons.
- For sparkle, brush on gold or white food glitter with clear vanilla extract.
Make‑ahead + storage
- Dough: Refrigerate up to 2 days or freeze 3 months.
- Baked cookies (undecorated): Store airtight for 5–7 days or freeze 3 months.
- Decorated cookies: Dry completely before stacking or mailing.
When shipping, I like to pack cookies between parchment in metal tins—sturdy and festive!
Troubleshooting
- Icing issues? Thin flood too much and it will crater; thicken slightly.
- Spread too much? Dough was too warm—tray chill fixes it.
- Too hard? Overbaked—pull them when centers just set.
How many cookies per person?
Here’s a simple guide I use when planning holiday baking for gatherings or gifting. I usually budget about 2–3 decorated cookies per person if there are multiple desserts, or 4–5 if cookies are the star treat.
| Group Size | Cookies Needed (2 each) | Cookies Needed (3 each) | Cookies Needed (4 each) |
| 6 people | 12 | 18 | 24 |
| 12 people | 24 | 36 | 48 |
| 24 people | 48 | 72 | 96 |
| 50 people | 100 | 150 | 200 |
More holiday inspiration
- Lemon Spritz Cookies with Cranberry Buttercream
- Classic Cut‑Out Sugar Cookies
- Royal Icing (Full Guide)
- Planning Christmas Baking and Holiday Gifting
- Chocolate Ginger Sugar Cookies
- Pumpkin Bundt Cake with Yellow Cake Mix
Gingerbread Cookies with Royal Icing
Equipment
Ingredients
- 3 cups All-Purpose Flour
- 1 tablespoon Ground Cinnamon
- 1 tablespoon Ground Ginger
- ¾ teaspoon Baking Soda
- ¾ teaspoon Ground Cloves
- ½ teaspoon Ground Nutmeg
- ½ teaspoon Salt
- ¾ cup Unsalted Butter at room temperature
- ½ cup Brown Sugar packed
- 1 Large Egg
- ½ cup Molasses
- 1 teaspoon Vanilla Extract
Royal Icing
- 1 lbs Confectioners Sugar
- 3 tablespoon Meringue Powder
- 6 tablespoon Warm Water
- 1 teaspoon Vanilla Extract
- Food Coloring
Cookie decoration
Instructions
- In a large bowl, whisk together the flour, cinnamon, ginger, baking soda, cloves, salt, and nutmeg.
- In a stand mixer fitted with the paddle attachment (or by hand), beat the butter and sugar on medium-high for 2 minutes until light and fluffy. Set aside.Add the eggs, molasses, and vanilla, then mix on medium speed until fully combined.
- Lower the speed to low, and gradually add the dry ingredients until just incorporated.
- Divide the dough into two portions, shape each into a ball, then flatten into 1-inch thick disks. Wrap tightly in plastic wrap.Chill the wrapped dough in the refrigerator for at least 2 hours or overnight.
- Line a baking sheet with parchment paper or a silicone mat, and preheat the oven to 350°F.Unwrap one dough disk and roll it out on a lightly floured surface to ⅛-inch thickness. Cut out shapes with cookie cutters and place them on the prepared baking sheet.Refrigerate the cut-out cookies on the baking sheet for 5–10 minutes so they hold their shape during baking.
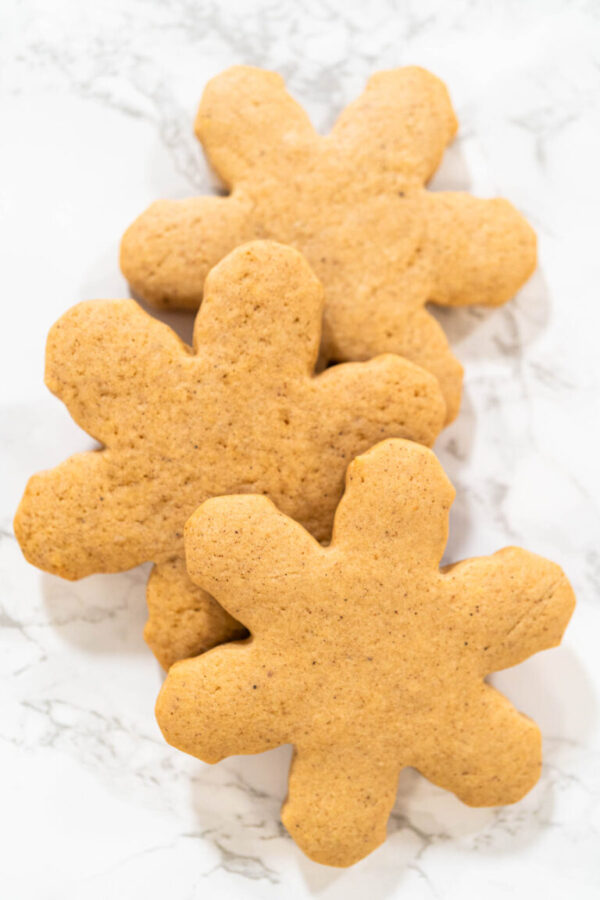
- Bake for 8–10 minutes. Let cool on the baking sheet for 5 minutes, then move to a wire rack to cool completely.
- For the royal icing: In a large bowl, whisk together confectioners’ sugar and meringue powder.
- Add warm water, one tablespoon at a time, while mixing on low speed.
- Stir in the vanilla extract and continue mixing until the icing looks shiny
- Increase the speed to high and beat for 5–7 minutes. Mix in food coloring, if desired.
- Transfer the icing to a piping bag for decorating.
Nutrition
From My Kitchen to Yours
Gingerbread Recipes
- How to Host a Gingerbread House Decorating Party at Home
- Classic Gingerbread Cookie Dough – Perfect for Holiday Cutouts
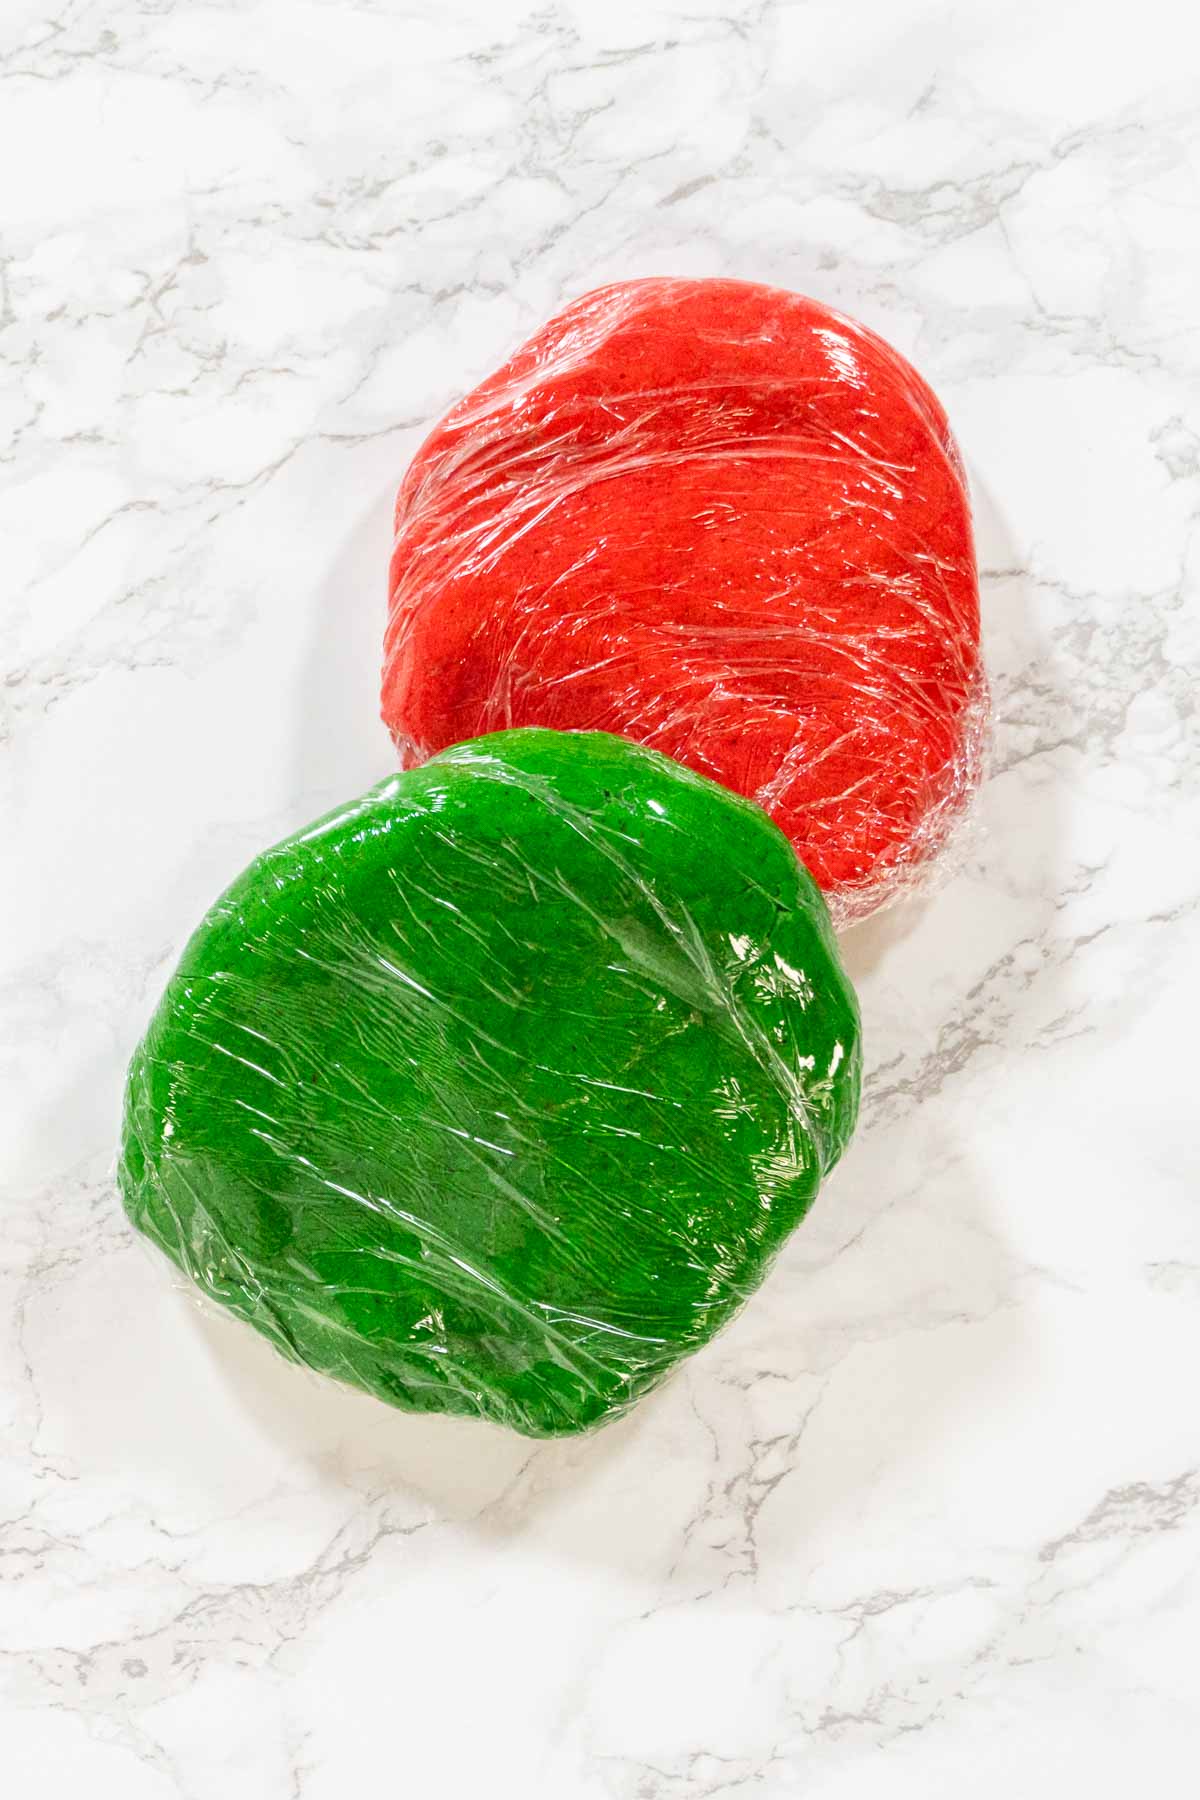
- Colored Gingerbread Cookie Dough
- How to Make Chocolate Gingerbread Cookie Dough for Holiday Cutout
- How to Decorate Mitten Sugar Cookies (Simple Winter Design)
- How to Make Amber Gingerbread Cookies Without Molasses (Maple-Sweet and Spiced)
I’ve Got Answers
Can I make the dough ahead of time?
Yes, the dough keeps 2 days in the fridge or 3 months frozen. Thaw overnight before rolling.
How do I stop the cookies from spreading?
Always chill the cutouts on the tray before baking—5 to 10 minutes is enough.
How long should royal icing dry?
At least 6–12 hours at room temperature. For mailing, I give it a full 12 hours.
Can I flavor the royal icing?
Yes, swap vanilla with almond or lemon extract for a fun twist.
What’s the best way to ship cookies?
Layer cookies between parchment in tins, then cushion the tin in a box with bubble wrap.
Pin It For Later
Food Photography & Video Tips from My Studio
Here’s a peek at the tools, gear, and camera setups I use to film my recipe videos and photograph food at home. Over the years, I’ve tested dozens of different setups, and now I’m sharing what actually works for me—whether I’m filming overhead shots for YouTube or styling still photos for my blog. If you’re curious about how I create the content you see here, these posts are a great place to start.

























Leave a Reply