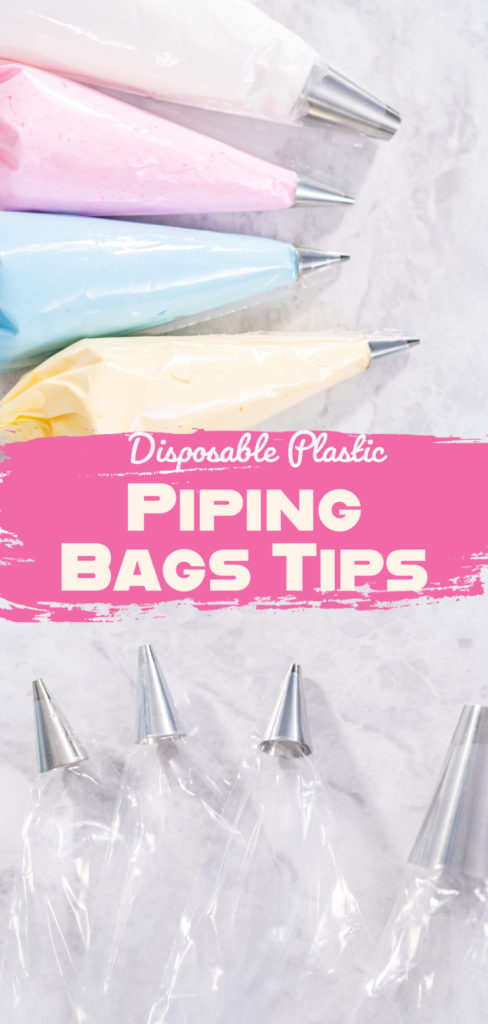
5 tips on using plastic pastry piping bags for frosting and more!
This post contains affiliate links.
As a busy food photographer and videographer over the past 10+ years, I’ve dealt with my fair share of pastry piping bags. I’ve experimented with all kinds of different sizes, piping tips, and techniques so I’m not new to this rodeo, you know?
It also helps that when I was growing up, my mother was always making us delicious meals and plenty of scrumptious sweets! So I’ve always been familiar with working around the kitchen. But I do realize that not everyone has had this kind of baking experience.
Especially for beginner bakers, it can be hard to figure out what plastic piping bags to start with, which ones are best for which frostings, and just how to use one properly. I’m going to save you a ton of guesswork and experimentation here by sharing my 5 Tips for Using Plastic Piping Bags!
Now these tips are based solely on my personal experience, and you may find out along the way that you like to do things differently, but these tips will help you get started. I’m going to cover which bags should be used for which frostings, bag sizes, how to prep a piping bag, and even cover a few other ways that piping bags can be used! Let’s get started.
Piping Bag Tip #1: Use Thicker Bags for Thicker Frosting
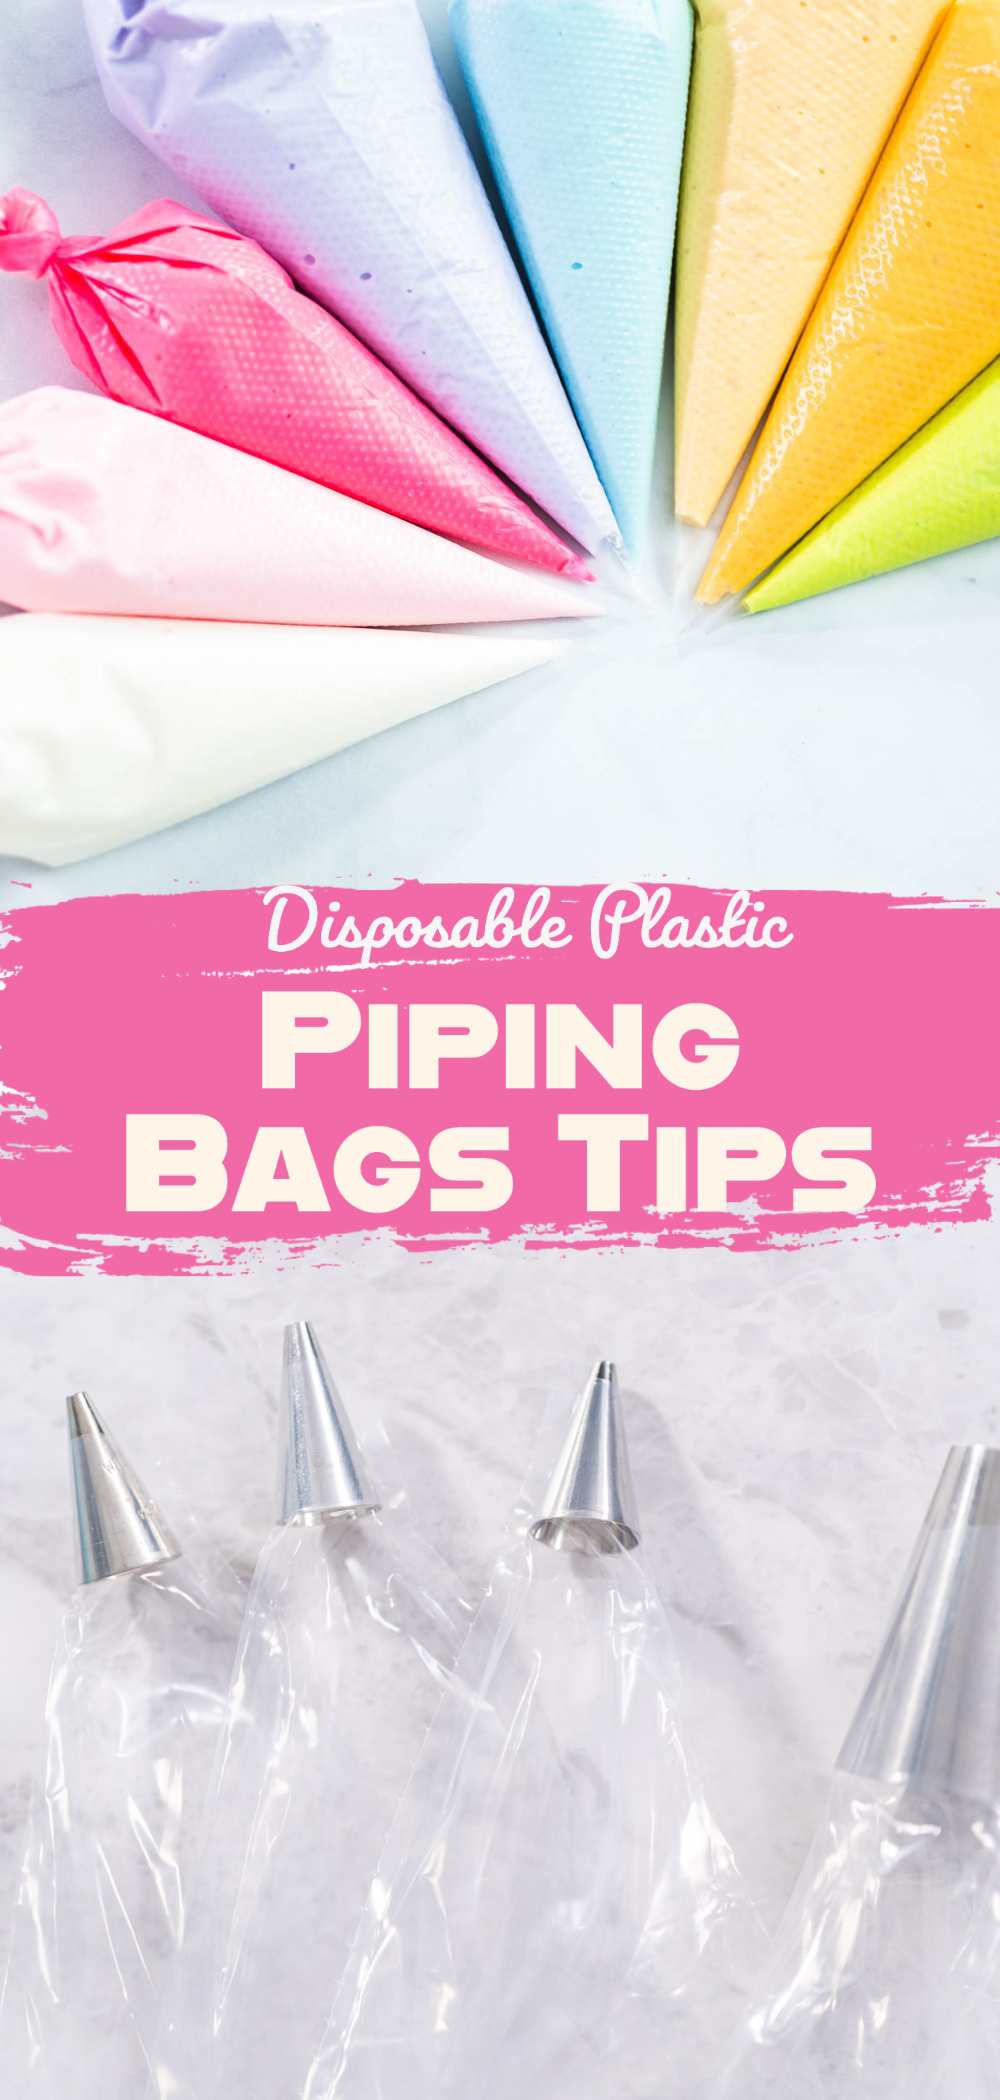
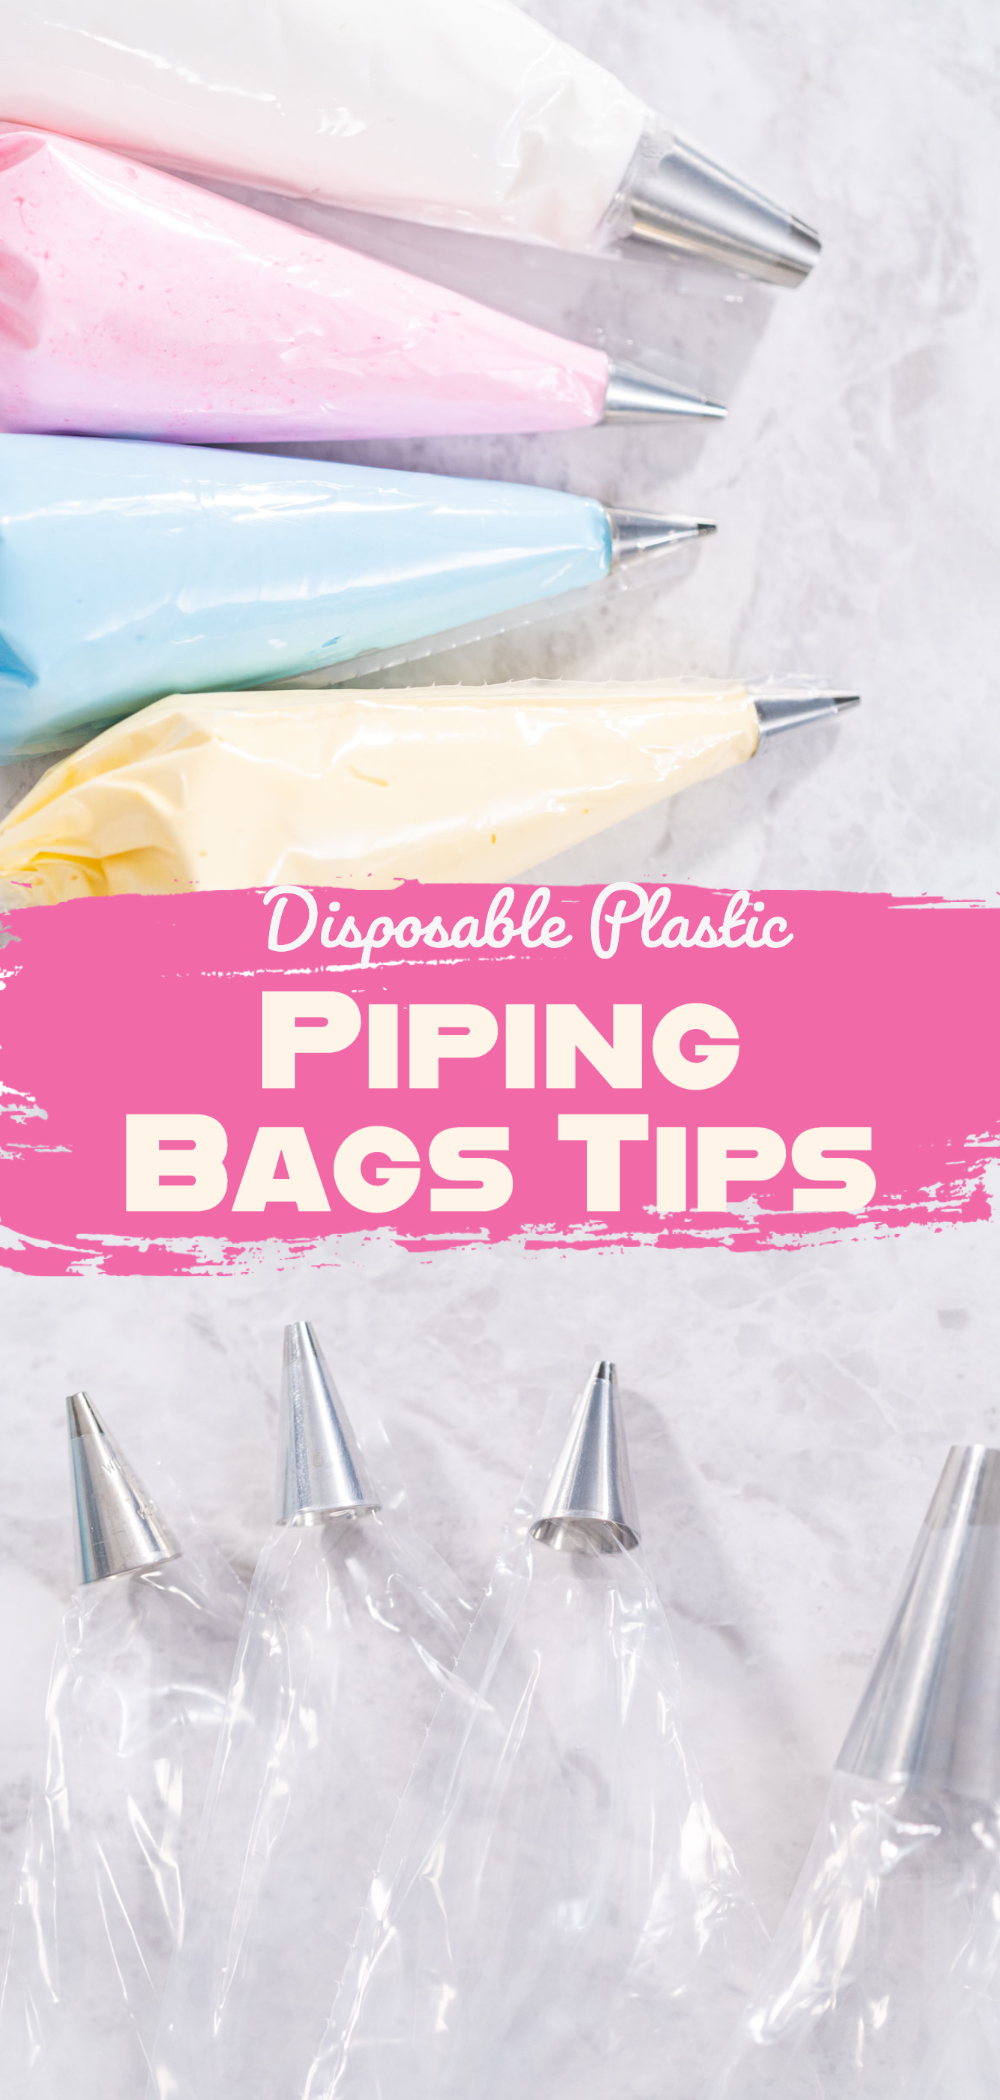
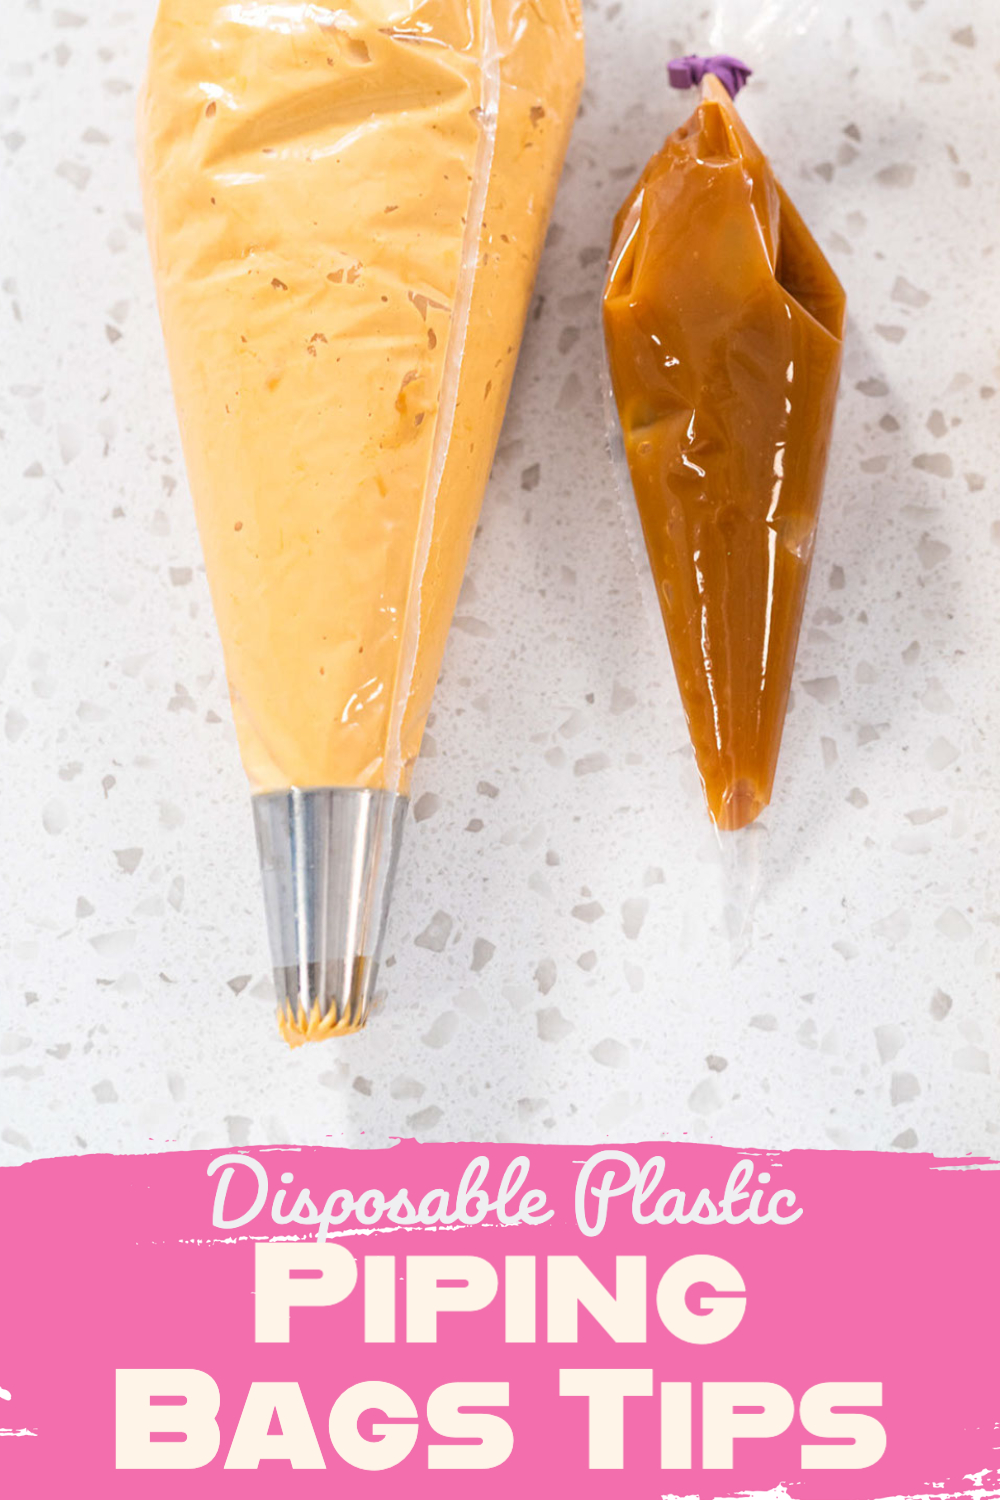
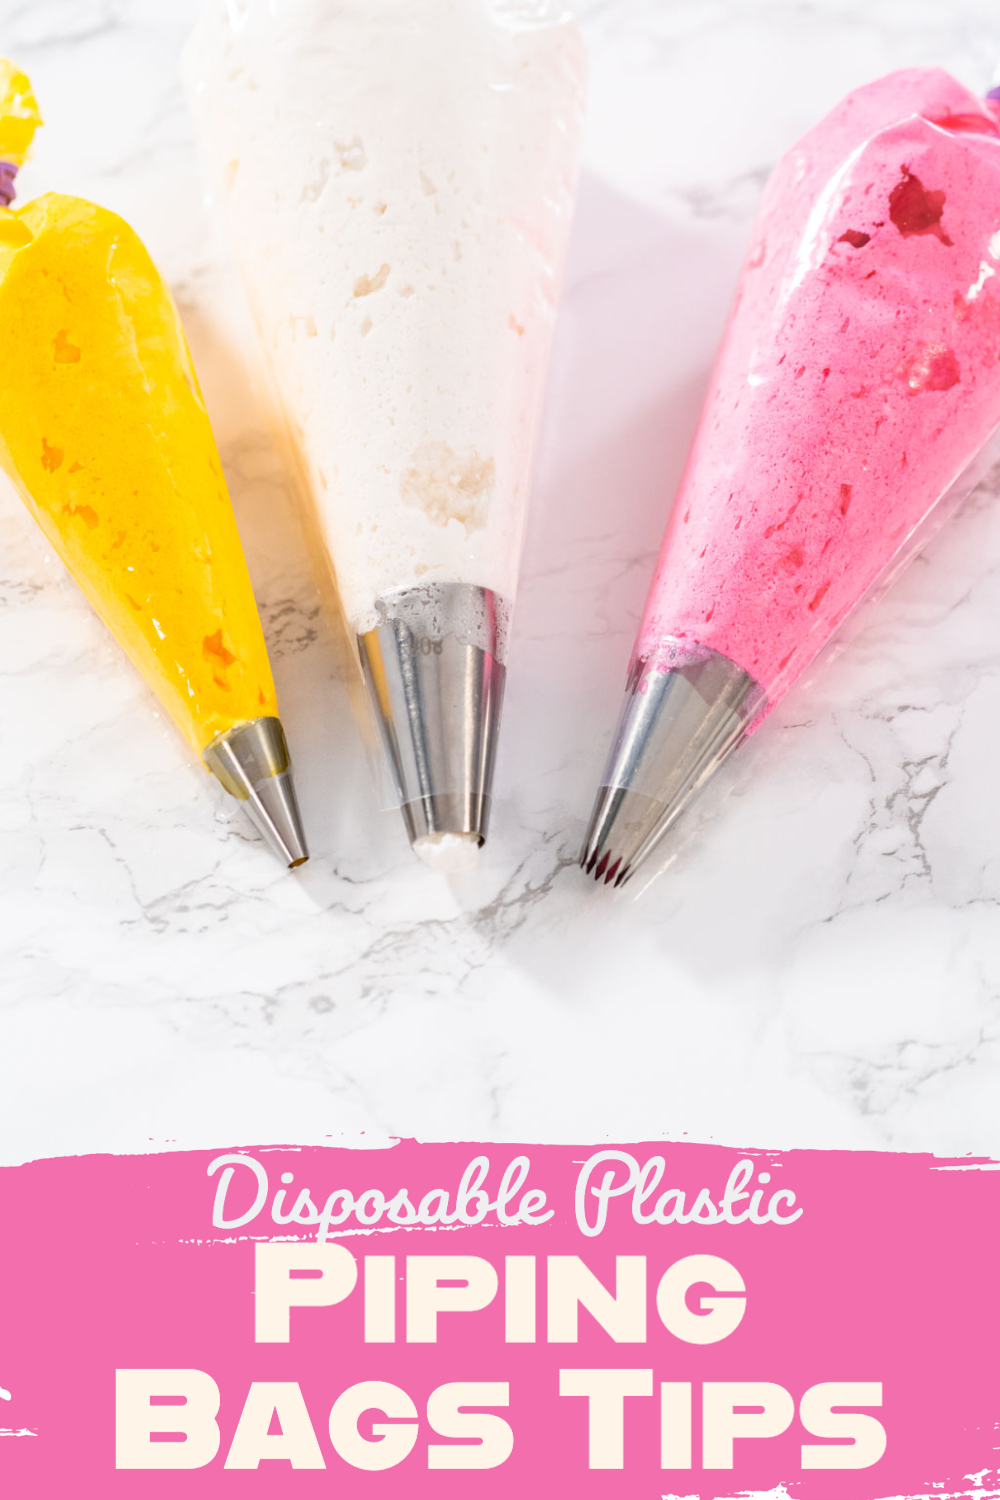
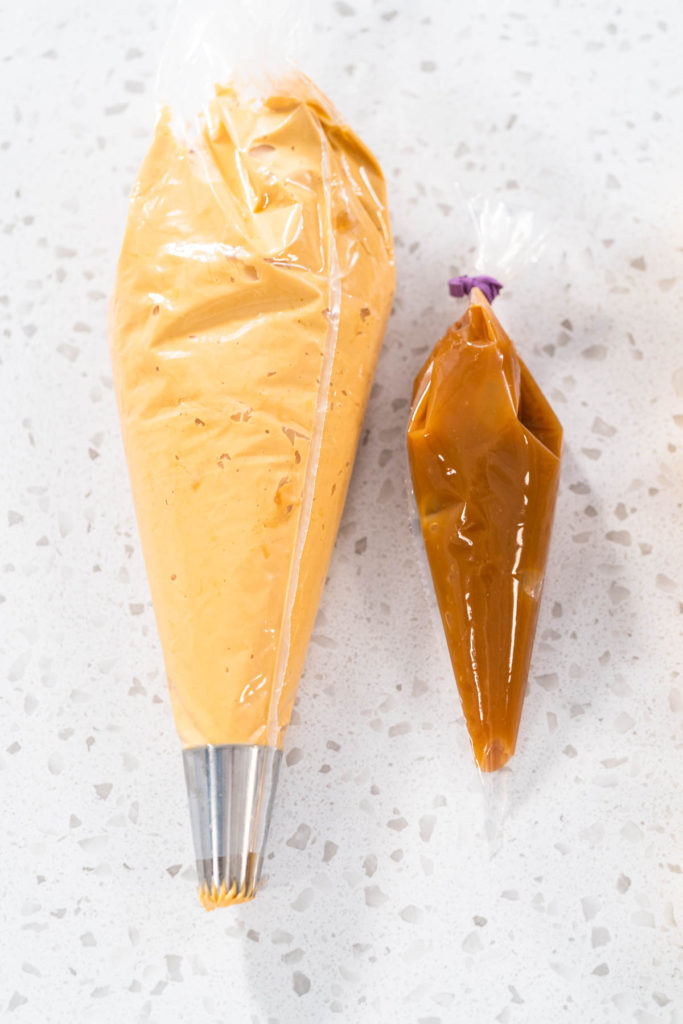
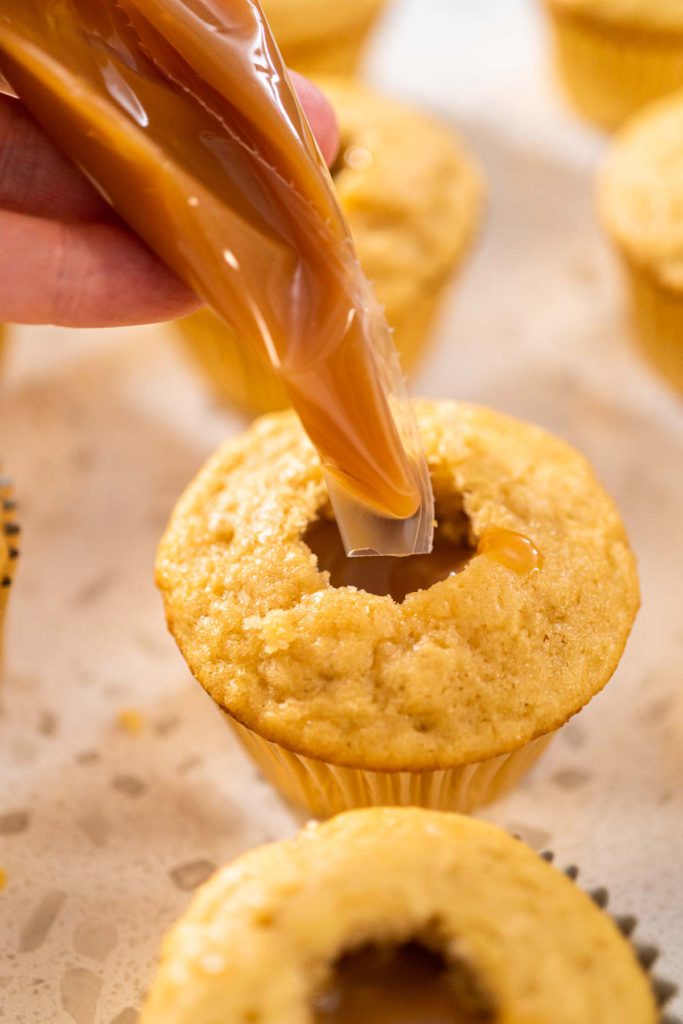
This first tip is pretty simple. The thicker plastic piping bags are better for thicker frostings like buttercream frosting, and for adding a filling to cakes or cupcakes. The thicker bags do not work as well for thinner frostings like royal icing though. That’s pretty easy to remember, right?
When using thicker bags, you have to use a bit more pressure to squeeze the frosting/icing out. This is not good when using thinner icings because you can easily apply too much pressure and end up losing control over the thinner icing.
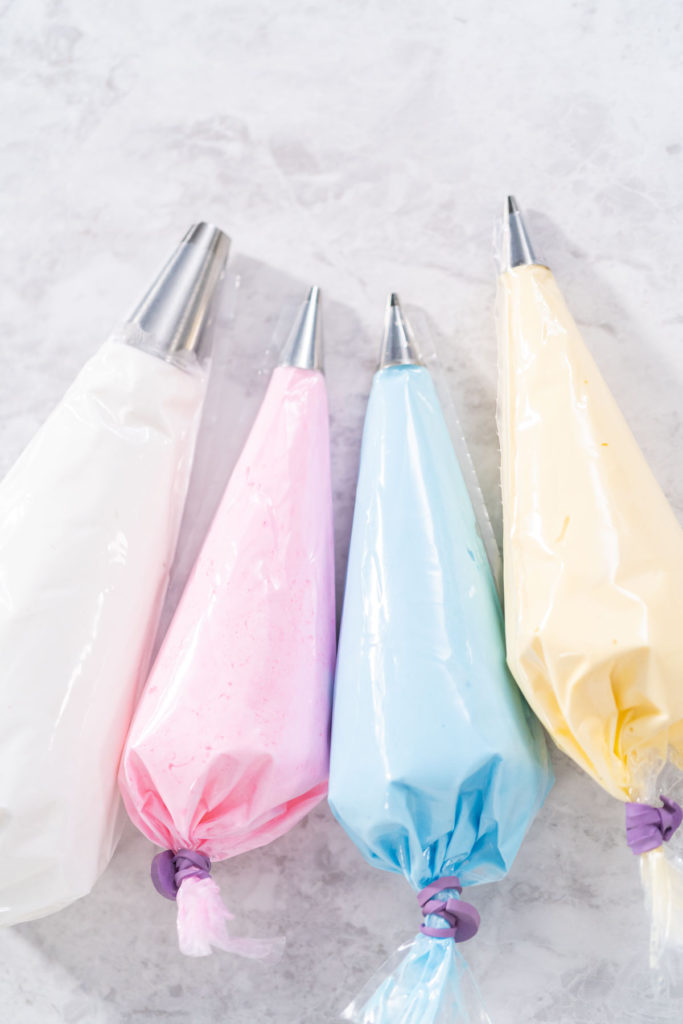
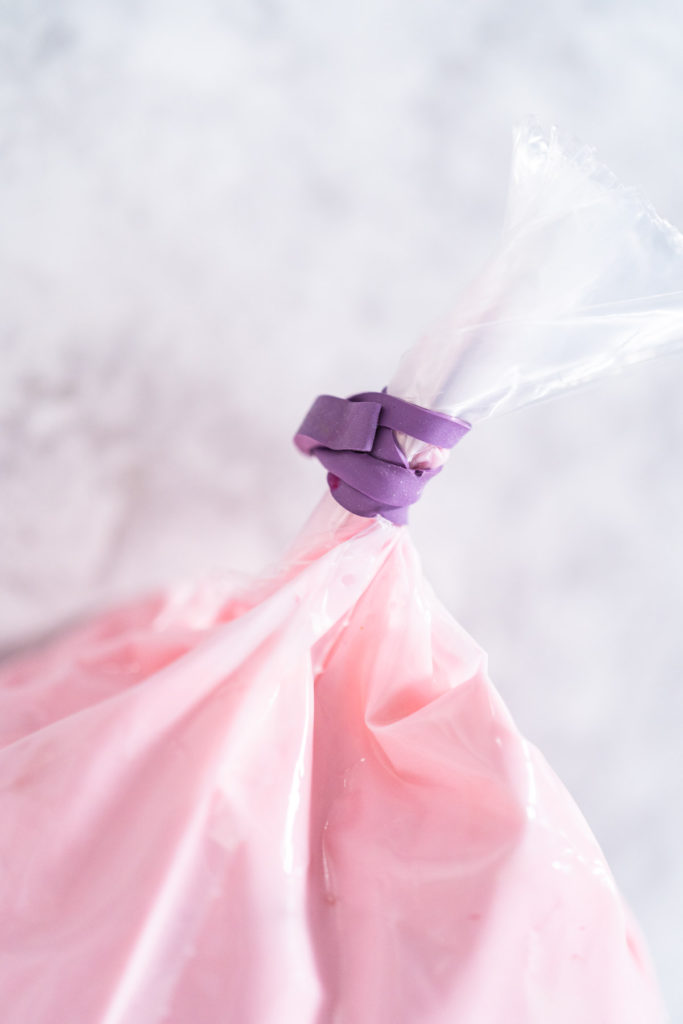
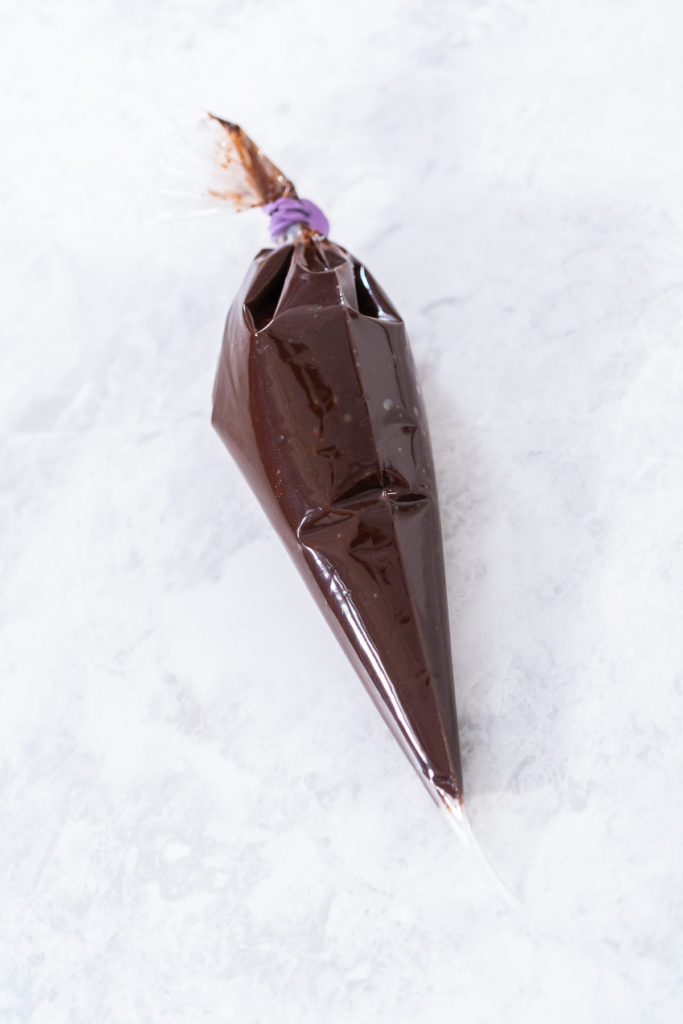
Some thicker plastic bags have a sticky outside surface which helps seal off the bag and keep the end of the bag together when twisted. Otherwise, I just use these piping bag ties to close and seal these kinds of piping bags.
Cakes and Cupcakes with Piped Filling:
- Lemon Cupcakes with Lemon Filling
- Chocolate Strawberry Cupcakes
- Unicorn Rainbow Cupcakes
- S’mores Cupcakes
- Funfetti Bundt Cake
Homemade Buttercream Frostings to Try:
- Lemon Buttercream Frosting
- Homemade Buttercream Frosting
- Cream Cheese Frosting
- Meringue Frosting
- Homemade Strawberry Buttercream Frosting
- Raspberry Buttercream Frosting
- Easy Bundt Cake Frosting
- Eggnog Frosting
- Homemade Whipped Cream
Piping Bag Tip #2: Use Thinner Bags for Thinner Frosting
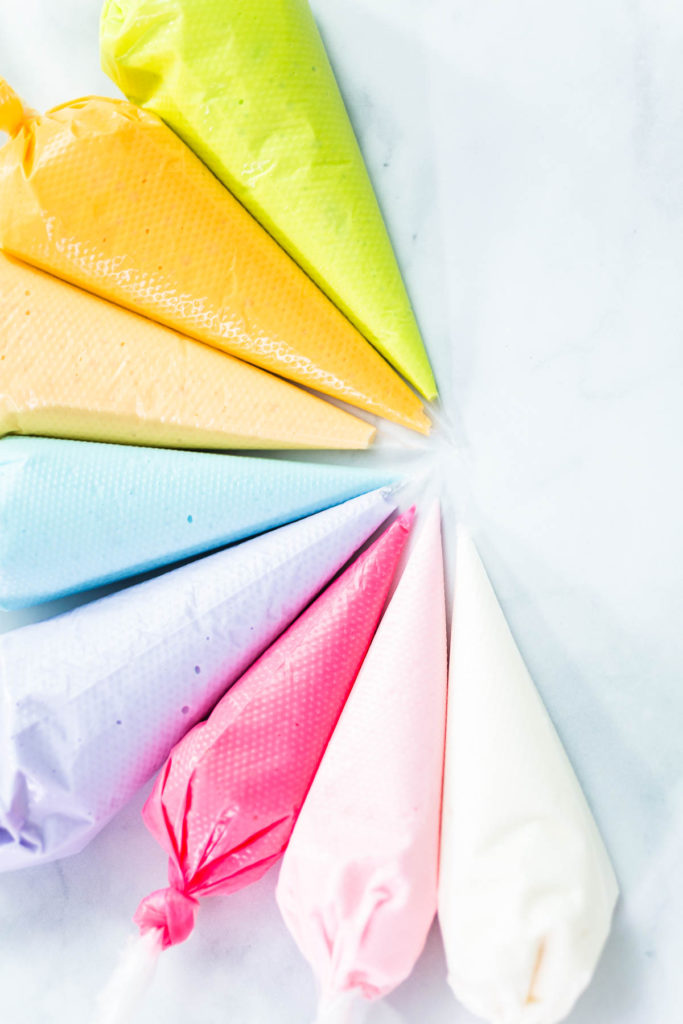
This one is pretty self-explanatory after the last tip. I like to use the thinner plastic piping bags for thinner icing, such as royal icing, since you get better control of the piping. On the other hand, these bags don’t have the right amount of “girth” to handle thicker frostings.
To seal these thinner bags I usually just tie a knot at the end and it works great! To pipe royal frosting with these, cut ⅛ inch from the tip of the bag right before icing the cookies. Here are a few recipes to try this with:
Royal Icing Treats:
Piping Bag Tip #3: Choose the Size Wisely
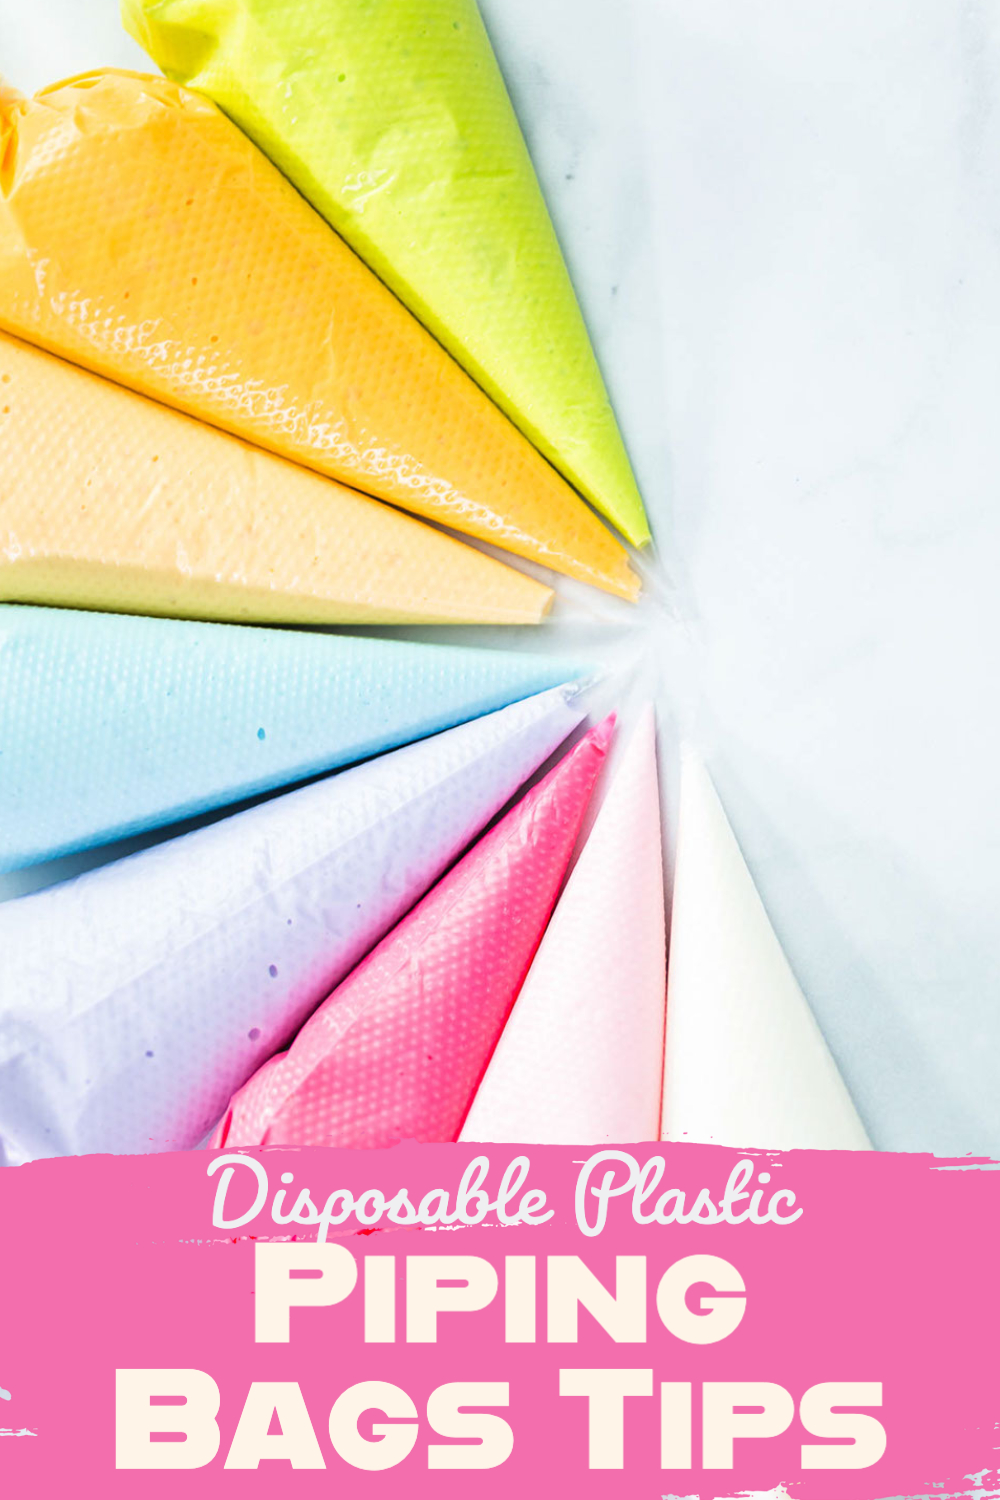
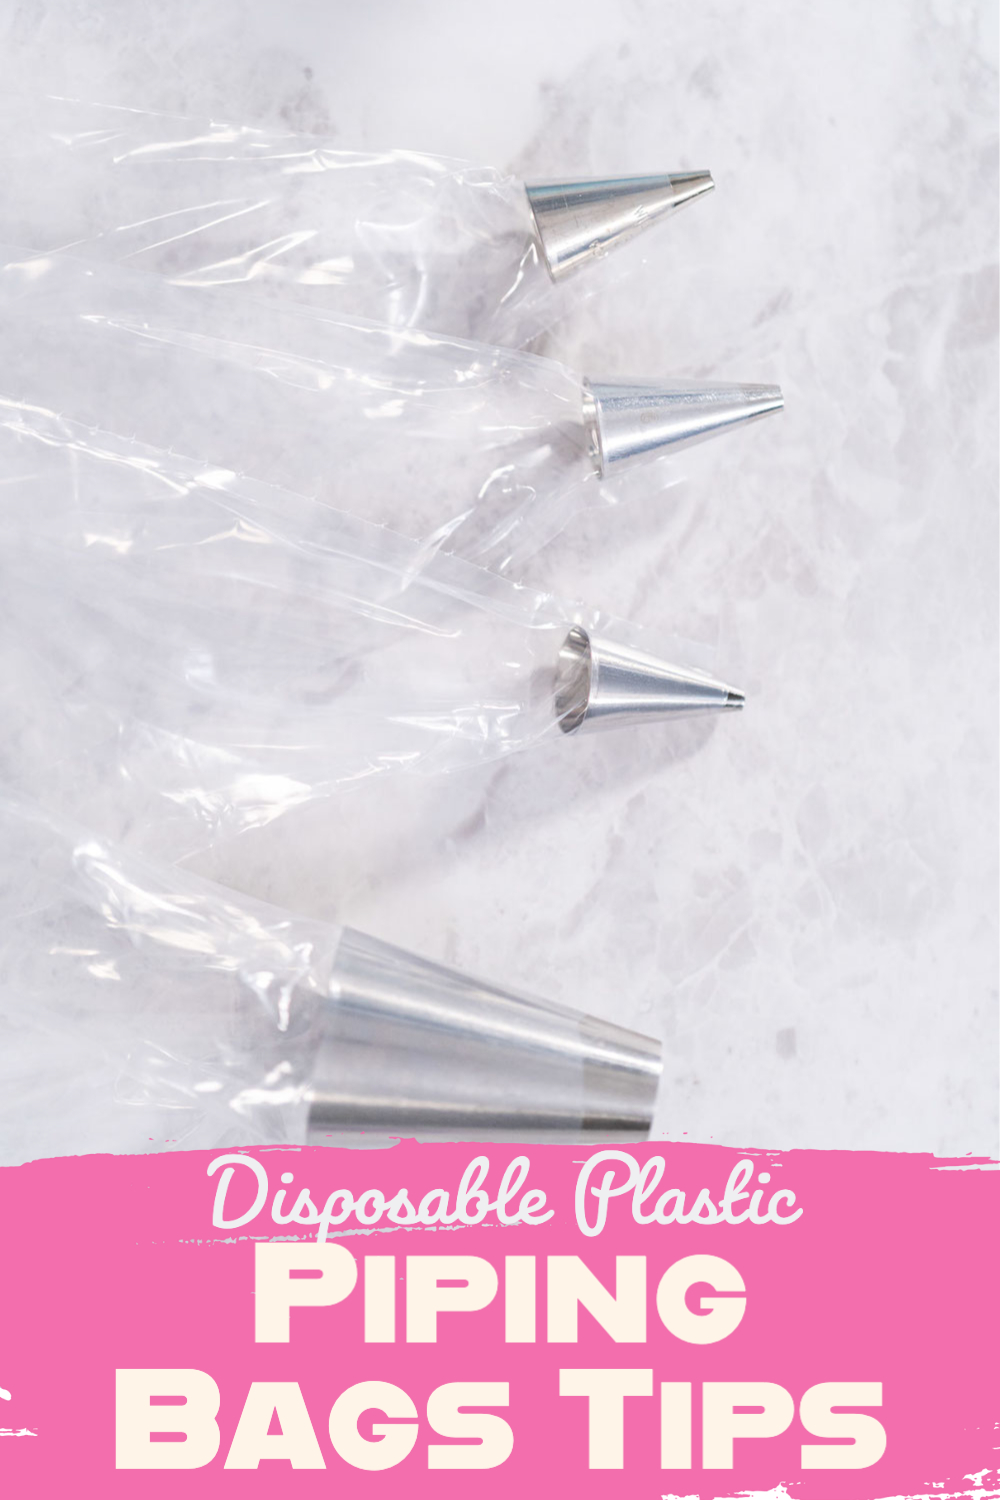
There are many different sizes of pastry piping bags available. If you need to start with only one size, the 18 inch is your bag! The middle is a good place to start that way you’re covered on small baking jobs, but you’re also prepared for some bigger ones too.
Usually, though, the size of the bag depends on the size of the job- how much buttercream you need to use. Figuring out the best size for the job is something you’ll get the hang of as you go, which is why I recommend just starting out with a slightly bigger middle size until you do get the hang of it.
However, I do not recommend using very big piping bags (more than 21 inch)! This is because when they are filled with buttercream, they become very heavy and way harder to control. Don’t over-do it! It’s best to use a couple of 18 or 21 inch bags rather than trying to master 1 huge bag.
Here are the piping bag sizes I usually use for my recipes:
Piping Bag Tip #4: How to Prepare a Piping Bag with a Tip
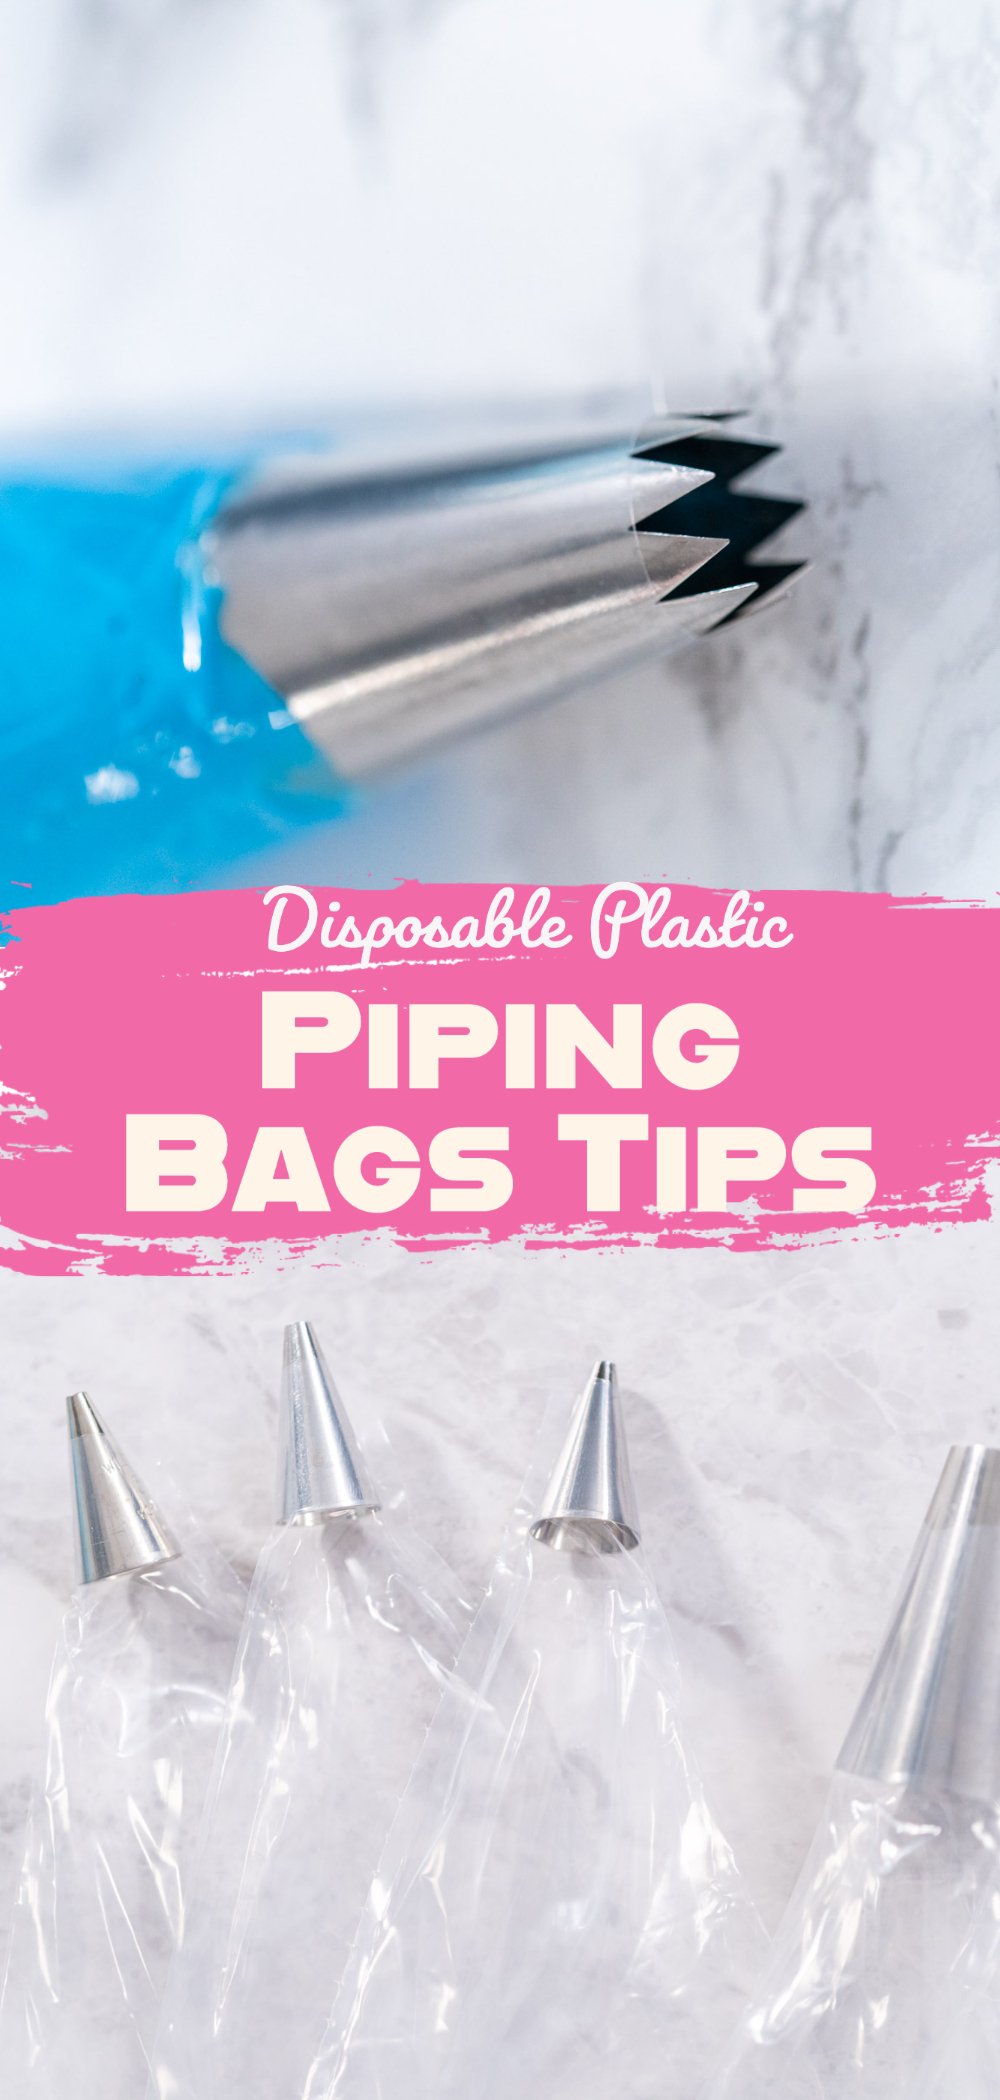
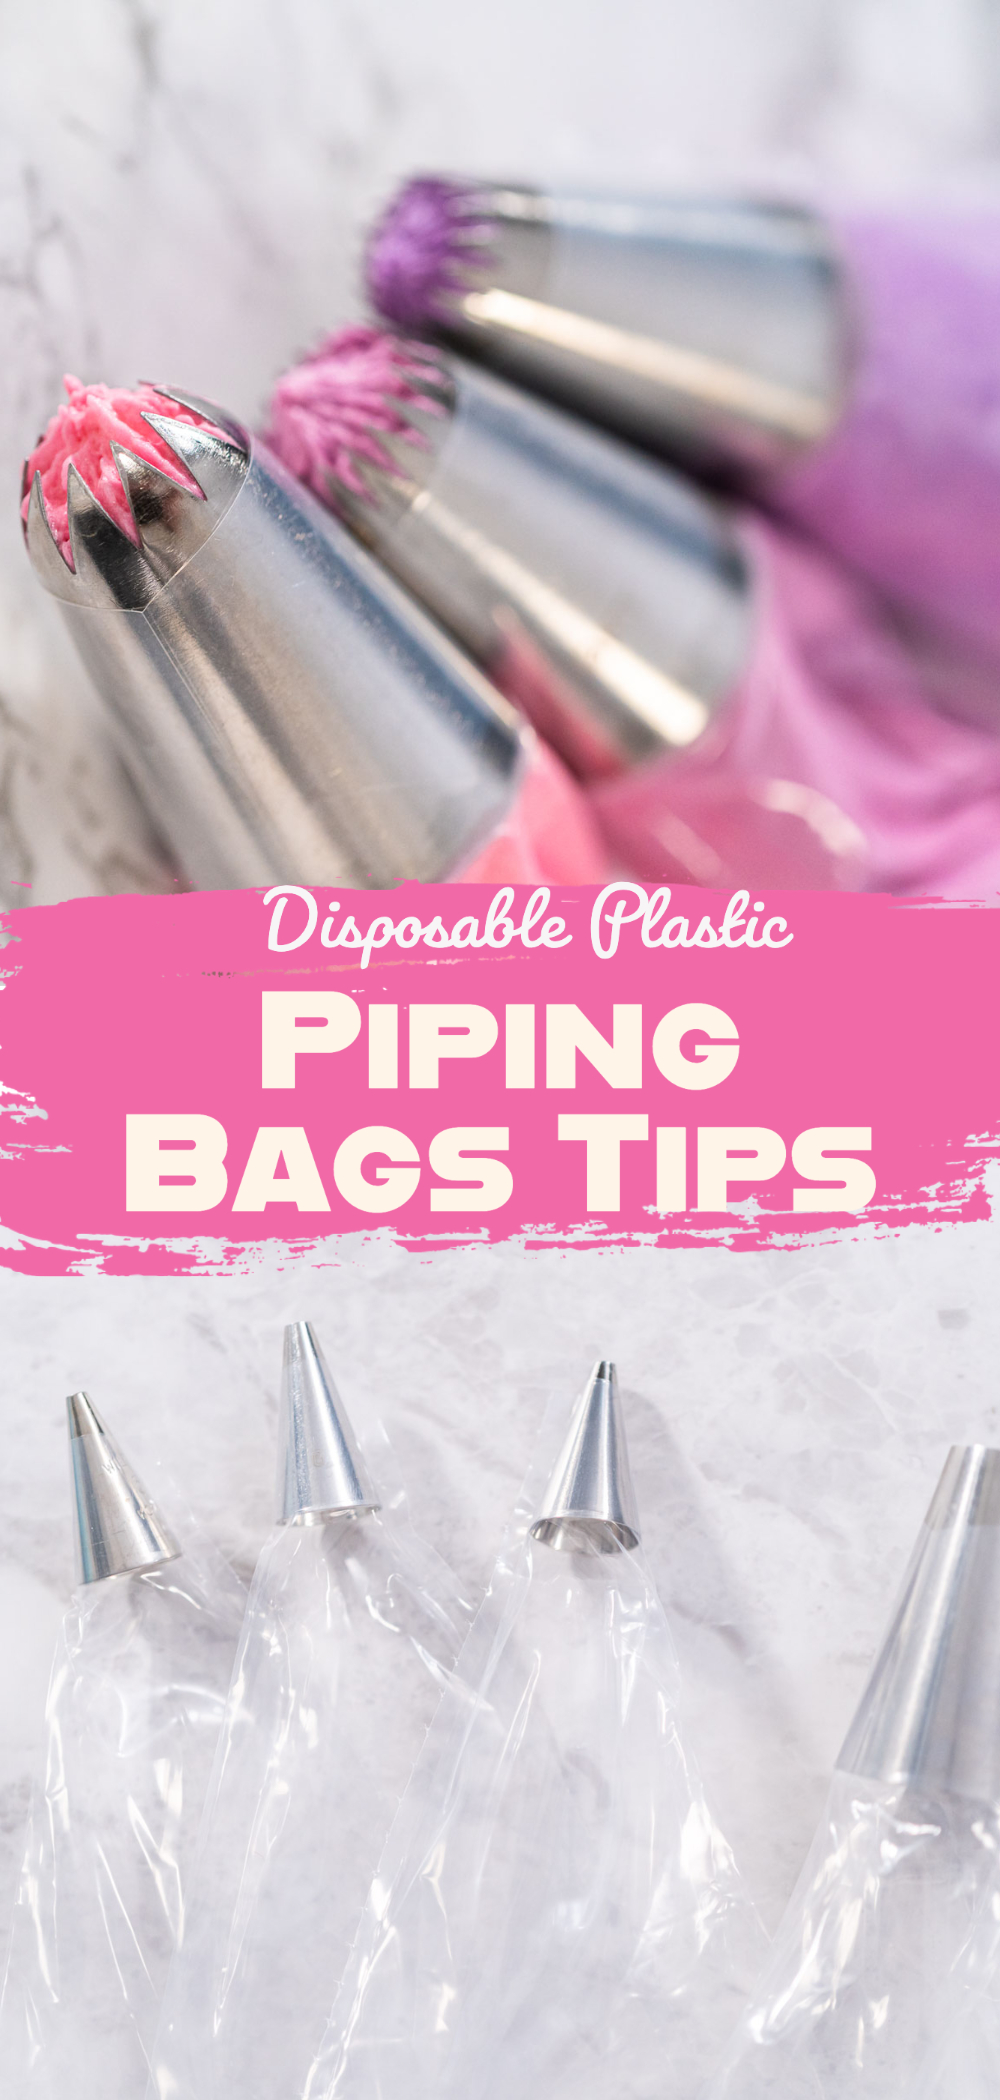
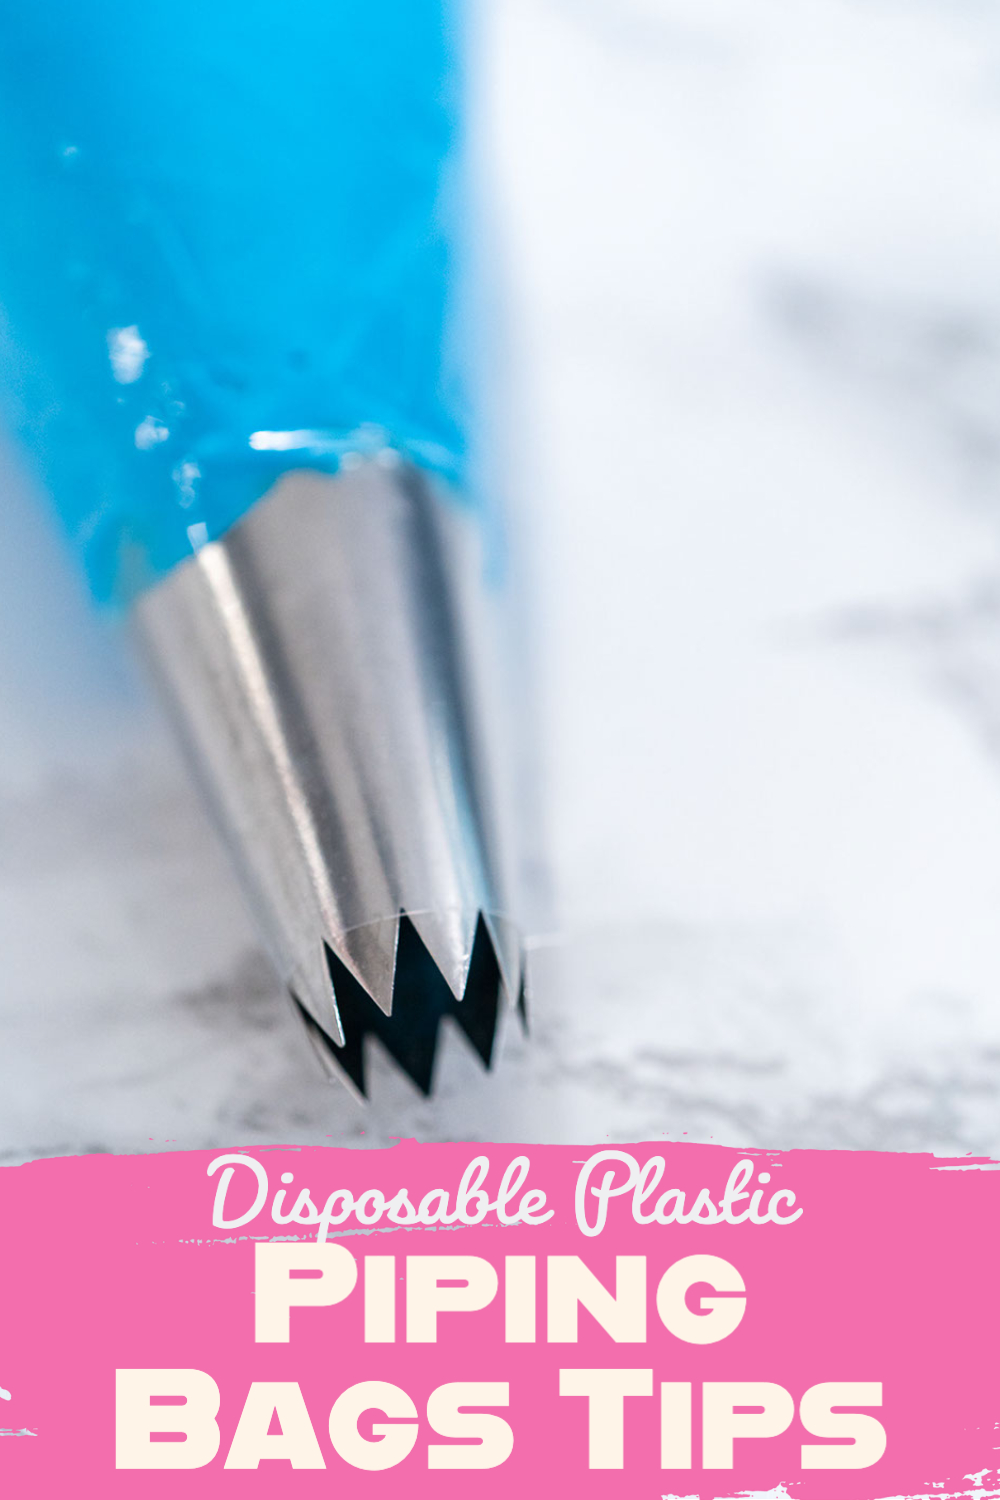
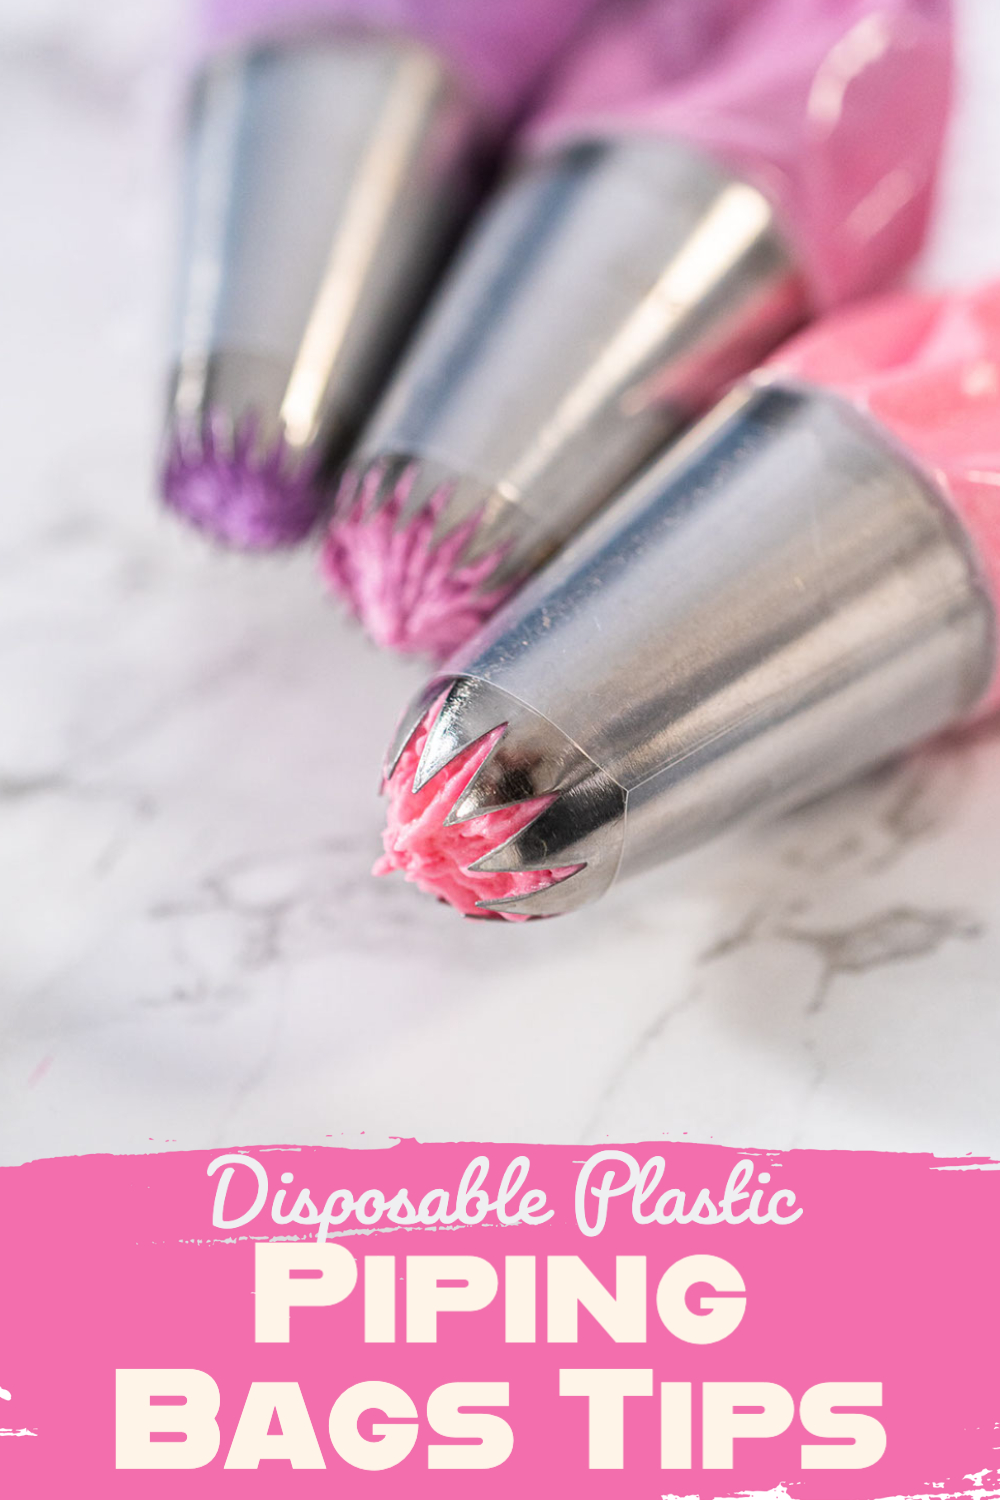
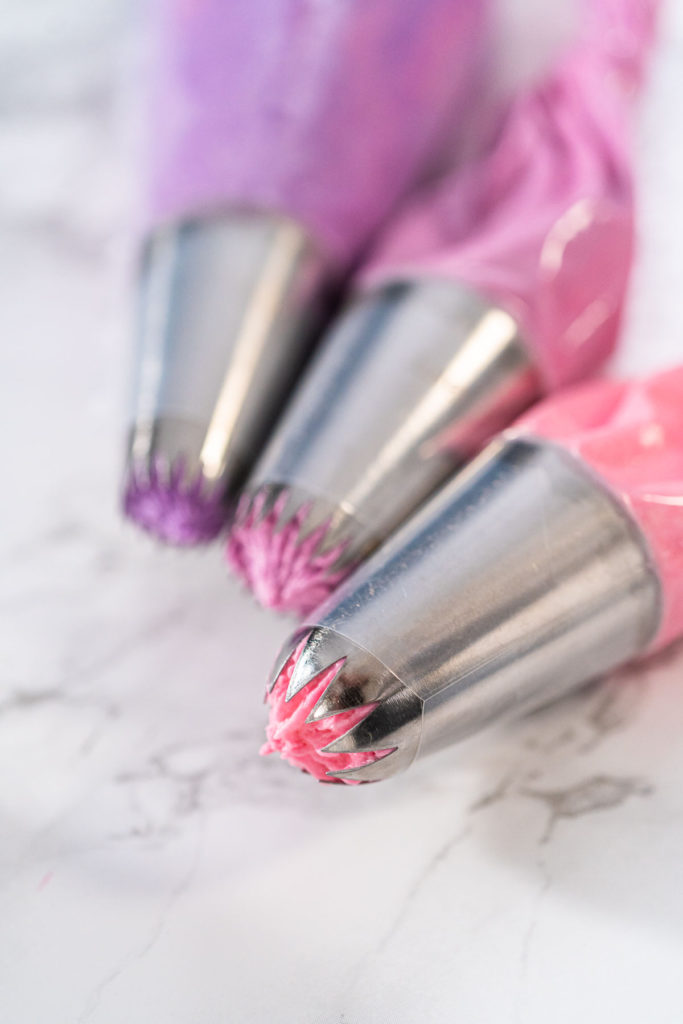
First, let me note that I much prefer the metal piping tips over all the others! These are much more sturdy, durable, and reliable than plastic piping tips so there’s absolutely no competition for me.
How to Insert a Metal Piping Tip into a Piping Bag:
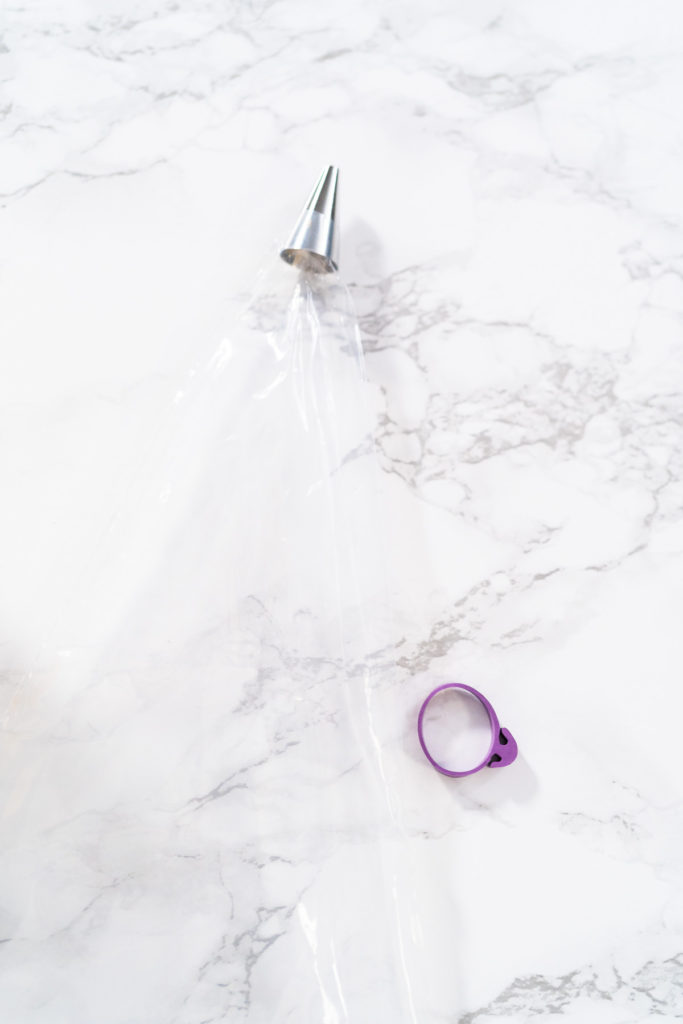
- First, lay the piping bag flat.
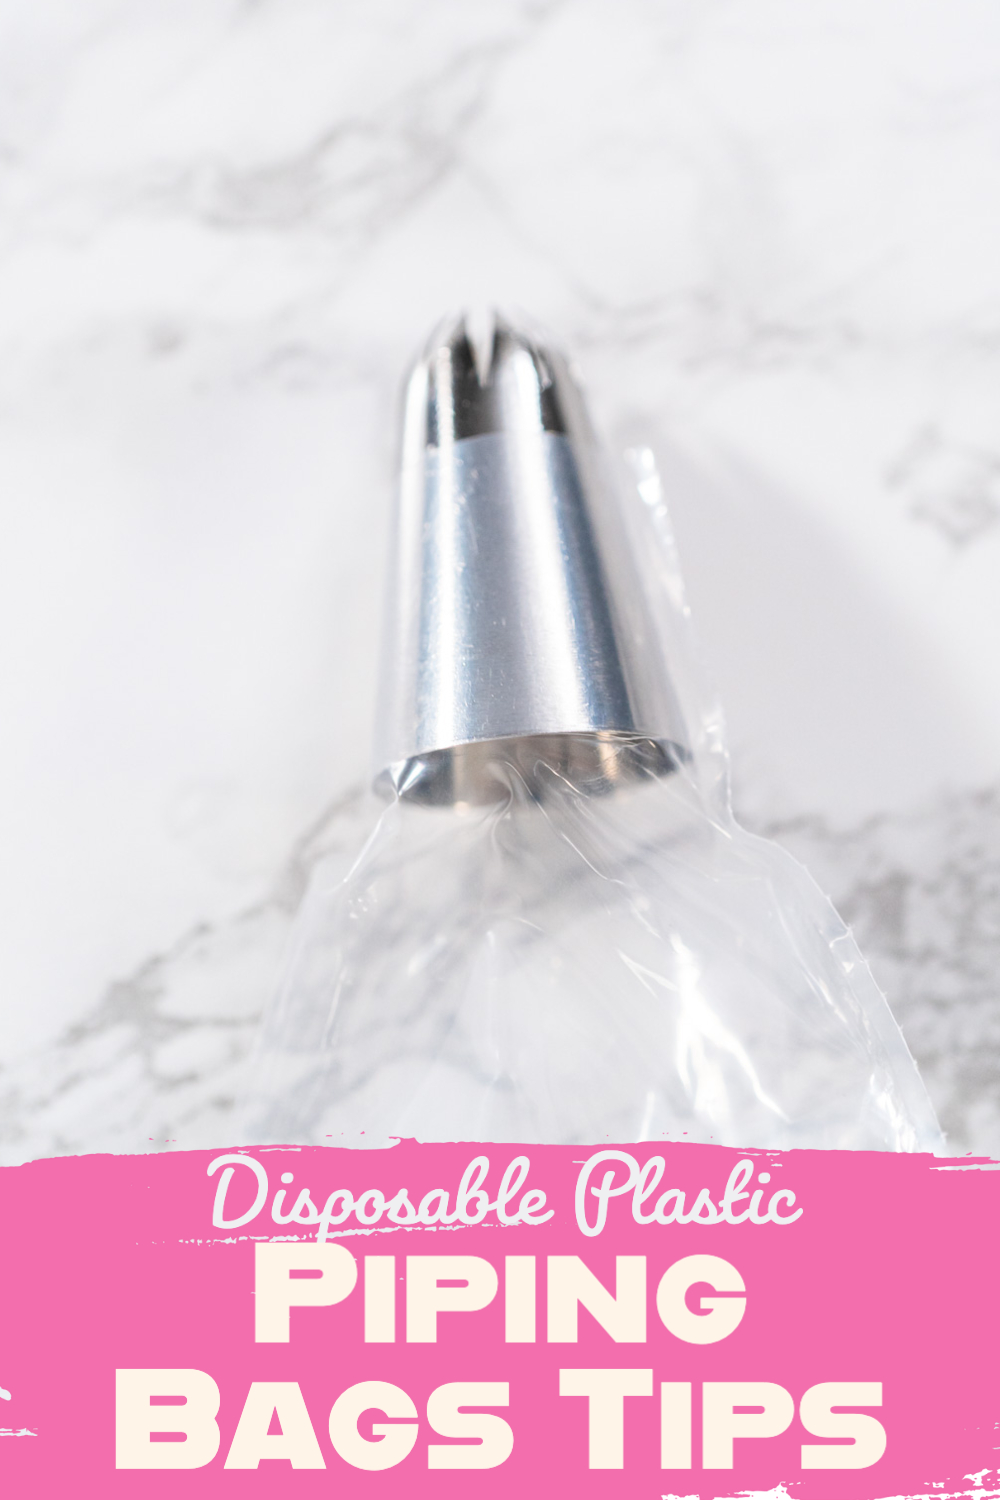
- Then, place the metal piping tip on the outside of the thin end of the bag (at the tip of the bag).
- Cut off the tip of the bag at the spot where the top of the piping tip touches the bag.
- Finally, insert the metal tip through the inside of the bag and out through the cut-off end.
Piping Bag Tip #5: How to Scoop Buttercream Frosting into a Piping Bag
Unless you have an extra arm that no one knows about, it can actually be a bit of a struggle to scoop the thick frosting into a piping bag. To help you out, here’s my super easy and hassle-free method of scooping the buttercream frosting into the piping bag!
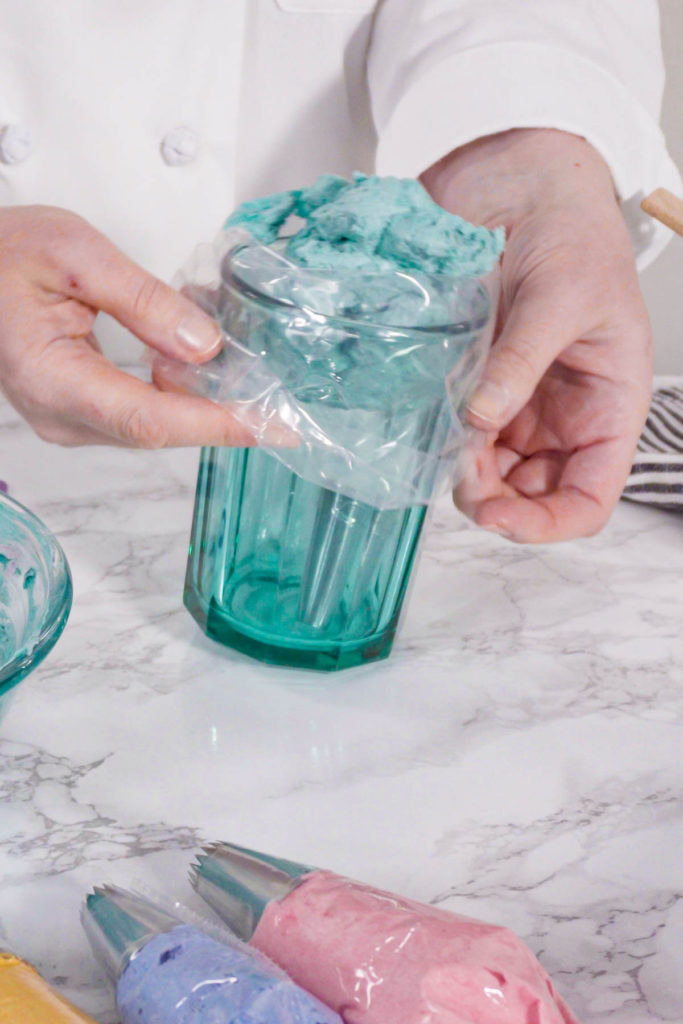
How to Scoop Buttercream Frosting into a Piping Bag:
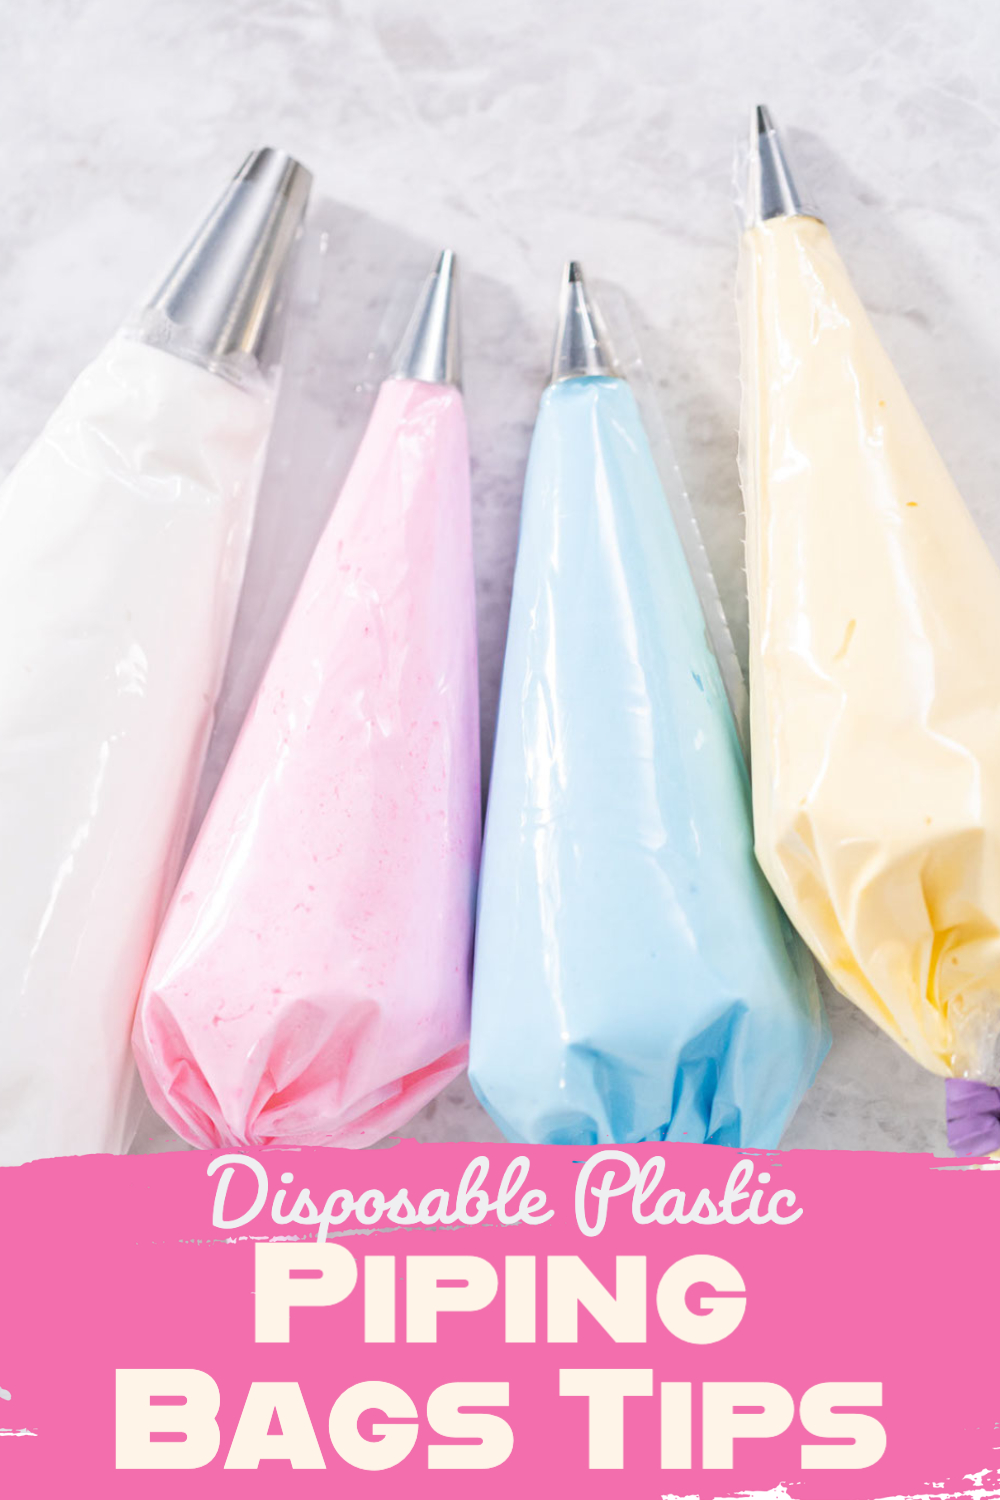
- First, you have to have the bag already prepared with a metal piping tip.
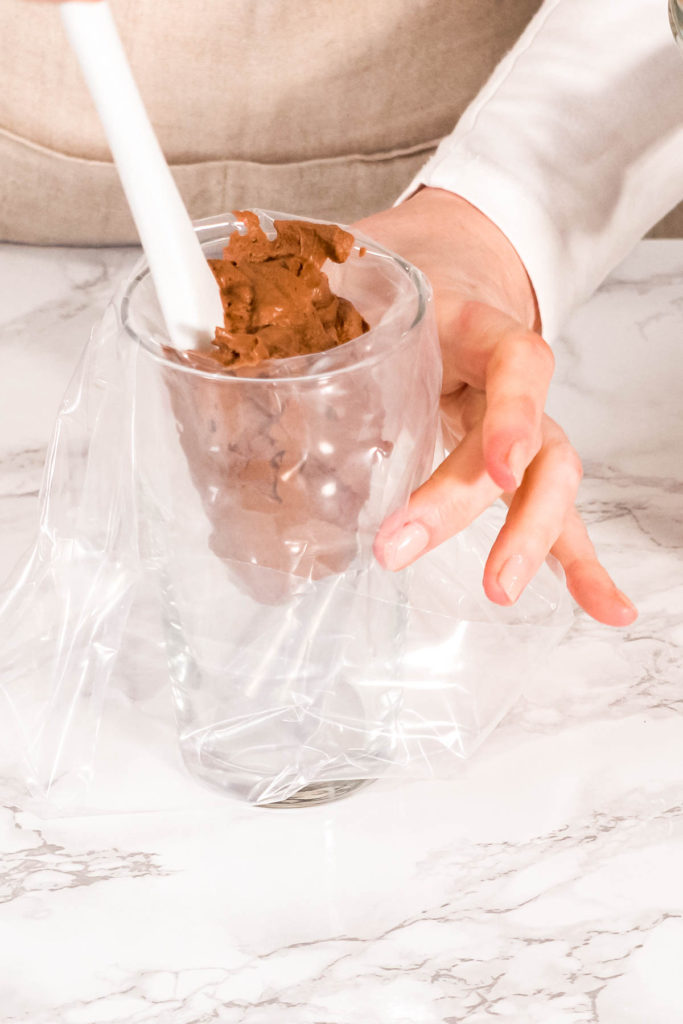
- Then, get a tall, large drinking glass.
- Put the prepared piping bag inside the glass and wrap the edges over the rim of the glass.
- Next, scoop the buttercream frosting into the bag, hassle-free!
- Finally, pull the bag edges up, twist tightly, and tie with a bag tie. Cut off the excess end of the bag, if needed. Easy peasy!
Bonus Piping Bag Tip: Piping Bags Aren’t Just for Piping!
While piping bags are known specifically for piping frosting onto pastries, there's actually a lot of other things they can be used for! I use my piping bags for everything from my frostings to my deviled eggs, and from refilling my dry food storage to making cookie kit party favors! Check out some of my alternative piping bag uses!
Alternative uses for piping bags:
- Use them for filling deviled eggs!
- For making cookie kit party favors!
- I also use these plastic piping bags to refill my dry food storage mason jars without making a mess. To do this:
- First, cut 1 inch from the tip of the bag.
- Then insert the cut tip of the bag into the jar.
- Finally, carefully pour the dry ingredients through the opening of the bag into the jar.
Crafty Cakes and Cupcakes
Need some sweet recipes to try these simple piping bag tips and tricks on? I’ve got you covered with a few frosting-piped cakes and a ton of scrumptious, simple, and sometimes fancy frosted cupcakes!
Piped Cakes:
- 4th of July 3 Layer Cake in 1 Hour
- Unicorn Cake
- 3 Layer Vanilla Cake in 3 Hours
- Mermaid 3 Layer Cake in 1 Hour
Crafty Cupcakes:
- Mini Vanilla Cupcakes with Ombre Buttercream Frosting
- American Flag Mini Cupcakes
- Lemon Cupcakes with Lemon Filling
- Red Velvet Cupcakes with White Chocolate Ganache Frosting
- Raspberry Chocolate Cupcakes
- S’mores Cupcakes
- Chocolate Strawberry Cupcakes
- Chocolate Cupcakes with Chocolate Frosting
- Gingerbread Cupcakes
- Peppermint Cupcakes
- Unicorn Rainbow Cupcakes
- Mardi Gras Cupcakes
- Easter Bunny Cupcakes
- July 4 Lemon Cupcakes
Food Photography & Video Tips from My Studio
Here’s a peek at the tools, gear, and camera setups I use to film my recipe videos and photograph food at home. Over the years, I’ve tested dozens of different setups, and now I’m sharing what actually works for me—whether I’m filming overhead shots for YouTube or styling still photos for my blog. If you’re curious about how I create the content you see here, these posts are a great place to start.









Leave a Reply