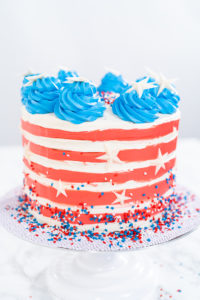
How to make your own spectacular and star- spangled 4th of July, 3 layered cake that’s ready in just 1 hour!
This post contains affiliate links.
As someone who grew up with a mom that liked to whip up wonderful treats for us all the time, baking has always been very close to my heart! Now I carry the baking tradition too and like to treat my family to home- baked sweets as often as I can. And for me, baking is an absolute must for any celebration, holiday, or tradition. Especially holidays that come with a flashy flare of excitement, like the 4th of July! But let’s be honest here. On busy holidays like this one, there is just not enough time to juggle food, guests, kids with sparklers, decorations, and trying to prepare a completely homemade dessert that dazzles everyone. Instead, this is the time to take a baking shortcut or two without sacrificing delicious taste or a spectacular food table display.
Some might say it would be easier to just order a cake beforehand or pick up a premade cake from the store. However, even when I’m low on time I still prefer to have at least a little touch of homemade love in the baked treats that I serve. So my solution? I got what I needed to whip up my own 4th of July 3 layered cake in just 1 hour! One of the best parts? I was able to find everything I needed to make this whole star- spangled cake for under $30! A DIY 4th of July cake that saves money to make? Talk about patriotic! So, if you too are looking for a spectacular Independence Day recipe that is easy to whip together before the holiday chaos starts, then here is how to make your own 4th of July 3 layered cake in 1 hour!
Do It Yourself Cake Equipment and Tools
This recipe will require quite a few tools for assembling and decorating this gorgeous cake. If you don’t have what you need, don’t panic! You can easily pick up most of these kitchen tools or something similar at most grocery stores.
Cake Equipment:
- Electric hand mixer
- Glass mixing bowl
- Silicone Spatula set
- Cake Spatula
- Revolving cake stand
- Piping bags
- Piping bag ties
- Cupcake Jumbo Piping Tips
- TXGB14 Cake Scraper
- Smooth Cake Scraper
- 10 inch White Cake Drum
- Star Silicone Mold
- Candy Melt Pot
Star- Spangled Cake Ingredients
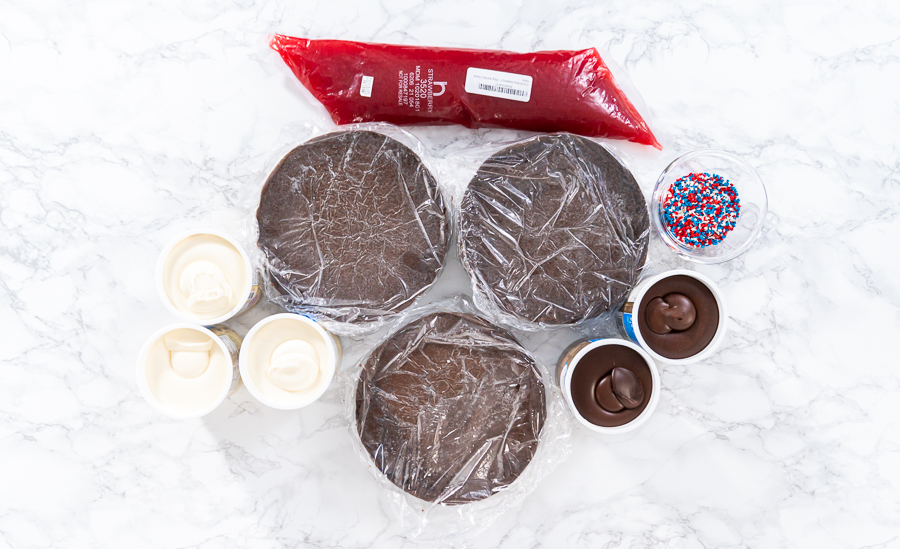
To be able to make this whole cake in just an hour I used store- bought, ready to use ingredients. Now, you can make this whole cake from scratch if you want to and then store the homemade ingredients separately until it’s time to assemble the cake but the whole process would need to be done over a few days before the actual holiday. Any of these ingredients can be substituted for made from scratch recipes, like this homemade Buttercream Frosting, if you have the extra time.
Cake Ingredients:
- 4 cans (16 oz) Vanilla buttercream frosting
- Walmart brand of buttercream frosting is cheaper.
- 4-6 cups Powdered sugar, as needed
- 2 cans (16 oz) Chocolate buttercream frosting
- 3 pre- baked, uniced, chocolate cake layers, 8 inches each
- If store bought cake layers are not frozen solid then drizzle them with cake syrup and freeze them flat. Starting this recipe with solid cakes is the preferred method for ultimate ease.
- 1 lb Strawberry cake filling (or any jam filling of your choice)
- Star Sprinkles: Red, White, & Blue
- Food coloring: red and blue
Garnish: Chocolate Star Ingredients:
- ½ cup Bright White Wilton Candy Melts
- ½ tsp Coconut oil
- ½ cup Royal Blue Wilton Candy Melts
- ½ tsp Coconut oil
- ½ cup Red Wilton candy melts
- ½ tsp Coconut oil
How to Make this Stunning 4th of July Cake
Let’s get down to business- delicious cake business, that is. If making this cake from scratch please remember that all the ingredients need to be ready to use before starting this cake assembly for it to still be ready in about an hour.
Cake Assembly:
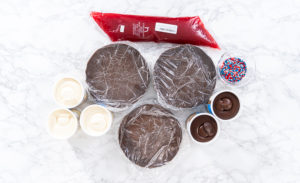
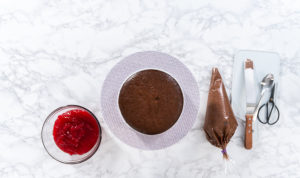
- First, gather up all of your cake ingredients and all 3 of the pre- baked chocolate cake layers.
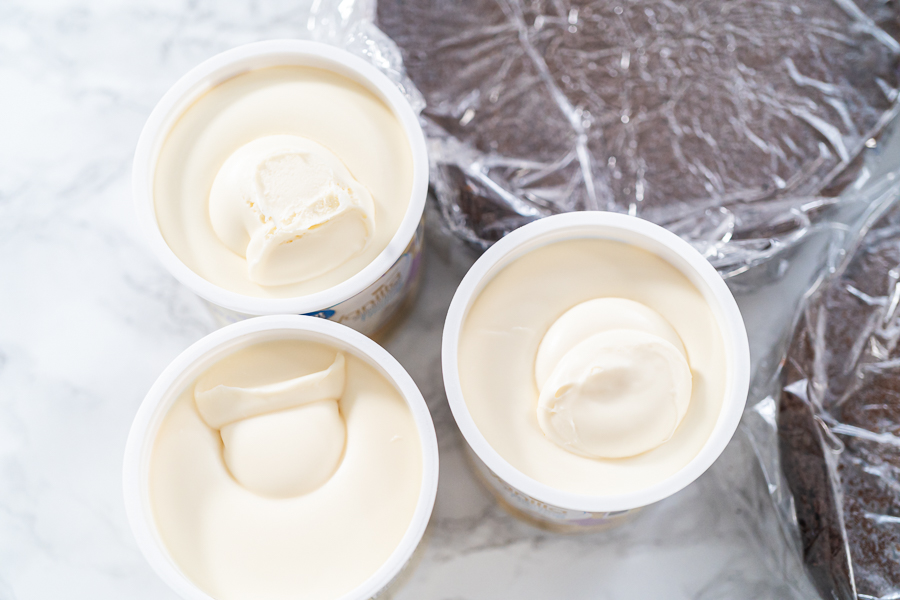
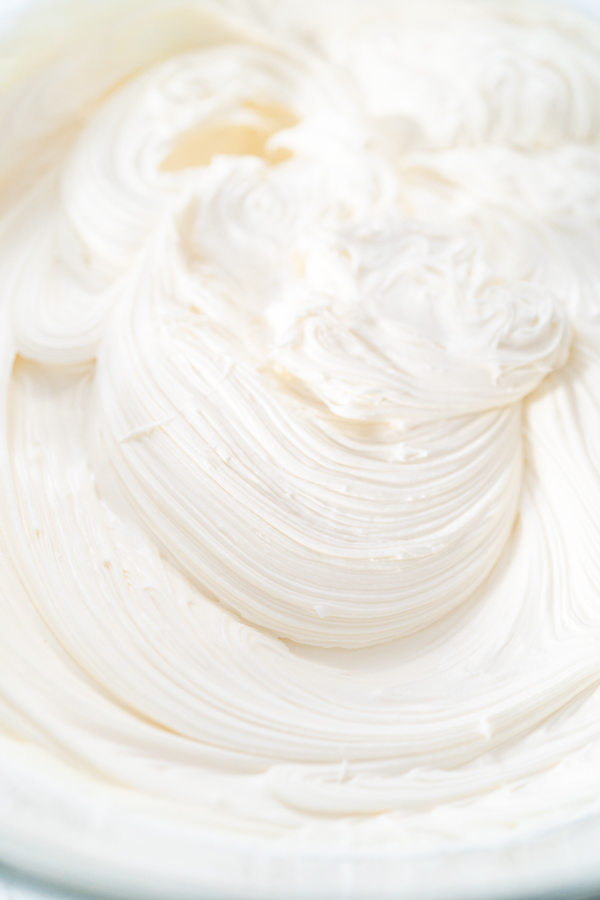
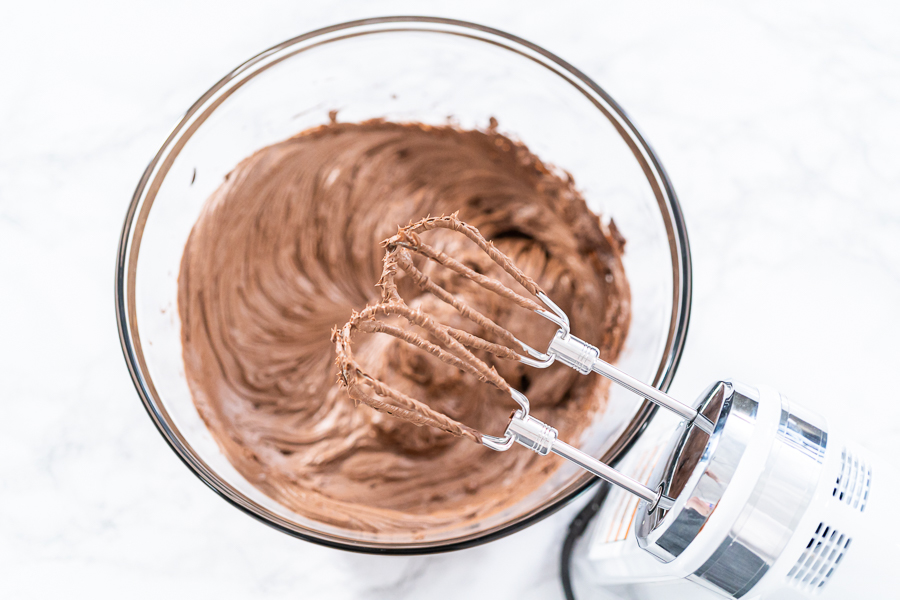
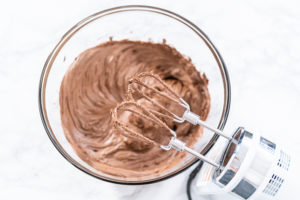
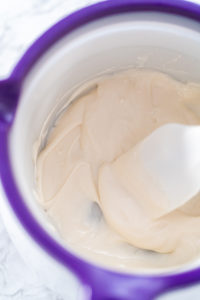
- Then, transfer both cans of the chocolate frosting to a large glass mixing bowl and whip with the electric hand mixer until smooth, about 5 minutes.
- If the whipped frosting is too soft, add ½ cup of powdered sugar per 1 can. The frosting layers will need to be thick, otherwise the cake layers will move and slide.
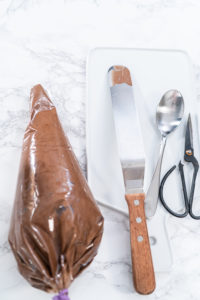
- When it’s ready, use a silicone spatula to scoop the whipped chocolate frosting into a pastry piping bag and close it off with a piping bag tie. Cut off the tip of the pastry bag to make an opening.
- Next, line the revolving cake stand with the 10 inch white cake drum and squeeze a small amount of chocolate frosting in the middle on the drum surface. Spread around a little bit using the cake spatula, then unwrap the first cake layer and position it in the center of the cake drum.
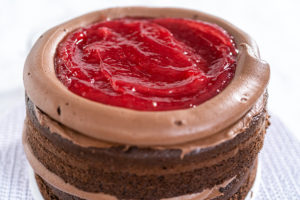
- Squeeze chocolate frosting onto the top of the first cake layer and spread it out evenly over the top using the cake spatula. Then, squeeze a border of frosting along the top outer edge- this border will hold the filling. Scoop a few spoonfuls of strawberry filling inside the frosting border and spread around to fill in.
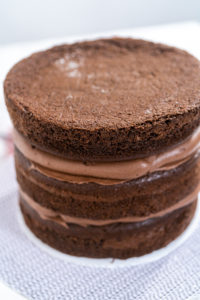
- Carefully add the second layer of chocolate cake and repeat the frosting and filling process.
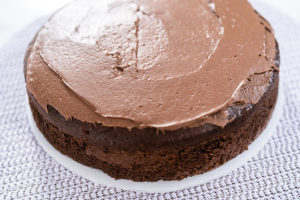
- Next, add on the final layer of cake upside down to create a flat top. Then, frost the top completely.
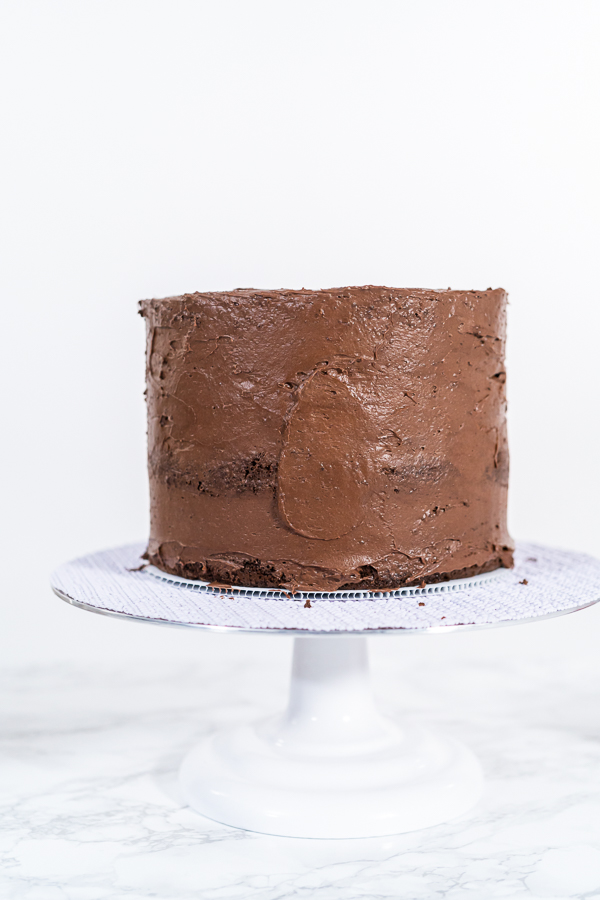
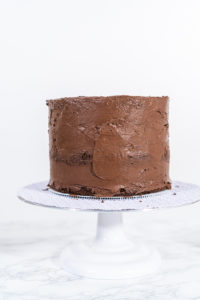
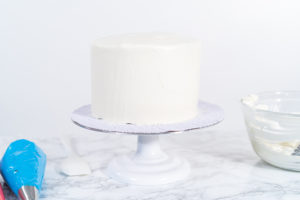
- Finally, to create a crumb coat layer, add confectioner’s sugar to the remaining chocolate frosting and whip together. Then spread the thickened frosting over the entire outside of the stacked cake. Transfer the cake to the refrigerator to chill for 1 hour.
- Use about 1 cup confectioner's sugar per 1 can of icing. Store bought frosting is too soft for the crumb cake layer so it needs to be thickened up a little bit.
July 4th Theme
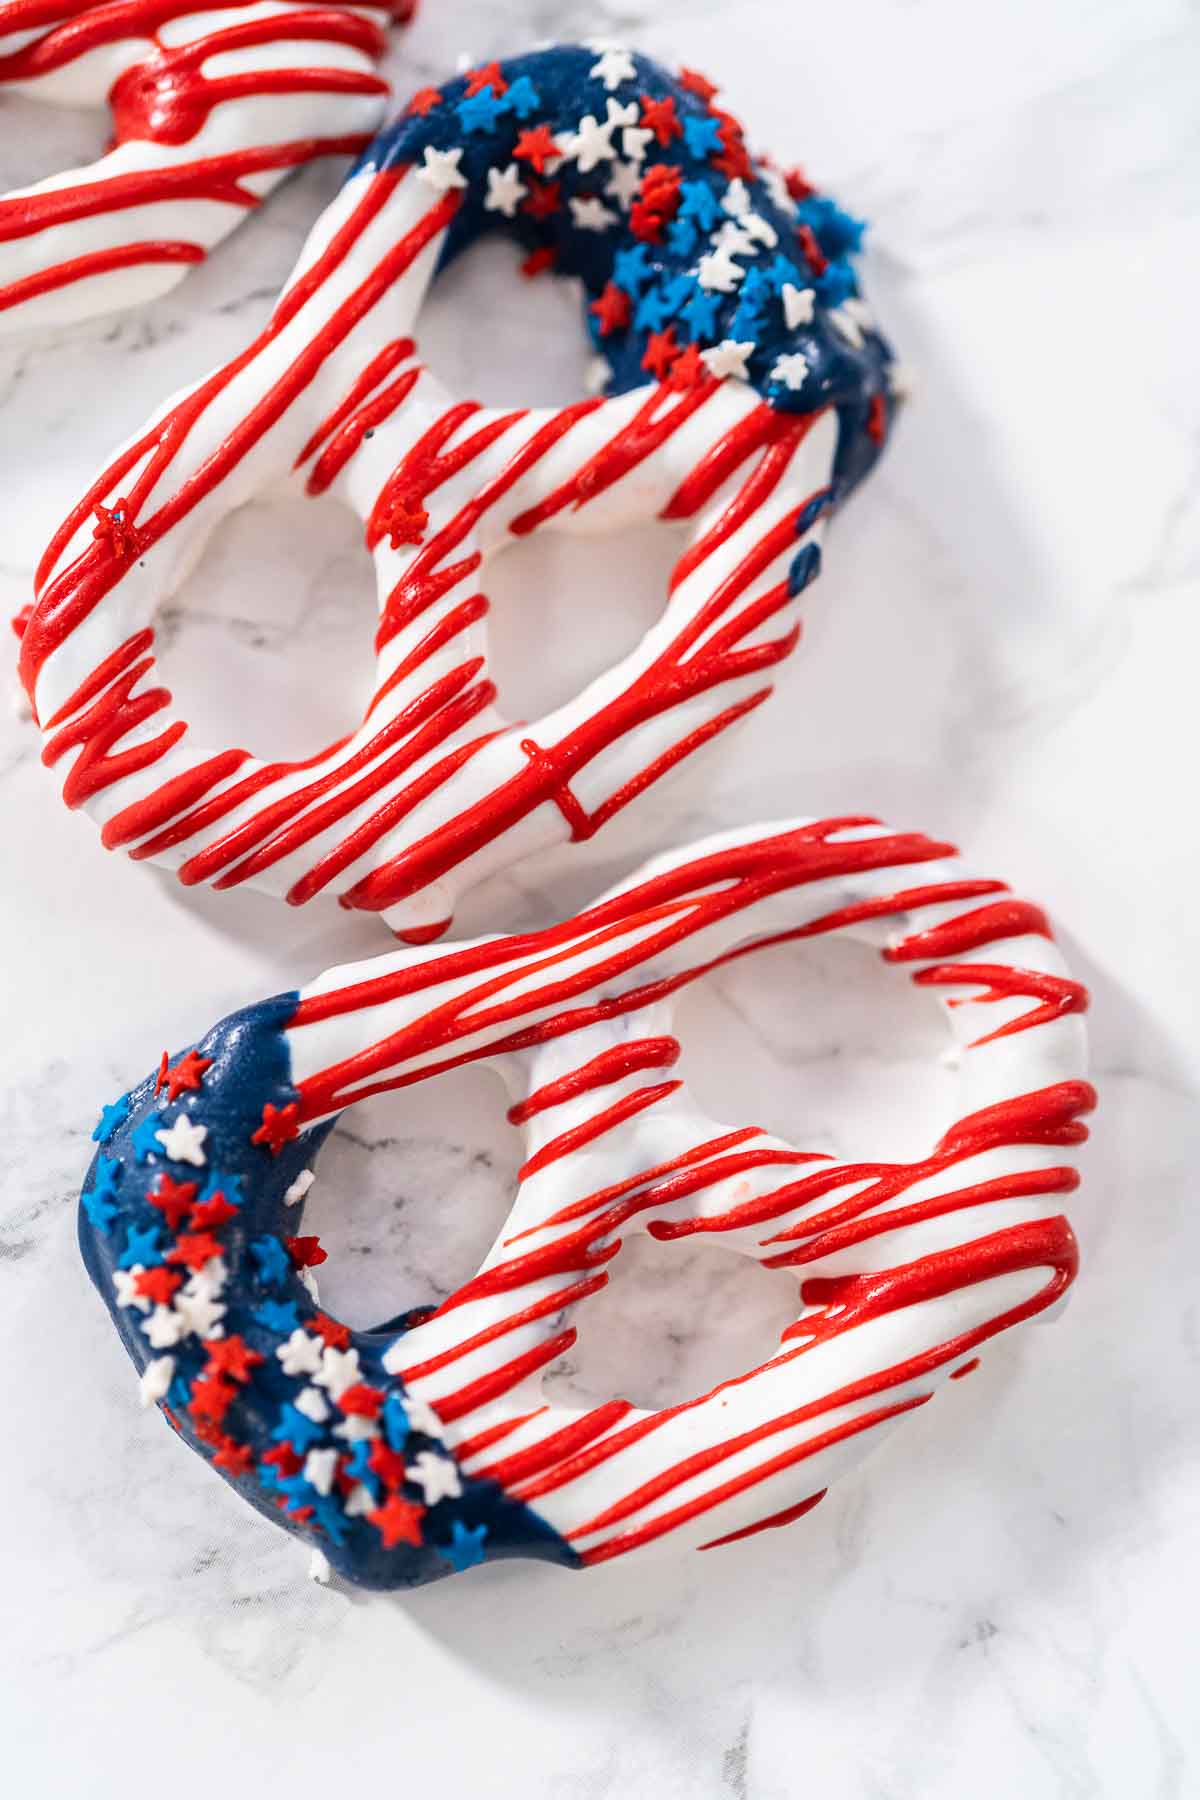
- How to Make American Flag Chocolate Covered Pretzel Twists
- How to Make American Flag Mini Cupcakes for 4th of July
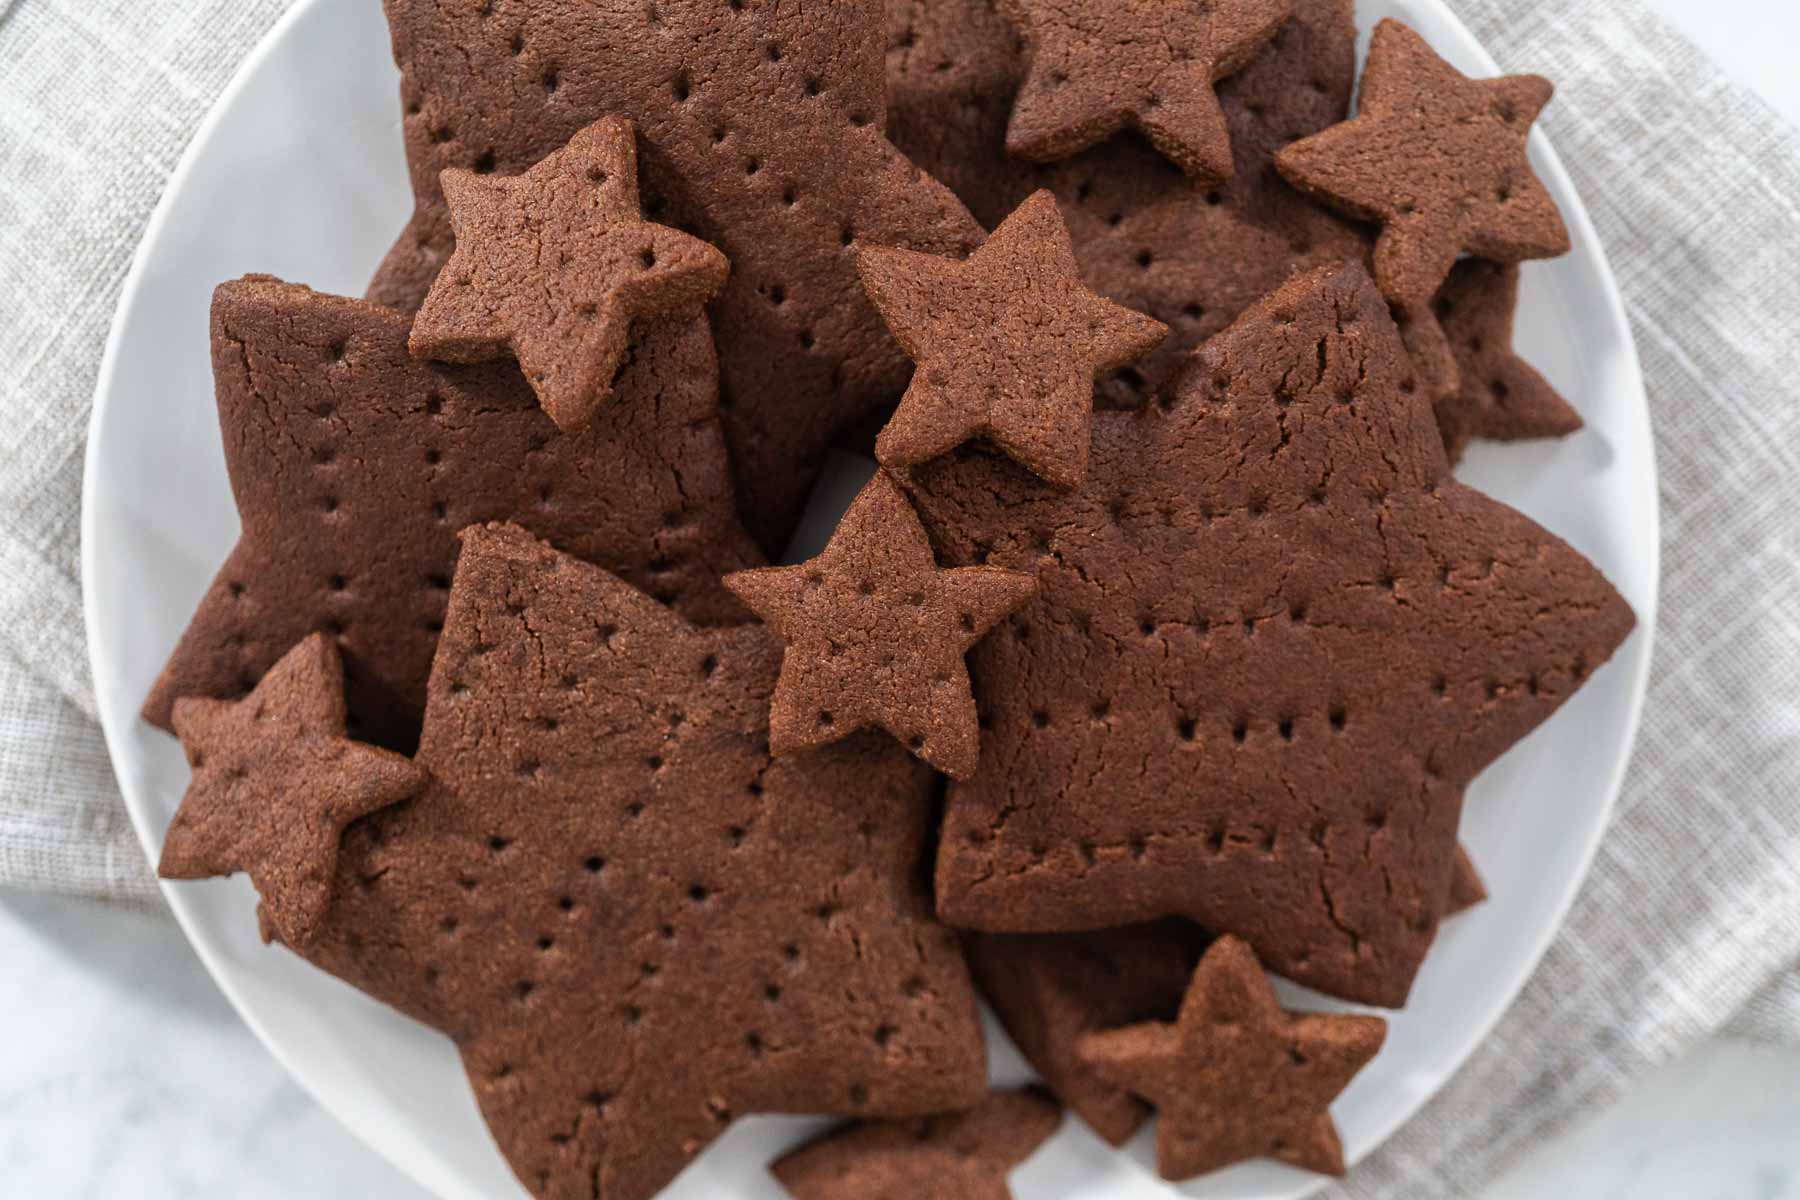
- Homemade Chocolate Graham Crackers in Fun Star Shapes
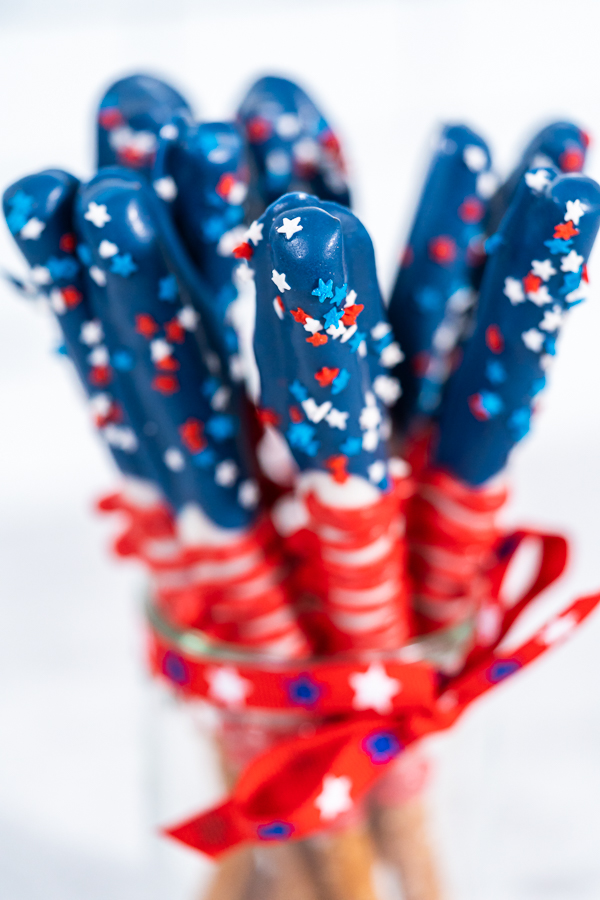
- Chocolate Covered Pretzel Rods for 4th of July Parties
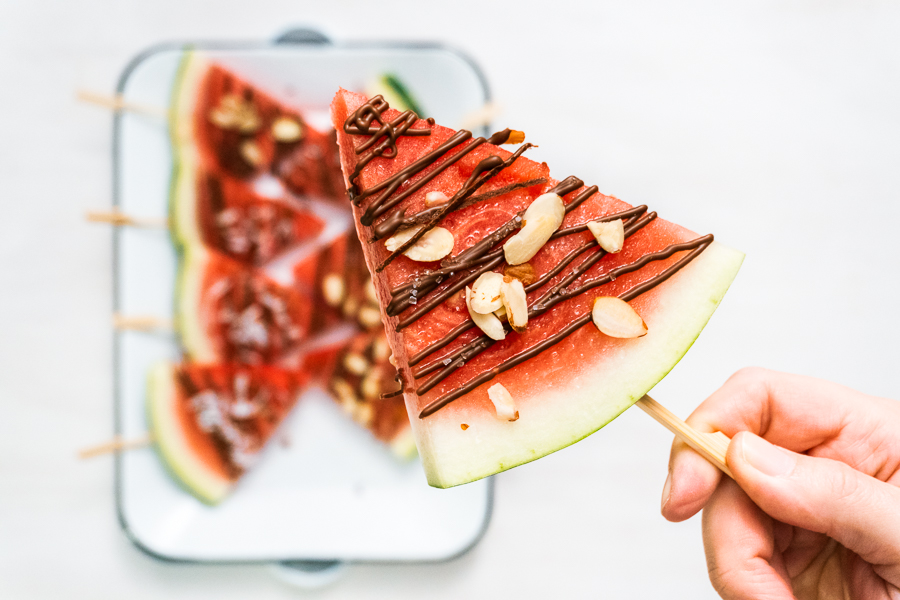
- Watermelon Popsicles with Chocolate Drizzle
- Fast Homemade Vanilla Cake Recipe – Bake and Frost in 3 Hours
Making the White Chocolate Stars:
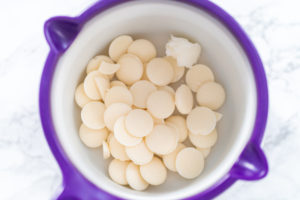
- First, transfer the white candy melts and the coconut oil into the candy melt pot.
- While heating, make sure to stir the candy mixture together using a heat resistant silicone spatula.
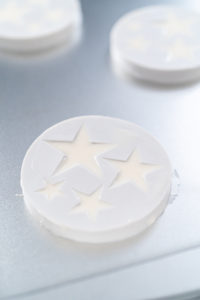
- Then, spoon the melted white chocolate into the star- shaped silicone molds. Tap the molds to remove any air bubbles, then use a cake spatula to scrape off the excess candy from the top. Refrigerate for 10 minutes.
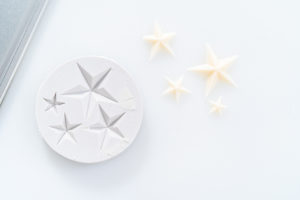
- After being chilled, carefully pull the edges of the silicone mold to gently separate from the star candies, then carefully pop the candies out from the molds.
- Try not to handle the homemade candies with bare hands too much as the heat from your skin can make the chocolates melt.
- Repeat the melting and molding process for the red and blue candy melts. Make sure to rinse and dry the silicone layer from the candy pot in between each color batch.
Cake Decoration and Final Touches:
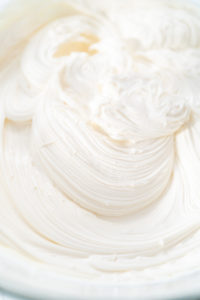
- Start by scooping 2 cans of the vanilla frosting into a large glass mixing bowl and whip with the electric hand mixer until smooth, about 5 minutes.
- If this store- bought frosting seems too soft to use for decorating with later, then add ½ cup confectioner’s sugar per 1 can of icing.
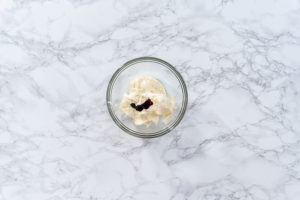
- Then, separate the frosting between 2 smaller mixing bowls. Use ⅔ of frosting for a blue color buttercream and ⅓ of frosting for red buttercream. Drop in some red food coloring to one of the bowls of frosting and then blue food coloring to the other bowl.
- Be generous with food coloring to achieve bright colors.
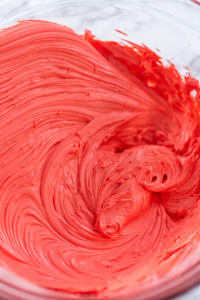
- Use the hand mixer again to combine the frosting and coloring in the bowl of red frosting until a satisfyingly bright red color is reached.
- Then, use a silicone spatula to scoop the red frosting into a pastry piping bag and close it off with a piping bag tie. Cut away the excess bag left behind the bag tie.
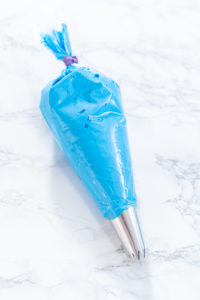
- Repeat the mixing process with the bowl of blue food coloring until a bright blue color is achieved. Then, prepare a pastry piping bag with a jumbo open star piping tip and fill the bag with blue frosting. Tie off the bag and cut away the excess behind the tie.
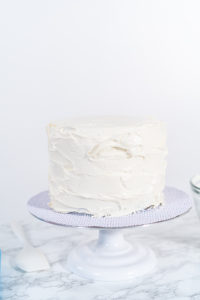
- Next, scoop the remaining 2 cans of vanilla frosting into the large glass mixing bowl and whip until smooth. Then, remove the layered cake from the fridge and transfer to the revolving cake stand. Use a cake spatula to spread the white vanilla buttercream frosting over the entire layered cake.
- Again, if this store- bought frosting seems too soft to use for decorating, add confectioner’s sugar to thicken it- ½ cup confectioner’s sugar per 1 can of icing.
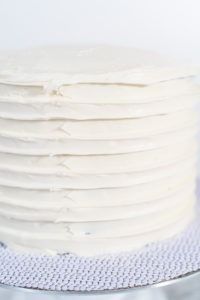
- After icing the whole cake, use the smooth cake scraper to smooth and even out the layer of white frosting on the sides and top of the cake.
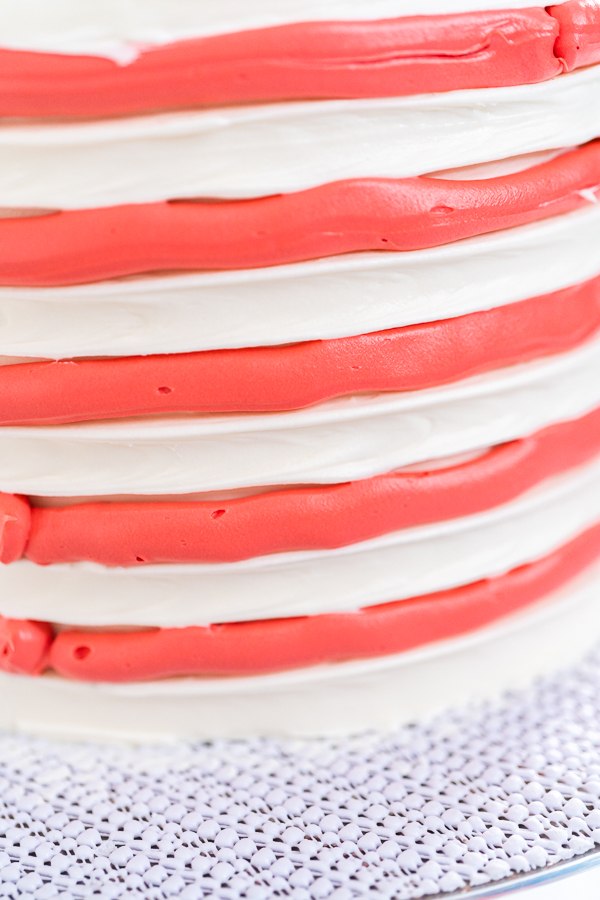
- Then, use the TXGB14 cake scraper to carefully scoop groves out of the white icing on the sides of the cake.
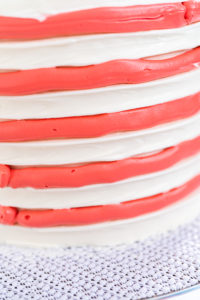
- Next, cut off the tip from the piping bag of red frosting and carefully squeeze the red frosting into the groves on the side of the cake. Then, use the smooth cake scraper again to smooth down the outside layer of frostings.
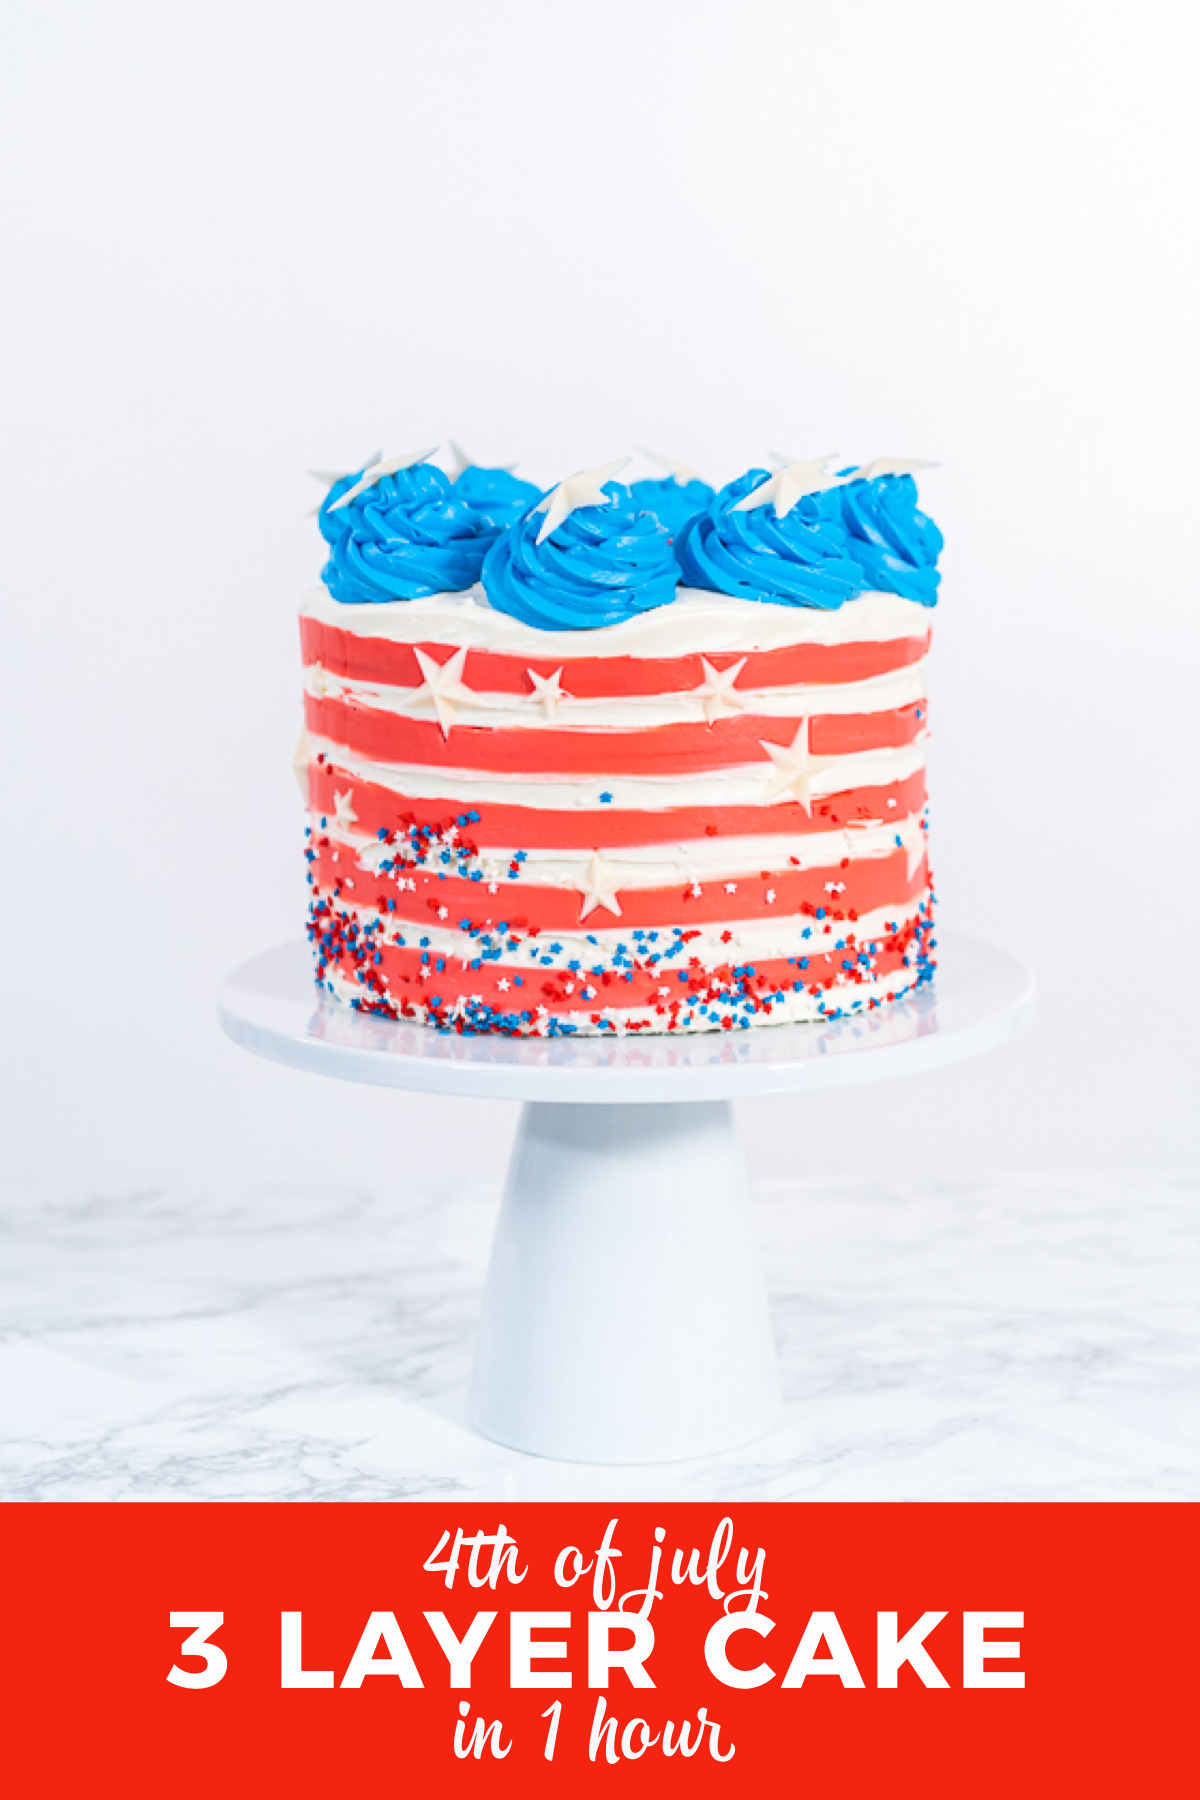
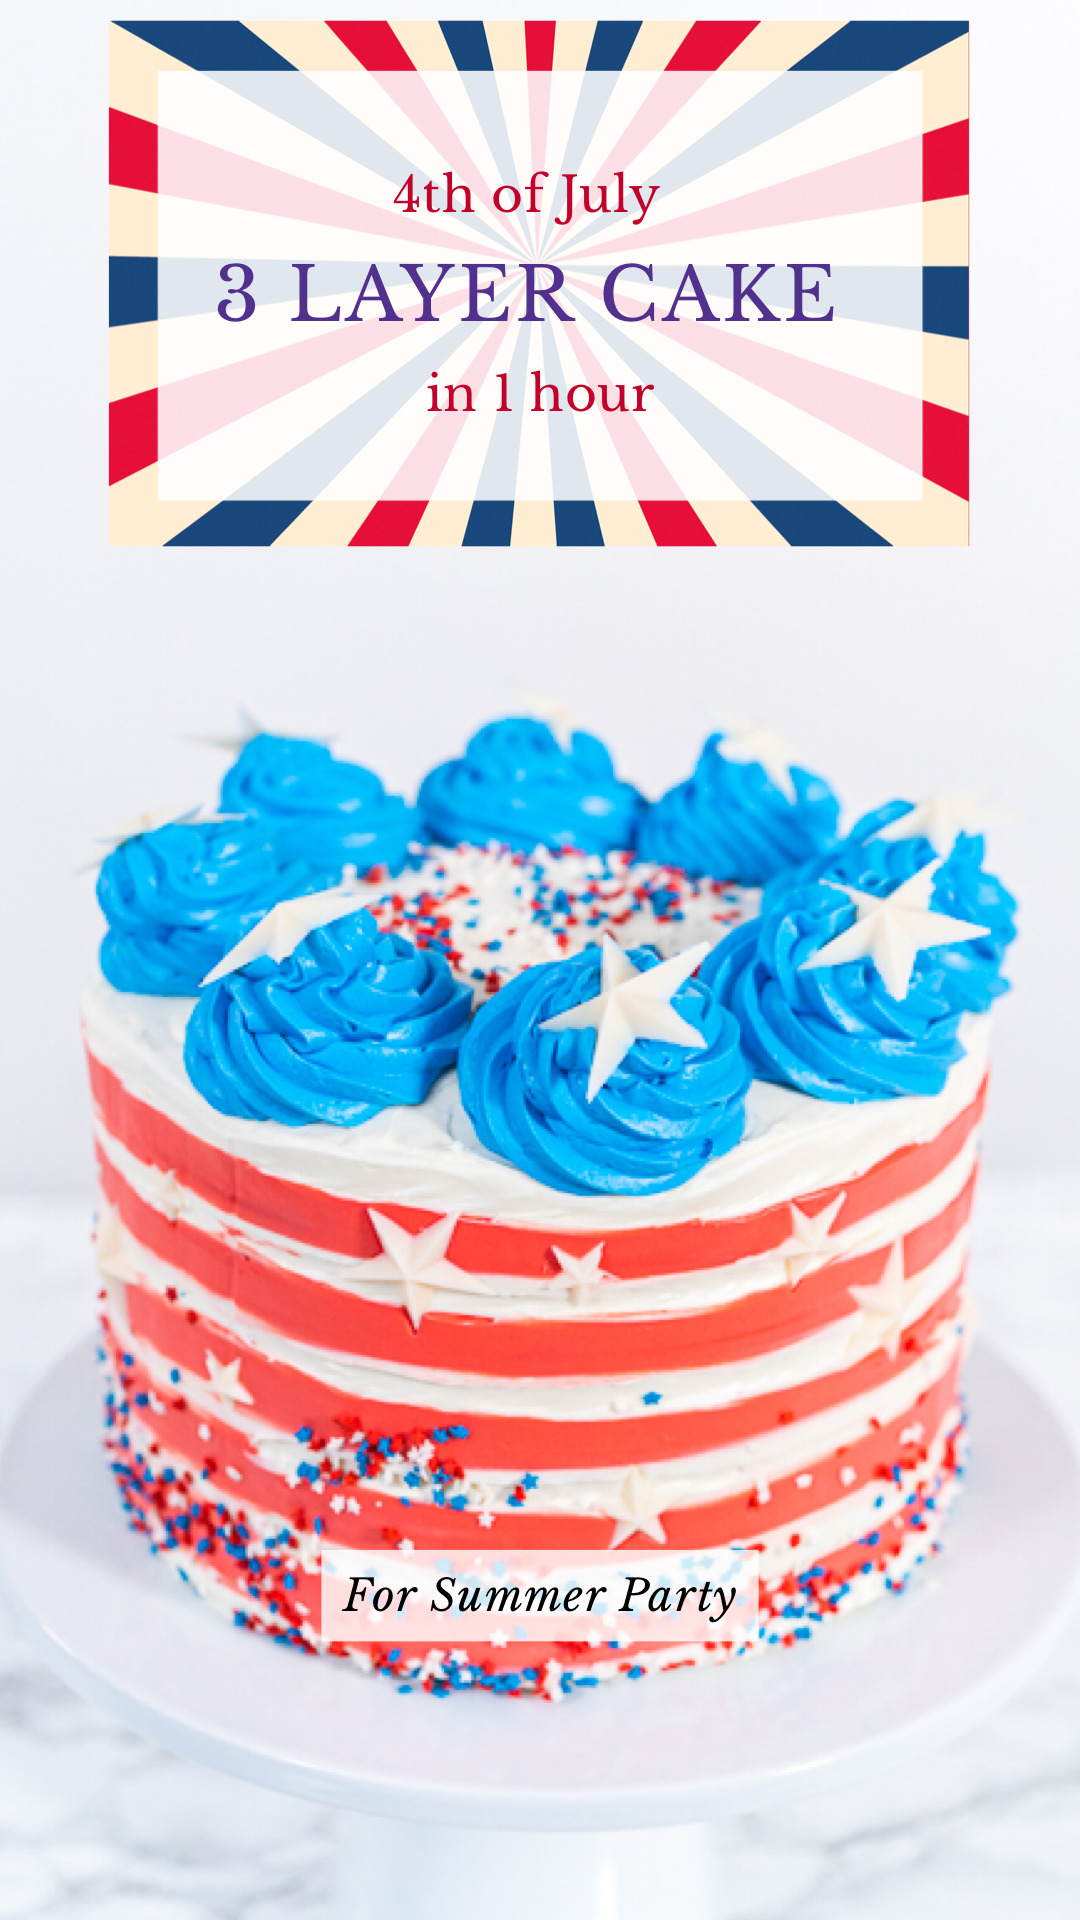
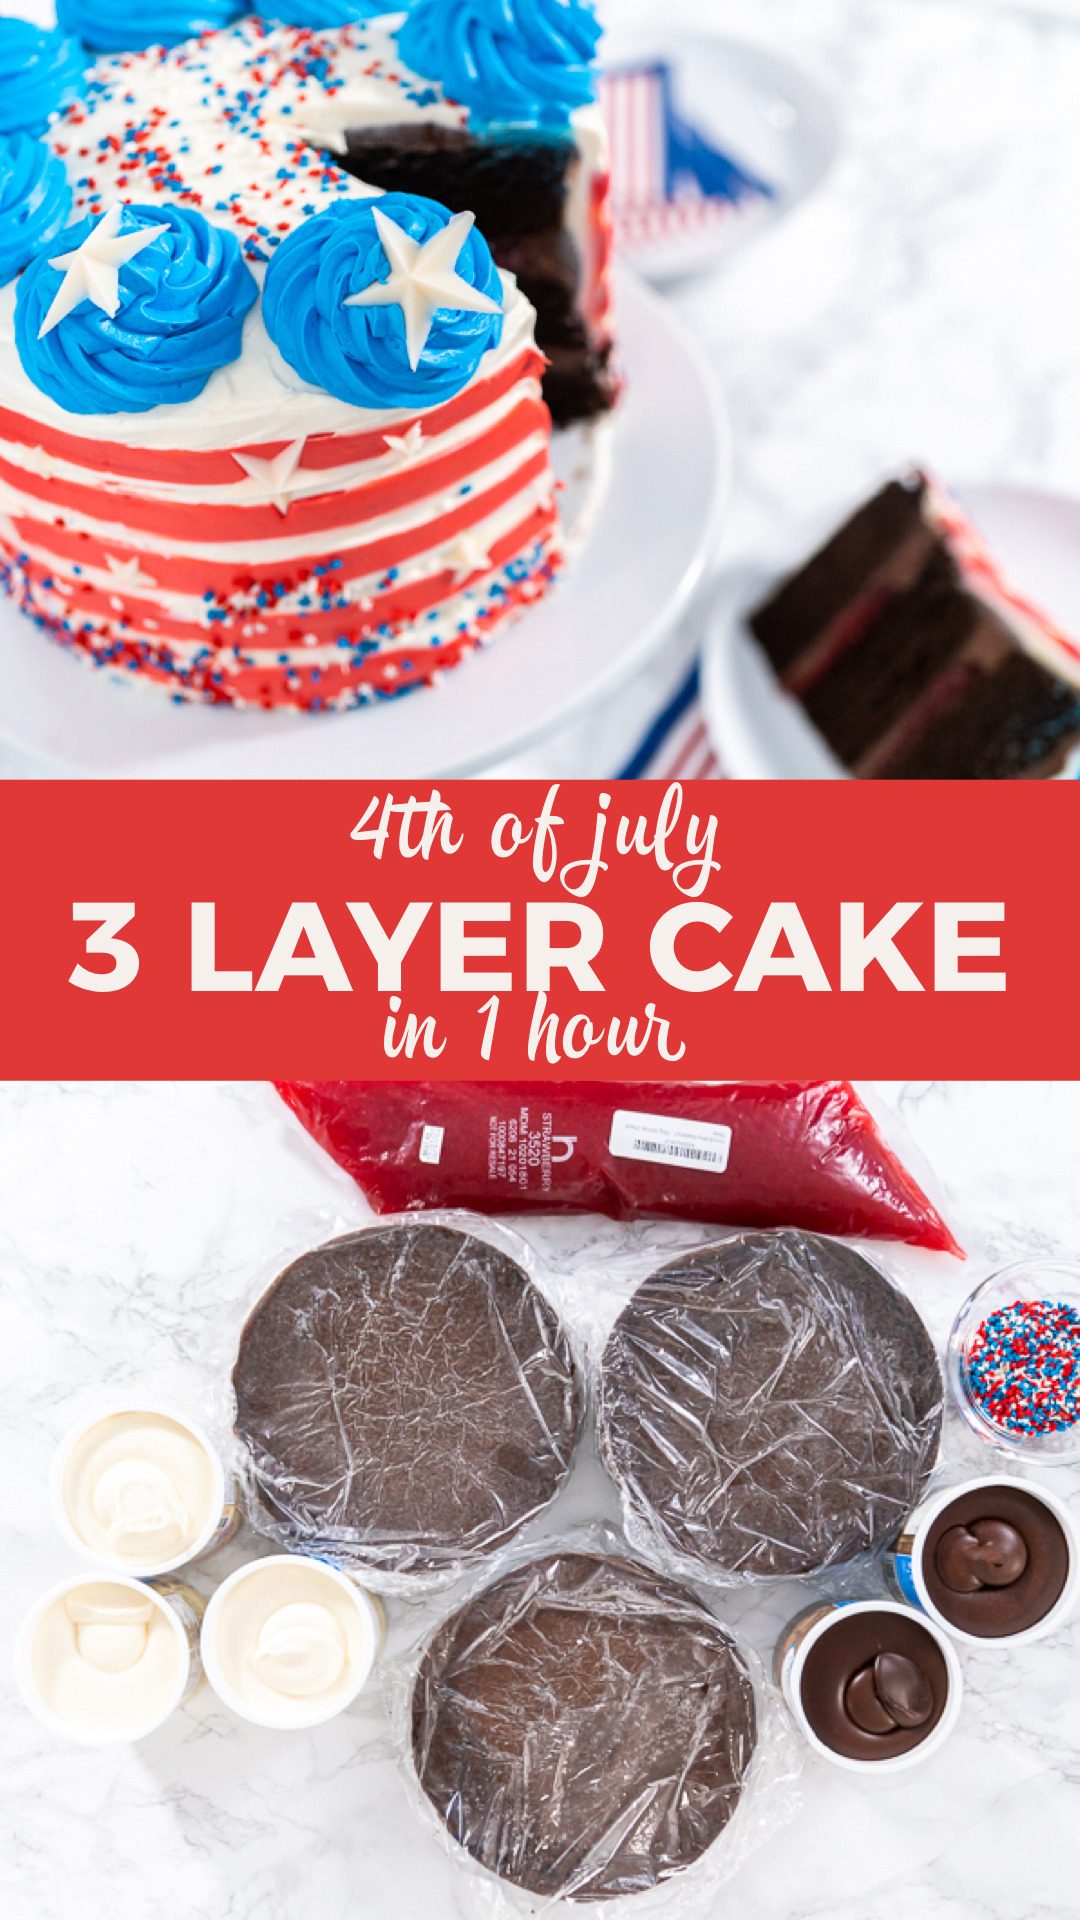
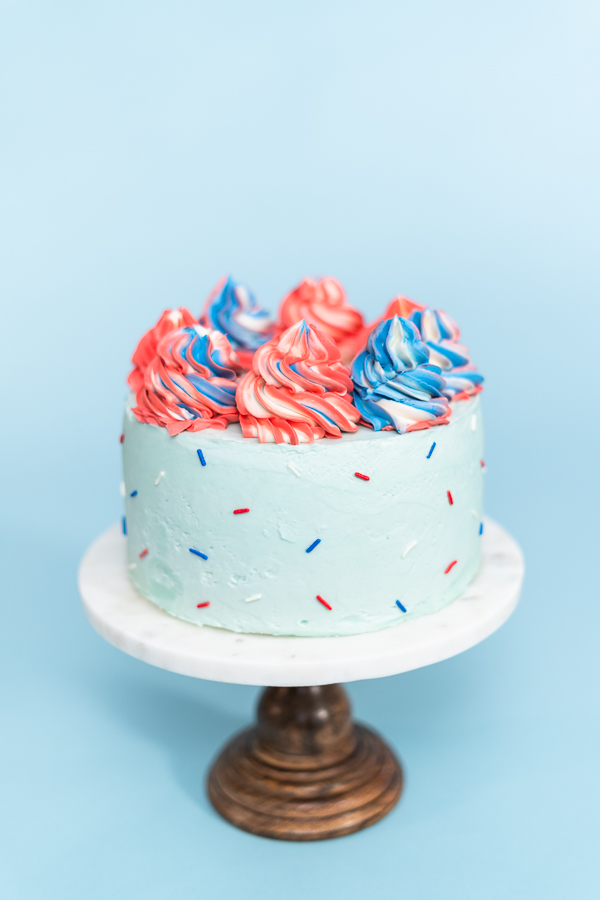
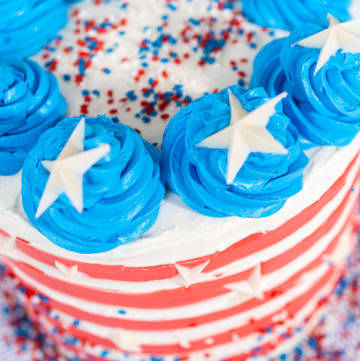
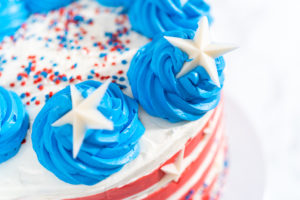
- To decorate the cake, start by spreading some star sprinkles onto the top of the cake and then splashing some on the bottom sides. Then, push some of the homemade red, white, and blue chocolate stars decoratively into the sides of the cake. Next, grab the bag of blue frosting and squeeze out 8 even buttercream rosettes around the top outer edge of the cake and finish off with one large white chocolate star in each blue buttercream rosette.
- Finally, very carefully transfer the finished cake to a serving cake stand and it’s ready for everyone to enjoy!
Safe Cake Storage
Have some patriotic holiday cake leftover? Don’t worry, you can safely save the rest to enjoy for the rest of the week, or later even! When it comes to cake storage there are a few different options you can choose from.
- You can store the cake for up to 3 days on the counter, either tightly covered or stored in a cake container.
- Store in the fridge for up to 1 week, either wrapped or in an air-tight container.
- Or, individual slices can be stored in the freezer for up to 3 months. Just wrap the slices in plastic food wrap, then wrap again in kitchen foil before sealing in an airtight container to avoid freezer burn.
- Don’t forget to label the date on the wrapping of the cake to keep up with freshness.
Spectacular Serving Ideas
Alright, it’s showtime! Time to show off your star- spangled, jaw- dropping, and downright dazzling 4th of July masterpiece! Want to make the experience even more spectacular for your friends, family, and loved ones? Try adding some of these fun summer- themed snacks and homemade patriotic treats for the ultimate 4th of July food table! Need some decorating ideas too? Then check out my 4th of July Patio Celebration Ideas!
Homemade Summer Snacks and Patriotic Treats:
- Chocolate- Covered Pretzels for the 4th of July
- Pinwheel Cookies for the 4th of July
- 4th of July Charcuterie Board
- Summer Cucumber Salad
- Fruit- Infused Water
- Watermelon Bites Dipped in Chocolate or
- Watermelon Popsicles with Chocolate Drizzle
4th of July 3 layer cake in 1 hour
Video
Equipment
Ingredients
Cake
- 4 cans Vanilla buttercream frosting 16 oz
- Powdered sugar 4-6 cups, as needed
- 2 cans Chocolate buttercream frosting 16 oz
- 3 layers Uniced 8 inch cake layer chocolate
- 1 lb Strawberry cake filling
- Star Sprinkles Red, White, & Blue
- Food coloring red and blue
Chocolate stars
- ½ cup Bright white Candy Melts
- ½ teaspoon Coconut oil
- ½ cup Royal Blue Wilton Candy Melts
- ½ teaspoon Coconut oil
- ½ cup Red Wilton candy melts
- ½ teaspoon Coconut oil
Instructions
Cake assembley
- First, gather up all of your cake ingredients and all 3 of the pre- baked chocolate cake layers.
- Then, transfer both cans of the chocolate frosting to a large glass mixing bowl and whip with the electric hand mixer until smooth, about 5 minutes. If the whipped frosting is too soft, add ½ cup of powdered sugar per 1 can. The frosting layers will need to be thick, otherwise the cake layers will move and slide.
- When it’s ready, use a silicone spatula to scoop the whipped chocolate frosting into a pastry piping bag and close it off with a piping bag tie. Cut off the tip of the pastry bag to make an opening.
- Next, line the revolving cake stand with the 10 inch white cake drum and squeeze a small amount of chocolate frosting in the middle on the drum surface. Spread around a little bit using the cake spatula, then unwrap the first cake layer and position it in the center of the cake drum.
- Squeeze chocolate frosting onto the top of the first cake layer and spread it out evenly over the top using the cake spatula. Then, squeeze a border of frosting along the top outer edge- this border will hold the filling. Scoop a few spoonfuls of strawberry filling inside the frosting border and spread around to fill in.
- Scoop a few spoonfuls of strawberry filling inside the frosting border and spread around to fill in. Carefully add the second layer of chocolate cake and repeat the frosting and filling process.
- Next, add on the final layer of cake upside down to create a flat top. Then, frost the top completely.
- Finally, to create a crumb coat layer, add confectioner’s sugar to the remaining chocolate frosting and whip together. Then spread the thickened frosting over the entire outside of the stacked cake. Transfer the cake to the refrigerator to chill for 1 hour. Use about 1 cup confectioner's sugar per 1 can of icing. Store bought frosting is too soft for the crumb cake layer so it needs to be thickened up a little bit.
White chocolate stars
- First, transfer the white candy melts and the coconut oil into the candy melt pot.
- While heating, make sure to stir the candy mixture together using a heat resistant silicone spatula.
- Then, spoon the melted white chocolate into the star- shaped silicone molds. Tap the molds to remove any air bubbles, then use a cake spatula to scrape off the excess candy from the top. Refrigerate for 10 minutes.
- After being chilled, carefully pull the edges of the silicone mold to gently separate from the star candies, then carefully pop the candies out from the molds. Try not to handle the homemade candies with bare hands too much as the heat from your skin can make the chocolates melt.
- Repeat the melting and molding process for the red and blue candy melts. Make sure to rinse and dry the silicone layer from the candy pot in between each color batch.
Cake decoration
- Start by scooping 2 cans of the vanilla frosting into a large glass mixing bowl and whip with the electric hand mixer until smooth, about 5 minutes. If this store- bought frosting seems too soft to use for decorating with later, then add ½ cup confectioner’s sugar per 1 can of icing.
- Then, separate the frosting between 2 smaller mixing bowls. Use ⅔ of frosting for a blue color buttercream and ⅓ of frosting for red buttercream. Drop in some red food coloring to one of the bowls of frosting and then blue food coloring to the other bowl. Be generous with food coloring to achieve bright colors.
- Use the hand mixer again to combine the frosting and coloring in the bowl of red frosting until a satisfyingly bright red color is reached.
- Then, use a silicone spatula to scoop the red frosting into a pastry piping bag and close it off with a piping bag tie. Cut away the excess bag left behind the bag tie.
- Repeat the mixing process with the bowl of blue food coloring until a bright blue color is achieved. Then, prepare a pastry piping bag with a jumbo open star piping tip and fill the bag with blue frosting. Tie off the bag and cut away the excess behind the tie.
- Next, scoop the remaining 2 cans of vanilla frosting into the large glass mixing bowl and whip until smooth. Then, remove the layered cake from the fridge and transfer to the revolving cake stand. Use a cake spatula to spread the white vanilla buttercream frosting over the entire layered cake. Again, if this store- bought frosting seems too soft to use for decorating, add confectioner’s sugar to thicken it- ½ cup confectioner’s sugar per 1 can of icing.
- After icing the whole cake, use the smooth cake scraper to smooth and even out the layer of white frosting on the sides and top of the cake.
- Then, use the TXGB14 cake scraper to carefully scoop groves out of the white icing on the sides of the cake.
- Next, cut off the tip from the piping bag of red frosting and carefully squeeze the red frosting into the groves on the side of the cake. Then, use the smooth cake scraper again to smooth down the outside layer of frostings.
- To decorate the cake, start by spreading some star sprinkles onto the top of the cake and then splashing some on the bottom sides. Then, push some of the homemade red, white, and blue chocolate stars decoratively into the sides of the cake. Next, grab the bag of blue frosting and squeeze out 8 even buttercream rosettes around the top outer edge of the cake and finish off with one large white chocolate star in each blue buttercream rosette.
- Finally, very carefully transfer the finished cake to a serving cake stand and it’s ready for everyone to enjoy!
Notes
- You can store the cake for up to 3 days on the counter, either tightly covered or stored in a cake container.
- Store in the fridge for up to 1 week, either wrapped or in an air-tight container.
- Or, individual slices can be stored in the freezer for up to 3 months. Just wrap the slices in plastic food wrap, then wrap again in kitchen foil before sealing in an airtight container to avoid freezer burn.
- Don’t forget to label the date on the wrapping of the cake to keep up with freshness.
Food Photography & Video Tips from My Studio
Here’s a peek at the tools, gear, and camera setups I use to film my recipe videos and photograph food at home. Over the years, I’ve tested dozens of different setups, and now I’m sharing what actually works for me—whether I’m filming overhead shots for YouTube or styling still photos for my blog. If you’re curious about how I create the content you see here, these posts are a great place to start.
















Leave a Reply