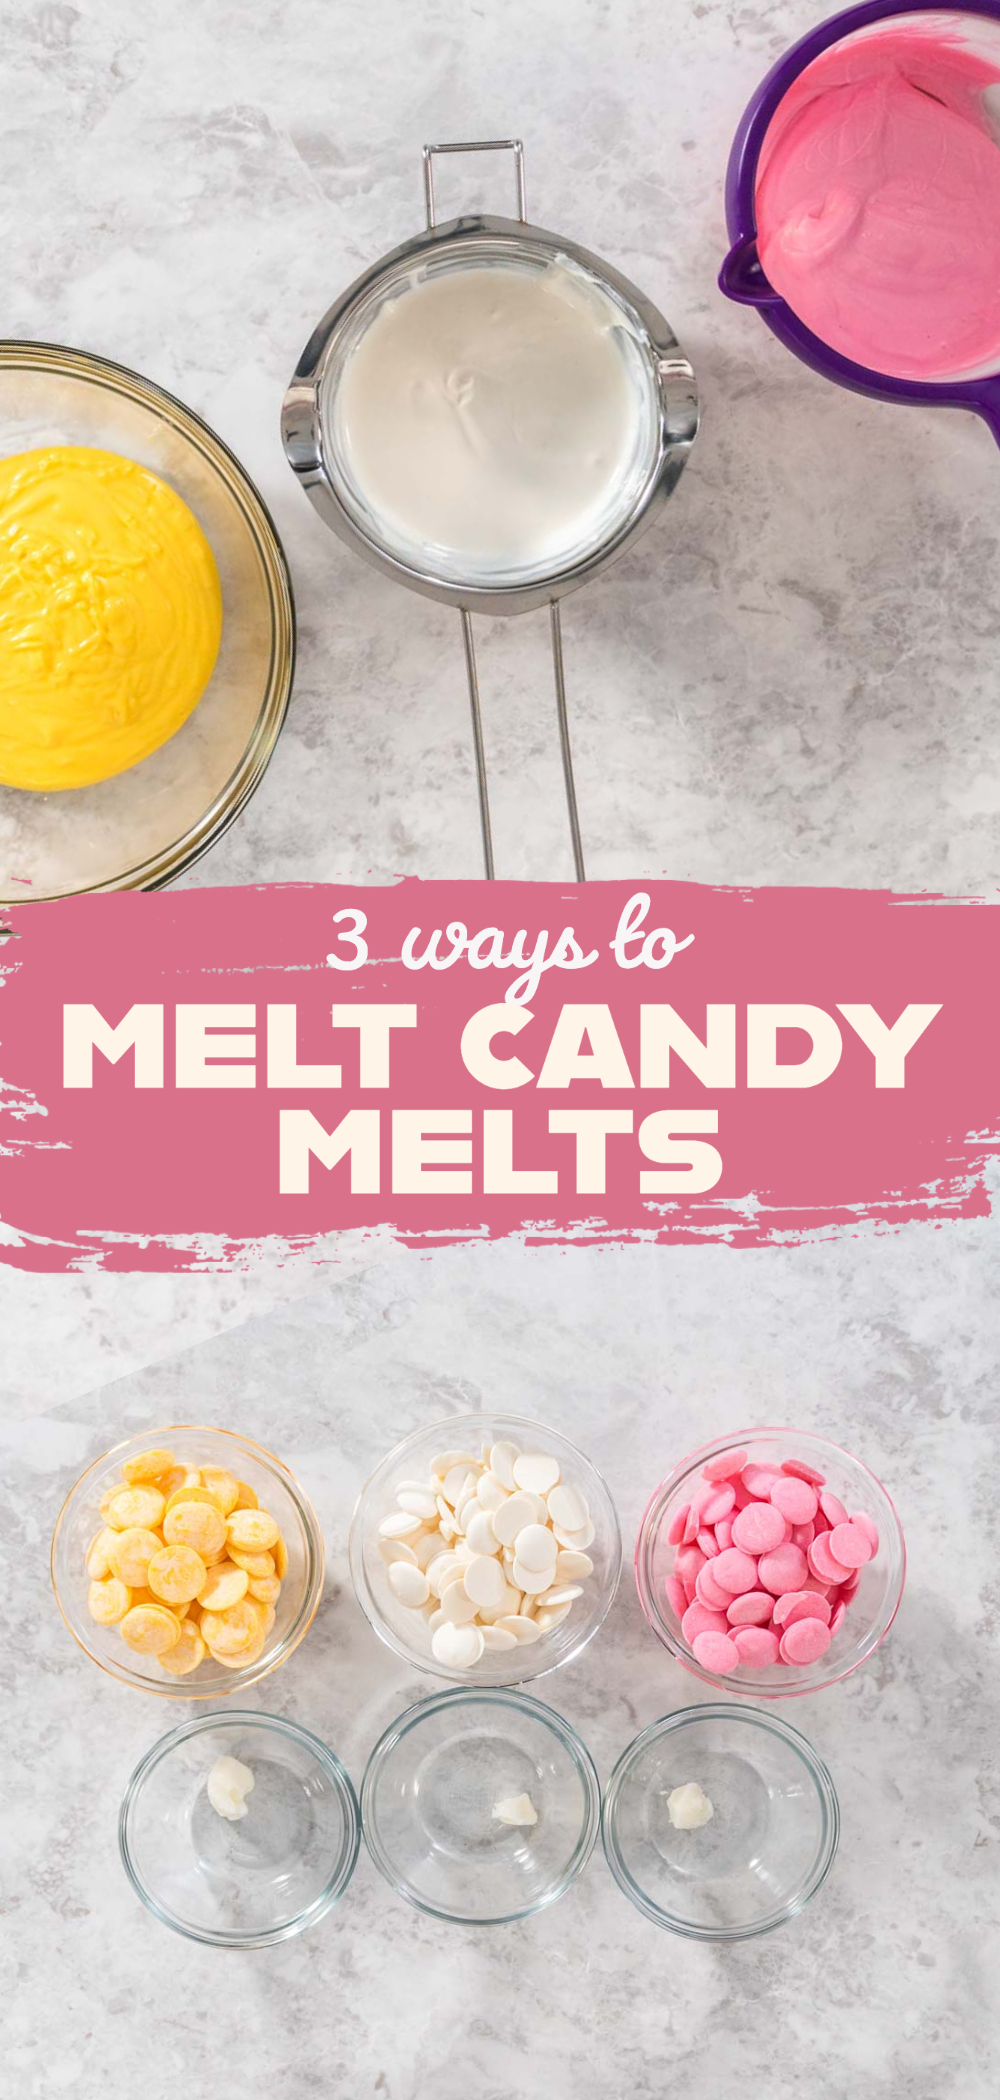
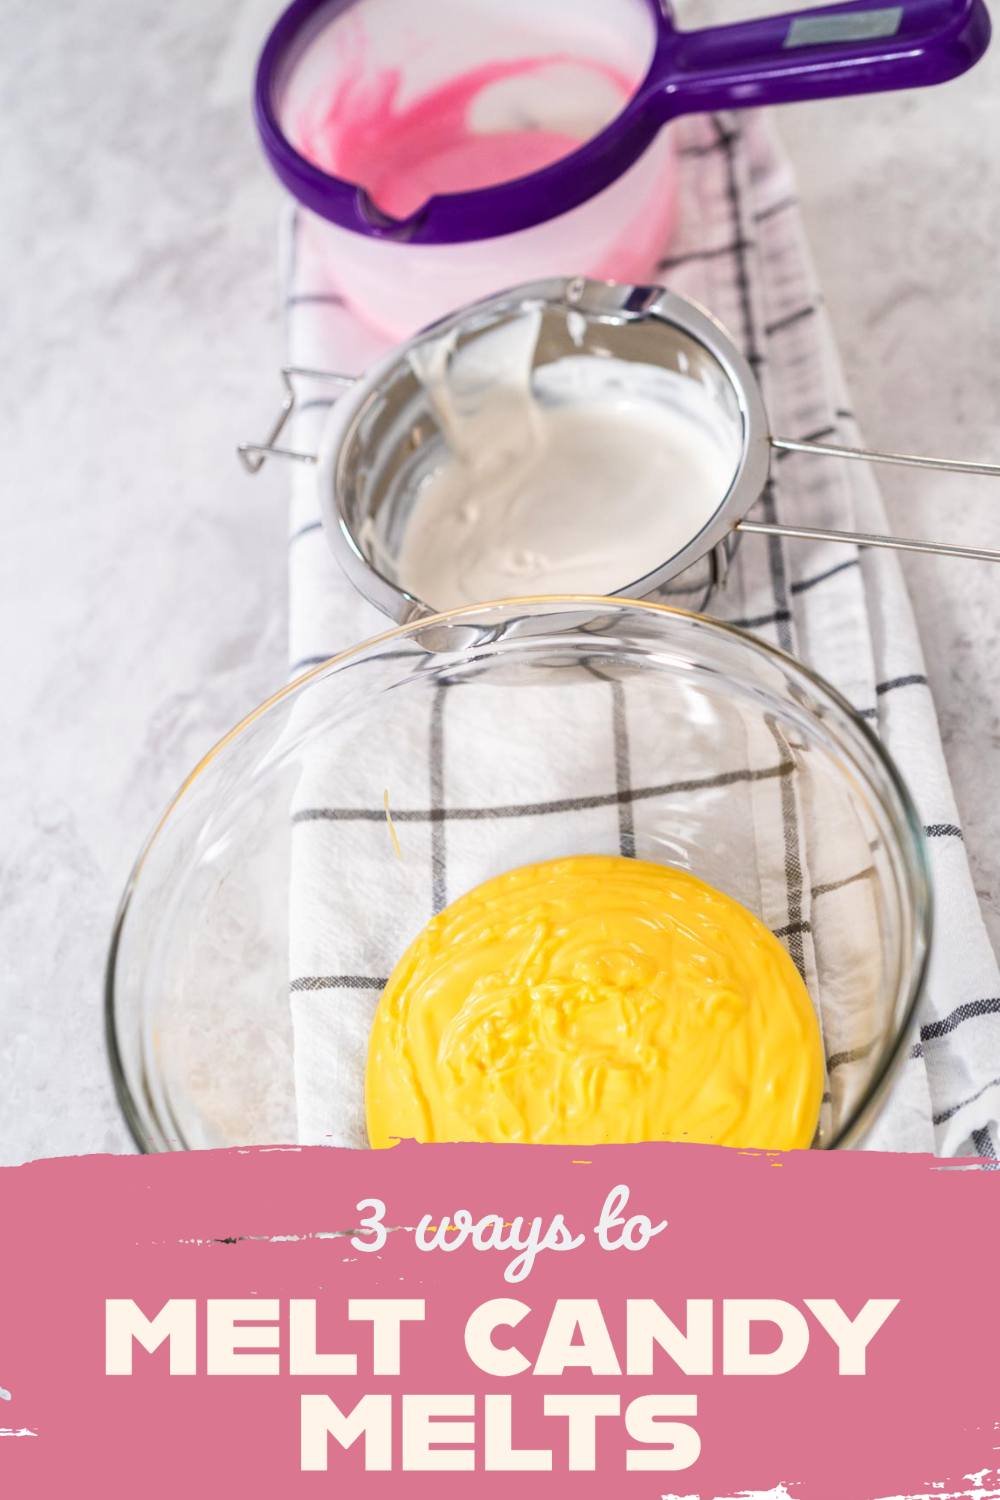
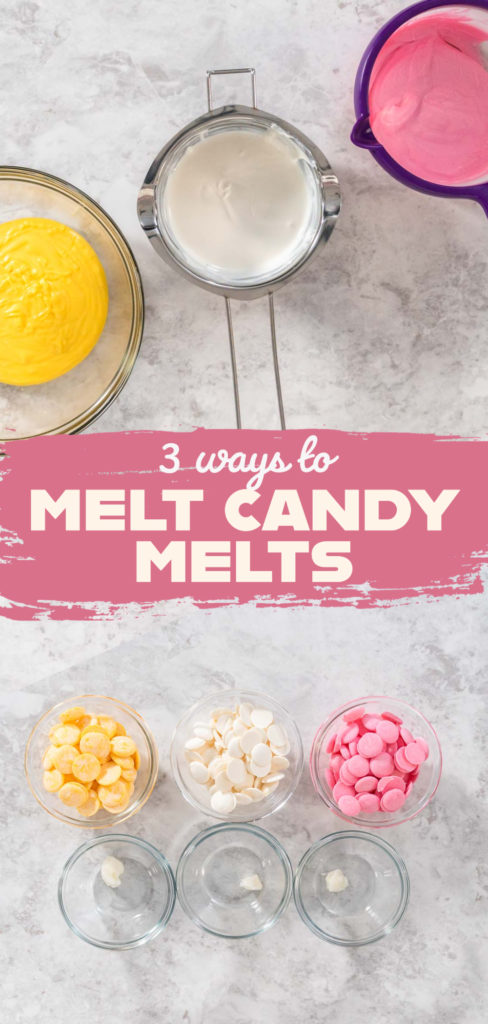
3 easy methods to use for any kind of candy-melting project!
This post contains affiliate links.
Whether you’re trying to make a stunning cake or a charming batch of cupcakes, you always want to make sure your homemade treat stands out. Taste is important of course, but for crafty bakers like myself, a show-stopping display is also a big key factor. Lucky for us, adding a custom charm or a personalized touch does not have to be difficult or take up a lot of time. After pairing up the perfect frosting or glaze, you need to finish out the desired aesthetic with an eye-catching dessert topper like customizable homemade candies!
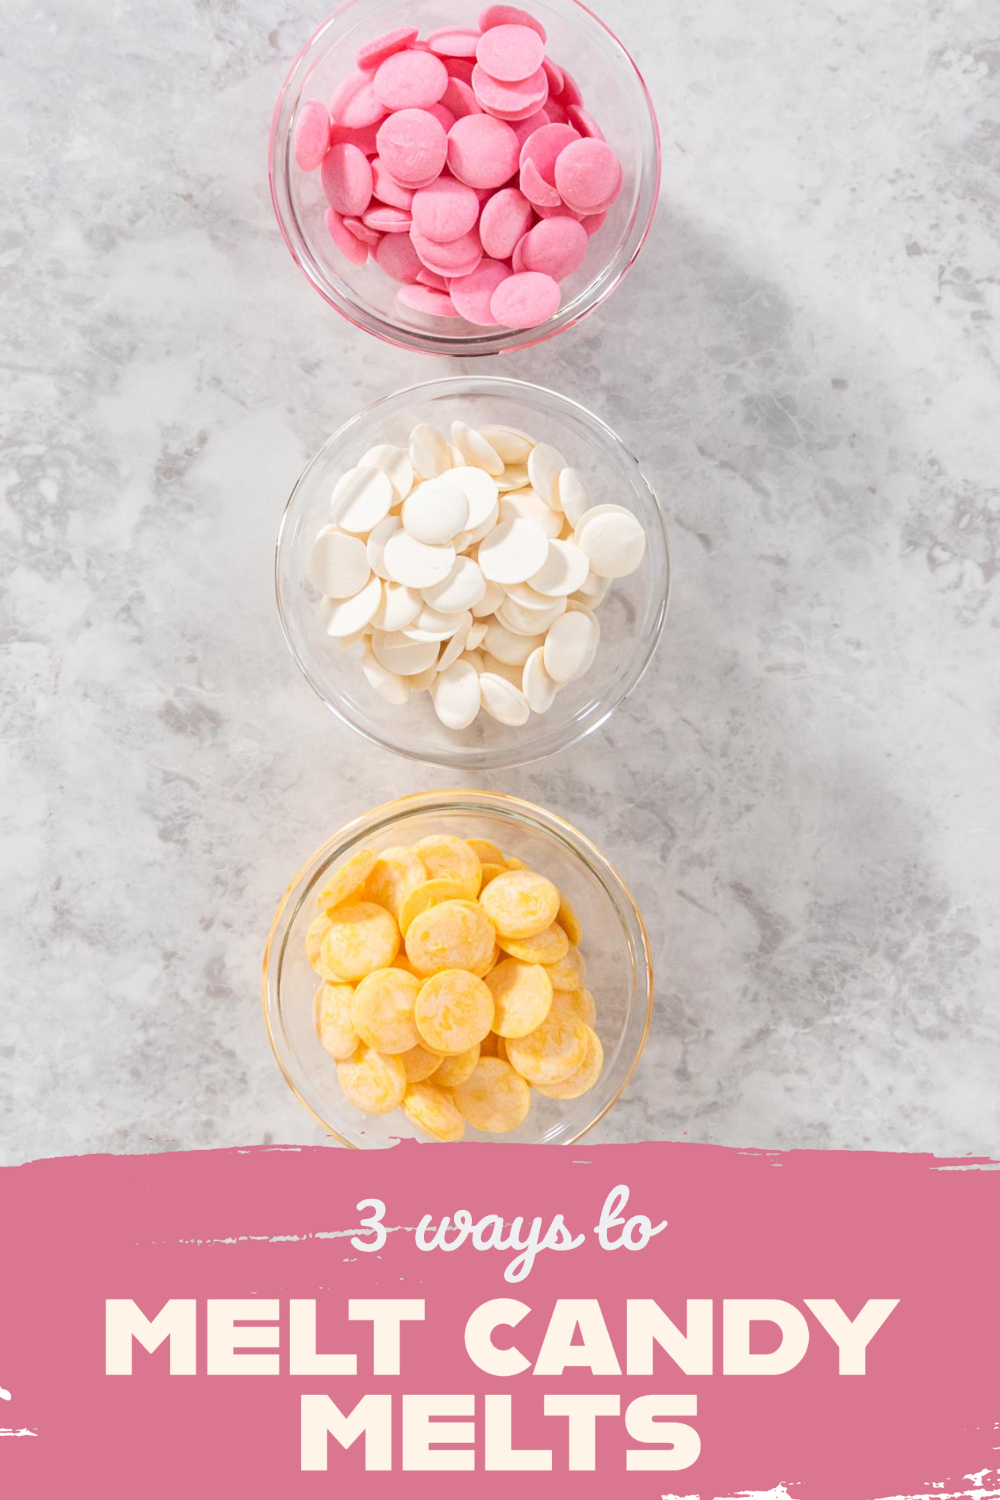
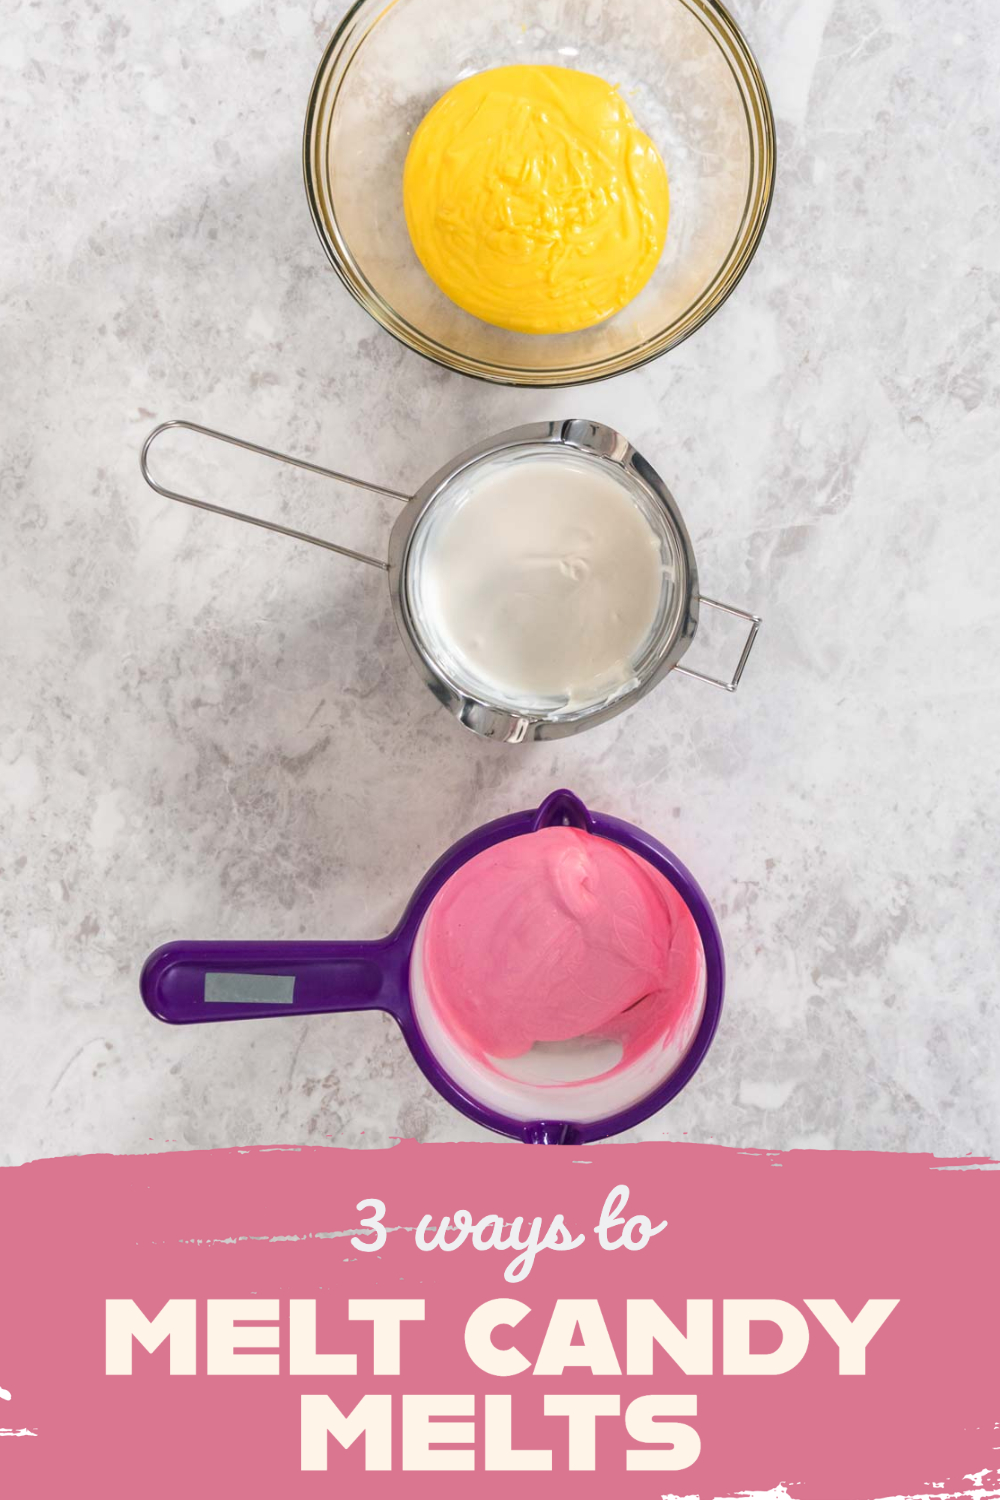
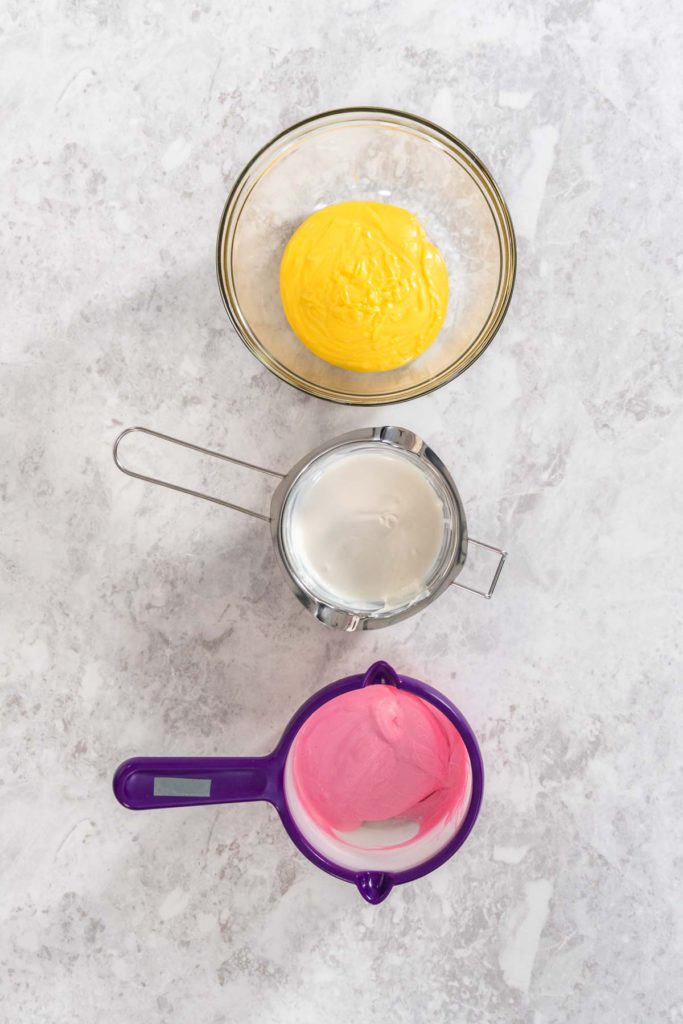
Using the right tools, you can customize and personalize candies all day long that are perfect not just for themed birthday parties, but also for any holiday treat that you can think of! But to make the custom candy shapes, you have to start with properly melted candy melts. You might be sitting there thinking that you can just pop some candy melts in the microwave and let it do its thing, and you’re not wrong exactly... but there are some tricks to making sure you do it the right way so that you don’t end up with burnt candy bits. On top of that, there are a couple of other methods that can be used that might actually work out better for you. To help you figure it out, I’ve broken down these 3 Ways to Melt Candy Melts.
Before Getting Started...
Each of these methods involves a pretty simple process overall but there are just a few tips to keep in mind before getting started with any of them:
- Always start candy-melting projects with clean and dry tools!
- Whichever method you choose, make sure not to accidentally overcook your candy by using a setting that is too high or by heating the candy melts for too long. The melted candy can easily burn or lose the perfect consistency.
- Always be careful when handling hardened candies because the body heat from your hands can make the chocolates start to melt.
Ingredient Substitution:
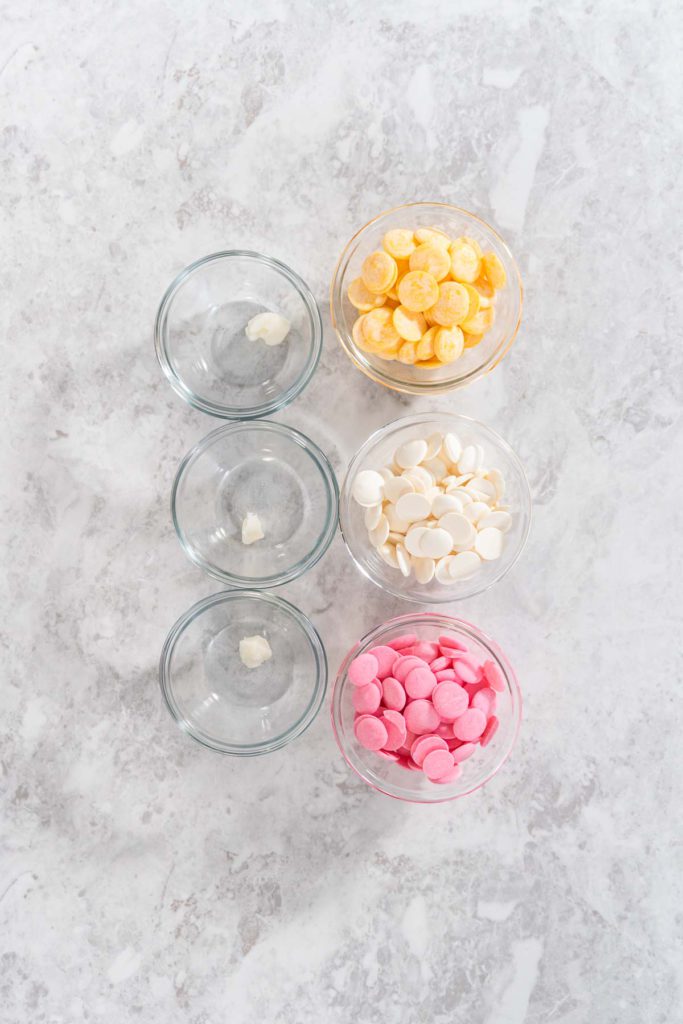
If you don’t have candy melts on hand, you can replace them by using 1 cup of white chocolate chips, 1 teaspoon coconut oil, and a little bit of food coloring. Just be careful with the coconut oil because too much oil will make the chocolate too thin and runny.
Method #1: Candy Melting Pot
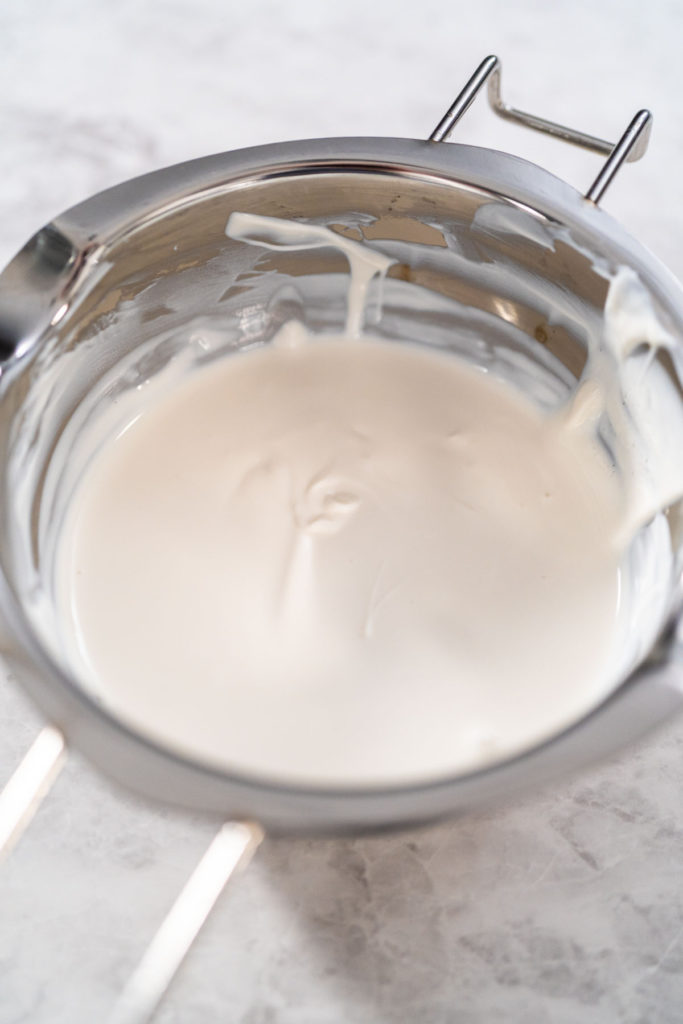
First, I’m going to go over my personal favorite melting method for homemade candy and chocolate: the candy melting pot! I specifically like using my Wilton’s Candy Melt Pot over all other melting methods for my candy projects for a few reasons. To start with, this melting pot always cooks and keeps the candy at the perfect temperature, without ever overcooking or burning it. This makes the whole process much more stress-free for me! I can keep my melted candy at the proper temperature throughout my whole decorating project without worrying about any burnt bits to deal with later on, or having to try to re-melt the candies if I don’t use it quick enough. Plus the silicone lining of the pot always makes it super easy to clean up afterwards.
Candy Pot Melting Equipment:
Candy Melt Ingredients:
- Candy Melts
- Coconut Oil
- The amount of coconut oil needed will depend on the desired consistency and the amount of candy melts used. Use about ⅛ teaspoon of coconut oil to ¼ - ½ cup of candy melts.
How to Melt Candy Melts in a Melting Pot:
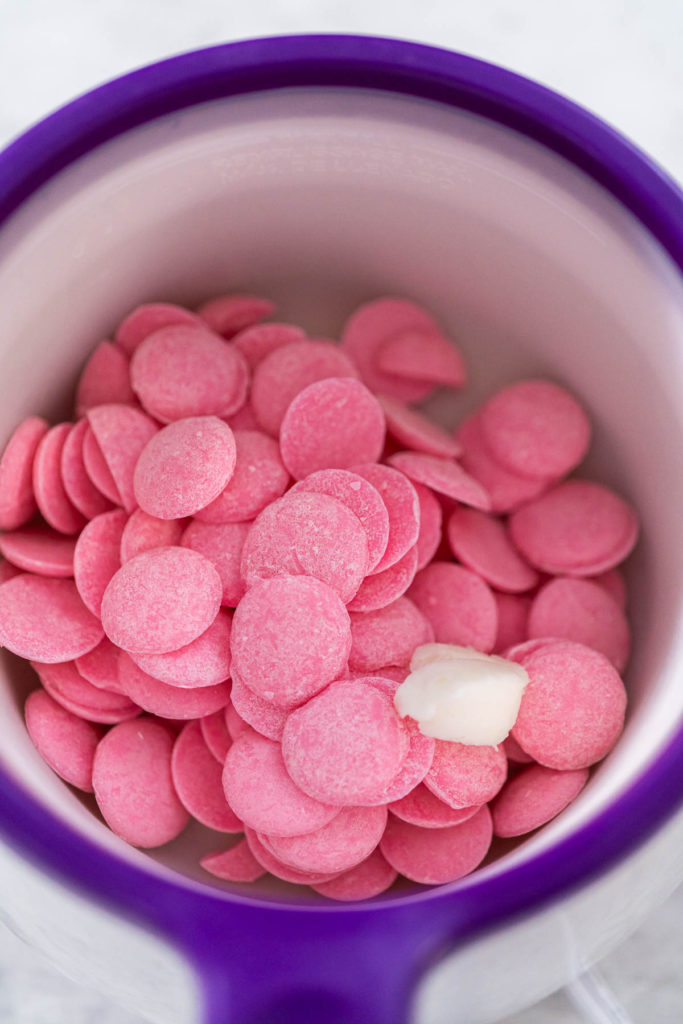
- First, combine the candy melts and the coconut oil in the candy melt pot.
- Then, melt them together on high, while stirring continuously with a silicone spatula.
- Continue to heat and stir until the candy melts are completely melted and the mixture reaches a smooth consistency.
- Transfer the melted candy to a dipping container for dipping, a piping bag for drizzling, or drizzle into silicone molds to make shaped candies.
Method #2: Melting Candy in the Microwave
The microwave melting method is probably the most convenient option for most typical household kitchens, but it comes with some downsides. With this method, you have to be careful to use certain settings or you risk burning the candies. That not only makes the candy less useful but also makes the clean-up more difficult as well. If the consistency of the melted candy is too thick, you may also run into the problem of the candy starting to harden before you’ve had the chance to use it all. However, this method is still extremely useful in a time crunch or as a backup option.
Equipment for the Microwave Method:
Candy Melt Ingredients:
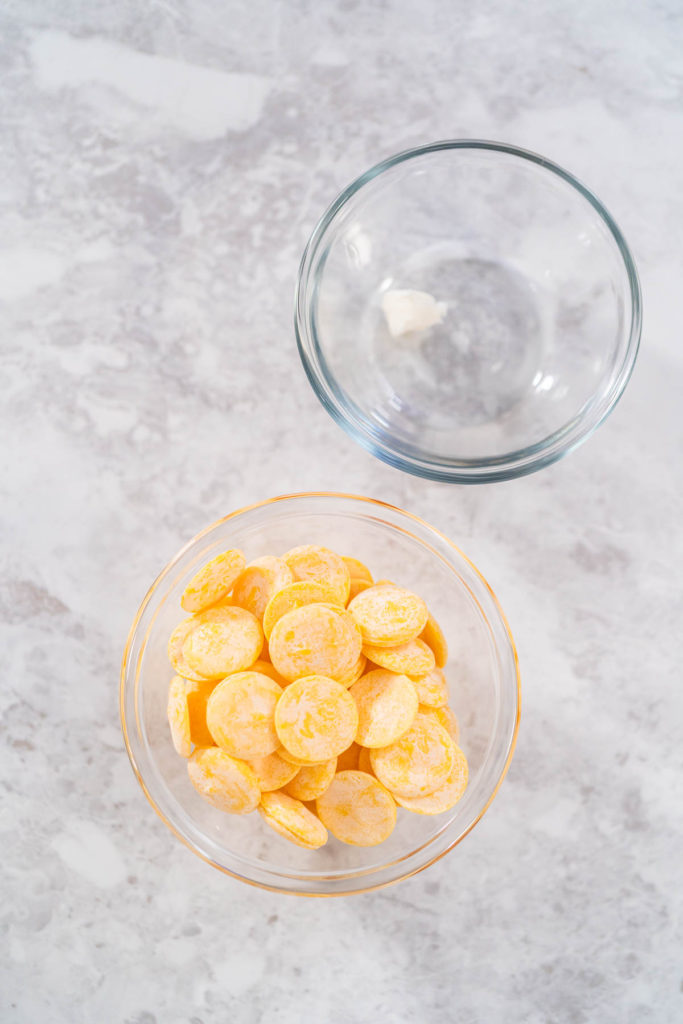
- Candy Melts
- Coconut Oil - if a thinner consistency is desired
- The amount of coconut oil needed will depend on the desired consistency and the amount of candy melts used. Use about ⅛ teaspoon of coconut oil to ¼ - ½ cup of candy melts.
How to Melt Candy Melts in the Microwave:
- First, pour the candy melts into the heat-safe bowl or silicone measuring cup, add coconut oil if desired.
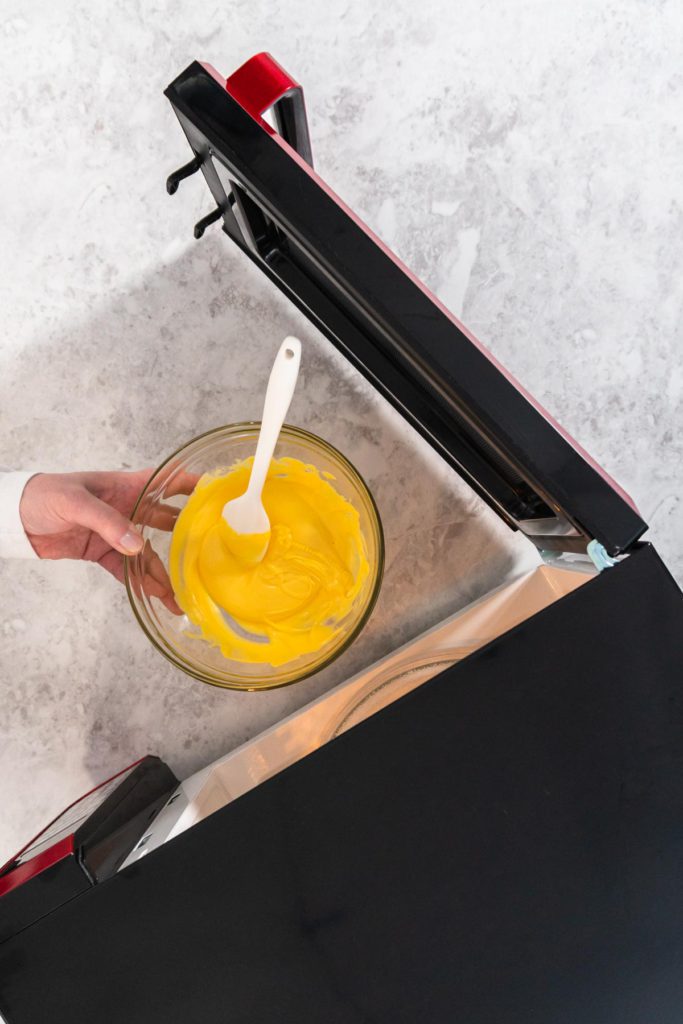
- Then, heat the candy melts in the microwave at 50% power, or on a defrost setting, for 1 minute.
- Next, stir the candies thoroughly.
- Use a towel or an oven mitt to protect your hand from the heat when handling the bowl or cup.
- Then, continue to microwave the candies at the same low setting in 15-30 second intervals, stirring in between each interval, until the candy is almost melted.
- Finally, let the candy sit for about 1 minute to let the residual heat take care of any small unmelted pieces of candy leftover. If you try another interval of cooking at this point, the candy could overcook and burn so it’s better to let the candy sit and take care of itself.
- Once the candy is completely melted, transfer it to a tall dipping container for dipping, a piping bag for drizzling, or drizzle into silicone molds to make shaped candies.
Method #3: Melting Candy with a Double Boiler
Lastly, let’s go over the double boiler method. Some bakers claim that this is their preferred way to melt the candy. Other bakers claim that since it is all metal, a double boiler can get too hot and instead prefer to use a sort of substitute method involving a pot for the bottom and a heat-safe bowl on top to achieve the perfect melted consistency. If you plan to use the bowl method instead of an actual double boiler, make sure to use a bowl that is made from sturdy glass and that is absolutely safe to use with heat!
Equipment for the Double Boiler Method:
- Silicone spatula
- Double Boiler or
- A pot with a heat-safe glass bowl
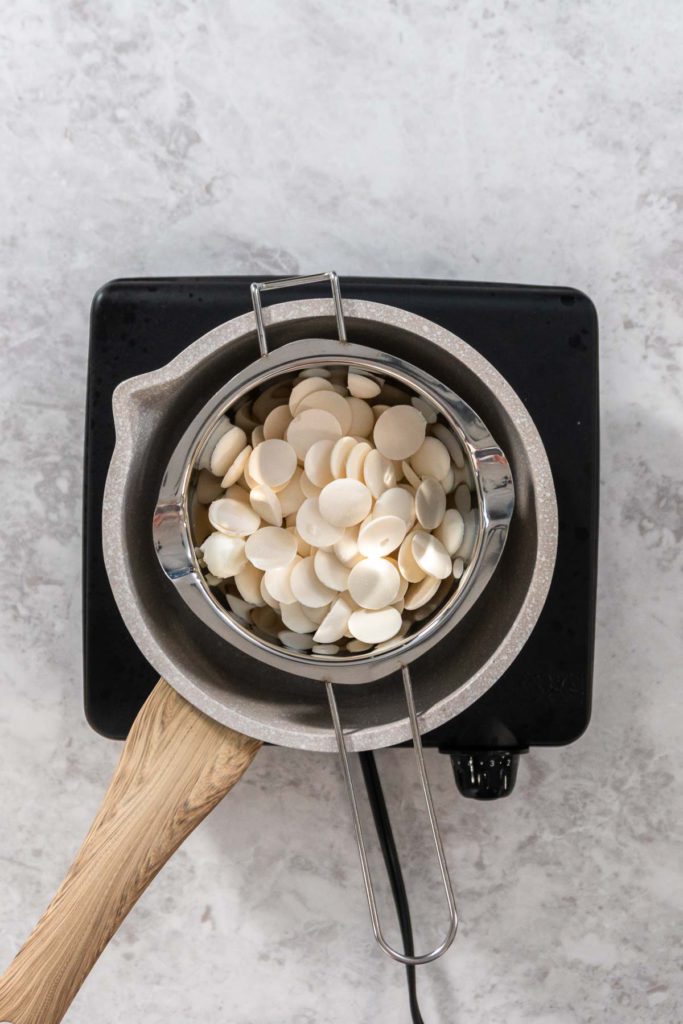
- To use this equipment set, make sure the glass bowl is very sturdy and fits appropriately in the pot. The bowl should rest comfortably on the top edge of the pot without touching the bottom of the pot. There needs to be enough empty space so that the water in the pot won’t touch any part of the bowl.
Candy Melt Ingredients:
- Candy Melts
- Coconut Oil - if a thinner consistency is desired
- The amount of coconut oil needed will depend on the desired consistency and the amount of candy melts used. Use about ⅛ teaspoon of coconut oil to ¼ - ½ cup of candy melts.
How to Melt Candy Melts in a Double Boiler:
- First, fill the lower pot of a double boiler with 1 to 2 inches of water.
- The water should sit about 1 inch below the bottom of the bowl or top pot, but remember to remove the top pot or bowl before heating up the water!
- Next, bring the water to a simmer. Once simmering, immediately remove the pot from the heat.
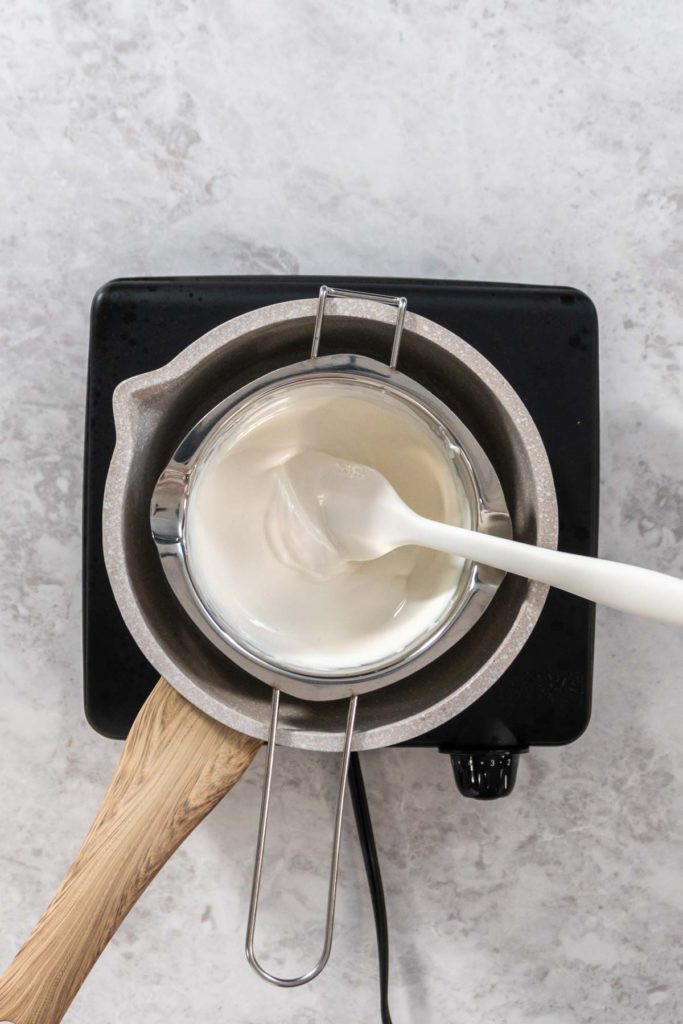
- Then, place the top pot, or glass bowl, on the lower pot and drop in the candy melts. Stir the candy melts constantly with a spatula until the candy is mostly melted.
- If a thinner consistency is desired, mix in a little bit of coconut oil.
- Remove the top pot, or bowl, from the hot lower pot, and let the residual heat melt the smaller pieces of unmelted candy while still stirring.
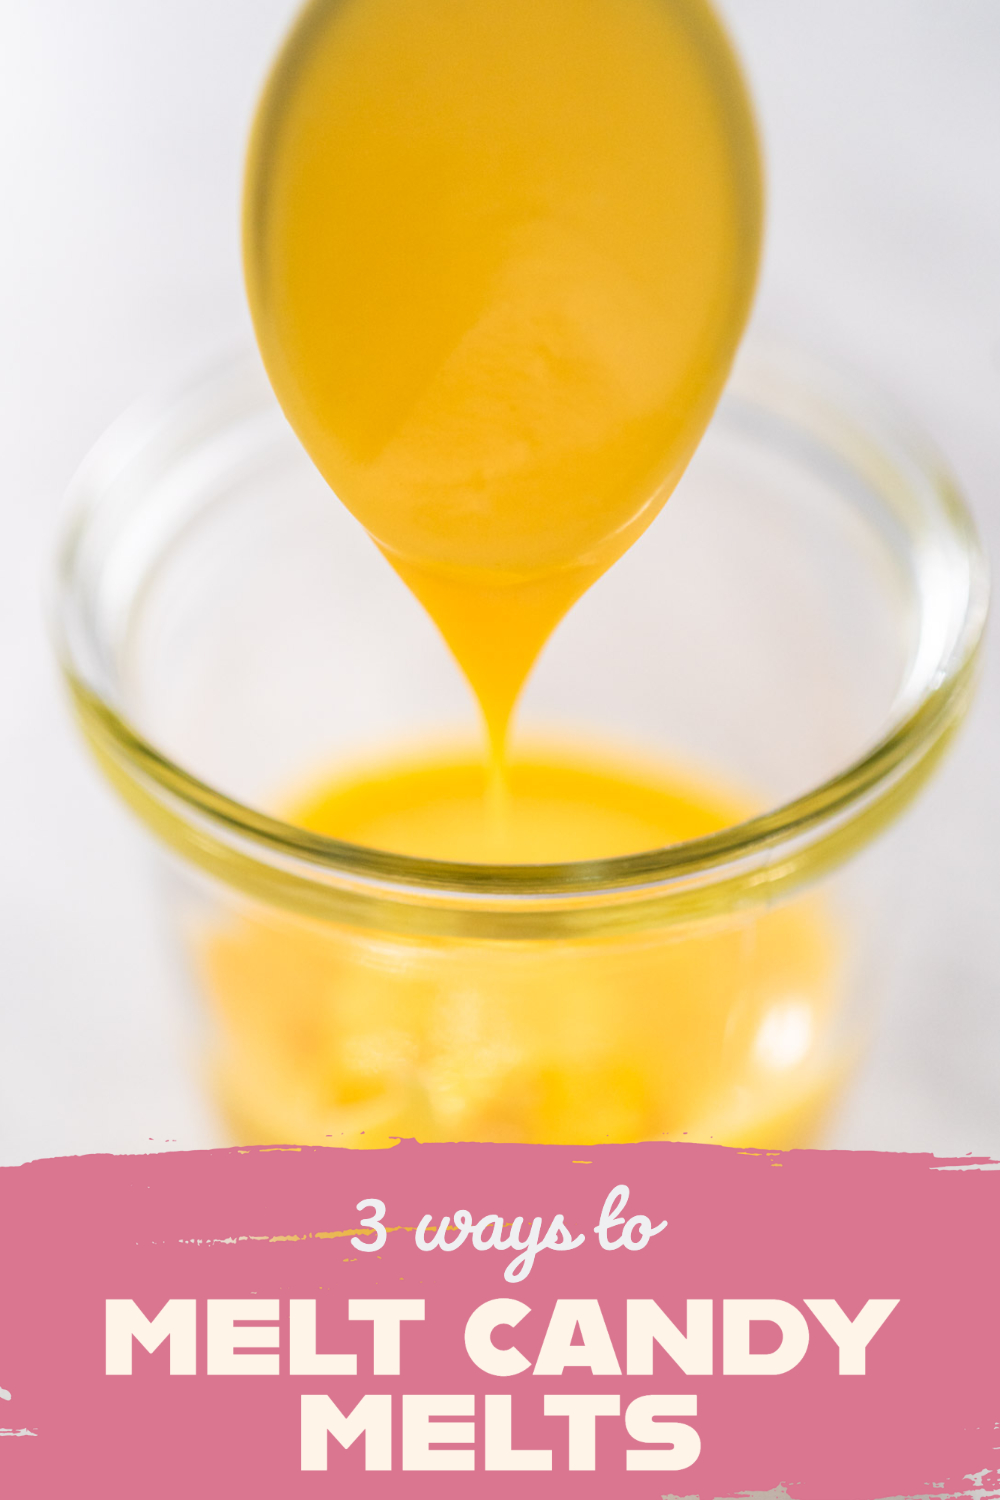
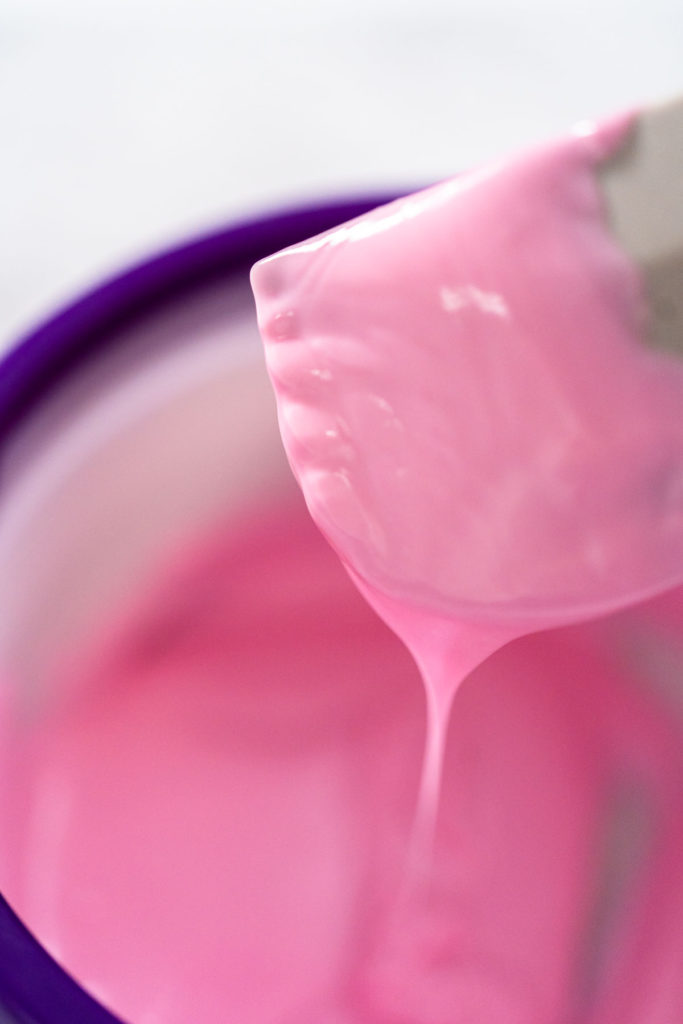
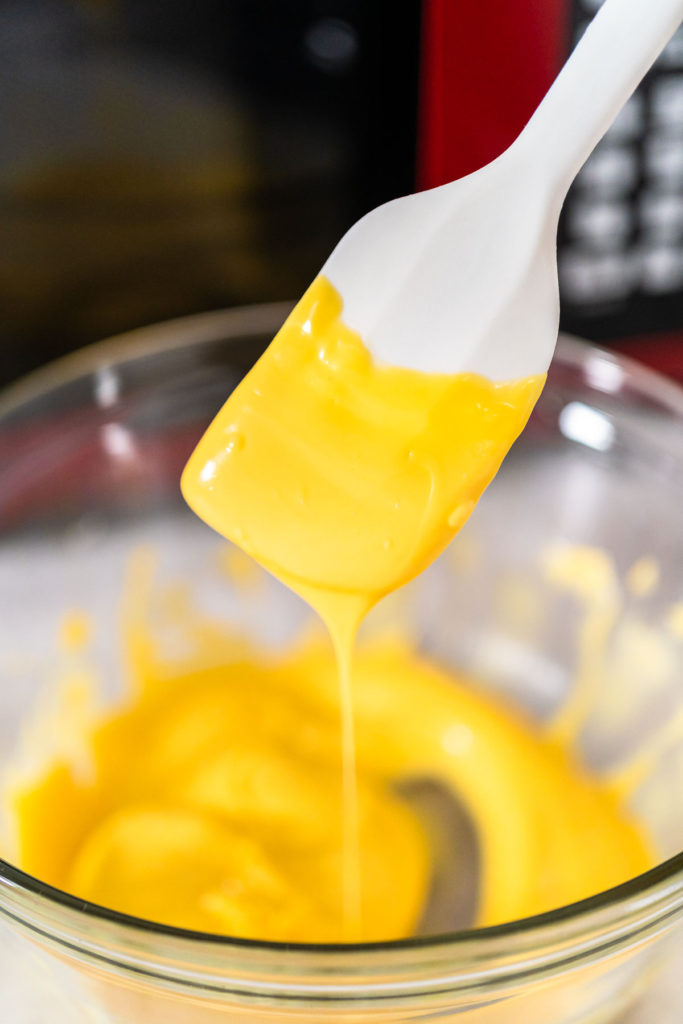
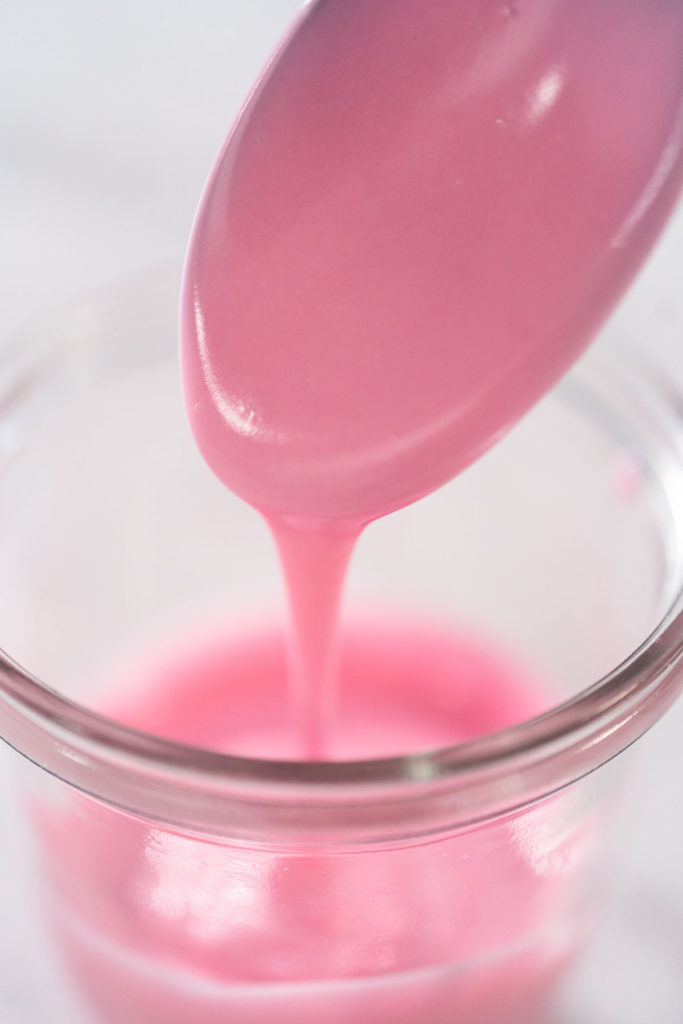
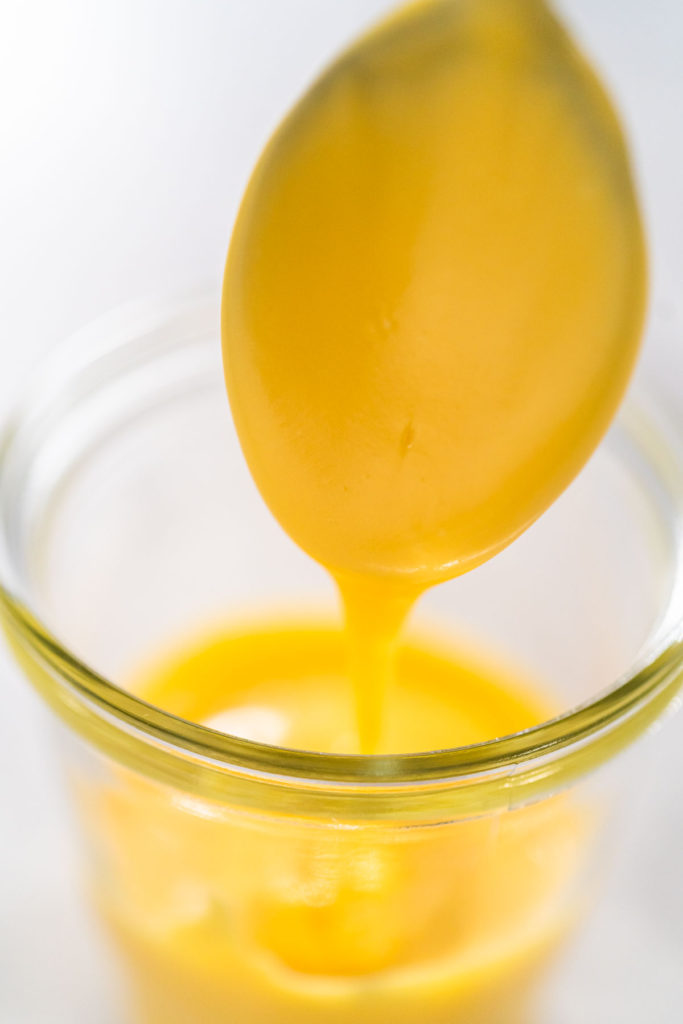
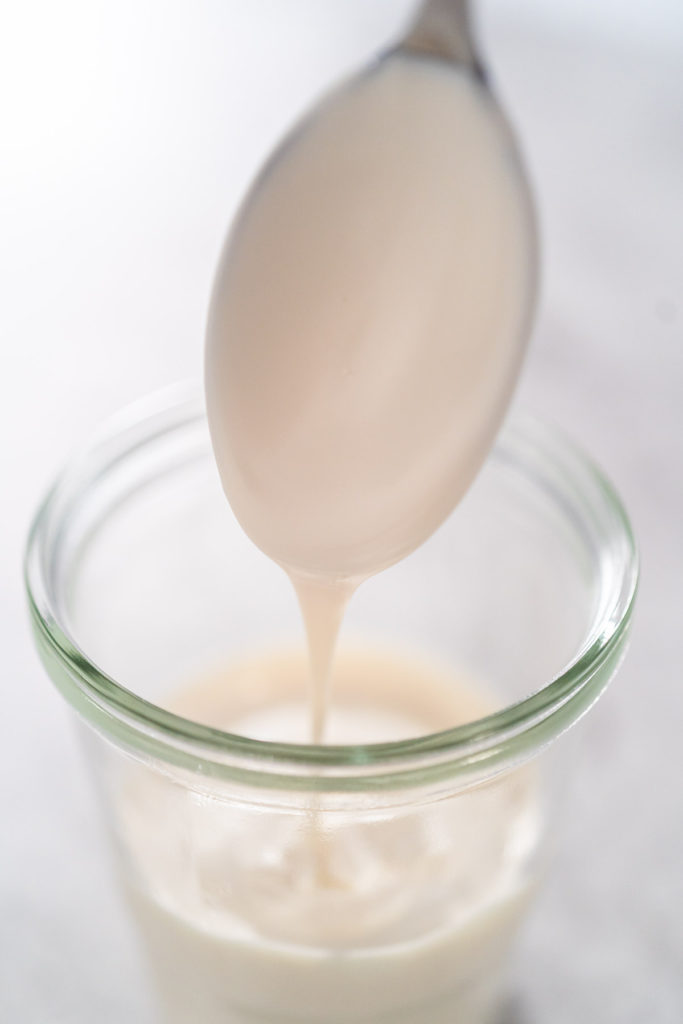
- The melted candy is ready when it is smooth and glides slowly off of the spatula, sort of like honey consistency.
- Transfer the melted candy to a dipping container for dipping, a piping bag for drizzling, or pour into silicone molds to make custom candy shapes.
My Favorite Tools for Making Homemade Candy
I absolutely love adding personalized charm to my homemade cakes and treats, and it is so easy to accomplish that with homemade candies! From chocolate-covered pretzels to chocolate mermaid tails, I can add customizable or themed party flair to literally any of my homemade dessert recipes! I personally like to take it a step further sometimes and add glitter dust or sprinkles to my homemade candies for extra charm. To create dazzling custom candy effects, here are some of my favorite kitchen tools to use:
- Food brushes - for applying glitter dust
- Sprinkles
- Edible glitter Dust
- Silicone molds for shaped candies such as: Mermaid Tail mold, Chocolate Bar mold, Seashell mold, Star-shaped mold
- Tall dipping container - for dipping pretzel rods or cake pops
- Cake Spatula - for smoothing melted candy into molds
- Saucier Drizzle Spoon - for drizzling or pouring melted candy into molds
- Baking sheets - for keeping molds flat while the candy hardens
- Piping Bags and Bag Ties - for easy drizzling
Homemade Candy Storage
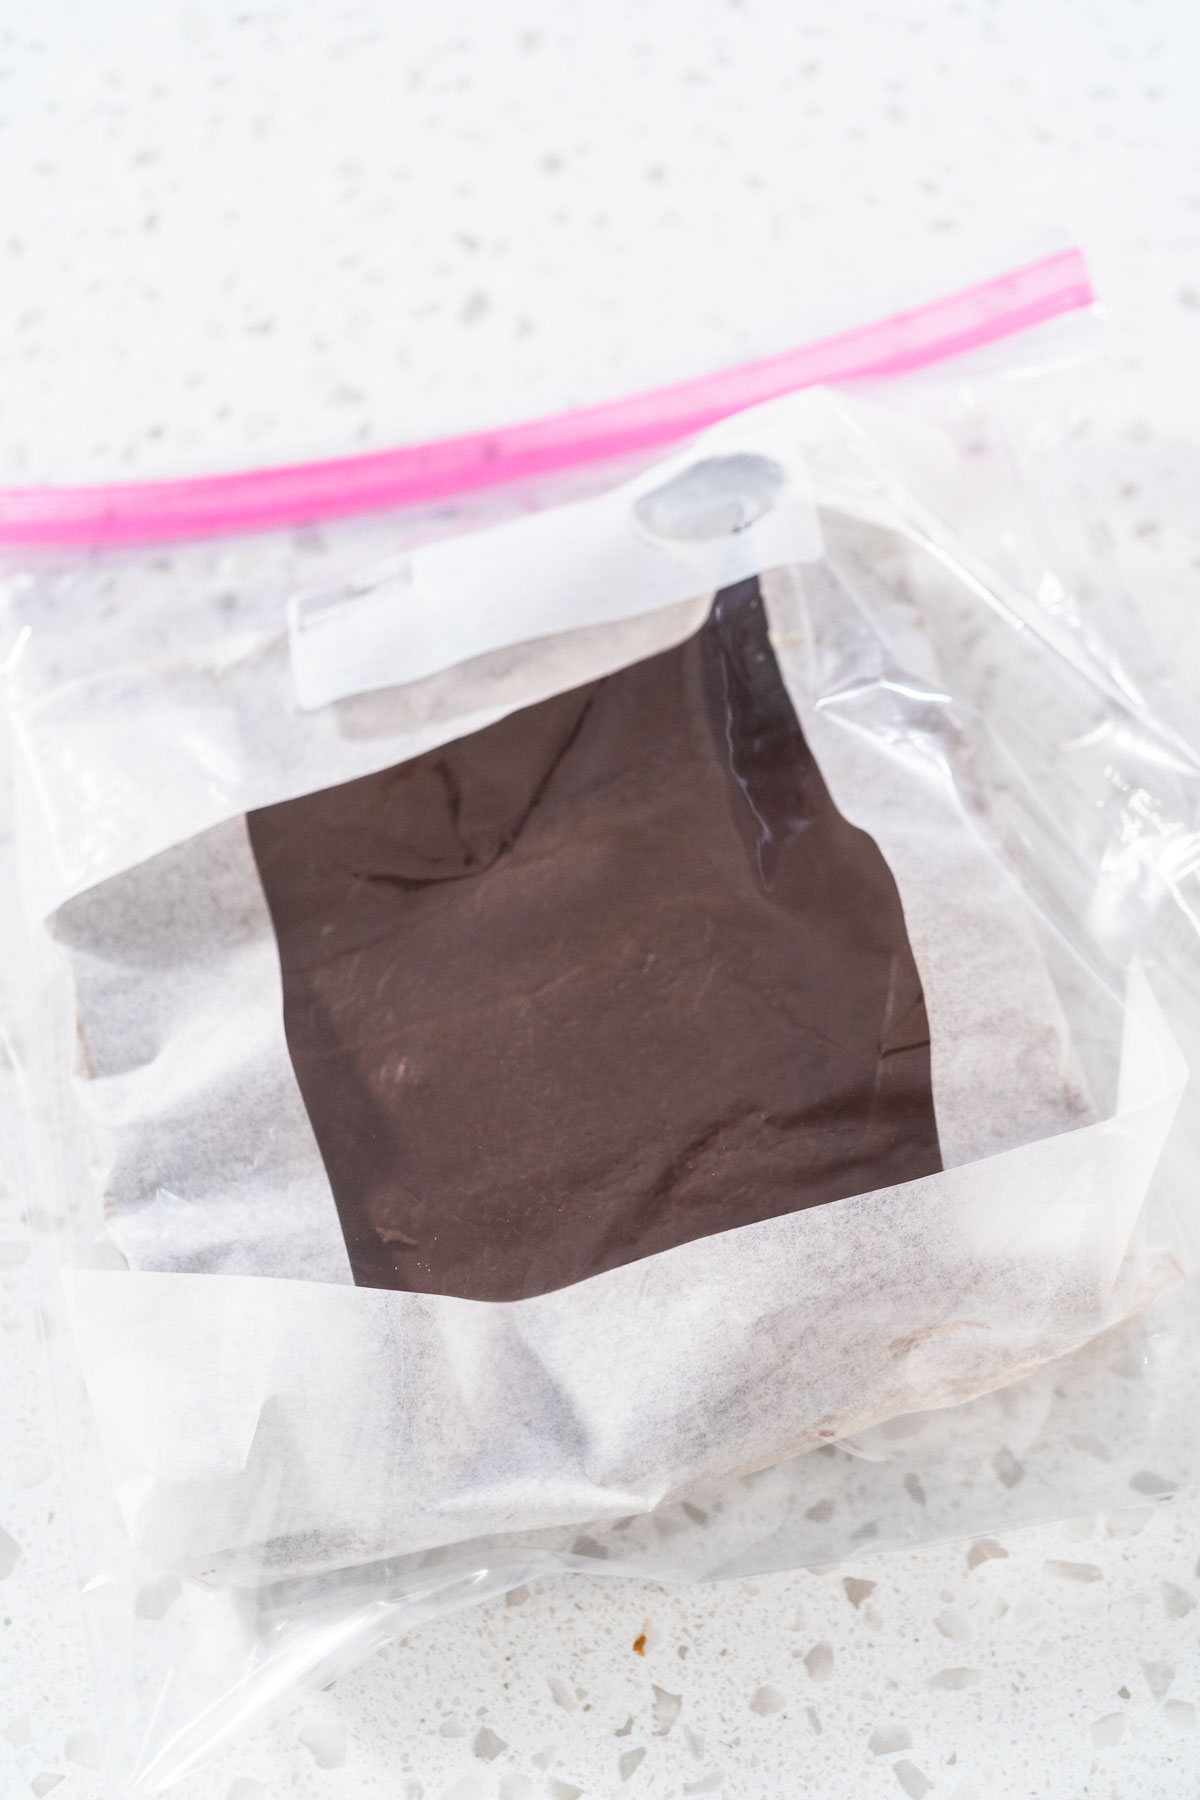
To store homemade candies and chocolates: just transfer the hardened candies to an airtight container and store either in the fridge for 2 weeks or in the freezer for up to 3 months. If desired, you can use small cuts of parchment paper or wax paper in between the layers to help keep the chocolates separated and intact. Always mark the date on the outside of the container to keep up with freshness.
More Baking Hacks
Melt-Worthy Candy Recipes
Want to try out these candy-melting methods and see which one you prefer? Here are some of my family’s favorite candy recipes that I’ve used for birthday cakes, holiday charcuterie boards, and cupcakes galore:
- Chocolate Hearts and Lips
- Mini Chocolate Bars with Sprinkles
- Mini Mermaid Chocolate Bars
- Chocolate Mermaid Tails
- Homemade Star-shaped Chocolates
- Mini Chocolate Bars
- Chocolate Seashells
Charming homemade candies are perfect for:
- Cake toppers
- Cupcake toppers
- cookies
- brownies
- Smoothie toppings
- Ice cream or sundaes - or DIY ice cream sundae bars
- Featured as a topping on a DIY Hot Chocolate Bar
Food Photography & Video Tips from My Studio
Here’s a peek at the tools, gear, and camera setups I use to film my recipe videos and photograph food at home. Over the years, I’ve tested dozens of different setups, and now I’m sharing what actually works for me—whether I’m filming overhead shots for YouTube or styling still photos for my blog. If you’re curious about how I create the content you see here, these posts are a great place to start.








Leave a Reply