|
This post contains affiliate links.
Every spring, my kitchen transforms into a little Easter bakery filled with the smell of butter, sugar, and vanilla. These Easter Sugar Cookies with Royal Icing are one of my favorite traditions — colorful, soft, and irresistibly cute. They’re the kind of cookies that make everyone smile before even taking a bite.
When I first started baking Easter cookies, I had no idea what I was doing. My first batch came out looking like misshapen bunnies with icing running everywhere! Over time, I learned how to perfect the process — chilling the dough properly, rolling evenly, and getting that perfect icing consistency. Now, it’s become a calm, creative ritual for me every Easter weekend. I even use what I learned in other favorites like Royal Icing for Decorating Sugar Cookies and How to Perfectly Flood Cookies with Royal Icing.
I love splitting the process into stages: dough one day, baking the next, and decorating after. It keeps the whole experience relaxed and fun, especially when the kitchen gets messy with pastel icing, sprinkles, and giggles. Sometimes I make an extra batch of Easter Lemon Cookies or Italian Easter Bread to go along with them, filling the whole kitchen with sweet spring scents. By the end, the cookies look like something straight from a professional bakery (with a few “creative” ones that I call my abstract art collection!).
Why You’ll Love This Recipe
- Soft and buttery: The dough bakes into tender cookies that melt in your mouth.
- Perfect shapes: Chilling the dough keeps your bunnies and eggs picture-perfect.
- Smooth royal icing: Sets glossy and firm for professional-looking designs.
- Fun family project: Decorating is a great Easter activity for all ages.
- Make-ahead friendly: Cookies and dough freeze beautifully for future holidays.
Watch how I make this recipe
Tools That Make It Easier
- Kitchen mixer: Beats butter and sugar to a smooth, fluffy base.
- 3-tier cooling rack: Perfect for cooling large batches of cookies at once.
- Adjustable rolling pin: Ensures even thickness every time.
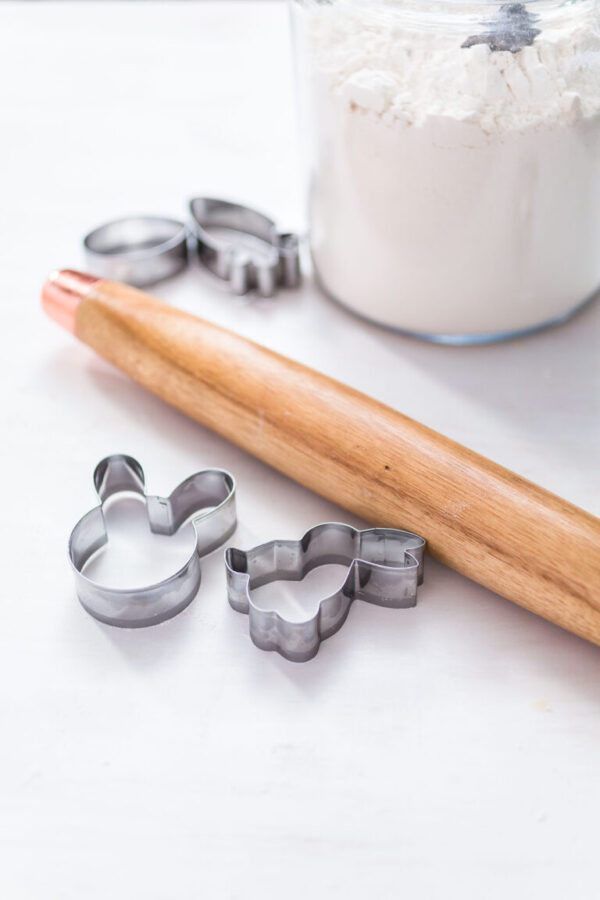
- Easter cookie cutters: For festive shapes like bunnies, eggs, and flowers.
- Silicone baking mat: Prevents sticking and gives cookies a perfectly smooth base.
- Baking sheet: Provides even baking and golden edges.
- Needle modeling tool: Helps pop air bubbles and shape icing details.
- Royal icing piping bags: Makes decorating simple and precise.
What You’ll Need From Your Pantry
Sugar Cookies:
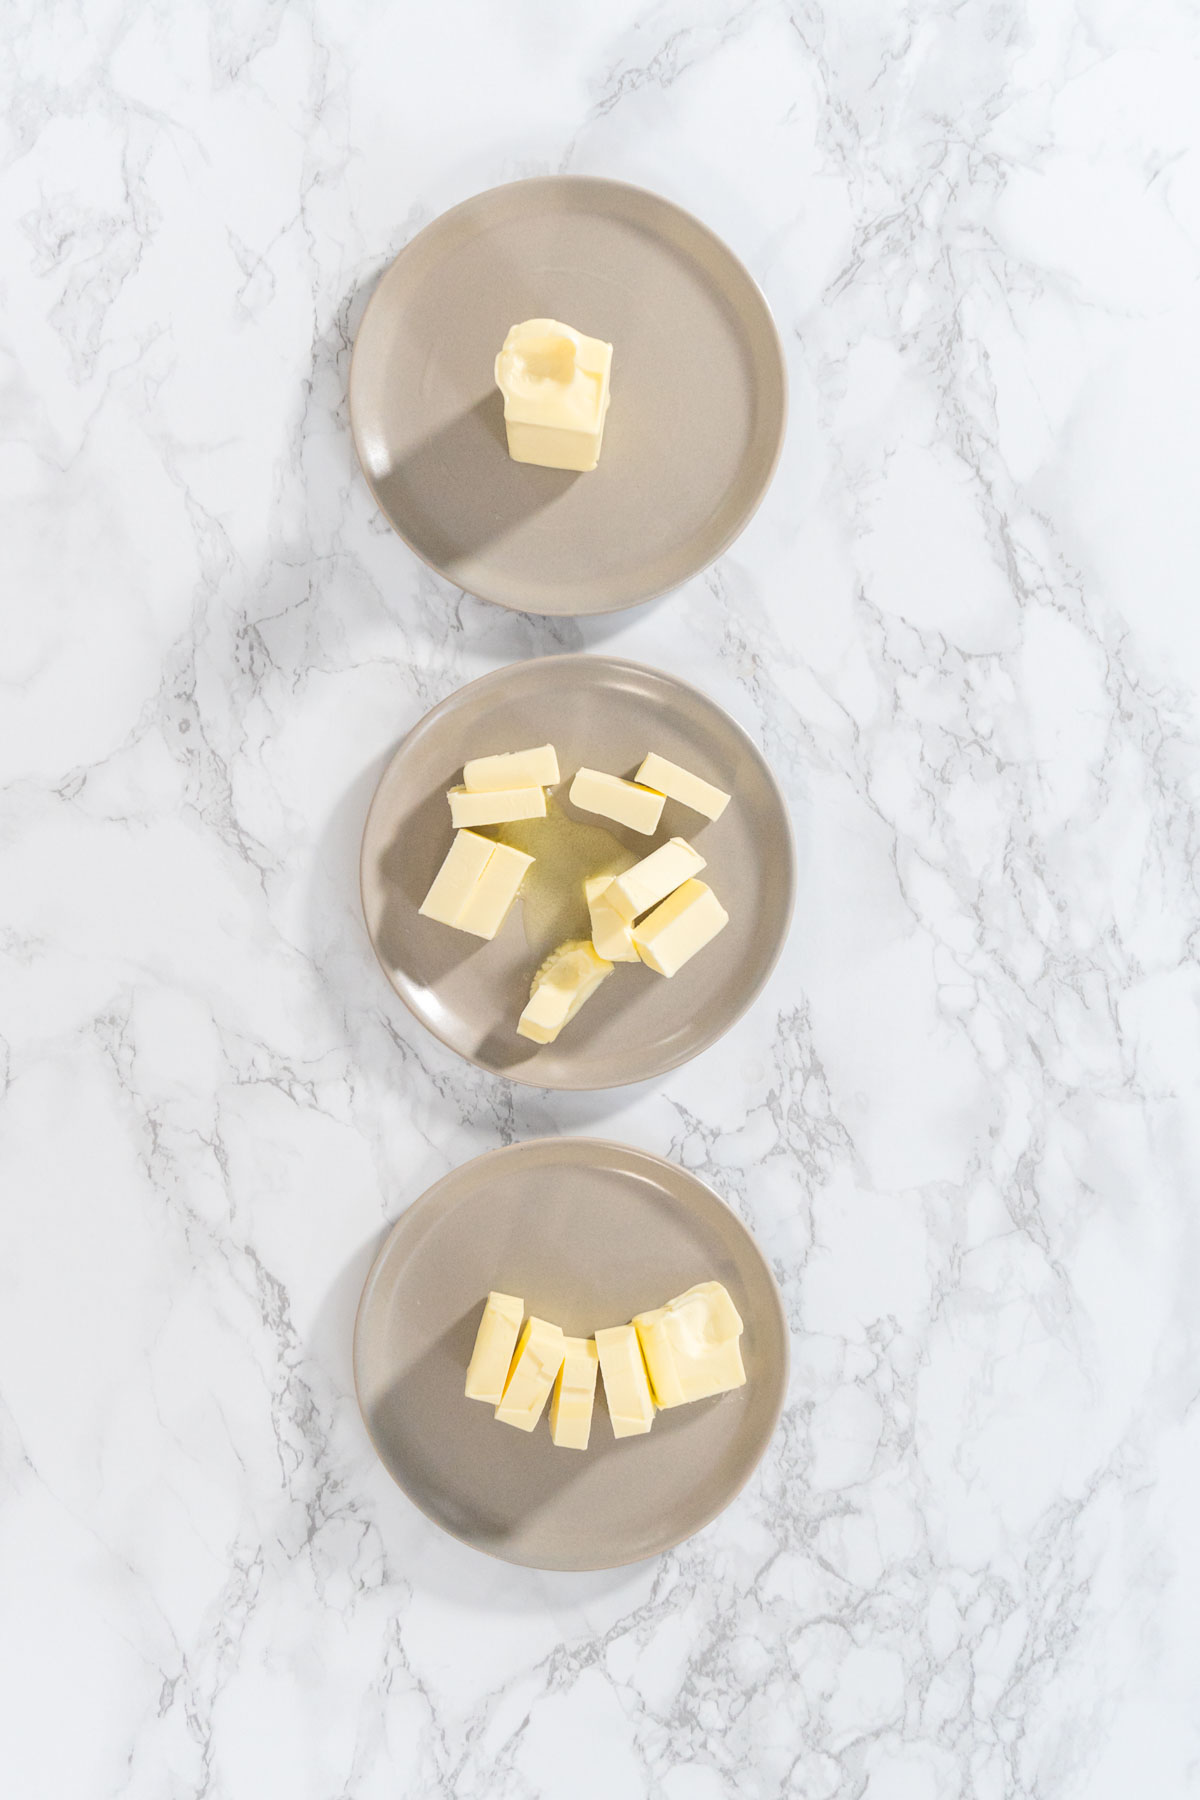
- 1 cup unsalted butter, softened
- ⅔ cup sugar
- 1 egg
- 1 teaspoon vanilla extract
- ½ teaspoon salt
- 2½ cups flour, sifted
Royal Icing:
- 1 lb confectioners’ sugar
- 3 tablespoon meringue powder
- 6 tablespoon warm water
- 1 teaspoon vanilla extract (optional)
- Squeeze gel color: gold, pink, green, blue, violet
Garnish:
- Easter sprinkles
Before You Start: My Quick Tip
- Chill twice: Before cutting and again before baking to hold perfect edges.
- Avoid overmixing: It keeps the cookies tender and buttery.
- Work in batches: Keep unbaked dough refrigerated while rolling the next portion.
- Color play: Mix pastel shades of royal icing — they look beautiful together.
- Dry completely: Patience pays off! The icing needs a full day to set.
- I like to make an extra batch and freeze undecorated cookies for last-minute gifts.
Every Easter, I end up with a rainbow of cookies scattered across my counters. My favorite part is seeing everyone’s faces light up when they pick their favorite design. These cookies have become a little tradition in our house — soft, sweet, and full of spring joy.
Latest Video
Let’s Make It Together
Making Easter Sugar Cookies
- Measure and prepare all cookie ingredients.
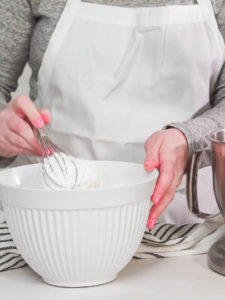
- In a medium bowl, combine sifted flour and salt.
- In a stand mixer, beat butter and sugar together until pale and fluffy.
- Add egg and vanilla extract, mixing until combined.
- Add dry ingredients in thirds, mixing well between each addition.
- When the dough stiffens, knead with wet hands until smooth.
- Divide the dough into two sections, flatten into discs, and wrap in plastic. Chill for 3 hours.
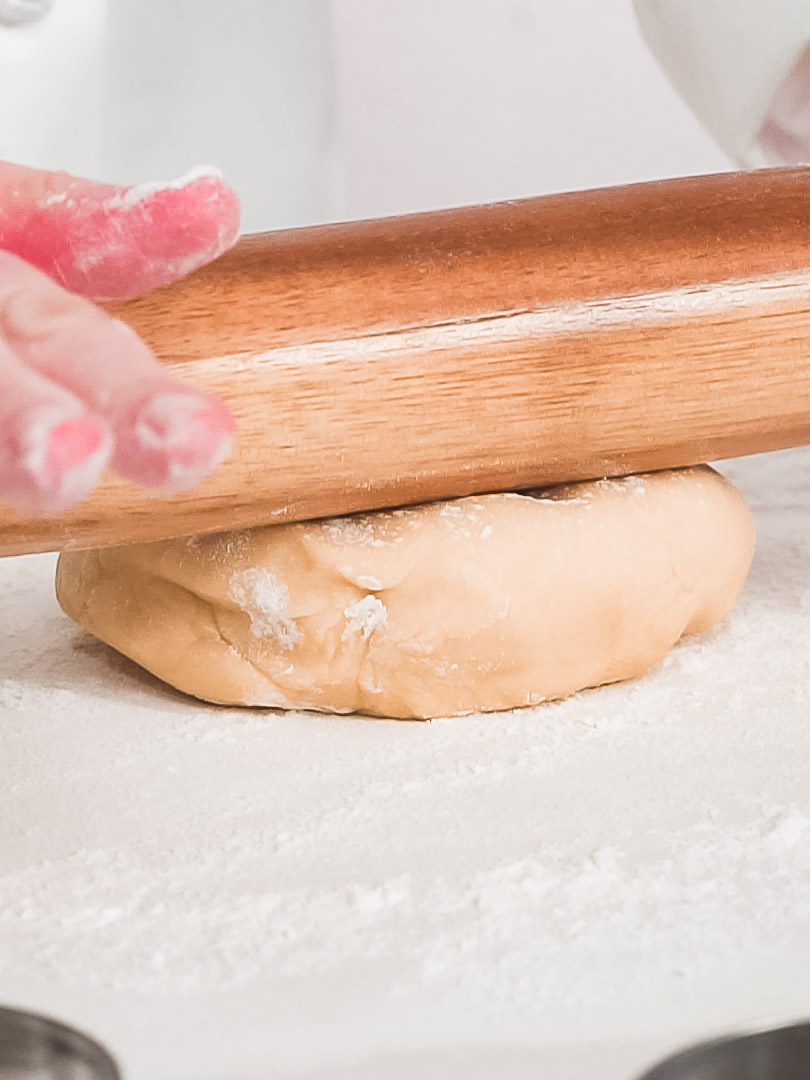
- Preheat oven to 350°F. Roll dough to ¼ inch thickness.
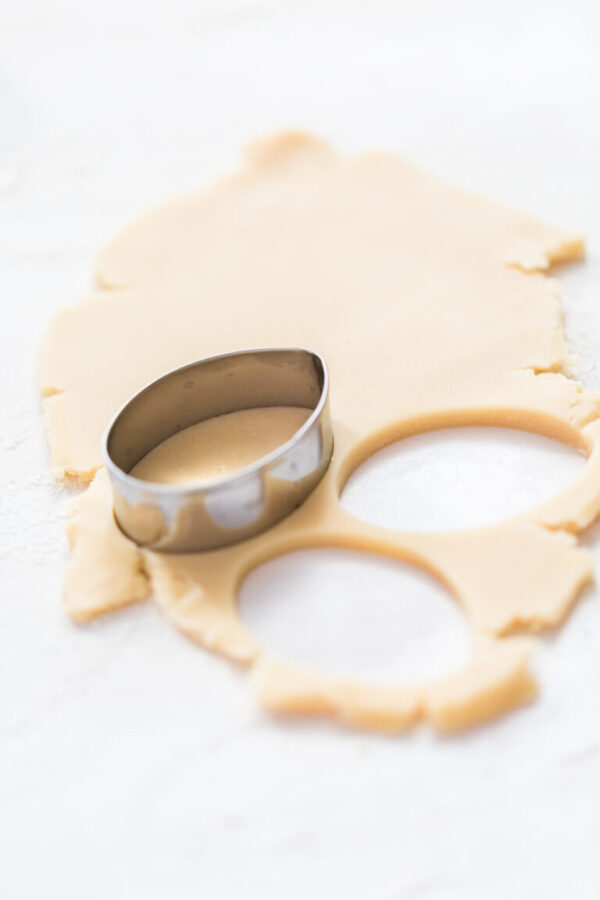
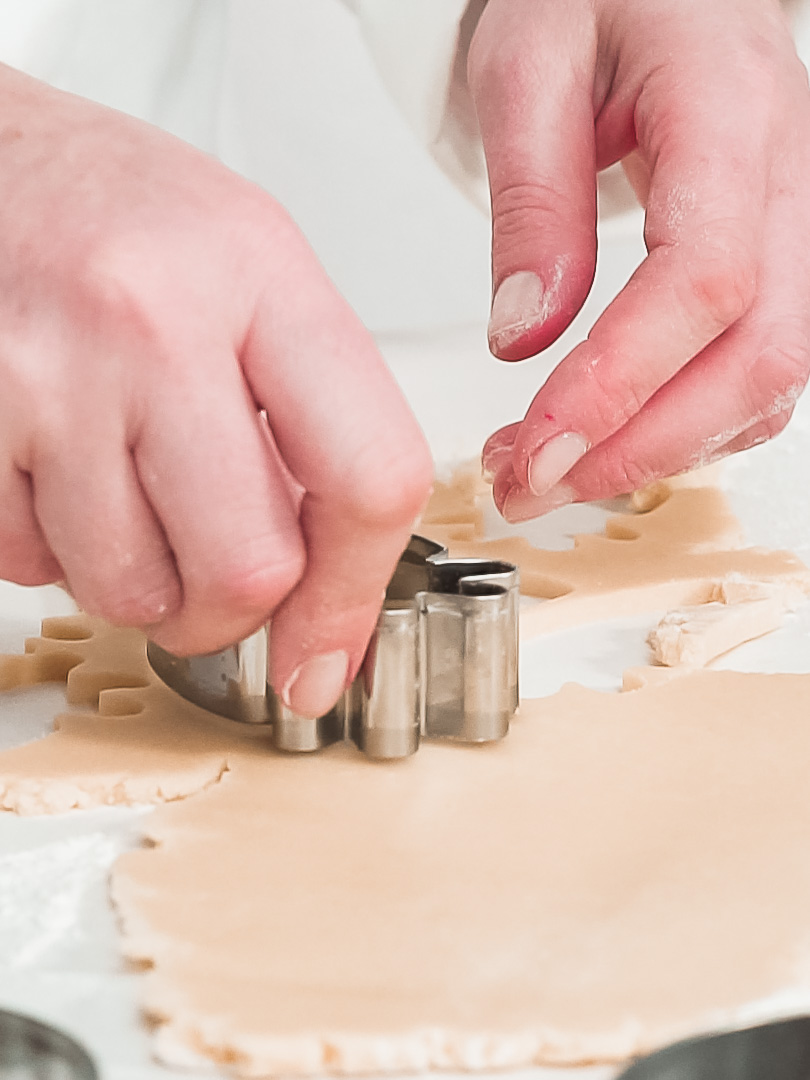
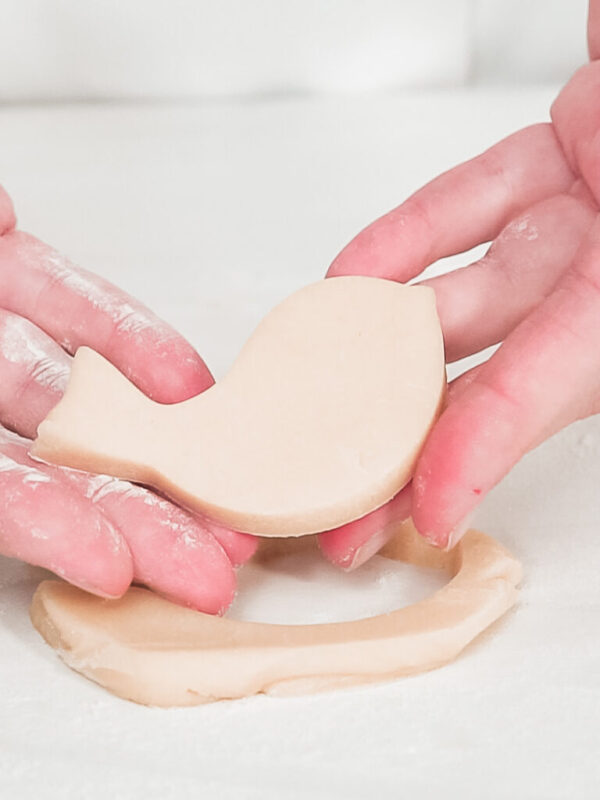
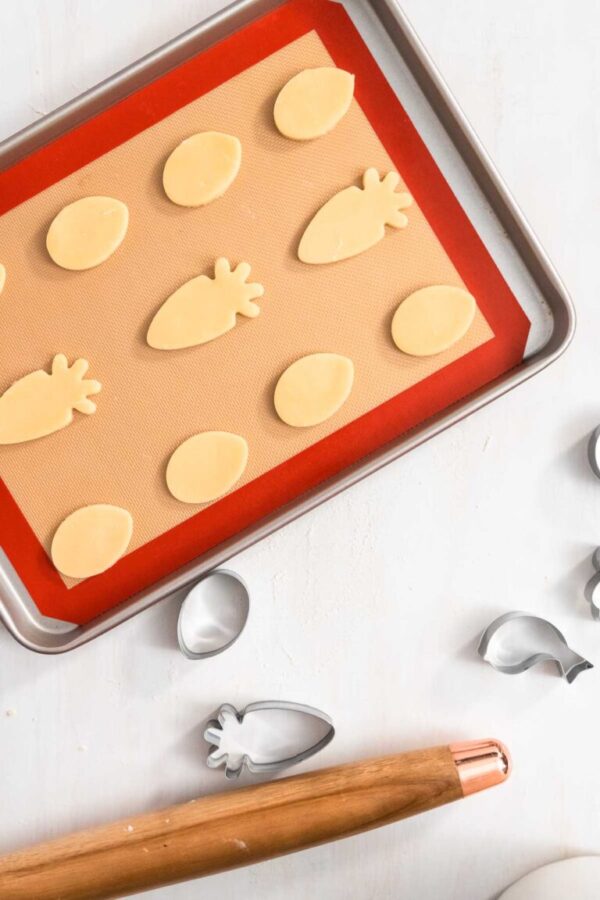
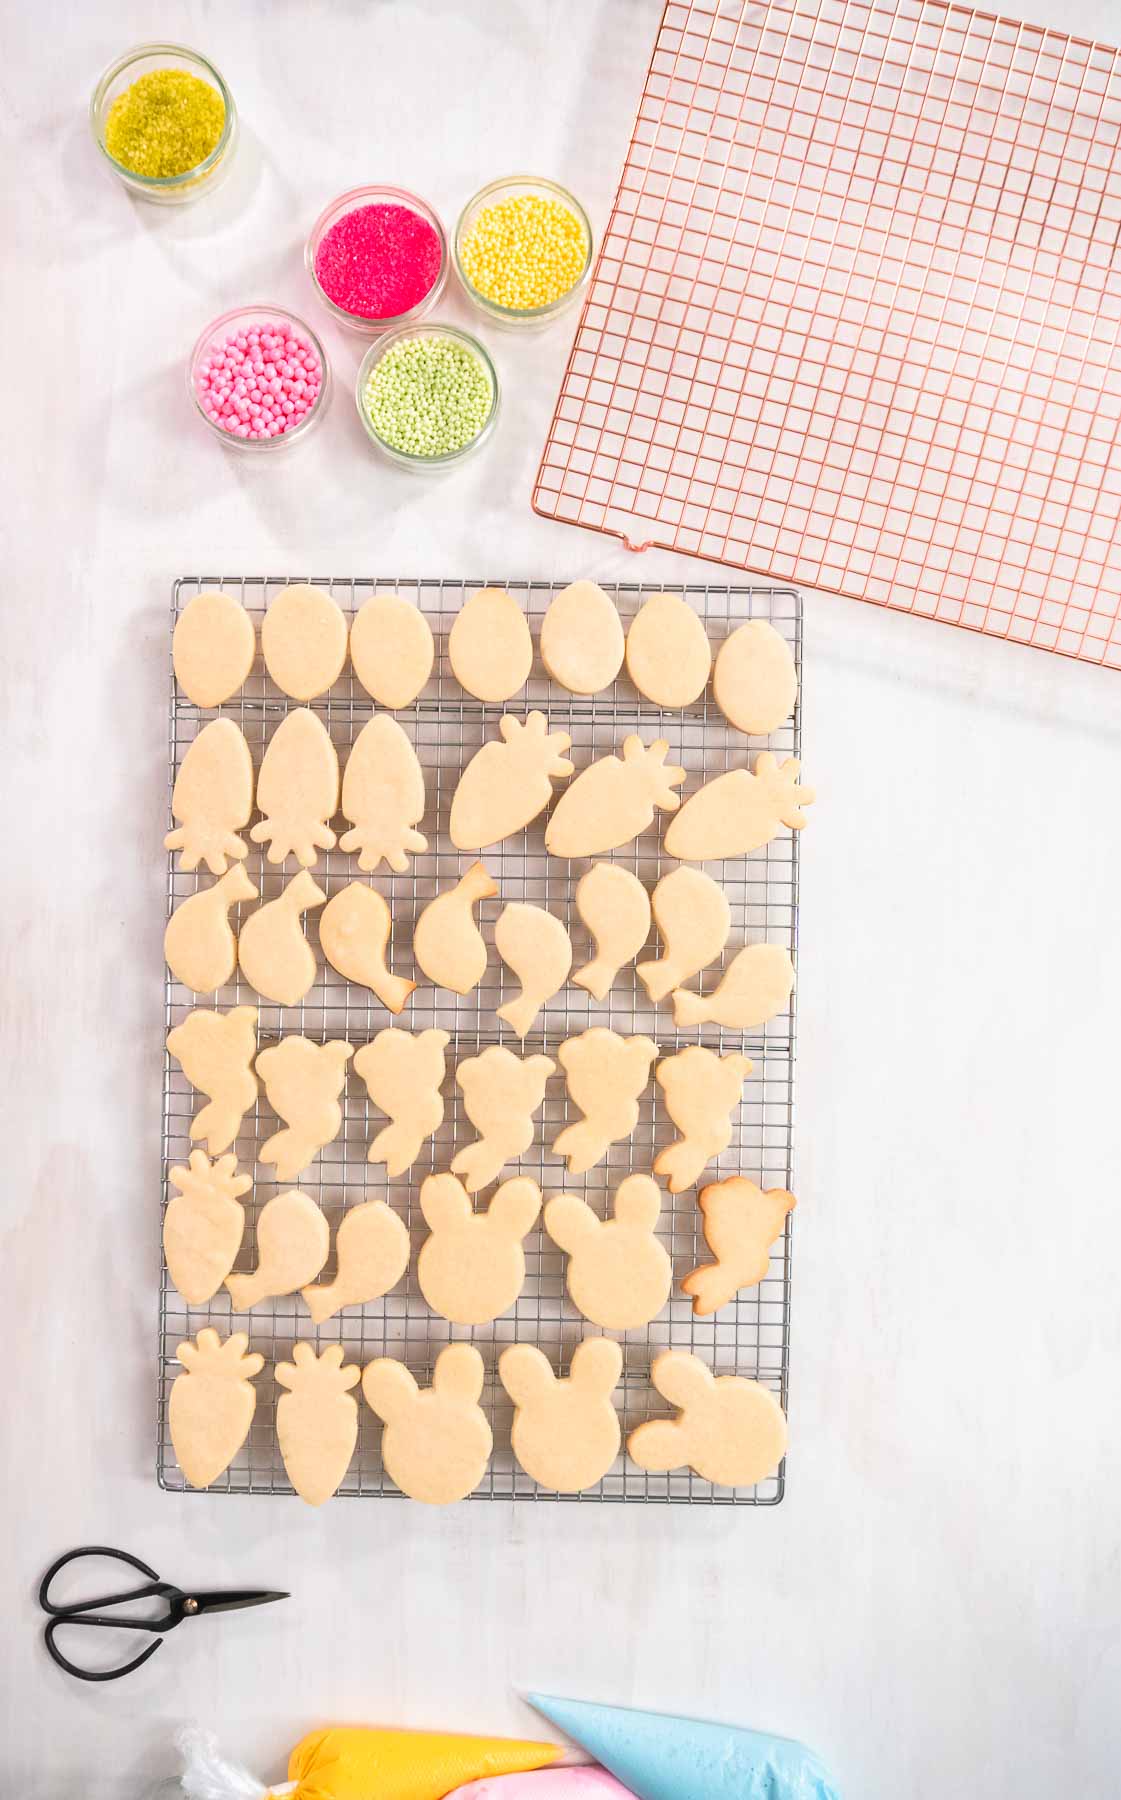
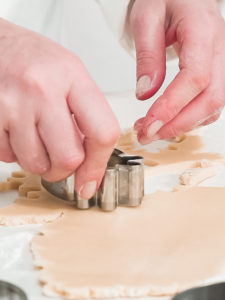
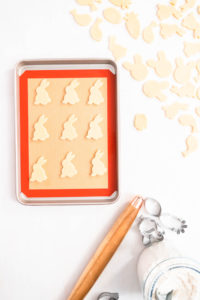
- Cut out shapes using Easter cookie cutters and place on silicone-lined baking sheets.
- Chill shaped cookies for 5–10 minutes before baking.
- Bake 8–10 minutes until edges are slightly golden.
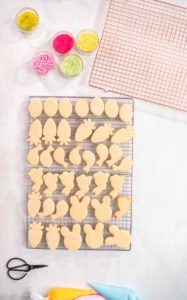
- Let cookies cool slightly, then transfer to a wire rack to cool completely.
Making Royal Icing
- In a large bowl, combine confectioners’ sugar and meringue powder.
- Add water gradually, mixing until shiny. Add vanilla extract if desired.
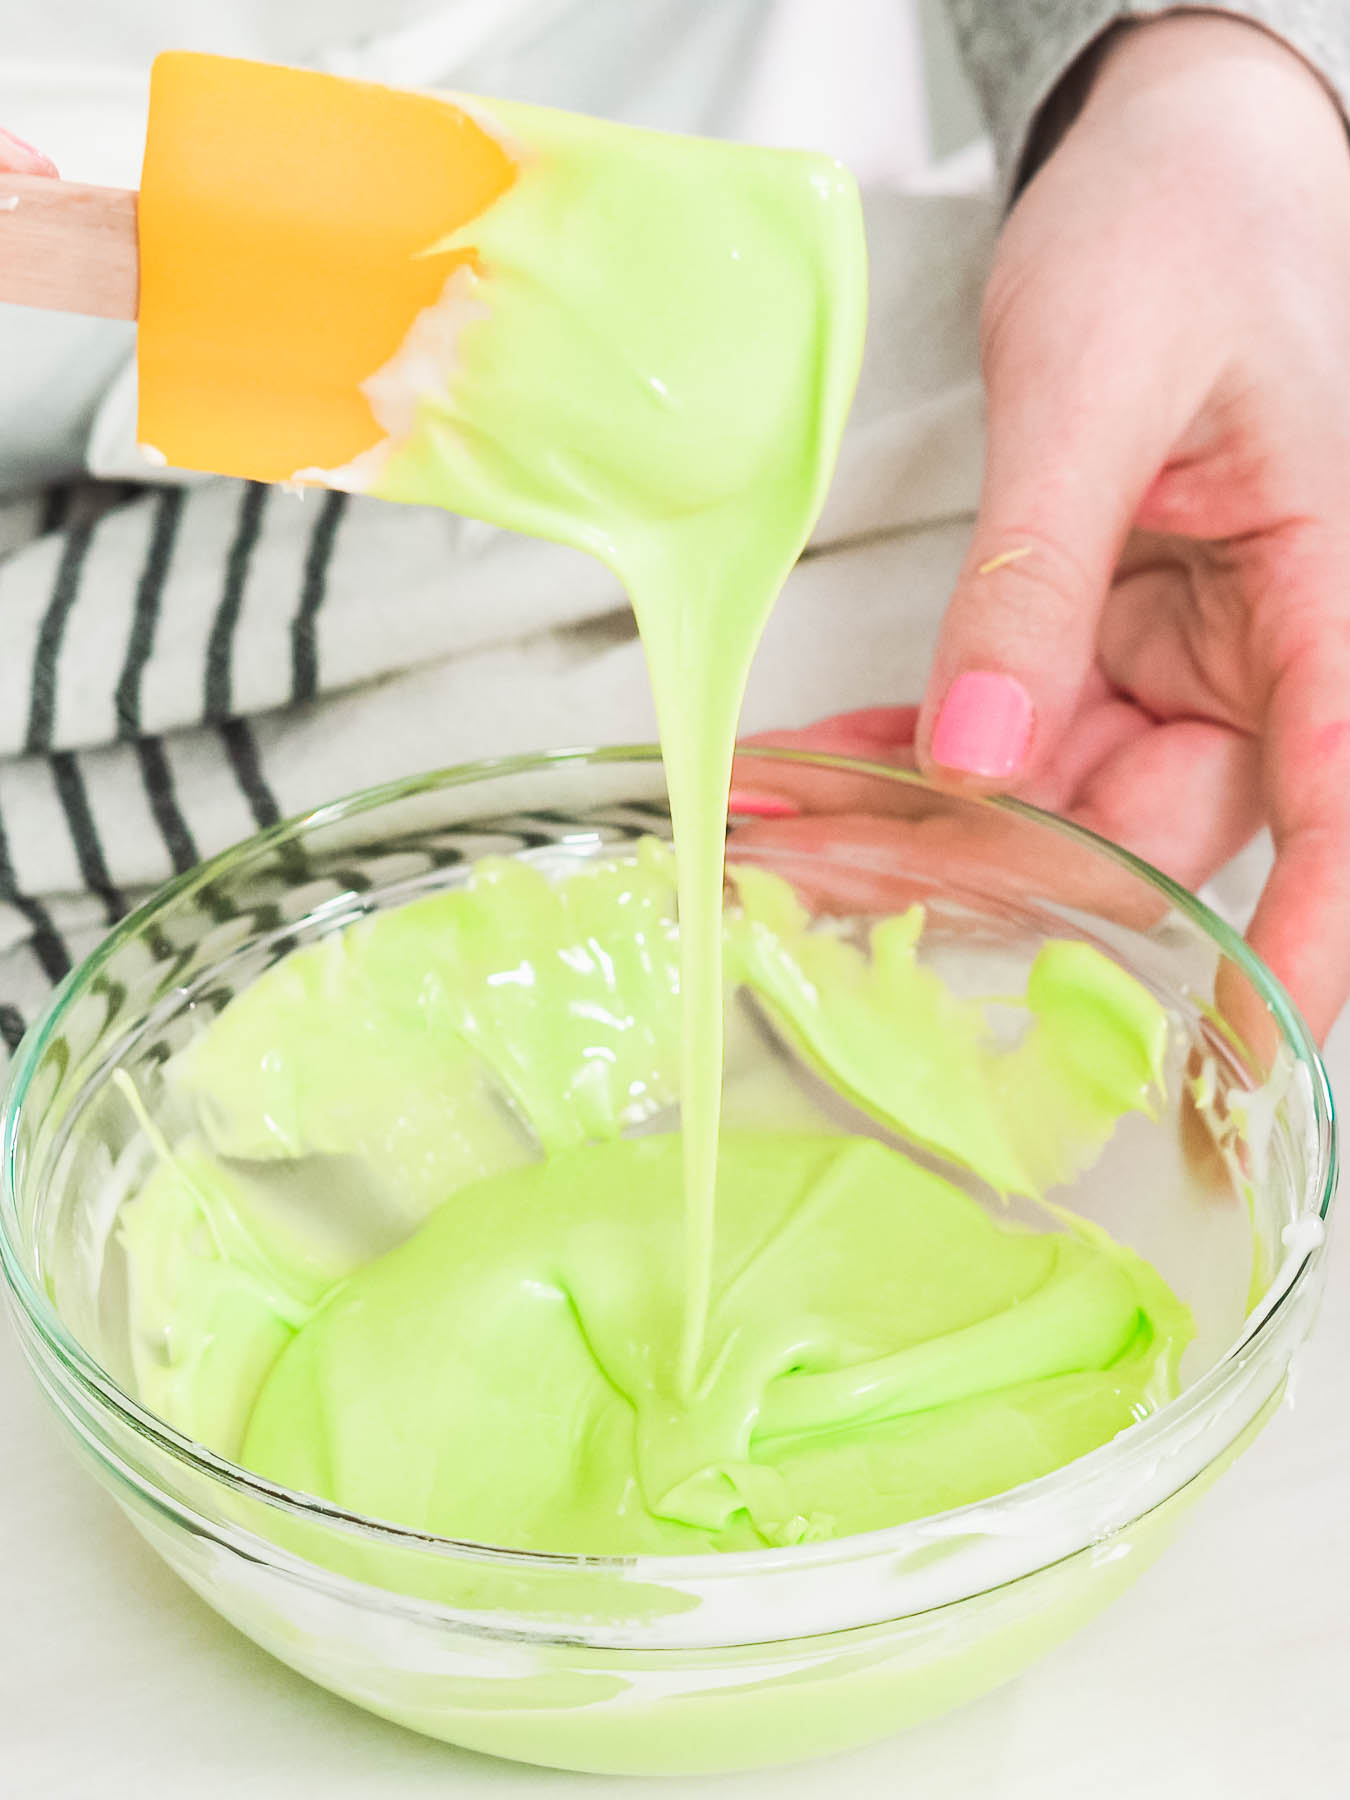
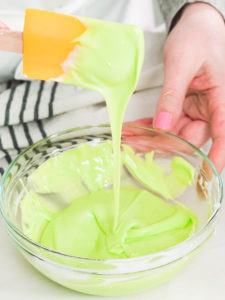
- Divide icing into bowls for each color and mix in gel coloring.
- Prepare two consistencies per color — thick for outlining, thin for flooding.
- Transfer icing to piping bags, tying off each color.
Decorating Sugar Cookies
- Cut piping bag tips — ⅛ inch for thick icing, 1/16 inch for thin. Test flow before decorating.
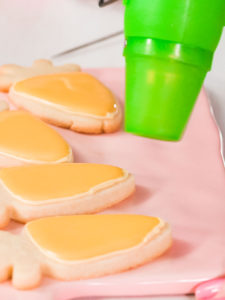
- Outline cookies with thick icing, then flood the centers with thin icing.
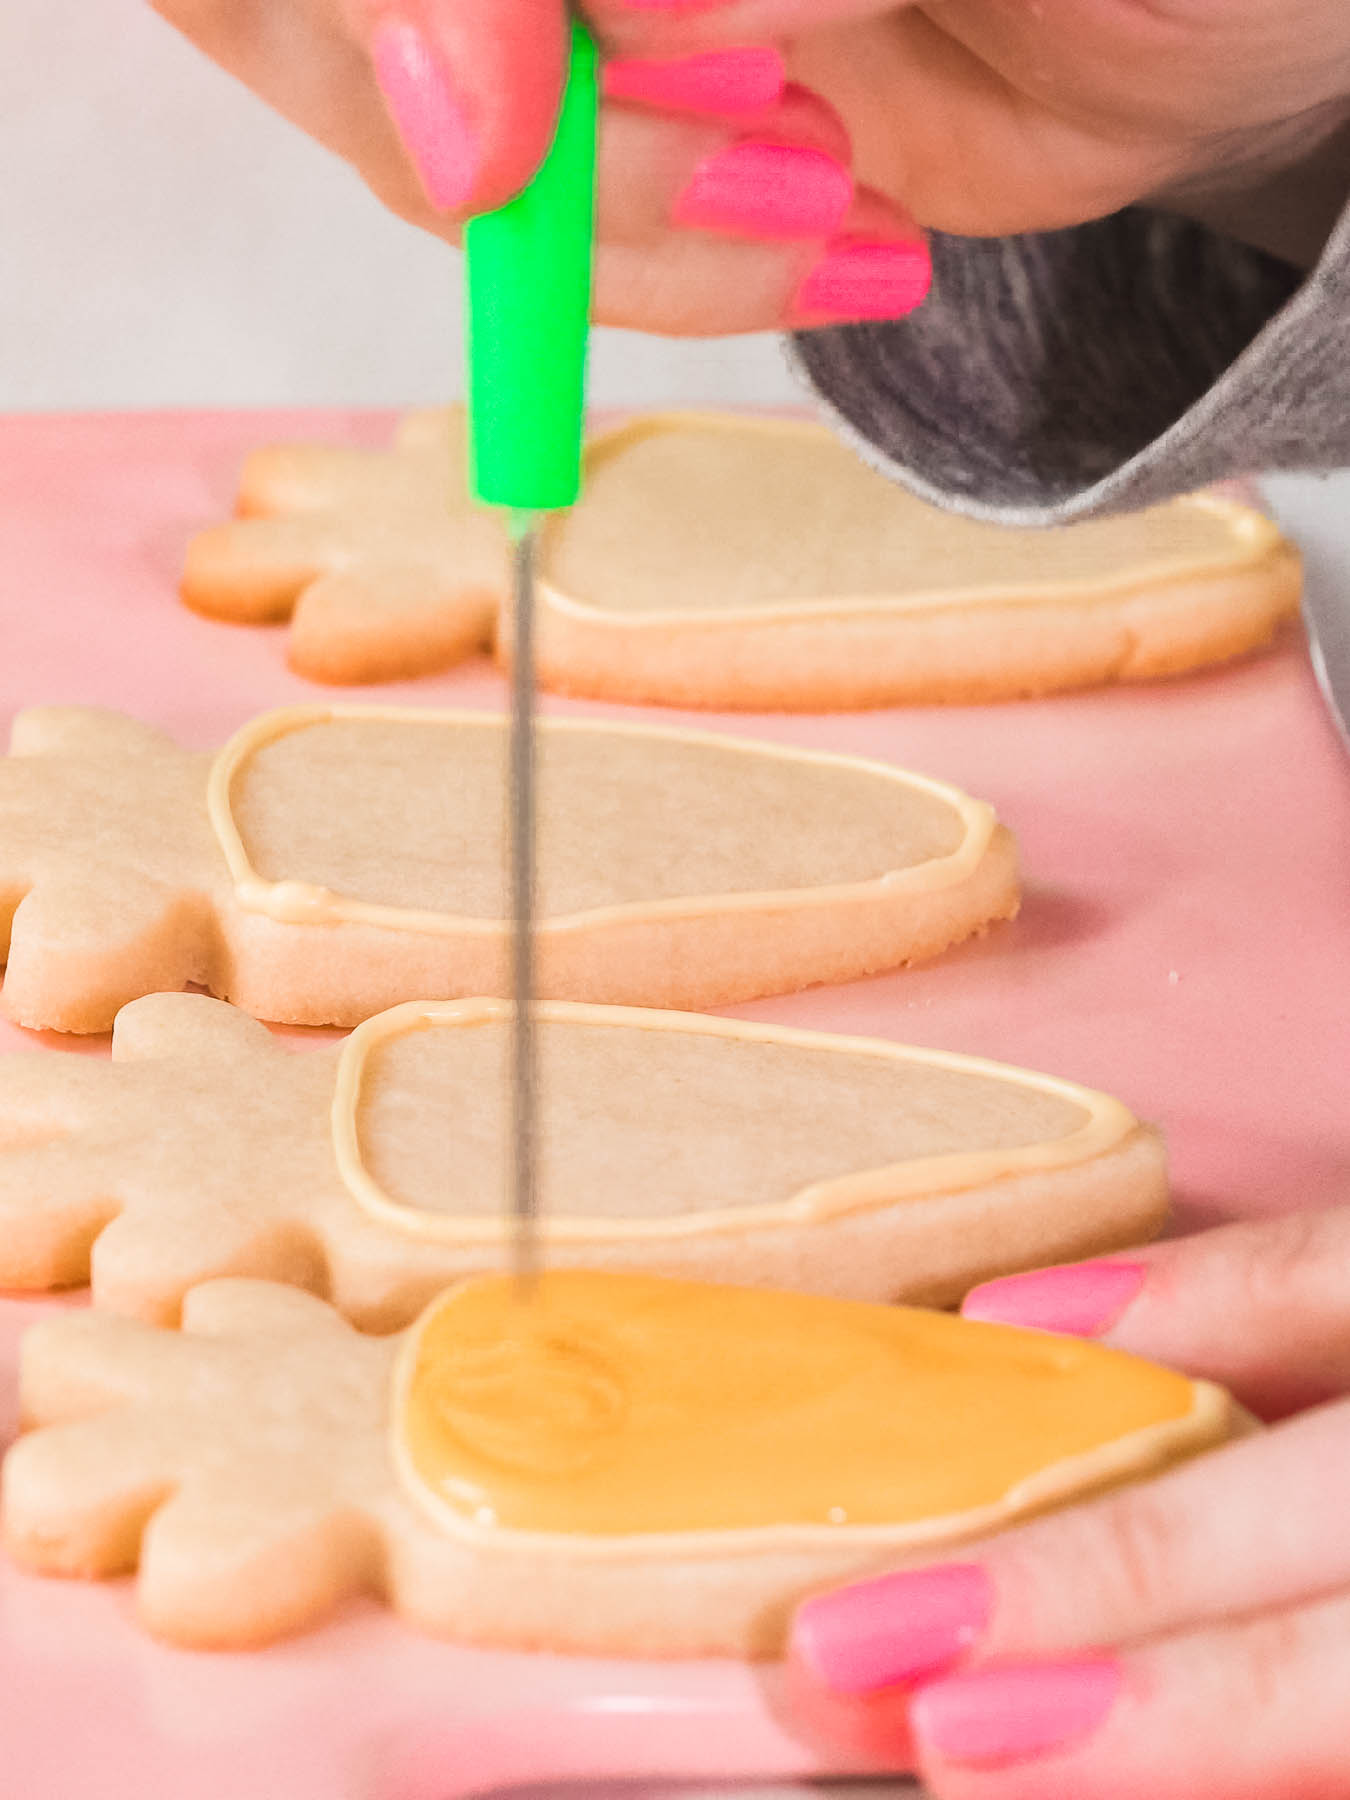
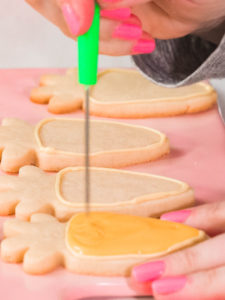
- Use the needle tool to pop bubbles and guide icing into corners.
- Use a craft heat gun for a few seconds to form a thin crust, preventing sinking.
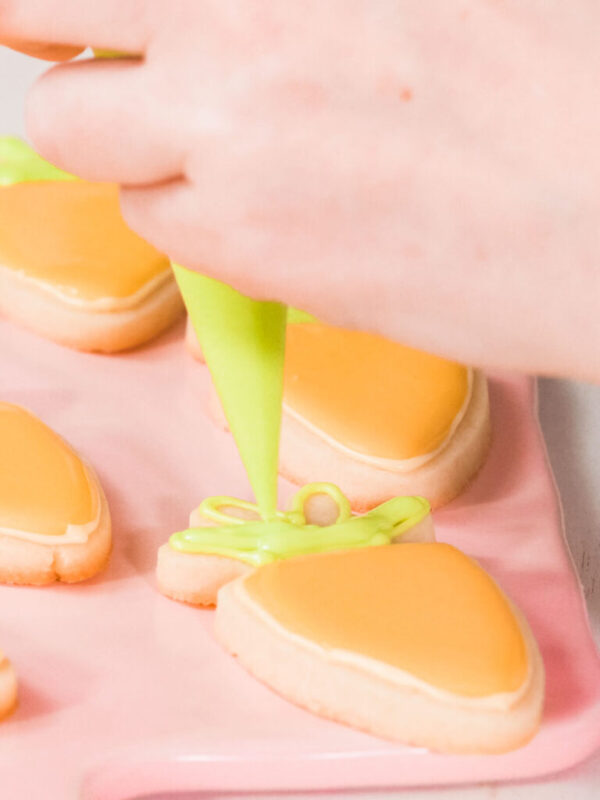
- Add sprinkles and details, then air dry for 24–48 hours before storing.
Recipe variations
- Lemon Easter Cookies: Add lemon zest to the dough and drizzle with light yellow icing.
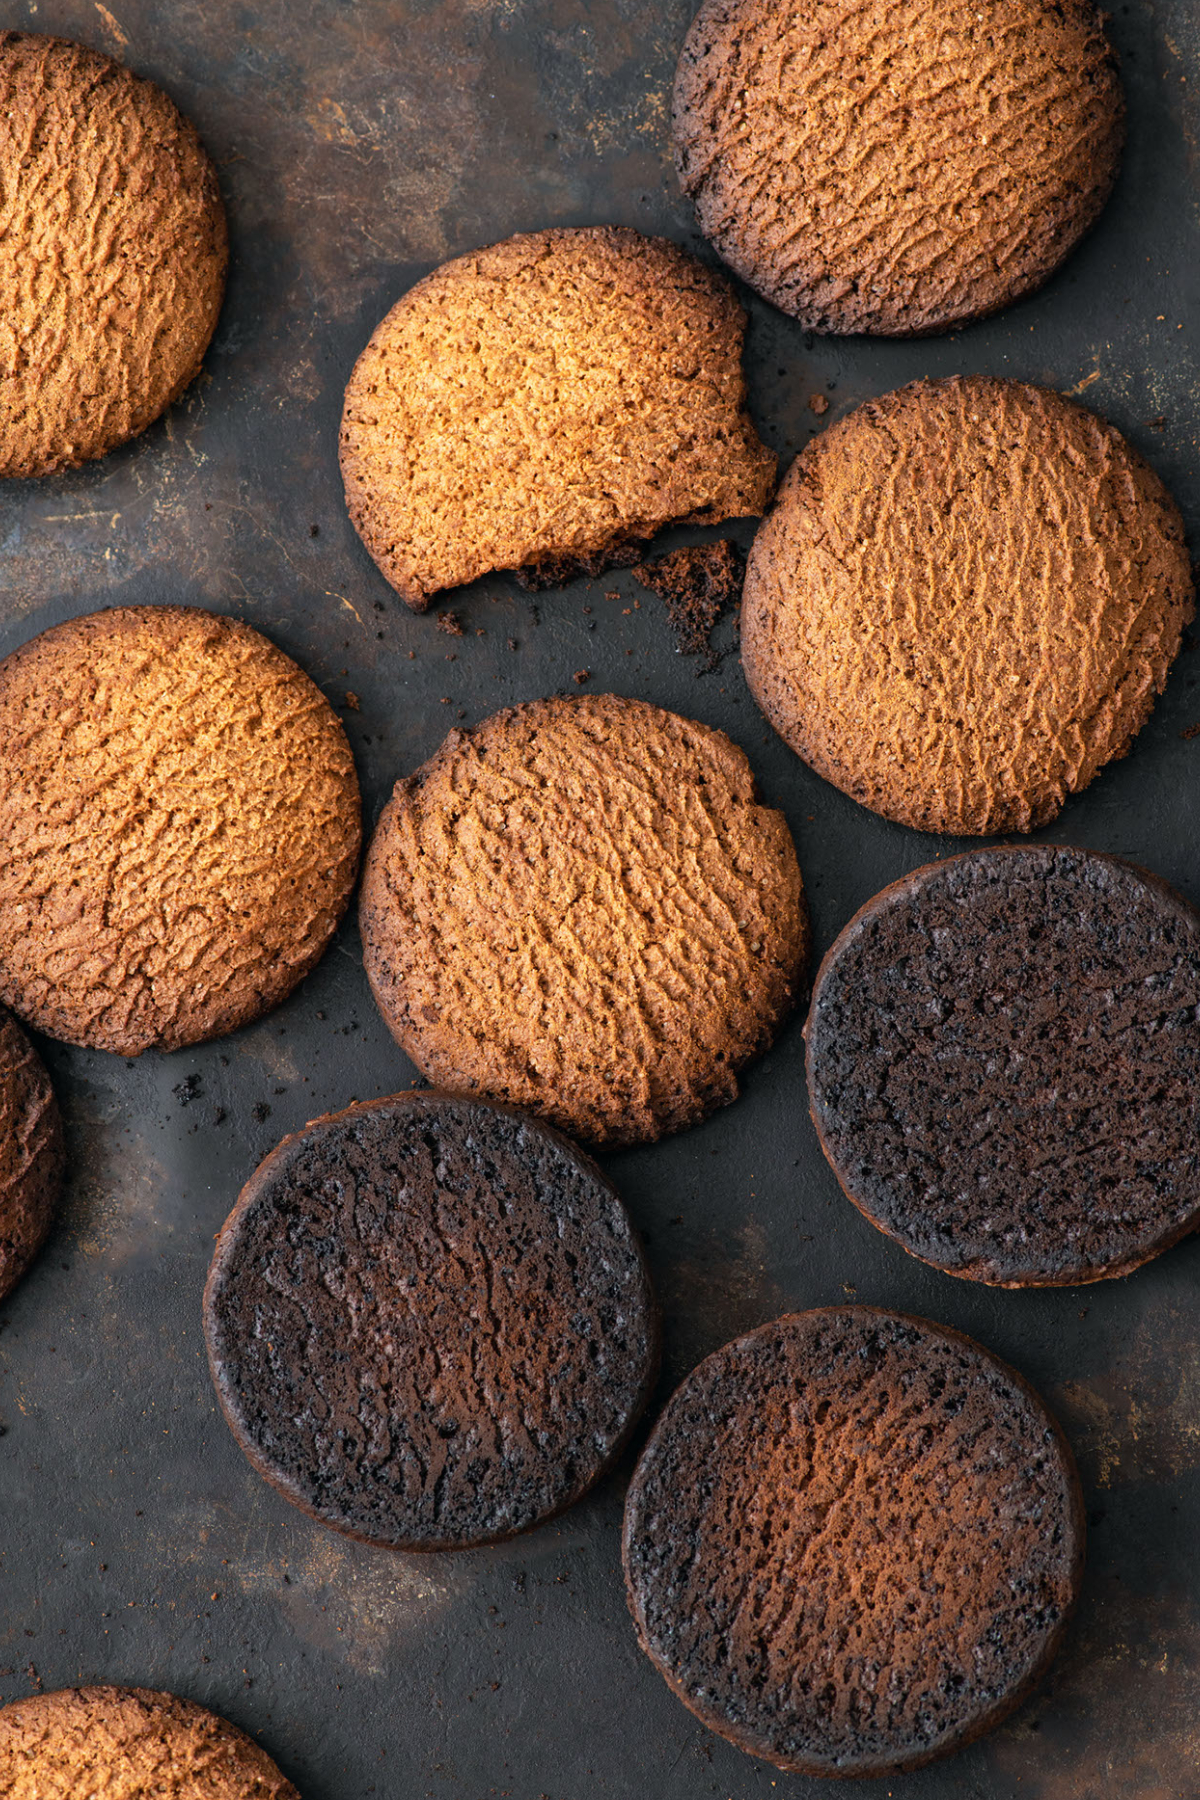
- Chocolate Easter Cookies: Replace ¼ cup flour with cocoa powder for a deeper flavor.
- Almond Easter Cookies: Substitute vanilla extract with almond extract for a nutty twist.
Preserving Cutout Cookie Dough: Storage and Freezing Tips
Proper storage and freezing are key to preserving the quality of cutout cookie dough, ensuring it’s just as good when you’re ready to bake as it was when you first made it. Whether you’re chilling dough for a short period or freezing it for future use, these methods are essential for maintaining flavor and texture. This section provides practical tips and techniques to help you efficiently store and extend the life of your cookie dough.
Storing Dough in the Refrigerator
If you’re planning to bake within the next few days, store the dough in the refrigerator. After dividing the dough into two portions, wrap each one tightly in plastic wrap and place it in the fridge. Chilling the dough for at least an hour firms it up, making it easier to roll and cut into shapes. You can store the dough in the refrigerator for up to three days.
Freezing Dough for Longer Storage
For longer storage, freezing the dough is a fantastic option. Here’s how I do it:
1. Wrap each dough disk in an extra layer of plastic wrap or aluminum foil to protect it from freezer burn.
2. Place the wrapped disks into a freezer-safe zip-top bag for extra protection.
3. Label the bag with the date and the name of the dough using a Sharpie. This avoids any confusion when you’re digging through the freezer later!
The dough will keep beautifully in the freezer for up to three months.
Thawing Dough for Use
When you’re ready to bake, simply transfer the dough from the freezer to the refrigerator and let it thaw overnight. By the next day, it will be chilled and ready to roll. If the dough feels too firm after thawing, let it sit on the counter for 10-15 minutes to soften slightly before rolling.
Freezing Baked Cookies
If you’re planning to bake ahead of time, you can also freeze the baked cookies. Once the cookies have cooled completely, layer them between sheets of parchment paper in a freezer-safe container. This prevents them from sticking together. Just like the dough, label the container with the date and flavor so you can stay organized.
When you’re ready to serve or decorate, let the cookies thaw at room temperature for about 30 minutes.
Staying Organized During Holiday Baking
My holiday baking season gets busy fast, so freezing dough and baked cookies is my secret weapon. I usually start making my dough in September, bake in October or November, and decorate in December. This timeline helps me stay ahead of the holiday rush while still having plenty of fresh, delicious cookies to share.
With these storage tips, you can make your holiday baking stress-free and enjoy the process just as much as the results!
More Easter Inspiration
If you love these cookies, you’ll also enjoy:
- Easter Lemon Cookies – light, citrusy, and refreshing.
- Italian Easter Bread – soft, sweet, and festive.
- Easter Bunny Cupcakes – adorable treats perfect for parties.
- Royal Icing – my foolproof guide for perfect icing every time.
- How to Perfectly Flood Cookies with Royal Icing – for smooth, shiny designs.
- Cookie Dough Storage Guide – for prepping and freezing like a pro.
Easter Sugar Cookies Recipe with Royal Icing for Perfect Designs
Video
Equipment
Ingredients
Royal icing
- 1 lb confectioners sugar
- 3 tablespoon meringue powder
- 6 tablespoon warm water
- 1 teaspoon vanilla extract optional
- Squeeze gel color, gold, pink, green, blue, violet
Garnish
Instructions
Making Easter Sugar Cookies
- Measure out all of the cookie ingredients.
- In a medium mixing bowl, combine the sifted flour and salt.
- In a large stand mixer bowl, beat the room-temperature butter and sugar together until light and smooth. You can use a hand mixer if you don’t have a stand mixer.
- Add the egg and vanilla extract, then beat again until fully combined.
- Add the dry ingredients one-third at a time, mixing well after each addition.
- When the dough becomes stiff, knead it with wet hands until smooth.
- Lay out plastic wrap and divide the dough into two portions.
- Wrap each portion, flatten slightly, and chill in the refrigerator for 3 hours.
- After chilling, preheat the oven to 350°F (175°C). On a lightly floured surface, roll out the dough to ¼ inch thickness.
- Use Easter cookie cutters to cut out shapes and transfer them to a baking sheet lined with a silicone mat.
- Chill the cut-out cookies on the sheet for 5–10 minutes before baking to help them hold their shape.
- Bake for 8–10 minutes, then let cool on the baking sheet before transferring to a wire rack to cool completely.
Making Royal Icing
- In a large bowl, combine the confectioners’ sugar and meringue powder.
- Add water one spoonful at a time, mixing between additions. Add vanilla extract and mix on low speed for 5–7 minutes until shiny.
- Separate the icing into several bowls—one for each desired color. Mix in gel colors until you reach the shades you want.
- For each color, make two consistencies: thick for borders and thin for flooding.
- Transfer ¼ to ½ of the thick icing into piping bags and tie them off.
- To thin the remaining icing, add a small amount of water and stir until smooth, then transfer each to separate piping bags.
Decorating Sugar Cookies
- Cut the tips of the piping bags for decorating. For thick icing, cut a small ⅛-inch opening; for thin icing, cut 1/16-inch.
- Test the icing flow before cutting more if needed.
- Outline the cookie shapes with the thicker icing.
- Fill in the outlines using the thinner icing.
- Use a needle modeling tool to pop air bubbles, spread icing, and refine details.
- Use a craft heat gun about 10 inches away to lightly dry the surface for a few seconds, forming a thin crust.
- Add Easter sprinkles and let the cookies air dry in a cool place for 2 days before packaging or storing.
Nutrition
From My Kitchen to Yours
Other Easter Recipes
I’ve Got Answers
Can I make the dough ahead of time?
Absolutely! The dough can be chilled for up to 3 days or frozen for 3 months.
Why do my cookies lose shape?
They probably weren’t chilled long enough before baking. Try refrigerating the cutouts again for 10 minutes before baking.
How do I fix icing that’s too thick or thin?
Add a few drops of water to thin or a spoonful of confectioners’ sugar to thicken until you reach the right consistency.
Can I air-dry the cookies faster?
Yes — use a small fan or a craft heat gun on low setting to speed up crusting.
How long should I let them dry before packaging?
At least 24 hours, preferably 48, for fully set icing.
Pin It For Later
Food Photography & Video Tips from My Studio
Here’s a peek at the tools, gear, and camera setups I use to film my recipe videos and photograph food at home. Over the years, I’ve tested dozens of different setups, and now I’m sharing what actually works for me—whether I’m filming overhead shots for YouTube or styling still photos for my blog. If you’re curious about how I create the content you see here, these posts are a great place to start.


















Leave a Reply