Learn how to test yeast before baking to ensure it’s still active and ready to use. This quick proofing method involves mixing warm water, sugar, and yeast to check for bubbles and foam, which indicate that the yeast is alive. Perfect for confirming both active dry and instant yeast before making bread, rolls, or pizza dough.
This post contains affiliate links.
Why You’ll Love This Recipe
We all know how easy it can be to buy dry ingredients or spices in bulk and leave them in the pantry to sit unnoticed for who knows how long. Of course, that’s never the intention, it just happens. For more consistent bakers, this happens less frequently but still seems inevitable to happen at some point.
After all, most dry ingredients and spices are meant to be stored for long amounts of time. But, perhaps not as long as we might think. That seems to be the case for a lot of people when it comes to dry yeast. We buy it with the intention of using it right away but then things happen and plans change.
Luckily, there is a quick and simple test that can tell you within minutes if your dry yeast is still good or not! The test only requires a few common ingredients and a couple of kitchen tools and you’ll be good to go. Here is my simple method on How to Test Yeast!
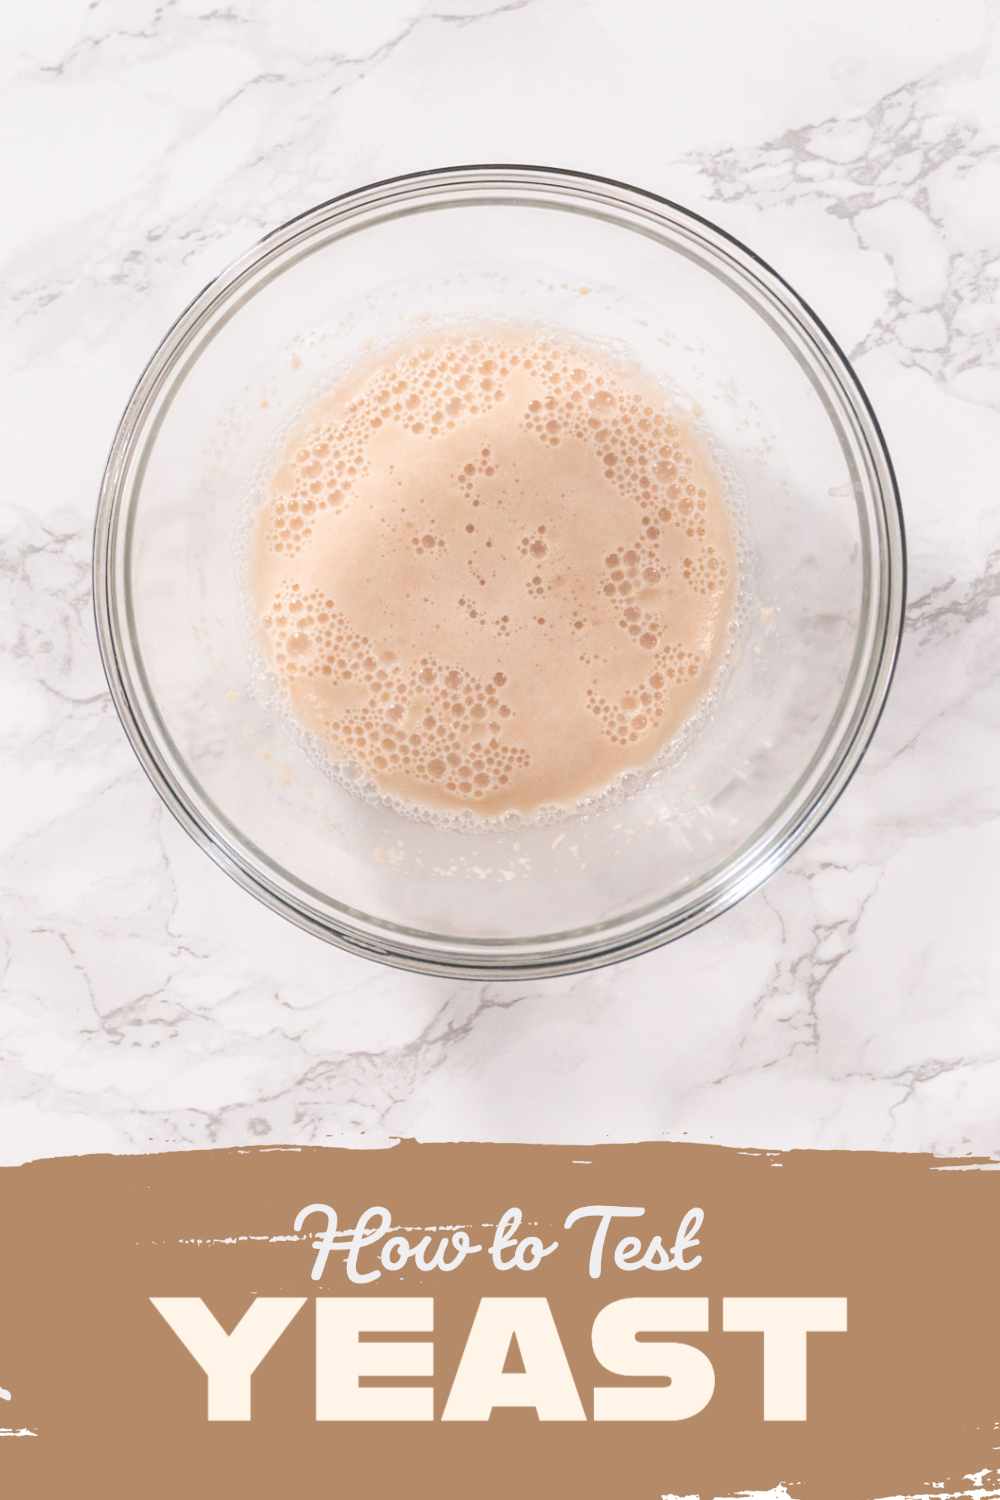
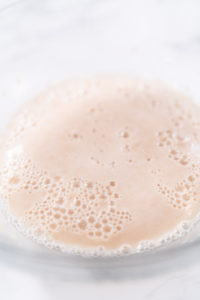
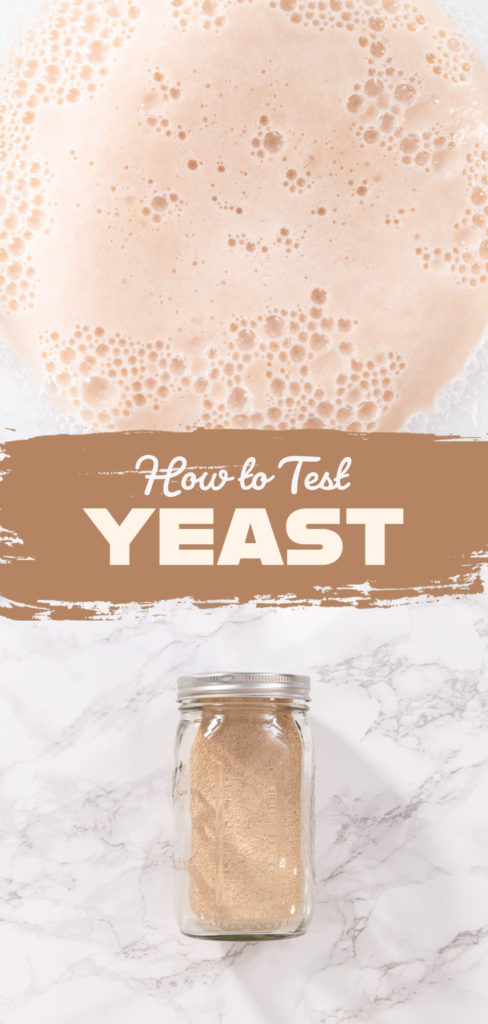
To quickly test yeast, all you need is: dry yeast, warm water, sugar, measuring tools, and a mixing bowl. Just combine all the ingredients in the mixing bowl until completely combined. Then, put the glass bowl in a warm place and wait for 10-15 minutes. Lastly, check the yeast- the yeast is still good if the mixture is bubbly and smells like yeast.
Watch how I make this recipe
Simple Testing Equipment
This yeast-testing method is super quick and simple and, as promised, only requires a handful of common kitchen tools. Here’s what I use to test yeast:
Short and Simple Ingredients
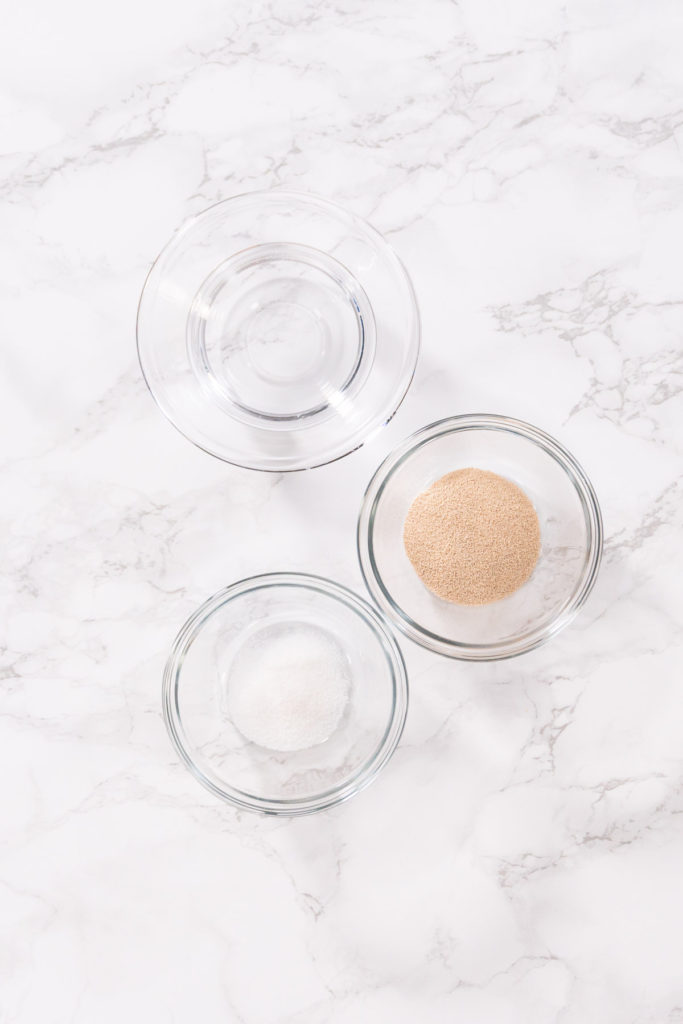
Now let me go over the ingredient list. I only use the dry yeast with 2 other ingredients for this quick and easy test.
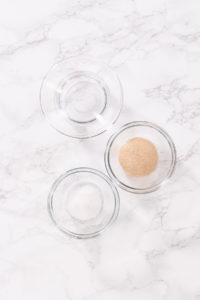
- ¼ cup warm water, temps at 105-110 °F
- 1 teaspoon granulated sugar
- 2 teaspoon Active Dry Yeast
Latest Video
How to Easily Test Yeast
And now, the moment you’ve been waiting for! This process is really quick and simple so I’ll jump right on in. Here’s my simple method for testing yeast to see if it’s still good or not:
- First, use the measuring cup and spoons to measure out all of the ingredients.
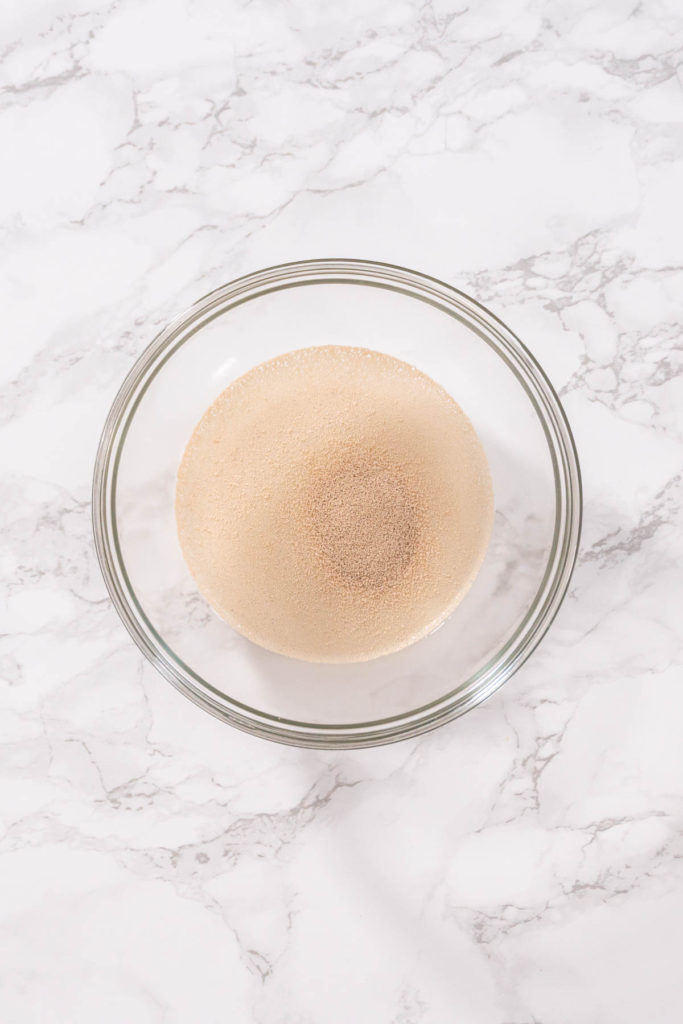
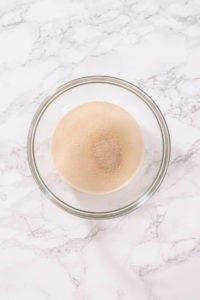
- Then, mix the warm water, sugar, and yeast together in a glass mixing bowl.
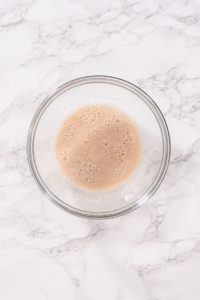
- Continue mixing until the ingredients are completely combined.
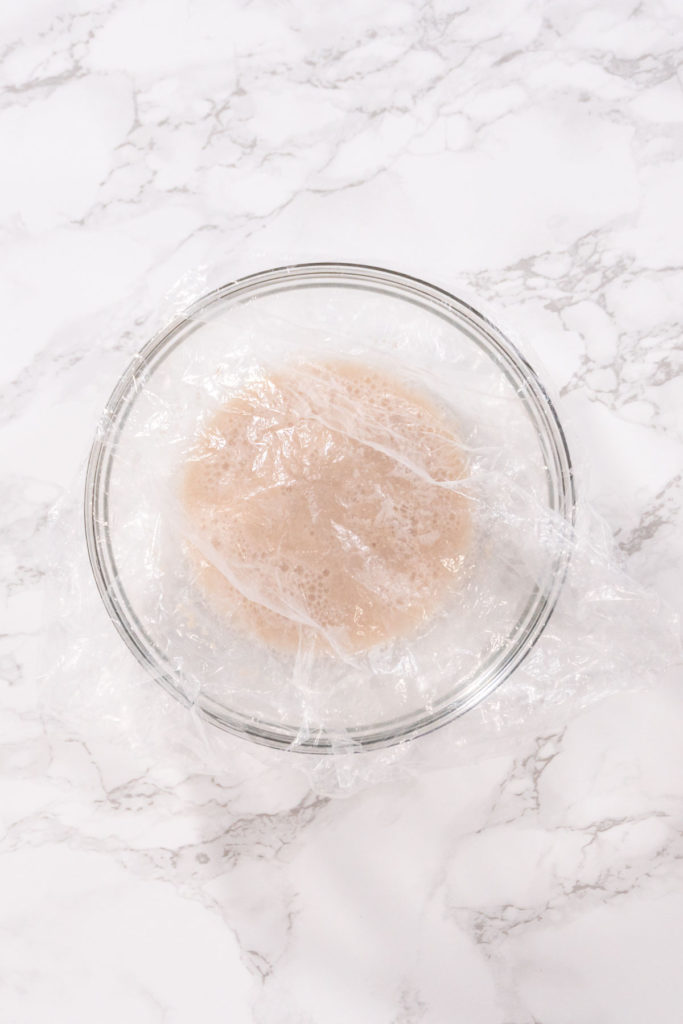
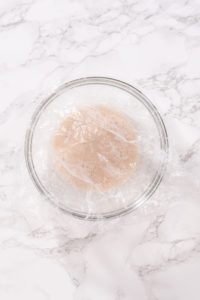
- Then, cover the glass bowl, sit it in a warm place, and wait for 10-15 minutes.
- I like to cover the bowl with some plastic wrap or a disposable shower cap.
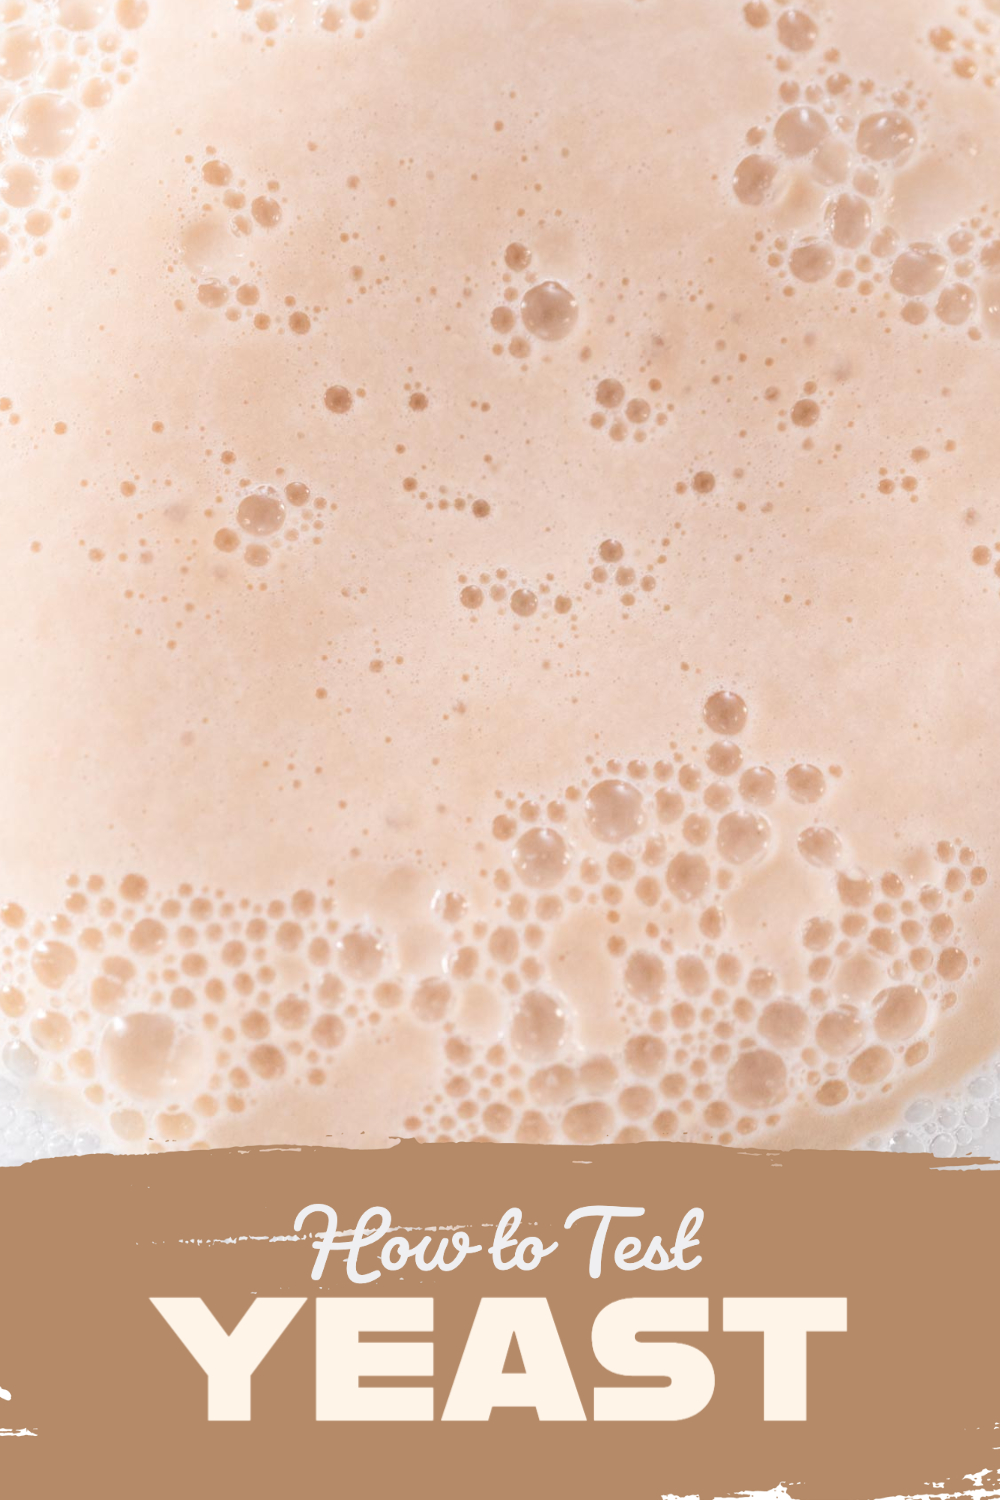
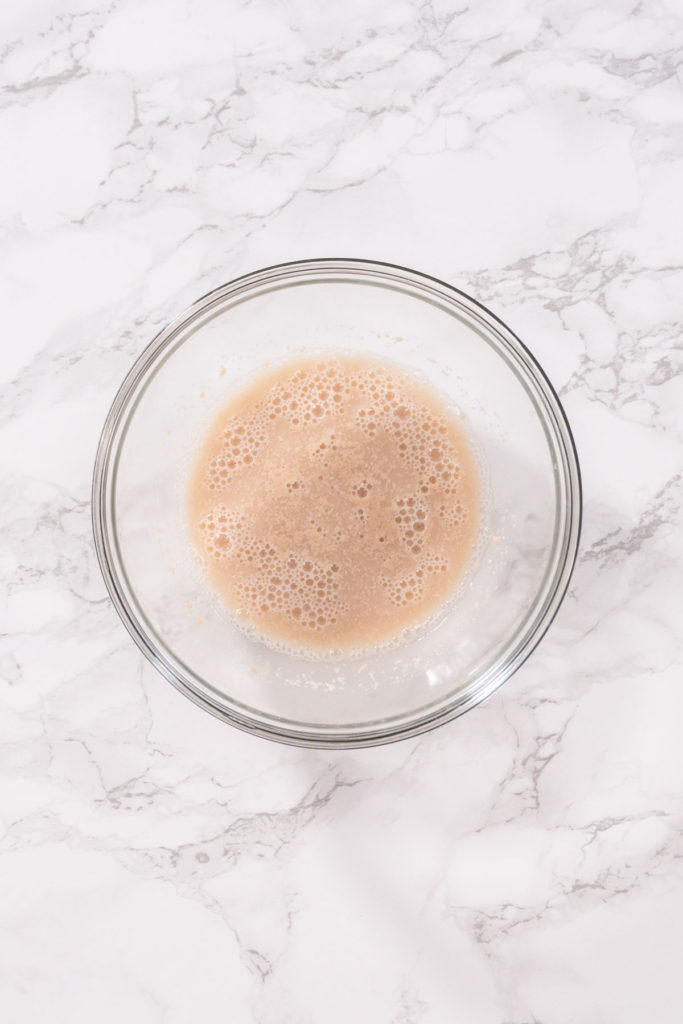
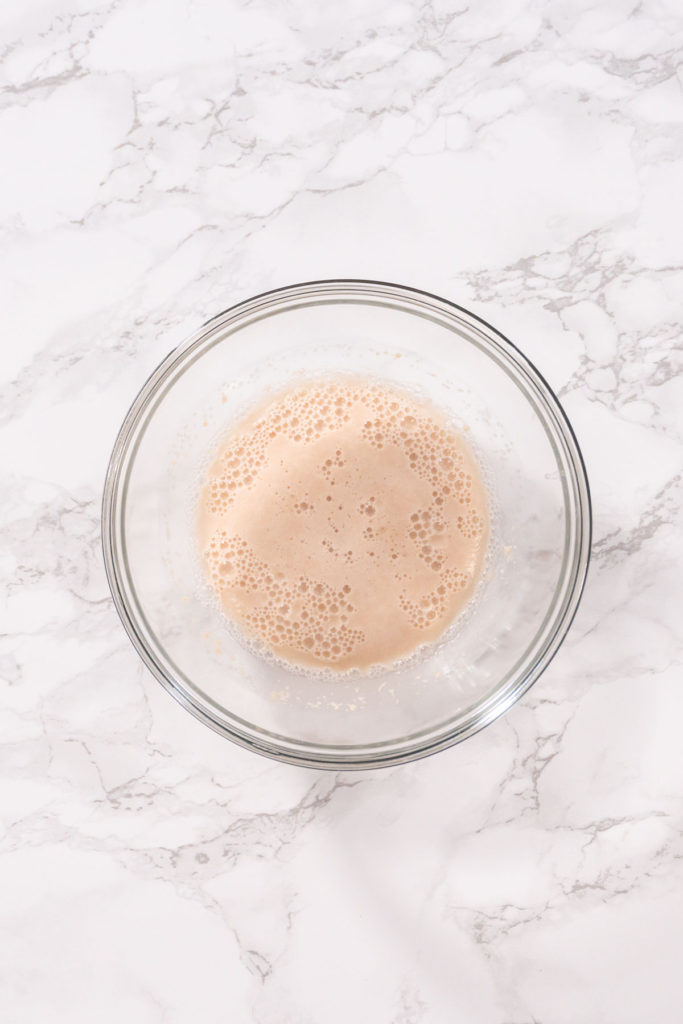
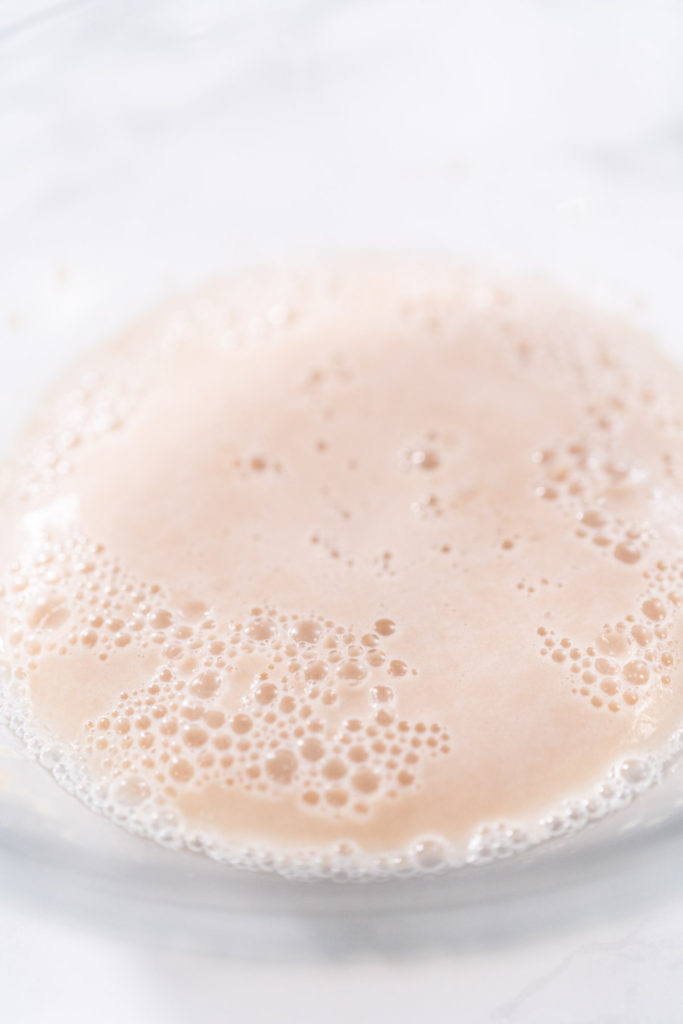
- Finally, check the yeast to see if it’s still good. The mixture needs to be bubbly and smell like yeast.
Yeast Storage and When to Test It
Opened packages of dry yeast, whether active dry or instant, can be stored in the refrigerator for 3-4 months. If your yeast is older than this, do this little yeast test to see if you can still use it.
Bread Winners
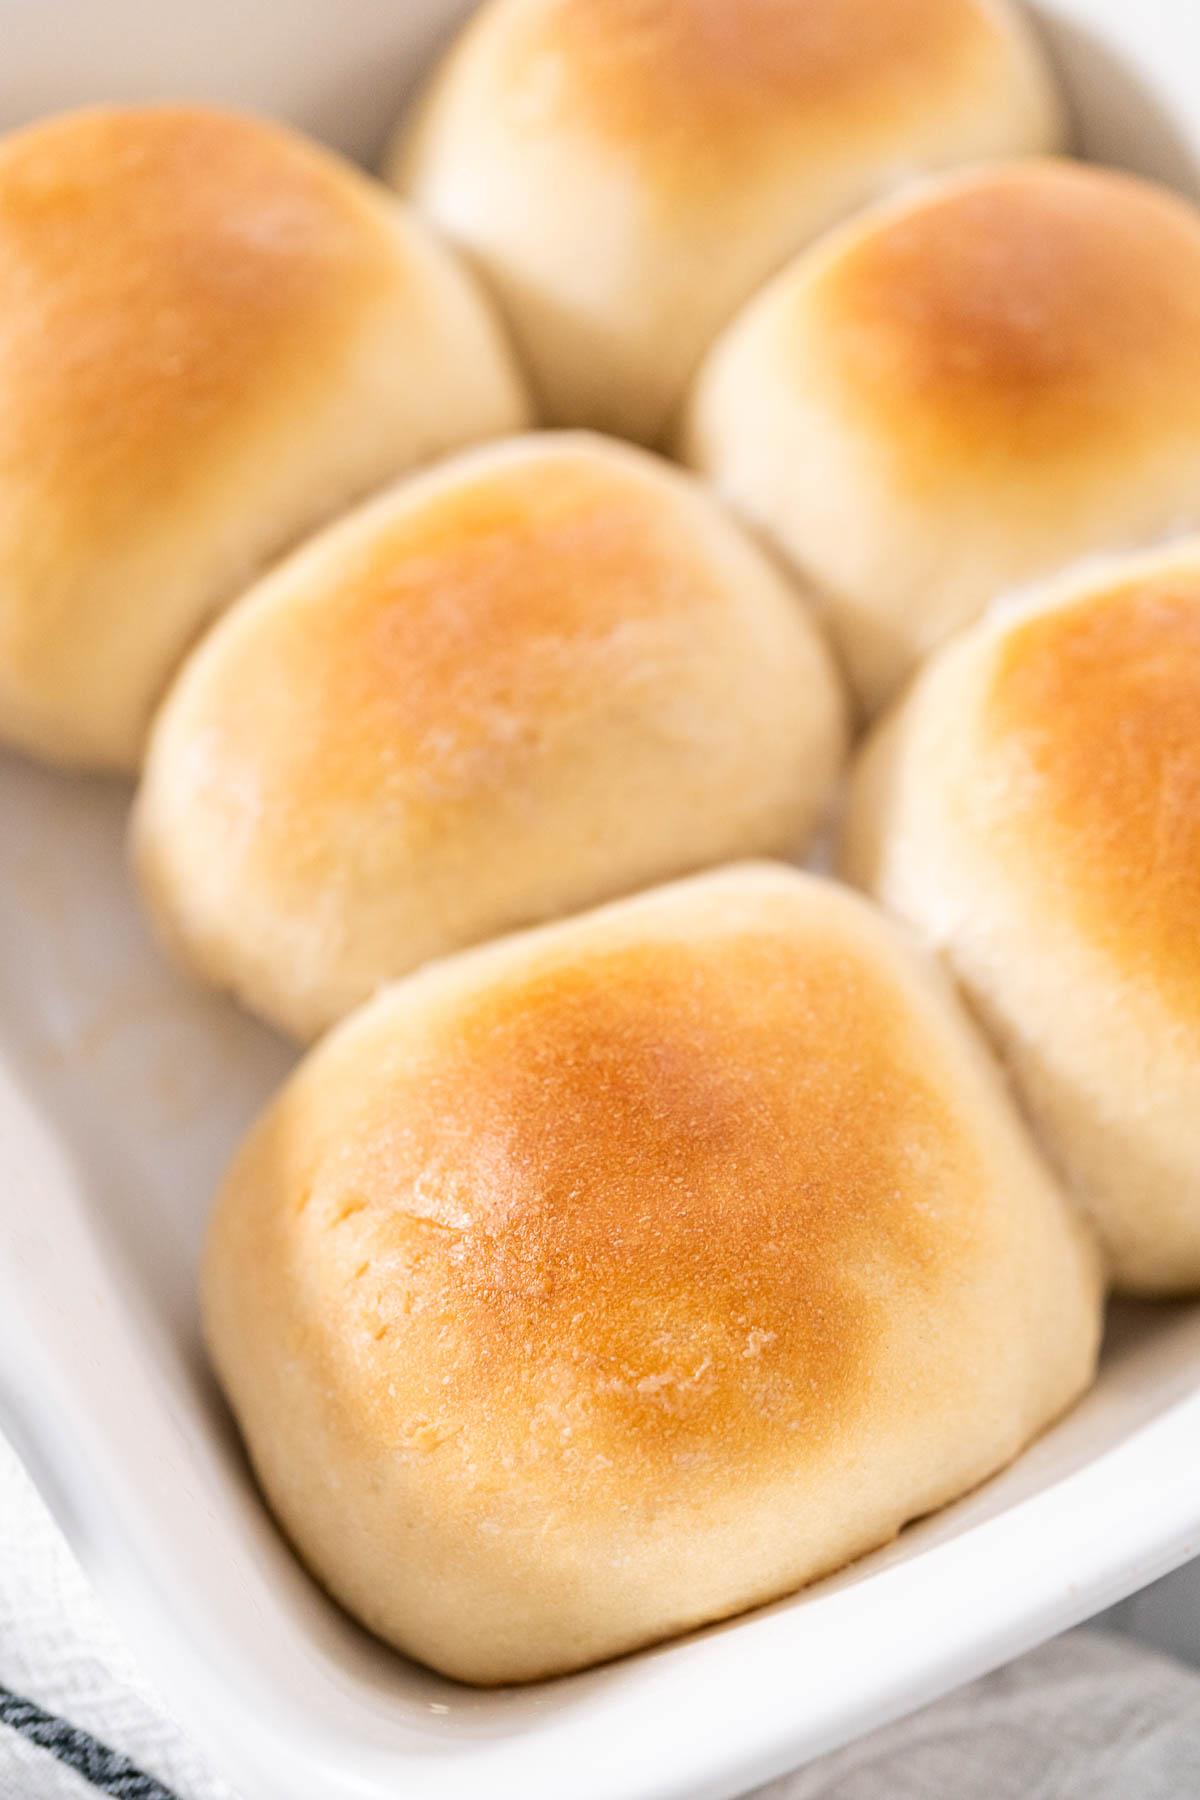
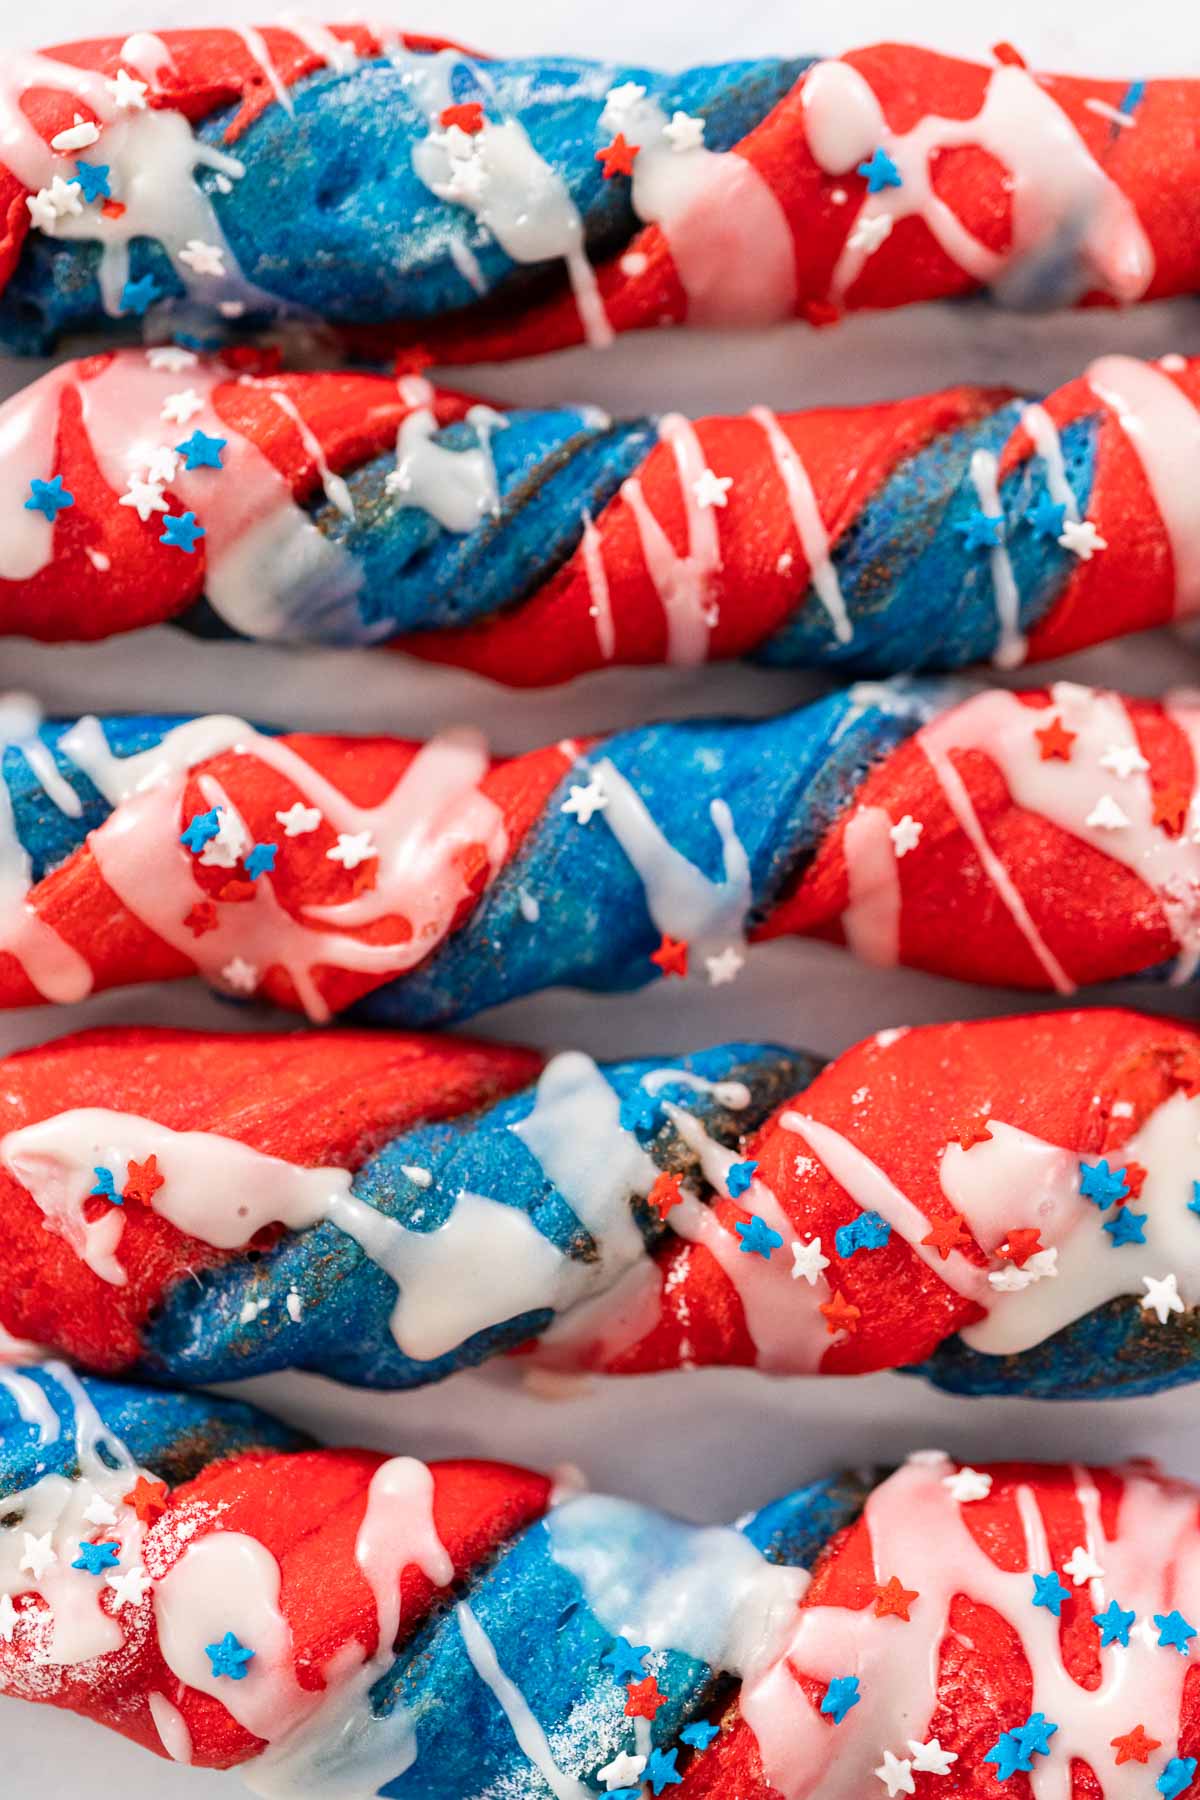
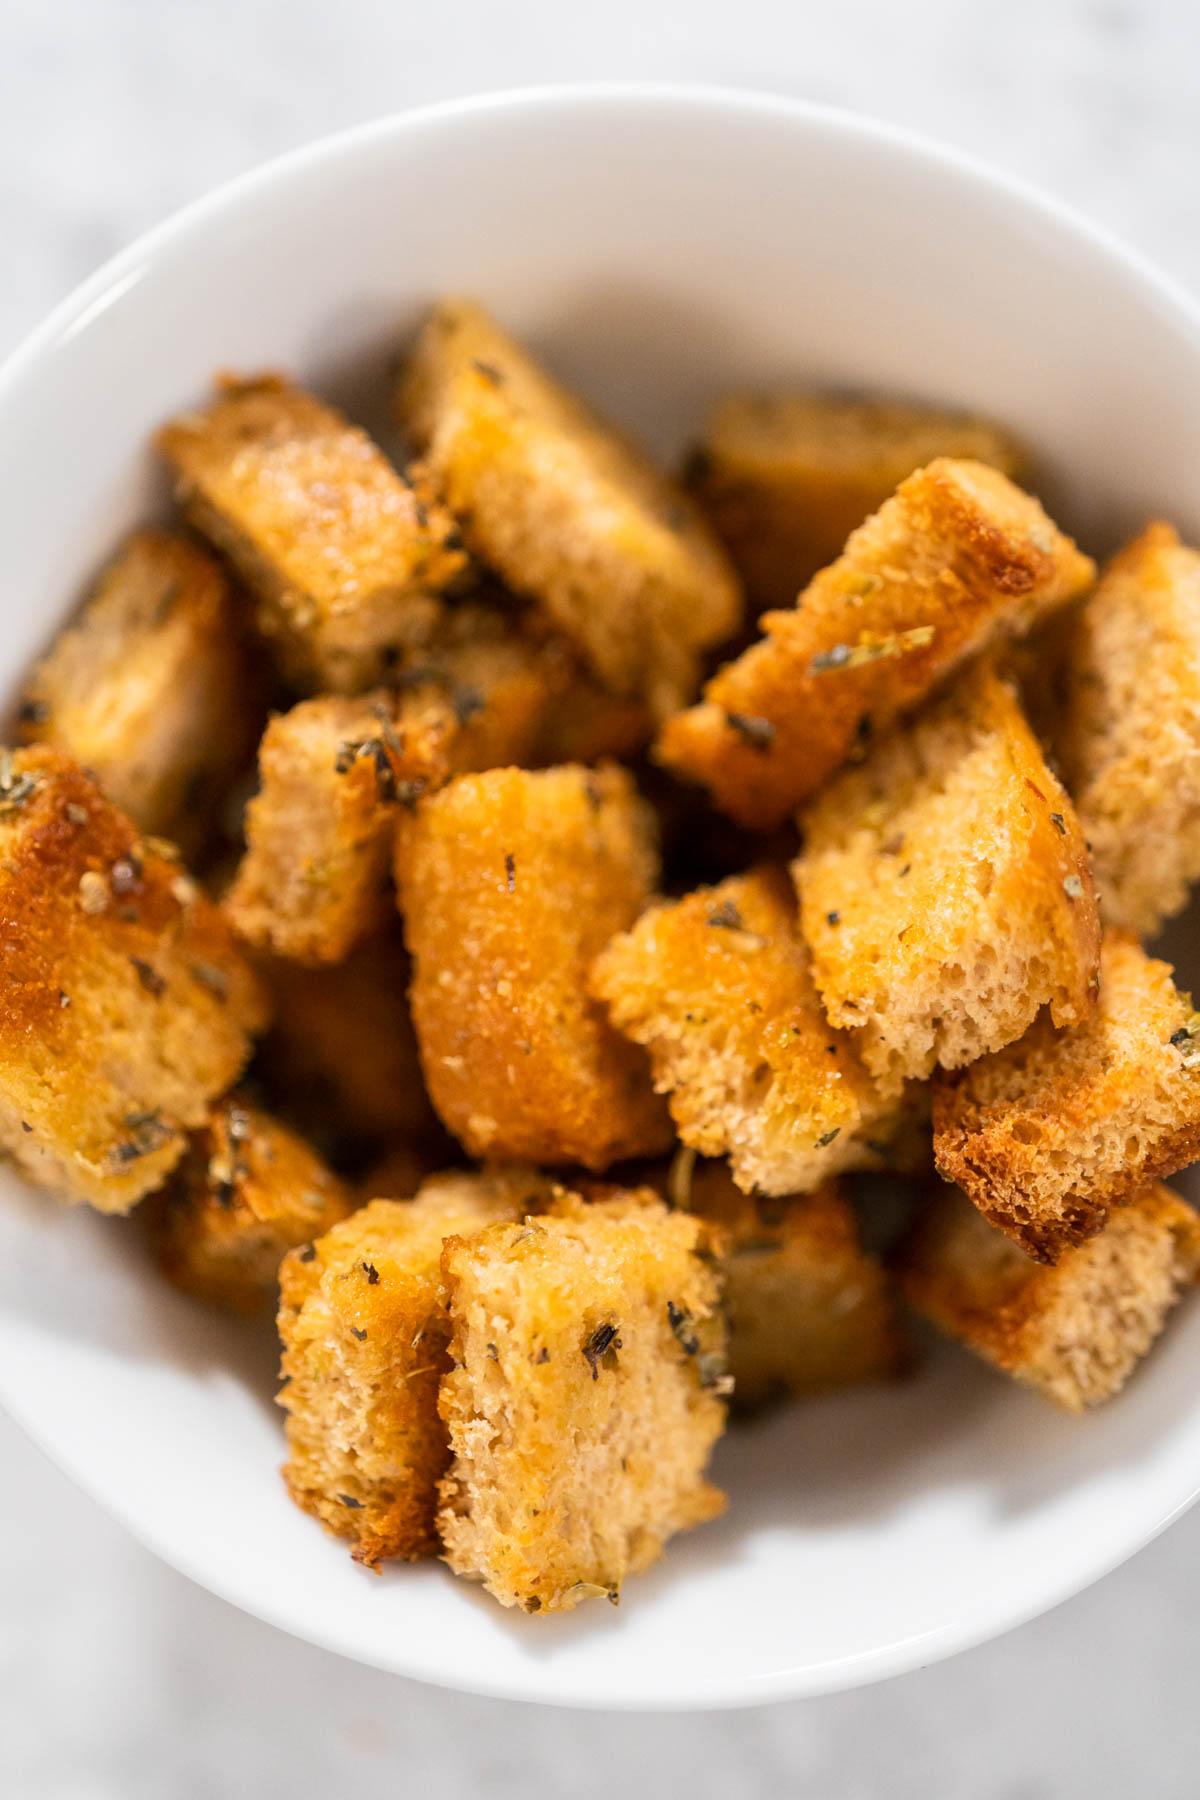
Tasty bread recipes are always the best if you know what you’re doing. Wanna try some out? Here are some of my favorite sweet and savory homemade bread recipes:
Storing Dry Yeast
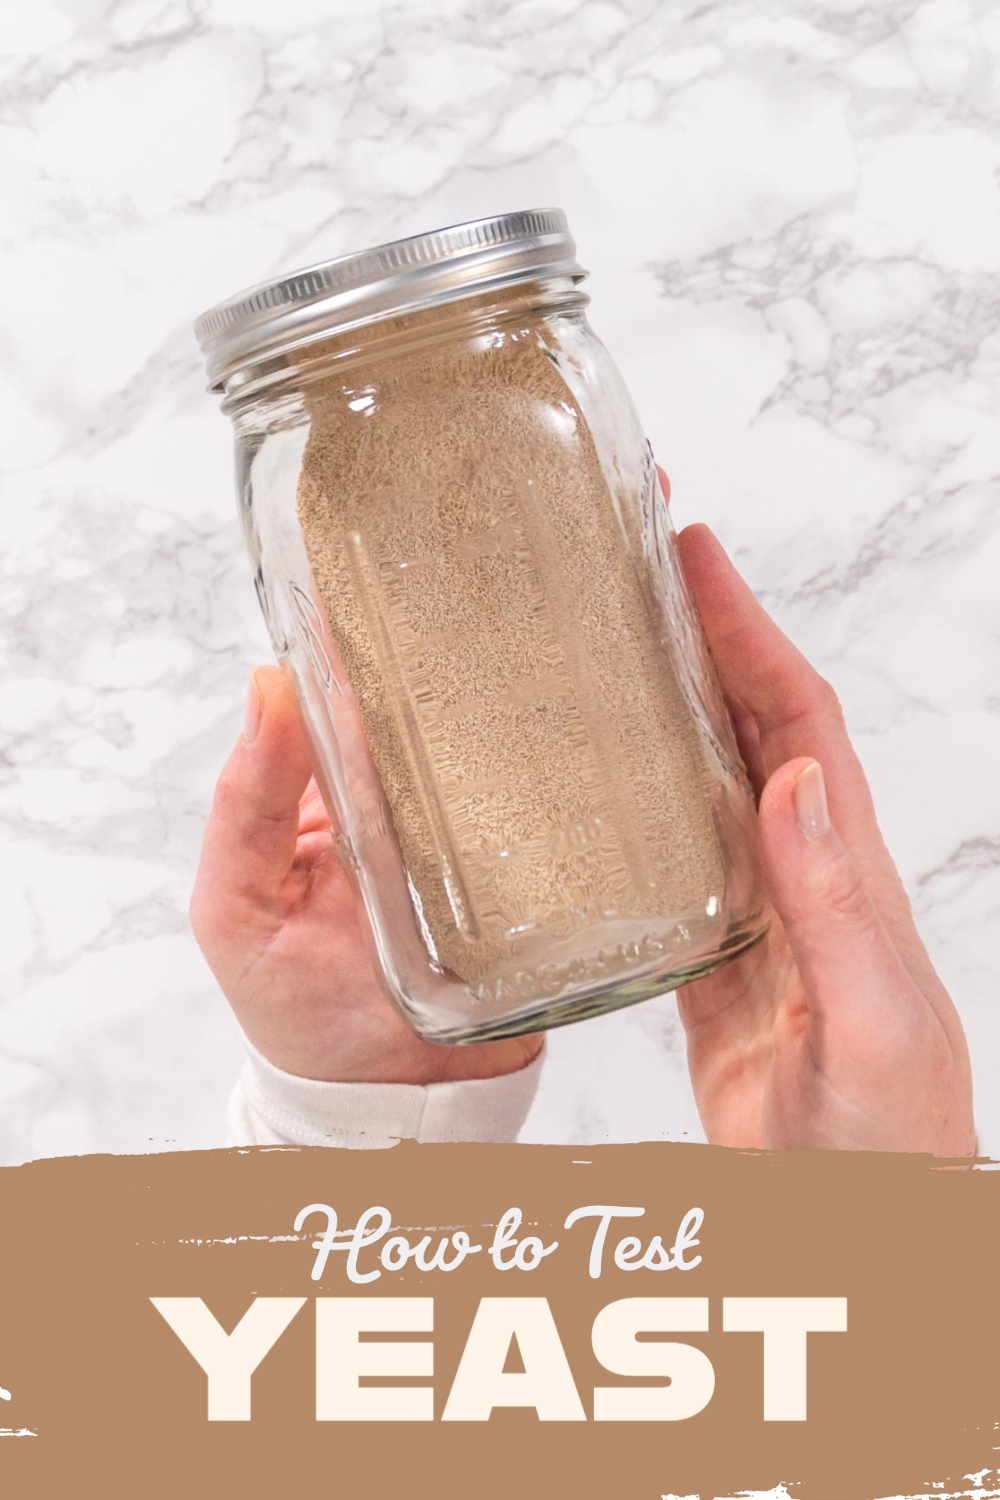
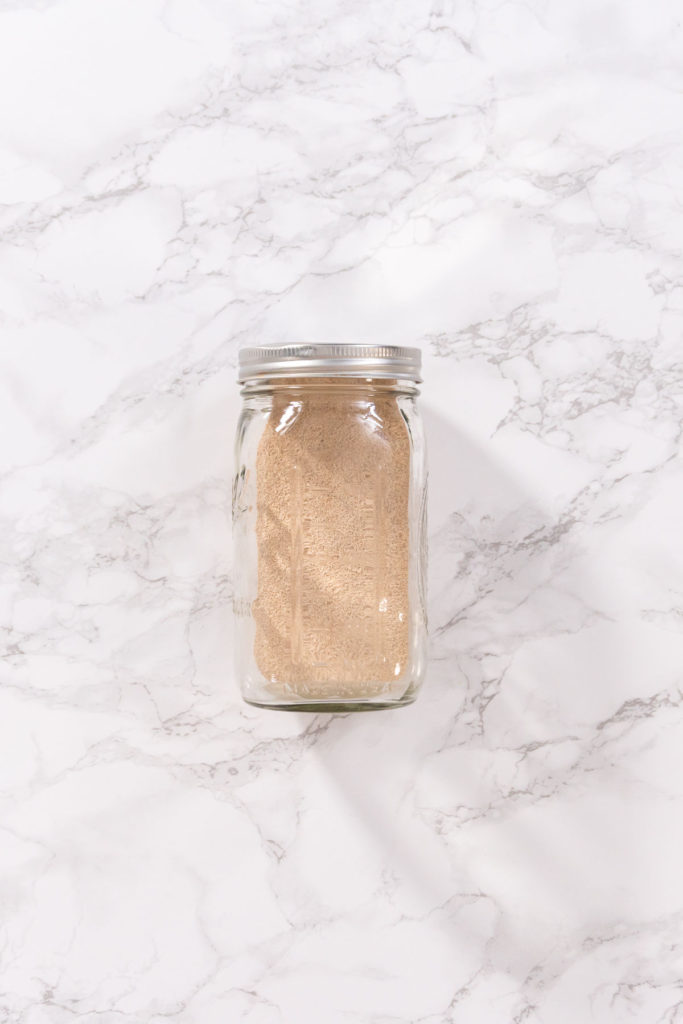
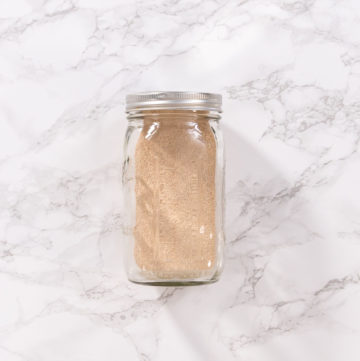
To safely store dry yeast, it is best to keep it stored in an airtight container in the pantry. Like with all of my other dry ingredients, I like to store dry yeast in a glass Ball jar with a metal lid. These jars create airtight storage perfect for storing dry goods!
How to test yeast
Video
Ingredients
- ¼ cup water warm. 105-110 °F
- 1 teaspoon granulated sugar
- 2 teaspoon Active Dry Yeast
Instructions
- First, use the measuring cup and spoons to measure out all of the ingredients.
- Then, mix the warm water, sugar, and yeast together in a glass mixing bowl.
- Continue mixing until the ingredients are completely combined.
- Then, cover the glass bowl, sit it in a warm place, and wait for 10-15 minutes.I like to cover the bowl with some plastic wrap or a disposable shower cap.
- Finally, check the yeast to see if it’s still good. The mixture needs to be bubbly and smell like yeast.
Notes
From My Kitchen to Yours
More bread recipes
I’ve Got Answers
Why should I test yeast before baking?
Testing yeast helps ensure it’s still active. Using expired or inactive yeast will result in bread or dough that doesn’t rise properly.
What’s the difference between active dry yeast and instant yeast when testing?
Both can be tested the same way. The key is using warm water (105–110°F) and sugar. If the mixture bubbles and foams after 10–15 minutes, the yeast is alive.
What if my yeast doesn’t foam?
If the mixture stays flat after 15 minutes, the yeast is no longer active and should be replaced before baking.
How should I store opened yeast so it lasts longer?
Keep opened yeast in an airtight container in the fridge for up to 3–4 months, or in the freezer for even longer shelf life.
Can I still bake with yeast that’s past its expiration date?
Yes, but only if it passes the proofing test. If it doesn’t foam, it won’t work in your recipe.
Food Photography & Video Tips from My Studio
Here’s a peek at the tools, gear, and camera setups I use to film my recipe videos and photograph food at home. Over the years, I’ve tested dozens of different setups, and now I’m sharing what actually works for me—whether I’m filming overhead shots for YouTube or styling still photos for my blog. If you’re curious about how I create the content you see here, these posts are a great place to start.
Pin It For Later





Leave a Reply