Prevent Spreading Cookies with These Tips and Tricks for Perfectly Round and Delicious Treats!
This post contains affiliate links.
Hey there fellow bakers! Let me tell you, there's nothing worse than pulling out a tray of cookies from the oven and realizing they've turned into one giant cookie monster! It's enough to make you want to cry into your cookie dough. But don't fret my friends, I've got some tips to help you avoid this tragedy!
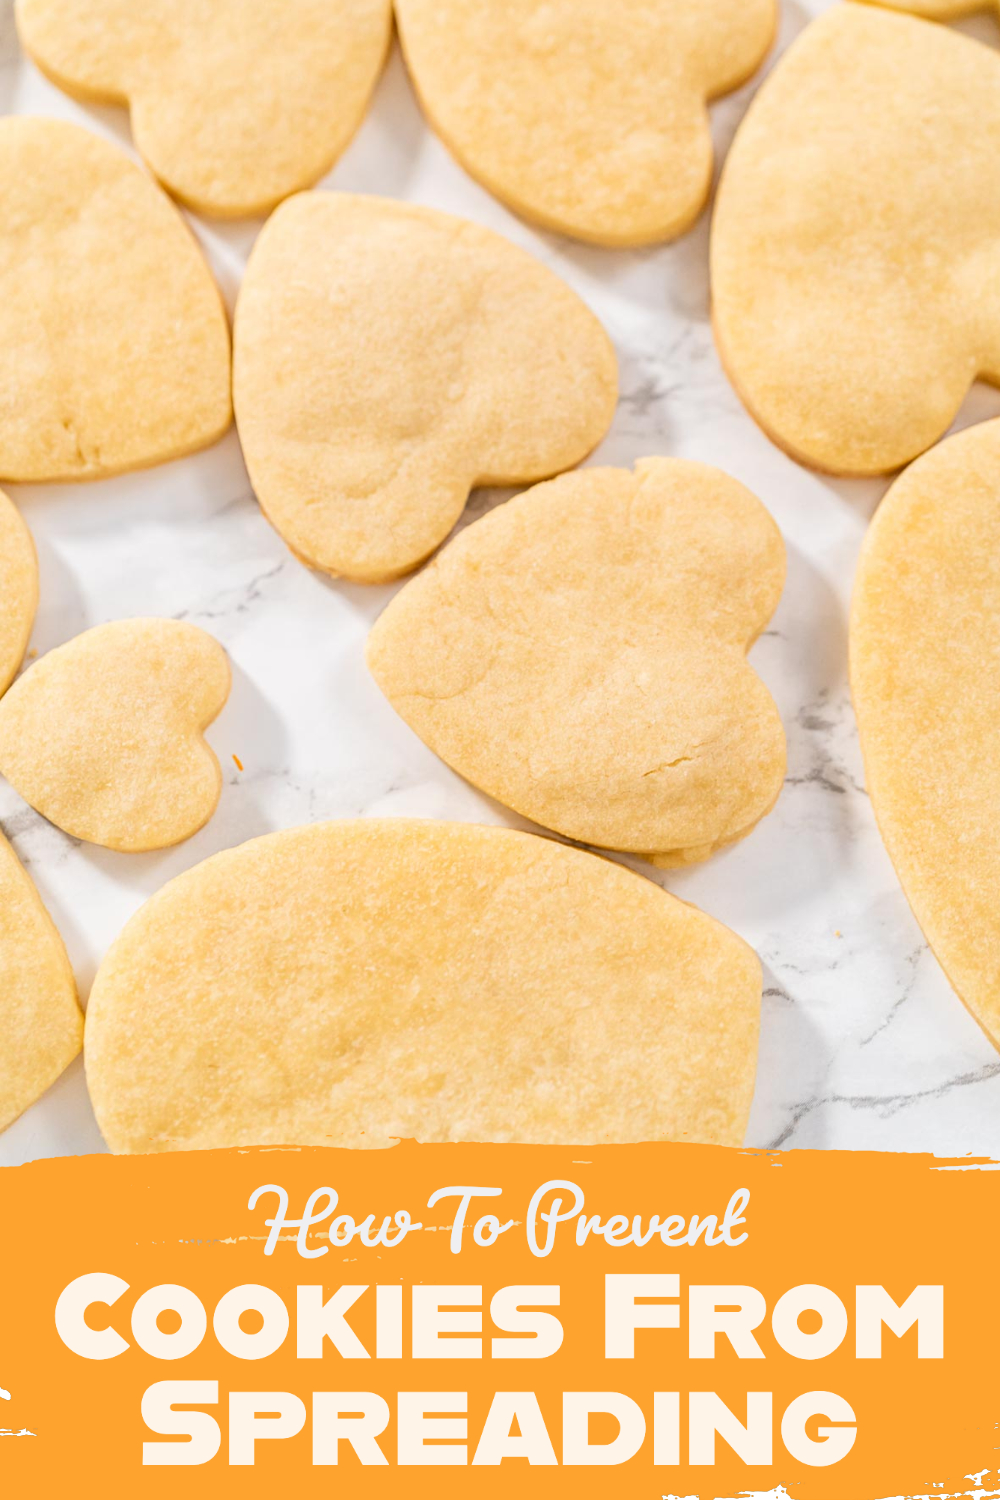
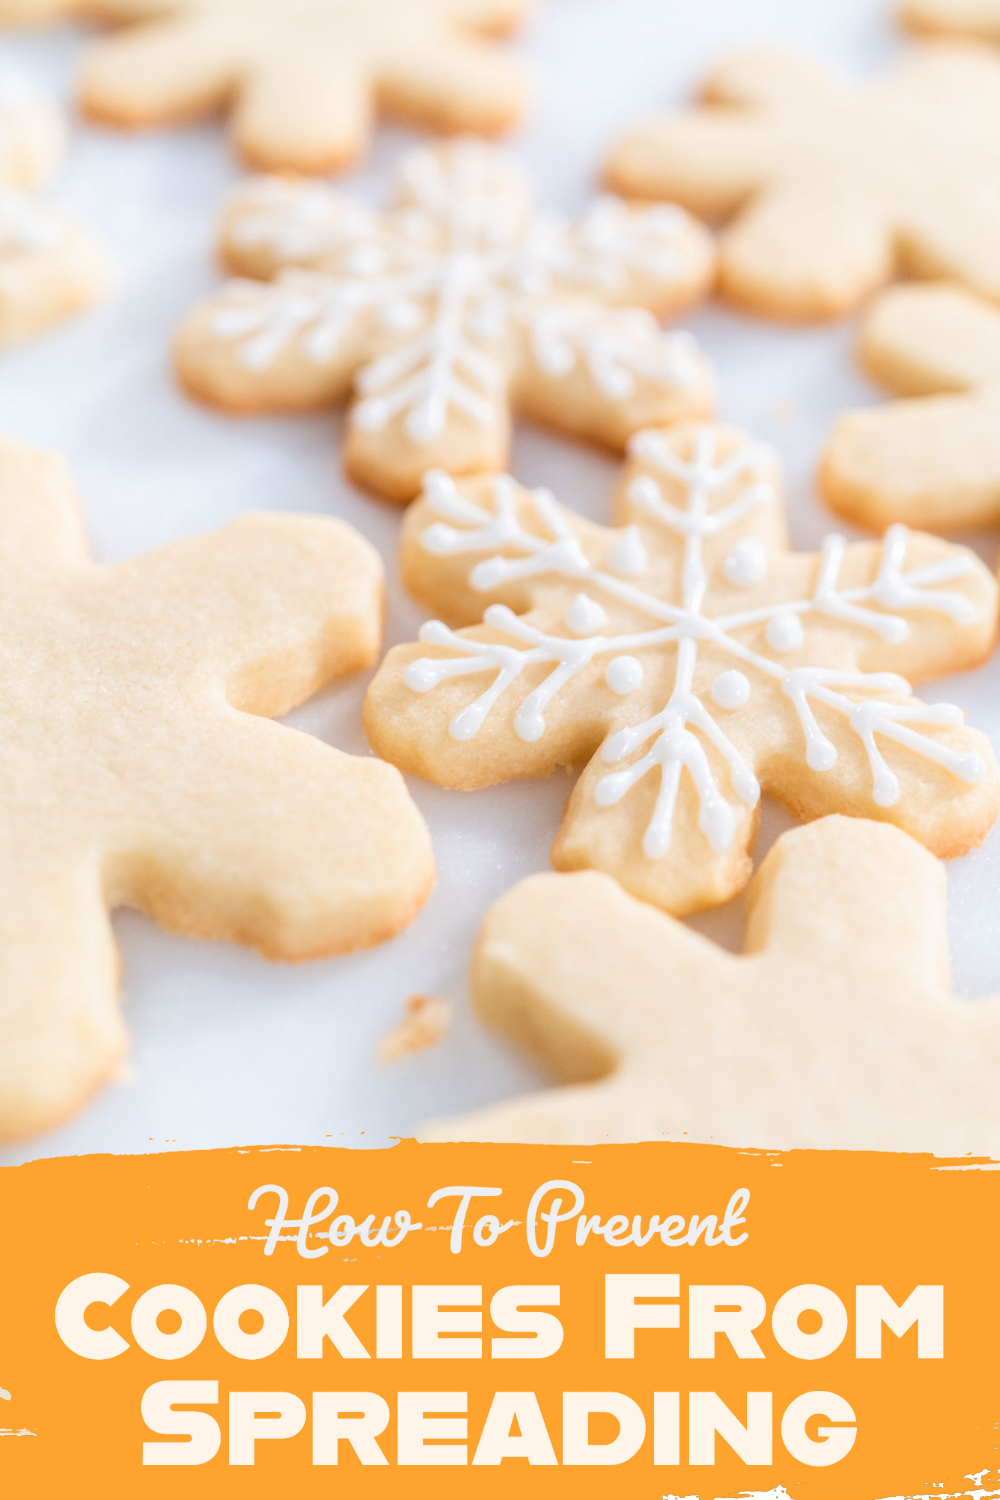
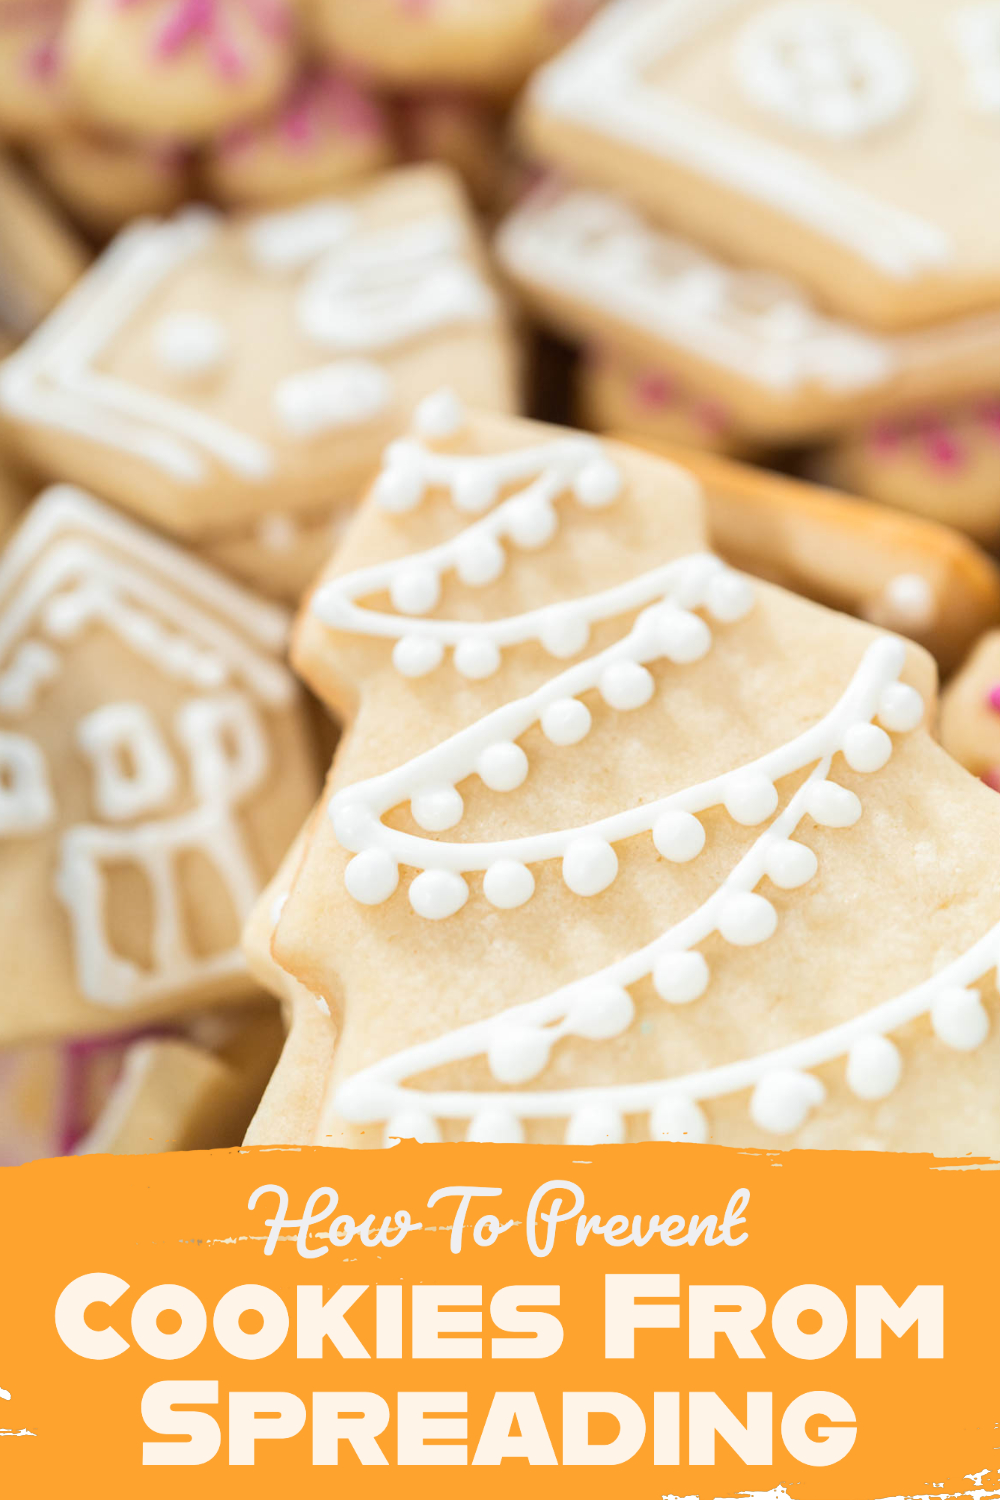
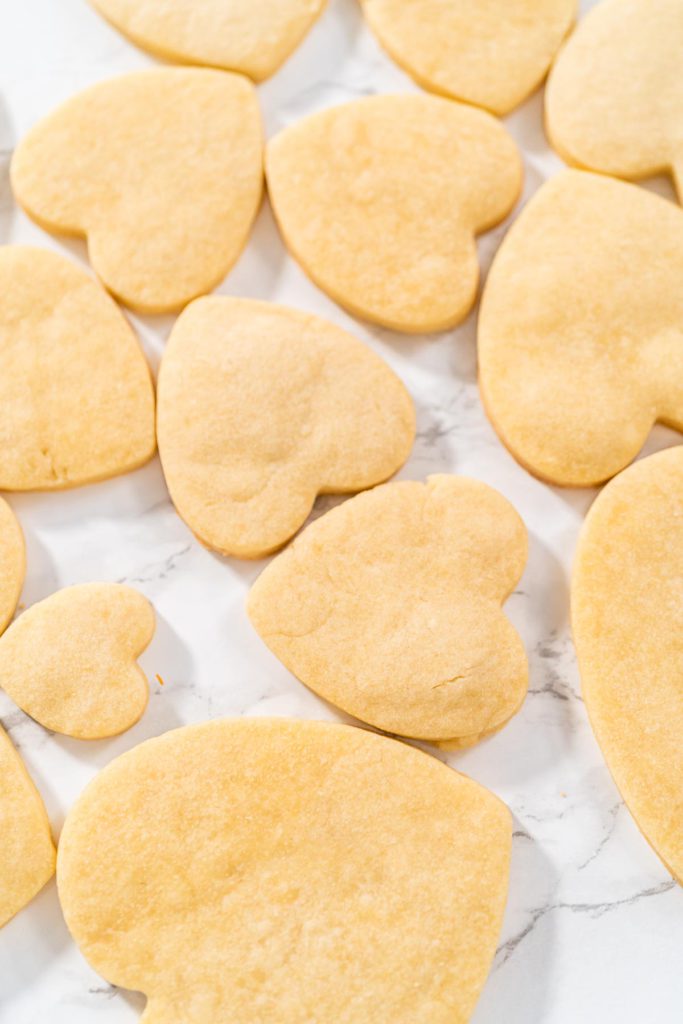
If you want perfectly shaped cookies, check out my blog post on how to keep your cookies from spreading out like a melted snowman. Trust me, these tips are a game-changer! And let's be real, there's no better feeling than biting into a beautifully shaped cookie that's been lovingly decorated with royal icing.
Now, if you're like me, you love making cookies for every occasion, from Easter to Christmas and everything in between. That's why I've got blogs on how to make Easter Sugar Cookies, Gingerbread Cookies With Royal Icing, Ice Skate Sugar Cookies, and even Unicorn Sugar Cookies! Trust me, these treats are almost too cute to eat (but let's be real, we'll still eat them anyways).
Oh, and if you've ever had the unfortunate experience of burning the bottom of your cookies (we've all been there), check out my other blog post on how to avoid this tragedy. Because let's face it, burnt cookies are just not cool.
So go forth and bake with confidence my friends, and don't forget to check out my other blogs for all your baking needs!
Chill the dough
I've learned through trial and error that one of the most crucial steps in preventing cookie spreading is keeping my ingredients as cold as possible. If my ingredients are at room temperature or if I use melted butter, it can cause my dough to spread out like crazy. And let me tell you, that's not a pretty sight!
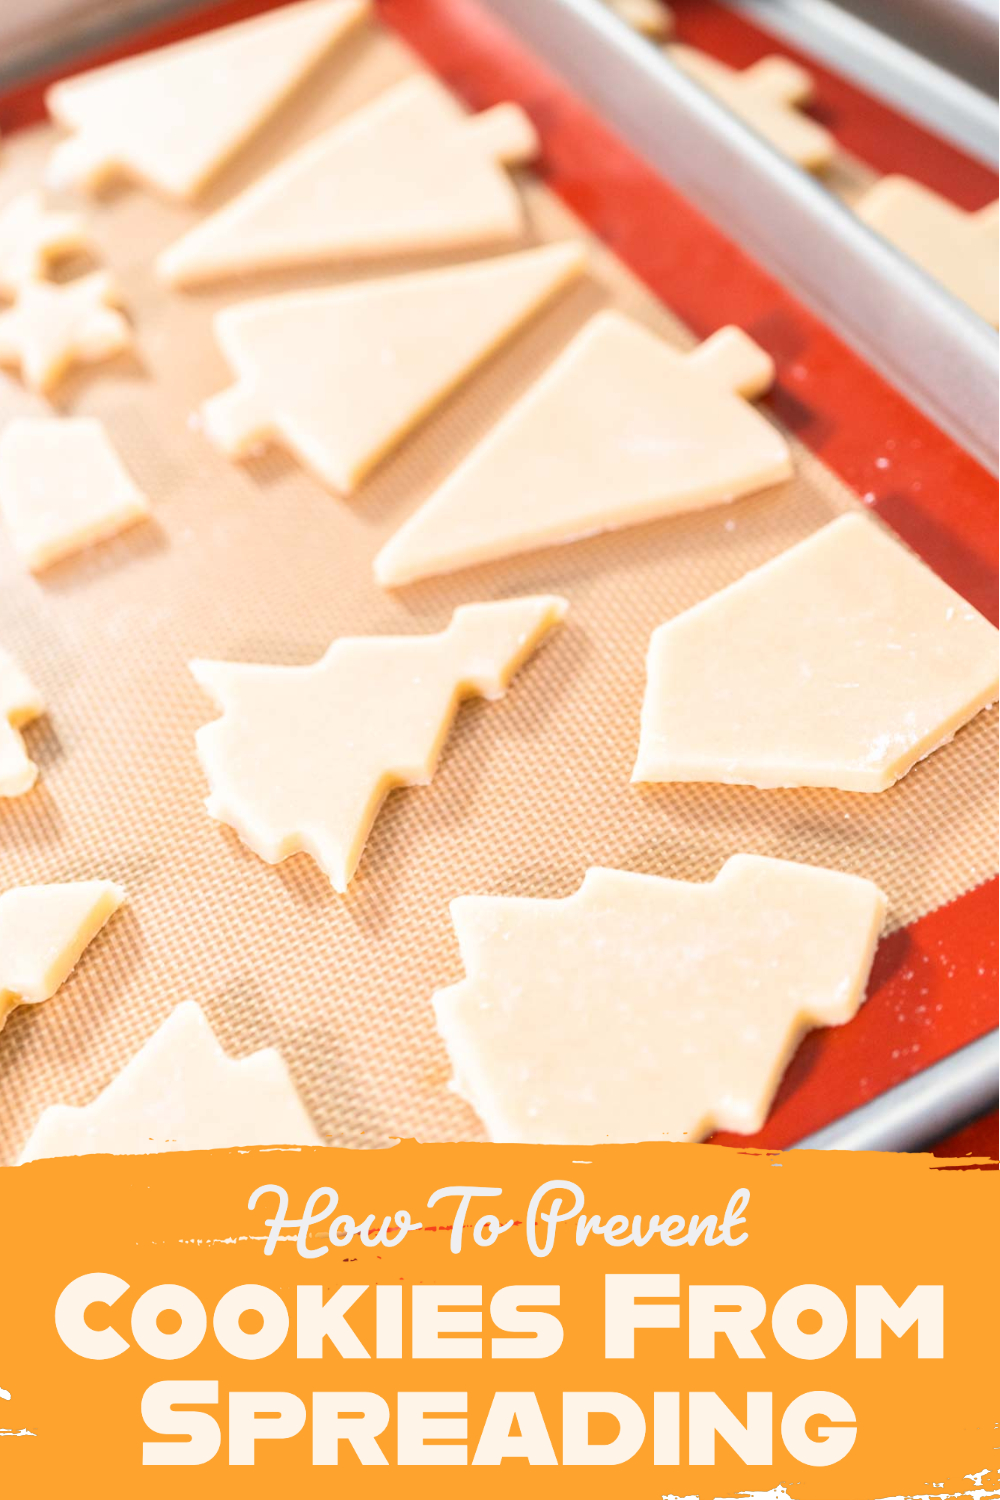
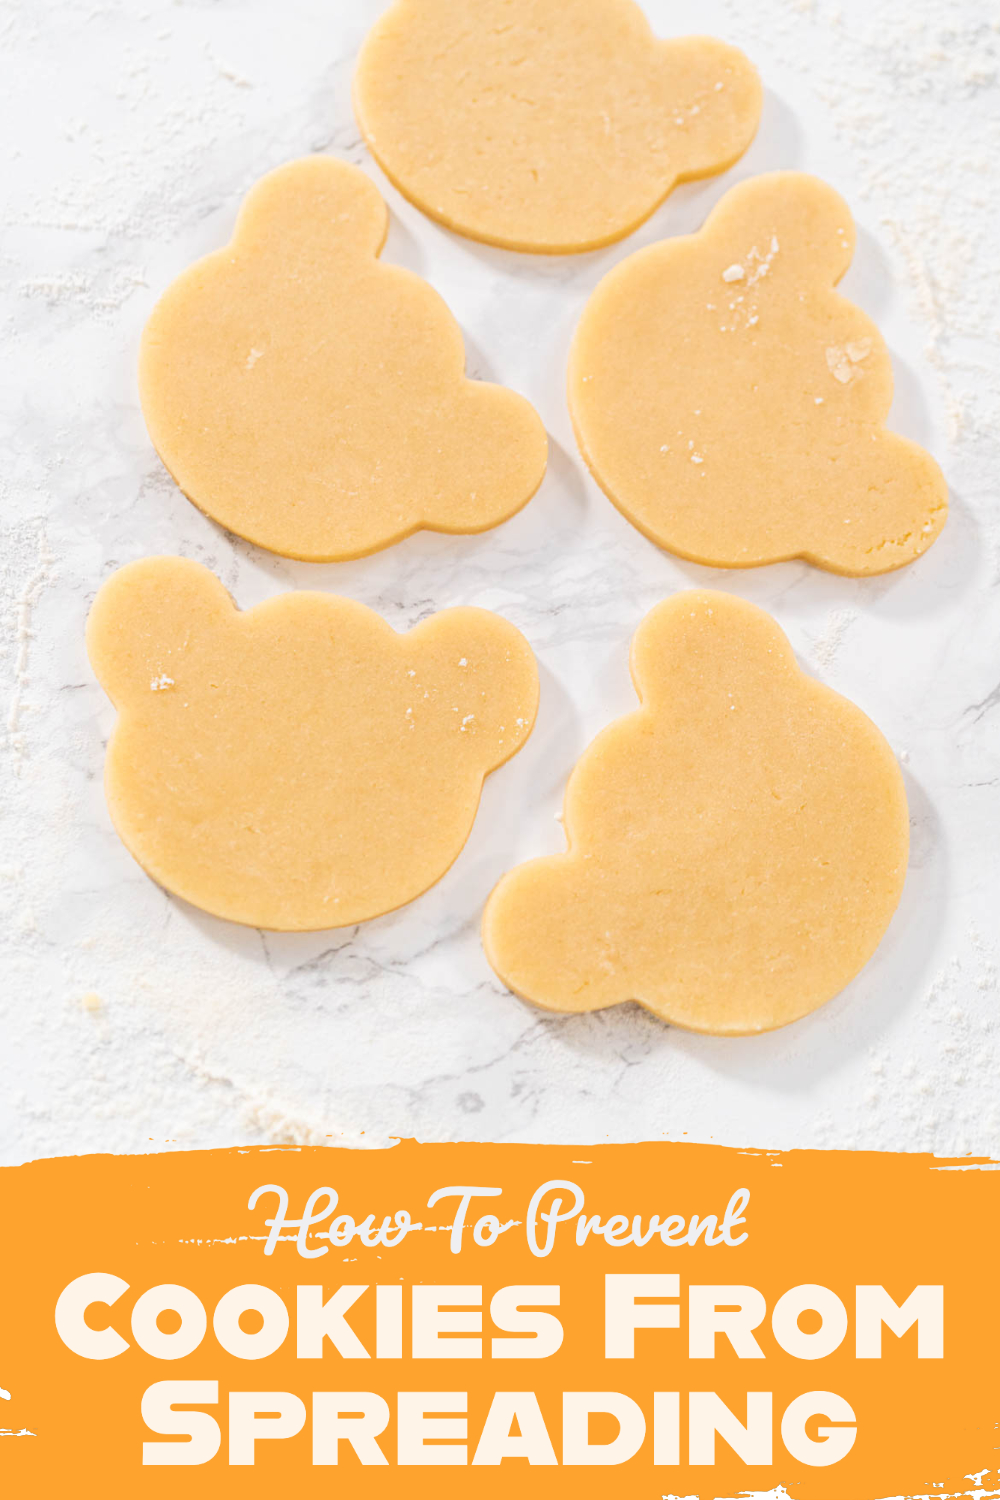
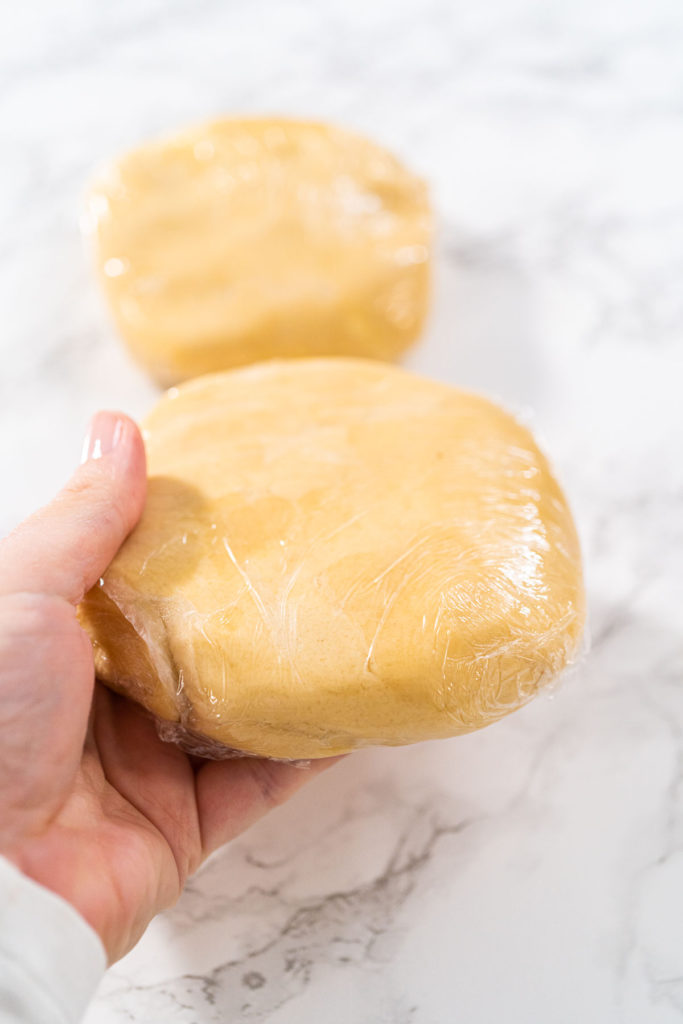
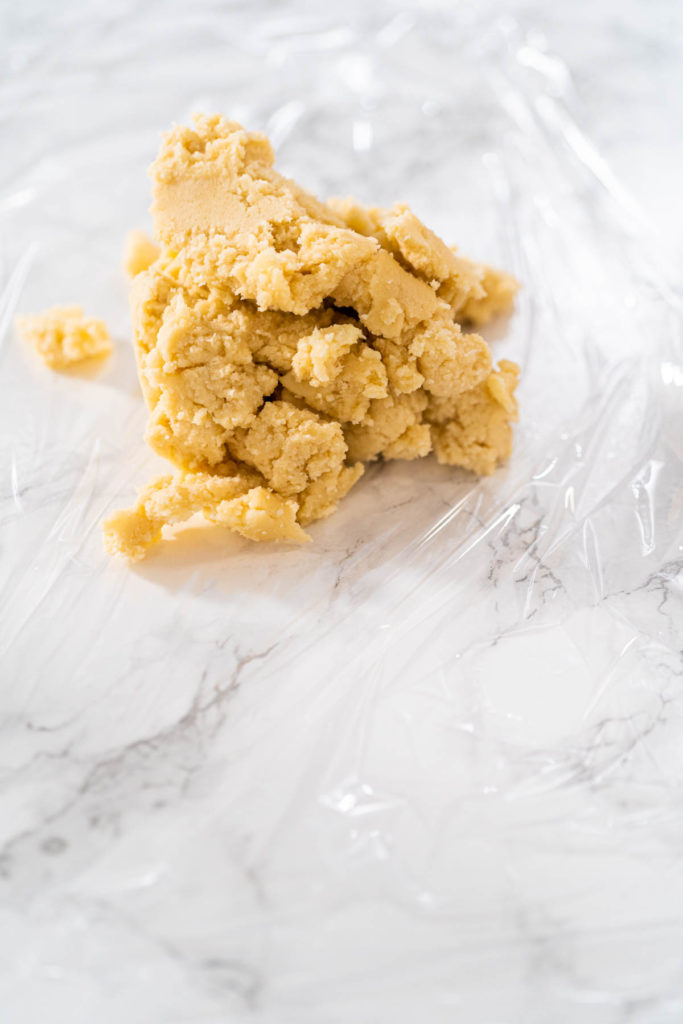
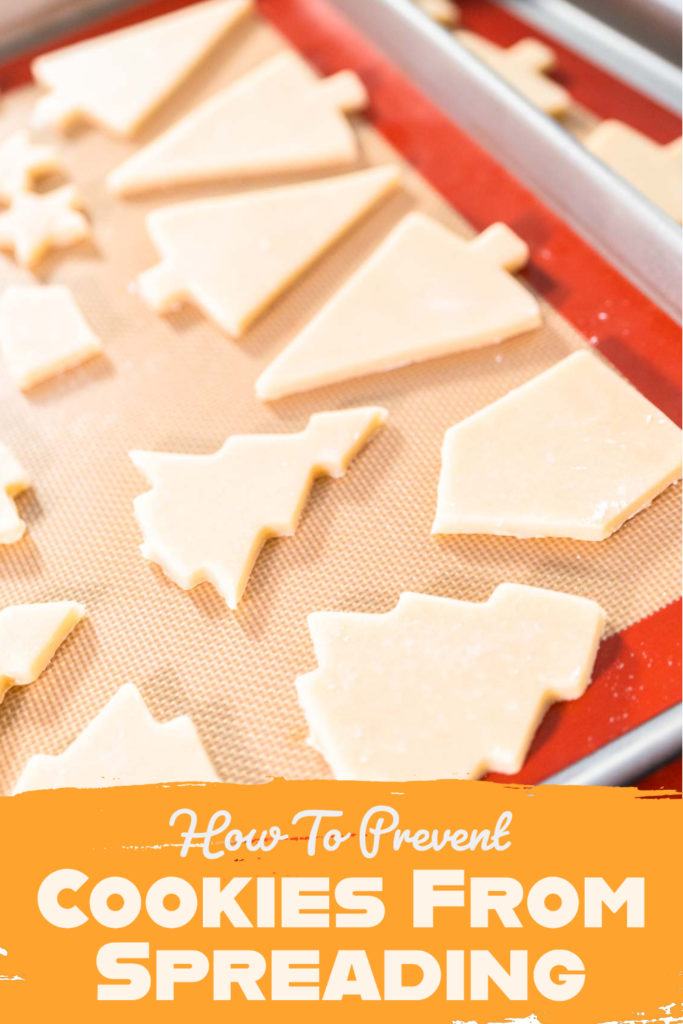
To avoid this disaster, I always make sure to chill my dough for at least 30 minutes before baking. But I don't stop there. I actually like to chill my dough twice to make sure it stays in shape. First, I chill the dough before shaping the cookies. And then, after cutting and shaping them on the baking sheet for 5-10 minutes, I chill them again right before putting them in the oven.
Trust me, this little extra step makes all the difference in the world. So next time you're making cookies, give this a try and you'll be amazed at how beautifully they turn out!
Use the right flour
The type of flour you use can also affect how much your cookies spread. Using a low-protein flour like cake flour or pastry flour can help prevent spreading. It's also important to measure your flour accurately to avoid adding too much, which can cause the dough to spread. Using a kitchen scale to weigh your flour can help ensure that you're adding the correct amount.
Don't skip the baking powder
Baking powder is a key ingredient in cookie dough that helps the cookies rise and keep their shape. Be sure to use the correct amount of baking powder as too little can cause the cookies to spread, while too much can cause them to rise too much and then collapse. A general rule of thumb is to use 1 teaspoon of baking powder for every 1 cup of flour.
Add cornstarch for cut-out cookies
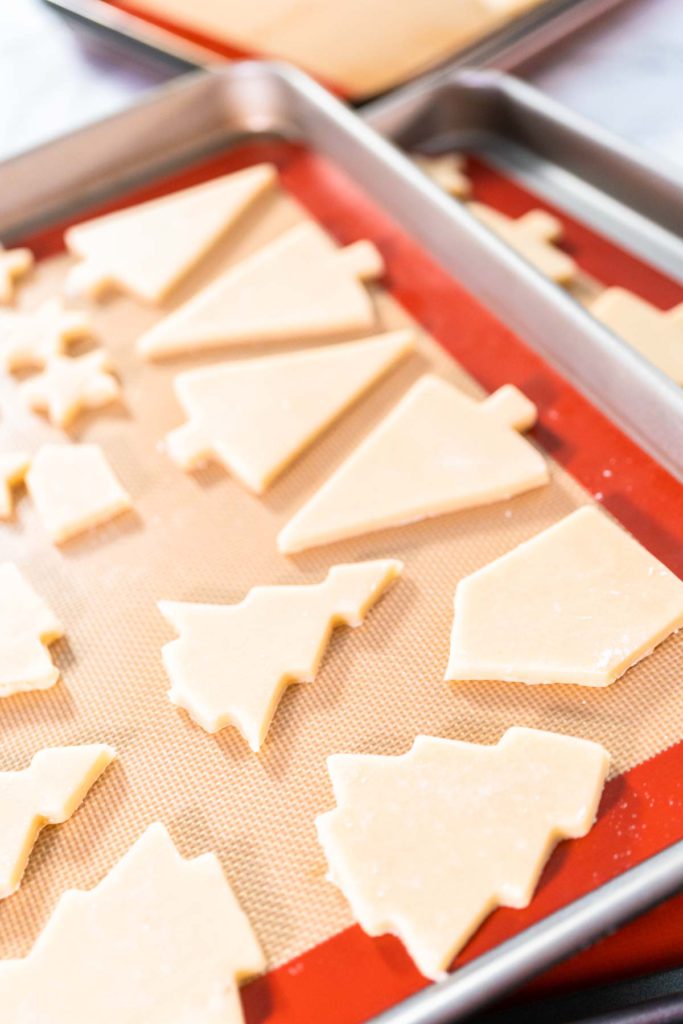
I've found that adding cornstarch to my cookie dough is a game-changer when it comes to preventing spreading. This is especially important for cut-out cookies, where I want to maintain the complex shape I've worked so hard to create.
I add 1 teaspoon of cornstarch per batch of cookies to help them keep their shape. Corn starch has the ability to absorb moisture and creates a barrier that prevents the dough from spreading too much in the oven. Plus, it's a great alternative to using more flour, which can change the texture of the cookies.
Trust me, this simple addition to your cookie recipe can make a world of difference. So the next time you're baking cut-out cookies, give it a try and see the amazing results for yourself!
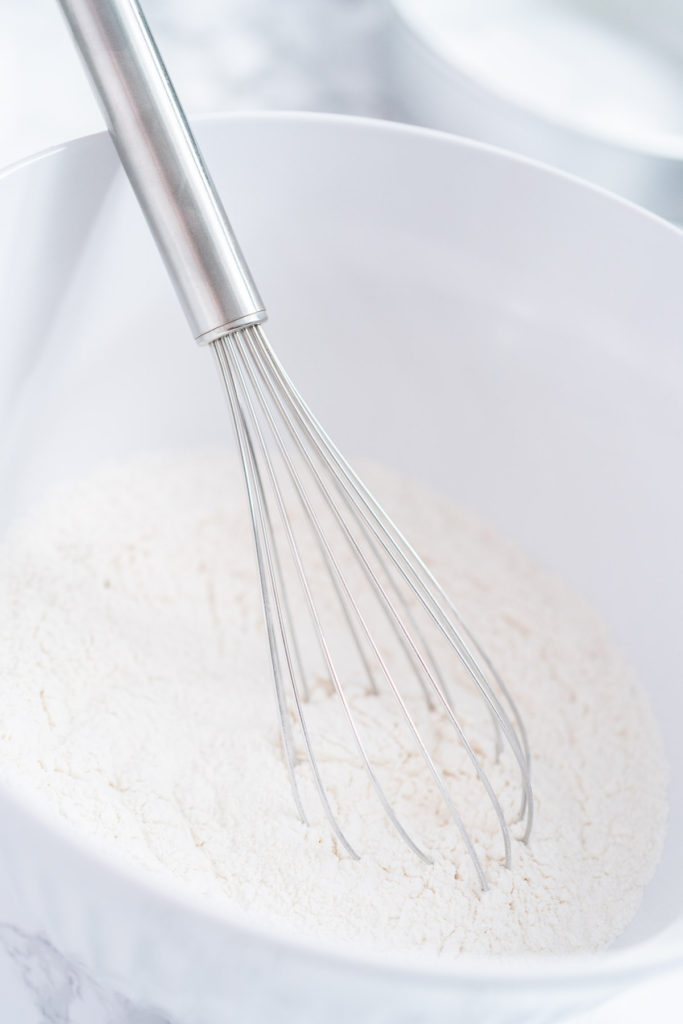
Oh, and I almost forgot to mention – when adding cornstarch to your cookie dough, it's important to first mix it with your flour before combining it with the rest of your ingredients. I like to use a hand blending whisk to make sure it's evenly distributed throughout the flour.
By doing this, you'll ensure that the cornstarch is fully incorporated into the dough and that you won't end up with any lumps. Trust me, it's a small extra step that makes a big difference in the end result.
So don't forget to mix your cornstarch with your flour before adding it to your cookie dough. Your beautifully shaped, non-spreading cookies will thank you for it!
Space the cookies out properly
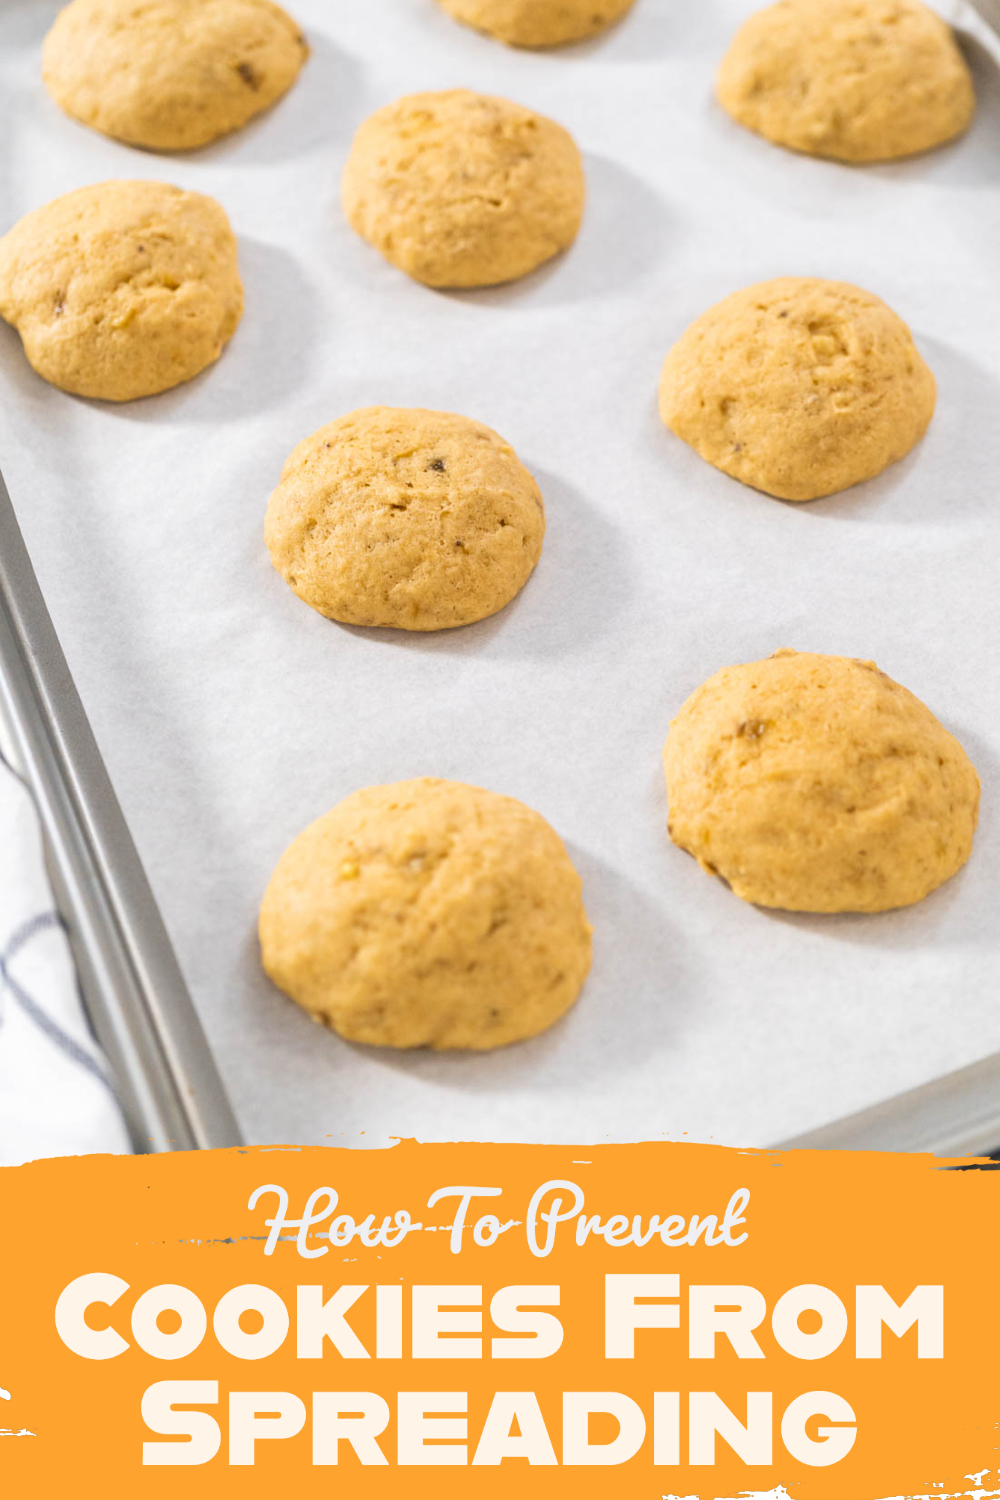
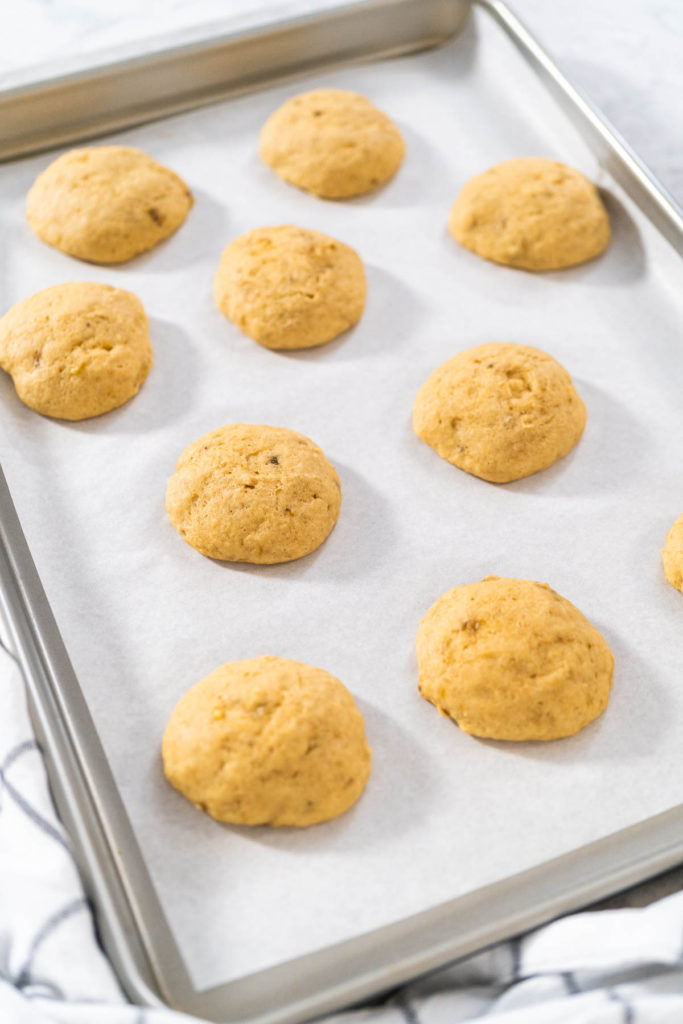
I've learned through trial and error that proper spacing of cookies on the baking sheet is crucial for preventing spreading. To ensure your cookies keep their intended shape, it's important to leave enough space between them to allow for air circulation and expansion while baking.
A good rule of thumb is to leave about 2 inches of space between each cookie. This gives them enough room to expand without touching each other, which can cause them to spread out and lose their shape.
So next time you're preparing your cookie dough, remember to leave enough space between your cookies on the baking sheet. Your beautifully shaped and perfectly spaced cookies will thank you for it!
Butter in dough
I've discovered that using too much butter in my cookie dough can be a recipe for disaster. It can cause the cookies to spread out too much and lose their shape. To avoid this, it's crucial to measure your ingredients precisely according to the recipe.
If you're using butter, a good way to measure it is to use a kitchen scale. This ensures that you're using the exact amount called for in the recipe. But if you don't have a kitchen scale, don't worry! You can use the measurements on the butter wrapper as a guide.
Remember, precision is key when it comes to baking. So next time you're making cookies, be sure to measure your ingredients carefully and avoid overdoing it on the butter. Your beautifully shaped cookies will thank you for it!
Preheating oven
Fully preheating your oven before baking is a crucial step in achieving perfectly baked goods. Not only does it ensure an even cooking temperature, but it also helps your baked goods cook more evenly and thoroughly.
If you skip preheating your oven, the temperature won't be consistent throughout the oven. This can cause your baked goods to cook unevenly, leading to overcooked or undercooked areas. And let's be honest, nobody wants a burnt bottom or a raw center in their baked goods!
To avoid this, make sure to fully preheat your oven before baking. This typically takes around 10-15 minutes, depending on your oven. Once your oven is fully preheated, you can confidently put in your cookies, cakes, or whatever else you're baking, knowing that they will bake evenly and come out perfectly.
So don't skip this important step in baking. Take the extra few minutes to preheat your oven and enjoy perfectly baked treats every time!
More Cookies Recipes
Food Photography & Video Tips from My Studio
Here’s a peek at the tools, gear, and camera setups I use to film my recipe videos and photograph food at home. Over the years, I’ve tested dozens of different setups, and now I’m sharing what actually works for me—whether I’m filming overhead shots for YouTube or styling still photos for my blog. If you’re curious about how I create the content you see here, these posts are a great place to start.













Leave a Reply