|
This post contains affiliate links.
Why You’ll Love This Recipe
There’s something magical about star-shaped cookies during the holiday season. They feel timeless and festive, and they fit perfectly into any winter theme. I love using them in my cookie boxes next to Chocolate Dipped Peppermint Sugar Cookies or Classic Gingerbread Cookies, and they always get compliments for their simple elegance.
When I first started decorating cookies, I was intimidated by royal icing. It seemed like something only professional bakers could master. But once I broke it down into simple steps and practiced with just one cookie shape at a time, it became one of the most relaxing and rewarding parts of my holiday prep. These stars are perfect for beginners, especially if you love that frosted, metallic finish.
Watch how I make this recipe
Tools That Make It Easier
- Royal icing piping bags – These give you precise control for outlining and flooding.
- Measuring cups and spoons – Accuracy matters in icing consistency.
- Glass mixing bowl – Non-reactive and easy to clean, great for royal icing.
- Silicone spatulas – Help you scrape down the sides and get every bit of icing.
- Whisk – Ensures a lump-free base, especially important with meringue powder.
- Needle modeling tool (or scribe tool) – For popping air bubbles and spreading icing.
- Paint brushes & palettes – Needed for applying the gold luster finish.
What You’ll Need From Your Pantry
Royal Icing
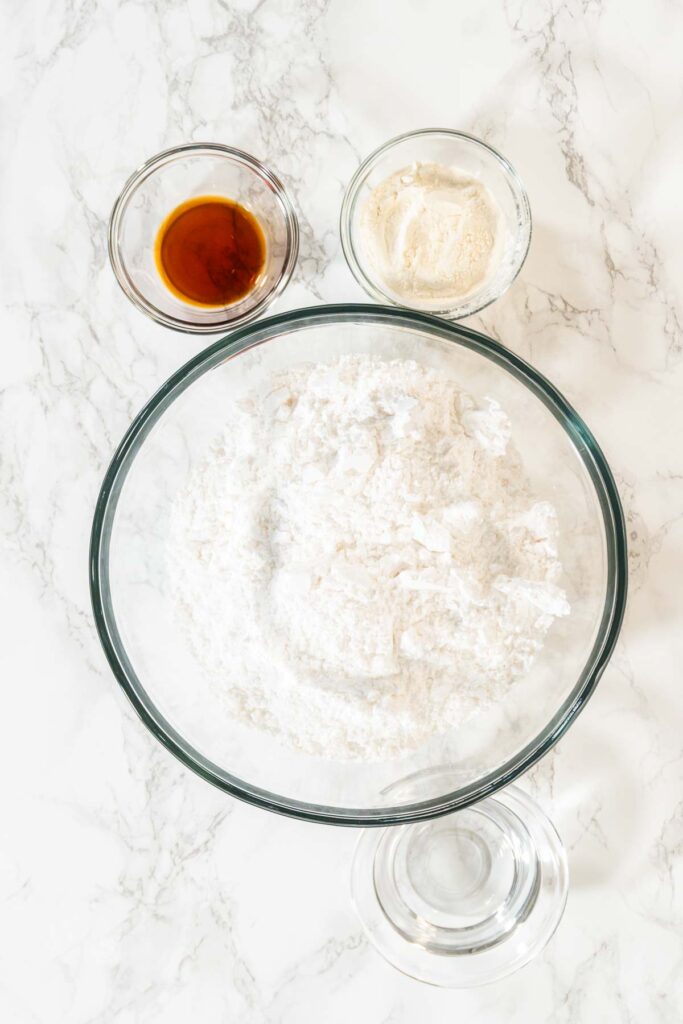
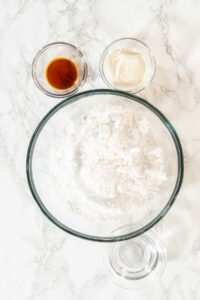
- 1 lb Confectioner’s Sugar
- 3 tablespoon Meringue Powder or 2 egg whites
- 6 tablespoon Warm Water
- 1 teaspoon Vanilla Extract
Decorating Cookies
- Gold Luster Powder Dust
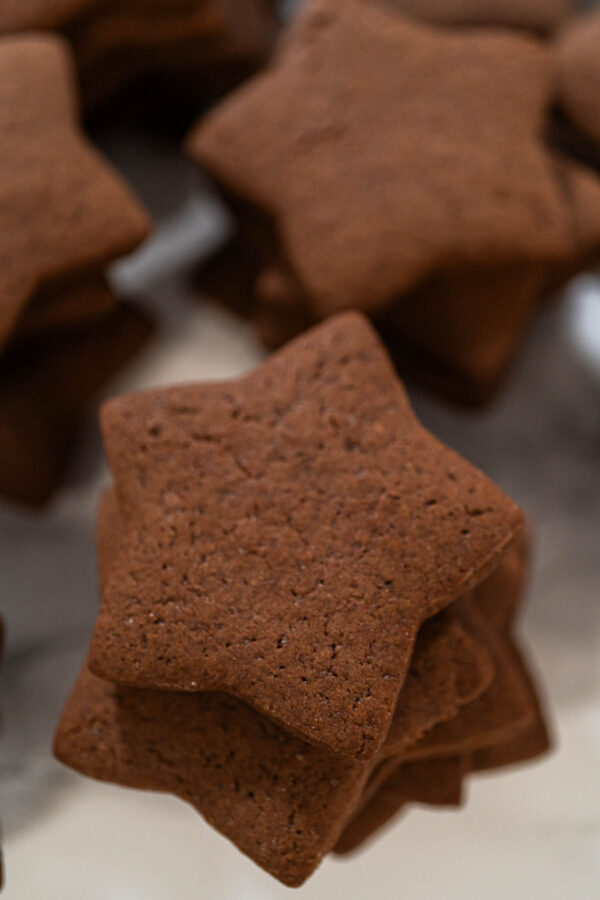
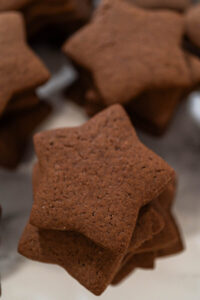
- Chocolate Gingerbread Cookies (or any cut-out cookie base)
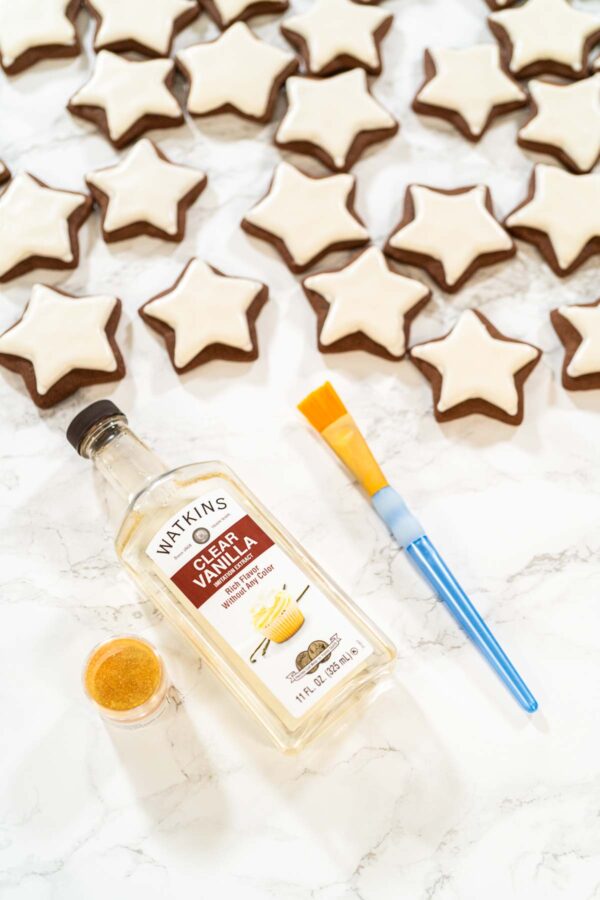
- Clear vanilla extract
Before You Start: My Quick Tip
- Practice on parchment paper before icing your cookies.
- Bake and freeze your cookies ahead of time so they’re firm and ready to decorate.
- Test the flooding icing consistency by dragging a knife through it—it should settle back in 10 seconds.
Latest Video
Let’s Make It Together
Making Royal Icing
- Measure and prep all ingredients and tools. Let egg whites come to room temp if using.
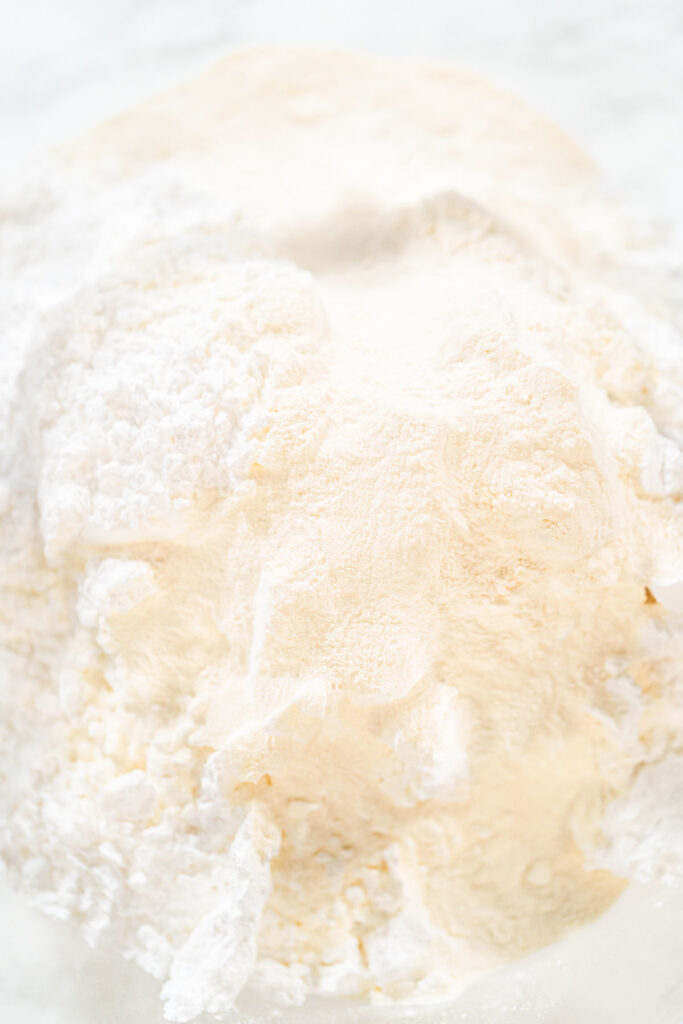
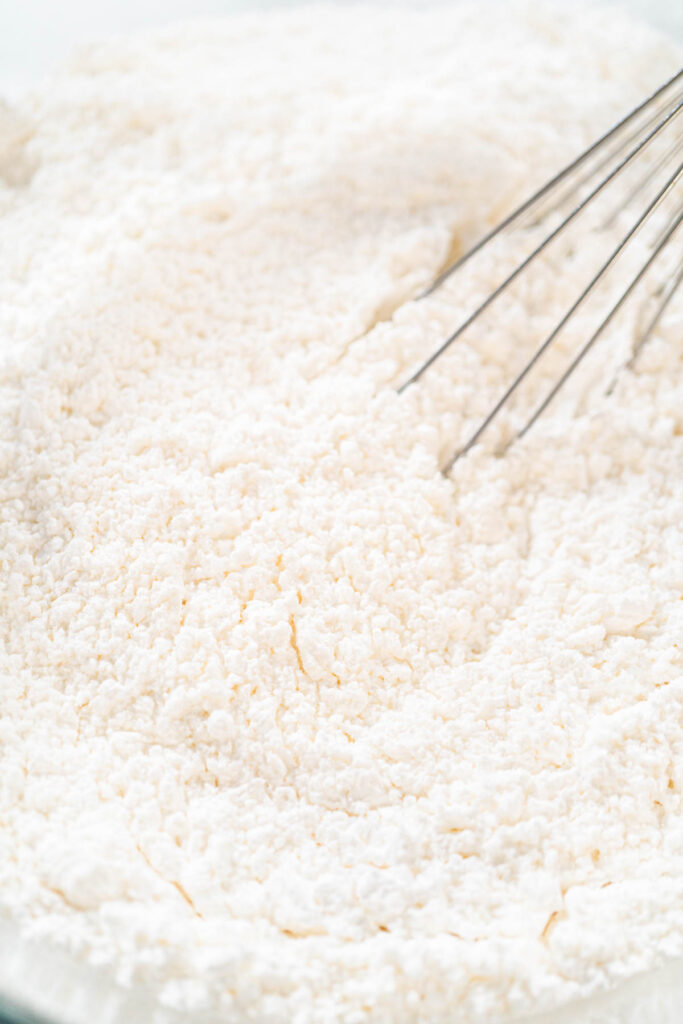
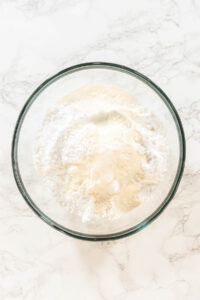
- In a mixing bowl, whisk confectioners' sugar and meringue powder (or egg whites).
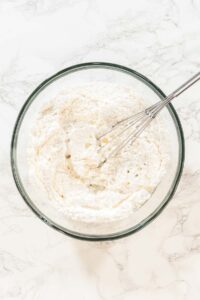
- Slowly add warm water, one tablespoon at a time, whisking gently.
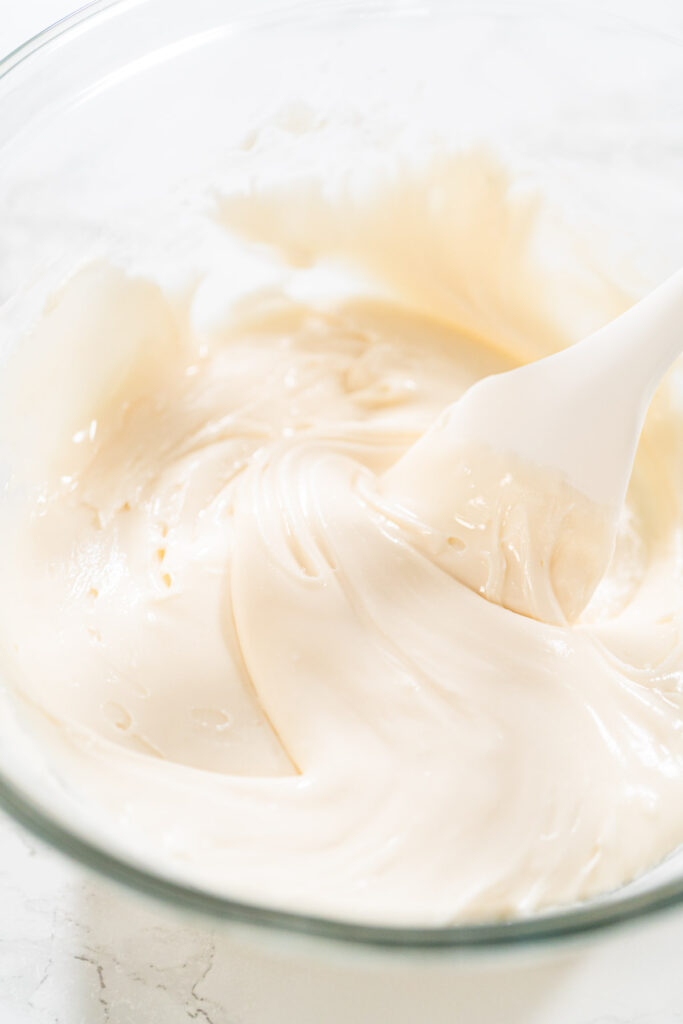
- Add vanilla extract and whisk until icing is glossy and smooth.
- Adjust consistency with sugar if needed; icing should hold stiff peaks.
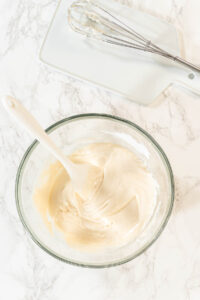
- Scrape bowl with spatula to ensure even texture.
- Fill a piping bag one-third full with the thick icing.
- Shake bag gently to remove air bubbles, twist top and secure.
- For flooding icing, thin a portion of base with water until it flows like honey.
- Transfer to another piping bag and seal.
Decorating Cookies
- Have your cookies baked and frozen in advance.
- Set up your station with parchment paper and snip a small bag tip.
- Outline each star cookie with thick icing.
- Flood inside the outline with thin icing; use a needle tool to smooth and remove bubbles.
- Let cookies dry completely for 4–6 hours.
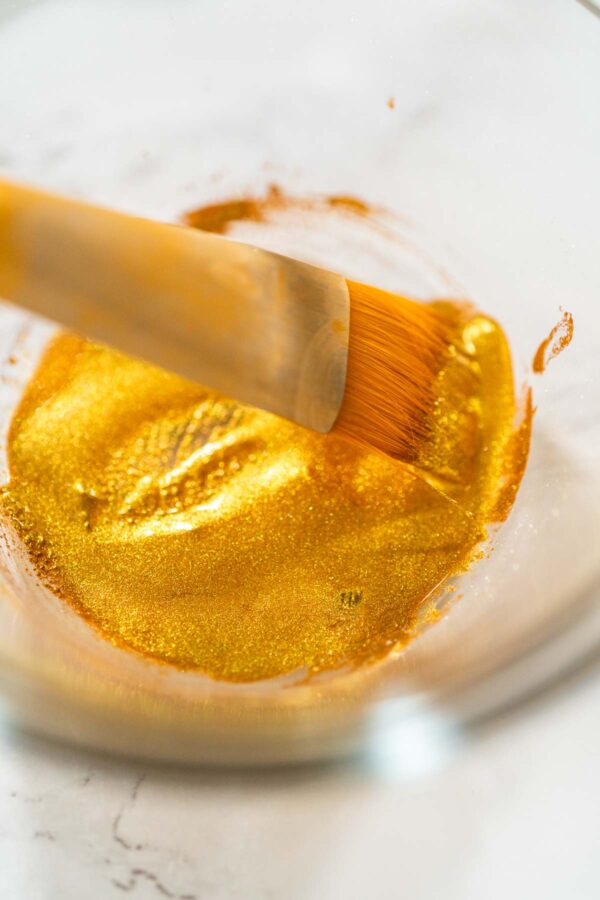
- Mix luster dust and clear vanilla to make edible paint.
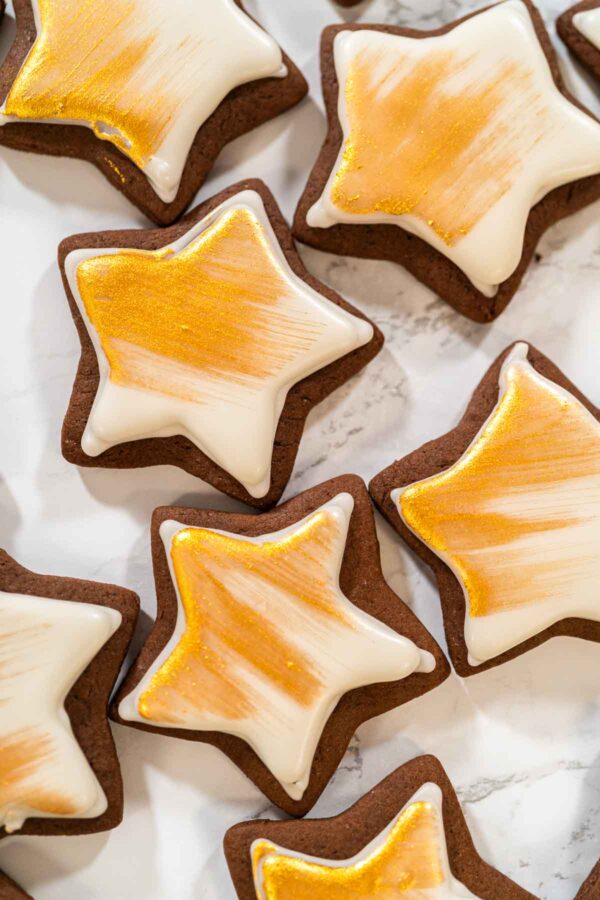
- Lightly brush one side of each star for a gold-stroke effect.
- Let cookies dry an additional hour before packing.
Best Ways to Store Cut-Out Cookies with Royal Icing
Best Storage Methods
Keep sugar cookies fresh with these simple storage tips:
Room Temperature
- Use an airtight container with parchment paper between layers.
- Store in a cool, dry place, away from sunlight for up to 1 week.
- Prevent spreading with tips from How to Bake Perfect Holiday Cookies.
Refrigerator
- Seal in a container with parchment paper.
- Let icing fully dry before stacking; store for up to 2 weeks.
- Bring to room temperature for 30 minutes before serving.
Freezing
- Undecorated Cookies: Wrap and freeze for up to 3 months.
- Decorated Cookies: Ensure icing is dry, freeze in a single layer, then store with parchment paper.
- Thaw at room temperature for 1 hour before handling.
Royal Icing Storage
- Store in an airtight container at room temperature for 2 weeks or freeze for 3 months.
- Stir well before reuse. Decorating ideas: Gingerbread Cookies with Royal Icing.
Extra Freshness Tips
- Avoid humidity and strong odors like onions or garlic.
- Refresh softened undecorated cookies in a 300°F oven for 3-5 minutes.
- For gifting, wrap in cellophane bags and use decorative tins.
- Affordable packaging ideas: The Best Affordable Way to Package Homemade Cookies.
Follow these tips to keep your cookies fresh and looking beautiful for weeks!
More Cookie Decorating Ideas
Looking for more inspiration? You might love:
- How to Decorate Snowflake Cookies with Royal Icing
- How to Decorate Christmas Tree Cookies
- Simple White Royal Icing Recipe
- Chocolate Royal Icing for Outlining and Flooding
Decorating these star cookies has become part of my holiday rhythm. I put on a cozy playlist, prep a batch of royal icing, and get lost in the gentle repetition of piping and painting. Whether you're baking for your own joy or to share with others, these cookies are a beautiful way to make memories and share sweetness.
How to Perfectly Ice Star Cookies with Royal Icing
Video
Equipment
Ingredients
Royal icing
- 1 lb Confectioner’s Sugar
- 3 tablespoon Meringue Powder or 2 egg whites
- 6 tablespoon Warm Water
- 1 teaspoon Vanilla Extract
Instructions
Making royal icing
- Before you start, measure out all your ingredients and have your equipment ready. This will make the process smoother and prevent any mid-recipe scrambling. If you are using egg whites, ensure they are at room temperature for easier mixing.
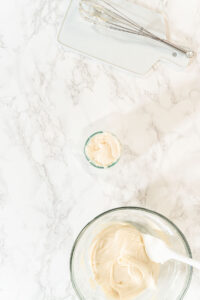
- Start by whisking together the confectioners’ sugar and either meringue powder or 2 large egg whites in a large glass mixing bowl. If you are using egg whites, ensure they are at room temperature for smoother mixing.
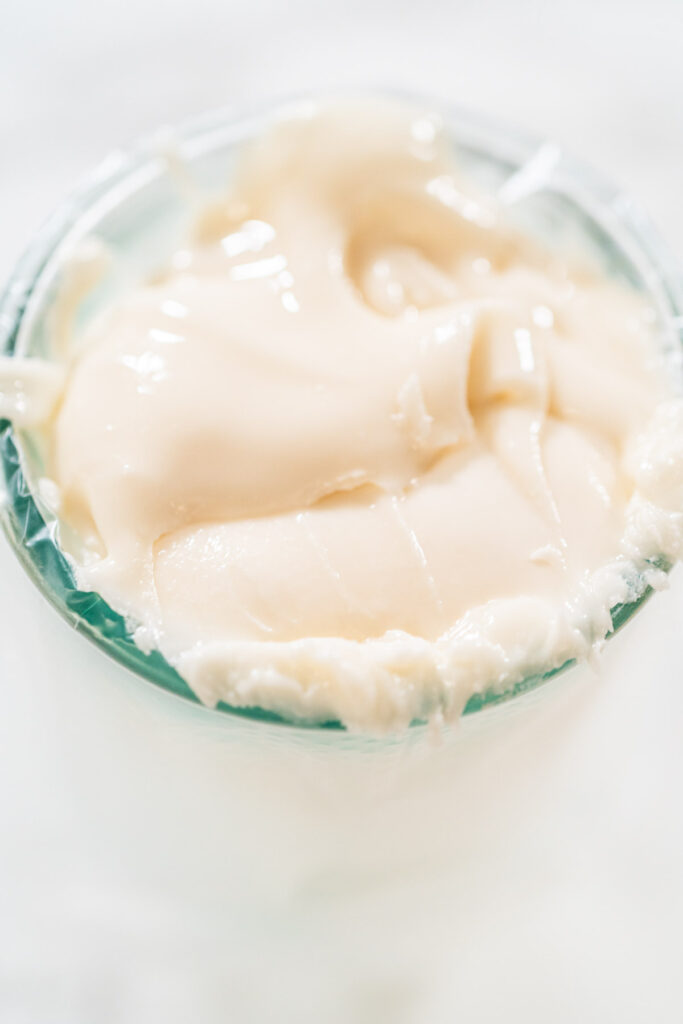
- Gradually add warm water, one tablespoon at a time, while whisking gently to avoid creating too many air bubbles.Mix in the vanilla extract, and continue whisking until the mixture is smooth and shiny.If using egg whites, you may need to adjust the consistency by adding more confectioners’ sugar as needed. The icing should hold firm peaks and have a thick, pipeable texture.
- Switch to a silicone spatula to scrape down the sides of the bowl and ensure everything is fully incorporated.
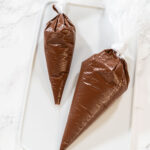
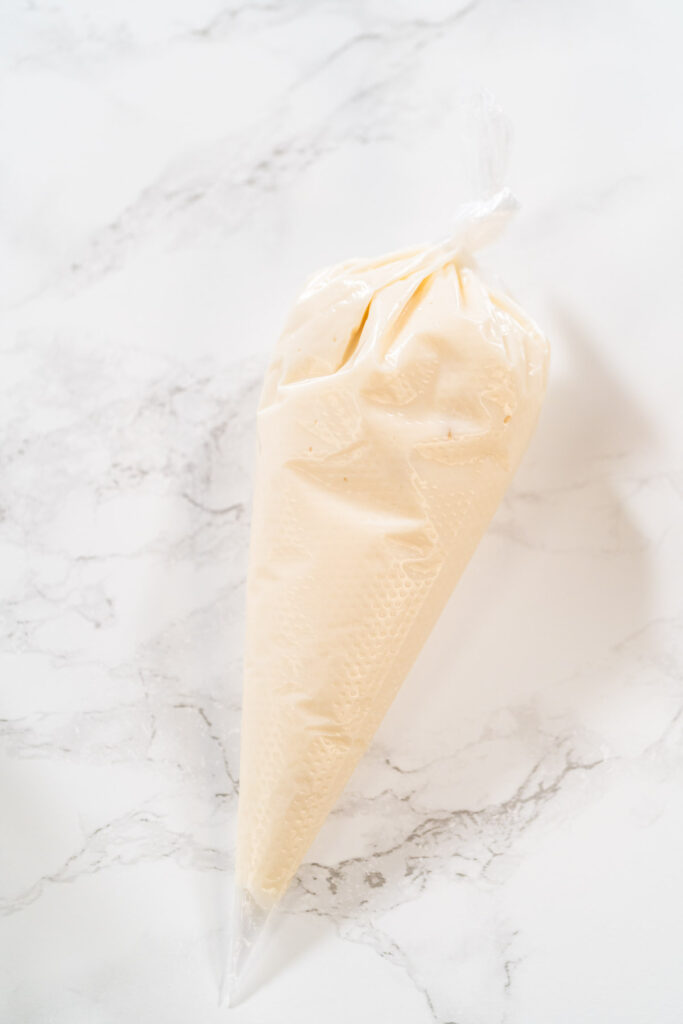
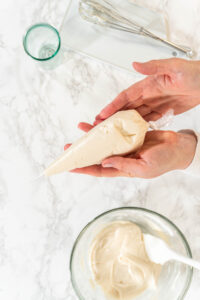
- Transfer the icing to a thin, disposable piping bag. Only fill the bag about one-third full to keep it lightweight and easy to handle.
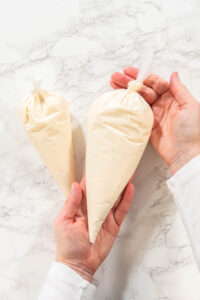
- Bring the bag to a vertical position and give it a gentle shake to help the icing settle and push out air bubbles. Twist the top tightly and tie a knot to secure the bag—no fancy clips or tools needed!
- To create flooding icing, take a portion of the prepared base icing and thin it out. Add warm water, one teaspoon at a time, mixing thoroughly after each addition.Test the consistency by letting the icing drip back into the bowl. It should flow like honey and settle into a smooth surface within 10 seconds.If the icing becomes too thin, sift in a small amount of confectioners’ sugar and mix again until the consistency is perfect.Transfer the flooding icing to a separate piping bag with a slightly larger tip. As with the outlining bag, fill it about halfway and twist the top tightly to seal.
Decorating cookies
- Bake and freeze your cookies in advance so they’re ready for decorating without added stress.
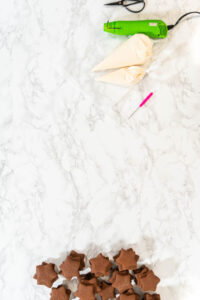
- Set up your decorating area: lay parchment paper under your work space and snip a small opening in the piping bags.
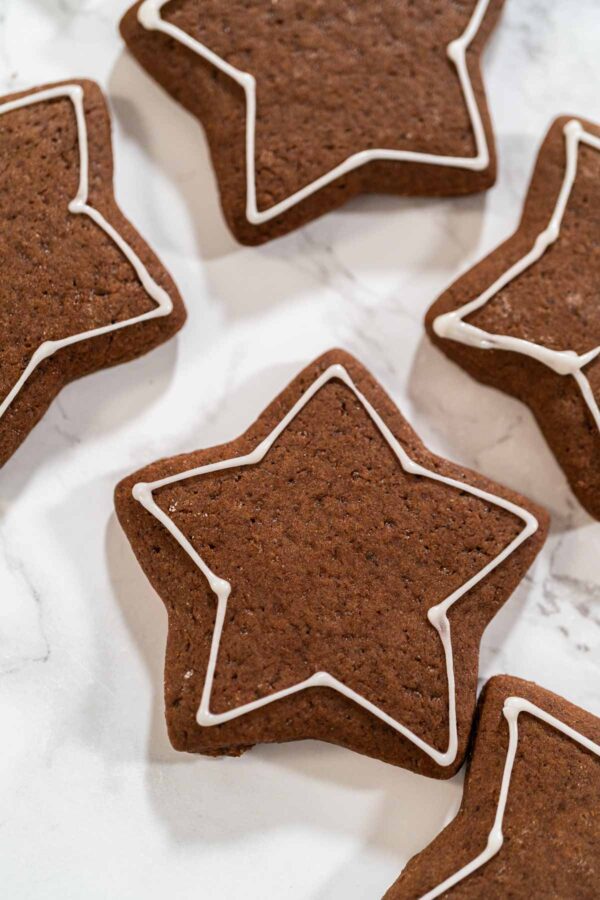
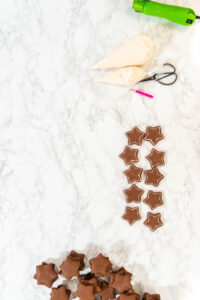
- Arrange cookies in two neat rows. Outline each star with thicker royal icing to create a border.
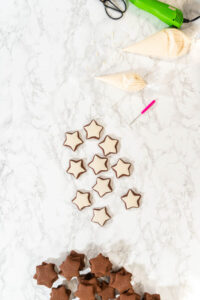
- Fill the outlined area with thinner royal icing, using a scribe tool or needle tool to smooth it out and pop any air bubbles.
- Allow the iced cookies to dry completely, about 4 to 6 hours depending on thickness.
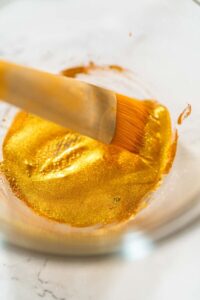
- In a small bowl, mix edible gold luster dust with clear vanilla extract—start with 1 teaspoon extract and 1 tablespoon dust, adjusting as needed.
- Lightly brush one side of each star with the gold mixture to create a brushed stroke effect.
- Let cookies dry for an additional hour. Once set, they’re ready for packaging and gifting.
From My Kitchen to Yours
More Cookies Recipes
Pin It For Later
Food Photography & Video Tips from My Studio
Here’s a peek at the tools, gear, and camera setups I use to film my recipe videos and photograph food at home. Over the years, I’ve tested dozens of different setups, and now I’m sharing what actually works for me—whether I’m filming overhead shots for YouTube or styling still photos for my blog. If you’re curious about how I create the content you see here, these posts are a great place to start.





















Leave a Reply