This post contains affiliate links.
The vegetable shortening and flour methods are, by far, my preferred method! This is my fool-proof secret when it comes to baking perfect bundt cakes. Bundt cake pans usually have a more intricate design that involves a lot of corners and sharp angles which can make it really difficult to remove the baked cake in one piece.
Let me tell you, this method never fails me! If a bundt cake pan is greased properly, and then the baked cake is cooled properly after baking, it’s so much easier to get the cake out in one solid, beautiful piece.
How to Grease a Baking Pan with Vegetable Shortening:
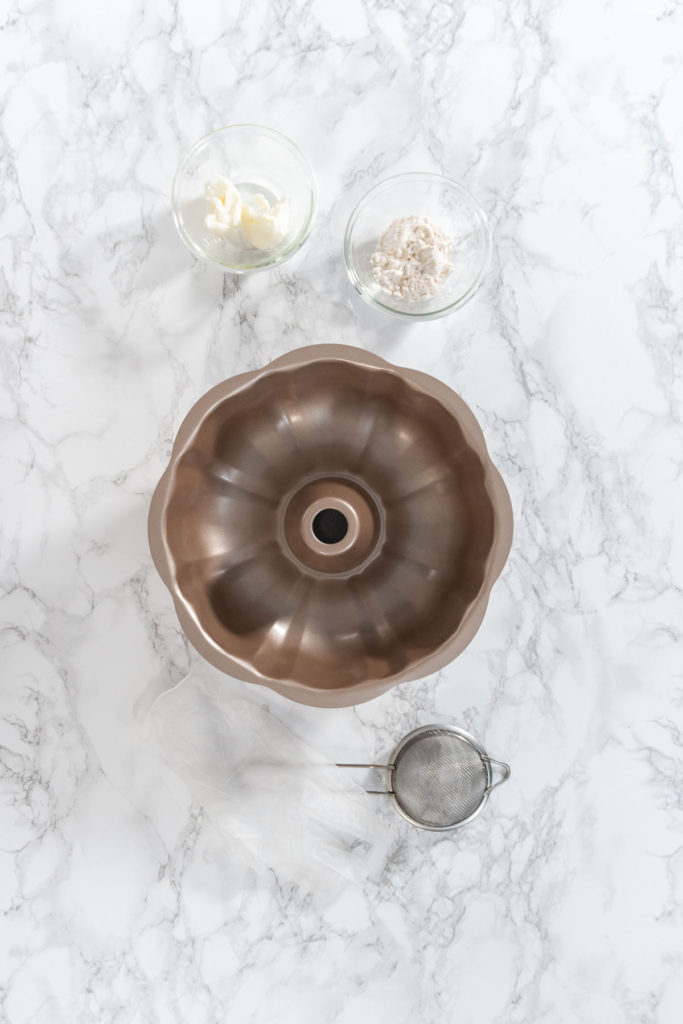
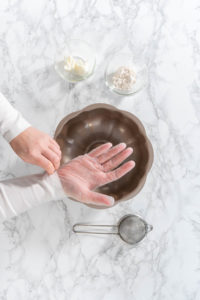
- First, cover your hands with either some disposable gloves or a Ziploc bag.
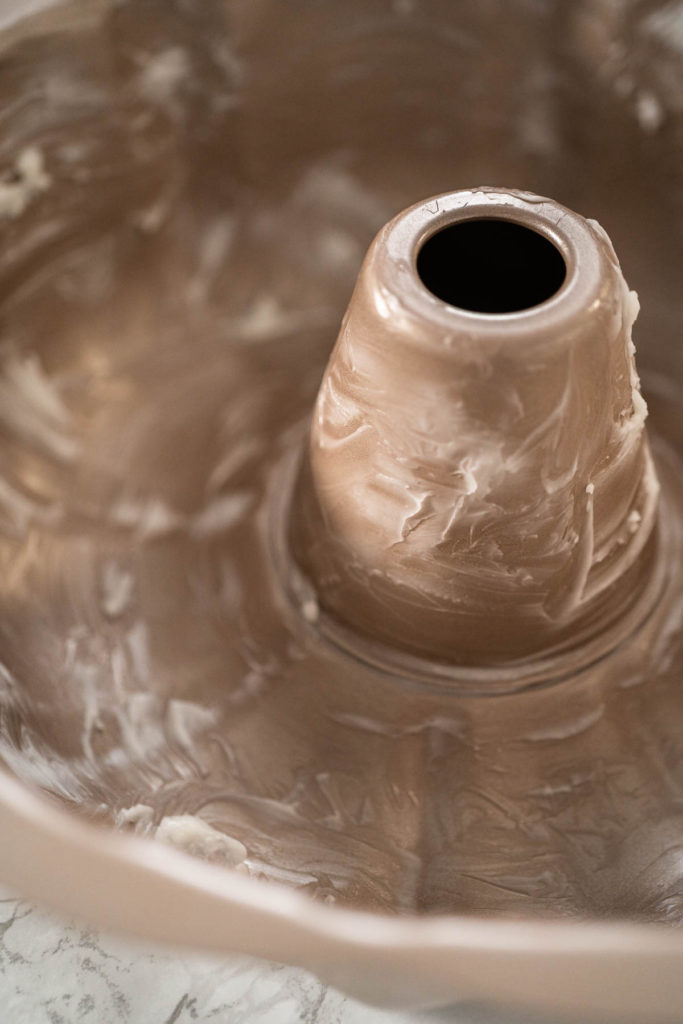
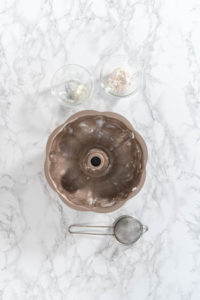
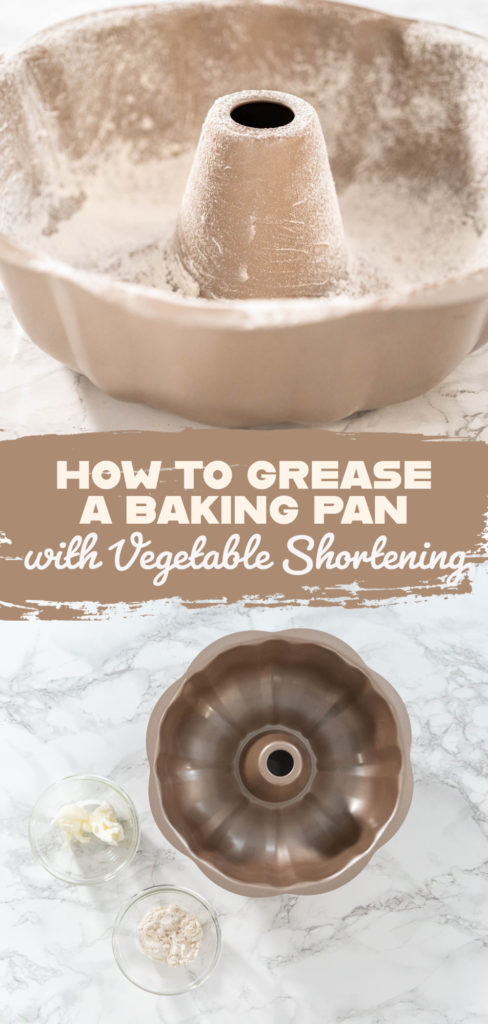
- Then, use your covered hands to spread some vegetable shortening generously along the entire inside of the baking pan. Make sure to coat all the corners and sides.
- Remember, you should have an even coating with no chunks of fat leftover.
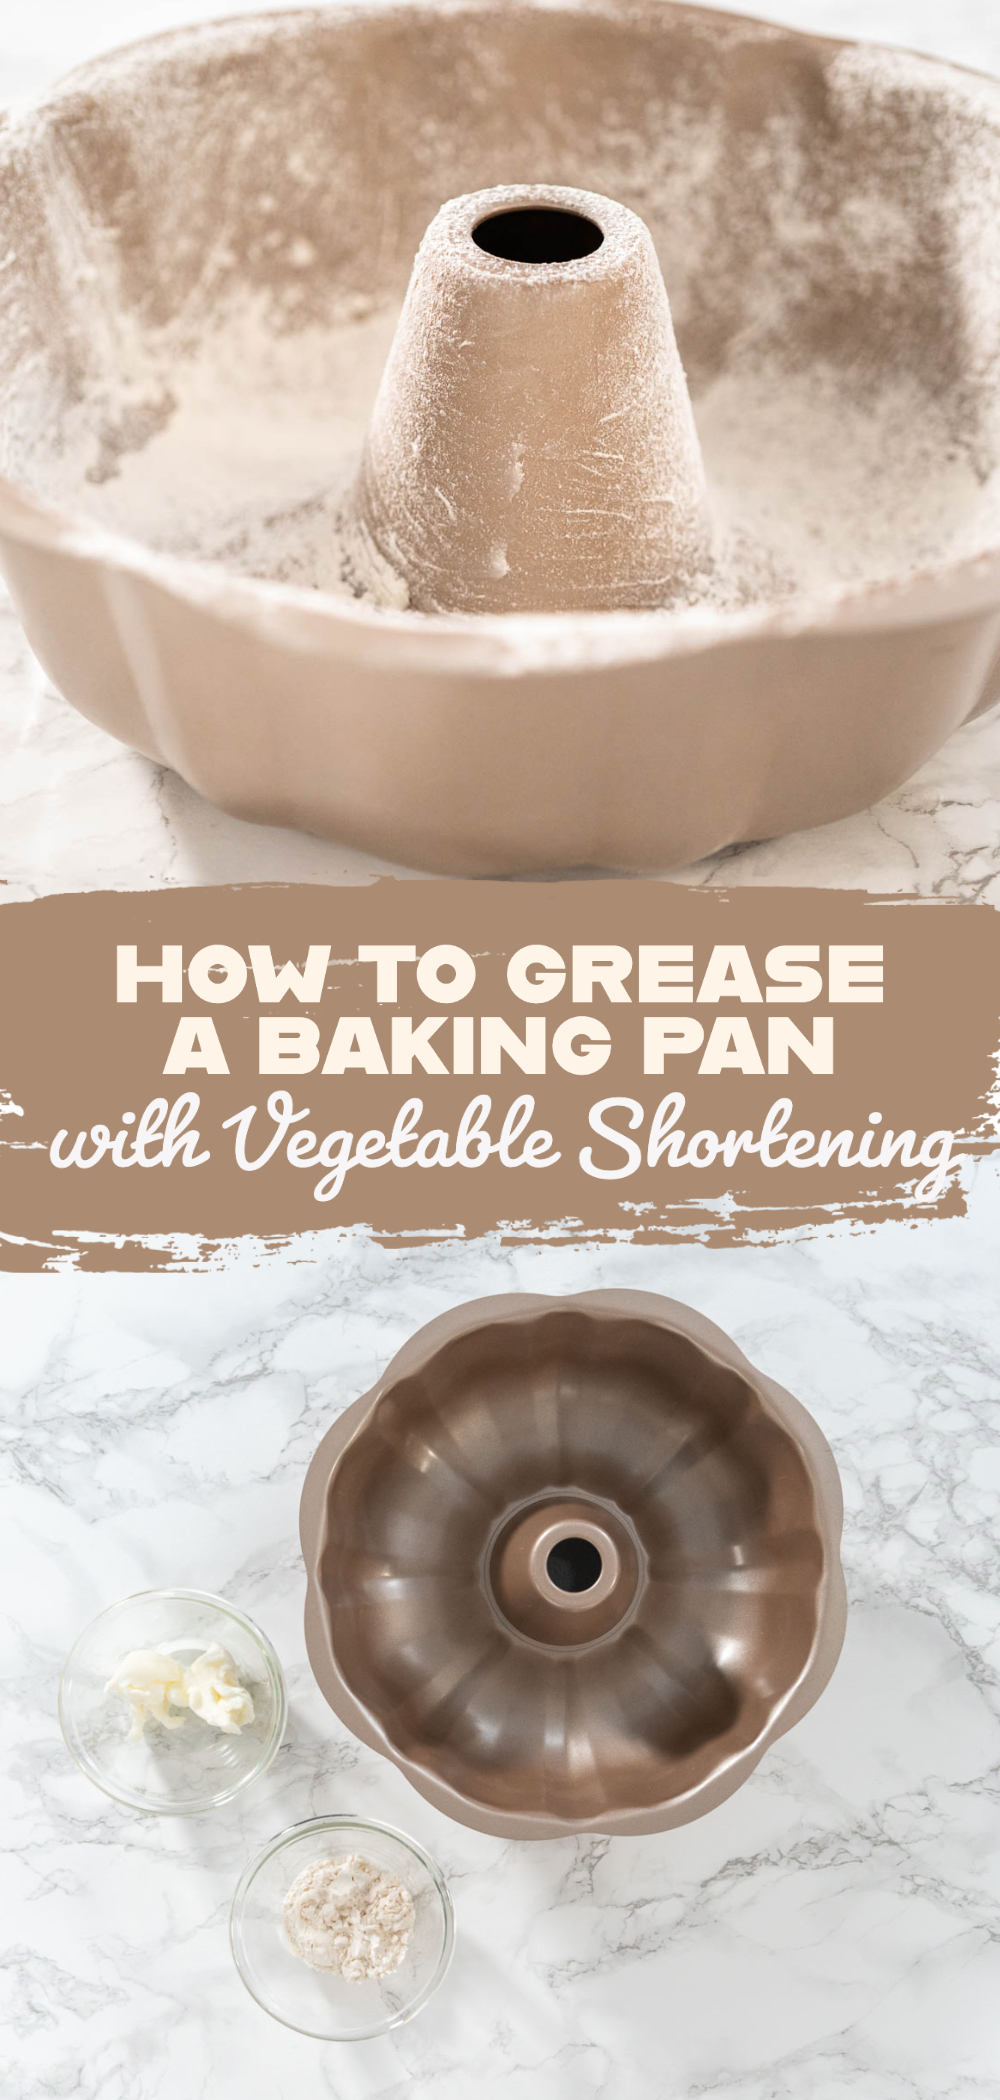
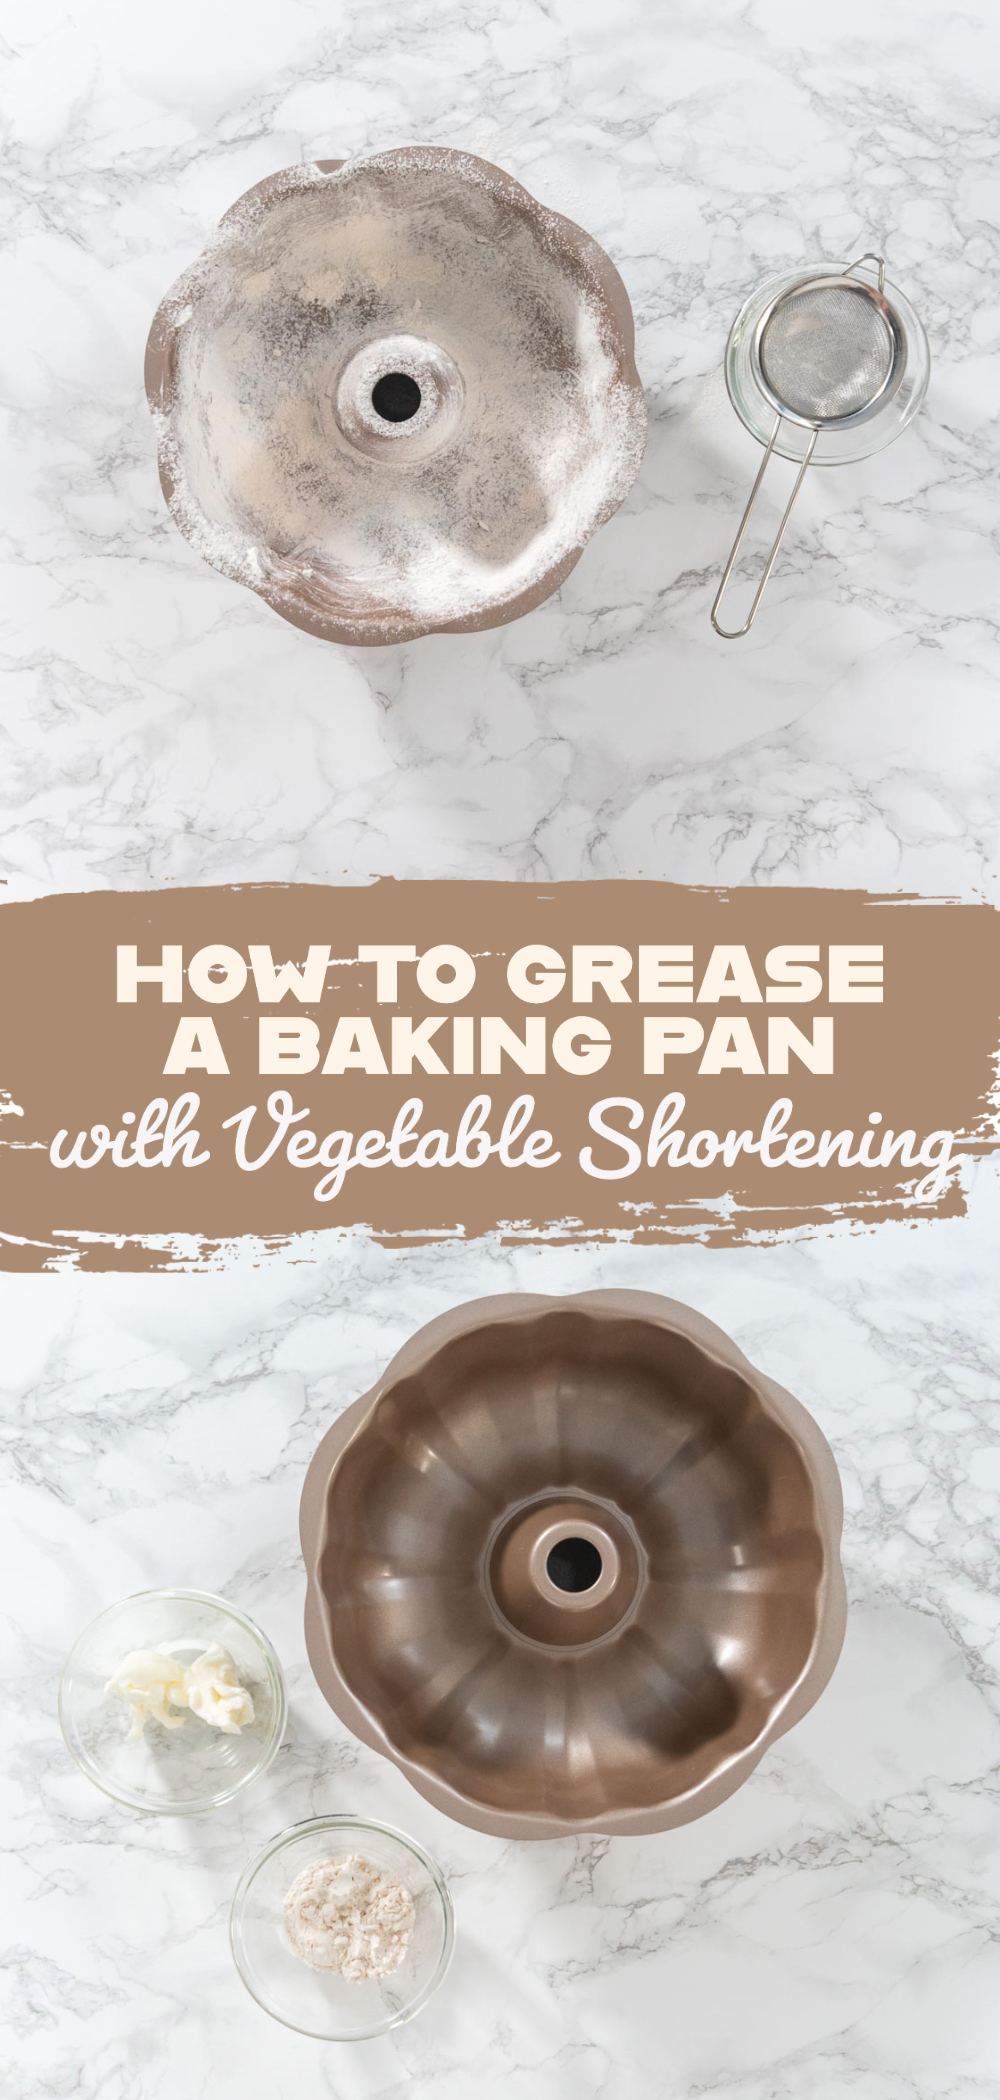
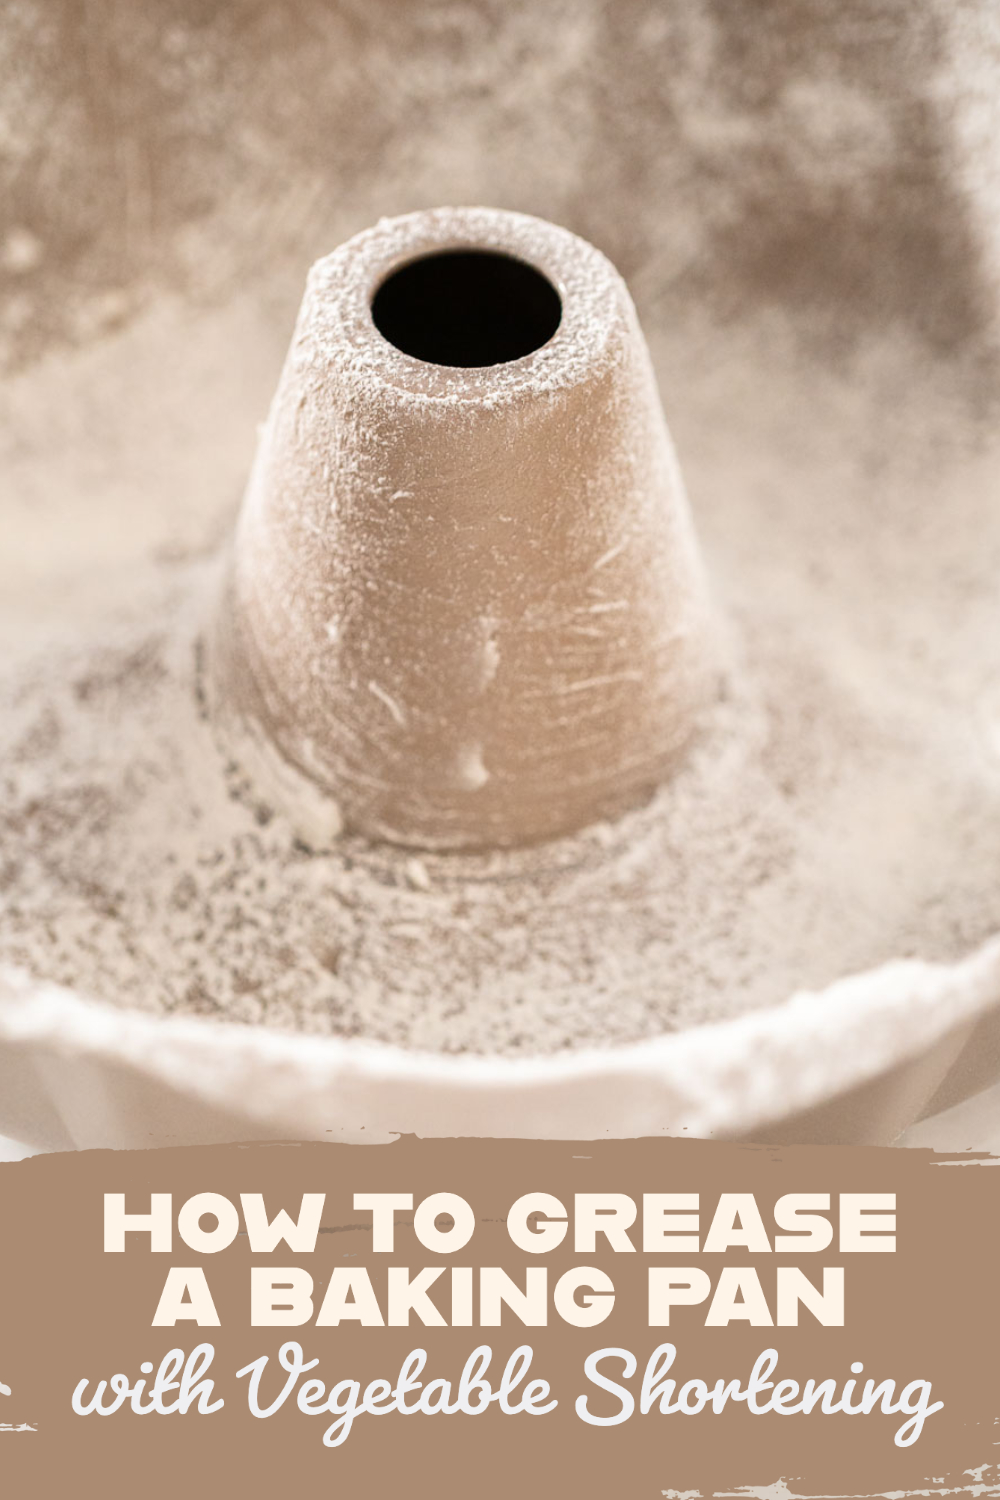
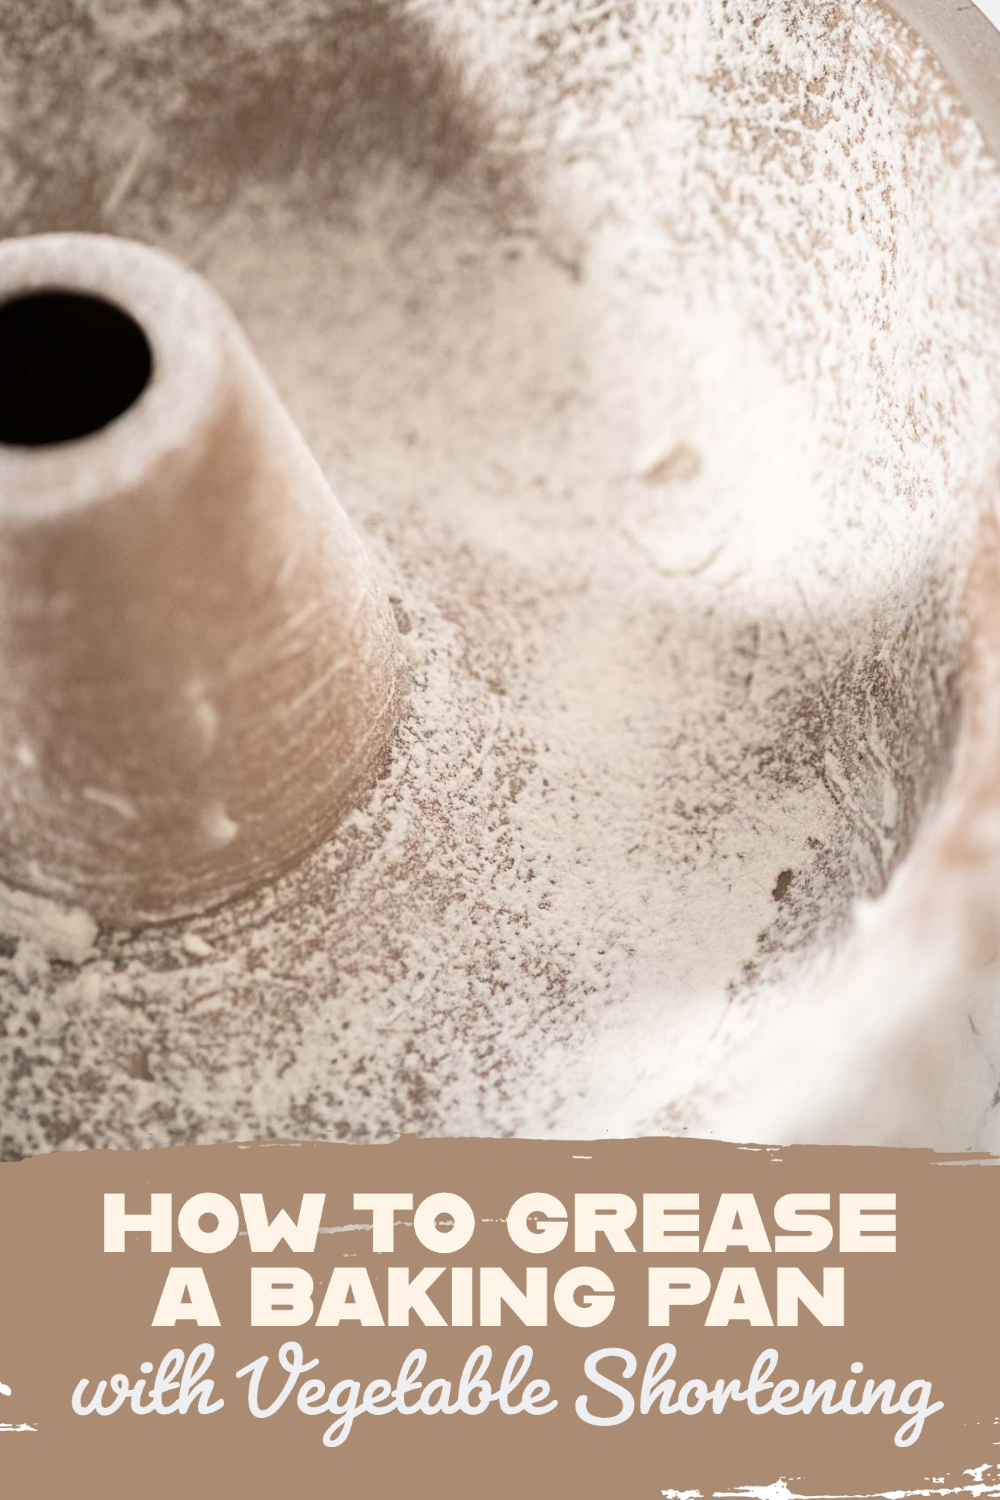
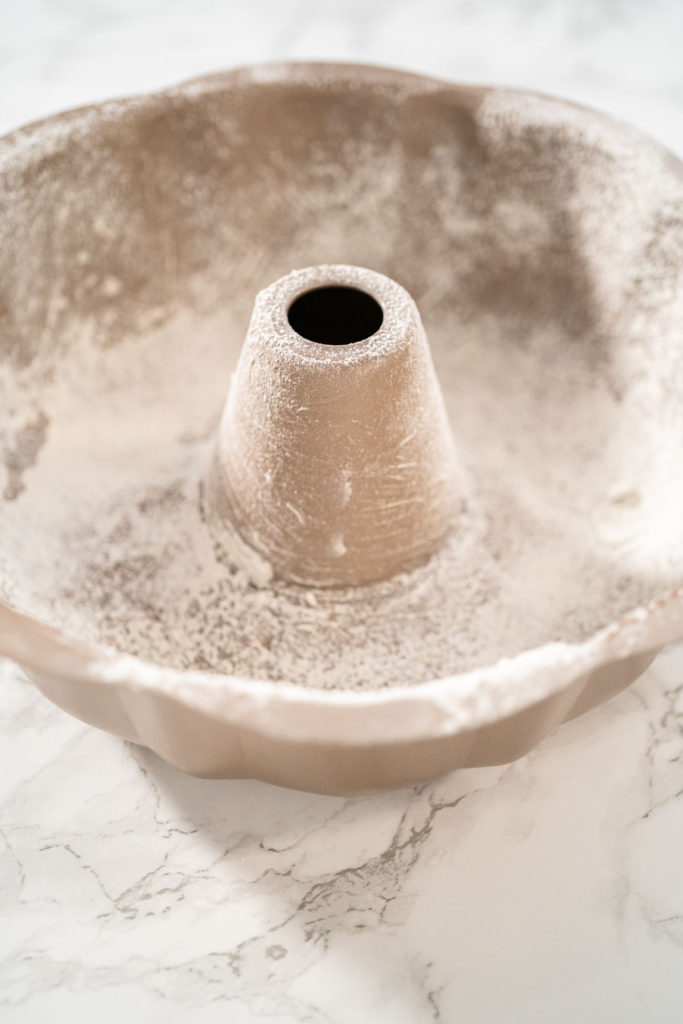
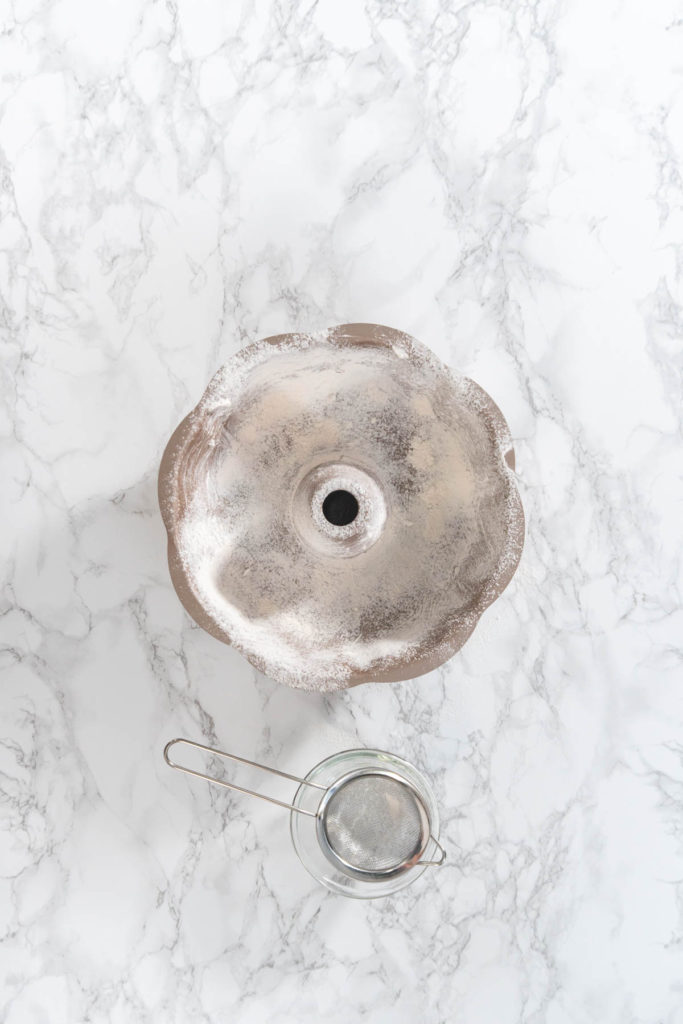
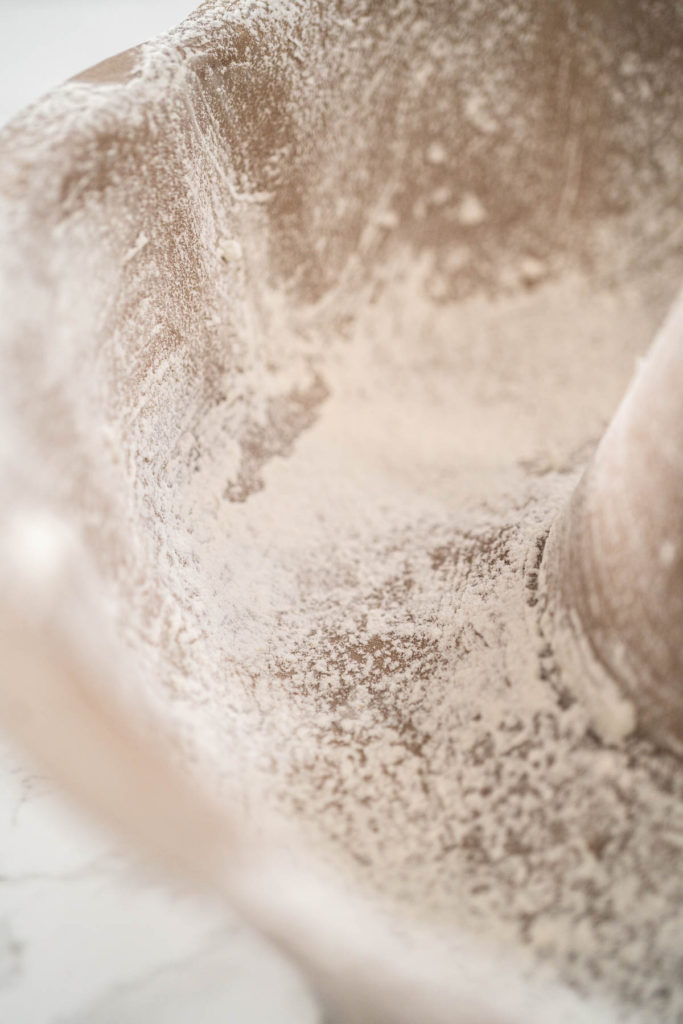
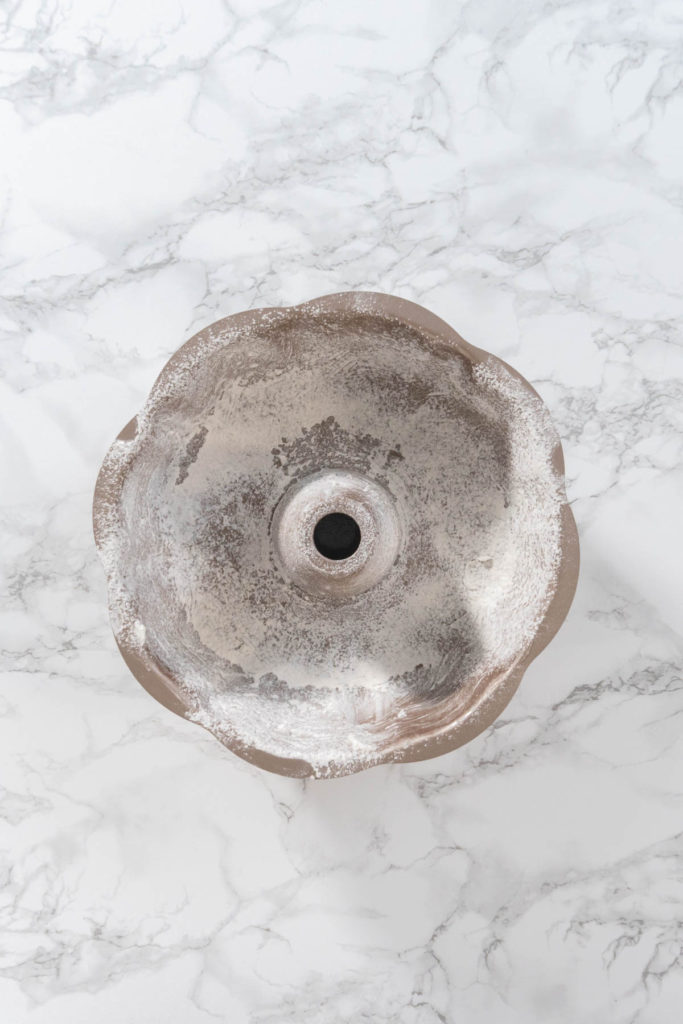
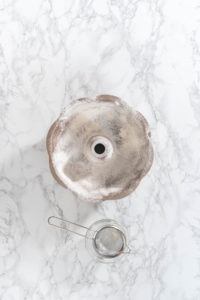
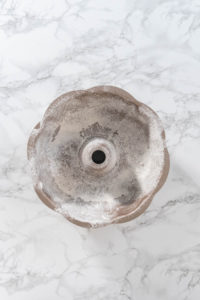
- Next, use a small sifter to evenly distribute a small amount of flour across the entire inside of the coated pan. Then turn the pan over and tap out any excess flour.
- Finally, pour your prepared batter into the greased pan and bake away!
How to Grease a Baking Pan with Vegetable Shortening
Ingredients
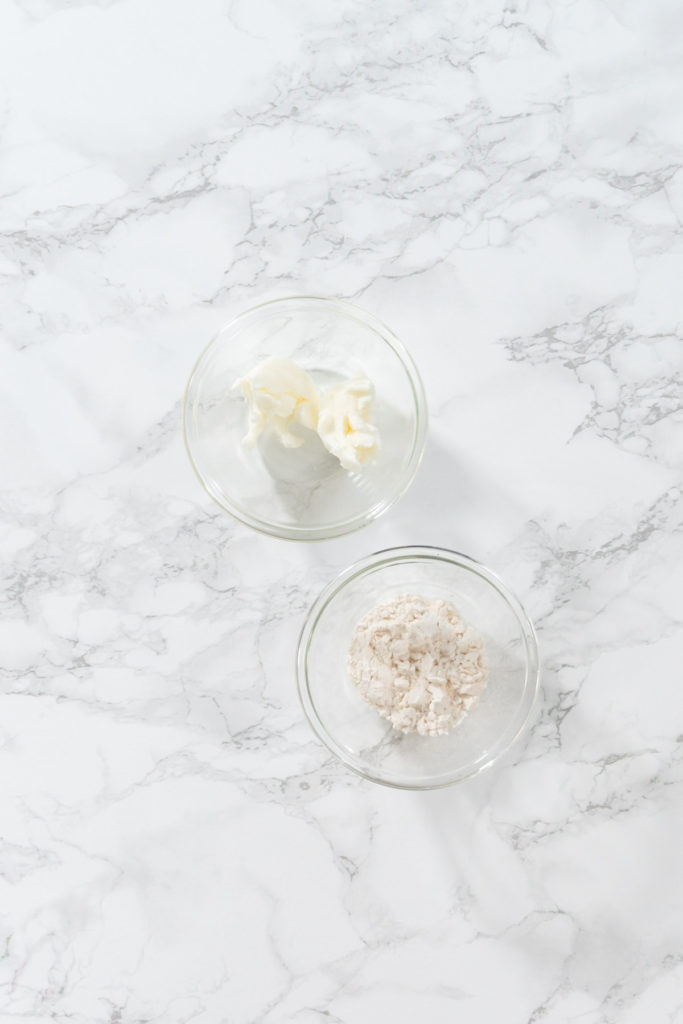
- 1 tablespoon Vegetable shortening room temperature
- 2 tablespoon all-purpose flour
Instructions
- First, cover your hands with either some disposable gloves or a Ziploc bag.
- Then, use your covered hands to spread some vegetable shortening generously along the entire inside of the baking pan. Make sure to coat all the corners and sides. Remember, you should have an even coating with no chunks of fat leftover.
- Next, use a small sifter to evenly distribute a small amount of flour across the entire inside of the coated pan. Then turn the pan over and tap out any excess flour.
- Finally, pour your prepared batter into the greased pan and bake away!
Food Photography & Video Tips from My Studio
Here’s a peek at the tools, gear, and camera setups I use to film my recipe videos and photograph food at home. Over the years, I’ve tested dozens of different setups, and now I’m sharing what actually works for me—whether I’m filming overhead shots for YouTube or styling still photos for my blog. If you’re curious about how I create the content you see here, these posts are a great place to start.






Leave a Reply