|
This post contains affiliate links.
Decorating snowflake cookies has become one of my favorite parts of the winter baking season. There's something peaceful and joyful about piping delicate lines onto crisp, perfectly baked cut-out cookies. And the best part? You don’t need to be a pro to make these look stunning. With a few tools, the right icing consistency, and a little patience, anyone can make elegant, eye-catching snowflake cookies for holiday trays, gifts, or cookie decorating parties.
This post is a natural companion to some of my other winter baking guides, like Chocolate Royal Icing, Chocolate Ginger Sugar Cookies, or even Classic Gingerbread Cookies if you want to expand beyond traditional sugar cookies.
Why You’ll Love This Recipe
Snowflake cookies are timeless. They feel classic yet magical, and the best part? No two snowflakes ever have to match—which gives me full creative freedom to play. I like to pair them with Red Gingerbread Cookies or Chocolate Dipped Peppermint Sugar Cookies in my gift boxes to add contrast in both color and flavor.
I’ve made these cookies for so many occasions—cookie swaps, holiday parties, and even just cozy weekends with hot cocoa. They’re a staple because:
- They hold their shape perfectly when baked.
- They’re stunning with just a few piping lines and a sprinkle of sugar.
- They pair beautifully with other winter treats like Spiced Gingerbread Cookie Dough or Lemon Spritz Cookies with Cranberry Buttercream.
If you’re new to decorating, snowflake cookies are a great place to start—impressive without being overwhelming. And if you’re experienced, the possibilities for designs are endless.
Watch how I make this recipe
Tools That Make It Easier
- Measuring cups & spoons – for accuracy.
- Glass mixing bowl & whisk – ideal for preparing icing.
- Piping bags – use a few so you can switch tips or colors if needed.
- Cooling rack – allow cookies to dry without smudging.
What You’ll Need From Your Pantry
- 1 lb confectioners’ sugar
- 3 tablespoon meringue powder or 2 egg whites (room temperature)
- 6 tablespoon warm water
- 1 teaspoon vanilla extract
- Food coloring (optional)
Before You Start: My Quick Tip
- Use just one consistency: I like using a medium-thick icing that works well for both outlining and filling in small areas.
- Work in small batches: Decorate a few cookies at a time so the icing stays fluid.
- Keep the piping bag light: Only fill it one-third full to make it easier to handle.
- Dry flat, uncovered: Let them sit overnight in a dry room—no fan or lid needed.
Latest Video
Let’s Make It Together
Making Royal Icing
- Measure and prep all ingredients before starting.
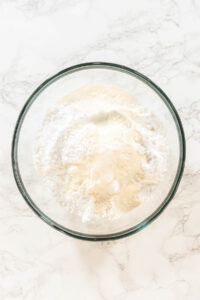
- In a mixing bowl, whisk together confectioners’ sugar and meringue powder (or egg whites).
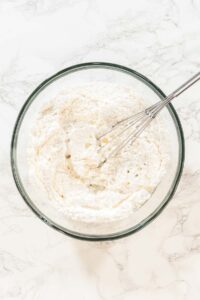
- Gradually add warm water, whisking to avoid bubbles.
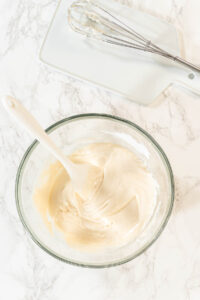
- Add vanilla and whisk until the icing is smooth, glossy, and holds peaks.
- Adjust consistency with more sugar (for piping) or more water (for flooding).
- Transfer to piping bags and decorate right away.
Decorating Instructions
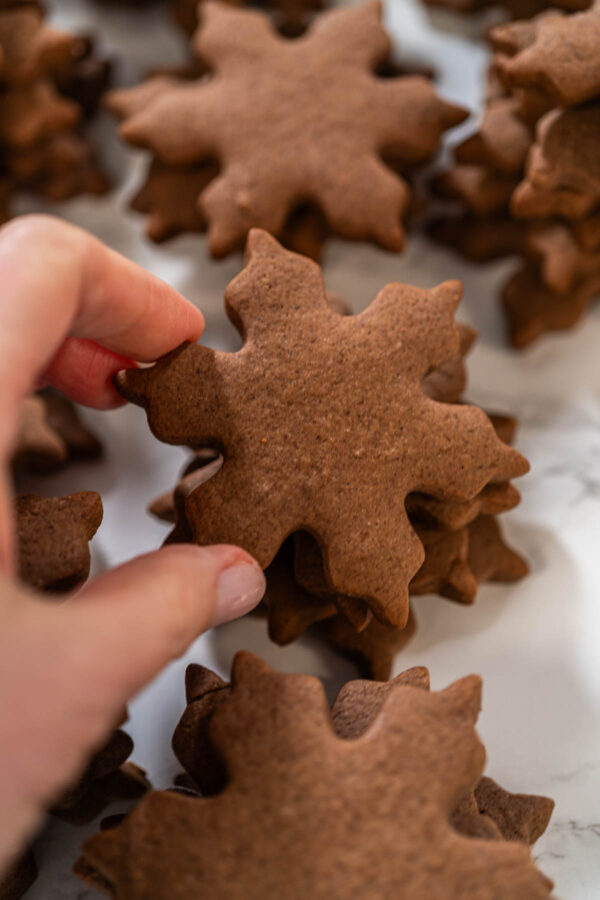
- Have your cookies ready—I usually bake and freeze mine ahead of time.
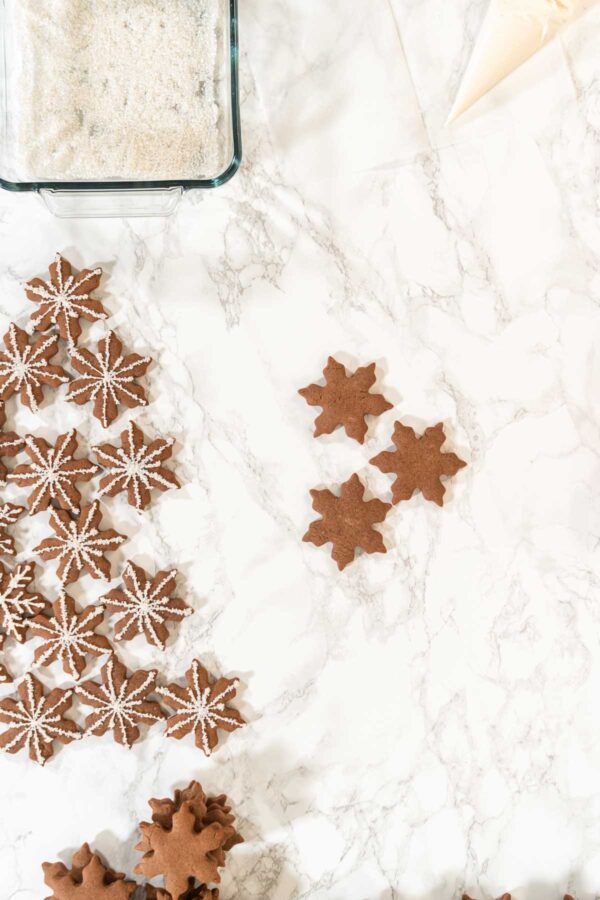
- Set up your decorating area. Place parchment under the piping bag and pour sugar sprinkles into a flat dish (like an 8x8 glass baking dish).
- Snip a small tip off the piping bag.
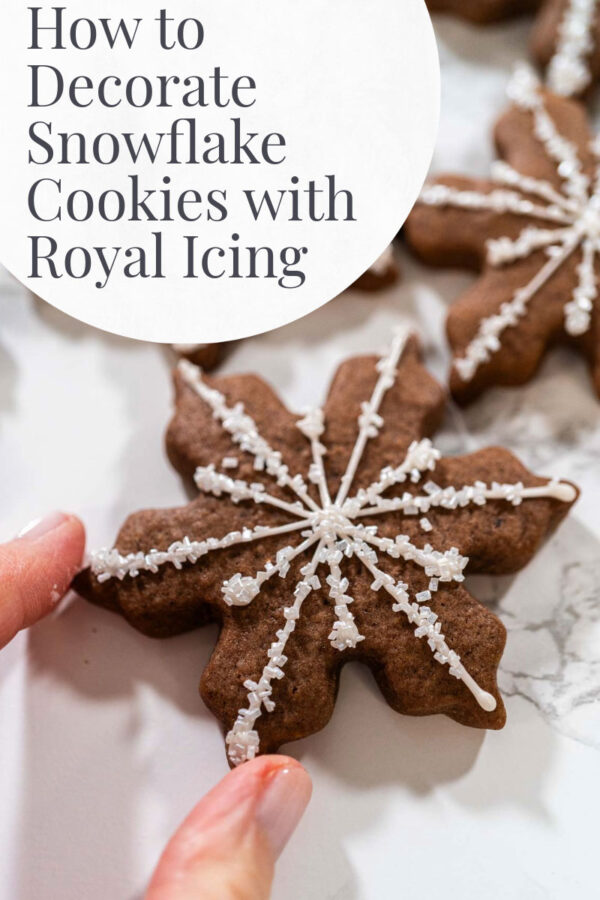
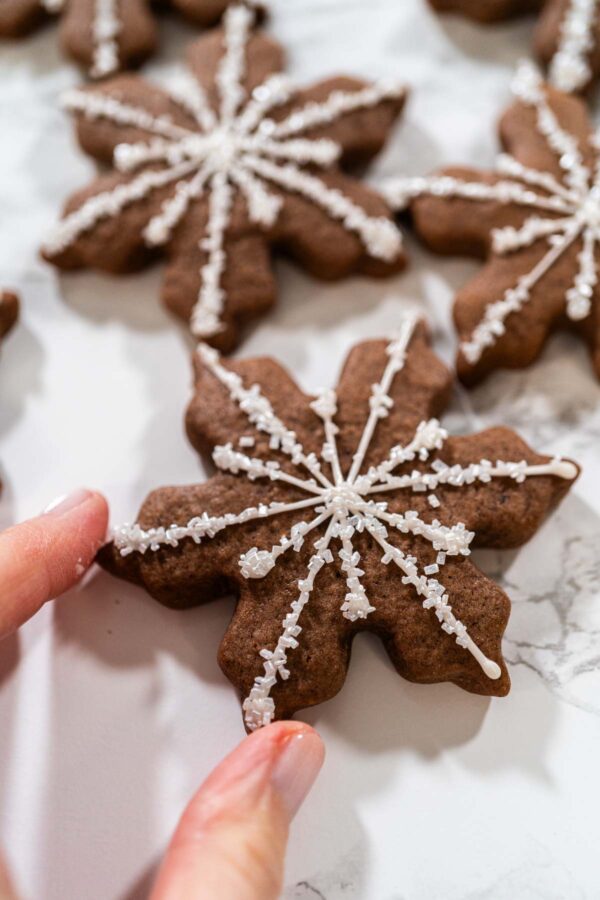
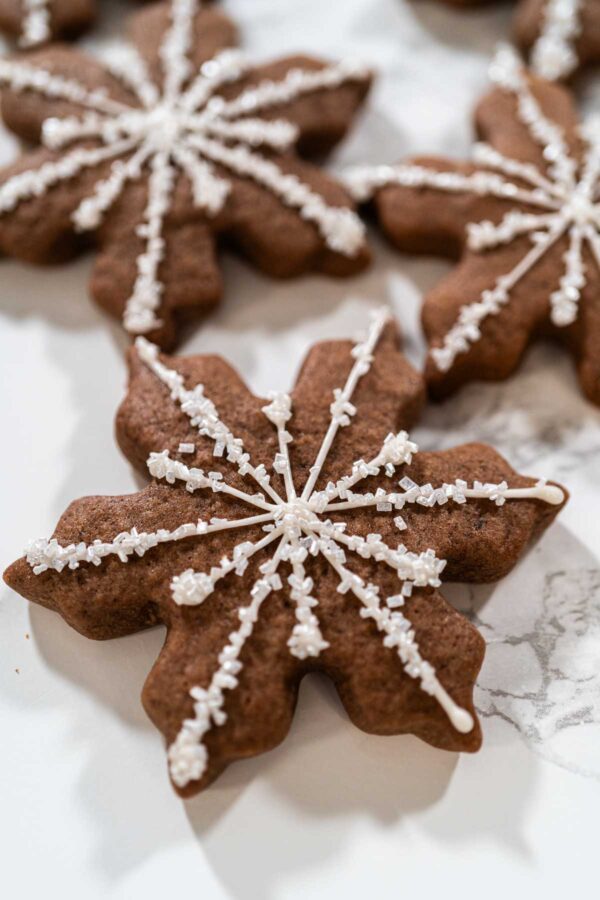
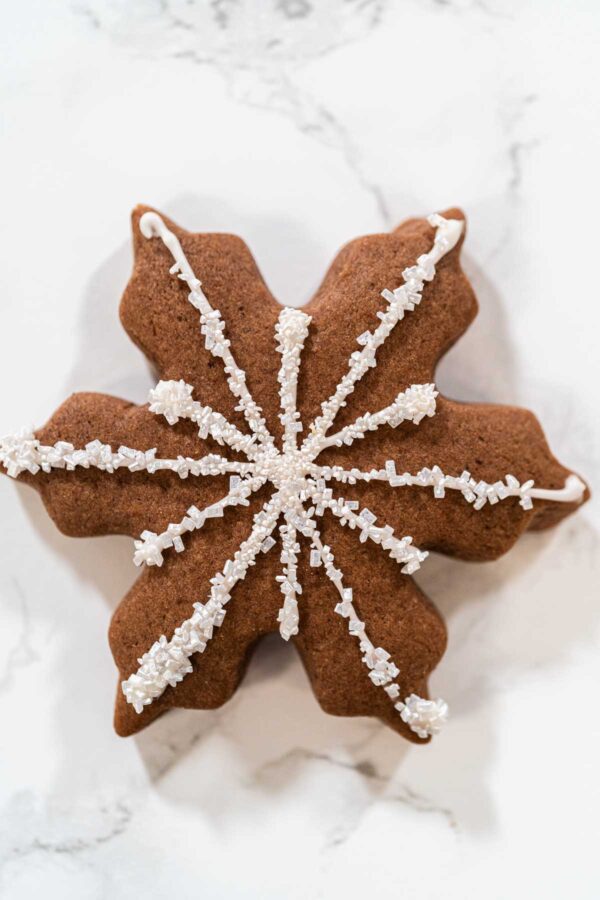
- Pipe starburst or snowflake lines directly onto the cookie.
- Immediately dip the cookie icing-side-down into pearlized sugar sprinkles.
- Let the cookies dry uncovered for 4 to 6 hours.
Best Ways to Store Cut-Out Cookies with Royal Icing
Best Storage Methods
Keep sugar cookies fresh with these simple storage tips:
Room Temperature
- Use an airtight container with parchment paper between layers.
- Store in a cool, dry place, away from sunlight for up to 1 week.
- Prevent spreading with tips from How to Bake Perfect Holiday Cookies.
Refrigerator
- Seal in a container with parchment paper.
- Let icing fully dry before stacking; store for up to 2 weeks.
- Bring to room temperature for 30 minutes before serving.
Freezing
- Undecorated Cookies: Wrap and freeze for up to 3 months.
- Decorated Cookies: Ensure icing is dry, freeze in a single layer, then store with parchment paper.
- Thaw at room temperature for 1 hour before handling.
Royal Icing Storage
- Store in an airtight container at room temperature for 2 weeks or freeze for 3 months.
- Stir well before reuse. Decorating ideas: Gingerbread Cookies with Royal Icing.
Extra Freshness Tips
- Avoid humidity and strong odors like onions or garlic.
- Refresh softened undecorated cookies in a 300°F oven for 3-5 minutes.
- For gifting, wrap in cellophane bags and use decorative tins.
- Affordable packaging ideas: The Best Affordable Way to Package Homemade Cookies.
Follow these tips to keep your cookies fresh and looking beautiful for weeks!
Other Recipes You Might Like
Looking to fill your holiday cookie tray? Try these favorites from my blog:
- Classic Gingerbread Cookies
- Lemon Spritz Cookies with Cranberry Buttercream
- Red Gingerbread Cookies
- Green Gingerbread Cookies
- Spiced Gingerbread Cookie Dough
- Chocolate Royal Icing
How to Decorate Snowflake Cookies with Royal Icing
Video
Equipment
Ingredients
Royal icing
- 1 lb Confectioner’s Sugar
- 3 tablespoon Meringue Powder or 2 egg whites
- 6 tablespoon Warm Water
- 1 teaspoon Vanilla Extract
Instructions
Making royal icing
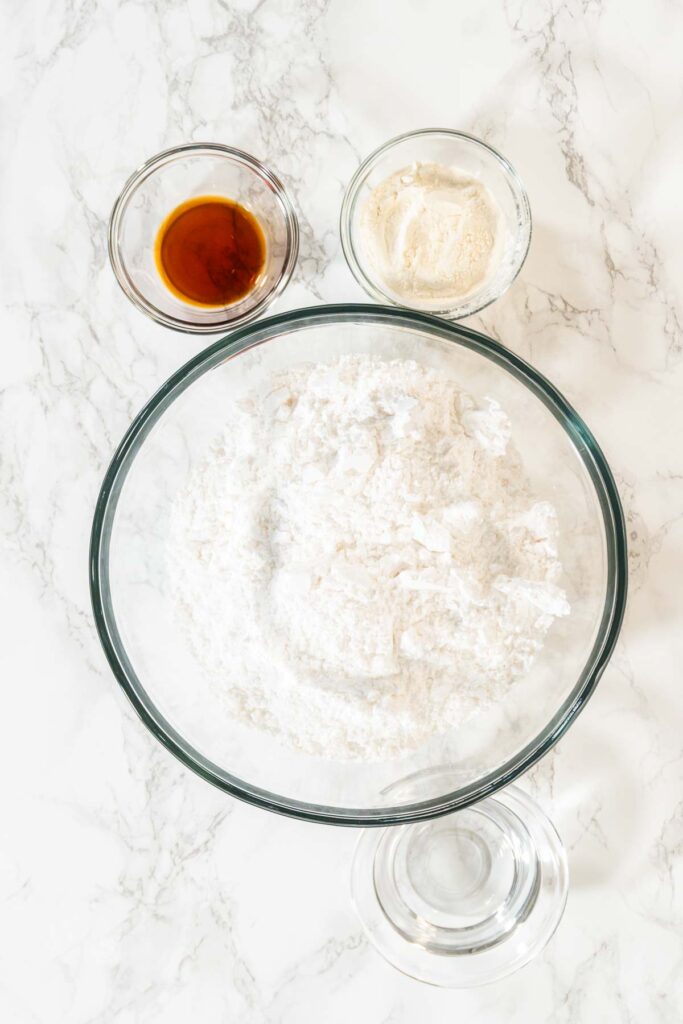
- Before you start, measure out all your ingredients and have your equipment ready. This will make the process smoother and prevent any mid-recipe scrambling. If you are using egg whites, ensure they are at room temperature for easier mixing.
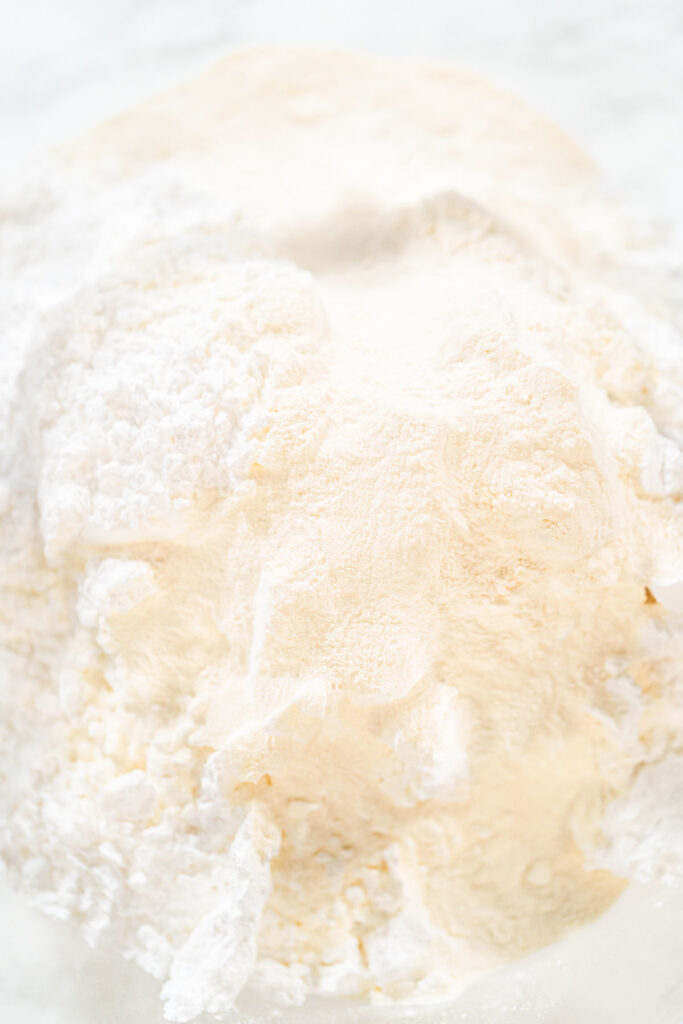
- Start by whisking together the confectioners’ sugar and either meringue powder or 2 large egg whites in a large glass mixing bowl. If you are using egg whites, ensure they are at room temperature for smoother mixing.
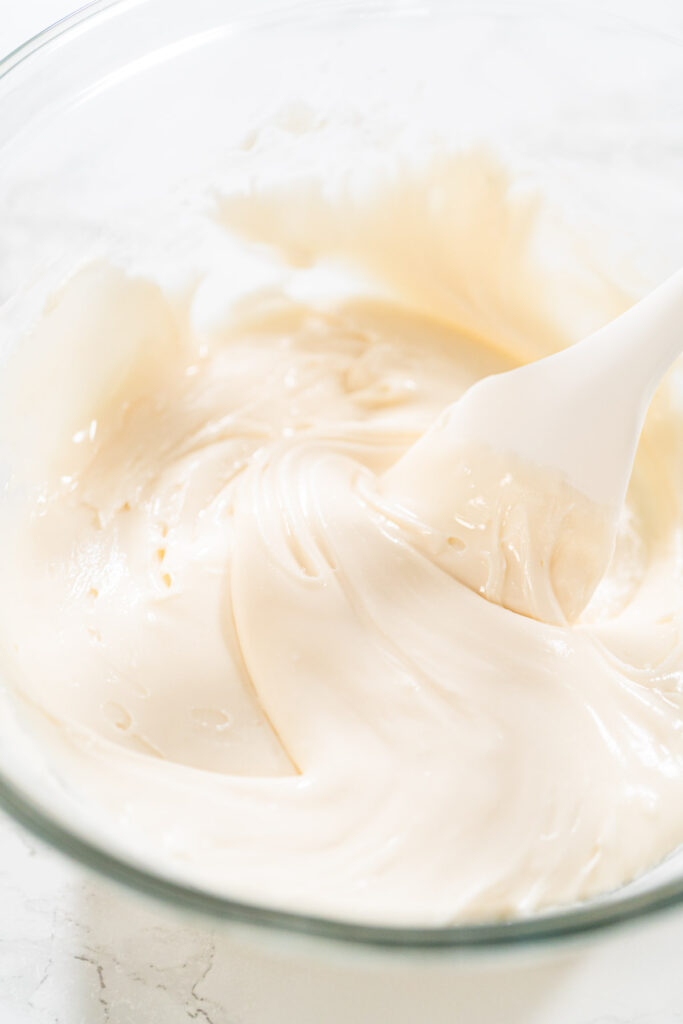
- Gradually add warm water, one tablespoon at a time, while whisking gently to avoid creating too many air bubbles.Mix in the vanilla extract, and continue whisking until the mixture is smooth and shiny.If using egg whites, you may need to adjust the consistency by adding more confectioners’ sugar as needed. The icing should hold firm peaks and have a thick, pipeable texture.
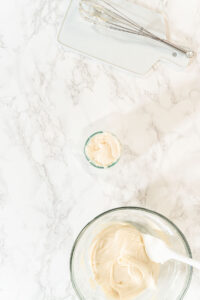
- Switch to a silicone spatula to scrape down the sides of the bowl and ensure everything is fully incorporated.
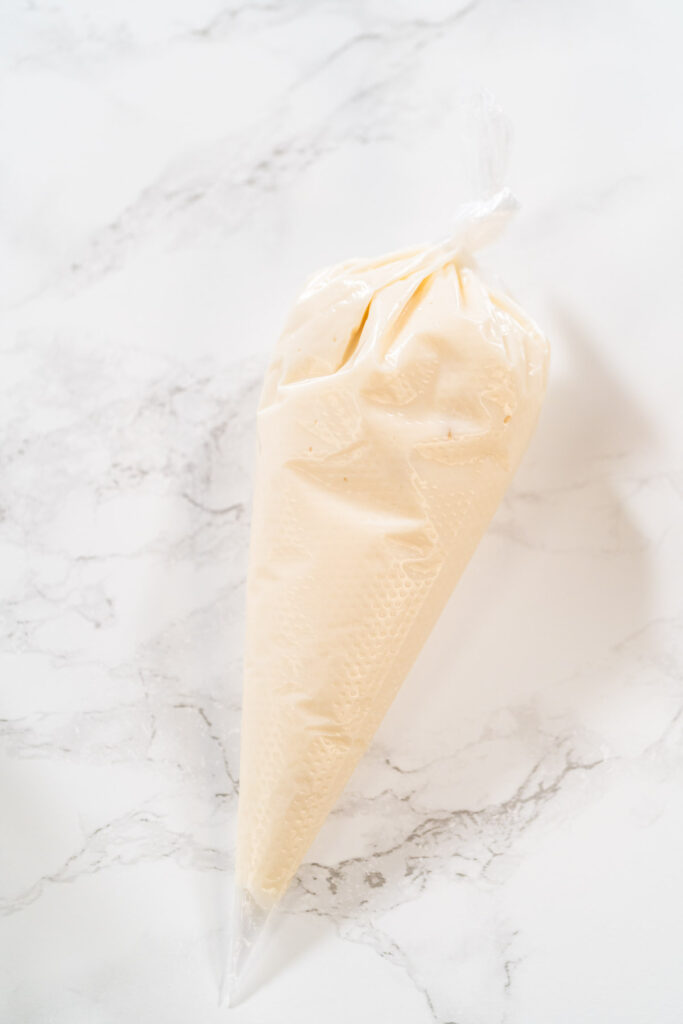
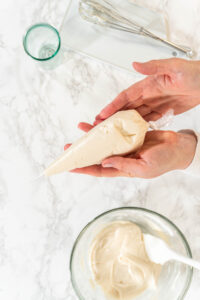
- Transfer the icing to a thin, disposable piping bag. Only fill the bag about one-third full to keep it lightweight and easy to handle.
- Bring the bag to a vertical position and give it a gentle shake to help the icing settle and push out air bubbles. Twist the top tightly and tie a knot to secure the bag—no fancy clips or tools needed!
Decorating cookies
- Have your cookies ready—I like to bake and freeze mine ahead of time to save effort on decorating day.
- Set up your decorating station with everything you need close by. I pour sugar sprinkles into a shallow dish (an 8x8 glass baking dish works well), and I place parchment paper underneath the piping bag to catch any drips.Snip a small opening at the tip of your piping bag.
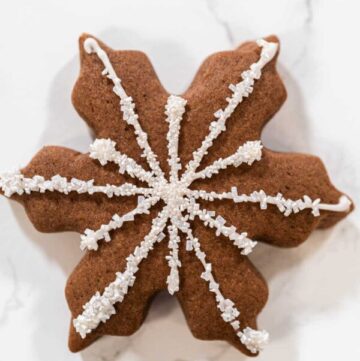
- Pipe snowflake patterns or starburst lines directly onto the cookie with royal icing.Immediately press the cookie, icing-side down, into the sugar crystals before the icing begins to set.
- Let decorated cookies dry undisturbed for 4 to 6 hours. The more icing you use, the longer the drying time will be.
From My Kitchen to Yours
Gingerbread Recipes
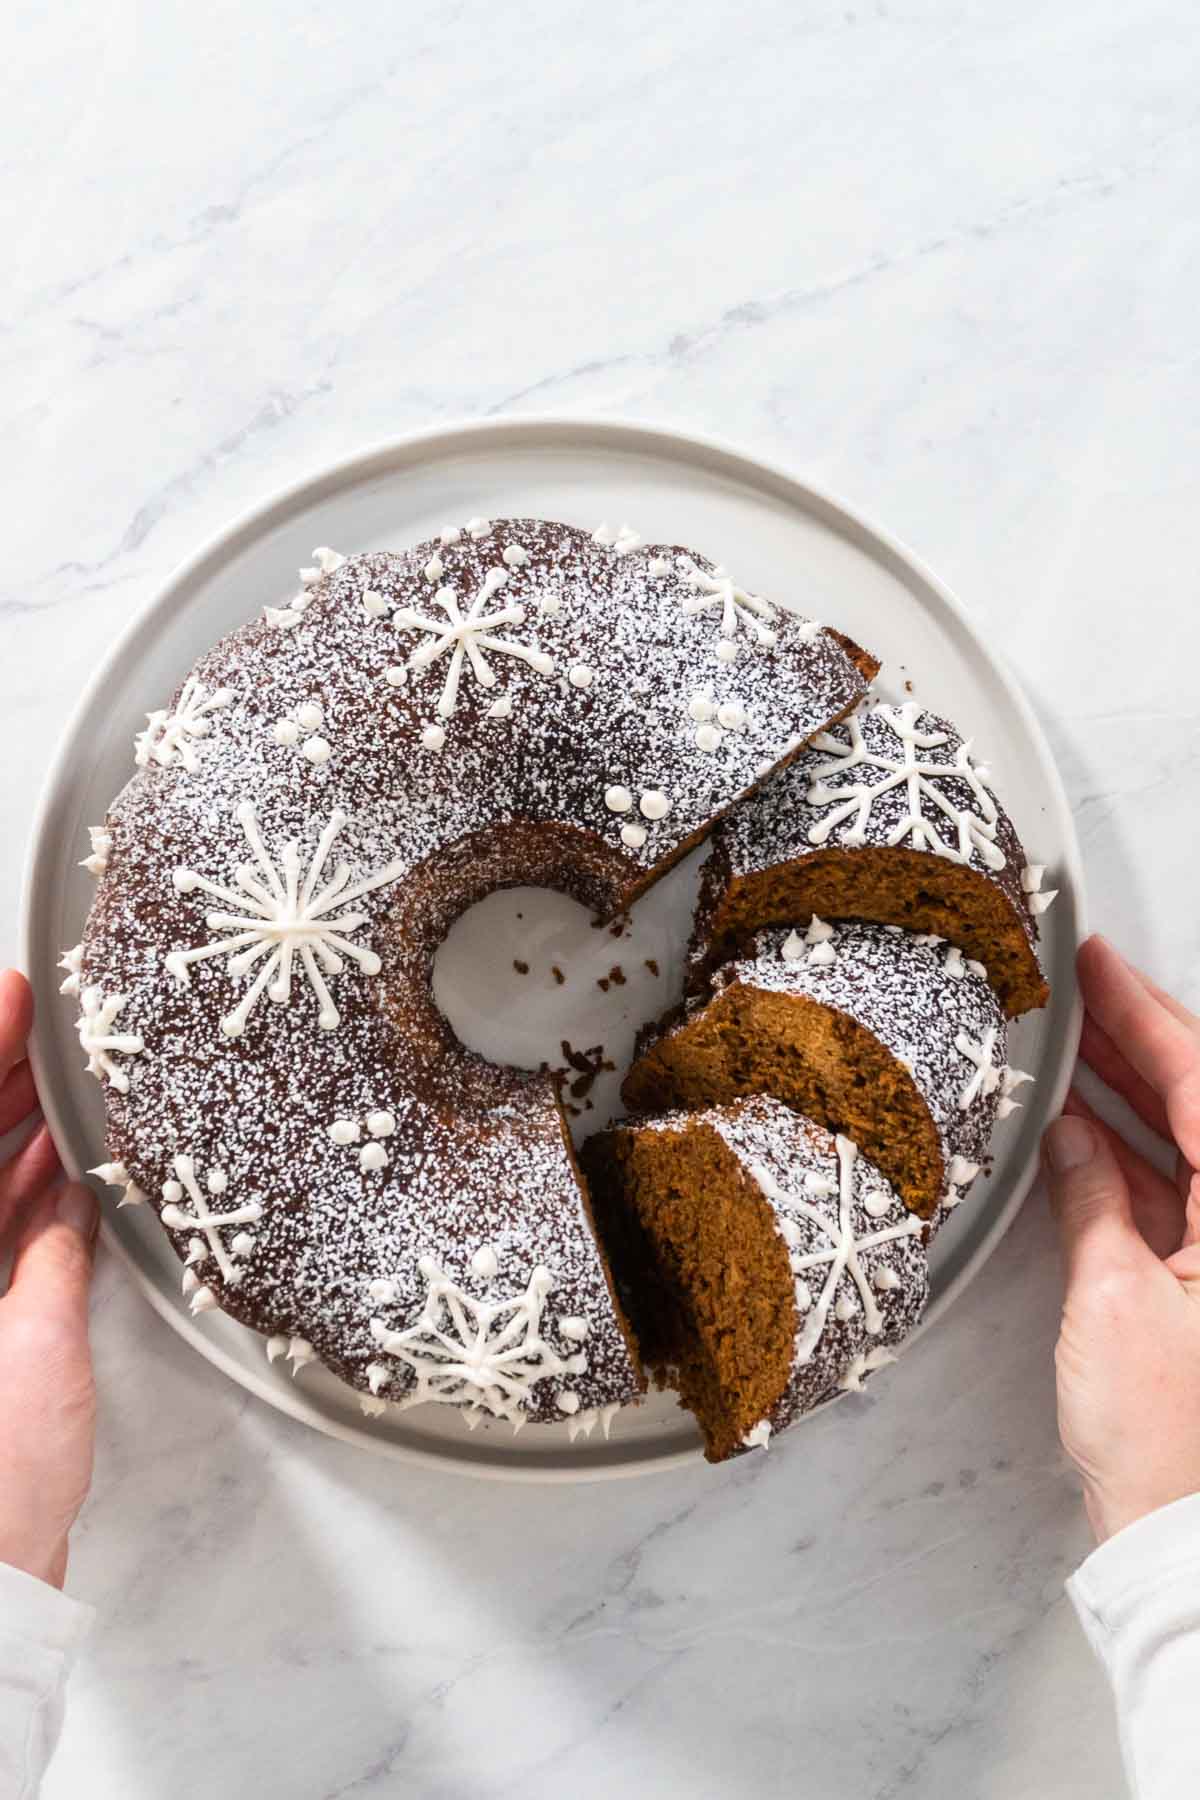
- Moist Gingerbread Bundt Cake with Warm Caramel Hidden Inside
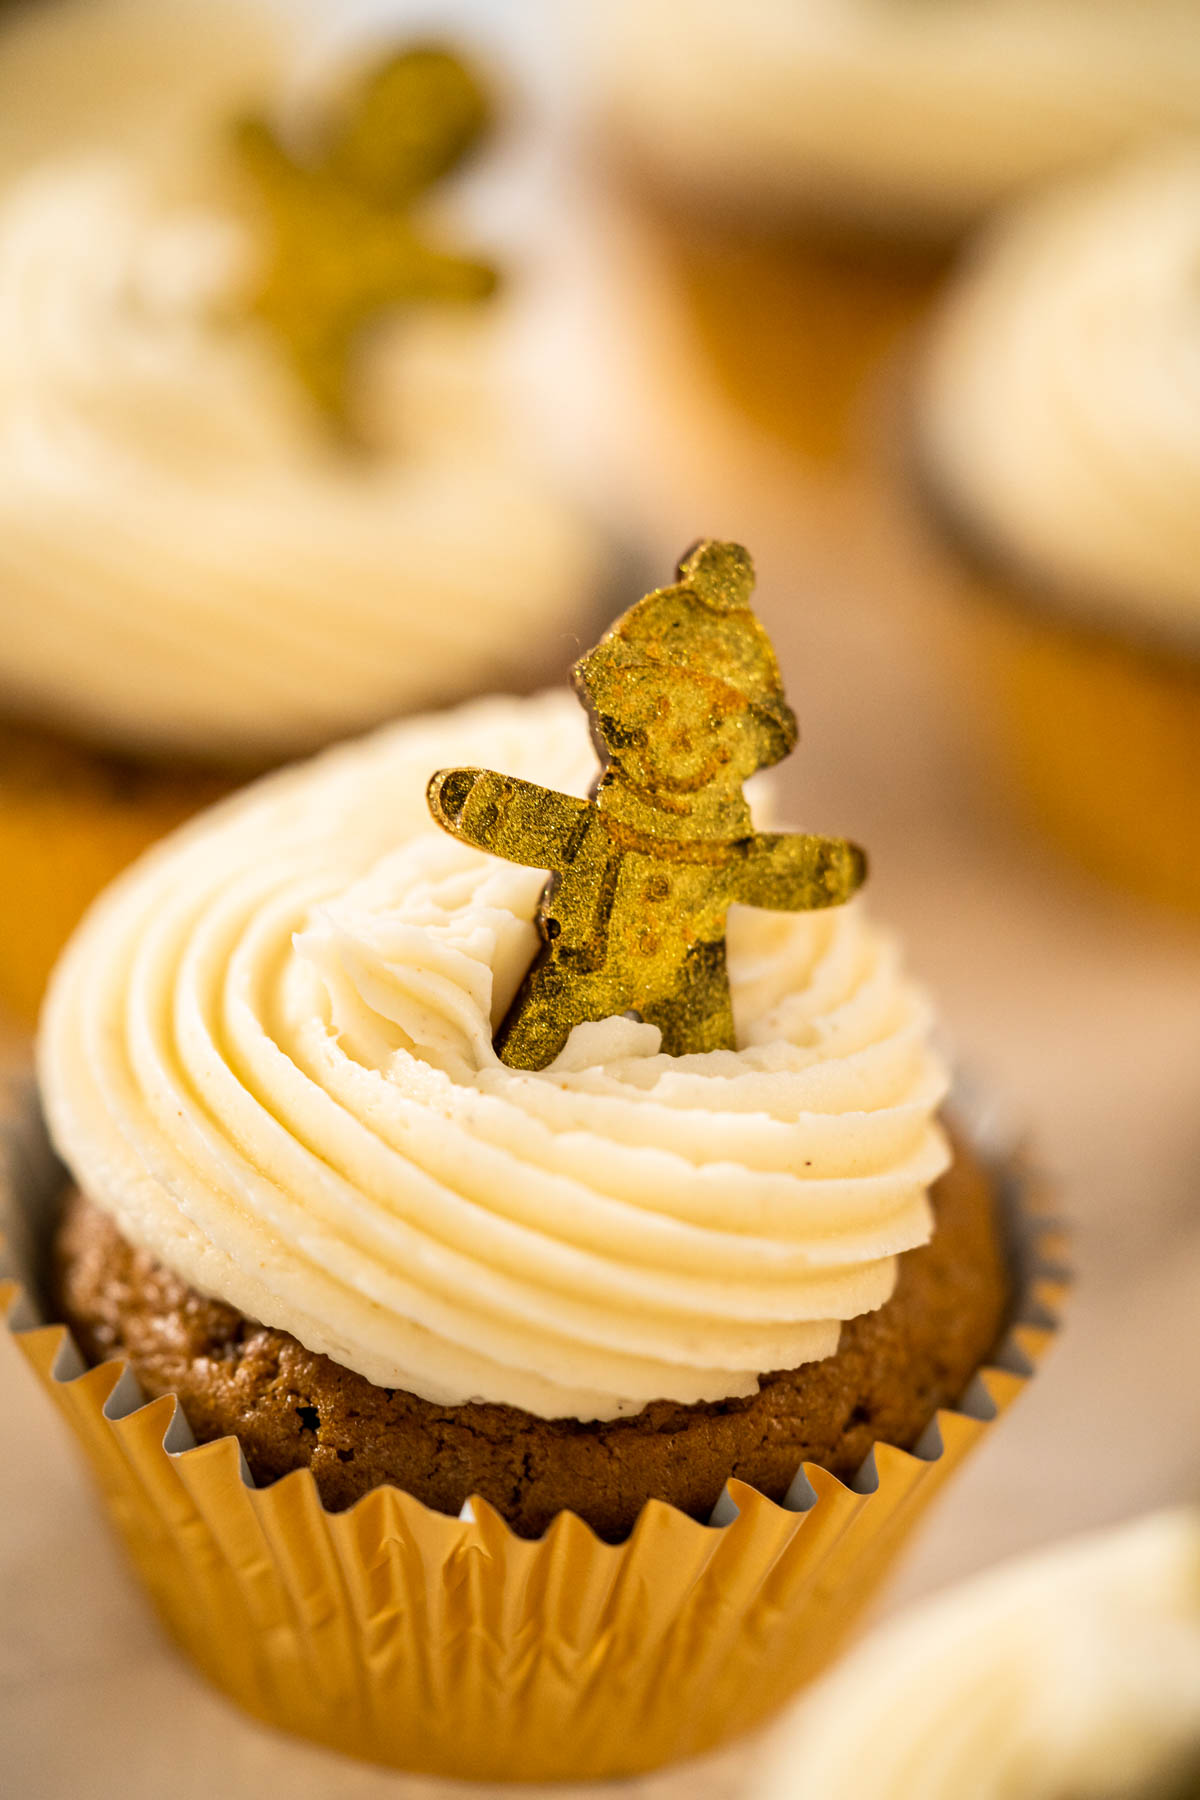
- Gingerbread Man Chocolates for Garnishing Cookies, Cupcakes, and Cakes
- Festive Holiday Cupcakes with Classic Gingerbread Flavor
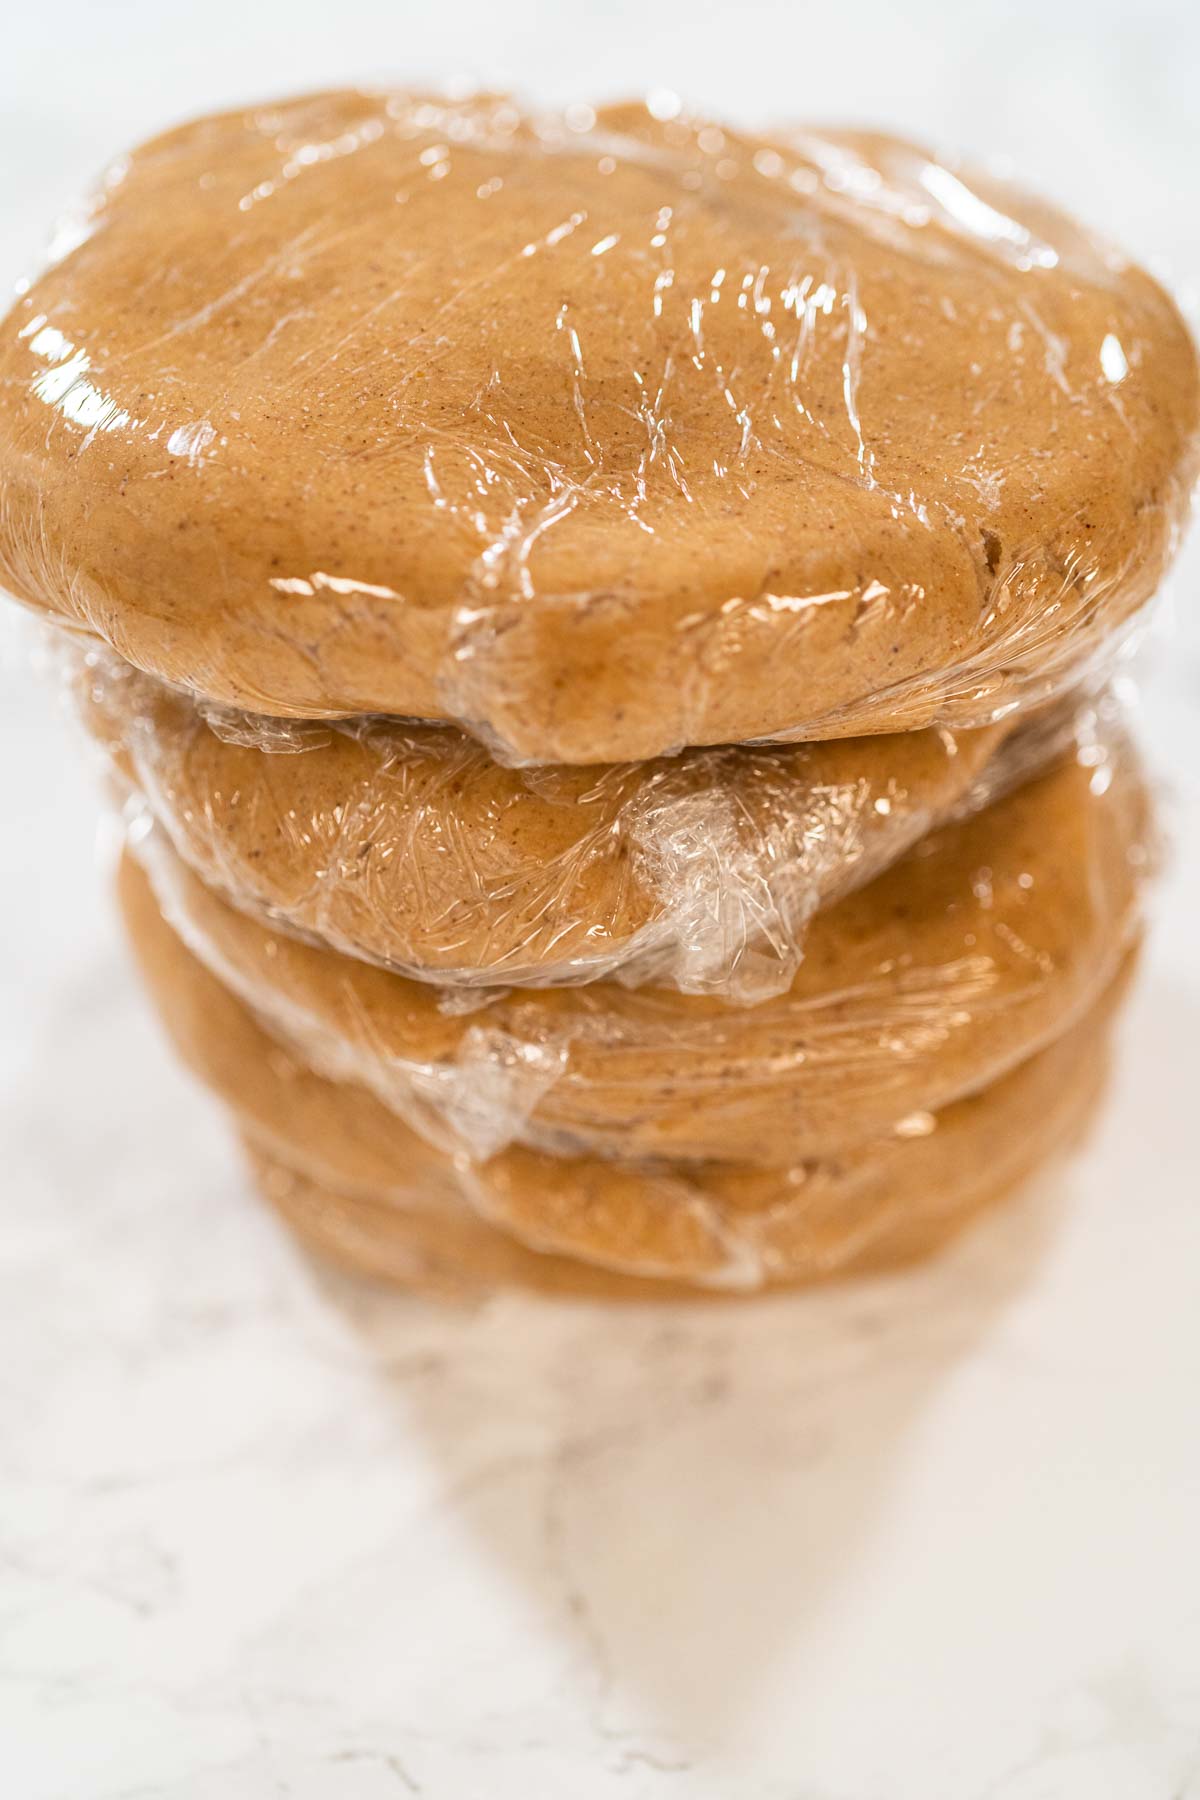
- How to Make Amber Gingerbread Cookie Dough (No Molasses Needed)
- Fragrant Orange Gingerbread Cookies with Warm Spices
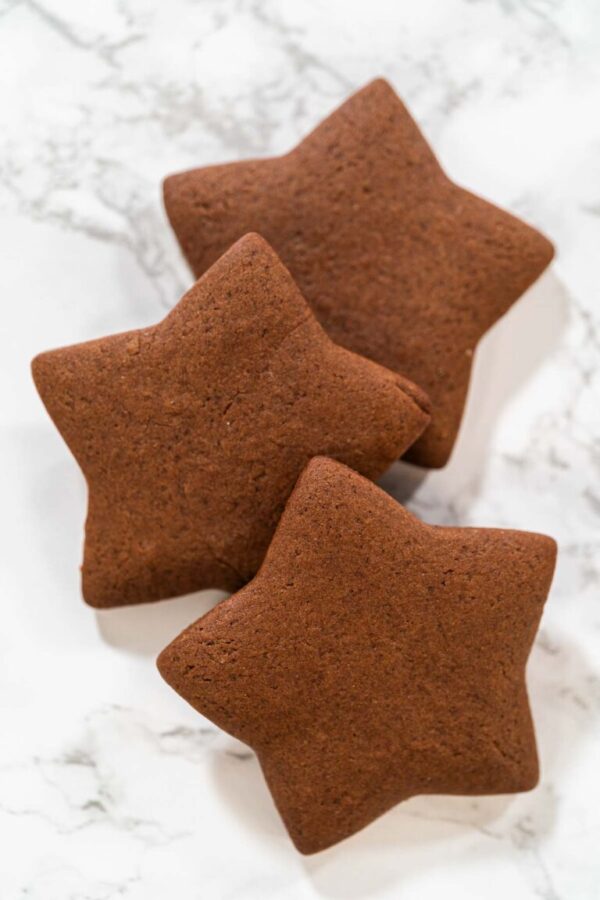
- Chocolate-Spiced Gingerbread Cookies for Christmas Baking
Pin It For Later
Food Photography & Video Tips from My Studio
Here’s a peek at the tools, gear, and camera setups I use to film my recipe videos and photograph food at home. Over the years, I’ve tested dozens of different setups, and now I’m sharing what actually works for me—whether I’m filming overhead shots for YouTube or styling still photos for my blog. If you’re curious about how I create the content you see here, these posts are a great place to start.



















Leave a Reply