
Looking for more gingerbread dough varieties? Try our Colored Gingerbread Cookie Dough for a vibrant holiday twist.
Or start with our Classic Gingerbread Cookie Dough if you prefer the traditional spiced flavor without the chocolate.
 By Arina Habich. Updated February 8, 2026
This post contains affiliate links.
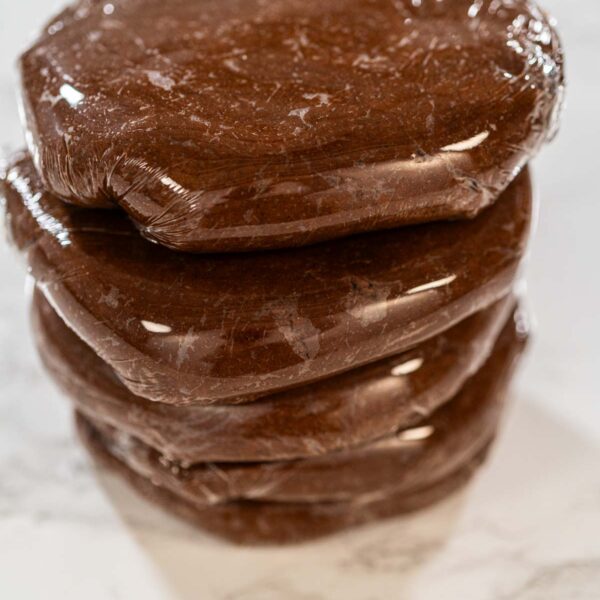
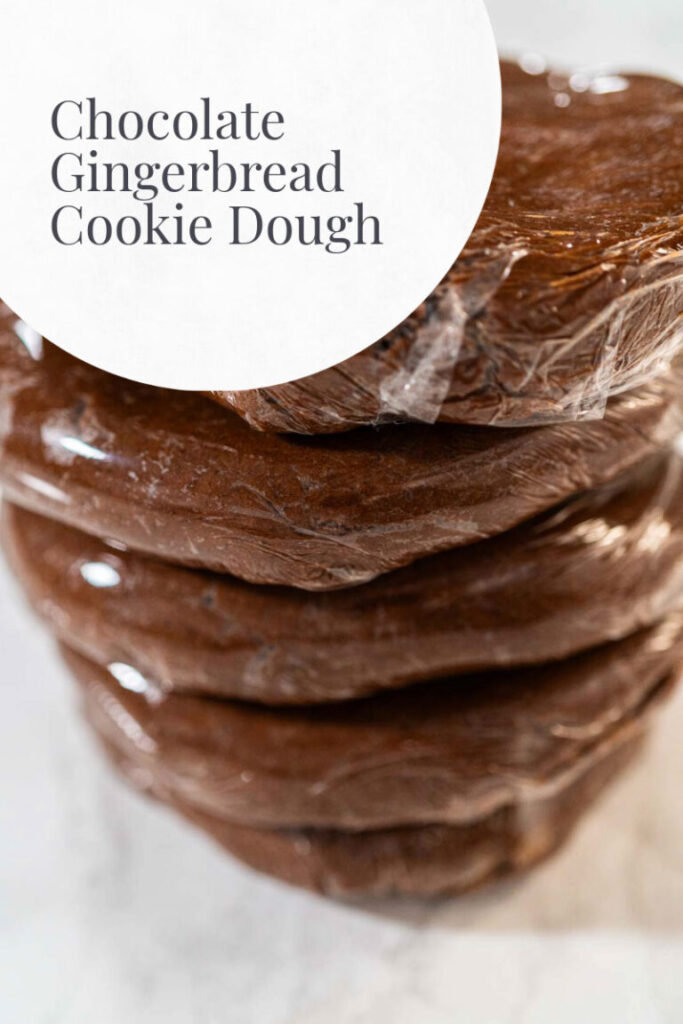
This Chocolate Gingerbread Cookie Dough has become a holiday favorite in our house because it's freezer-friendly and holds its shape beautifully for cutout cookies. I usually make this dough in early December and keep a few disks of it in the freezer for last-minute cookie decorating or edible gifting—it's the perfect make-ahead strategy for busy holiday bakers.
It takes everything I love about traditional gingerbread—the deep spices, the cozy smell while it bakes, the nostalgia—and adds a touch of cocoa that brings just the right amount of richness. It rolls out like a dream, and because it firms up so well in the fridge, it's easy to cut and transfer without losing those sharp cookie cutter edges.
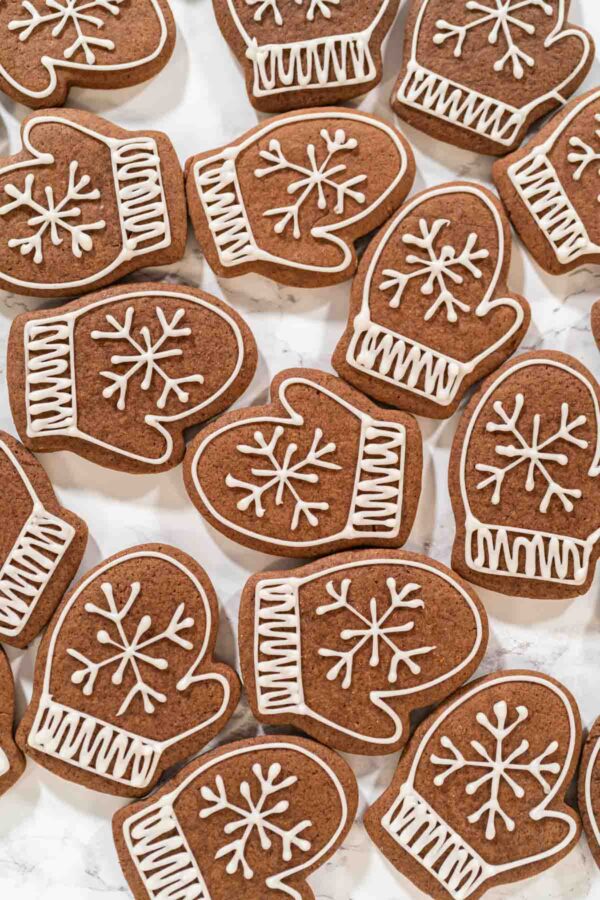
If you're looking for a dough that not only tastes amazing but also holds its shape for stars, mittens, or snowflakes, this is the one. After you bake and decorate, my Christmas Cookie Box Calculator helps you plan how many gift boxes and dough batches you'll need.
If you love this one, you'll probably also enjoy my Spiced Gingerbread Cookie Dough or the classic Amber Gingerbread Cookie Dough—both are freezer-friendly and hold up well for decorating. And for icing ideas, don't miss my post on How to Perfectly Flood Cookies with Royal Icing.
Why You’ll Love This Recipe
This dough is sturdy yet tender, rich in holiday flavor, and wonderfully chocolatey without overwhelming the gingerbread spice. It has just the right amount of sweetness, and the cocoa powder gives the cookies a gorgeous deep brown color that looks especially elegant under royal icing or powdered sugar.
The dough is also perfect for make-ahead bakers. You can prepare it a week in advance and chill it, or freeze it for up to 3 months. And when it comes time to bake? It’s smooth, soft, and incredibly easy to roll out evenly.
Watch how I make this recipe
Tools That Make It Easier
Here are the tools I always use when making this dough:
- Glass Mixing Bowl – I like using glass so I can keep an eye on texture while mixing.
- Kitchen Mixer – A stand mixer with a paddle attachment gives the best creaming results.
- Silicone Spatulas – Ideal for scraping and folding the dough without sticking.
- Food Wrap – I double wrap the disks before chilling or freezing.
- Baking Sheet + Parchment Paper – Prevents sticking and ensures even browning.
- Rolling Pin with Thickness Guides – Helps roll out consistent cookie thickness.
- Cookie Cutters – Stars and snowflakes are my go-to shapes for this dough.
You can find more of my go-to baking equipment in Tools And Equipment For Perfect Cut Out Cookies.
What You’ll Need From Your Pantry
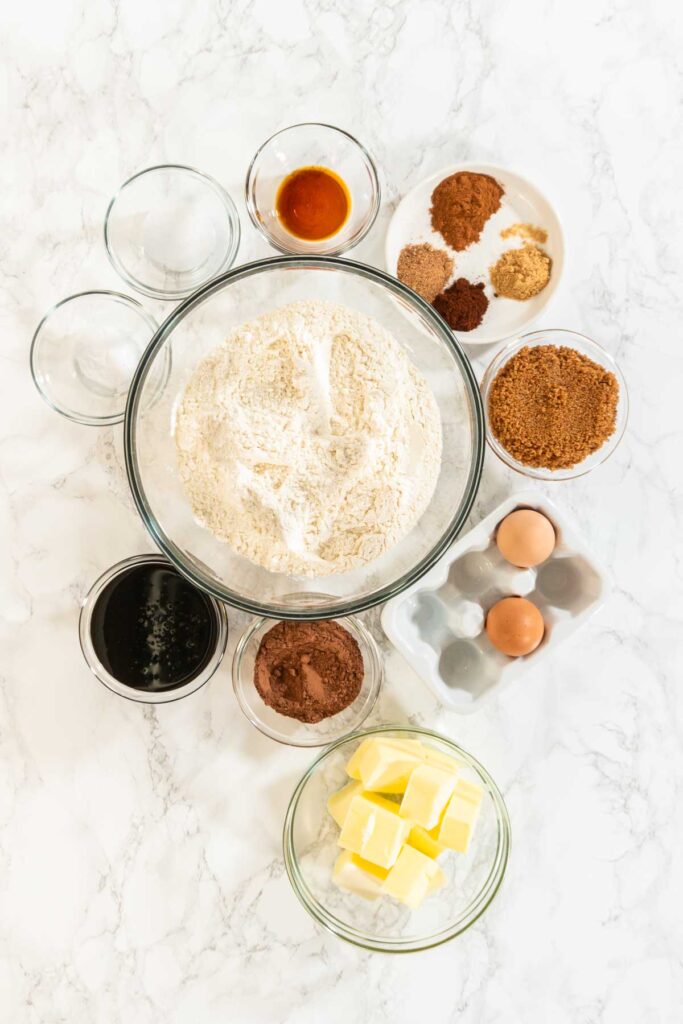
- 3 cups all-purpose flour
- ¼ cup unsweetened cocoa powder
- 1 teaspoon ground cinnamon
- 1 teaspoon ground ginger
- ¾ teaspoon ground cloves
- ½ teaspoon ground nutmeg
- ¾ teaspoon baking soda
- ½ teaspoon salt
- 1 large egg
- 1 teaspoon vanilla extract
- ½ cup molasses
- ¾ cup unsalted butter (room temperature)
- ½ cup packed brown sugar
Before You Start: My Quick Tip
- Room temperature butter makes all the difference in the creaming step. Don’t rush it.
- After chilling, let the dough rest on the counter for 10–15 minutes before rolling. It makes handling easier.
- If you’re working with kids, divide the dough into smaller pieces and give everyone their own to roll and cut.
- I always bake one test cookie first to get the timing right. In my oven, these bake perfectly in 10 minutes.
And if you’re planning to decorate with royal icing, make sure the cookies cool completely before you start.
Latest Video
Let’s Make It Together
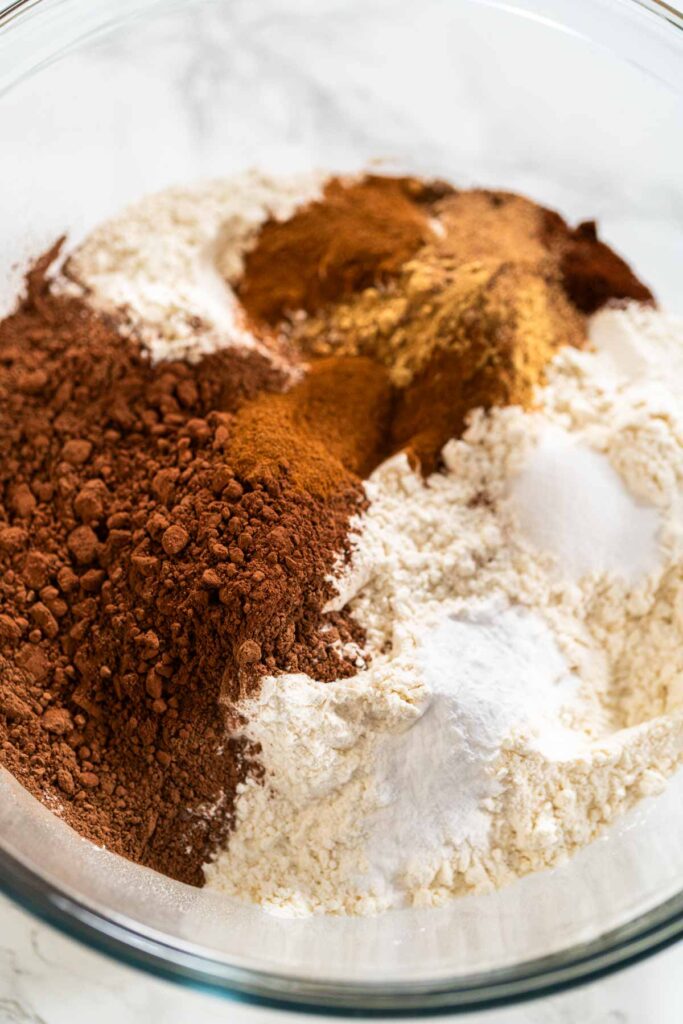
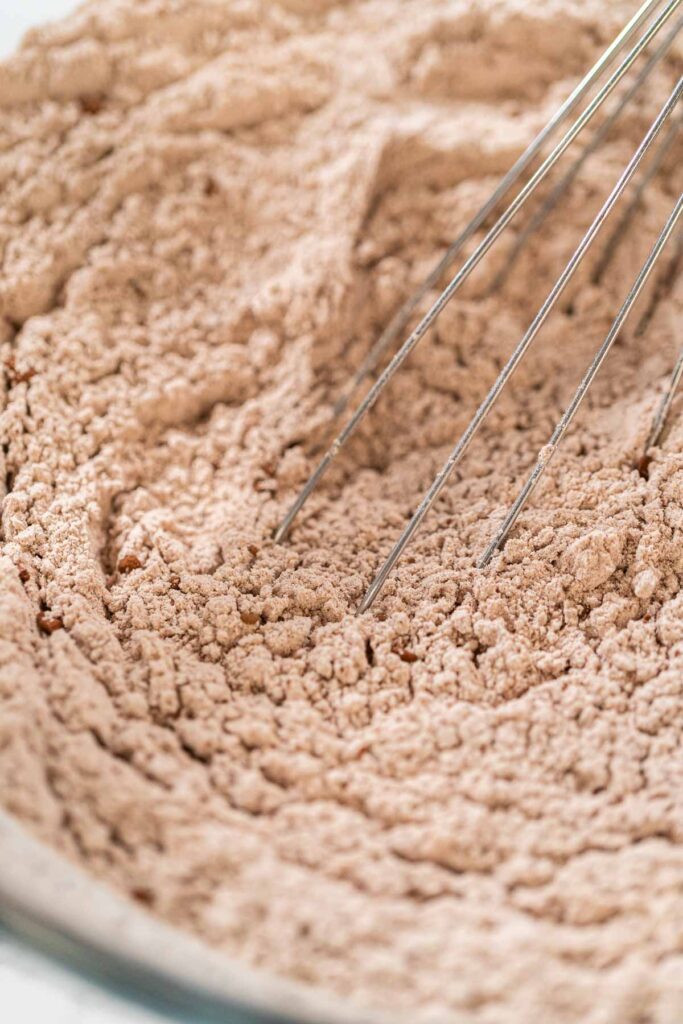
- Whisk dry ingredients in a bowl.
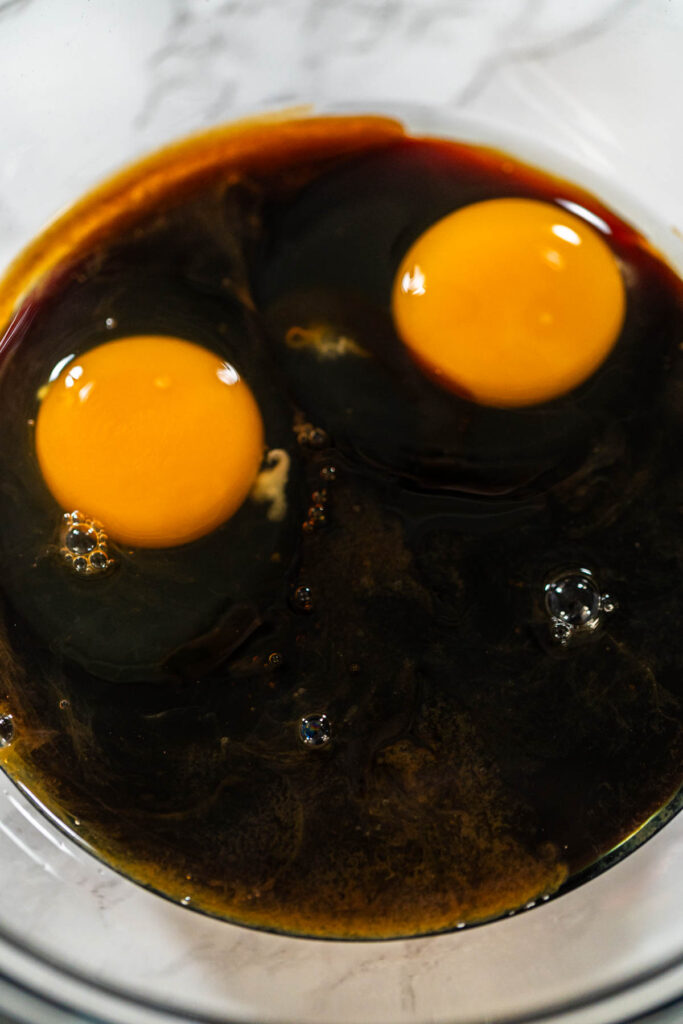
- In another bowl, whisk egg, molasses, and vanilla.
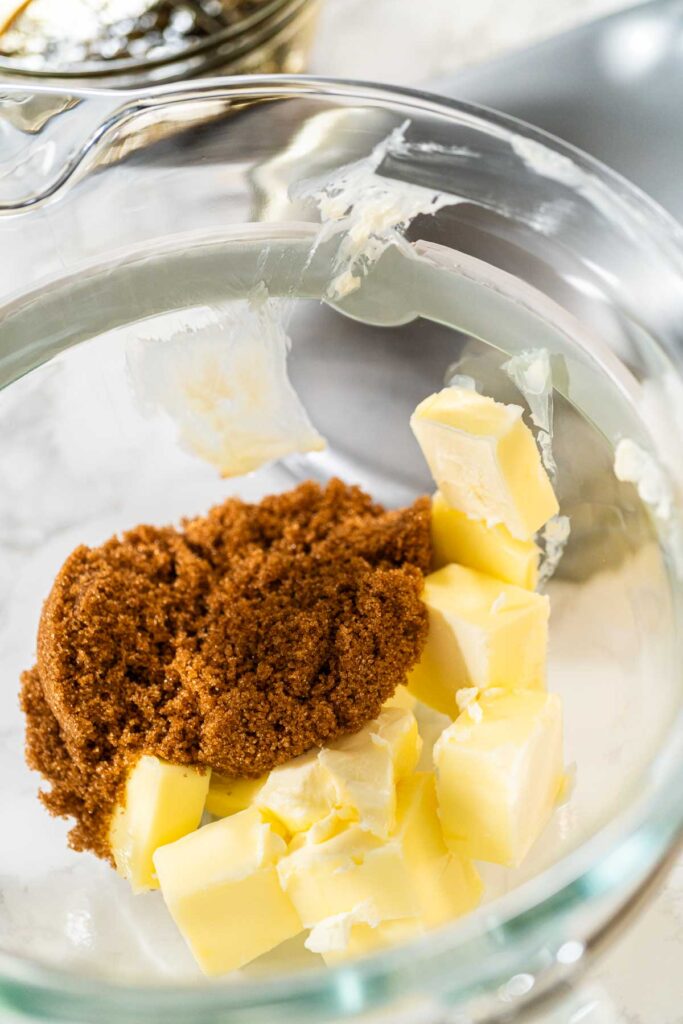
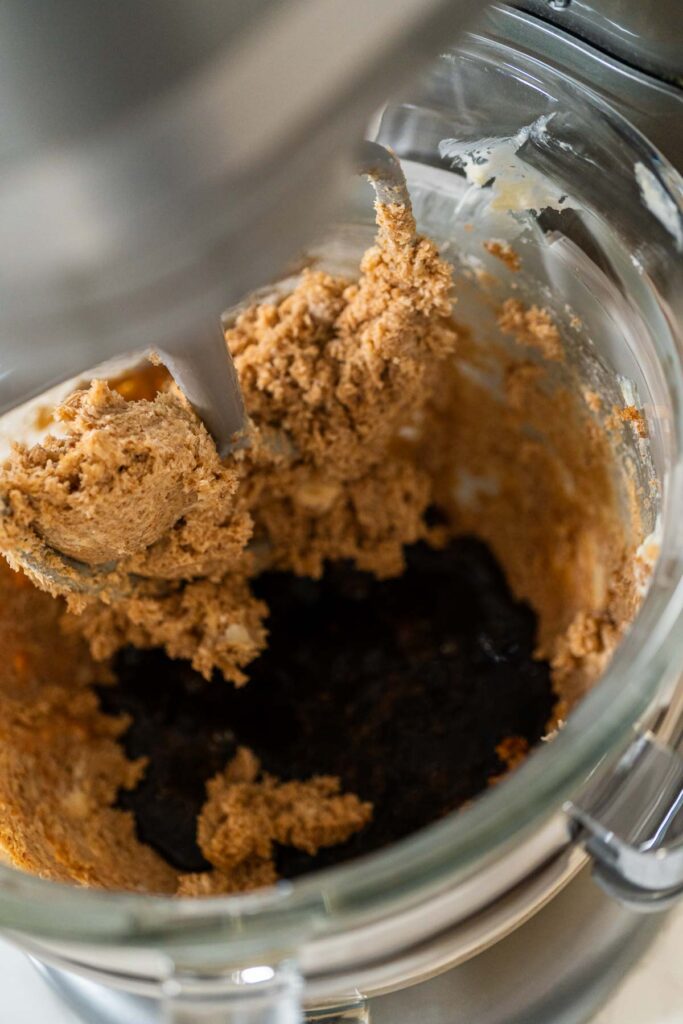
- Cream butter and brown sugar until fluffy.
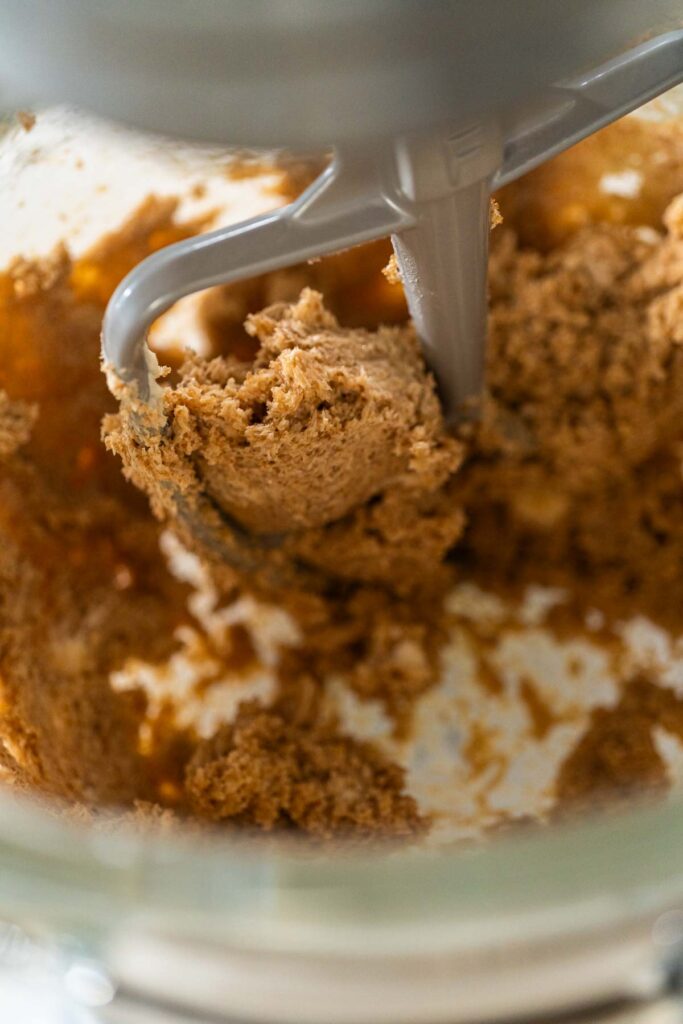
- Add wet ingredients to the butter mixture and mix well.
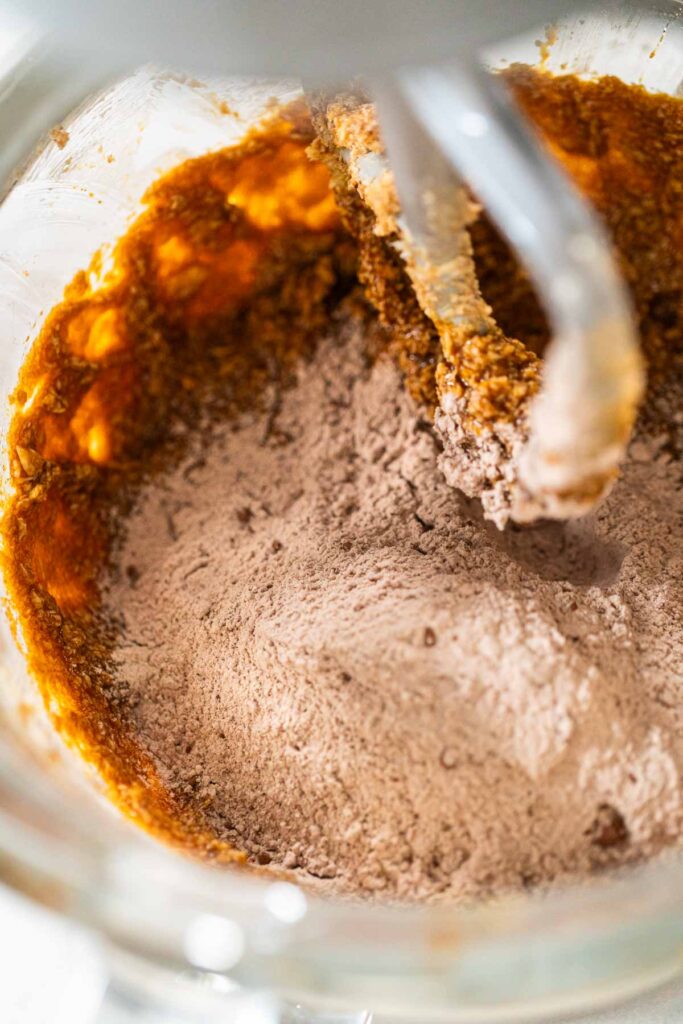
- Gradually add dry ingredients in 3 parts, mixing on low.
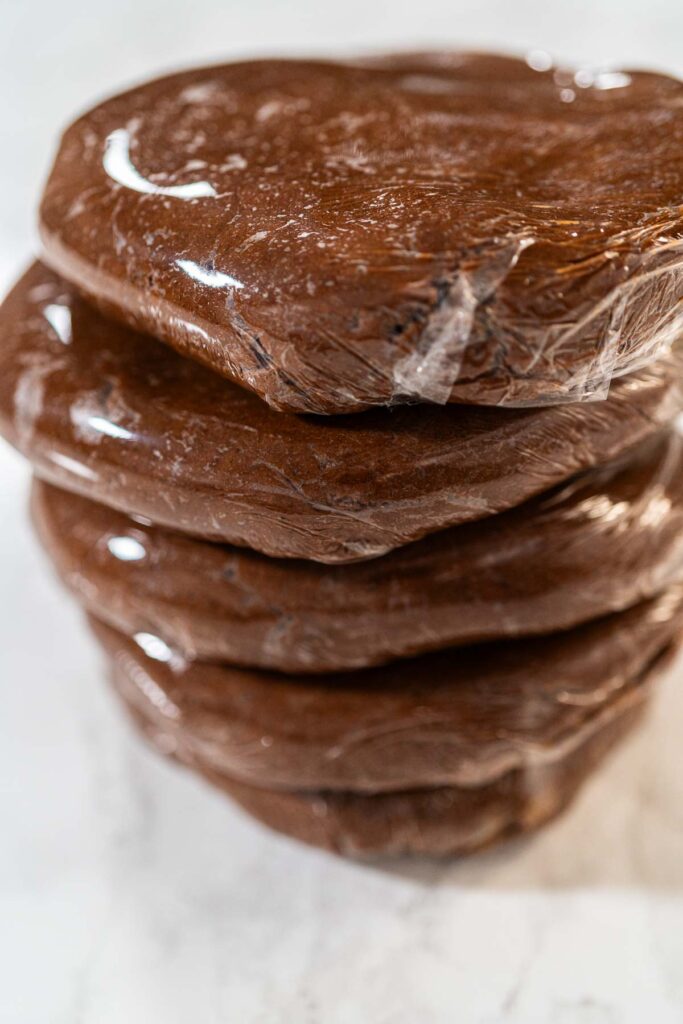
- Form dough, divide into 2 disks, wrap and chill for 1 hour.
- Roll, cut, and bake at 350°F (175°C) for 9–11 minutes. Let cool before decorating.
Recipe variations
- Extra Chocolatey: Add mini chocolate chips to the dough before chilling for more texture and cocoa punch.
- Citrus Twist: Add 1 teaspoon of orange zest to the dough to brighten up the flavor.
- Espresso Boost: Stir 1 teaspoon of instant espresso powder into the dry ingredients to deepen the chocolate notes.
- Peppermint: Swap out the vanilla extract for peppermint extract for a mint-chocolate version.
- Spicy Kick: Add a pinch of cayenne pepper or black pepper to highlight the warming spices.
- Gluten-Free: Use a 1-to-1 gluten-free flour substitute. Chill well before rolling.
Make-Ahead & Storage Tips
This dough is ideal for prepping ahead. Once wrapped, it keeps in the fridge for up to a week and in the freezer for three months. Label each wrapped disk with the date and recipe name so it’s easy to grab what you need when baking day comes around.
I like to freeze both raw dough disks and fully baked cookies, especially when prepping for holiday cookie boxes. And just like my Amber Gingerbread Cookie Dough, this recipe is tough enough to hold its shape yet tender enough to melt in your mouth.
How to Use This Dough
Here are some of my favorite ways to use it:
- Holiday Cutouts: Use any seasonal cookie cutters and decorate with royal icing.
- Cookie Sandwiches: Pair two cookies with chocolate ganache or marshmallow filling.
- Gift Box Cookies: These hold up well in cellophane bags or cookie boxes.
Related Recipes
Looking for more gingerbread cookie ideas? Check out:
- Amber Gingerbread Cookie Dough
- Pale Gingerbread Cookies Dough
- Spiced Gingerbread Cookie Dough
- Chocolate Ginger Sugar Cookies
Chocolate Gingerbread Cookie Dough

Video
Equipment
Ingredients
- 3 cups All-Purpose Flour
- ¼ cup unsweetened cocoa powder
- 1 teaspoon Ground Cinnamon
- 1 teaspoon Ground Ginger
- ¾ teaspoon Ground Cloves
- ½ teaspoon Ground Nutmeg
- ¾ teaspoon Baking Soda
- ½ teaspoon Salt
- 1 Large Egg
- 1 teaspoon Vanilla Extract
- ½ cup Molasses
- ¾ cup Unsalted Butter at room temperature
- ½ cup Brown Sugar packed
Instructions
- Measure and prepare all of your ingredients before starting to ensure a smooth process.
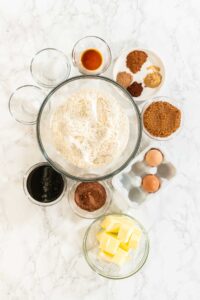
- In a large mixing bowl, combine the flour, cocoa powder, cinnamon, ginger, baking soda, cloves, nutmeg, and salt. Whisk the dry ingredients until fully combined and set aside.
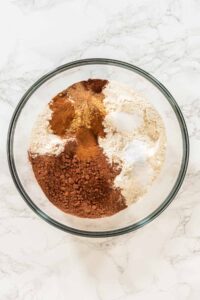
- In a separate bowl, whisk together the egg, molasses, and vanilla extract until smooth and well blended.

- In the bowl of your kitchen mixer, add the room-temperature unsalted butter and packed brown sugar. Using the paddle attachment, cream them together on medium speed for about 2-3 minutes, until the mixture is light and fluffy.
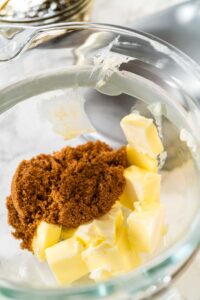
- Scrape the butter mixture from the sides of the bowl using a silicone spatula, then add the egg and molasses mixture. Mix on medium speed until fully combined.
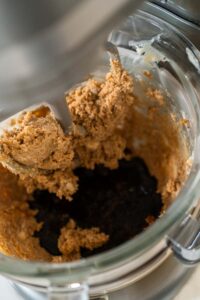
- Gradually add the dry ingredients to the wet mixture, about ⅓ at a time, mixing on low speed after each addition.
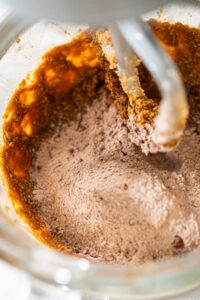
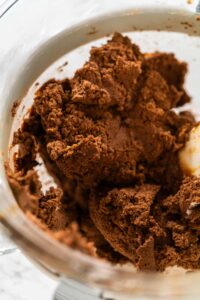
- Continue mixing until a smooth, slightly firm dough forms. The dough should hold together but not be sticky.
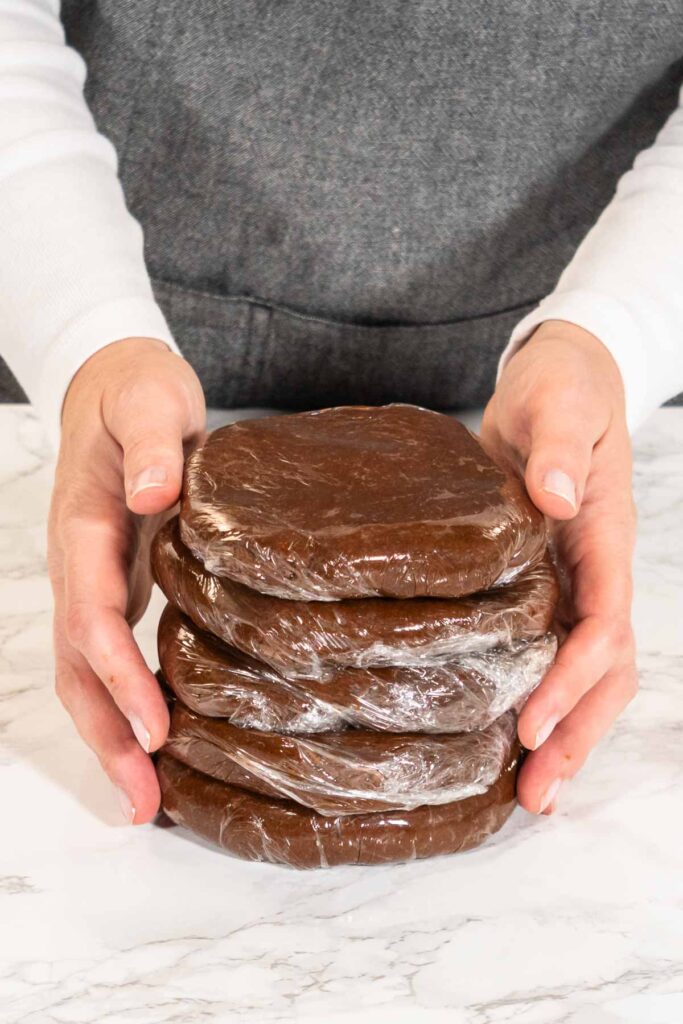
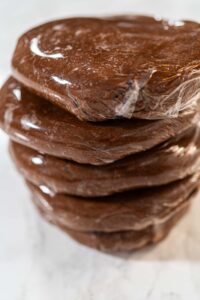
- Divide the dough into two equal portions, flatten them into disks, and wrap in plastic wrap. Place the dough in the refrigerator to chill for at least 1 hour, which helps firm it up, making it easier to roll and cut. At this phase, you can also freeze the dough for up to 3 months – just thaw it in the fridge overnight before using.
Nutrition
I’ve Got Answers
Can I freeze chocolate gingerbread cookie dough?
Yes, absolutely. This dough freezes beautifully for up to 3 months. I divide mine into flat disks, wrap each one in plastic wrap and then foil, and stack them in a freezer bag with the date labeled. When you're ready to bake, thaw the dough in the refrigerator overnight or let it sit on the counter for 30–45 minutes until it's soft enough to roll.
How long will this dough keep in the refrigerator?
You can prepare this dough up to a week in advance and chill it in the fridge. I store it in an airtight container or wrapped tightly in plastic wrap to prevent it from drying out or absorbing other flavors. Always let it sit at room temperature for 10–15 minutes before rolling if it's been in the fridge, so it's easier to handle.
Why is my dough sticky and how do I fix it?
If your dough is sticky, it usually means one of two things: the butter was too warm during mixing, or you need to chill it longer. After mixing, always refrigerate for at least 2 hours (or overnight) before rolling. If it's still sticky when you roll it out, dust your work surface and rolling pin lightly with flour, and work in smaller batches. You can also chill the rolled-out dough on parchment paper in the fridge for 15 minutes before cutting to make handling easier.
What thickness should I roll this cookie dough?
I roll this dough to a consistent ¼-inch thickness, which gives you cookies that are sturdy enough to hold crisp edges but tender enough to bite into. A rolling pin with thickness guides is incredibly helpful—it takes the guesswork out and makes every batch consistent. If your cookies come out too thick or too thin, adjust your rolling depth for the next batch.
Can I make this dough ahead for holiday baking?
This dough is the ultimate make-ahead dough. You can prepare it a week in advance and chill it in the fridge, or freeze it for up to 3 months. I love making several batches in early December when I have time, then pulling out disks throughout the month as I decorate and gift. It's the perfect strategy if you're planning to fill multiple cookie boxes or bake on your own timeline.
From My Kitchen to Yours
Gingerbread Recipes
- How to Decorate Mitten Sugar Cookies (Simple Winter Design)
- How to Make Amber Gingerbread Cookies Without Molasses (Maple-Sweet and Spiced)
- Green Gingerbread Cookies – A Fun Twist on a Classic
- Moist Gingerbread Bundt Cake with Warm Caramel Hidden Inside
- Gingerbread Man Chocolates for Garnishing Cookies, Cupcakes, and Cakes
- Festive Holiday Cupcakes with Classic Gingerbread Flavor

Pin It For Later
Food Photography & Video Tips from My Studio
Here’s a peek at the tools, gear, and camera setups I use to film my recipe videos and photograph food at home. Over the years, I’ve tested dozens of different setups, and now I’m sharing what actually works for me—whether I’m filming overhead shots for YouTube or styling still photos for my blog. If you’re curious about how I create the content you see here, these posts are a great place to start.

What is in my toolbox?

3 ways camera setup for Tasty-style video recipes
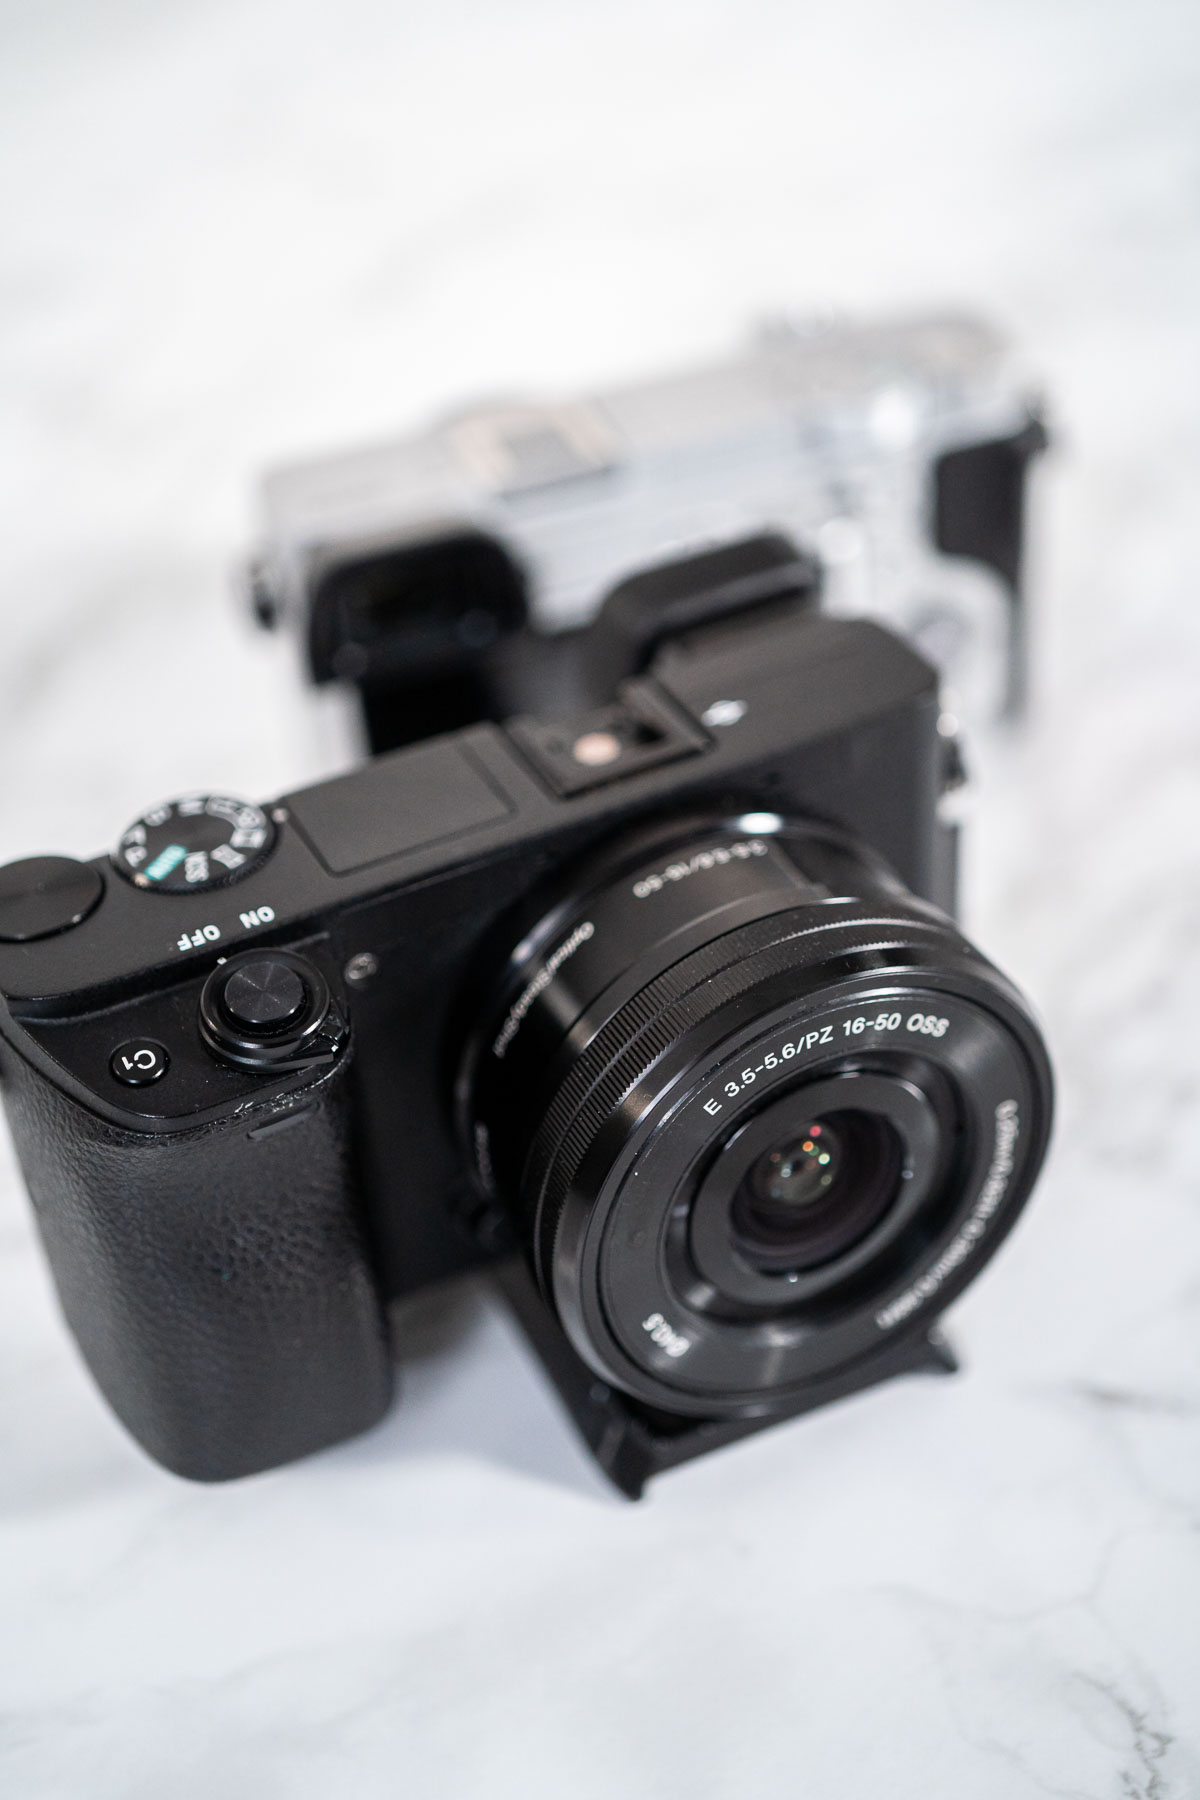
Best camera for cooking videos



Leave a Reply