How to Create Elegant Chocolate-Dipped Sugar Cookies Perfect for Gifting
This post contains affiliate links.
As we gather around the kitchen counter to dip and decorate, I can’t help but reminisce about past baking adventures that have brought similar joy to our home. If you’ve been following my journey, you might remember the time we crafted those delightful Gingerbread Cookie Sandwiches, perfect for a cozy winter evening. And then there were the I'm Sorry, Sugar Cookies, which turned baking blunders into sweet apologies—a reminder that every cookie has its charm.
Of course, achieving cookie perfection can sometimes be a tricky affair. Through trial and error, I’ve shared my insights on How Not To Burn The Bottom Of The Cookies and the ever-so-important tips on How To Prevent Cookies From Spreading. It’s these little tricks that ensure our chocolate-dipped sugar cookies come out just right—crisp edges with that satisfying snap.
We can’t forget about the icing—the final, decadent touch. My Chocolate Icing For Sugar Cookies post will guide you through making a glossy, rich topping that pairs beautifully with our project today. And for those looking to share the love, my ideas on How to Package Homemade Cookies and Fudge will help you turn these treats into the most heartwarming gifts.
Adding a dash of glamour to ordinary cookies has never been simpler with my favorite quick-fix method. This approach is especially handy when you are short on time. By opting for store-bought cookies, you eliminate baking from your task list, swiftly moving on to the fun part: decorating. It’s my go-to for not just any occasion but perfect for cookie exchange parties, a sweet thank you, or a thoughtful Christmas food gift. Imagine walking into a party potluck with these beautifully adorned treats; they're sure to catch everyone's eye!
As the holiday season approaches, I’ll be revisiting favorites like Christmas Cookie Cutter Peppermint Fudge and Panda Shortbread Cookies for some festive fun. And let's not forget the romance of Chocolate Cookies with Chocolate Hearts for those special, love-filled occasions, or the spooky delight of Skull Halloween Sugar Cookies when autumn leaves start to fall.
Join me as we dip, decorate, and delve into the art of cookie-making. And who knows? Perhaps these chocolate-dipped sugar cookies will become a new favorite alongside these cherished classics from my blog.
EQUIPMENT
Measuring Cup A measuring cup is essential for accurately measuring larger volumes of dry and liquid ingredients. For this recipe, it's important for measuring out the right amount of chocolate chips to ensure a balanced chocolate-to-cookie ratio.
Measuring Spoons These are crucial for measuring smaller quantities of ingredients, like coconut oil. Precision is key to achieving the perfect consistency in your chocolate dip and to ensure it sets correctly on the cookies.
Spatulas A spatula, especially one made of silicone, is the perfect tool for mixing and stirring the chocolate and coconut oil in the melting pot. It’s flexible and non-stick, which helps you scrape every bit of chocolate out without leaving a mess.
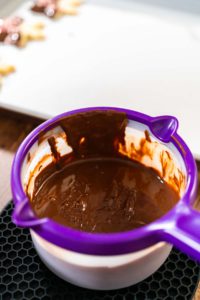
Wilton Candy Melting Pot The Wilton candy melting pot is designed specifically for melting chocolate and candy coatings. It provides even heating and has a convenient setting to prevent the chocolate from overheating, ensuring a smooth and silky dip for your cookies.
3 Baking Sheets Baking sheets will serve as the staging area for your dipped cookies. Having three allows you to work in batches, so while one set of cookies is setting, you can be dipping another batch.
3 Parchment Paper Sheets Parchment paper is a baker’s best friend to prevent sticking and to make clean-up easier. It provides a non-stick surface for the dipped cookies to set, ensuring that they come off the paper easily without breaking.
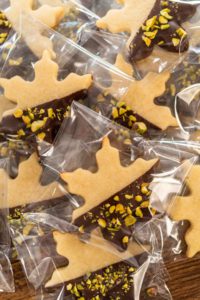
4x6 Inch Clear Bags These bags are the perfect size for packaging your cookies for gifting. They're clear, which beautifully showcases the decorated cookies, and they seal to keep the cookies fresh. Plus, they add a professional touch to your delicious homemade treats.
INGREDIENTS
Cookies
- 20 cookies baked and cooled Or substitute for a healthier option, consider using homemade almond flour cookies which are lower in carbs and higher in protein than traditional recipes.
Chocolate dip
- 2 cup Semi-Sweet Chocolate Chips Or, for a healthier alternative to semi-sweet chocolate chips, try dark chocolate chips with at least 70% cacao for less sugar and more antioxidants. Also, replace coconut oil with unrefined virgin coconut oil for a boost of healthy fats.
- 2 tsp coconut oil
Toppings
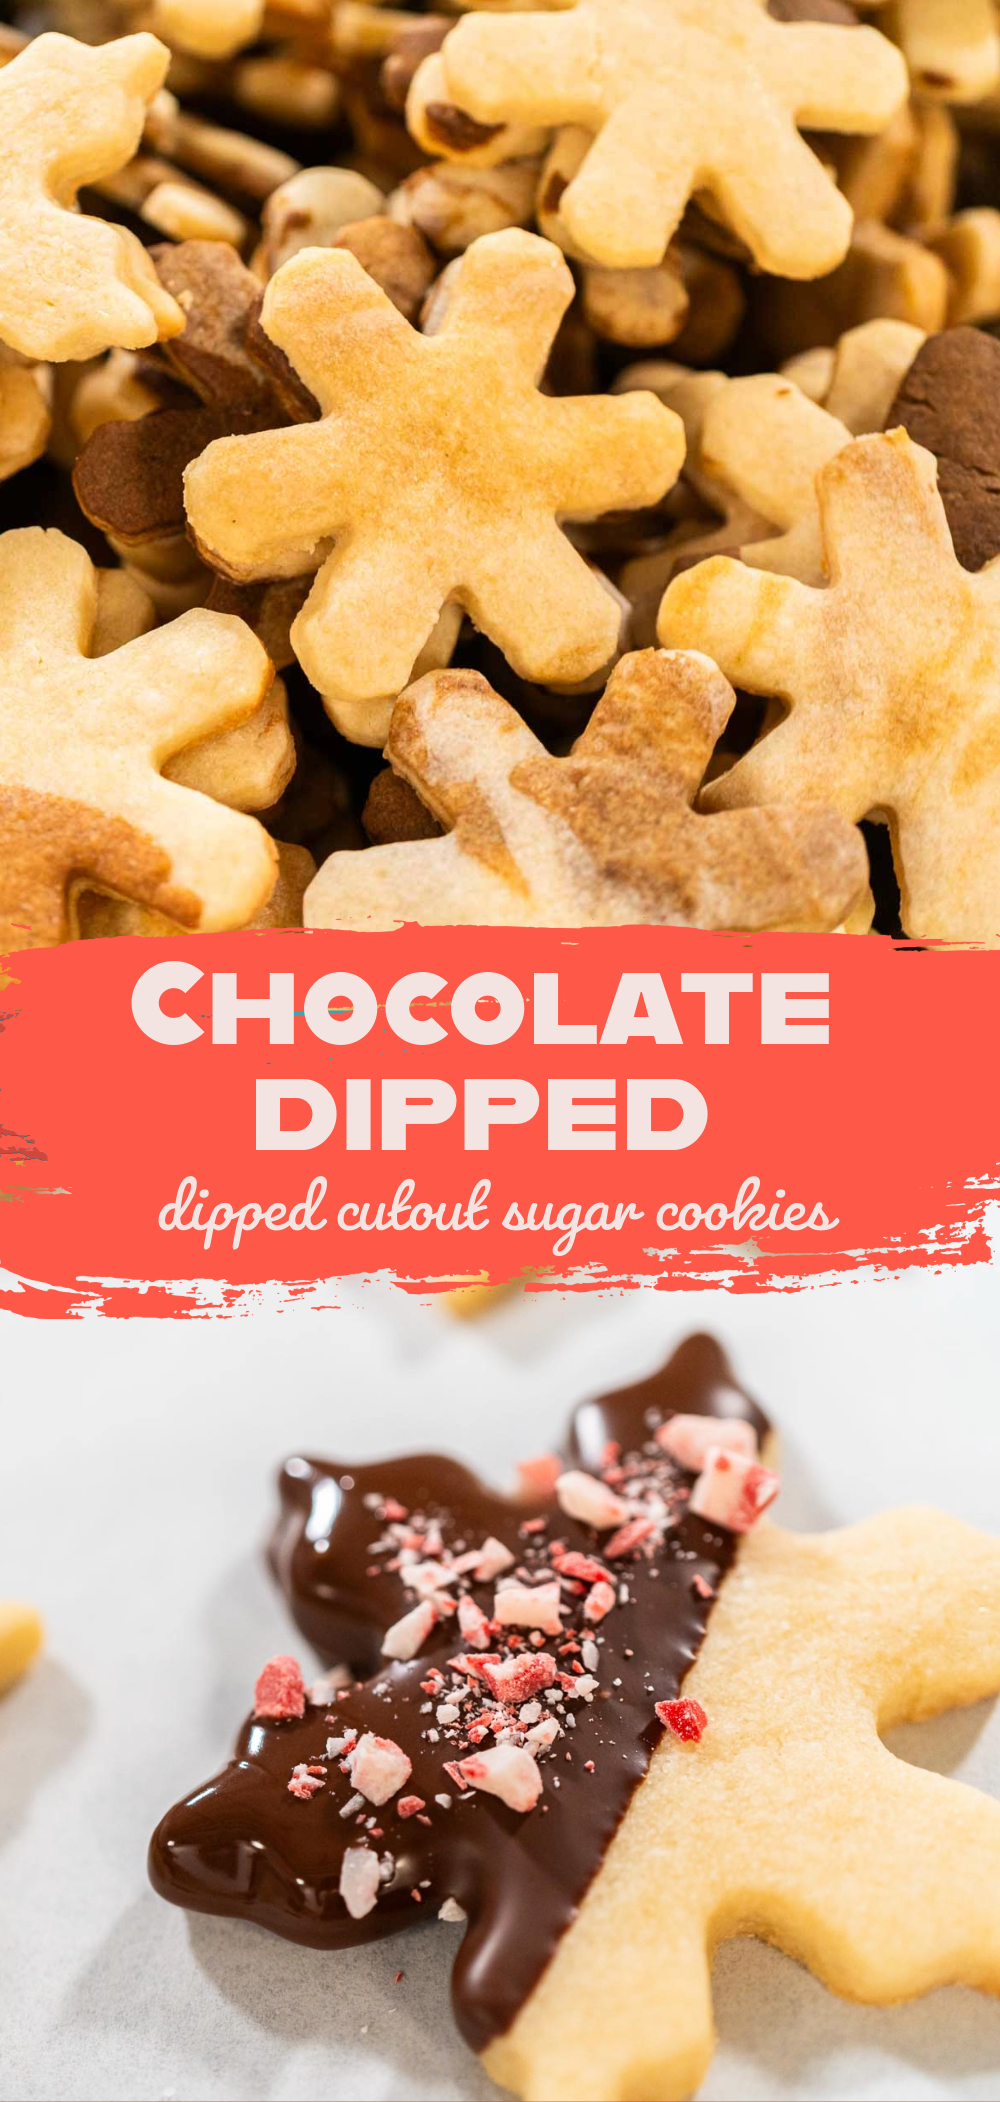
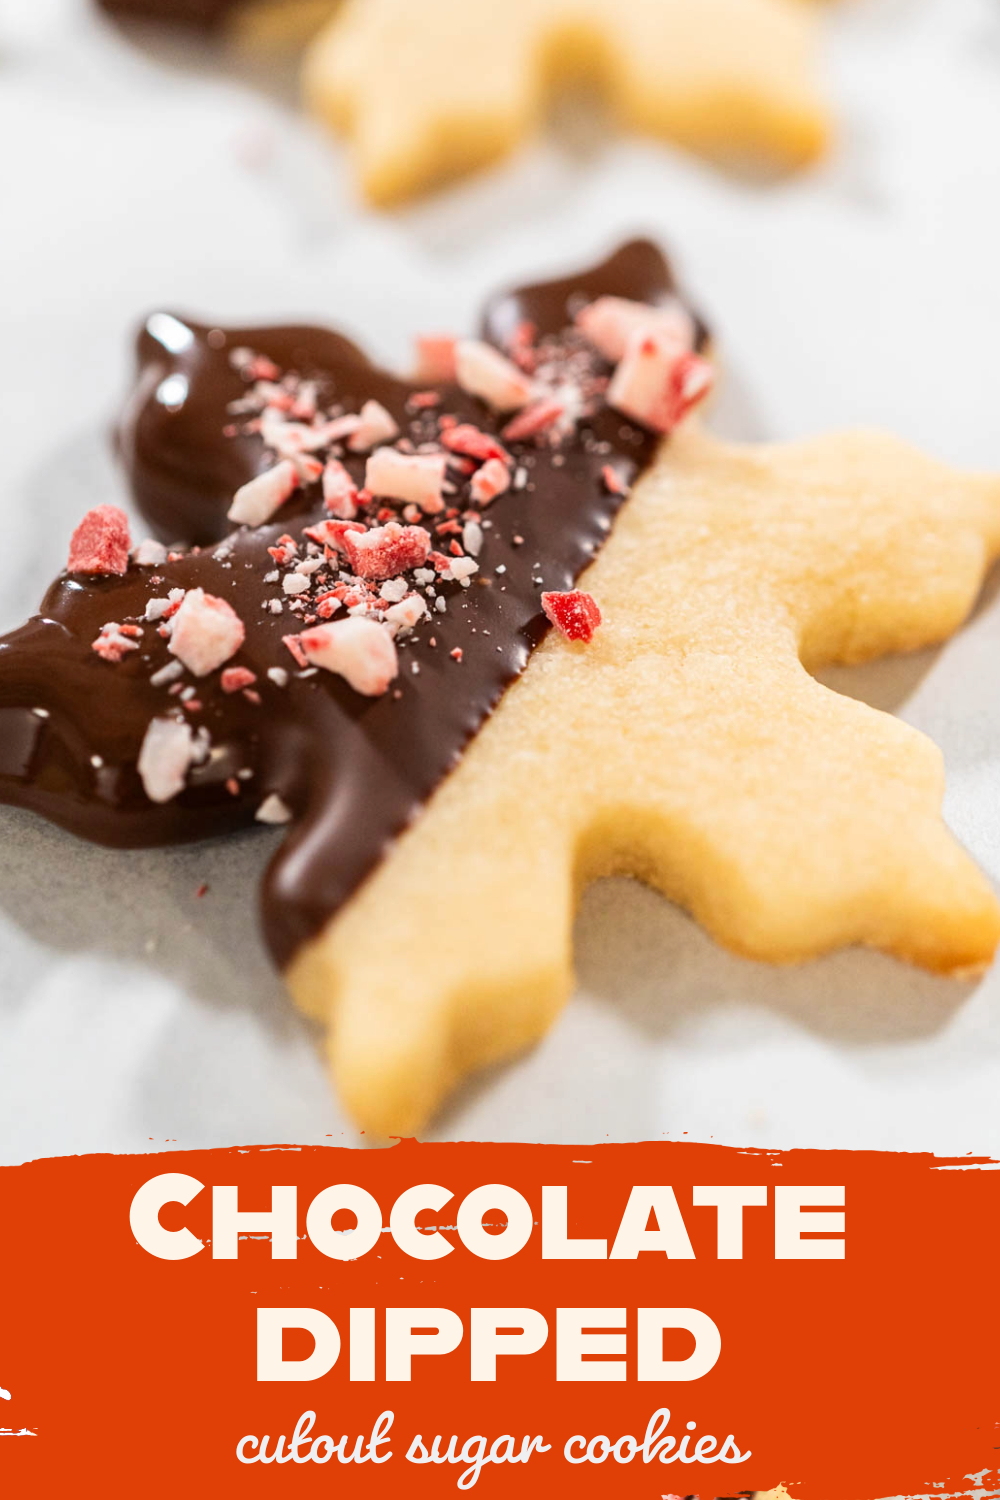
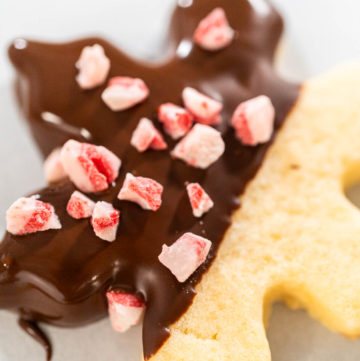
- ¼ cup Andes Peppermint Crunch Baking Chips Instead of Andes Peppermint Crunch Baking Chips, use crushed natural peppermint candy for a refreshing flavor without artificial colors.
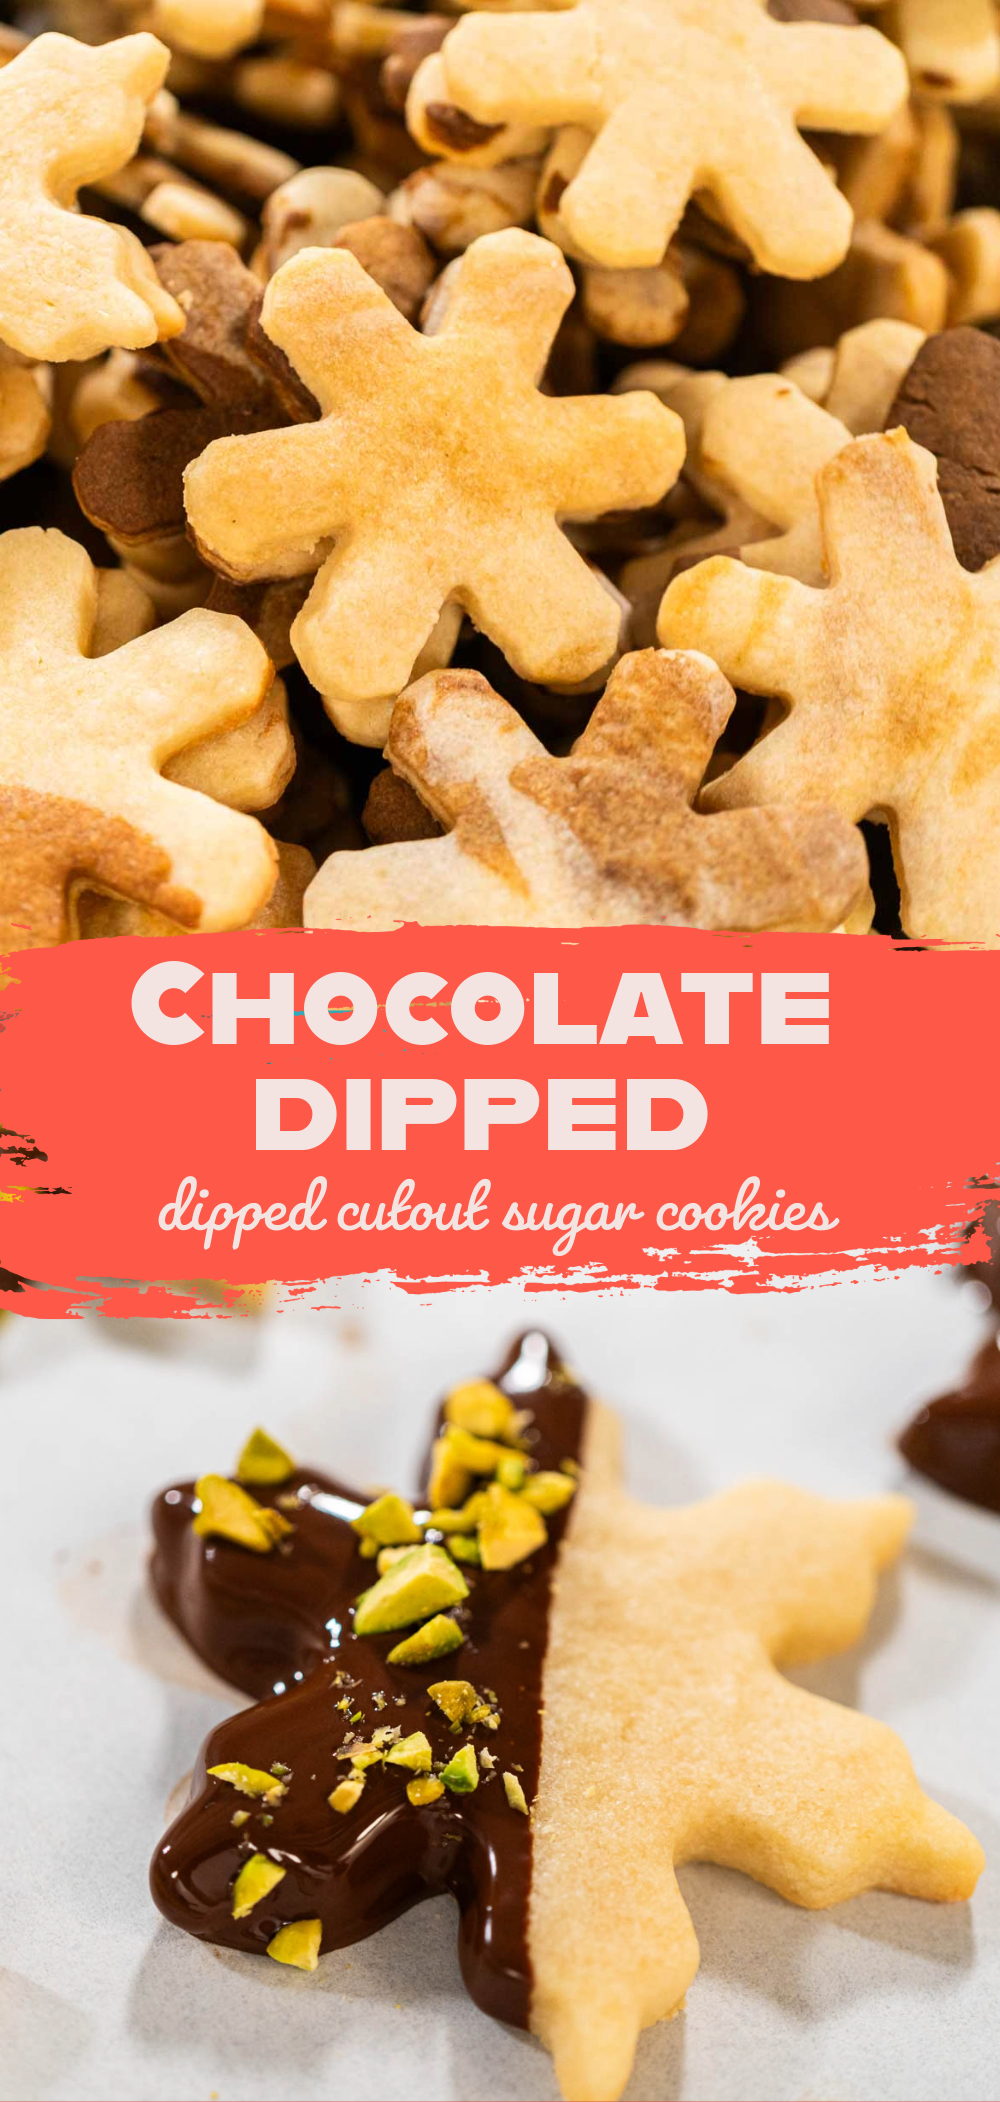
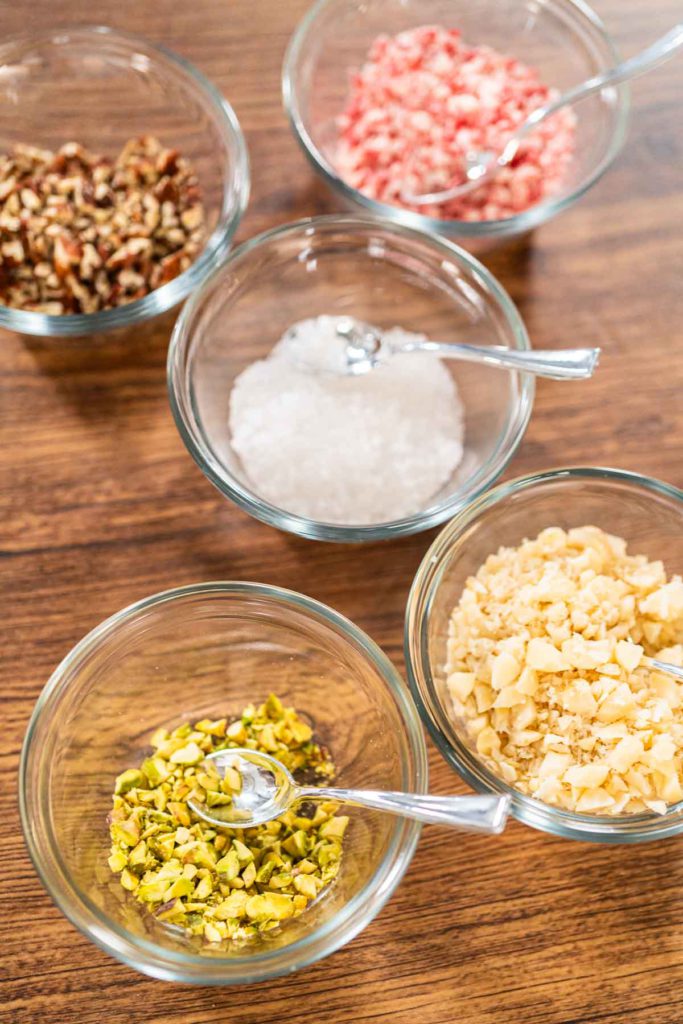
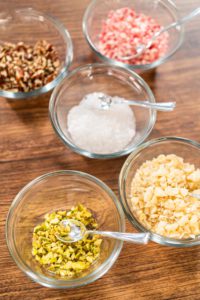
- ½ cup Pistachios roughly chopped
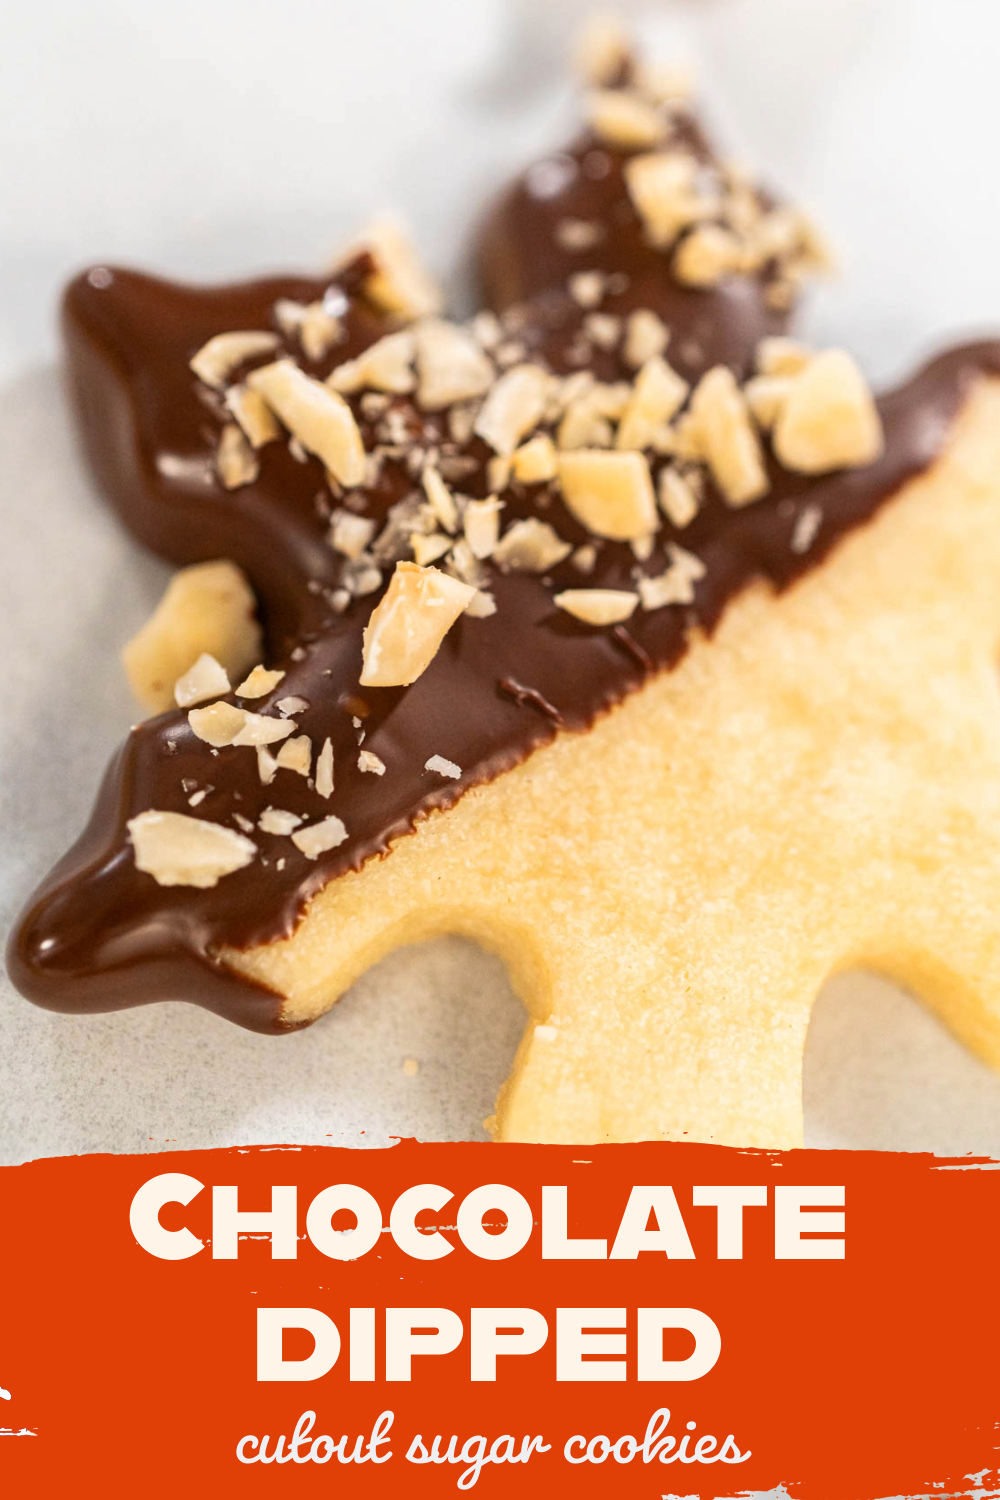
- ½ cup Macadamia nuts roughly chopped
- ½ cup rainbow sprinkles. Opt for organic, naturally-colored sprinkles to avoid artificial dyes and flavors in your decorations.
- ½ cup Raw hazelnuts roughly chopped
- ½ cup toasted coconut
INSTRUCTIONS
- Start by getting your cookies ready for dipping. You can use any type of undecorated cookie you like. To save time, feel free to purchase undecorated cookies from the store.
- Line three baking sheets with parchment paper and set them aside for later use.
- Organize and prepare all the toppings you will use to decorate the cookies. Set them within reach, so you can use them immediately after dipping the cookies in chocolate.
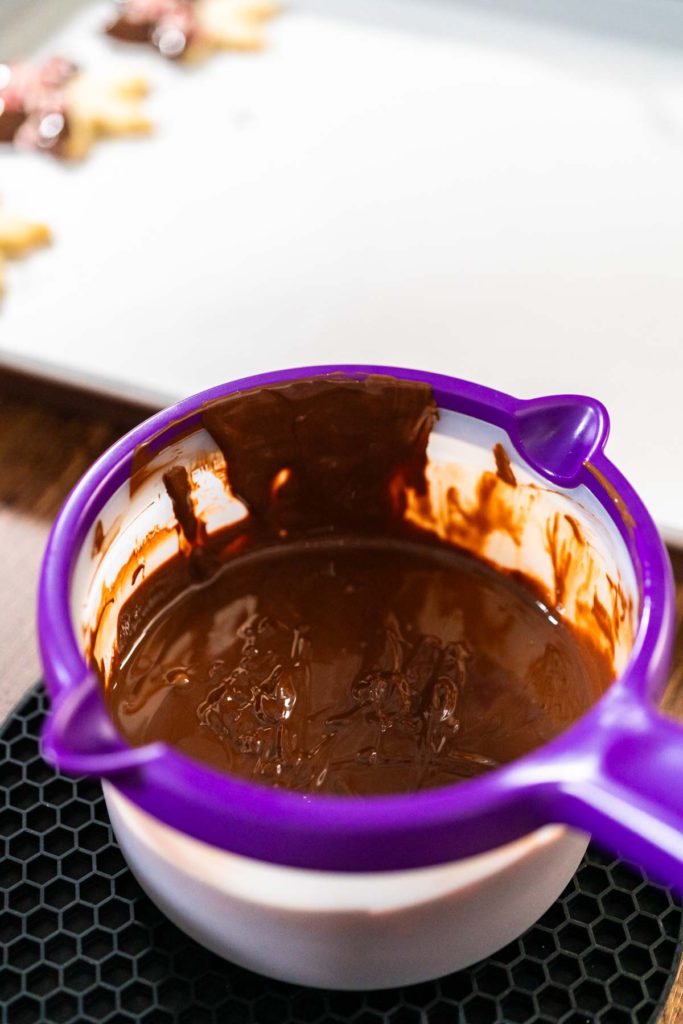
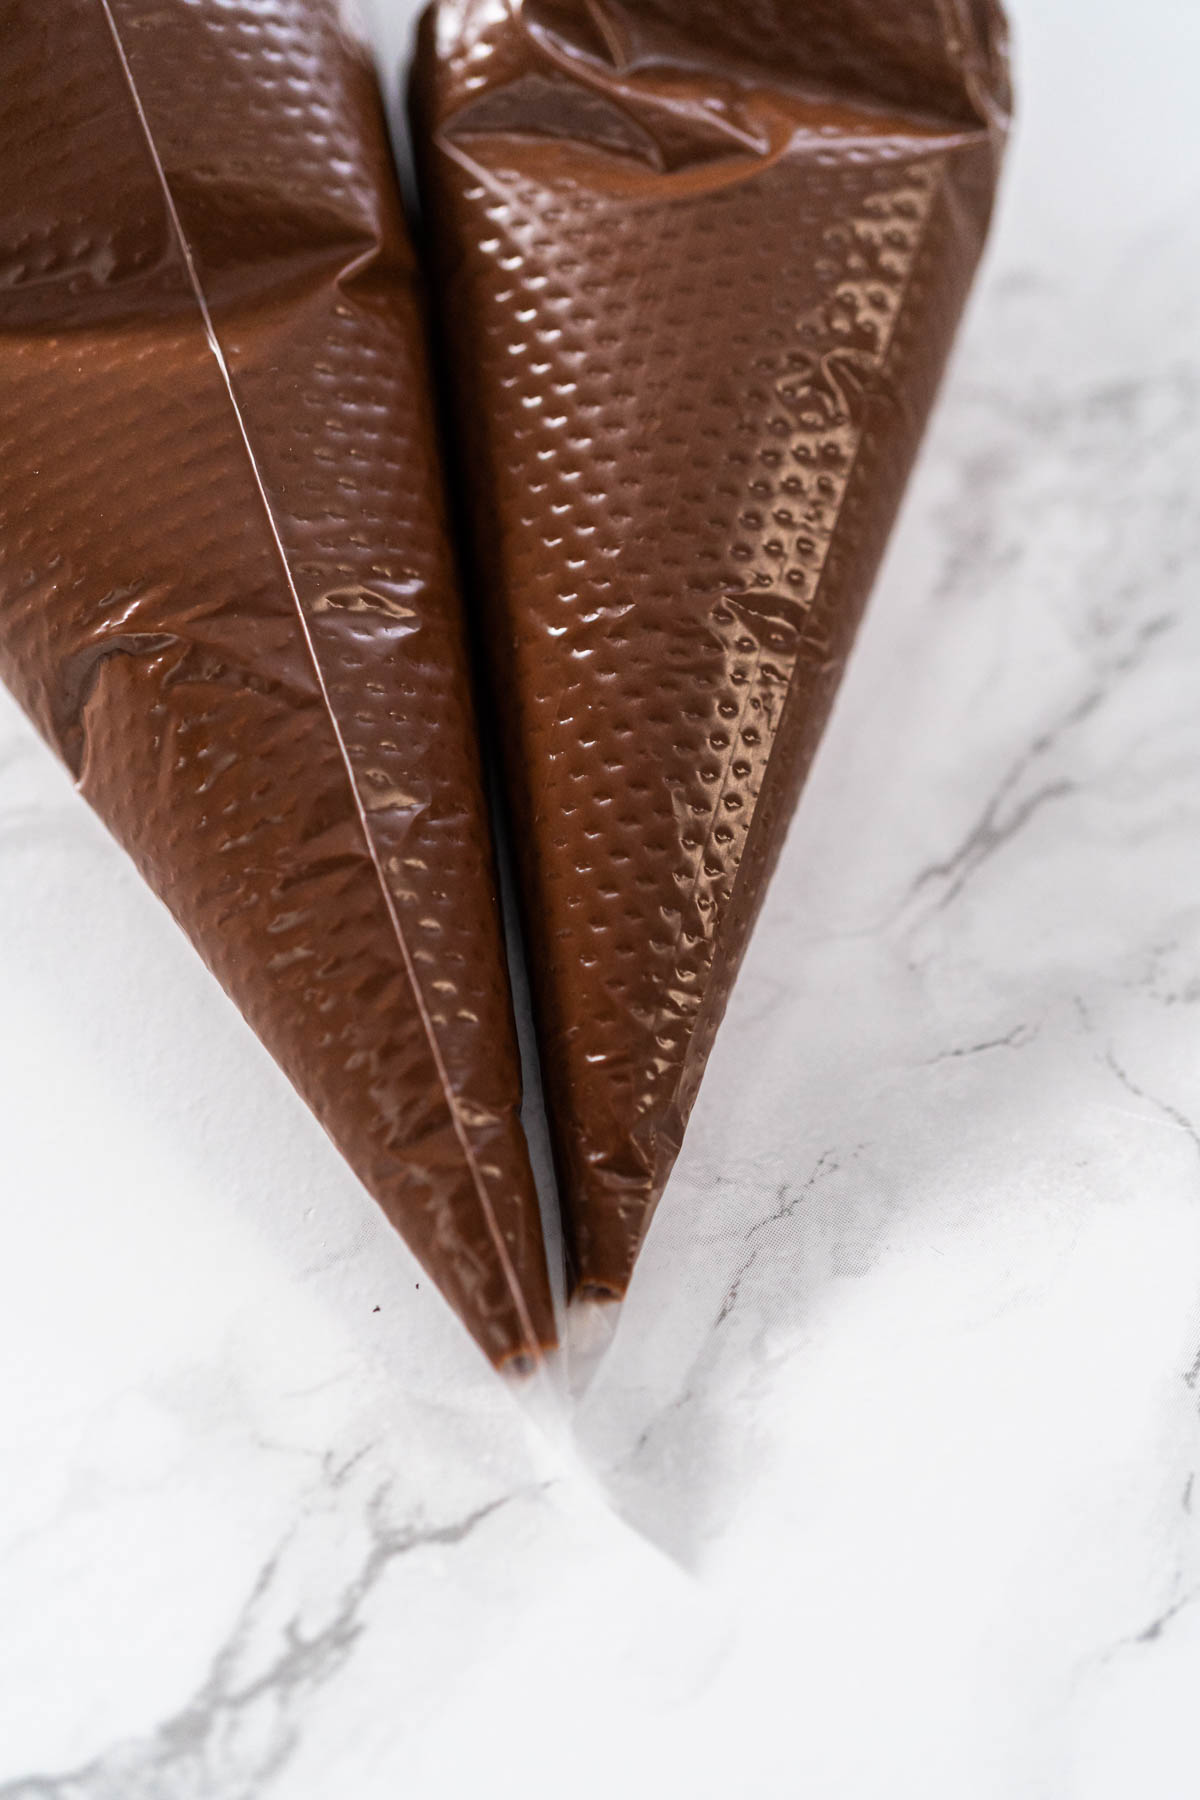
- In a candy melting pot, combine the chocolate chips and coconut oil. Switch the pot to high heat. Stir continuously with a silicone spatula until the chocolate mixture is smooth and free of any lumps.
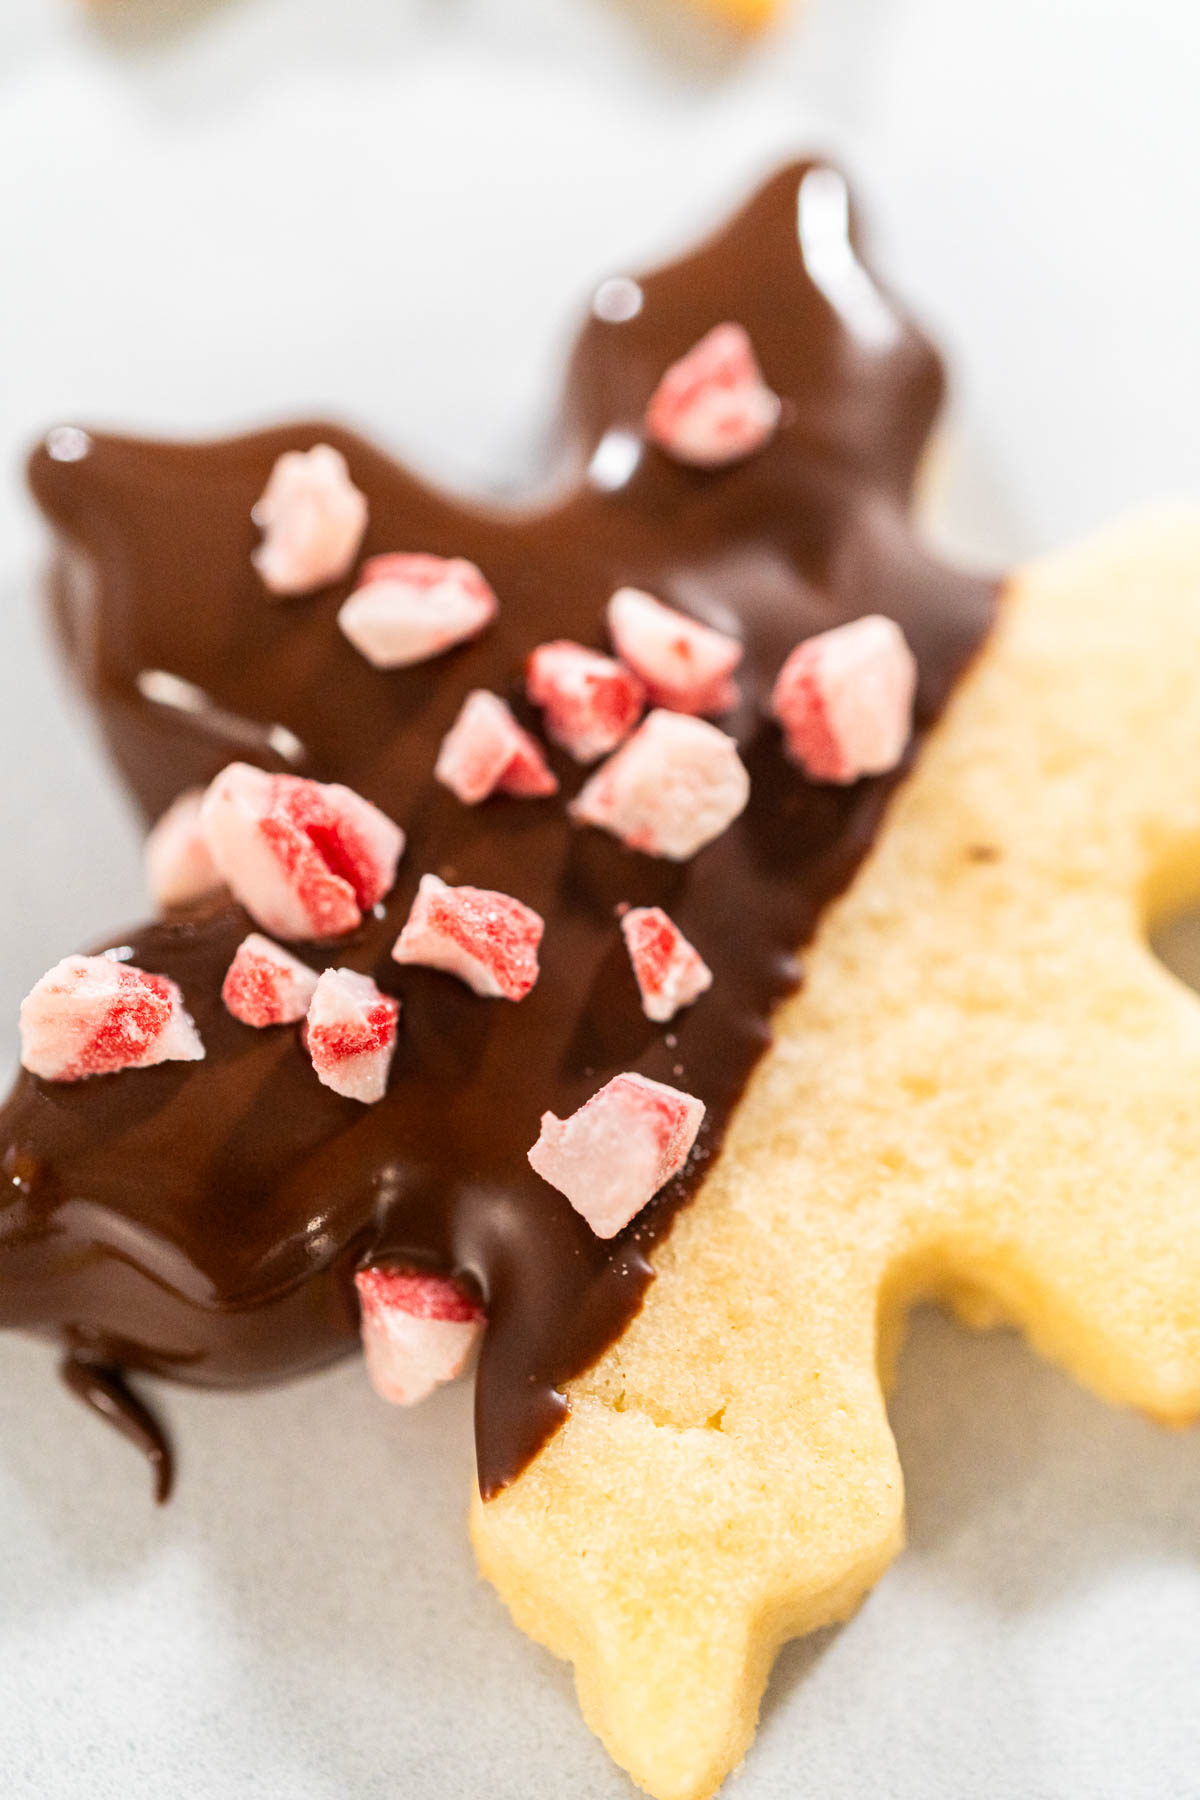
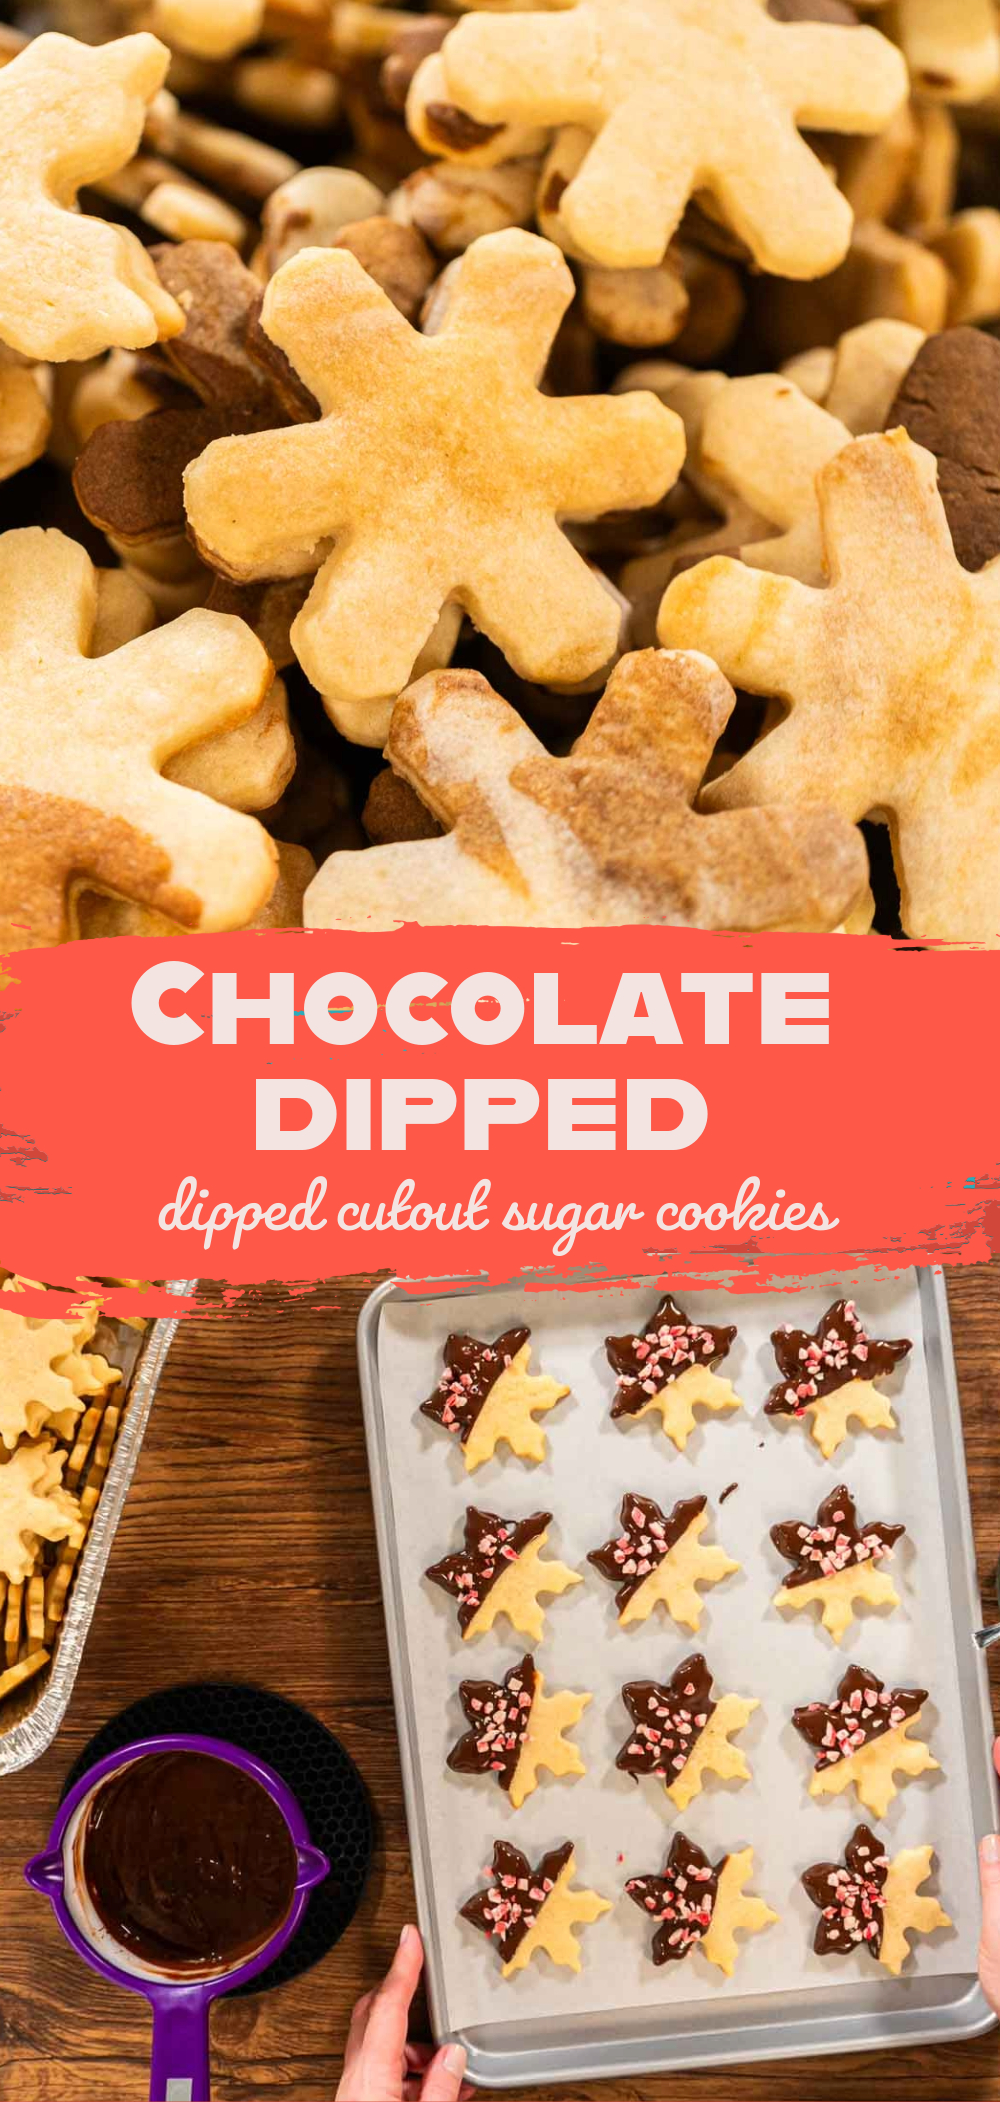
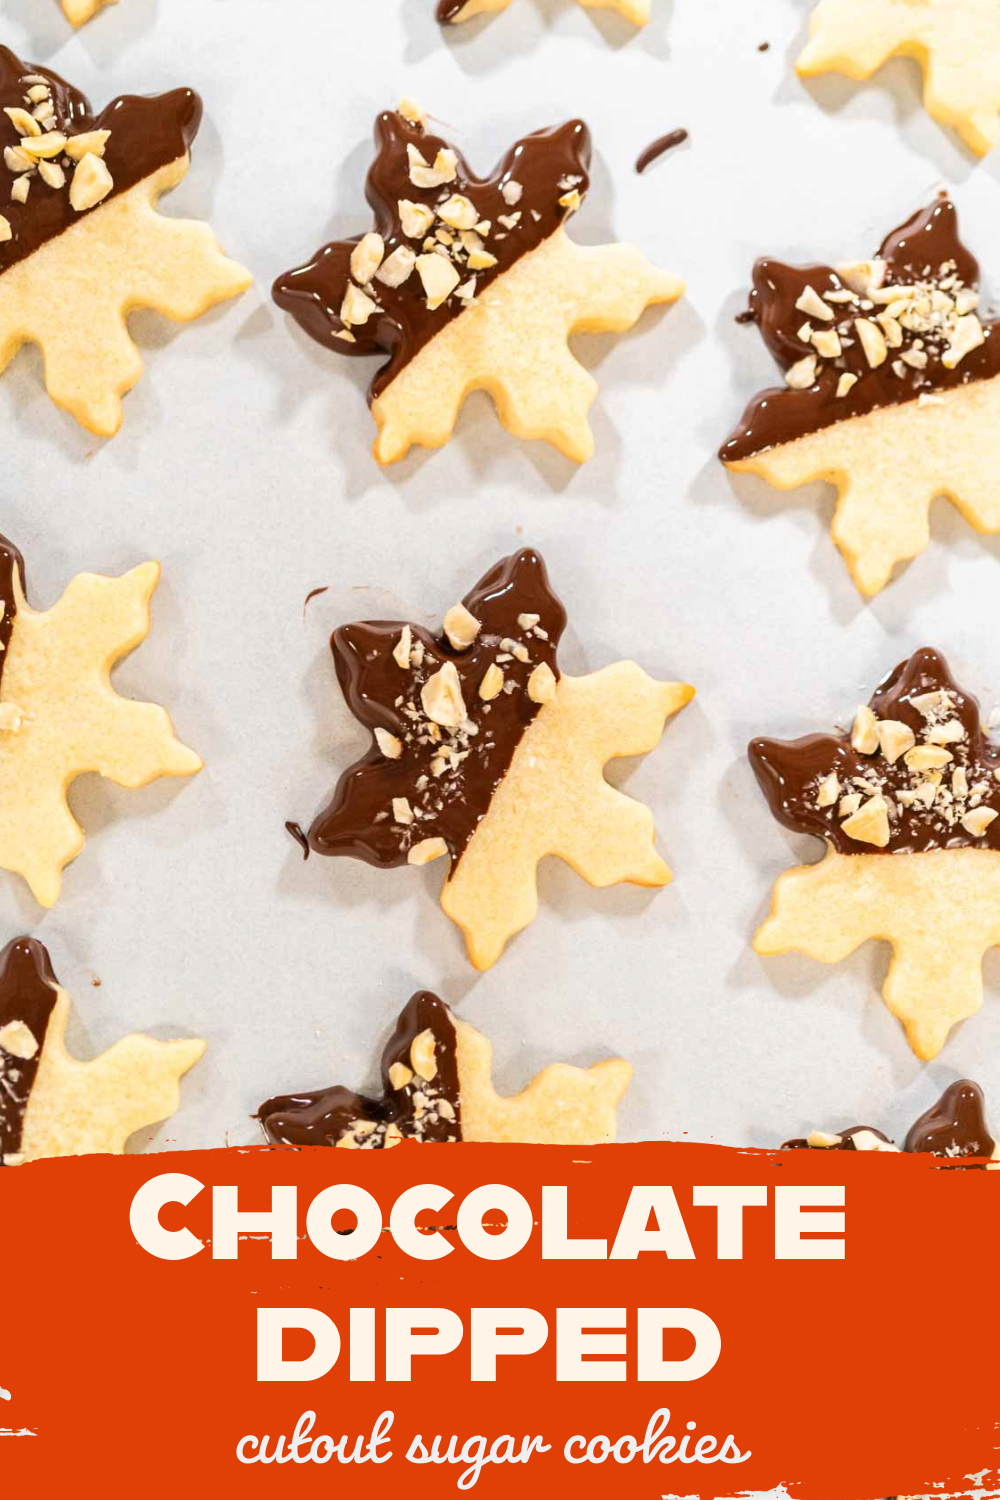
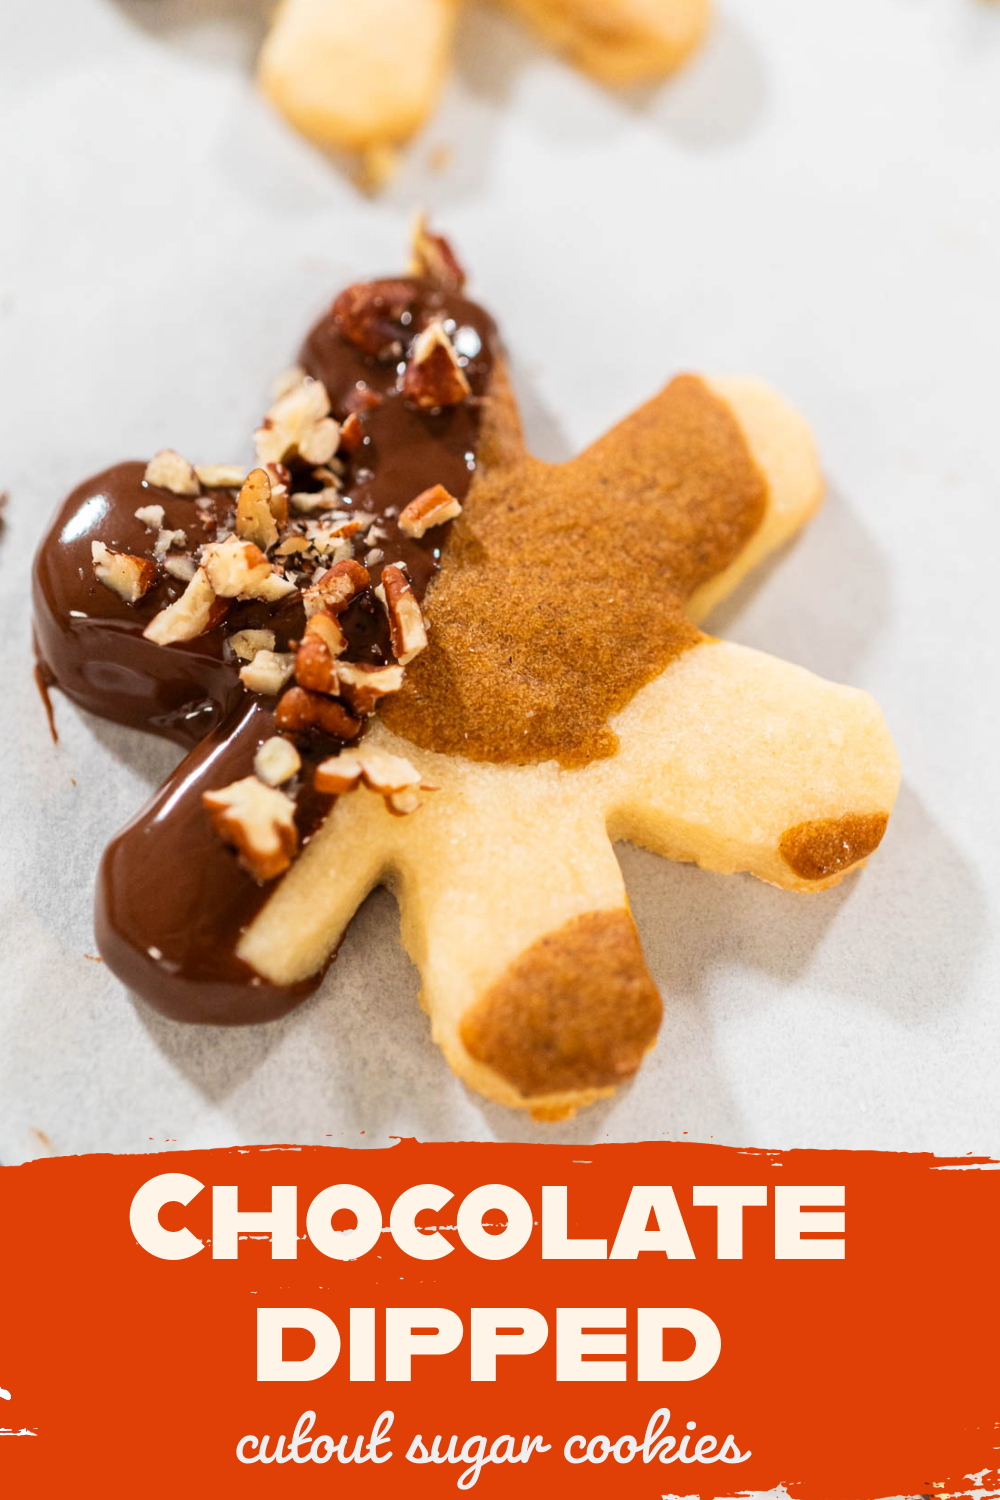
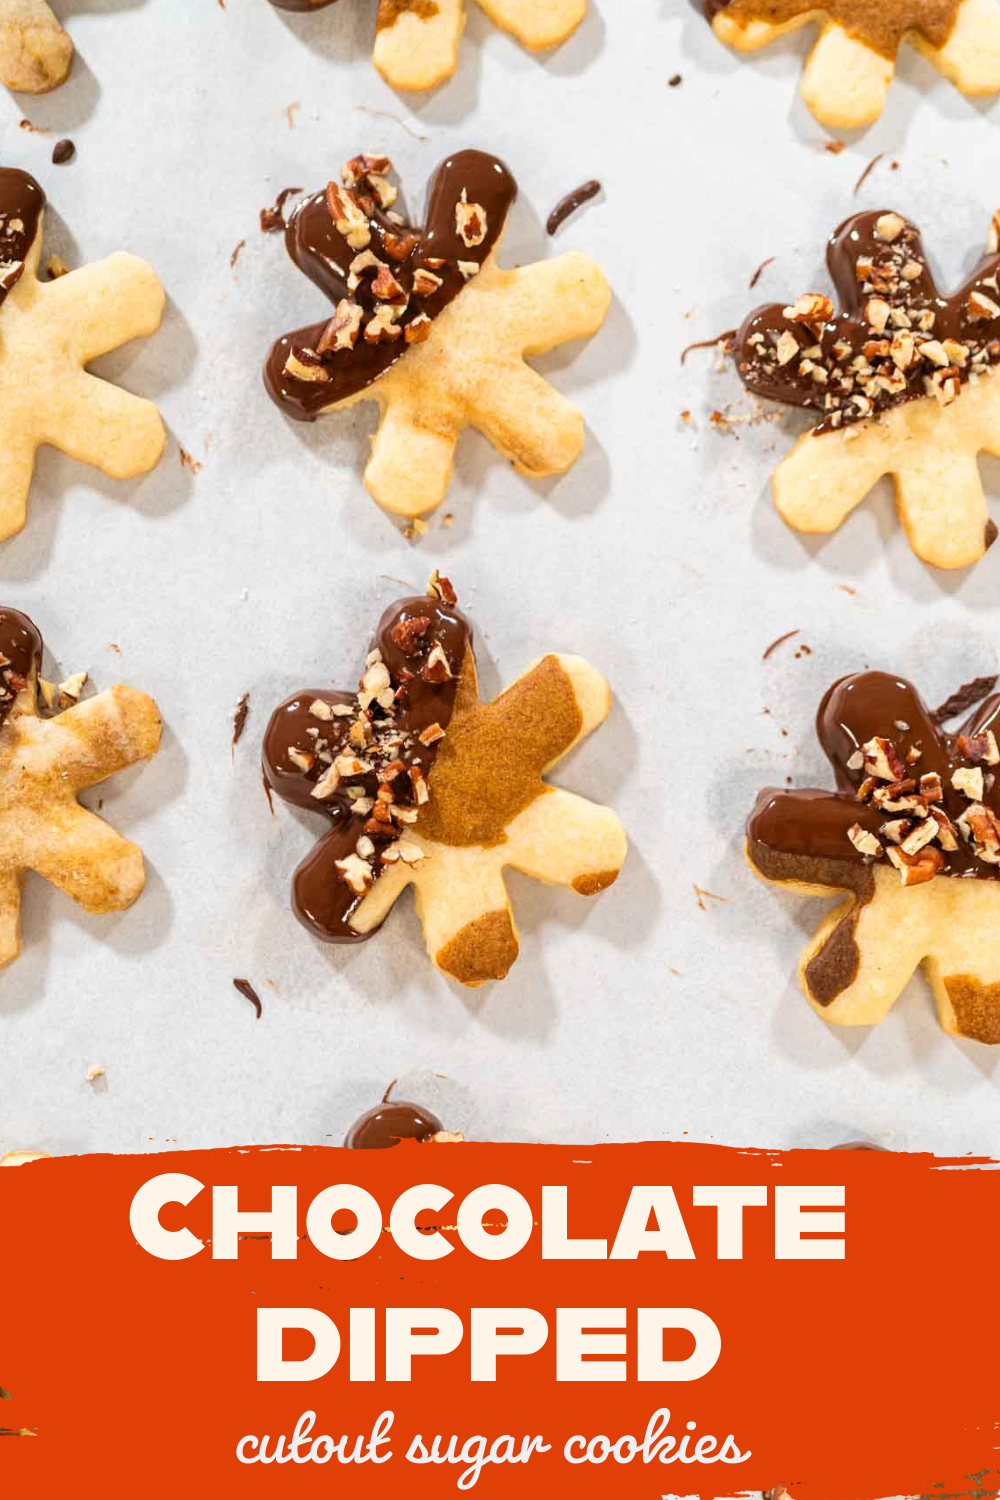
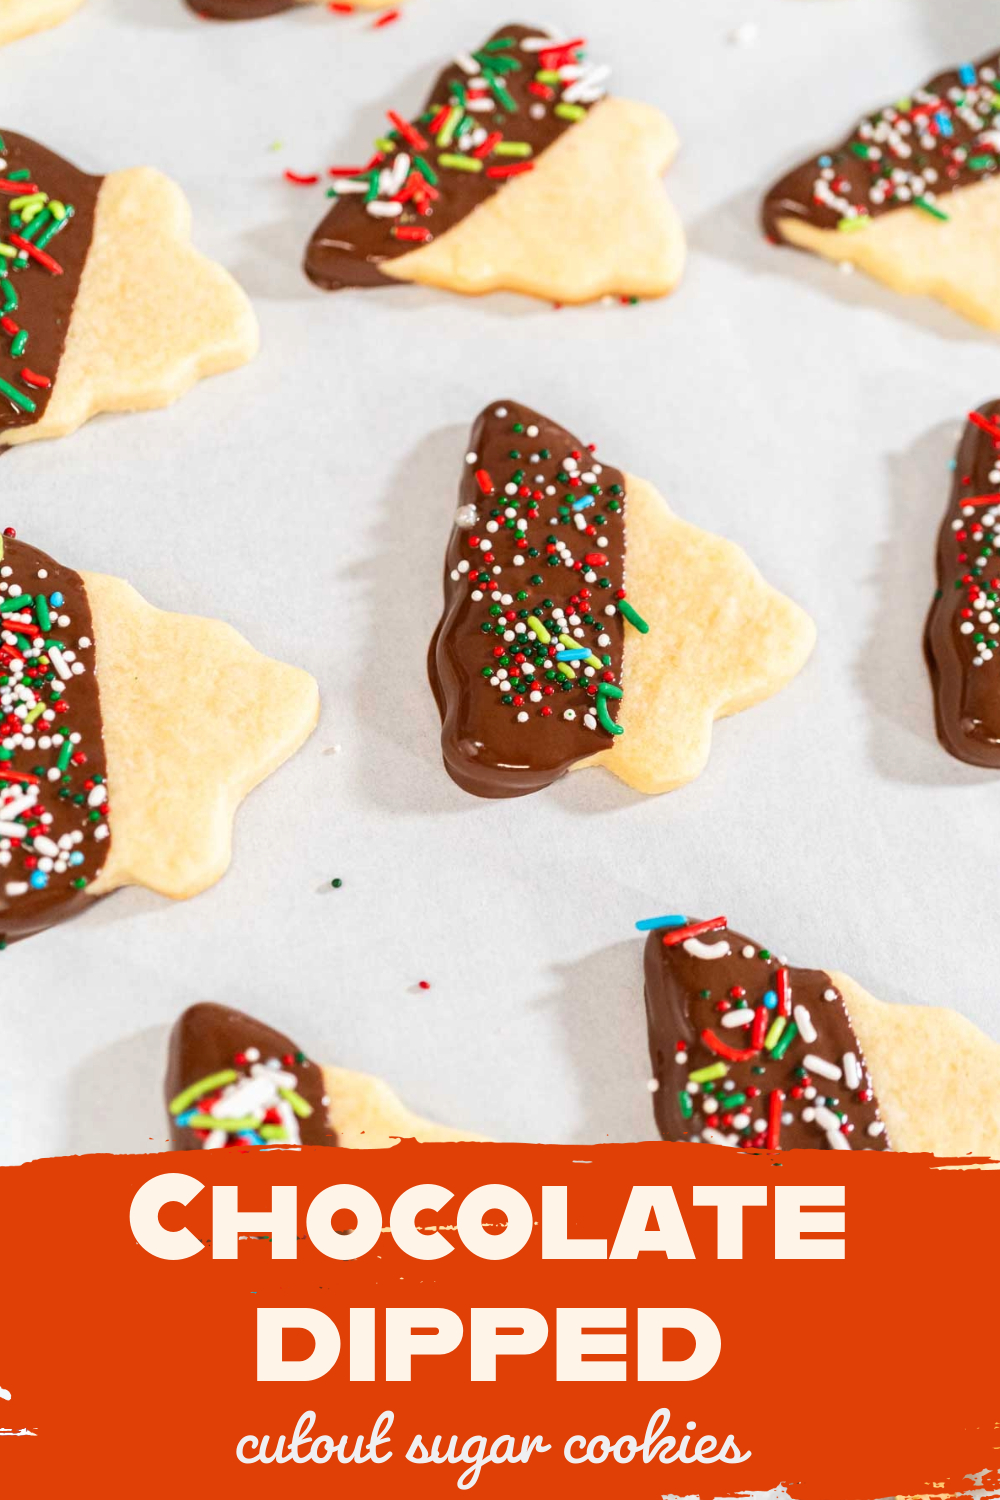
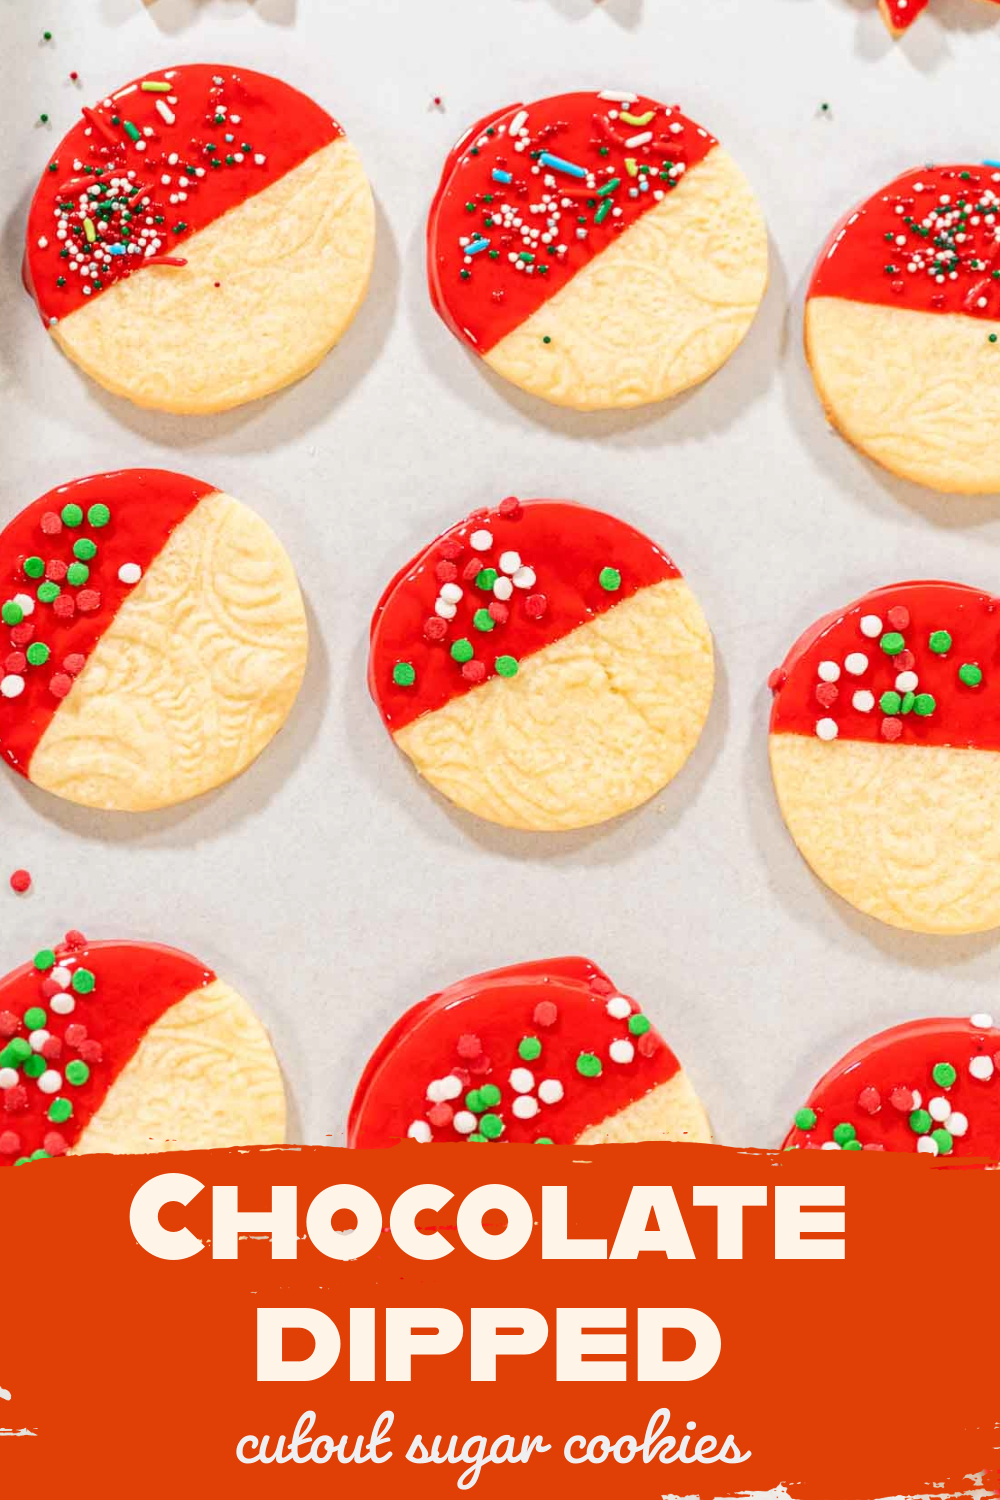
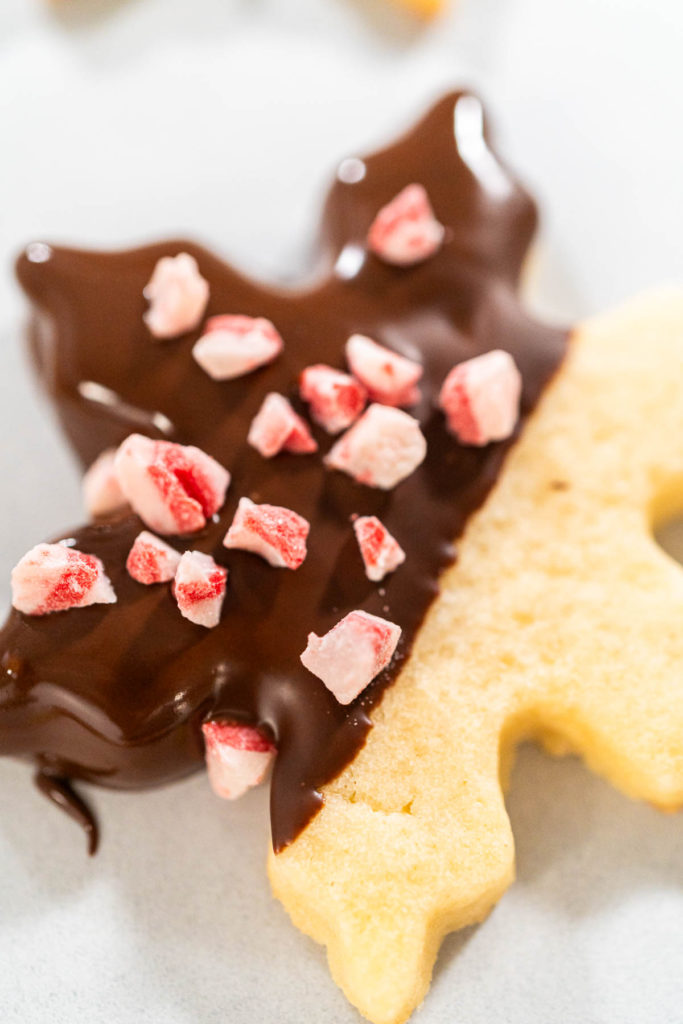
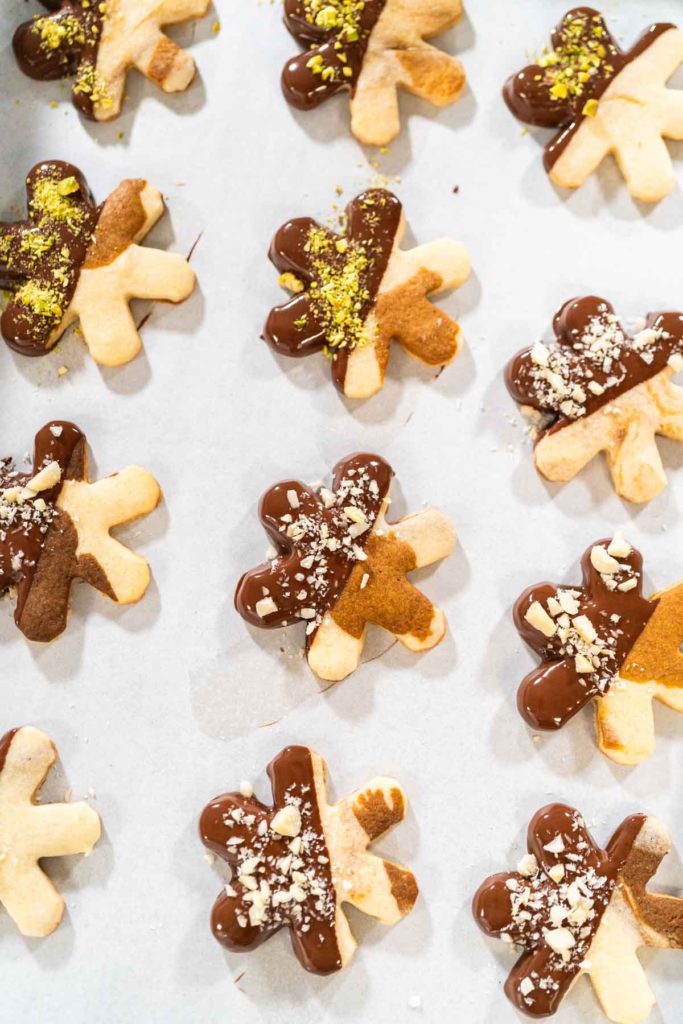
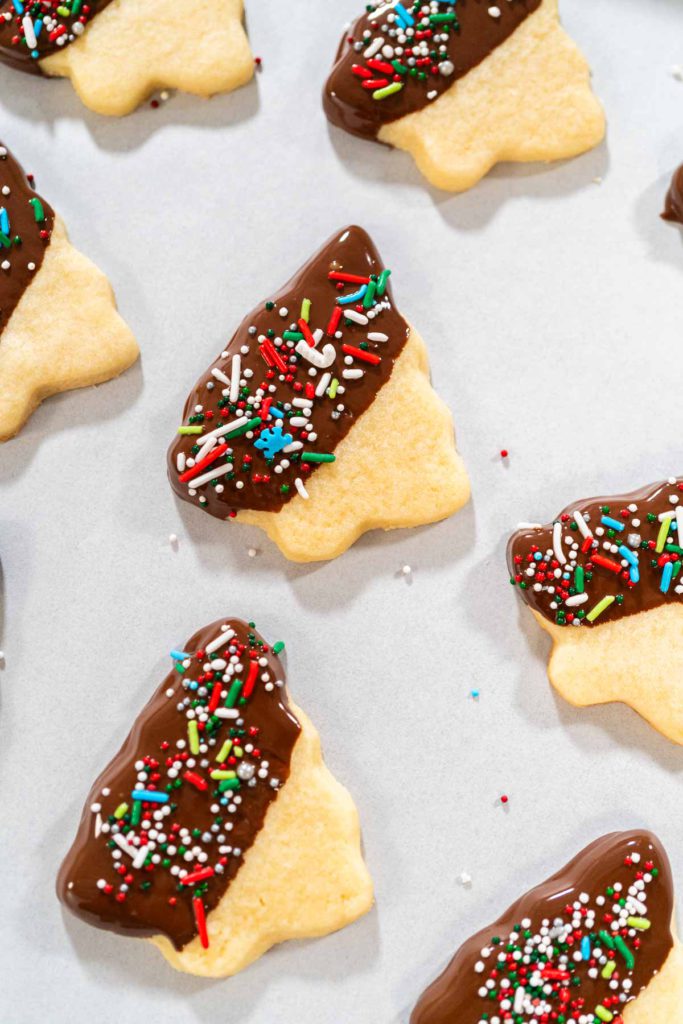
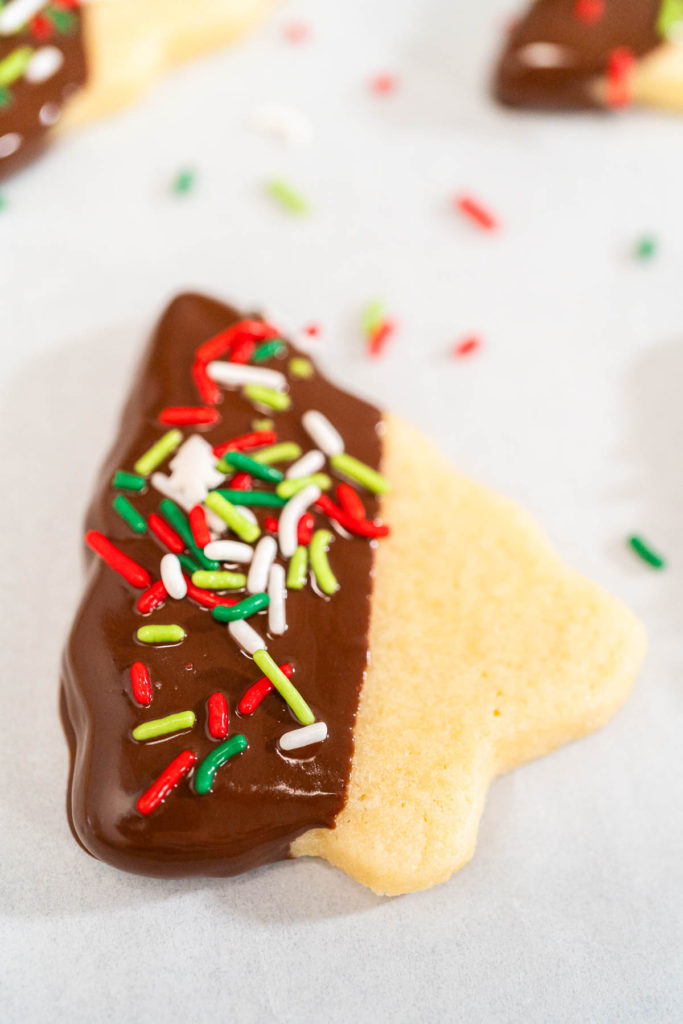
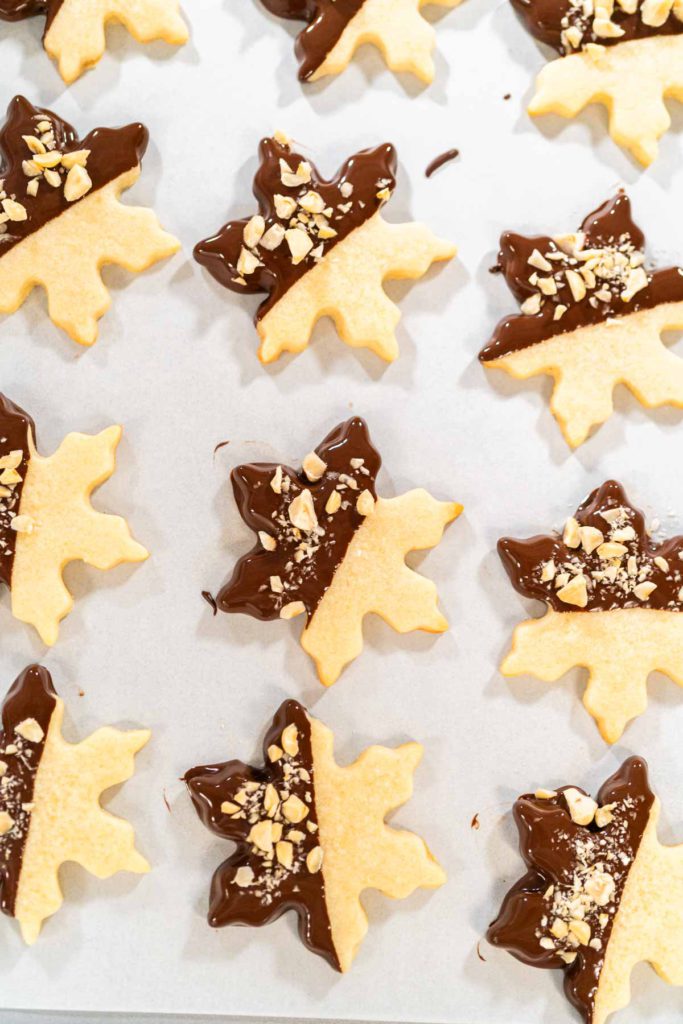
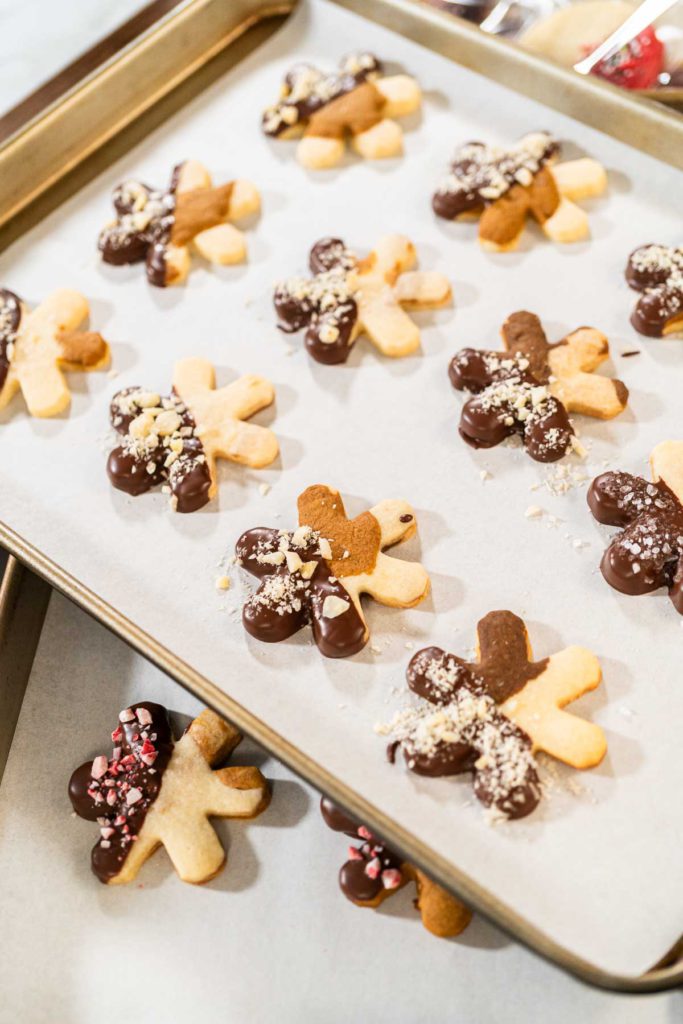
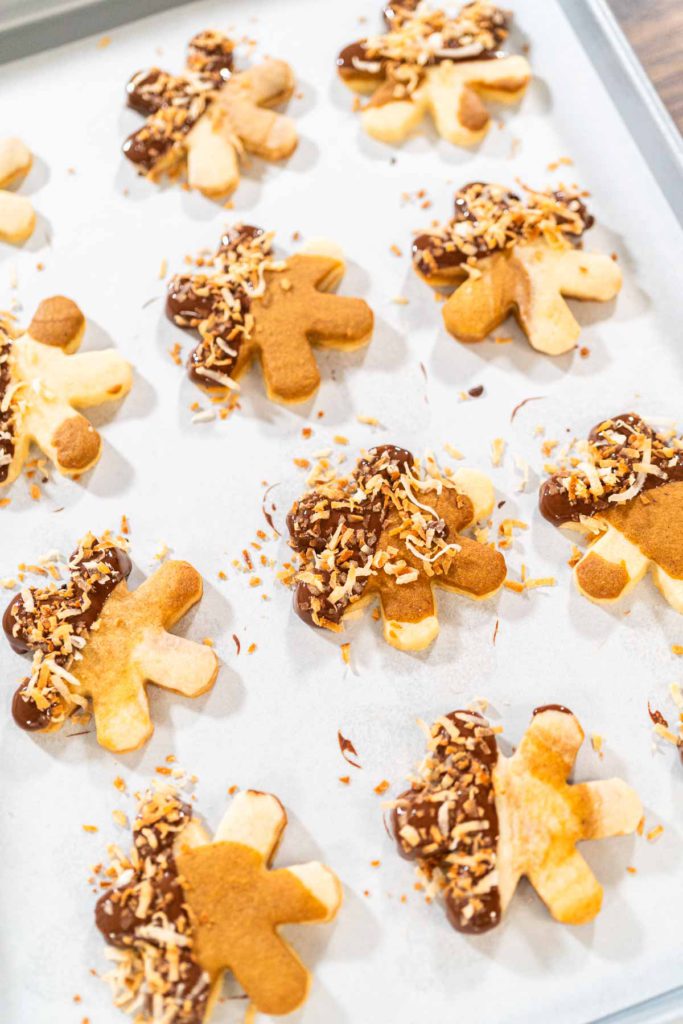
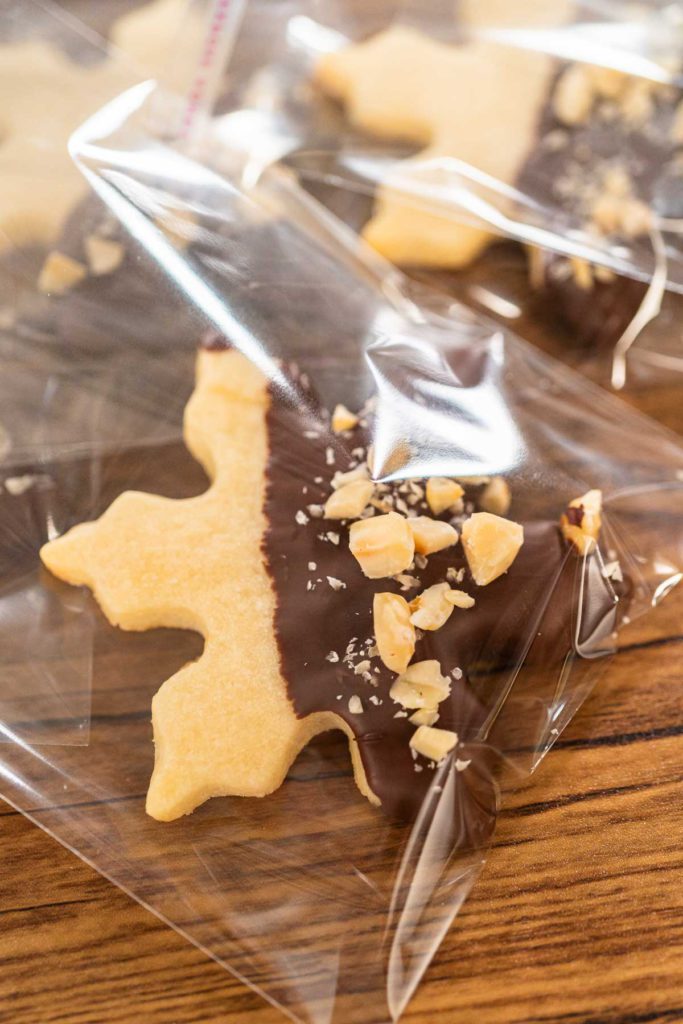
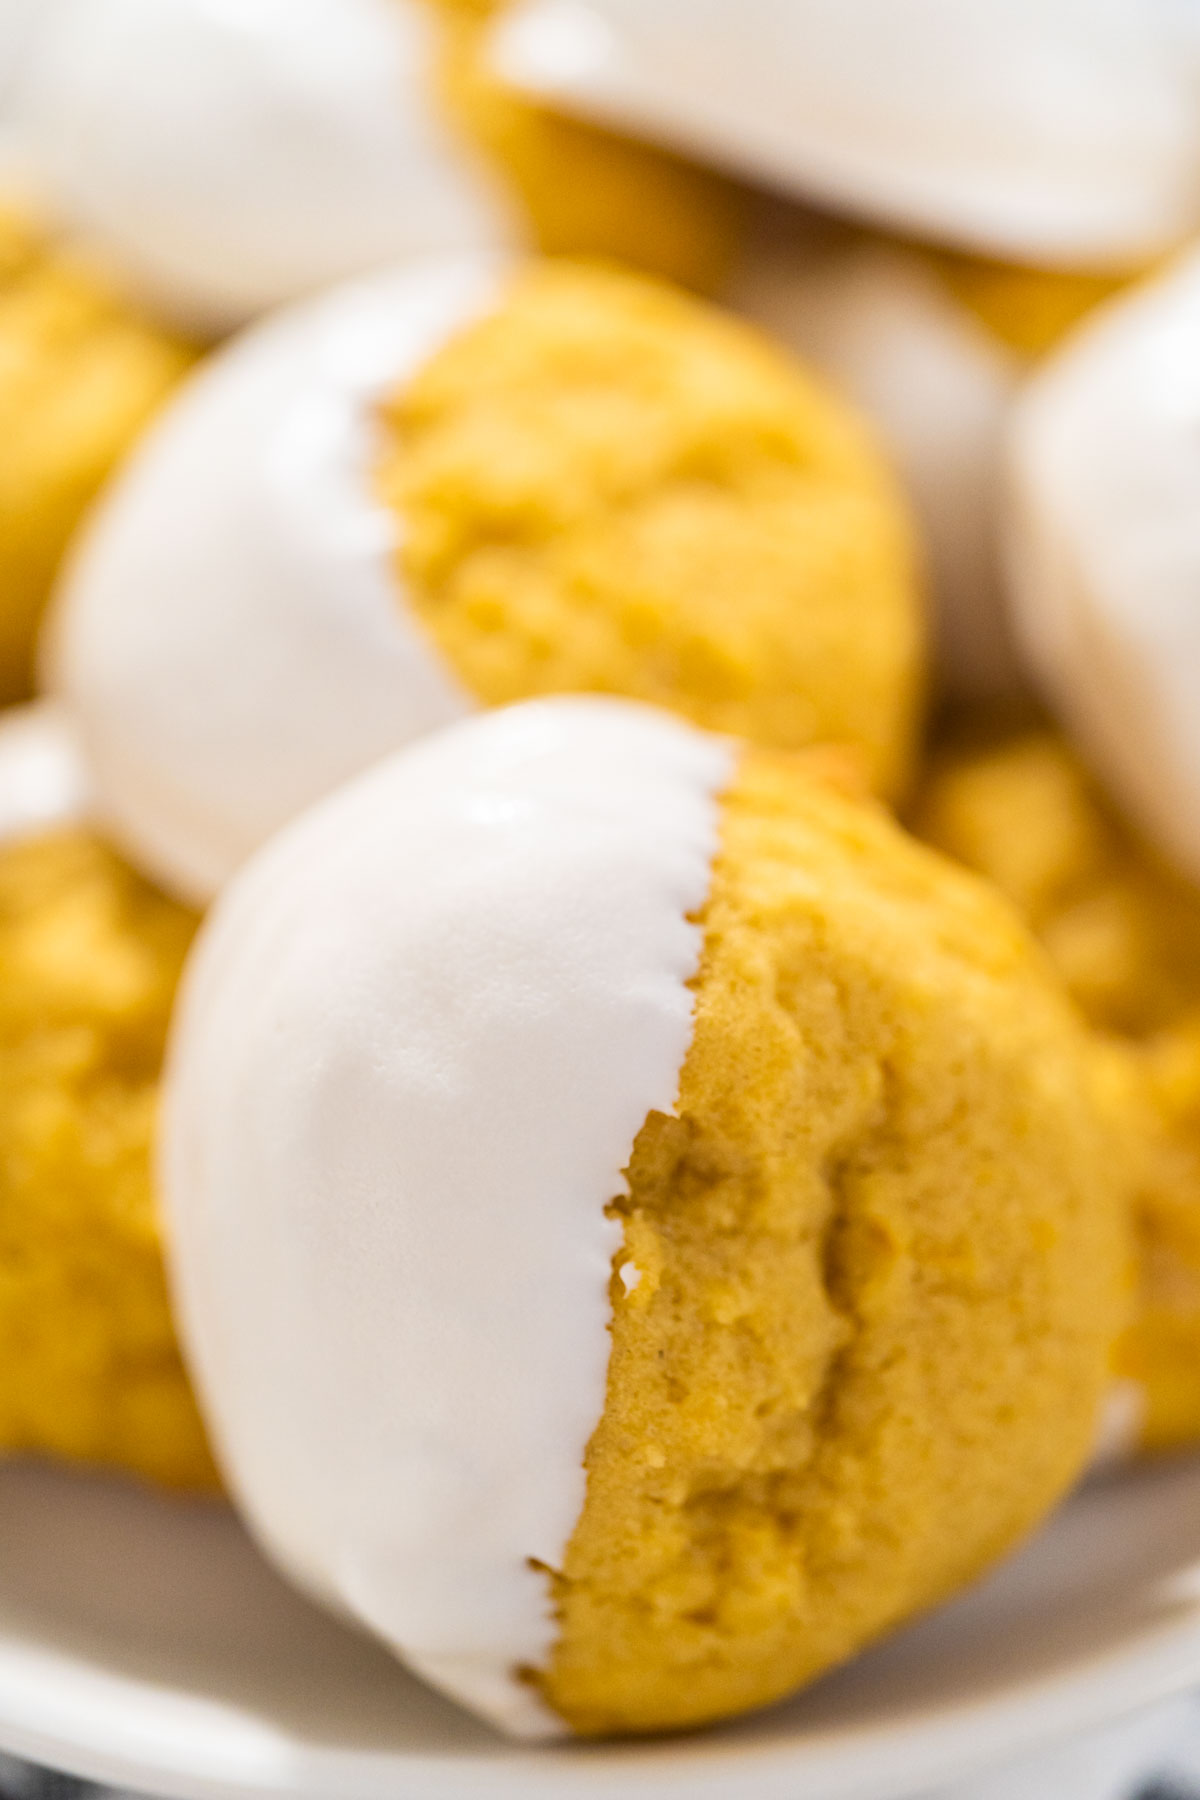
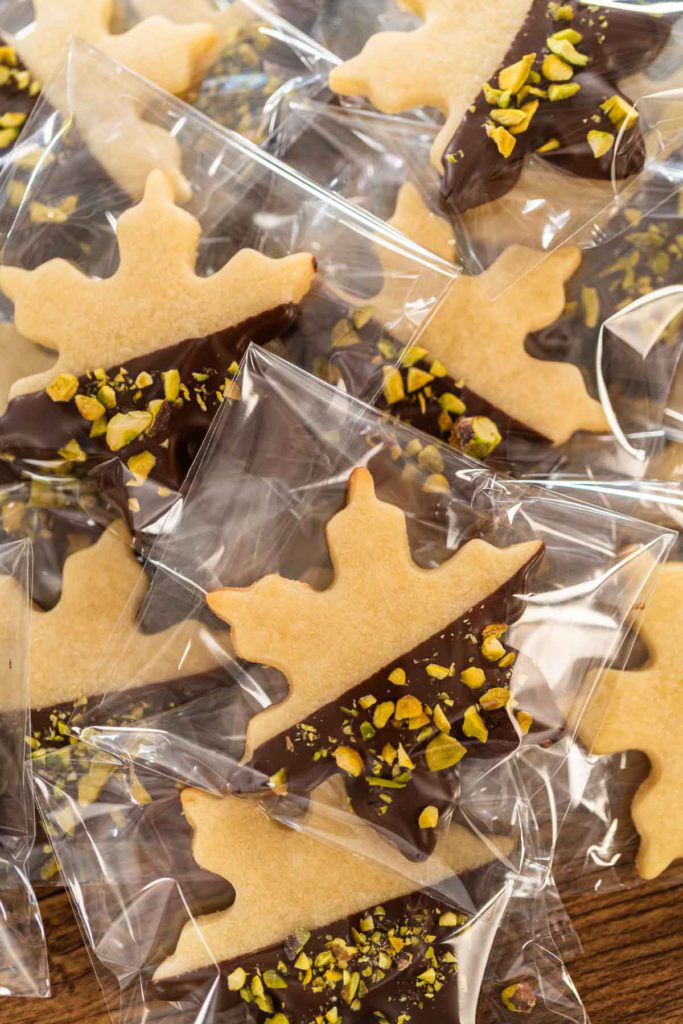
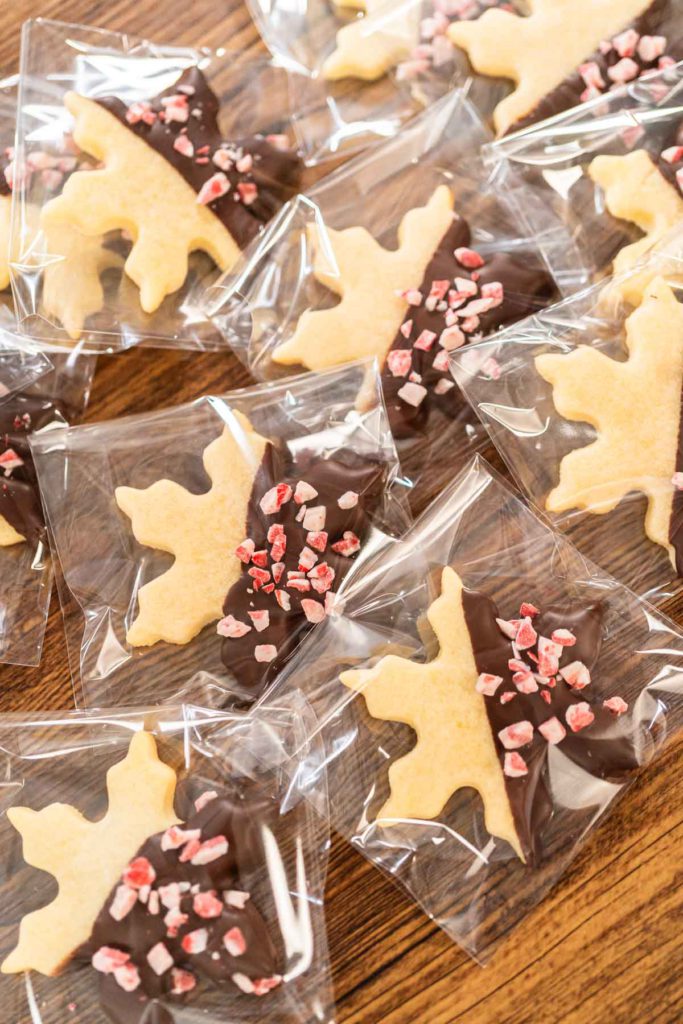
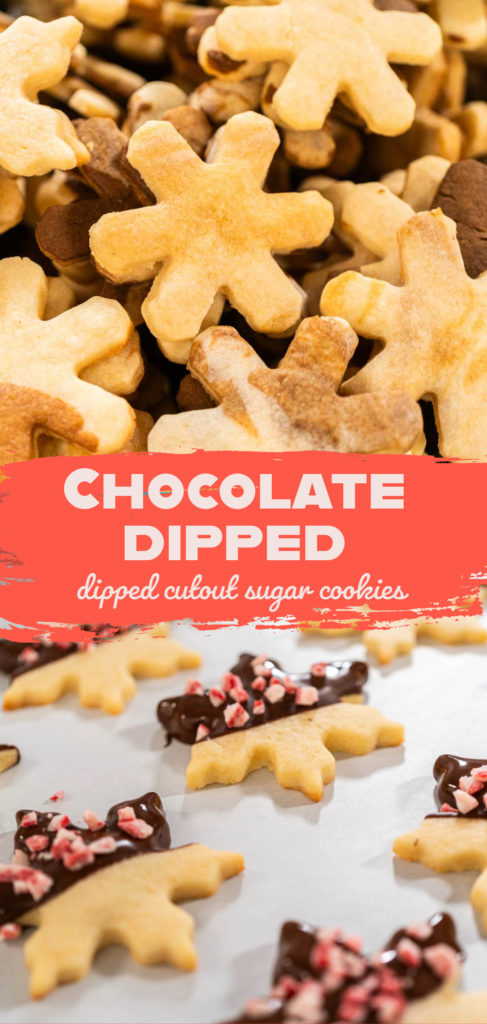
- Dip half of each cookie into the melted chocolate. Gently shake off any excess chocolate. Place the dipped cookies onto the prepared baking sheets lined with parchment paper. Quickly sprinkle your chosen toppings on the chocolate before it starts to set.
- Allow the chocolate to set by placing the baking sheets in the fridge for 5 minutes or leave them out on the counter for about 30 minutes.
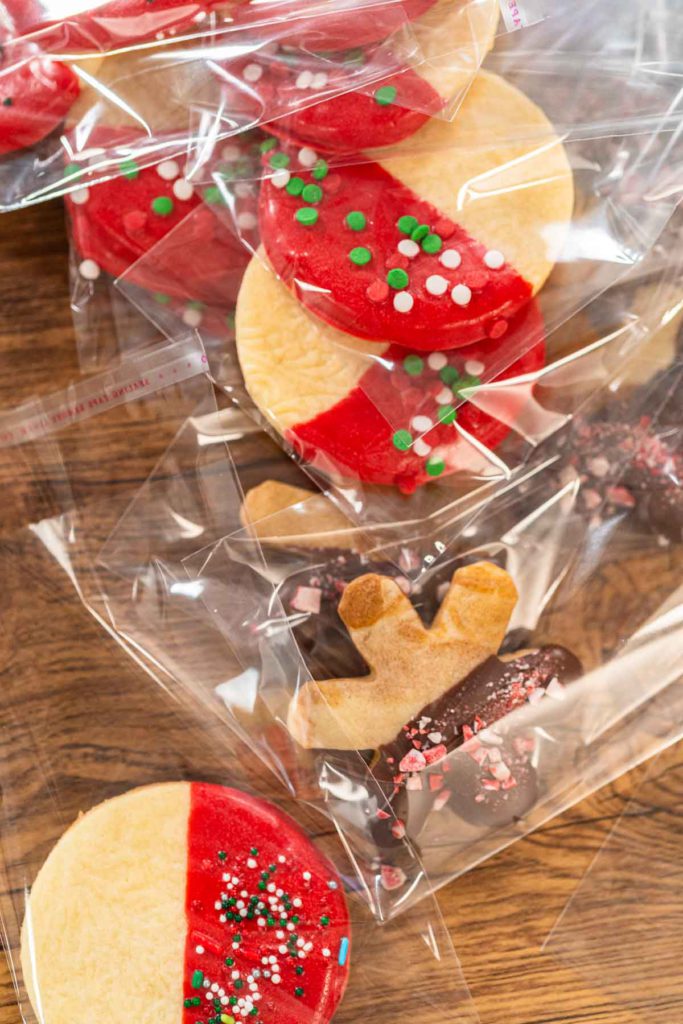
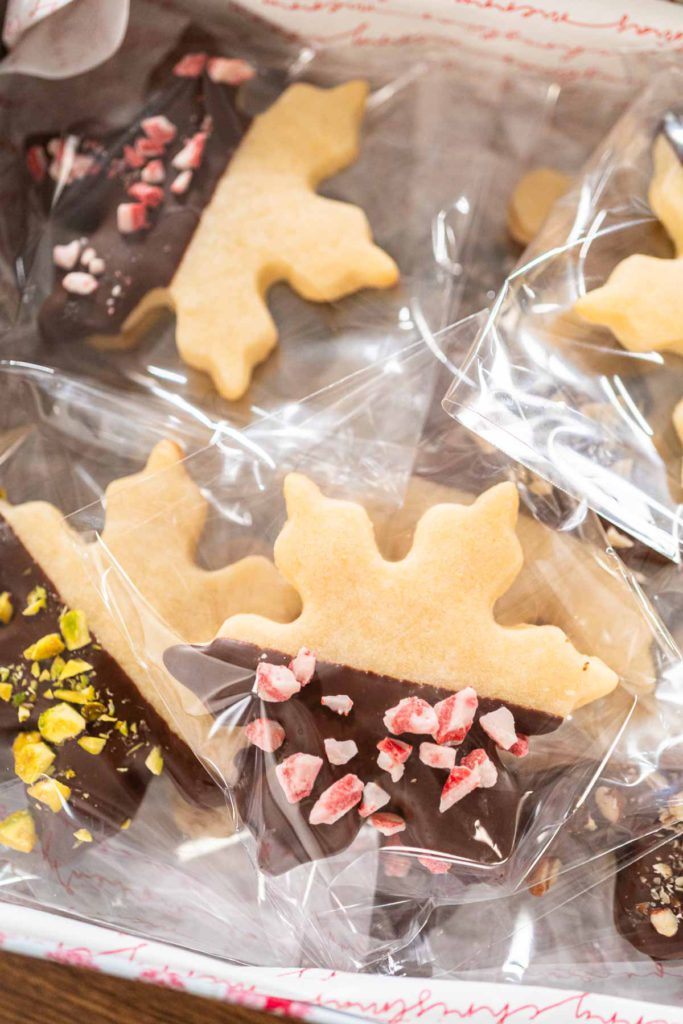
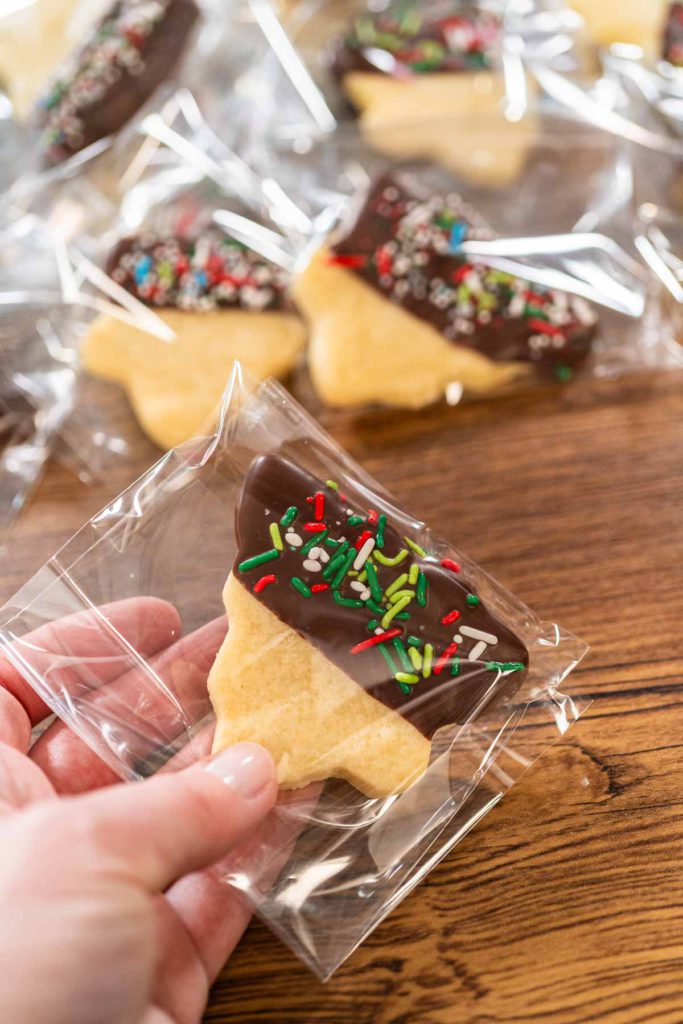
- Once the chocolate is firm, place each cookie into an individual clear sealable bag for gifting or serving.
Christmas food gift ideas
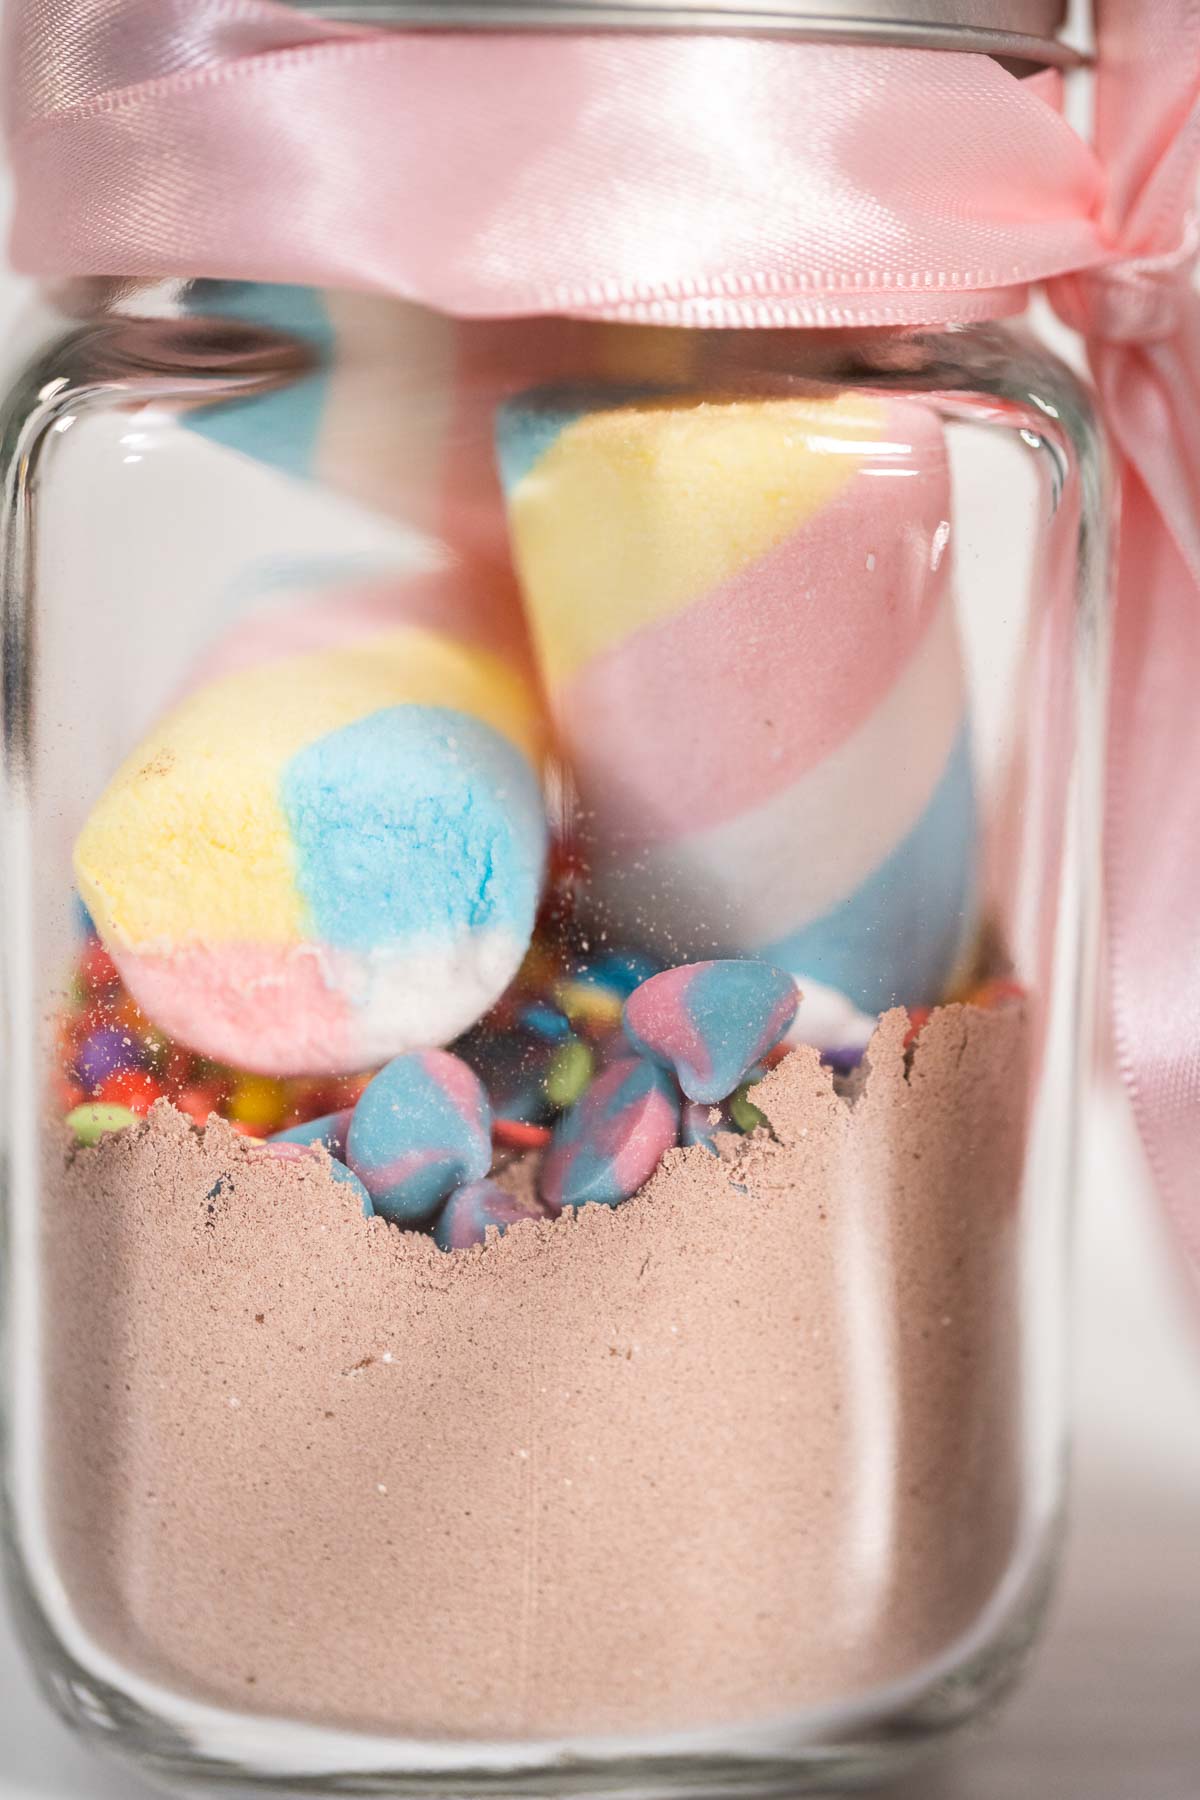
- Unicorn Hot Chocolate Mix
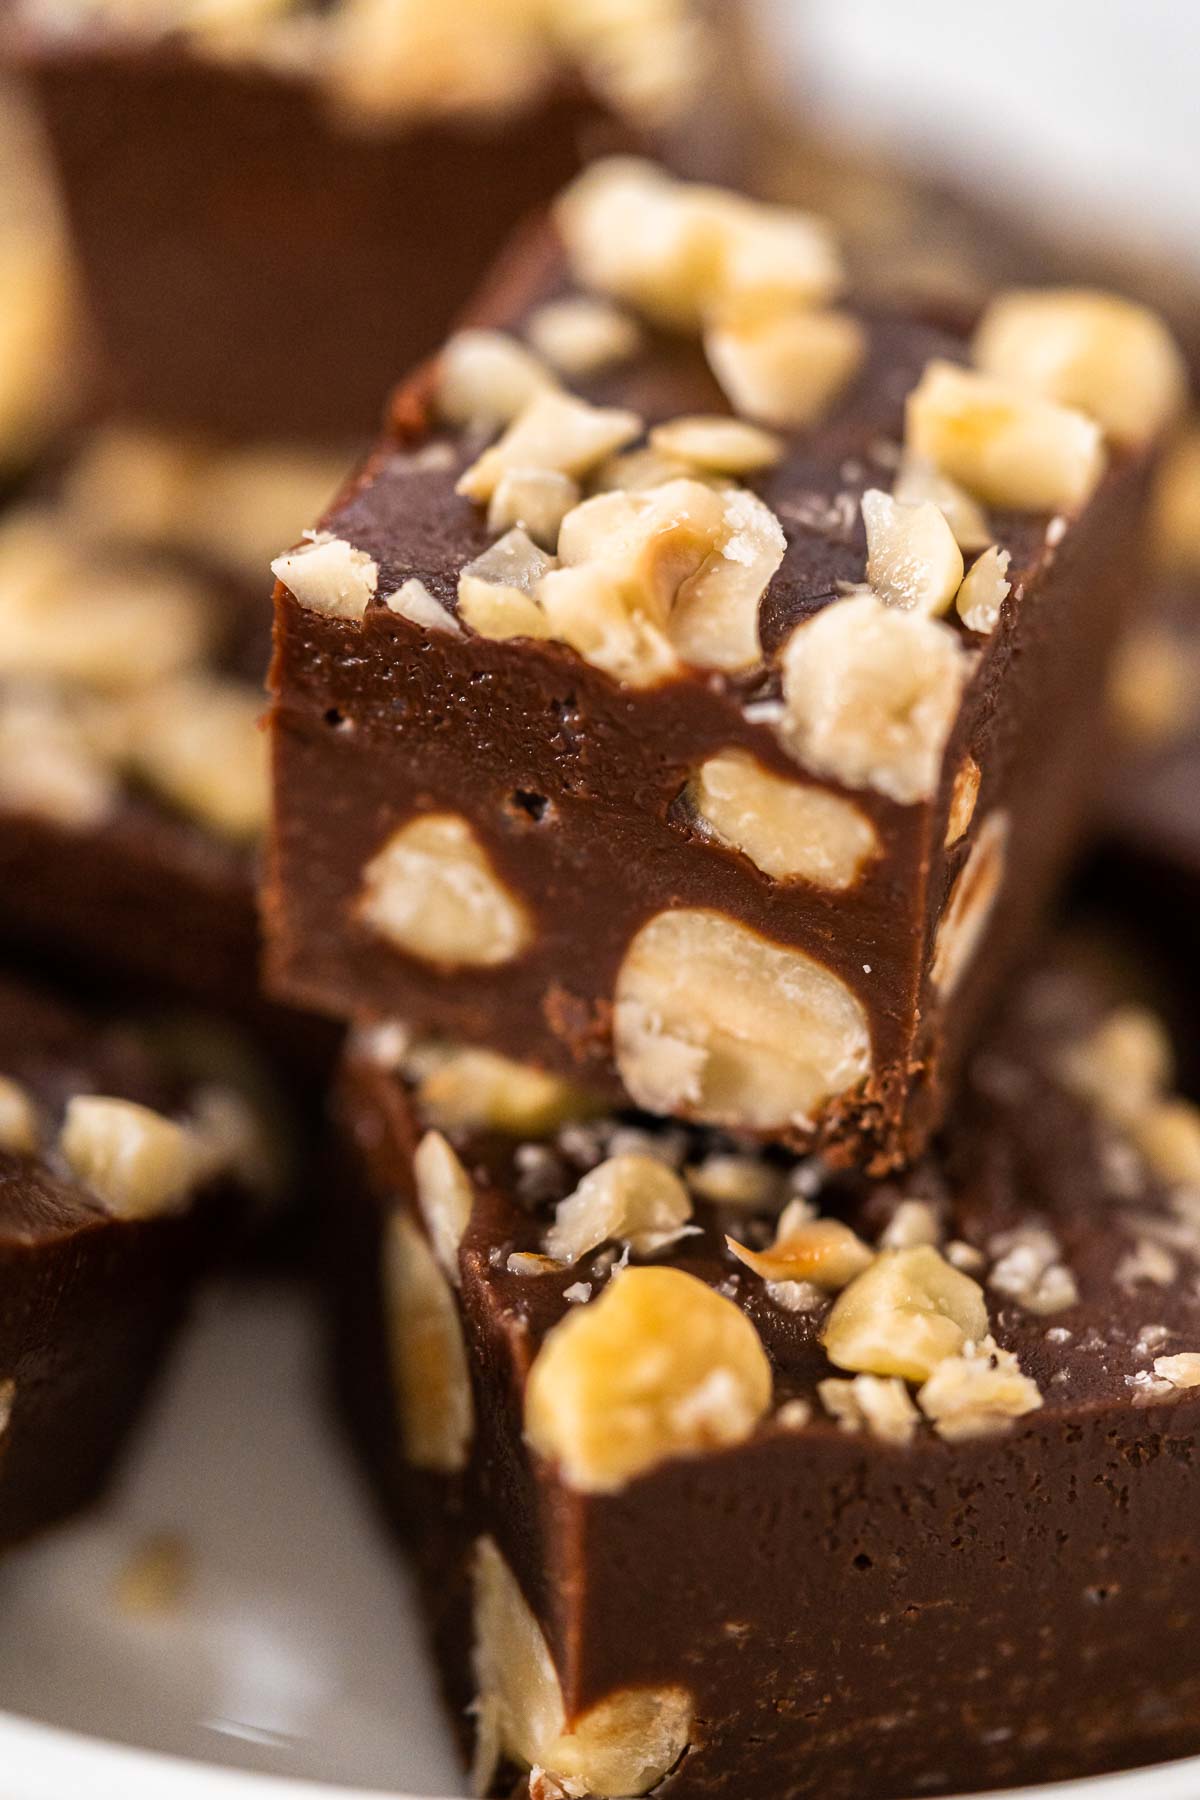
- Chocolate Hazelnut Fudge – Rich, Creamy, and Nutty
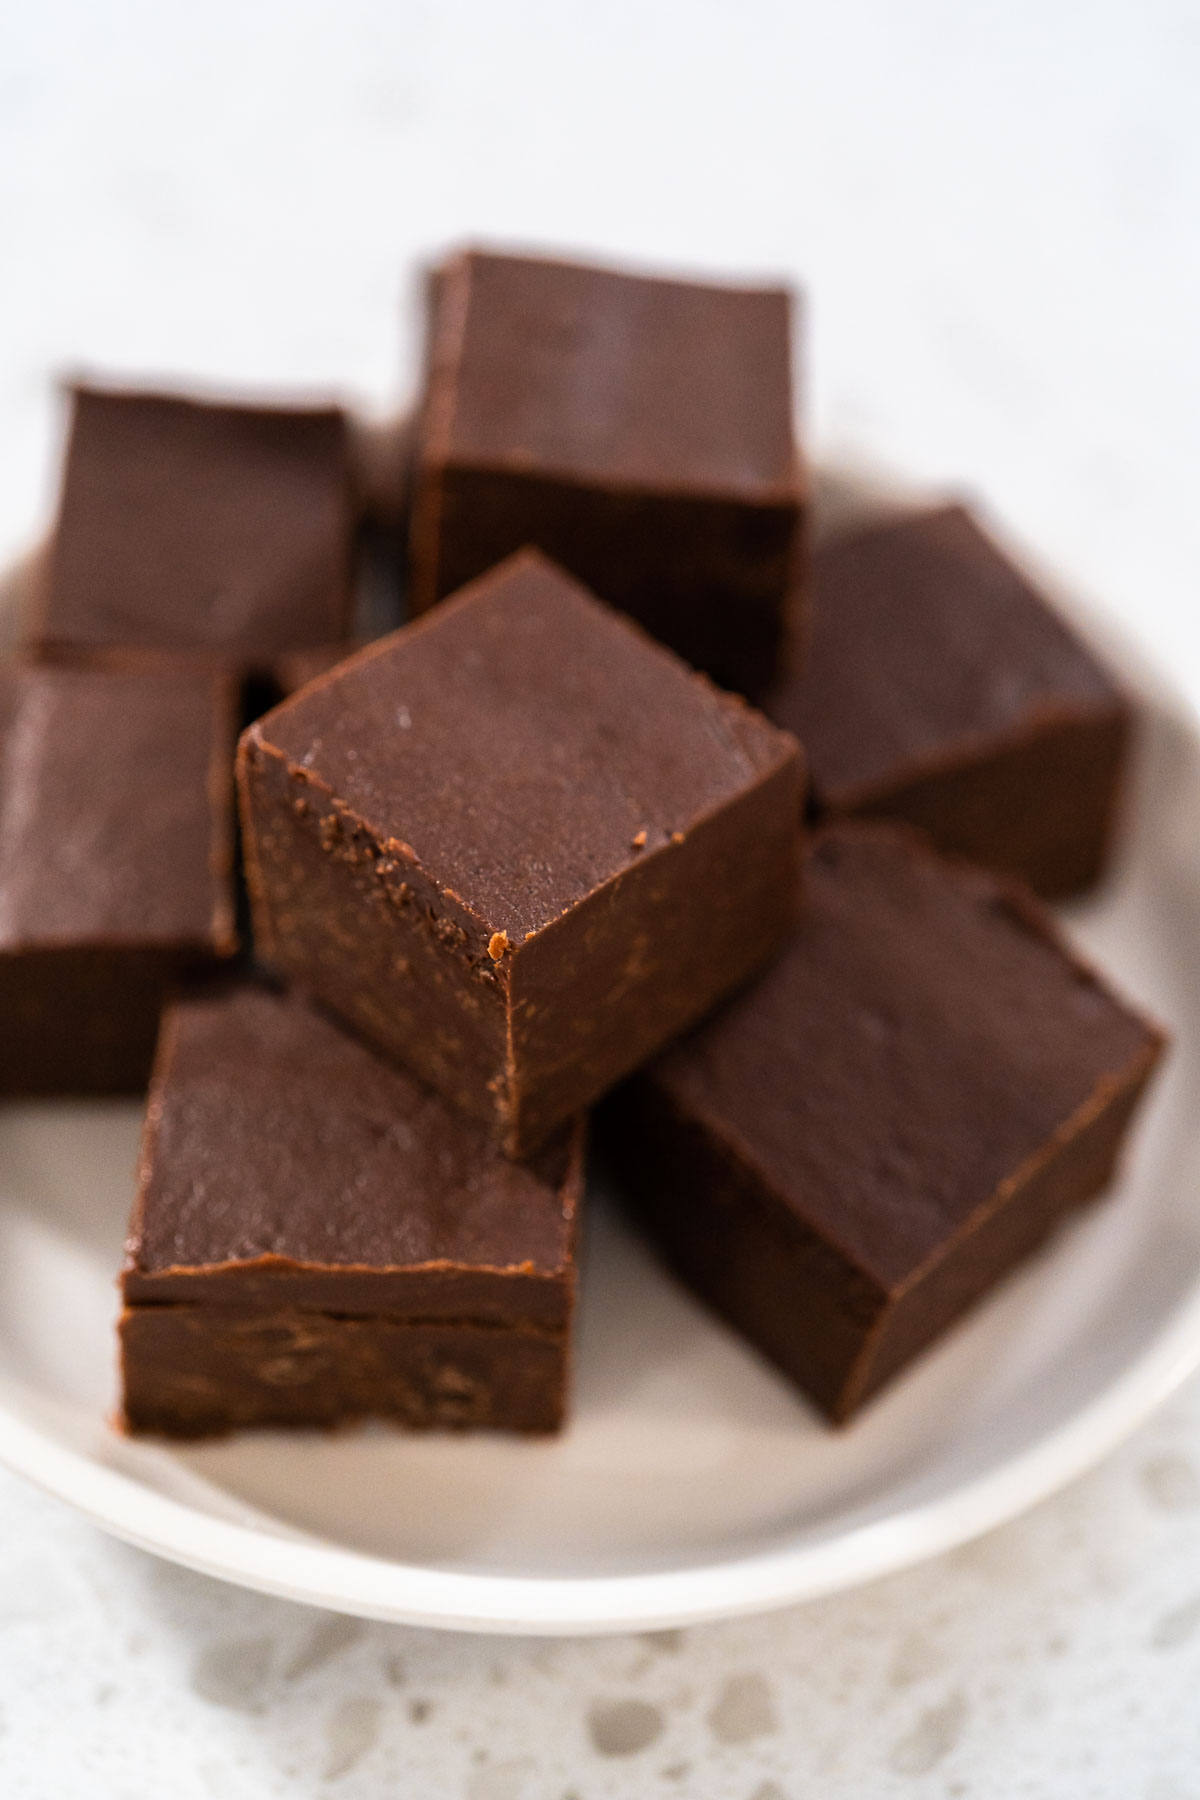
- Classic Chocolate Fudge – Rich, Creamy, and Easy to Make
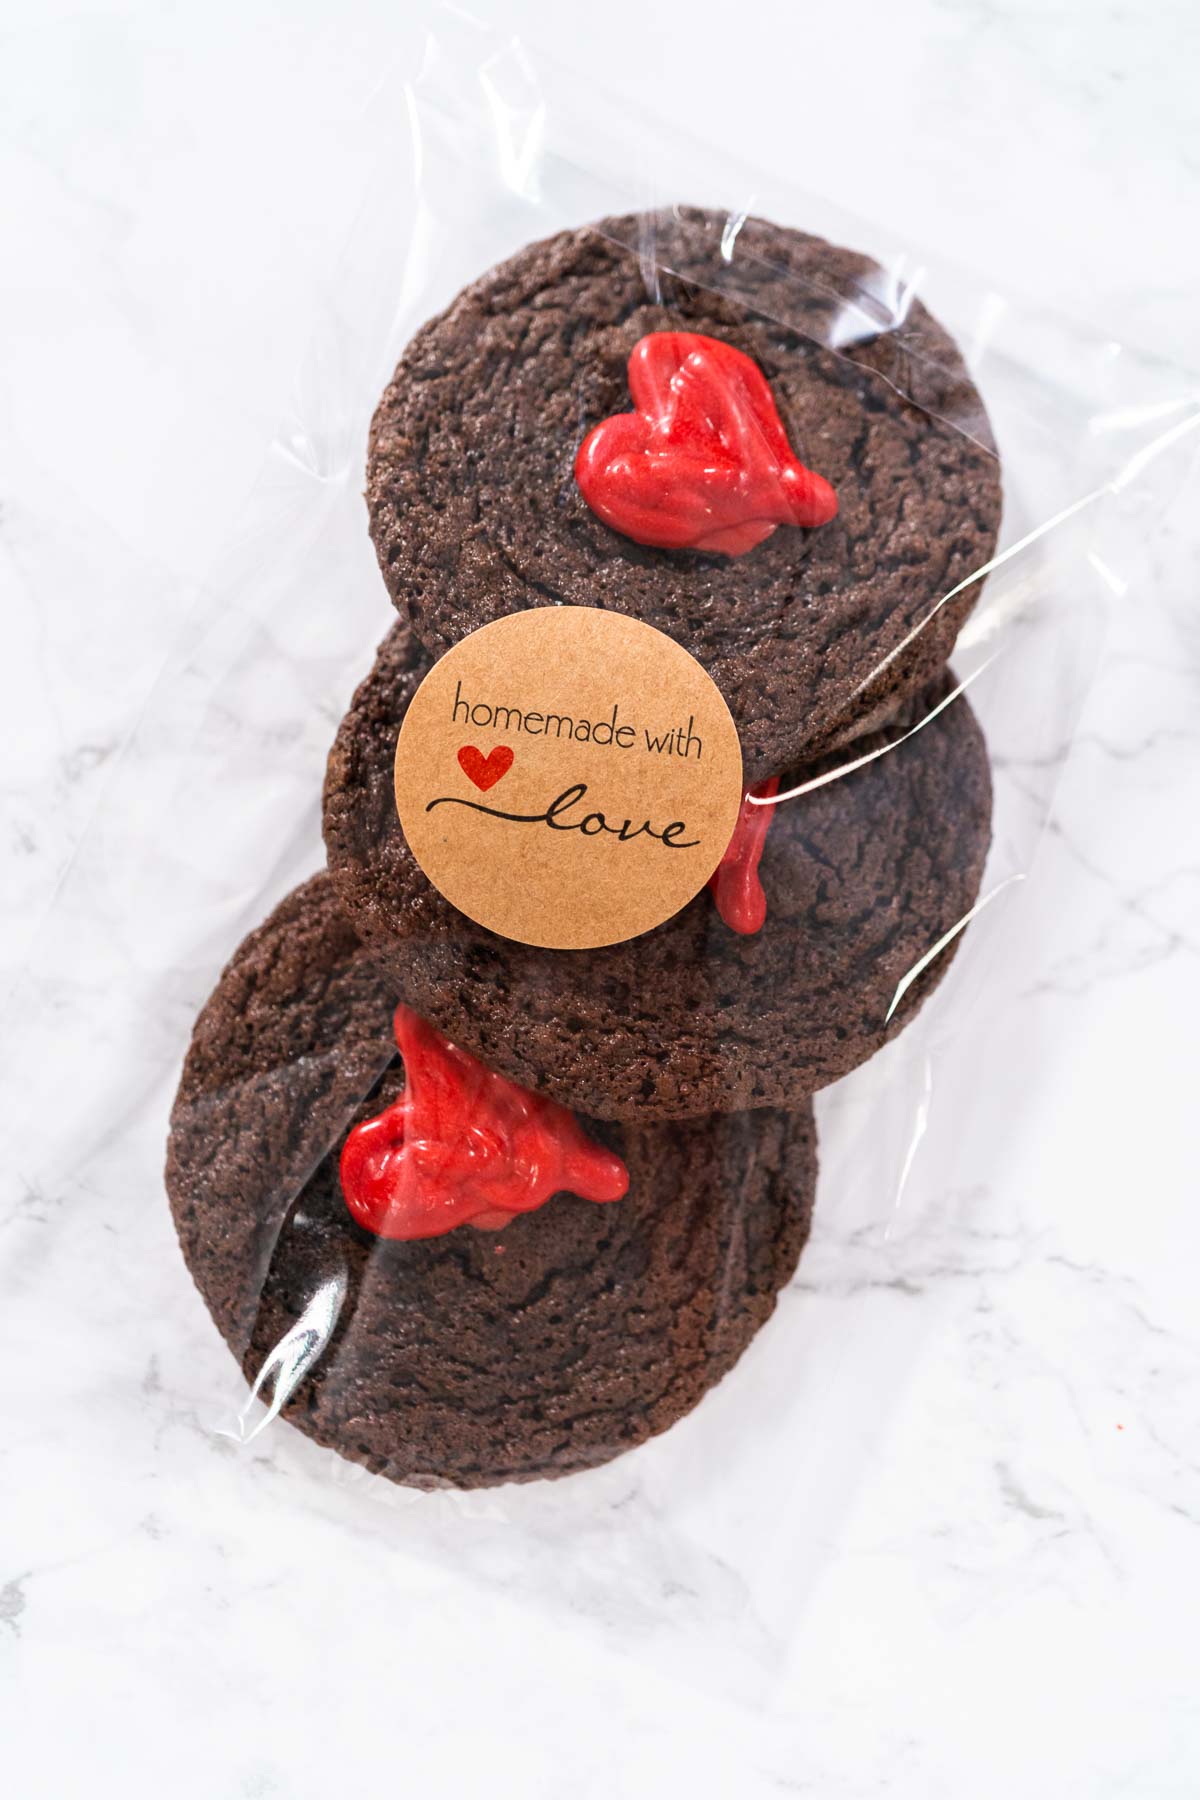
- How to Individually Package Cookies for Gifts (Fresh, Cute & Easy Ideas)
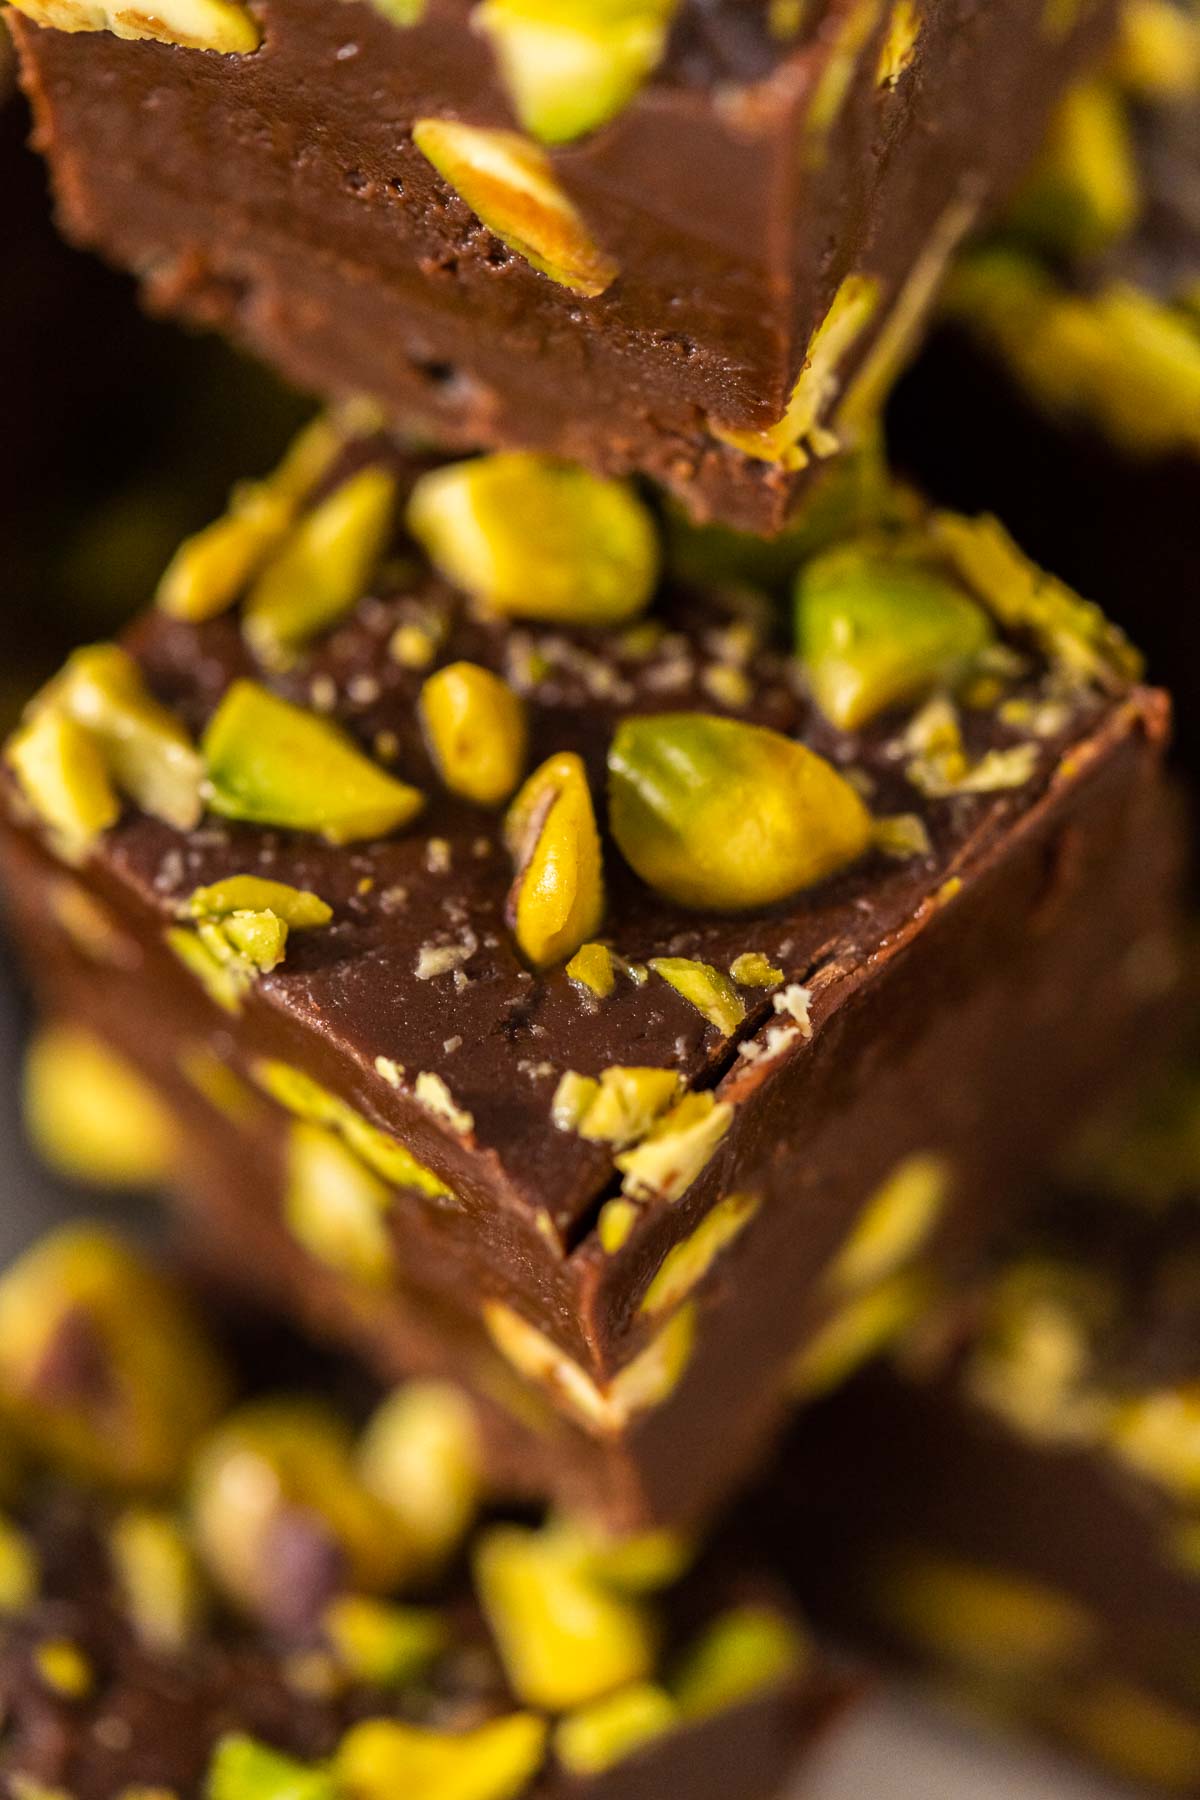
- How to Make Chocolate Pistachio Fudge (Easy No Bake Recipe)
- How to Make Clear Sugar Lollipops at Home
Setting the Chocolate
After dipping your cookies in the luscious chocolate, the next step is setting them to perfection. You have two primary methods: chilling them in the fridge or letting them set at room temperature on the counter. Placing the cookies in the fridge accelerates the setting process, taking about 5 minutes, and is ideal if you're in a hurry. For those who aren’t pressed for time, letting them sit on the counter provides a gentle setting over 30 minutes, which can help prevent condensation and keep the chocolate’s glossy sheen. For more tips on managing chocolate in recipes, check out my How Not To Burn The Bottom Of The Cookies post.
Storage
Proper storage is key to keeping your chocolate dipped sugar cookies fresh and delicious. Here are the best practices for storing your cookies at room temperature, in the fridge, and in the freezer.
Countertop Storage
Keep your cookies in an airtight container on the countertop for up to 5 days. Ensure they are fully set and cooled before storing to maintain their crisp texture and prevent any condensation from softening the chocolate.
Fridge Storage
For longer freshness, you can store the cookies in an airtight container in the refrigerator. They will keep well for up to 2 weeks. This method is particularly useful in warmer climates or during hot seasons when room temperature might cause the chocolate to soften.
Freezer Storage
If you need to keep the cookies for an extended period, freezing is a great option. Place the cookies in a single layer on a baking sheet to freeze individually, then transfer them into a sealable freezer bag or an airtight container. They can be stored in the freezer for up to 3 months. When ready to serve, let them thaw at room temperature for a few hours to preserve the texture of the chocolate and cookies.
By following these storage tips, you can enjoy your chocolate dipped sugar cookies at their best, whether serving them immediately or saving them for a future treat.
Packaging and Presentation
Presentation can turn simple cookies into extraordinary gifts. Consider using clear, sealable bags to showcase the cookies’ decorations while keeping them fresh. Adding a personalized tag or ribbon can add a touch of elegance and thoughtfulness. For larger gifts, stack cookies in a decorative box or tin lined with parchment to keep them neat and protected. You might find additional creative ideas in my post on How to Package Homemade Cookies and Fudge.
More Cookies Recipes
Conclusion
We’ve dipped, decorated, and discussed everything from quick-setting techniques to beautiful packaging. I hope you feel inspired to try making these chocolate dipped sugar cookies, whether for a special occasion or just a treat for yourself. They are a testament to how simple ingredients can be transformed into something both beautiful and delicious. Remember, the key to great baking isn’t just in the recipe but in the joy it brings to both the baker and those who partake in the final products. So, why not give it a try and see how these little delights can brighten someone’s day?
Final thoughts and encouragement to try the recipe
If you’re looking for more ways to get creative with your baking or need a quick solution for a party or gift, these chocolate-dipped sugar cookies are a perfect choice. They combine simplicity with elegance, making them ideal for any baker’s repertoire. And if you enjoyed this baking adventure, you might also love creating Christmas Cookie Cutter Peppermint Fudge or exploring the charming Panda Shortbread Cookies from my blog. Each recipe is a new opportunity to create memories and share happiness. So grab your spatula, and let’s make baking magic together!
Chocolate-dipped cutout sugar cookies
Video
Equipment
Ingredients
Cookies
- 20 cookies baked and cooled
Chocolate dip
- 2 cup Semi-Sweet Chocolate Chips
- 2 teaspoon coconut oil
Toppings
- ¼ cup Andes Peppermint Crunch Baking Chips
- ½ cup Pistachios roughly chopped
- ½ cup Macadamia nuts roughly chopped
- ½ cup rainbow sprinkles
- ½ cup Raw hazelnuts roughly chopped
- ½ cup toasted coconut
Instructions
- prepare cookies for dipping. it could be any undecorated cookies. if you want to save some time, then buy undecorated cookies at the store.prepare 3 baking sheets liked with parchment paper
- prepare all toppings for decorating cookies
- combine chocolate chips and coconut oil in candy melting pot. turn on high. keep stirring with silicone spatula till no chunks are left
- dip half of the cookies in melted chocolate, chake gently off extra chocolate. place on baking sheet lined with parchment paper. Immidiately sprinkle with topping of your choice before chocolate will start hardened.Let chocolate harden for 5 minutes in fridge or 30 minutes on the counter.
- place each cookie indidual cookie in sealable clear bag for gifting
Food Photography & Video Tips from My Studio
Here’s a peek at the tools, gear, and camera setups I use to film my recipe videos and photograph food at home. Over the years, I’ve tested dozens of different setups, and now I’m sharing what actually works for me—whether I’m filming overhead shots for YouTube or styling still photos for my blog. If you’re curious about how I create the content you see here, these posts are a great place to start.











Leave a Reply