|
This post contains affiliate links.
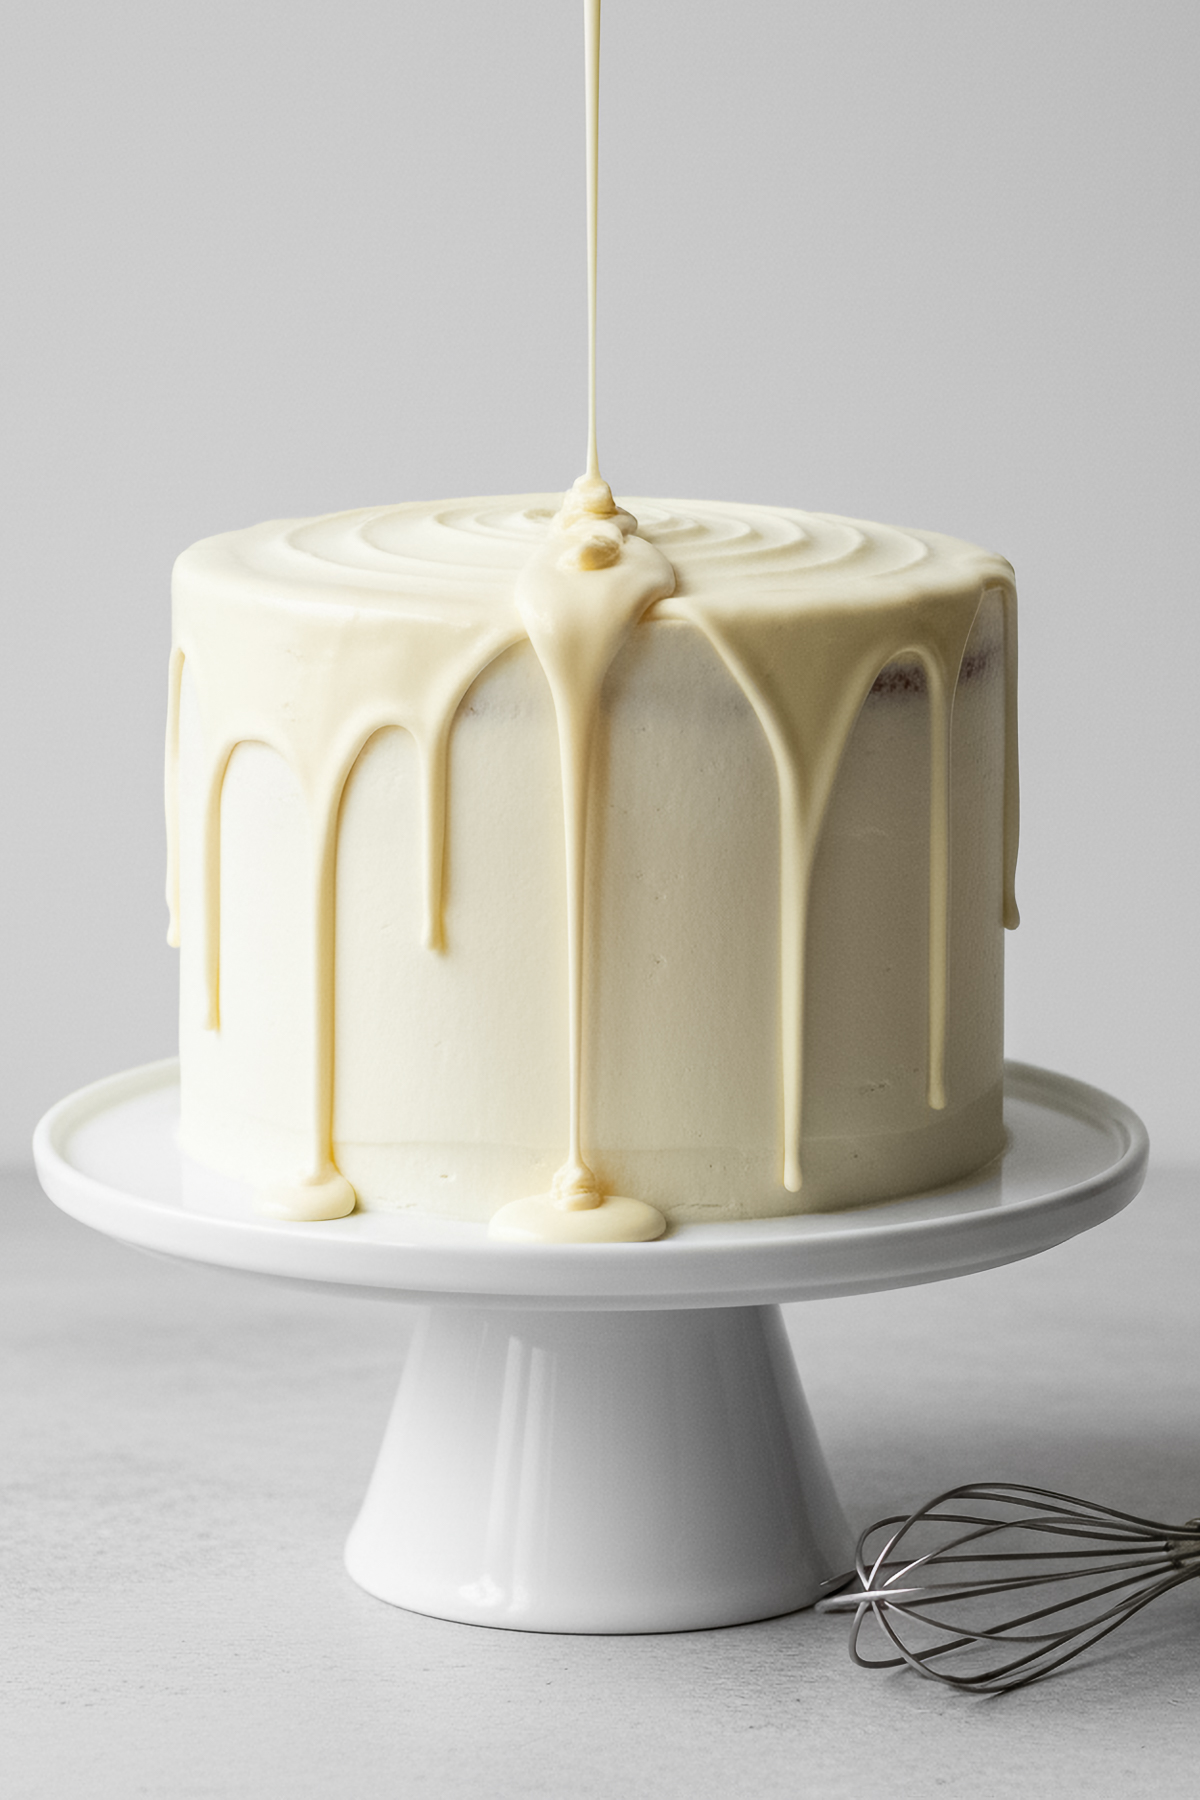
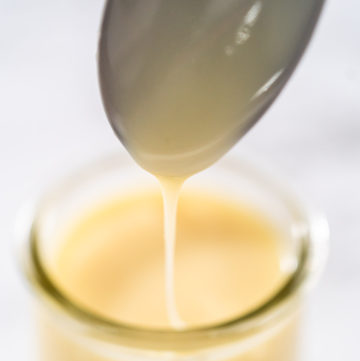
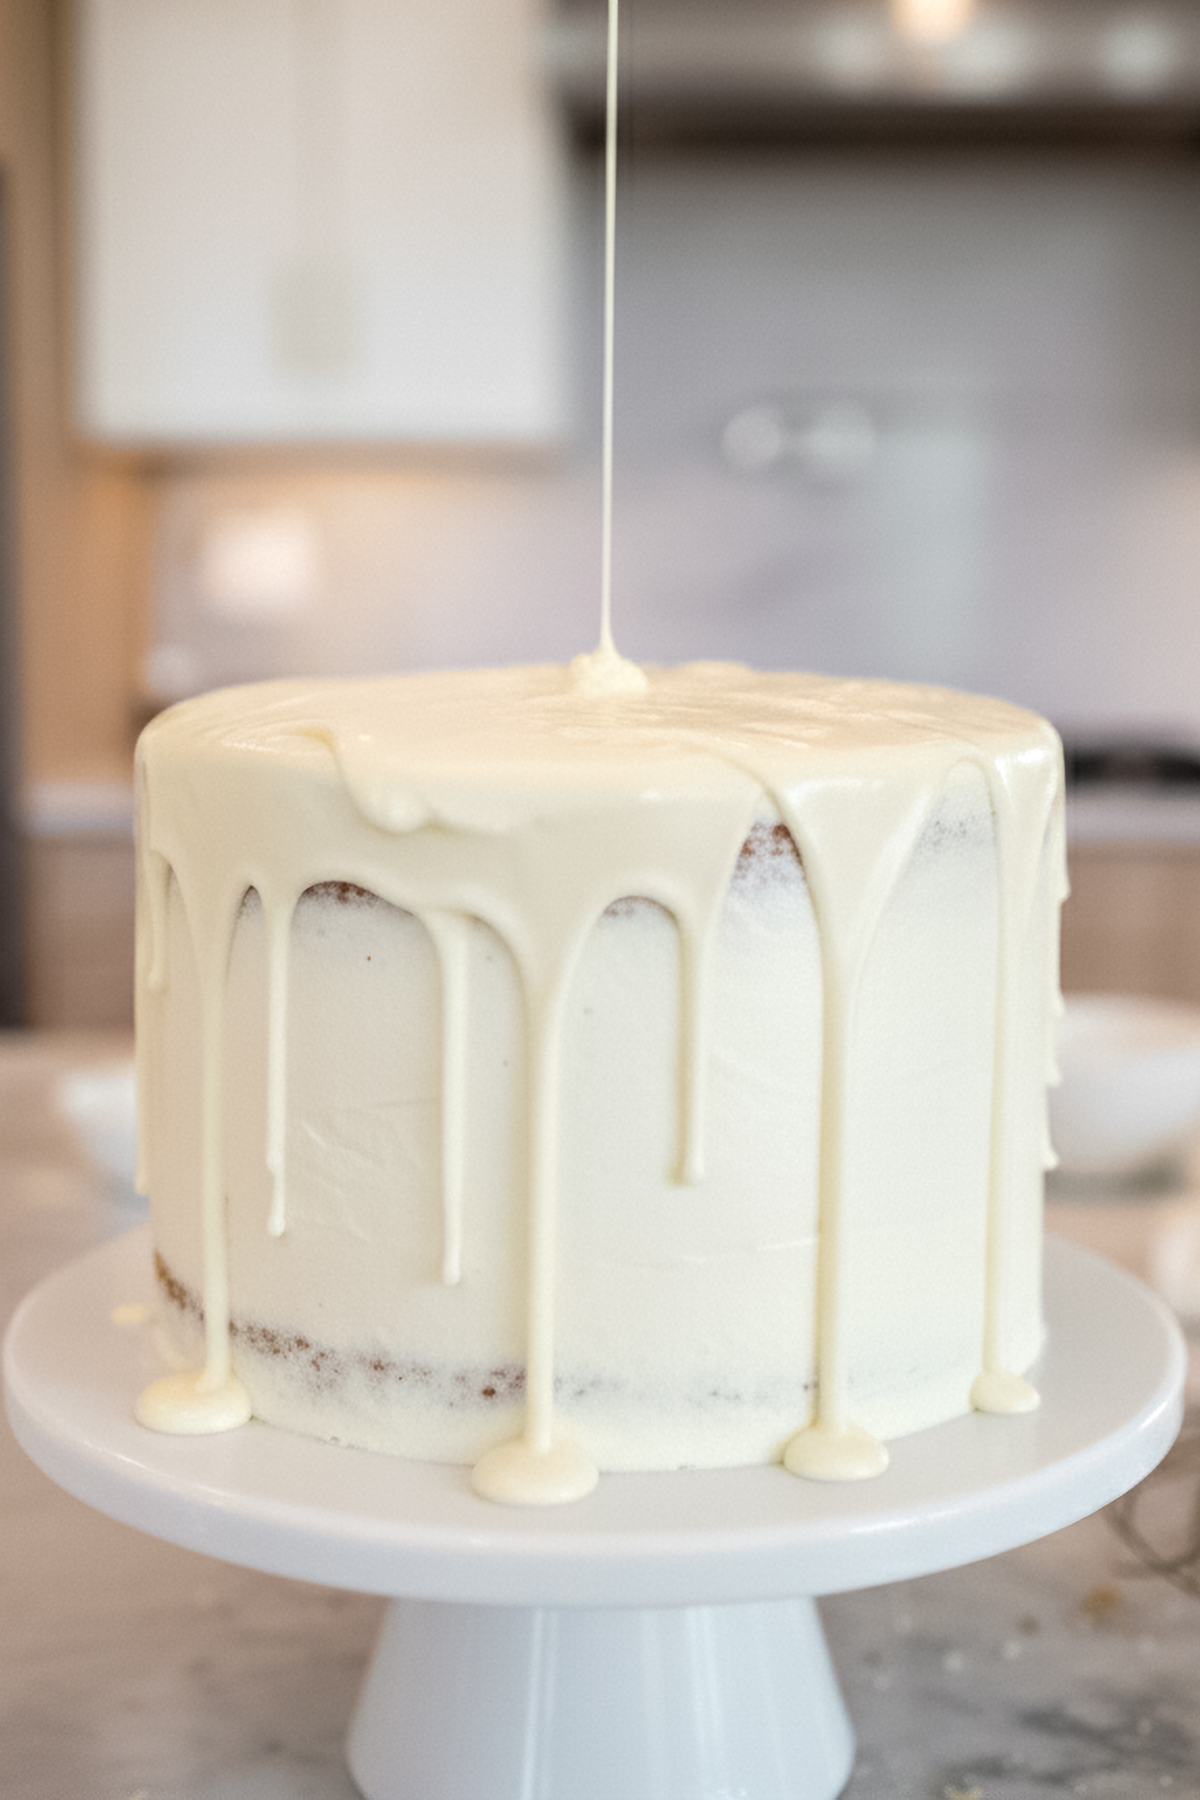
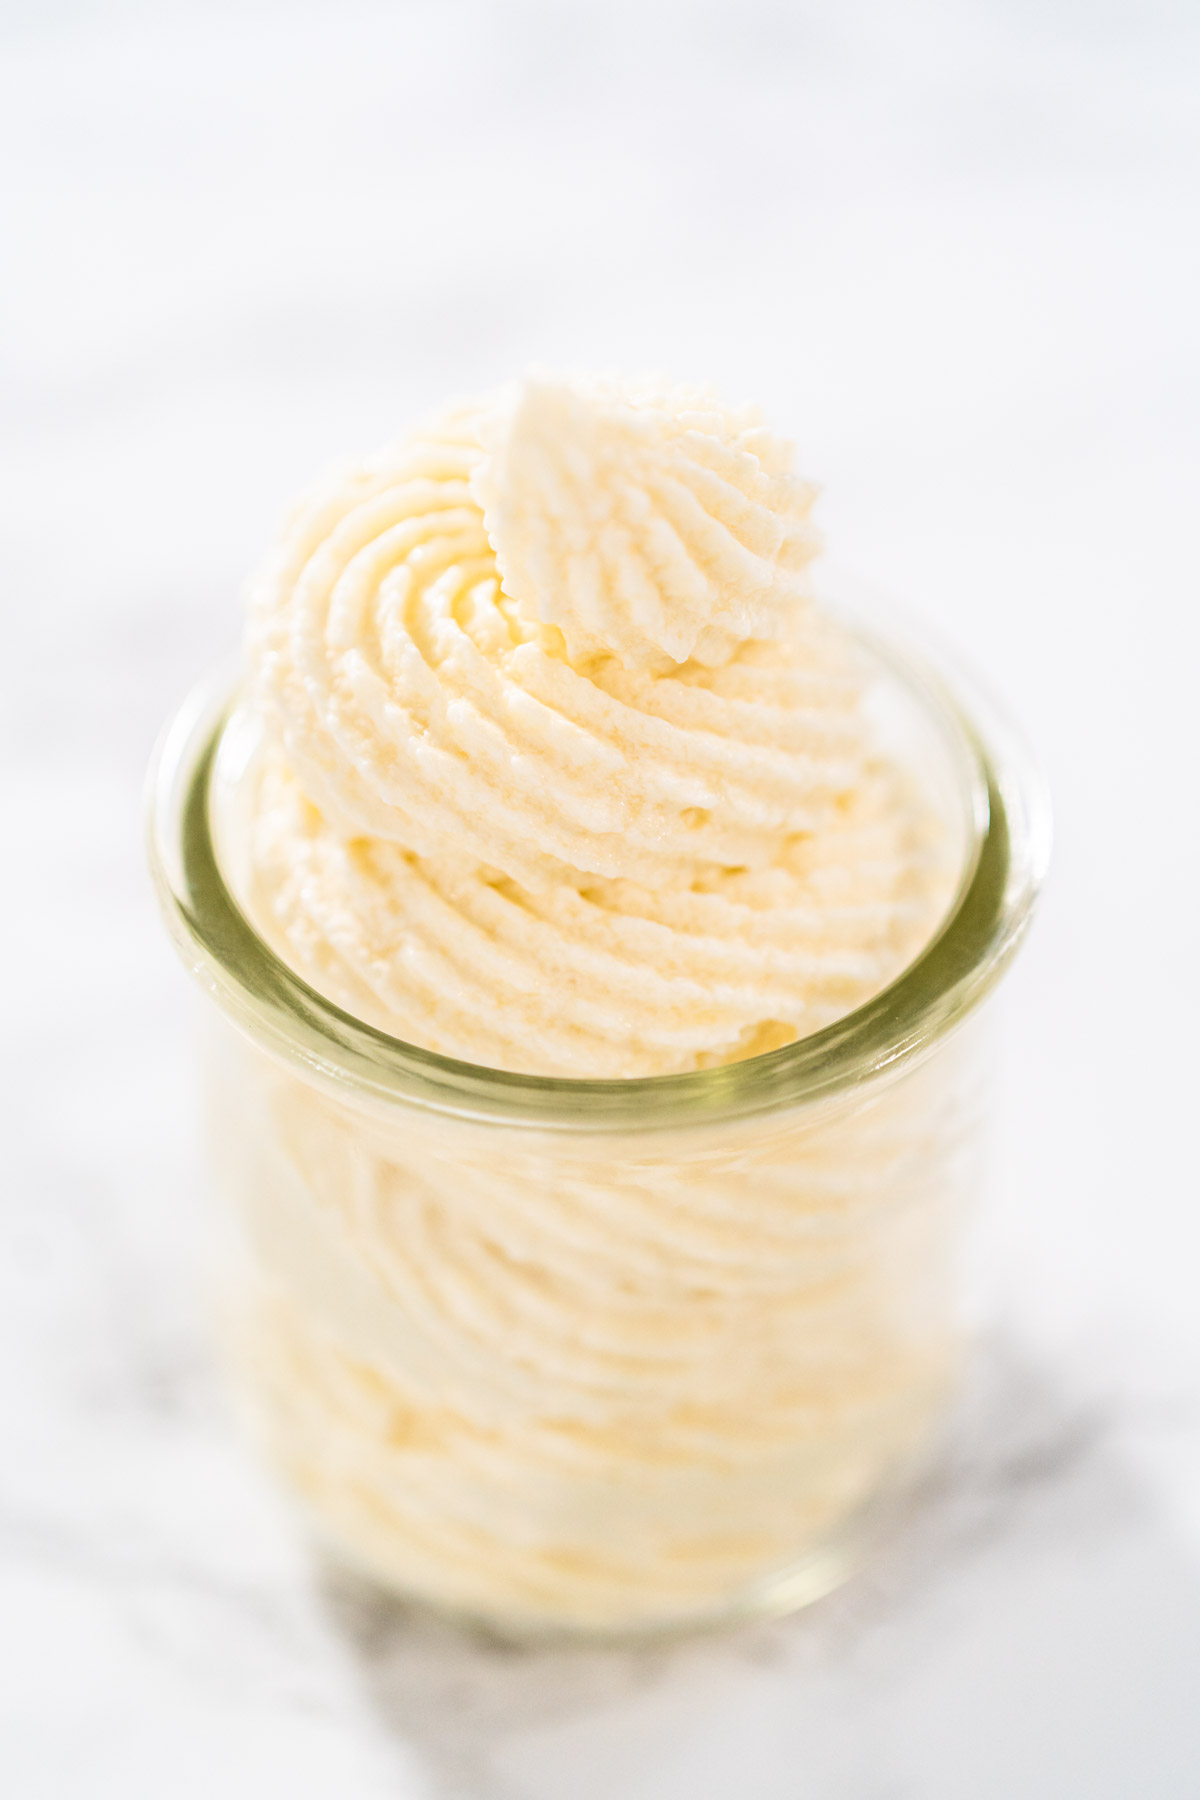
There’s something magical about a silky White Chocolate Ganache—it turns even the simplest desserts into elegant masterpieces. Whether you drizzle it over cupcakes, dip strawberries, or fill flaky pastries, this luscious ganache makes everything taste and look bakery-perfect. I use it constantly during the holidays when I want my desserts to look fancy without spending hours decorating.
When I first made this ganache, I couldn’t believe how simple it was — only two ingredients! It’s smooth, rich, and perfectly sweet, with that creamy white chocolate flavor that pairs beautifully with fruit, cakes, or cookies. And trust me, once you taste it, you’ll find yourself looking for excuses to make another batch.
If you love dessert toppings like this, check out my Homemade Caramel, Chocolate Ganache, and Italian Buttercream Frosting — they’re all elegant yet surprisingly easy to make.
Why You’ll Love This Recipe
- Only 2 ingredients! Simple and foolproof.
- Versatile: Perfect for dipping, drizzling, or filling.
- Quick to make: Ready in just 10 minutes.
- Elegant finish: Instantly upgrades any dessert.
- Customizable: Add extracts, citrus zest, or food coloring for special occasions.
Watch how I make this recipe
Tools That Make It Easier
- Saucepan – Heats the heavy cream evenly without scorching, ensuring a smooth, lump-free ganache.
- Silicone spatula – Ideal for gently mixing and scraping the sides of the pan, ensuring all the chocolate melts evenly.
- Measuring cup and spoons – Help maintain the perfect chocolate-to-cream ratio for consistent results.
- Glass mixing bowl – Perfect for observing the consistency while stirring and cooling.
- Squeeze bottle or airtight jar – Great for drizzling, storing, or reheating ganache easily.
Arina’s Tip: Use a heat-resistant silicone spatula—it gives you more control when folding the chocolate into the cream and prevents burning or seizing.
What You’ll Need From Your Pantry
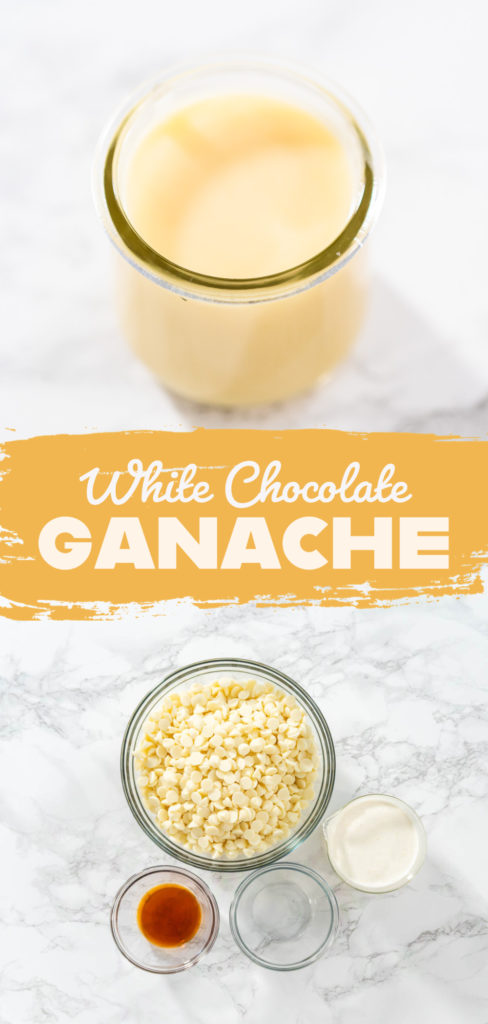
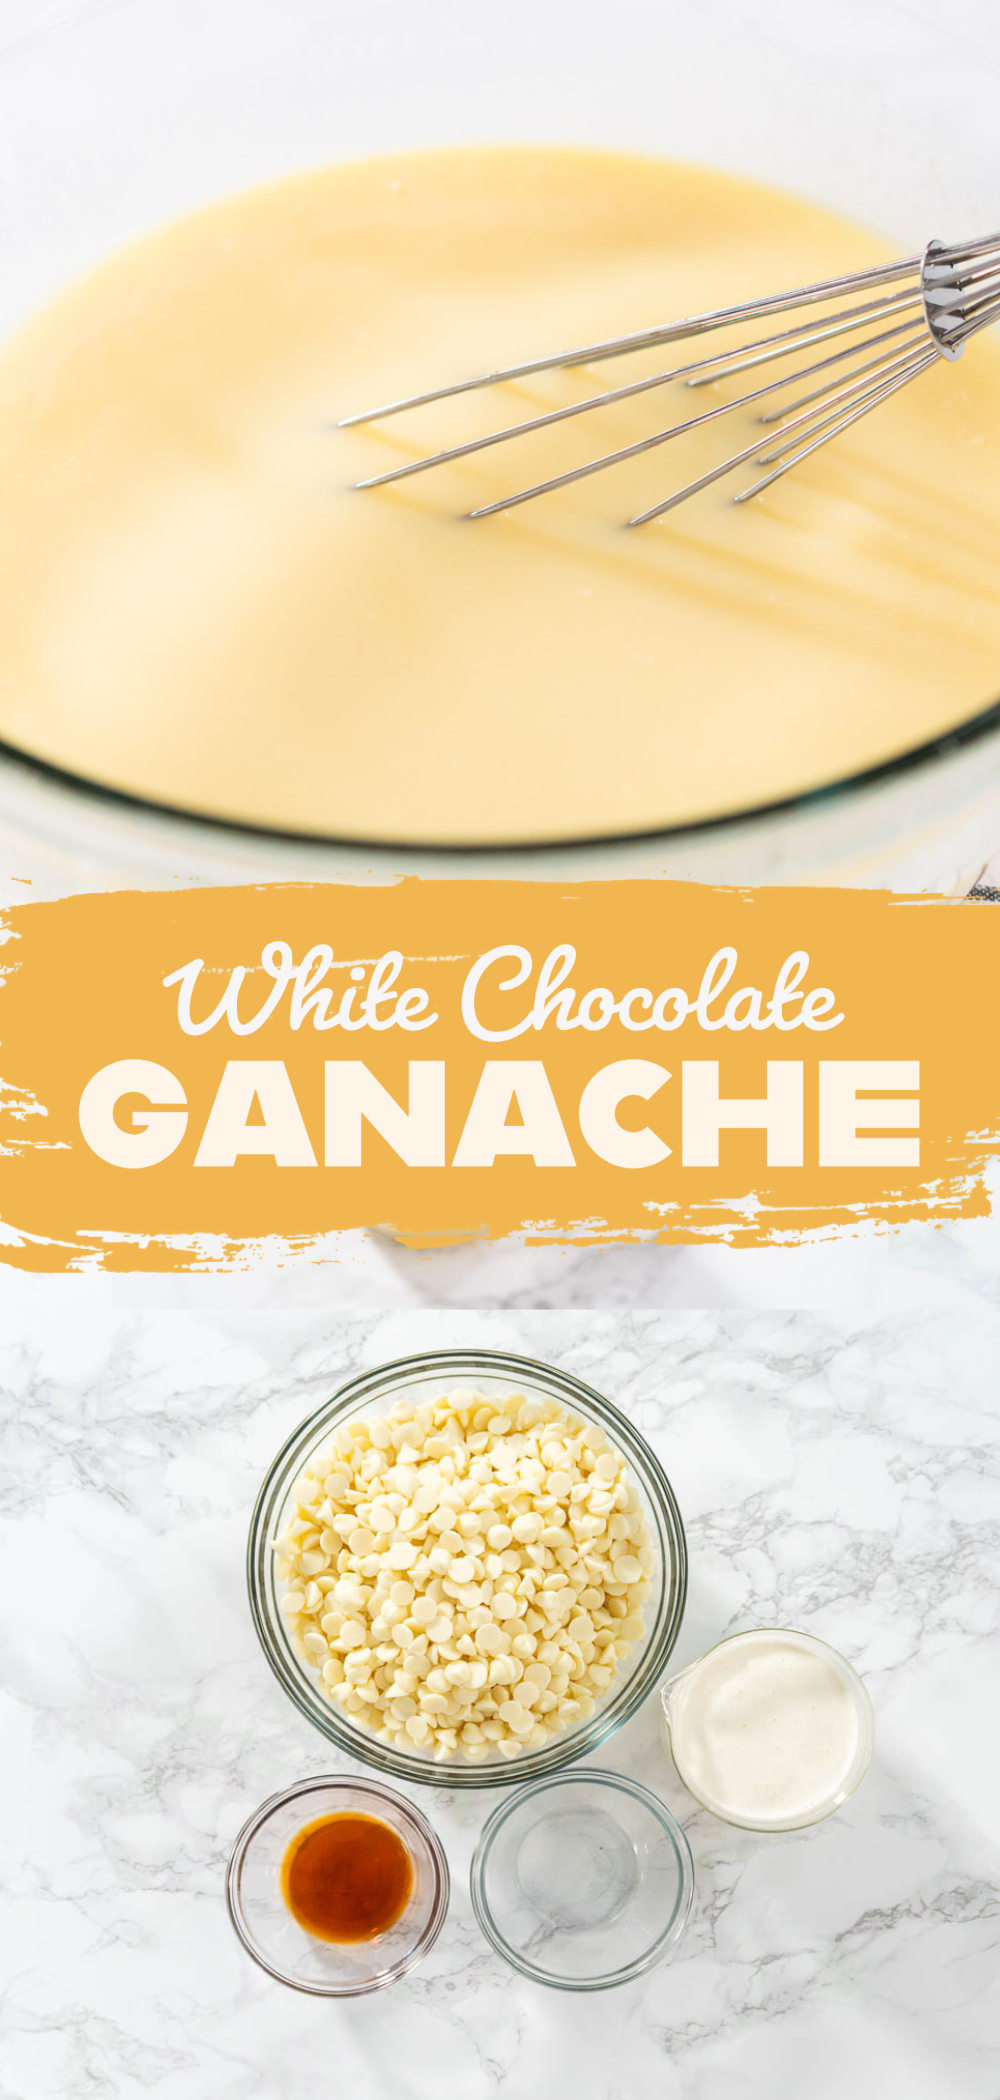
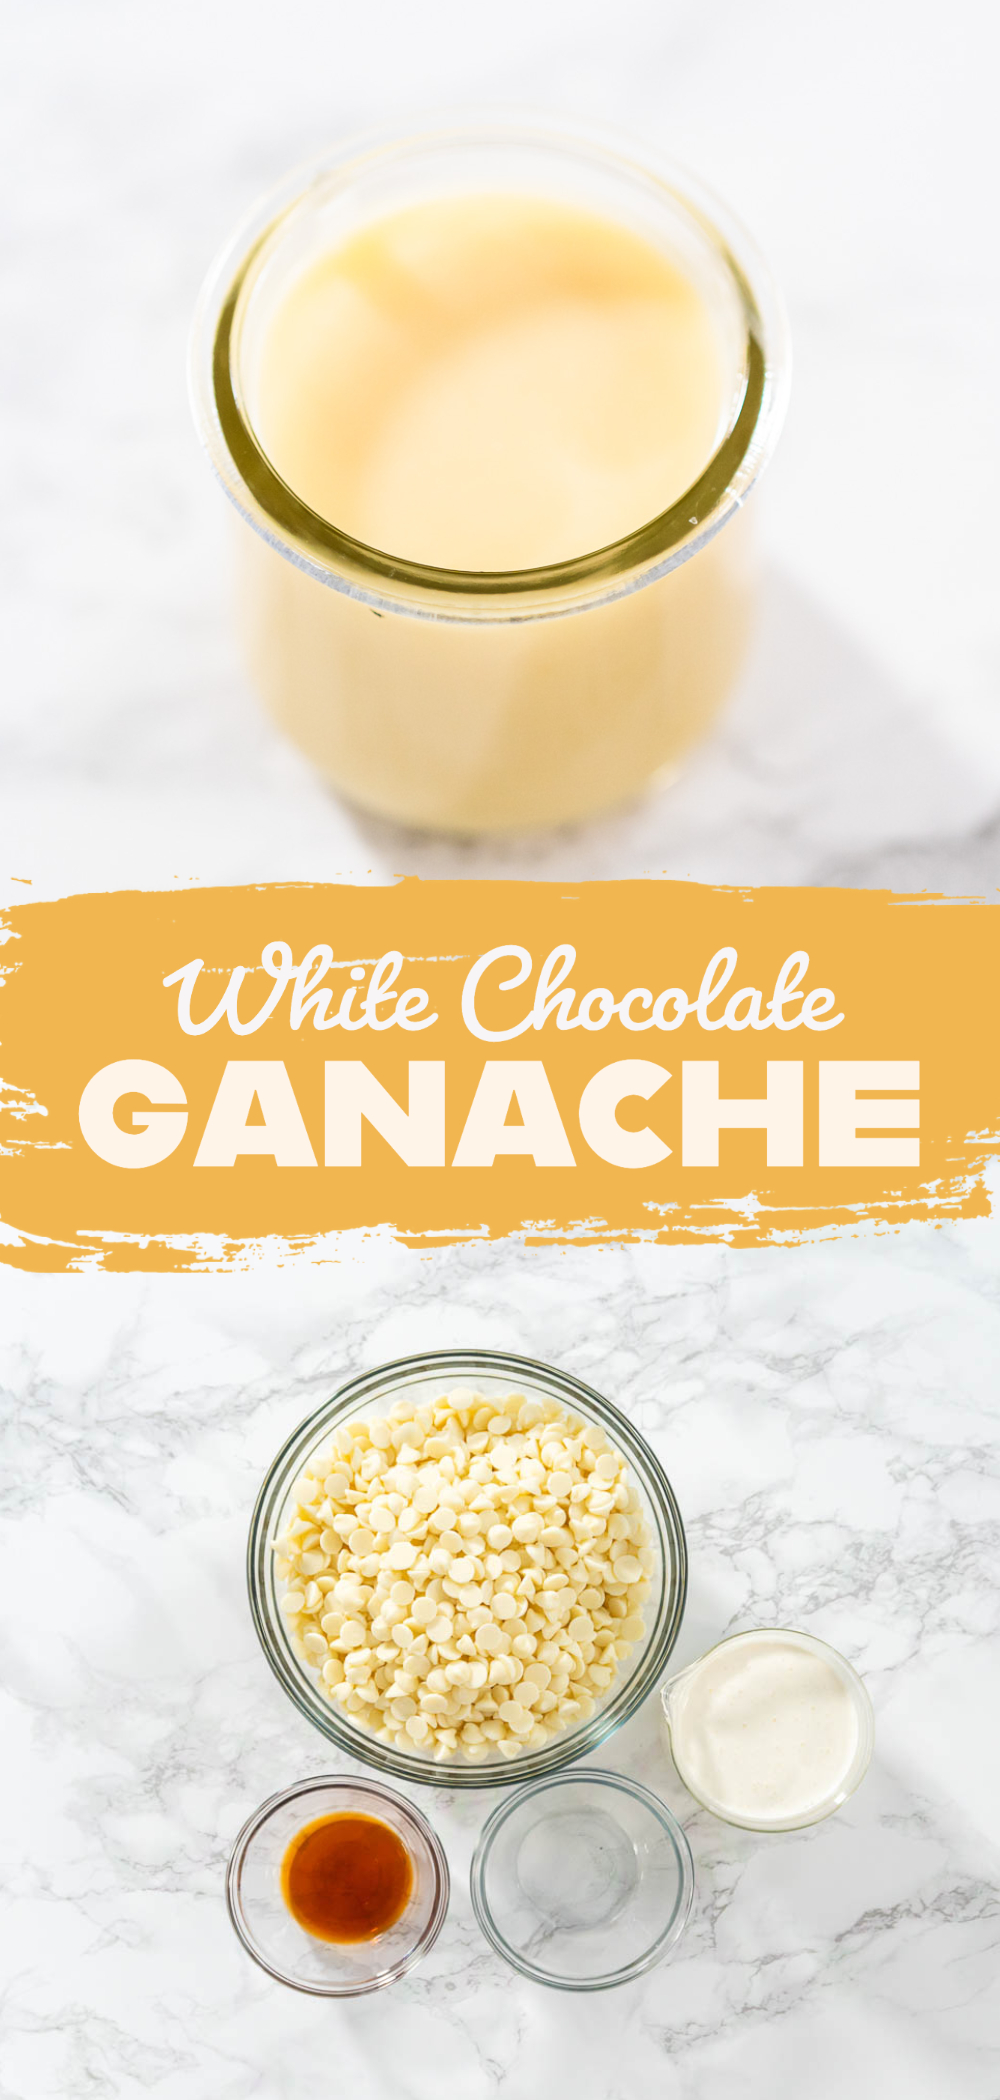
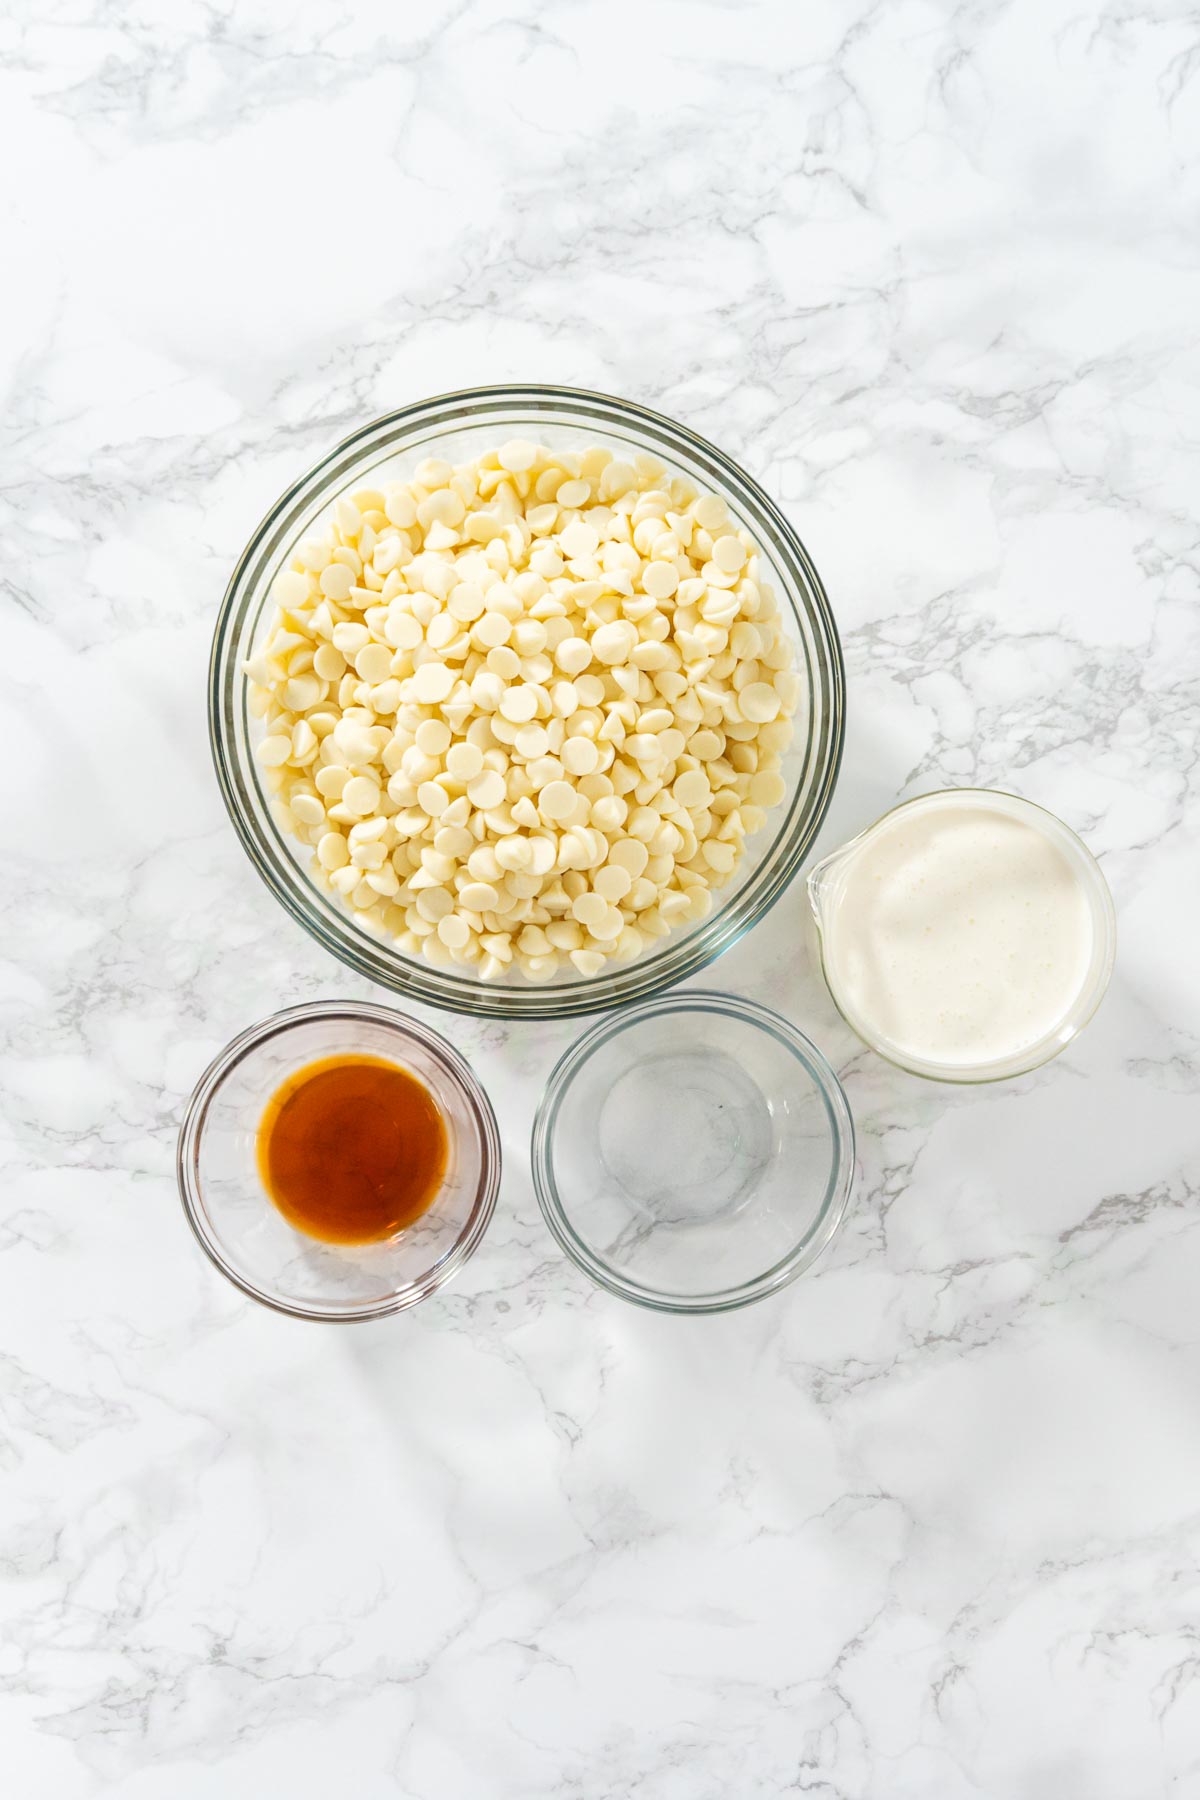
- 1 cup Heavy Whipping Cream
- 24 oz White Chocolate Chips
- ⅛ teaspoon Salt
- 1 teaspoon Vanilla Extract
Ingredient Tip: Use high-quality white chocolate chips or bars with cocoa butter listed as one of the first ingredients—this ensures the best melting and flavor.
Before You Start: My Quick Tip
- Patience pays off: Don’t skip the chilling time—this helps achieve that perfect creamy texture.
- Whisk gently: Stir just enough to combine; overmixing can add air bubbles and make the ganache grainy.
- For a thicker consistency: Chill longer or use slightly less cream.
- Flavor upgrades: Add a splash of almond extract or a bit of espresso powder for a new twist.
Latest Video
Let’s Make It Together
- Measure all ingredients.
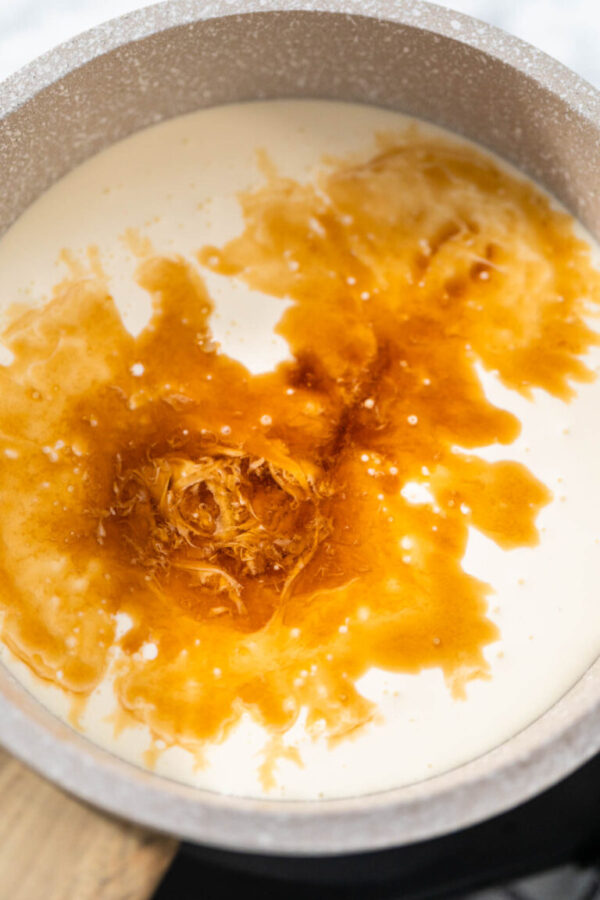
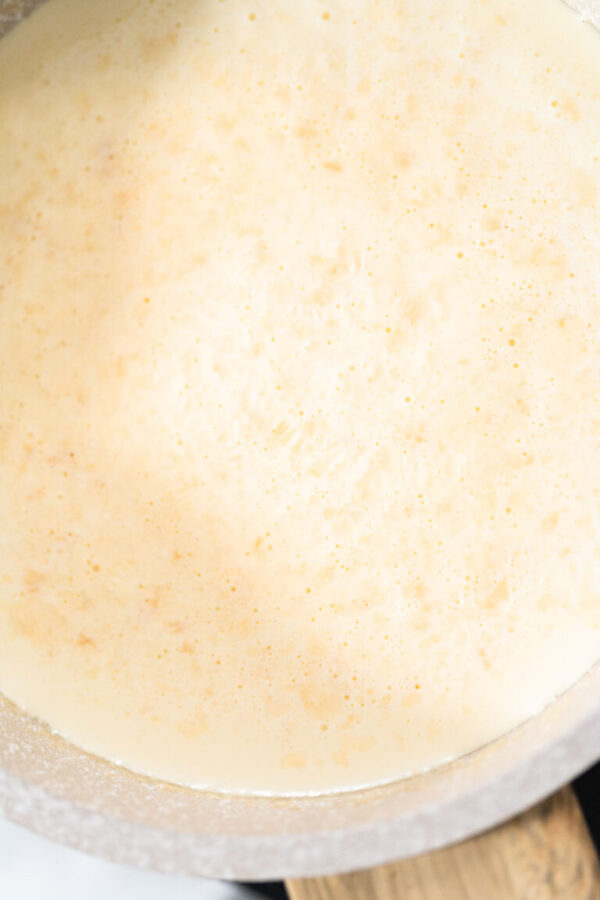
- Heat the cream: Pour the heavy whipping cream into a saucepan over medium heat. Stir occasionally until the cream is hot but not boiling.
- Combine with chocolate: Remove the saucepan from heat. Add the white chocolate chips, salt, and vanilla extract. Let the mixture sit for 1–2 minutes to soften the chocolate.
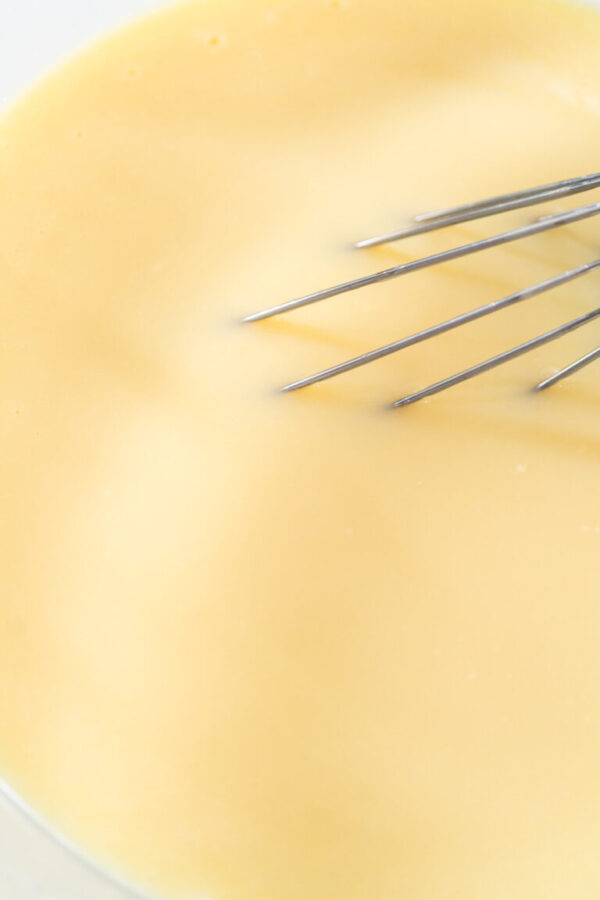
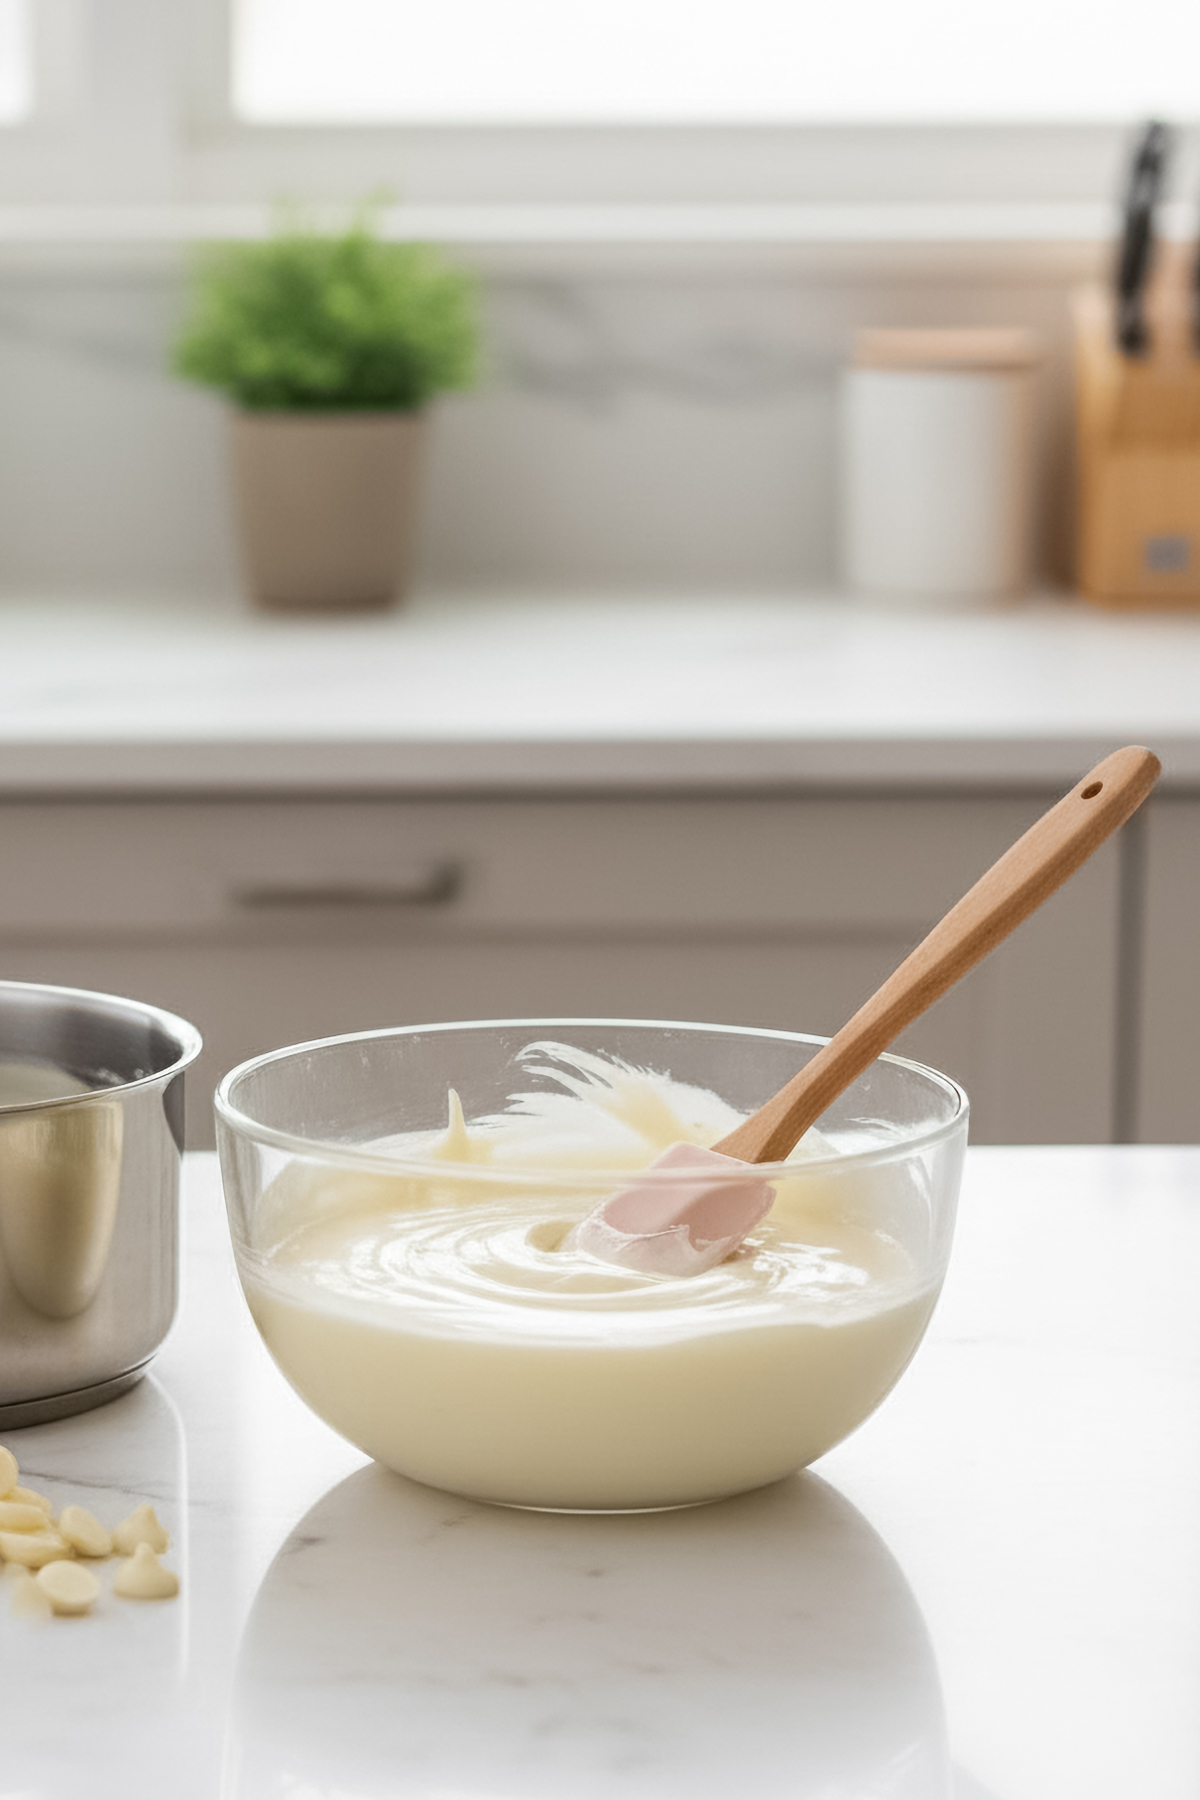
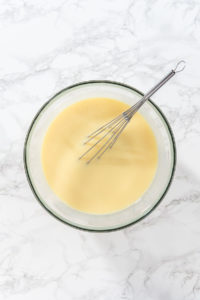
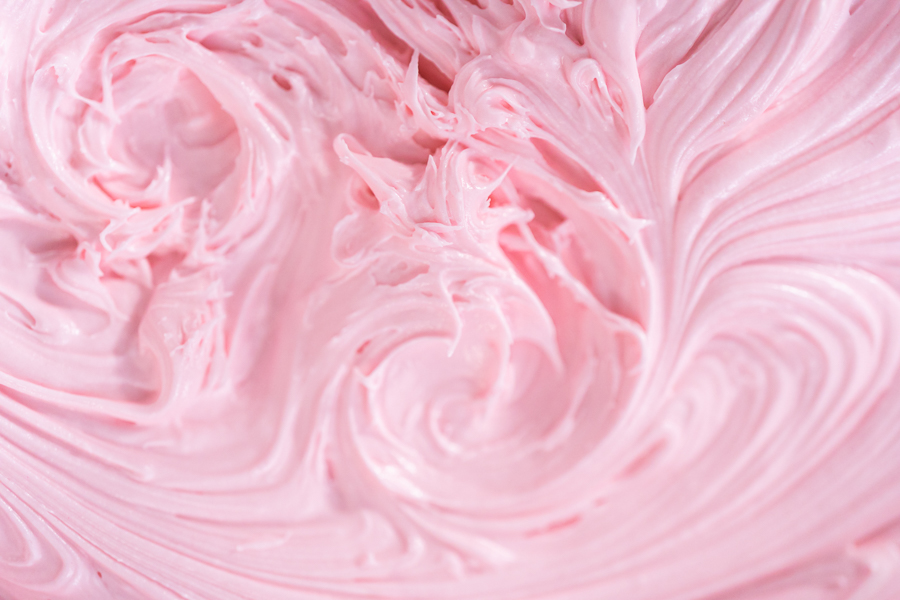
- Mix until smooth: Use a silicone spatula or blending whisk to stir until the ganache is silky and even.
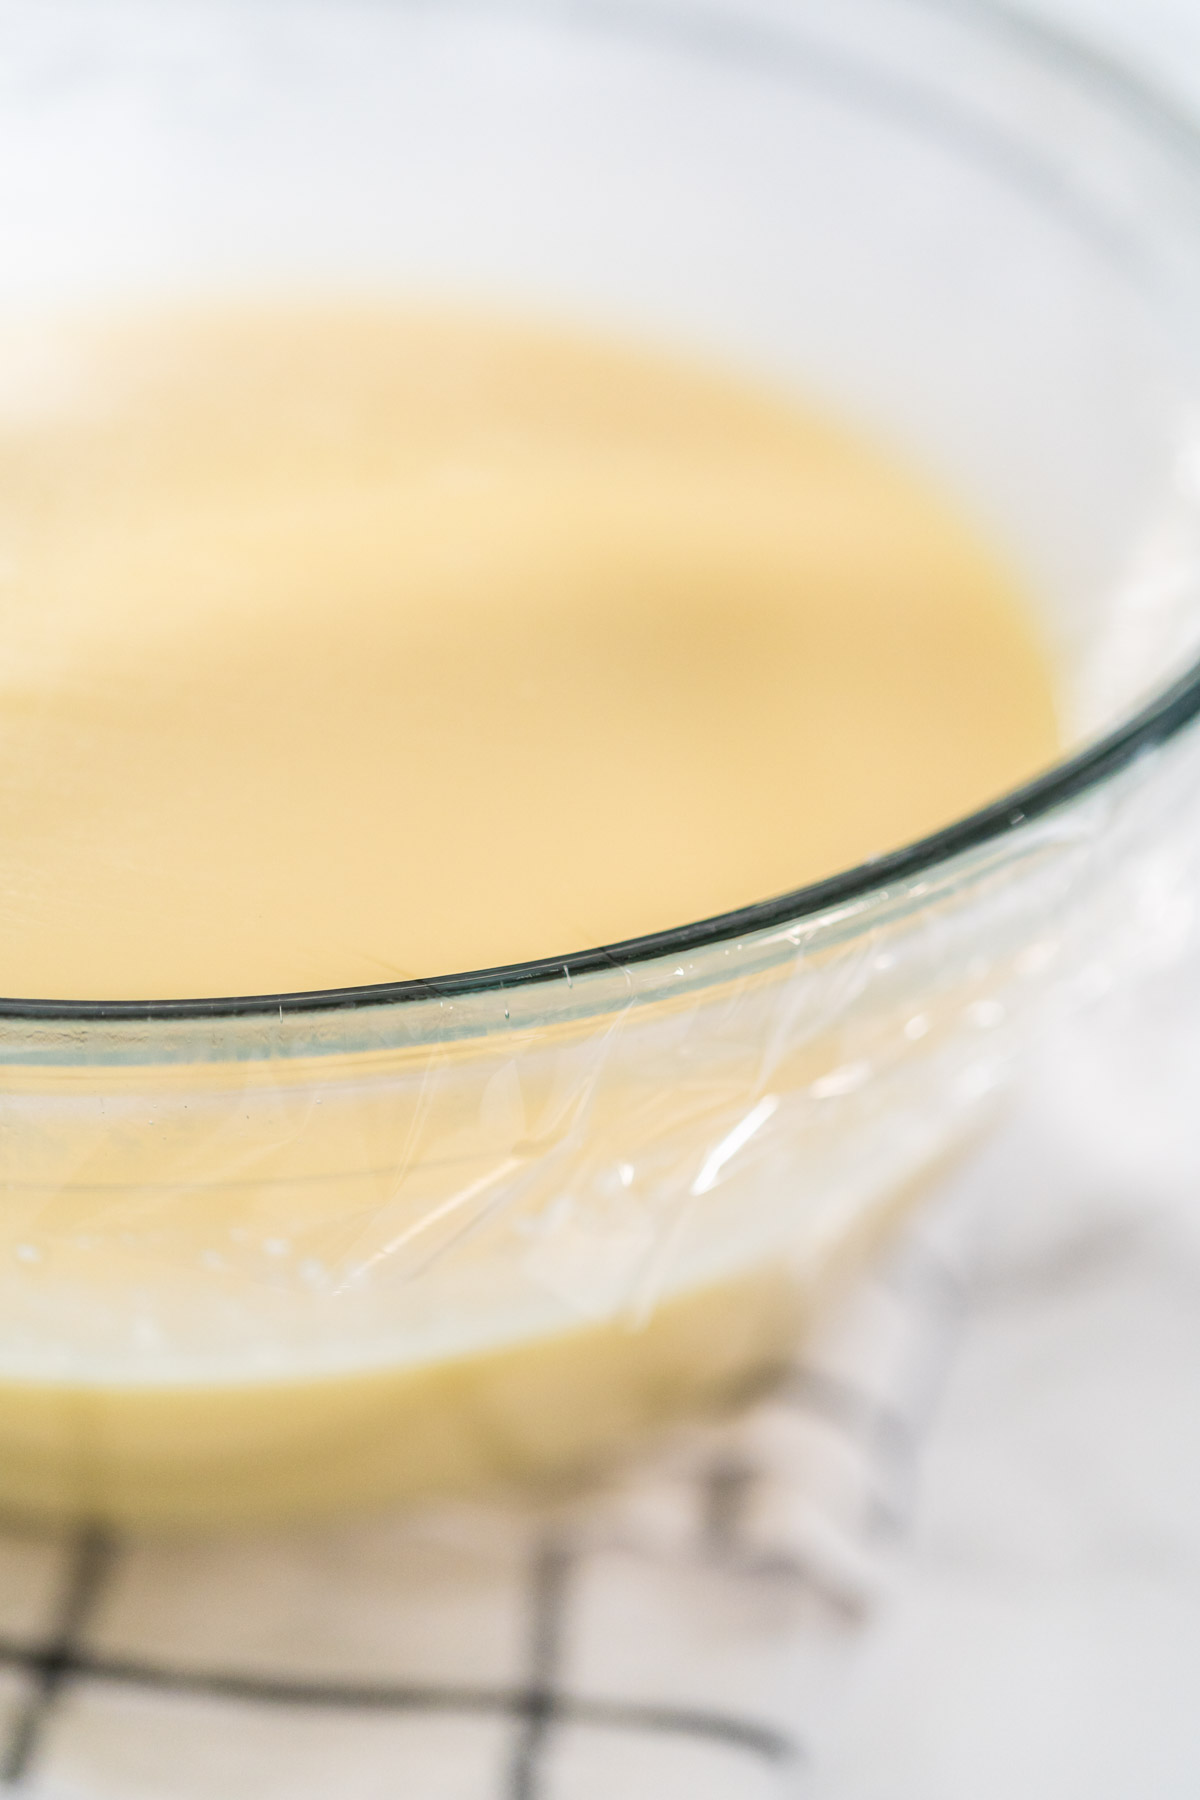
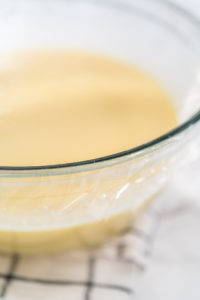
- Cover and chill: Transfer to a glass mixing bowl, cover tightly with food wrap, and refrigerate for 3 hours.
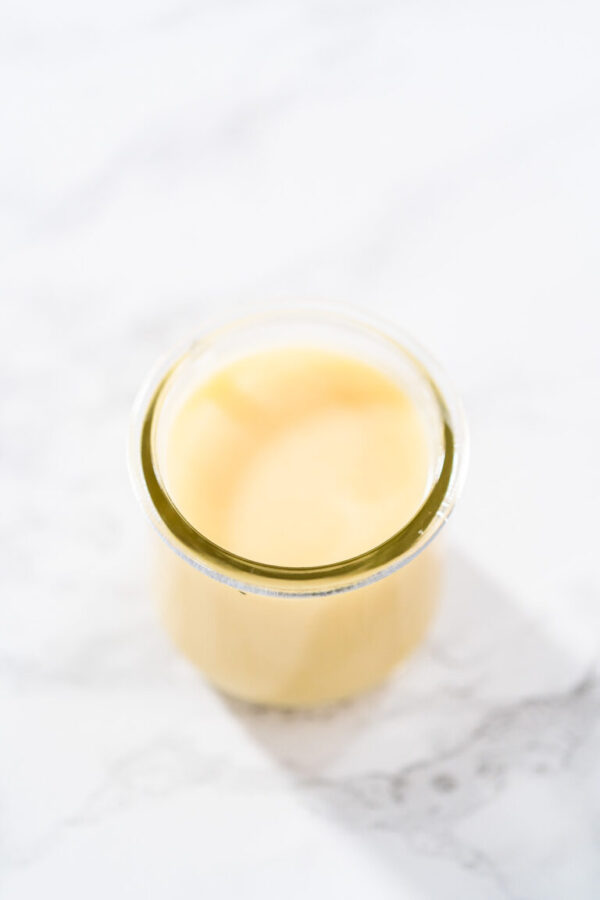
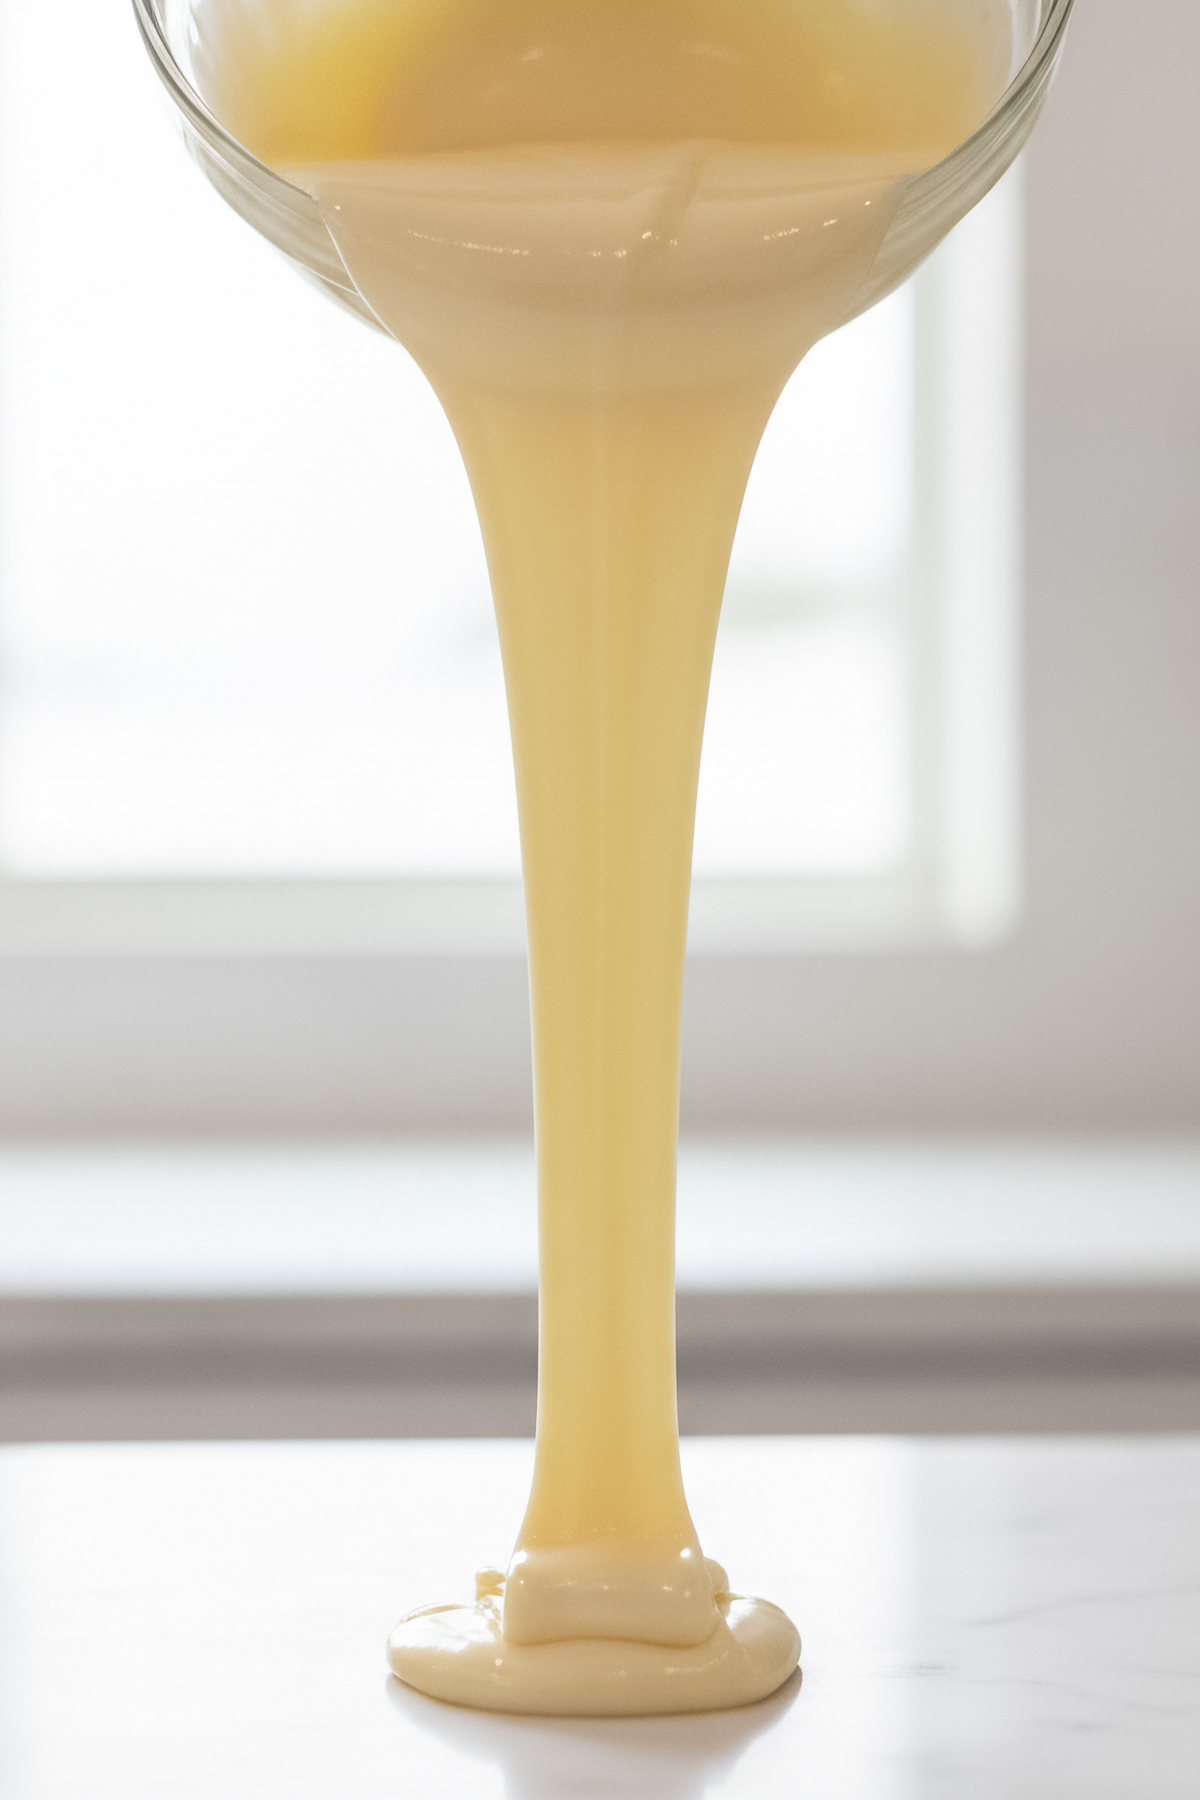
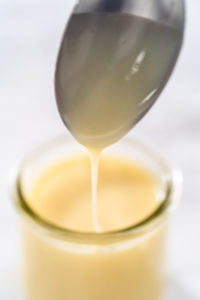
- Serve: Once cooled and thickened, drizzle over desserts, use as a filling, or store in a squeeze bottle for easy application.
Recipe variations
- Citrus Ganache: Add 1 teaspoon of lemon or orange zest for a tangy brightness.
- Coffee Ganache: Stir in ½ teaspoon of espresso powder for a subtle mocha flavor.
- Berry Ganache: Mix in a tablespoon of strawberry or raspberry puree.
- Peppermint Ganache: Add a drop of peppermint extract for festive desserts.
- Nutty Ganache: Replace vanilla with almond extract for a smooth, aromatic twist.
Storing White Chocolate Ganache
- Refrigerate: Store in an airtight container for up to 2 weeks. Cover the surface with plastic wrap to prevent a crust.
- Freeze: Transfer to a freezer-safe bag for up to 1 month. Label with the date. Thaw overnight in the fridge before reheating.
- Reheat: Warm in the microwave in 10-second intervals, stirring until smooth again.
If you enjoy creamy dessert finishes, try my Homemade Caramel, Chocolate Ganache, or Buttercream Frosting—they all store well and are perfect for prepping ahead.
More Recipes to Try
If you loved this White Chocolate Ganache, explore more of my favorite recipes:
- Blueberry Muffins with White Ganache
- Pumpkin Cupcakes with Italian Buttercream Frosting
- Lemon Cranberry Bundt Cake
- Homemade Caramel
- Chocolate Ganache
- Italian Buttercream
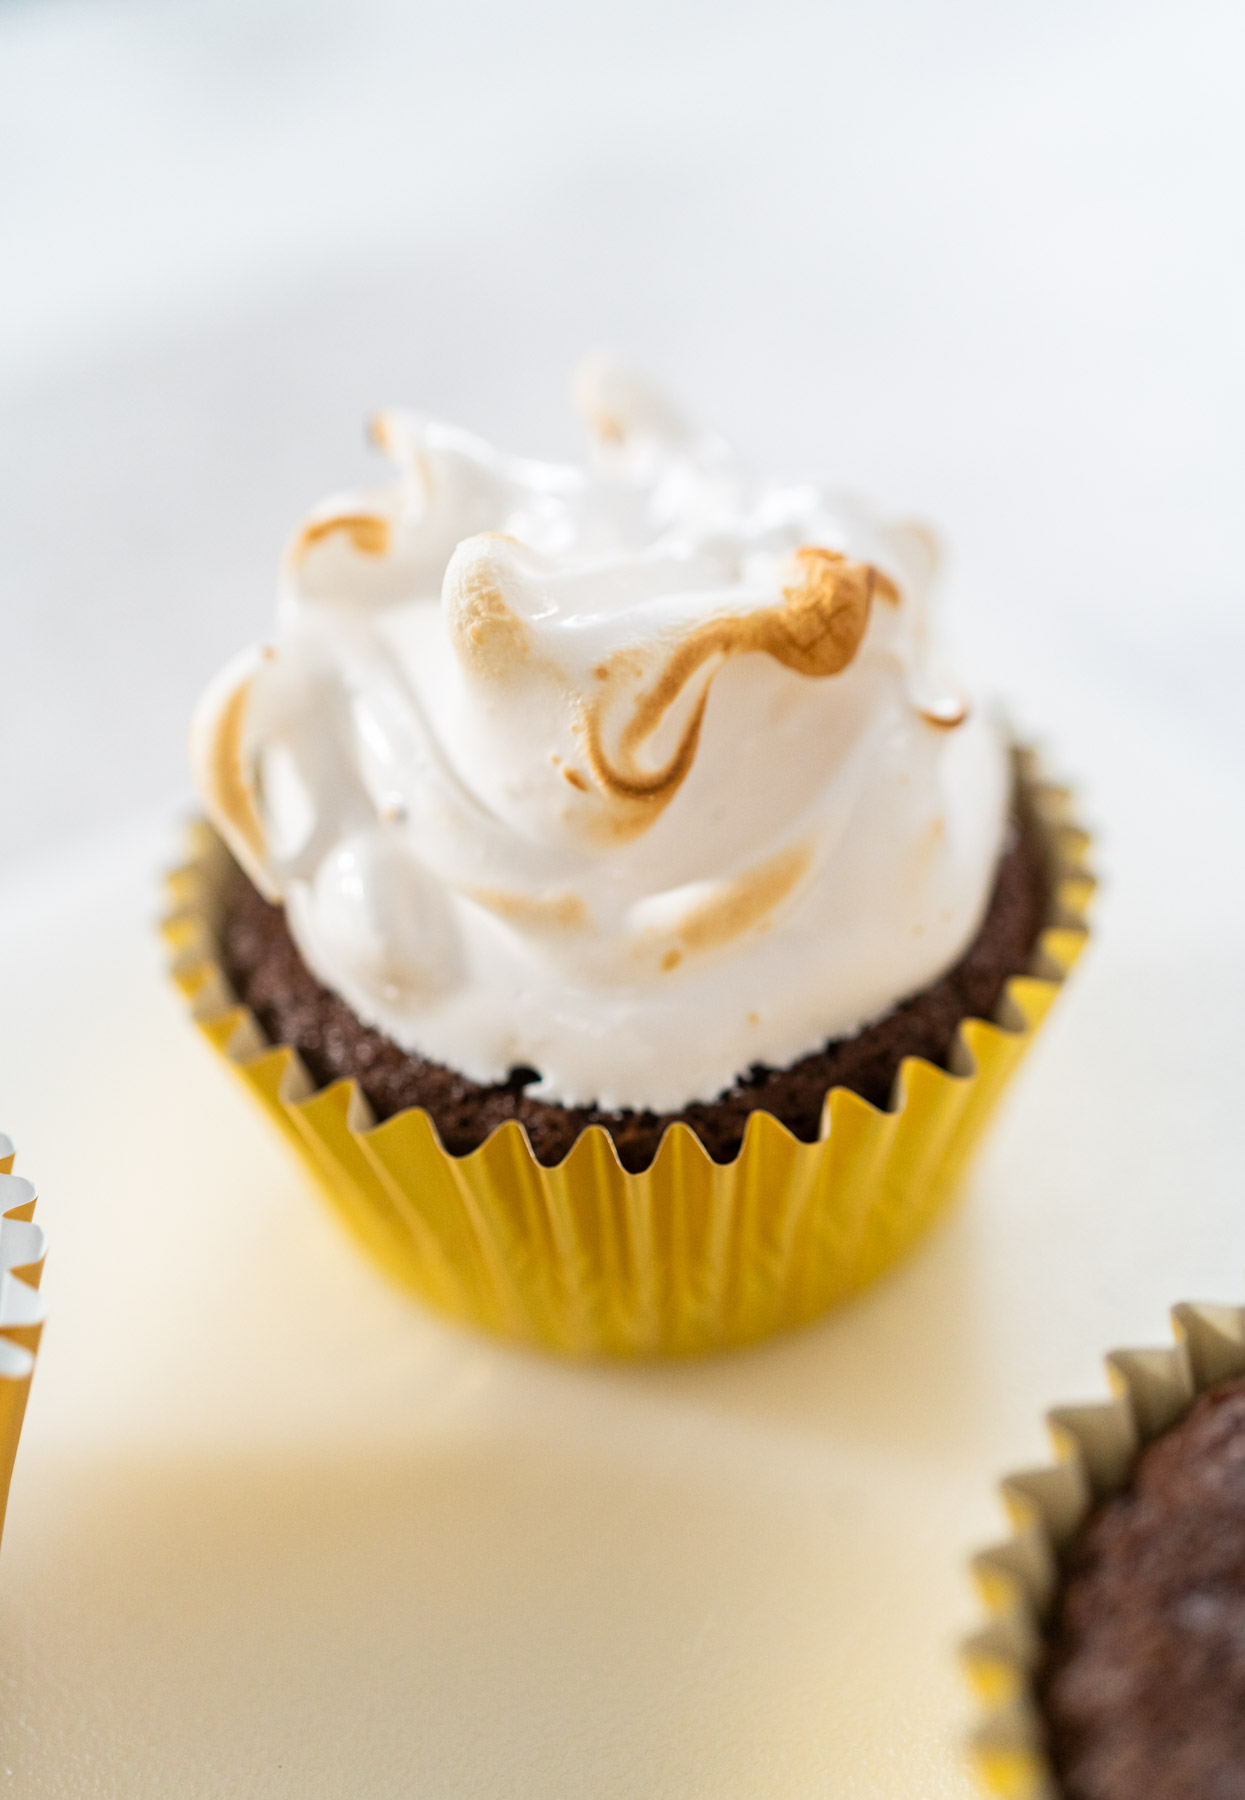
- Meringue Frosting
White Chocolate Ganache
Video
Equipment
- Glass mixing bowl large
Ingredients
- 1 cups Heavy Whipping Cream
- 24 oz White Chocolate Chips
- ⅛ teaspoon salt
- 1 teaspoon vanilla extract
Instructions
- Measure all ingredients.
- Pour the heavy whipping cream into a saucepan and heat over medium, stirring occasionally until just before it begins to boil.
- Remove the pan from the heat and add the white chocolate chips. Stir continuously with a silicone spatula or whisk until the mixture is smooth and creamy.For easier mixing, let the hot cream sit on the white chocolate chips for 1–2 minutes before stirring.
- Cover the bowl with plastic wrap and refrigerate for 3 hours.
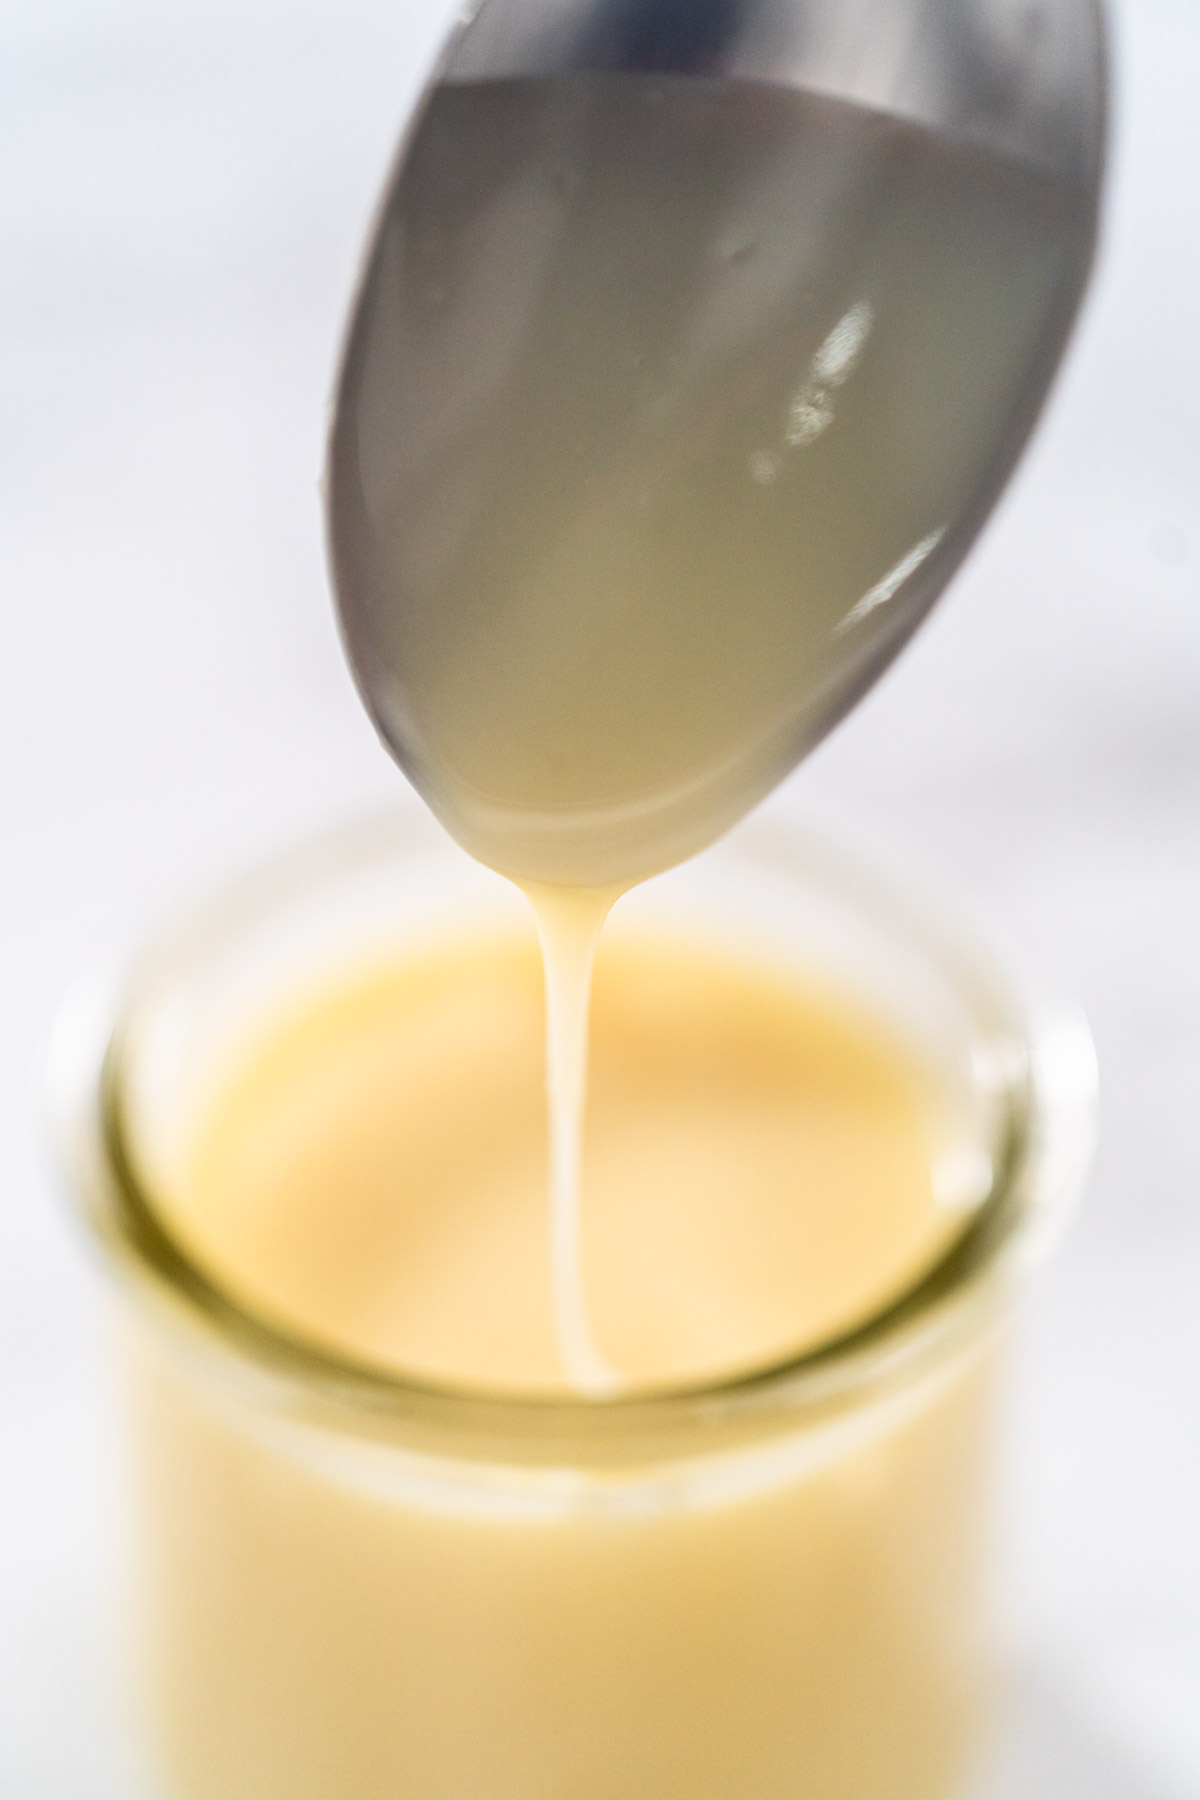
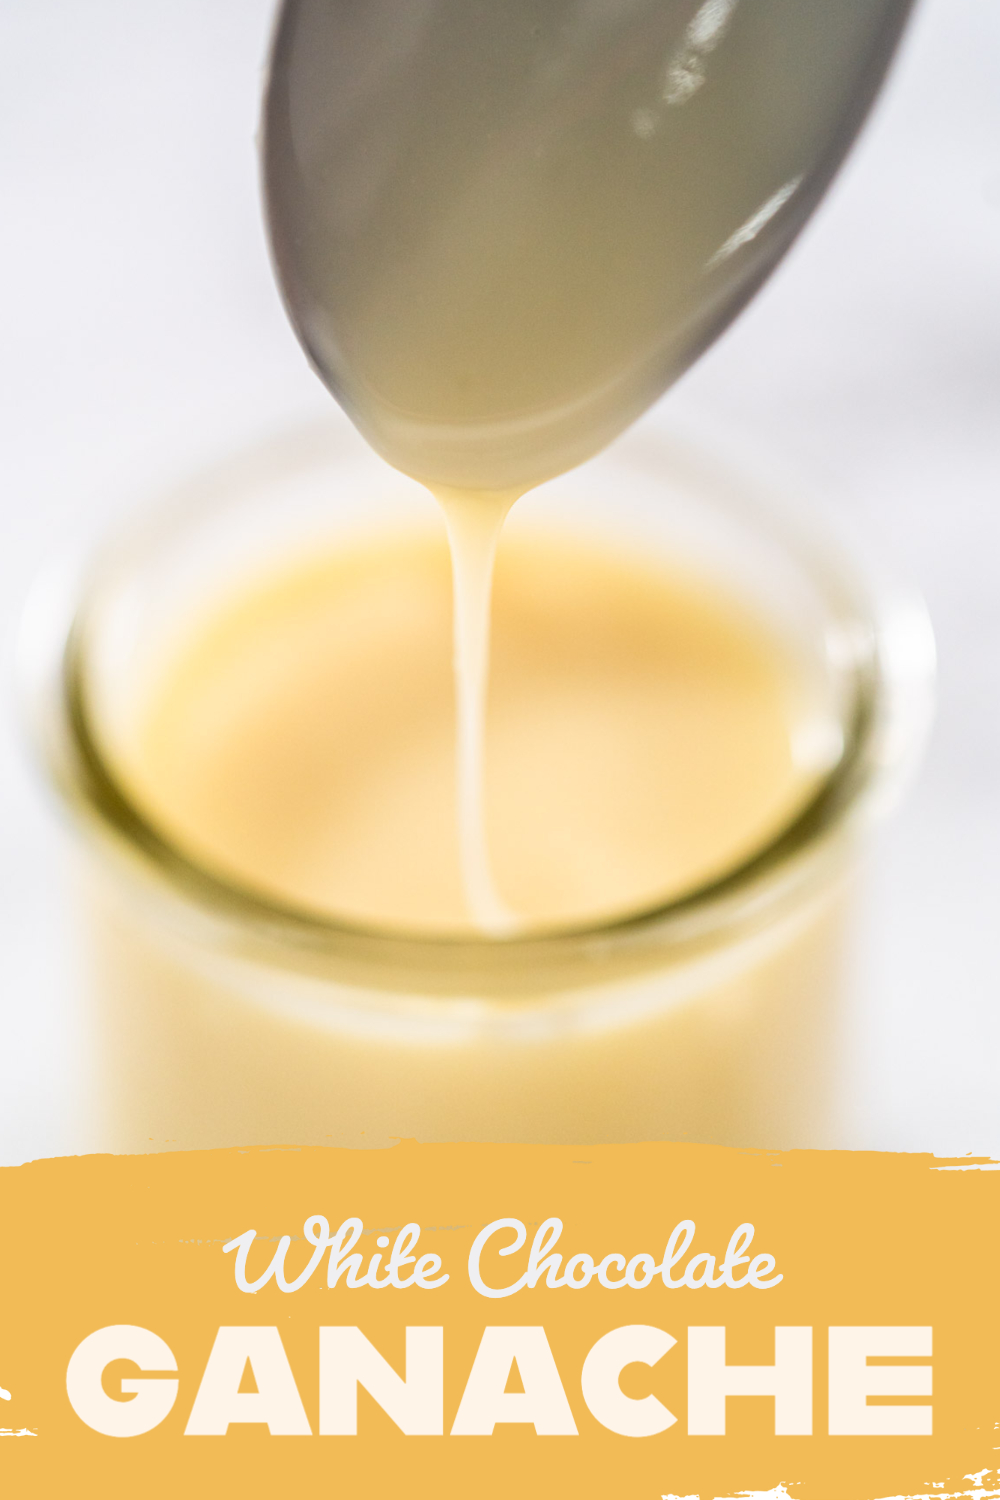
- Once thickened, drizzle the ganache over your dessert with a spoon or transfer it to a squeeze bottle for decorating.
Nutrition
From My Kitchen to Yours
More frostings recipes
I’ve Got Answers
Can I use chocolate bars instead of chips?
Yes! Just chop them finely so they melt evenly.
Why did my ganache separate?
The cream may have overheated. Allow it to cool slightly before adding the chocolate.
Can I whip it?
Yes, once chilled, whip it on medium speed for a light, fluffy frosting.
Can I add coloring?
Use oil-based food coloring to tint it—avoid water-based dyes, as they can cause seizing.
Pin It For Later
Food Photography & Video Tips from My Studio
Here’s a peek at the tools, gear, and camera setups I use to film my recipe videos and photograph food at home. Over the years, I’ve tested dozens of different setups, and now I’m sharing what actually works for me—whether I’m filming overhead shots for YouTube or styling still photos for my blog. If you’re curious about how I create the content you see here, these posts are a great place to start.






Leave a Reply