|
 |
This post contains affiliate links.
There’s nothing quite like the smell of freshly baked soft chocolate chip cookies wafting through the kitchen. The buttery dough, melty chocolate, and golden edges make these cookies impossible to resist. I’ve baked this recipe so many times for my family that I can practically do it with my eyes closed — though I wouldn’t recommend it!
This recipe makes the kind of cookies that are soft and chewy in the center, with just the right amount of crisp around the edges. They’re also perfect for baking ahead — you can chill the dough or even freeze it for later. When I make these, I always plan to store them for a week… but between my husband and daughter, they never last more than two days!
If you love these, you’ll also enjoy my Unicorn Chocolate Chip Cookies, Soft and Chewy Oatmeal Cookies, and Holiday Peppermint Cookies — each one a little twist on a timeless favorite.
Why You’ll Love This Recipe
- Soft and chewy: Perfectly balanced texture every time.
- Make-ahead friendly: Chill or freeze for later baking.
- Simple ingredients: Pantry staples, no fancy tricks needed.
- Family favorite: Guaranteed to disappear fast!
- Perfect for gifting: Beautifully bakes into uniform, golden cookies.

Tools That Make It Easier
- Measuring cups and spoons – Ensure precise ingredient ratios, which is key for consistent cookie texture and reliable baking results.
- KitchenAid mixer (or hand mixer)
- Glass mixing bowl – Ideal for seeing mixture consistency while you work, and it makes cleanup easy.
- Spatulas – Used for scraping the sides of the bowl and folding ingredients gently without overmixing, keeping the dough perfectly soft.
- Press’n Seal wrap – Keeps the dough airtight during chilling to prevent it from drying out and helps maintain the perfect texture.
- Whisk – Helps evenly blend dry ingredients before combining them with wet ones, ensuring a smooth, consistent dough texture.
- Drying rack – Allows airflow around cookies for even cooling and prevents sogginess, keeping their texture soft yet crisp on the edges.
- Baking sheets – Provide a flat surface for even cookie spreading and browning, ensuring consistent results every time.
- Silicone baking mats or parchment paper – These prevent sticking and promote uniform baking results for perfectly golden cookies.
- Dough scoop (1.58 inch) – Ensures equal-sized cookies so they bake evenly and look uniform.
- Wooden spoon – Perfect for gently folding chocolate chips into the dough without overmixing, which helps keep the cookies soft and tender.
Arina’s Tip: I prefer silicone baking mats — they bake evenly and save me from using parchment paper every time. Plus, they’re reusable and easy to clean!

What You’ll Need From Your Pantry
- 2 ¾ cups All-Purpose Flour
- 1 teaspoon Baking Soda
- ½ teaspoon Salt
- 1 cup Unsalted Butter, room temperature
- 1 cup Brown Sugar
- ½ cup Granulated Sugar
- 2 large Eggs
- 2 teaspoon Vanilla Extract
- 2 cups Semi-Sweet Chocolate Chips
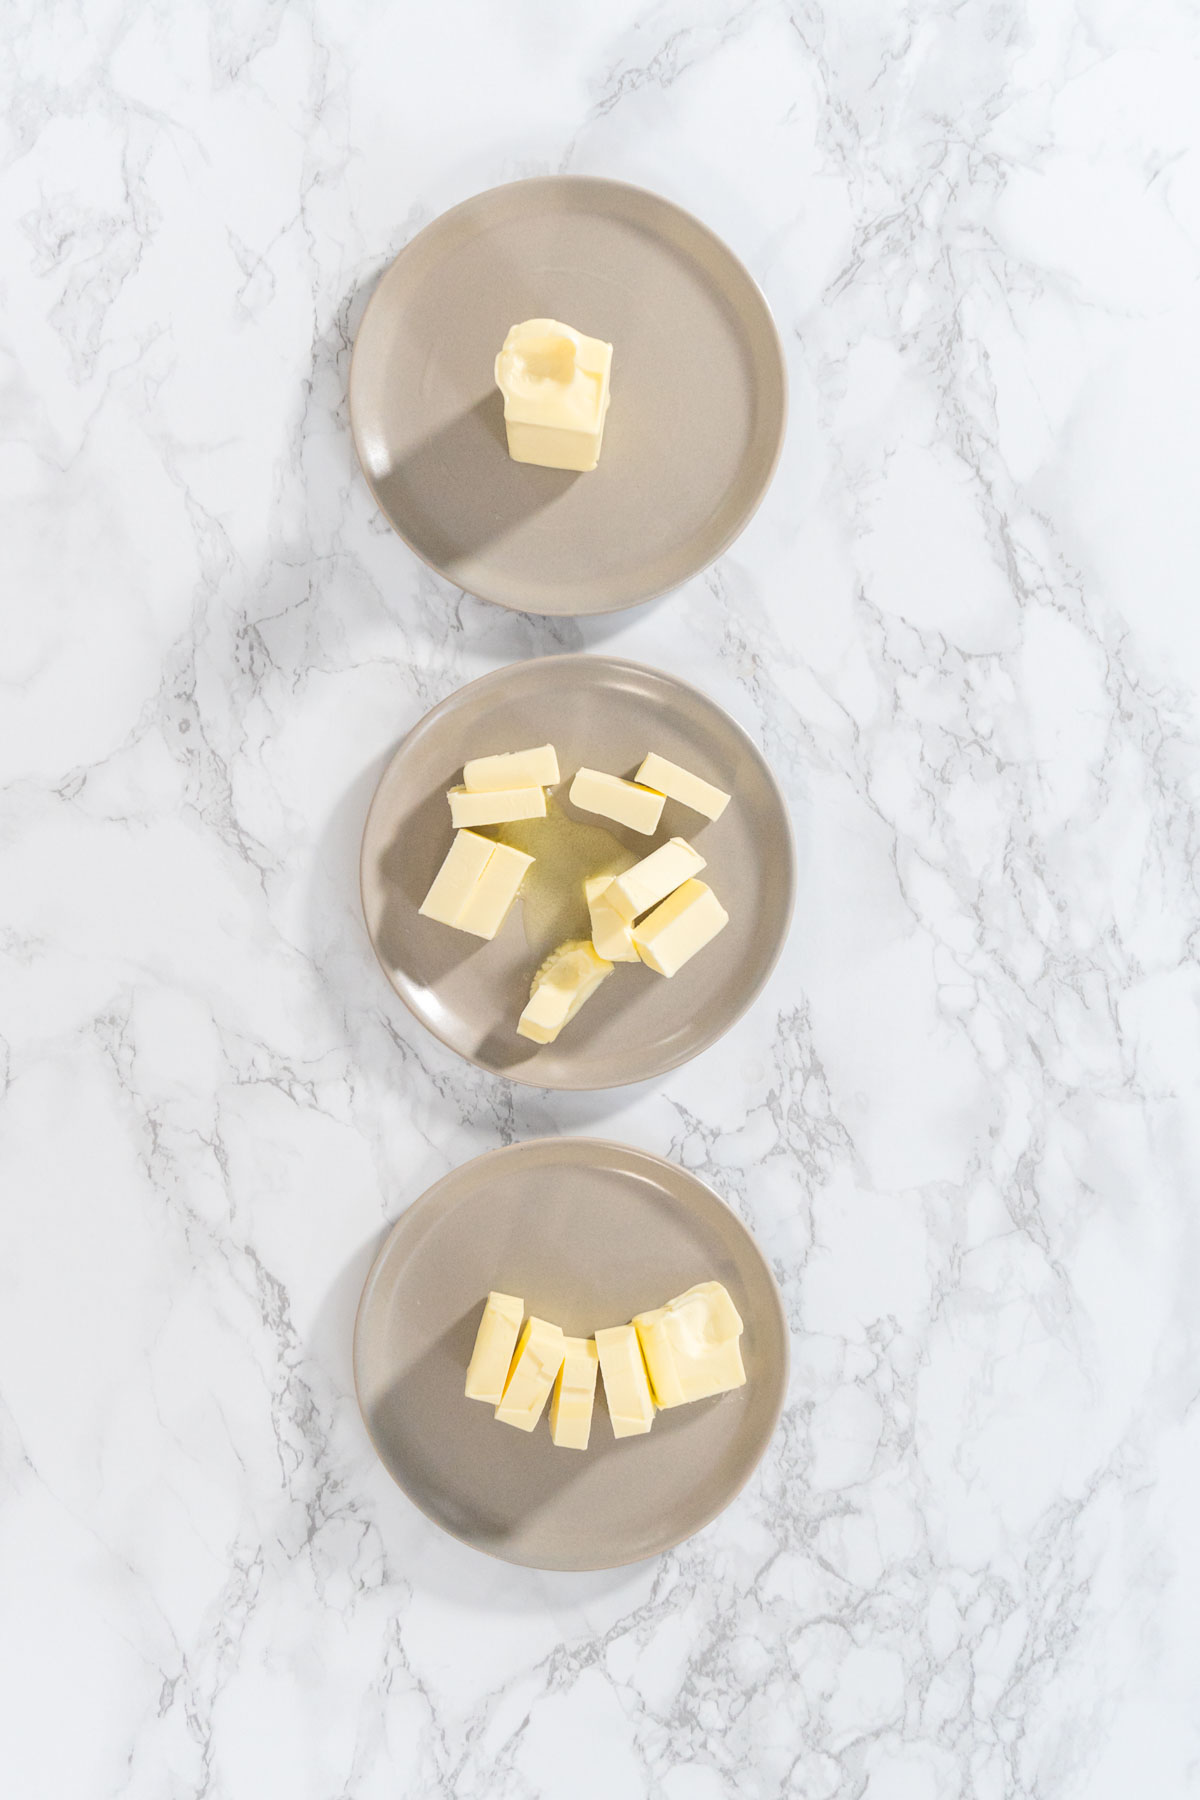
How to soften butter

Before You Start: My Quick Tip
- Don’t skip the chilling time! It’s the secret to thick, bakery-style cookies that hold their shape.
- Use real butter — it gives the best flavor and texture.
- Soft cookies hack: If they start to firm up, add a slice of bread to your storage container — it keeps them soft for days.
- For a flavor boost, mix in a pinch of espresso powder — it enhances the chocolate without making the cookies taste like coffee.
- Pair these cookies with Homemade Hot Chocolate or crumble them into Vanilla Ice Cream for an extra treat.

Latest Video

Let’s Make It Together
- Measure and prep: Start by measuring out all the ingredients. In a large bowl, whisk together the flour, baking soda, and salt.
- Cream butter and sugars: In a KitchenAid mixer with a paddle attachment, mix butter, brown sugar, and granulated sugar for 1–2 minutes until well combined.
- Add eggs and vanilla: Add the eggs one at a time, mixing well between each. Then, mix in the vanilla extract.
- Combine dry and wet ingredients: Slowly add the flour mixture ⅓ at a time, mixing until just combined.
- Add chocolate chips: Remove the bowl from the mixer and fold in the chocolate chips with a wooden spoon.
- Chill: Line 2 baking sheets with parchment paper. Scoop dough balls using a small 1.58-inch dough scoop. Cover tightly with Press’n Seal wrap and refrigerate for 2 hours.
- Preheat oven: Set to 350°F (177°C). Line 2 more baking sheets with silicone mats or parchment paper.
- Bake: Transfer the chilled dough balls to the new baking sheets, spacing them evenly. Bake for 10–12 minutes or until the edges are golden brown.
- Cool: Let cookies rest for 5 minutes on the baking sheet before moving to a cooling rack. Enjoy warm or let cool completely for storage.

Recipe variations
- Walnut Chocolate Chip Cookies: Add ½ cup chopped walnuts for a nutty crunch.
- Double Chocolate: Replace ¼ cup of flour with cocoa powder.
- Salted Caramel: Add a caramel square on top and a sprinkle of flaky sea salt before baking.
- Festive Twist: Mix in red and green chocolate candies for holiday cookie trays.
For more cookie inspiration, try my Eggnog Cookies, Apple Oatmeal Cookies, and Ice Skate Sugar Cookies — each one brings its own flavor and fun.


Storing Soft Chocolate Chip Cookies
Room Temperature: Store in an airtight container for up to 2 weeks. Label the date to track freshness.
Freezer Dough: Freeze cookie dough balls for up to 3 months. Bake frozen at 350°F for about 14 minutes.
Freezer Cookies: Once baked and cooled, freeze in airtight bags for up to 3 months.
If you love make-ahead baking, try my Pumpkin Cupcakes with Italian Buttercream or Lemon Spritz Cookies with Cranberry Buttercream — both store beautifully too!

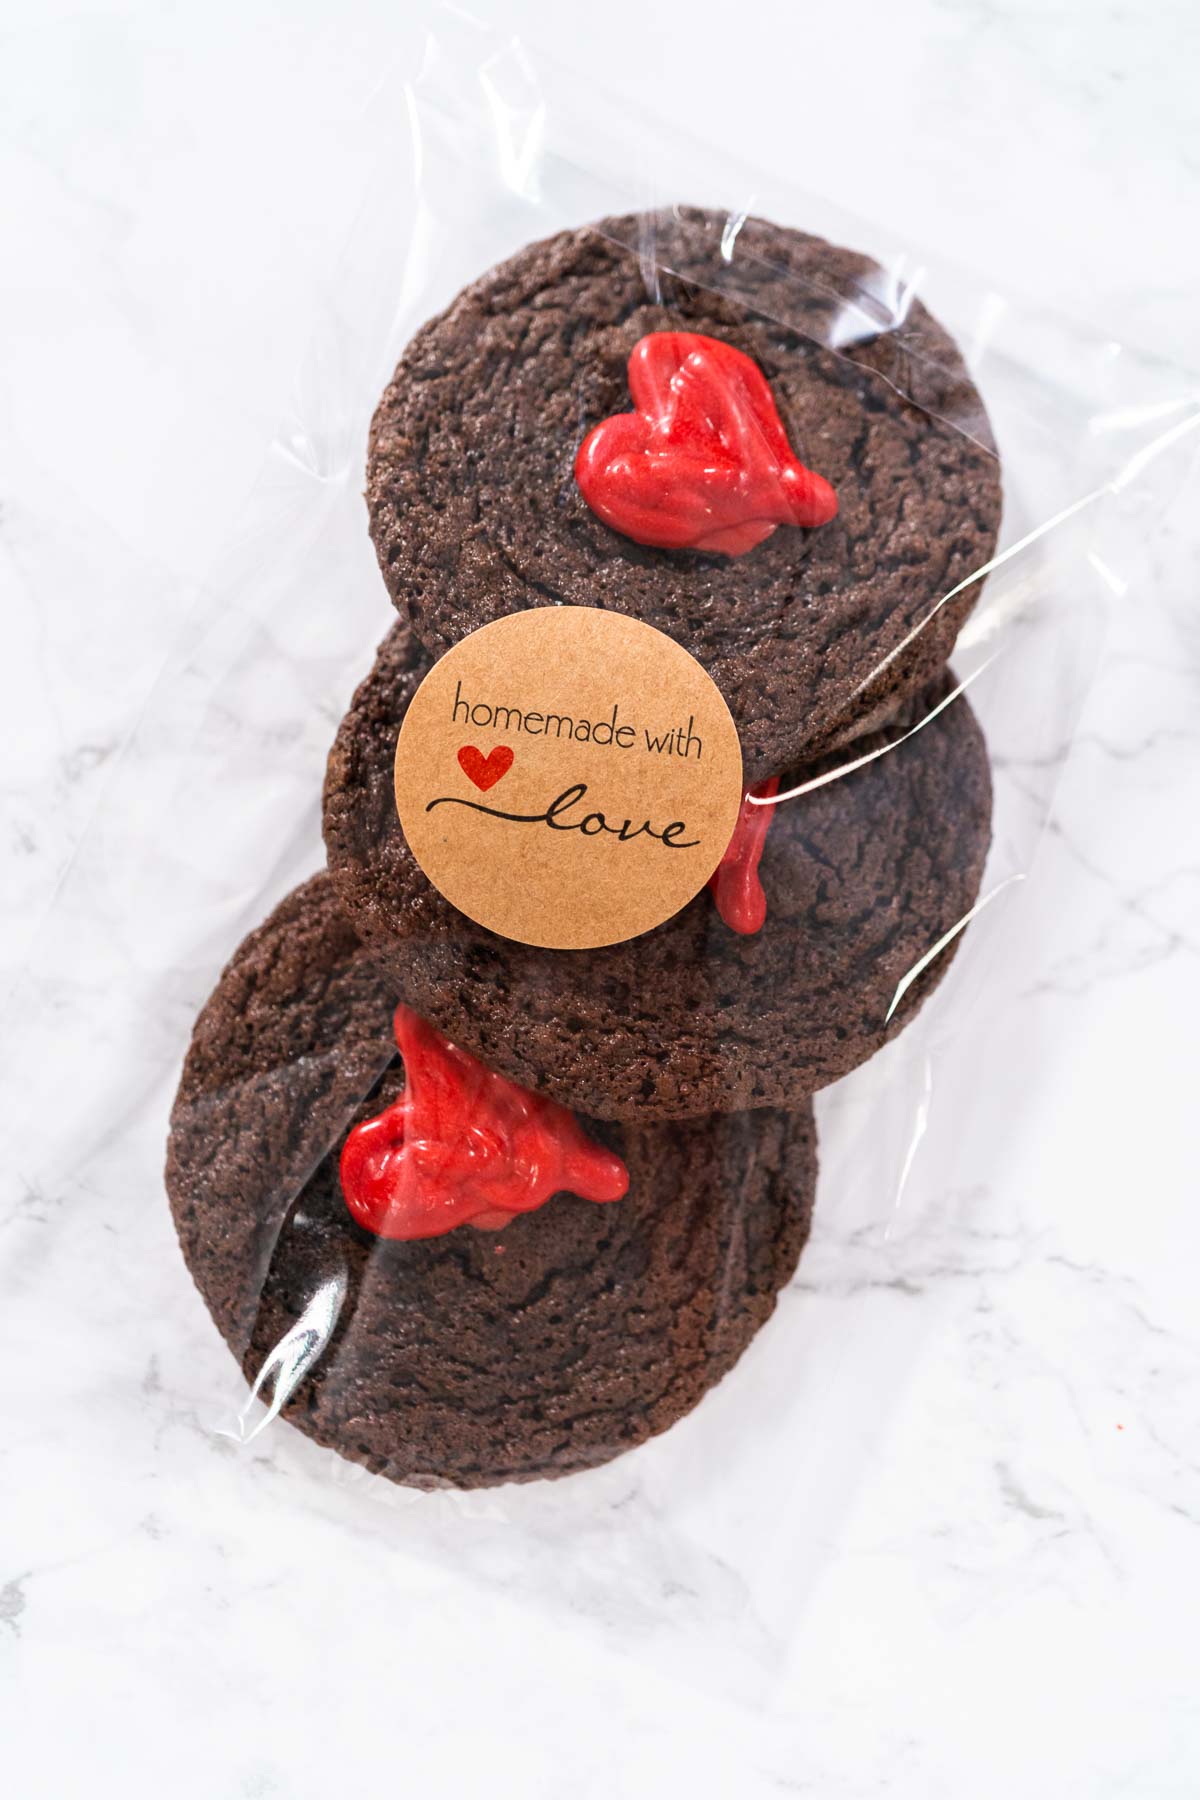
How to Individually Package Cookies for Gifts (Fresh, Cute & Easy Ideas)

More Recipes to Try
If you enjoyed these Soft Chocolate Chip Cookies, here are a few more of my favorite treats that pair perfectly with a cozy baking day:
- Blueberry Muffins with White Ganache – soft, bakery-style muffins with a creamy topping.
- Italian Buttercream Frosting – smooth, luxurious, and perfect for any dessert.
- Easter Sugar Cookies with Royal Icing – colorful, festive, and fun to decorate.
- Chocolate Mermaid Tails – whimsical, glossy chocolate treats that kids adore.
- Simple Banana Bread with Walnuts – moist, nutty, and comforting for any time of day.
- Pumpkin Cupcakes with Italian Buttercream – cozy fall flavor in every bite.
- Classic Borsch – if you’re in the mood for something savory after all this sweetness!
These Soft Chocolate Chip Cookies are the definition of comfort baking — buttery, chewy, and filled with chocolate in every bite. I’ve baked them for family gatherings, my daughter’s skating friends, and even as thank-you gifts — and they never fail to make people smile.
If you love these, you’ll also adore my Peppermint Chocolate Cookies, Caramel Banana Muffins, and Simple Banana Bread with Walnuts — all sweet, simple, and full of heart.
Happy Baking — and don’t forget to save one (or three) for yourself! 🍪❤️

Soft Chocolate Chip Cookies
Equipment
Ingredients
- 2 ¾ Cups All-Purpose Flour
- 1 teaspoon Baking Soda
- ½ teaspoon salt
- 1 Cup Unsalted Butter Room Temperature
- 1 Cup Brown Sugar
- ½ Cup Granulated Sugar
- 2 Large Eggs
- 2 teaspoon Vanilla Extract
- 2 Cups Semi-Sweet Chocolate Chips
Instructions
- Measure and prepare all ingredients. In a large mixing bowl, whisk together the flour, baking soda, and salt.

- Set up a KitchenAid mixer with a paddle attachment. In the mixer bowl, beat the butter, brown sugar, and granulated sugar for 1–2 minutes until well combined.

- Add the eggs one at a time, mixing thoroughly after each addition, then mix in the vanilla extract.
- Gradually add the flour mixture to the butter mixture in three parts, mixing after each addition until just combined.
- Remove the bowl from the mixer and fold in the chocolate chips with a wooden spoon.

- Line two baking sheets with parchment paper and scoop the cookie dough onto them using a small (1.58-inch) dough scoop. Spacing isn’t needed yet.
- Cover the baking sheets tightly with plastic wrap and chill the dough in the refrigerator for 2 hours.

- Preheat the oven to 350°F (175°C). Line two more large baking sheets with parchment paper or silicone mats.
- Transfer the chilled cookie dough scoops to the new baking sheets, spacing them apart so they can spread while baking.

- Bake in batches for 10–12 minutes or until the edges are golden brown. Let the cookies cool on the sheet for 5 minutes, then transfer to a wire rack to cool completely before serving.

Notes
Nutrition
From My Kitchen to Yours


I’ve Got Answers
Why chill the dough?
It helps prevent the cookies from spreading too much and keeps them soft and thick.
Can I make these without a mixer?
Yes! Just use a sturdy whisk and a little patience — the dough will come together fine by hand.
Why did my cookies turn flat?
The butter may have been too warm or the dough wasn’t chilled long enough.
Can I add other mix-ins?
Absolutely! Try toffee bits, white chocolate, or chopped pecans.
Absolutely! Try toffee bits, white chocolate, or chopped pecans.
Can I freeze baked cookies?
Yes, just let them cool completely before sealing them in a freezer-safe bag.
Pin It For Later

Food Photography & Video Tips from My Studio
Here’s a peek at the tools, gear, and camera setups I use to film my recipe videos and photograph food at home. Over the years, I’ve tested dozens of different setups, and now I’m sharing what actually works for me—whether I’m filming overhead shots for YouTube or styling still photos for my blog. If you’re curious about how I create the content you see here, these posts are a great place to start.

What is in my toolbox?

3 ways camera setup for Tasty-style video recipes

Best camera for cooking videos


Leave a Reply