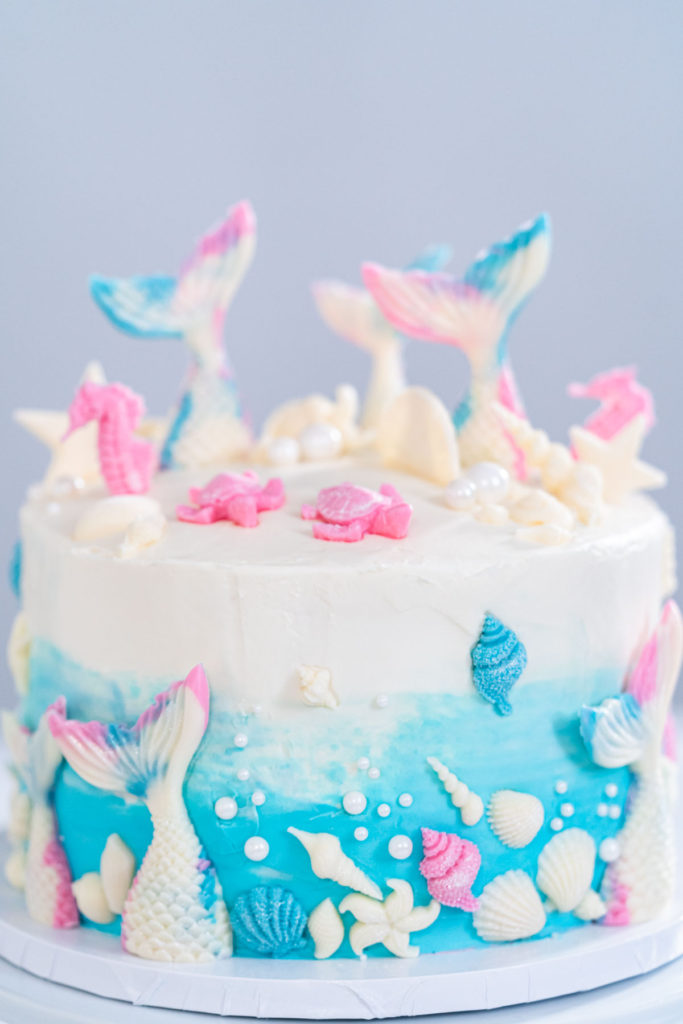
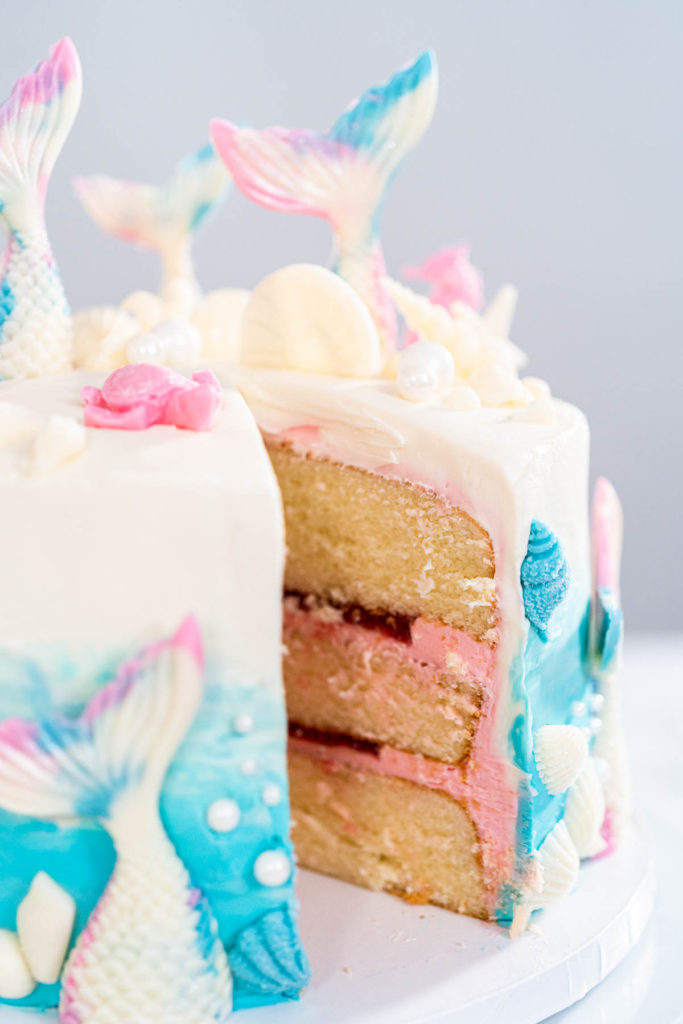
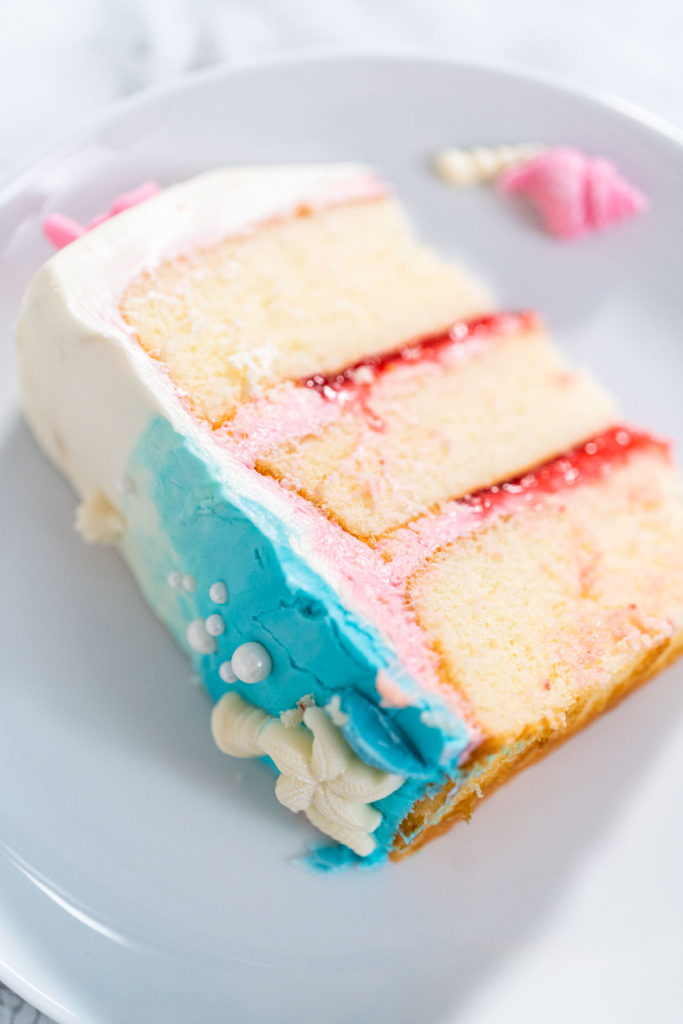
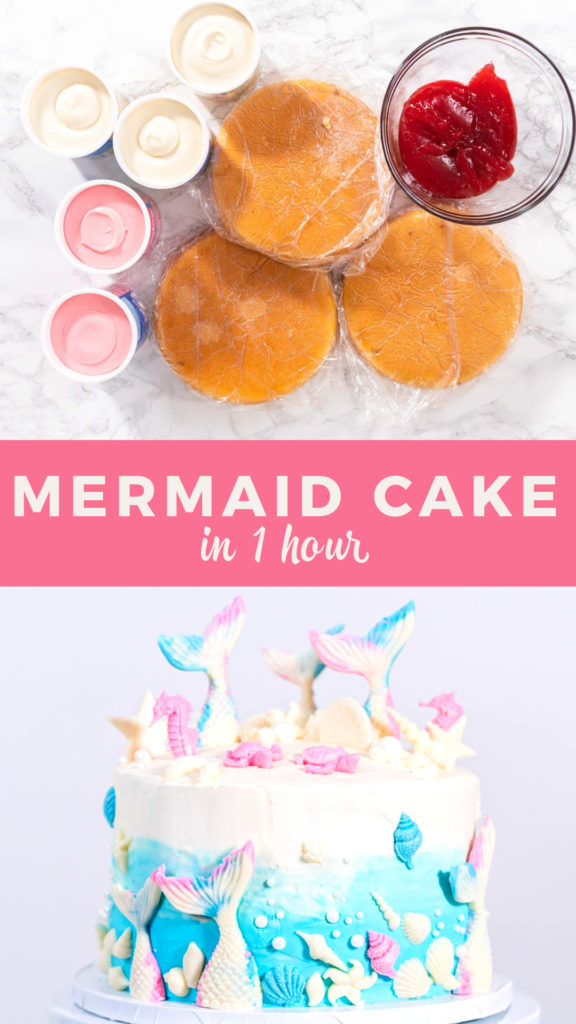
How to make your own custom strawberry-filled, mermaid-inspired, 3 layer cake in just 1 hour!
This post contains affiliate links.
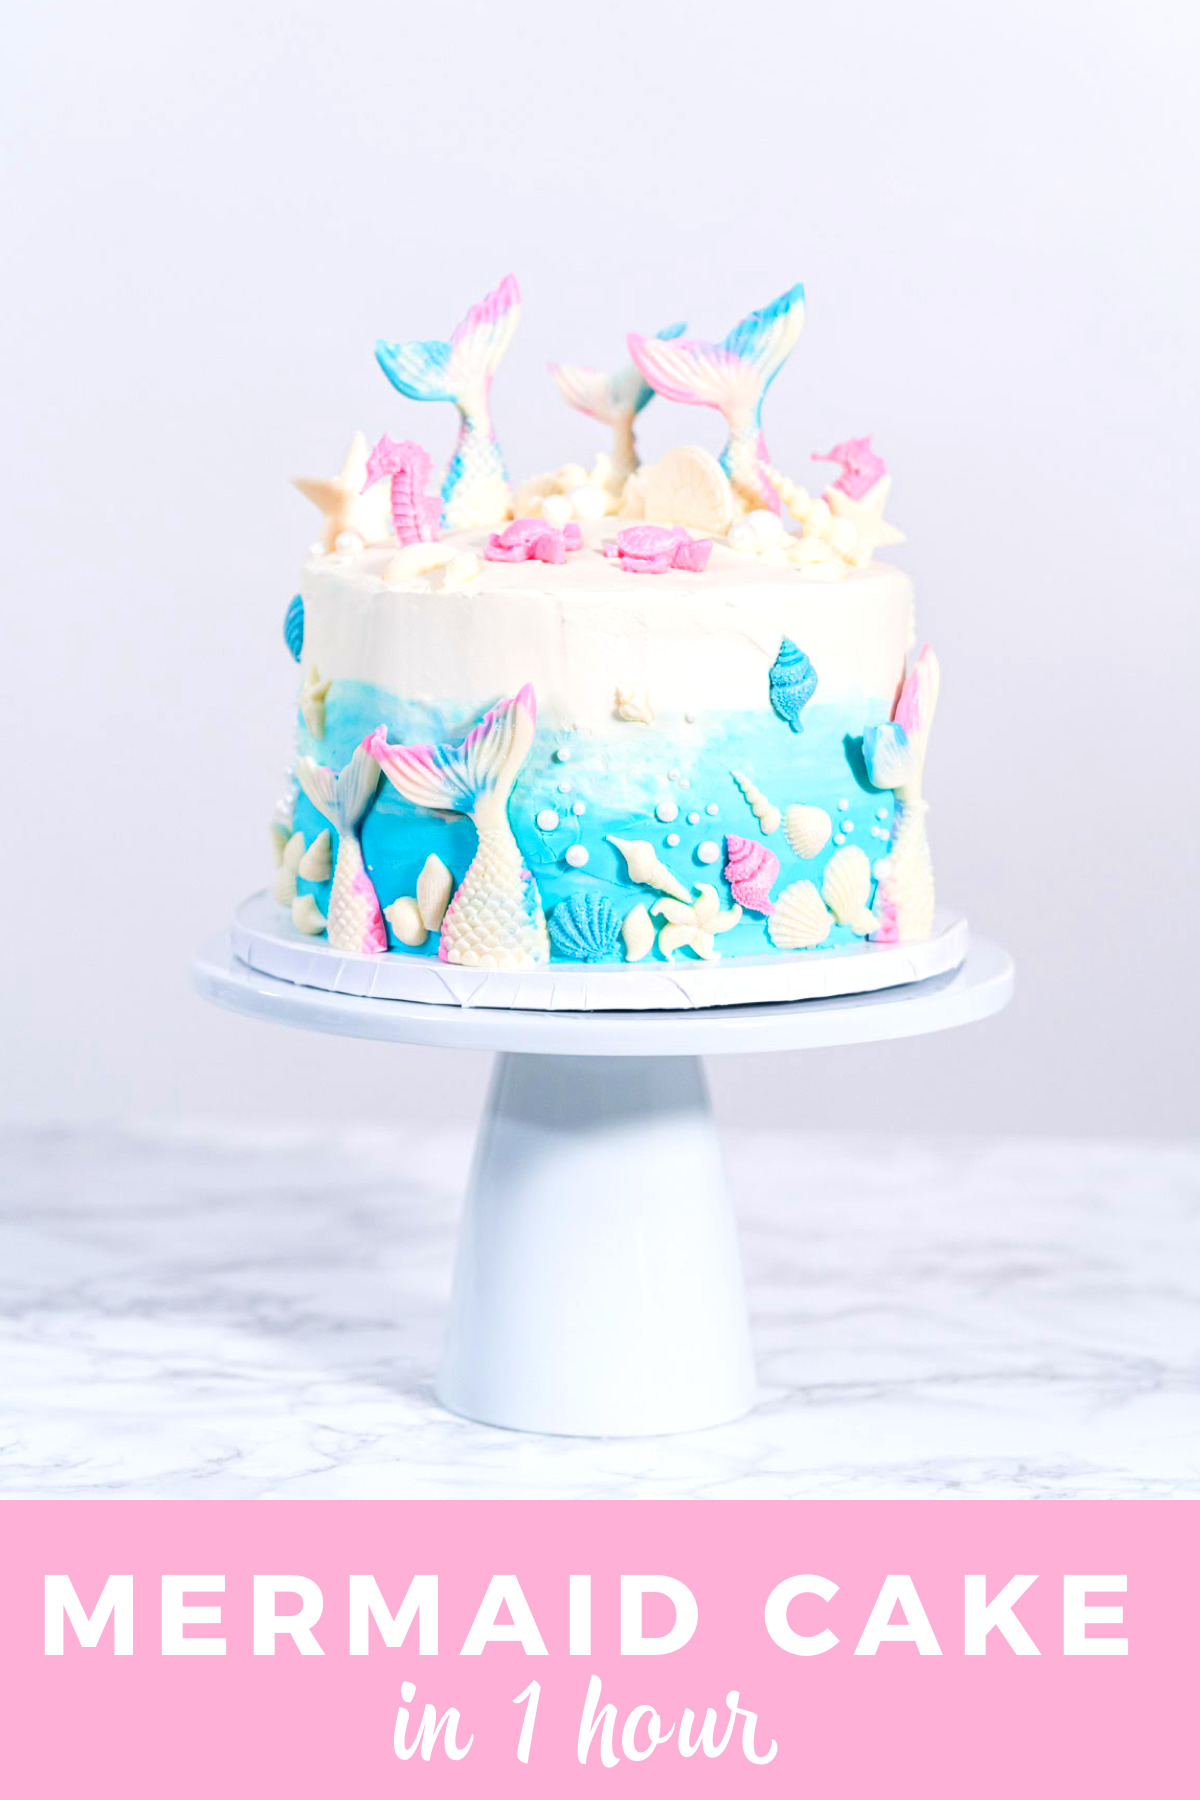
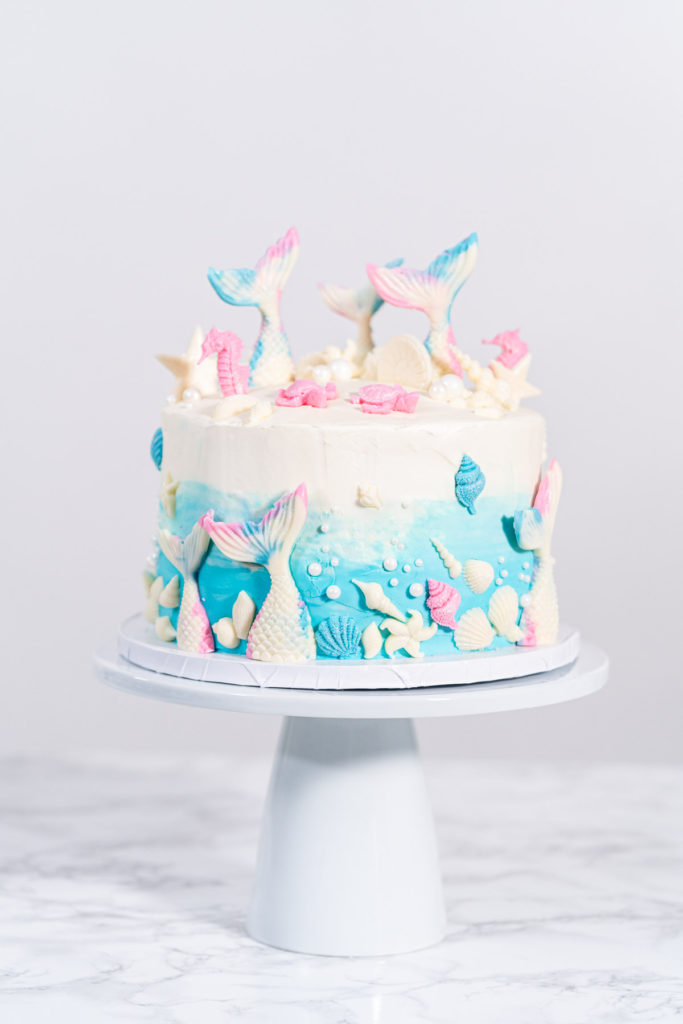
When I was growing up, I loved that my mother was always baking up wonderful desserts and sweet treats for us to enjoy. As time has passed, I have carried her love of baking with me and I now use it to whip up all kinds of homemade goodies for my own family. So when it comes time to celebrate birthdays or special occasions, you won’t find me in line at a bakery or at the grocery store picking up a generic cake. I’ll be in the kitchen making a one-of-a-kind treat using my main special ingredient: love! That’s how I conjured up the idea to make this stunning, sea-inspired, strawberry-filled, Mermaid 3 Layered Cake in 1 Hour for my mini mermaid fan!
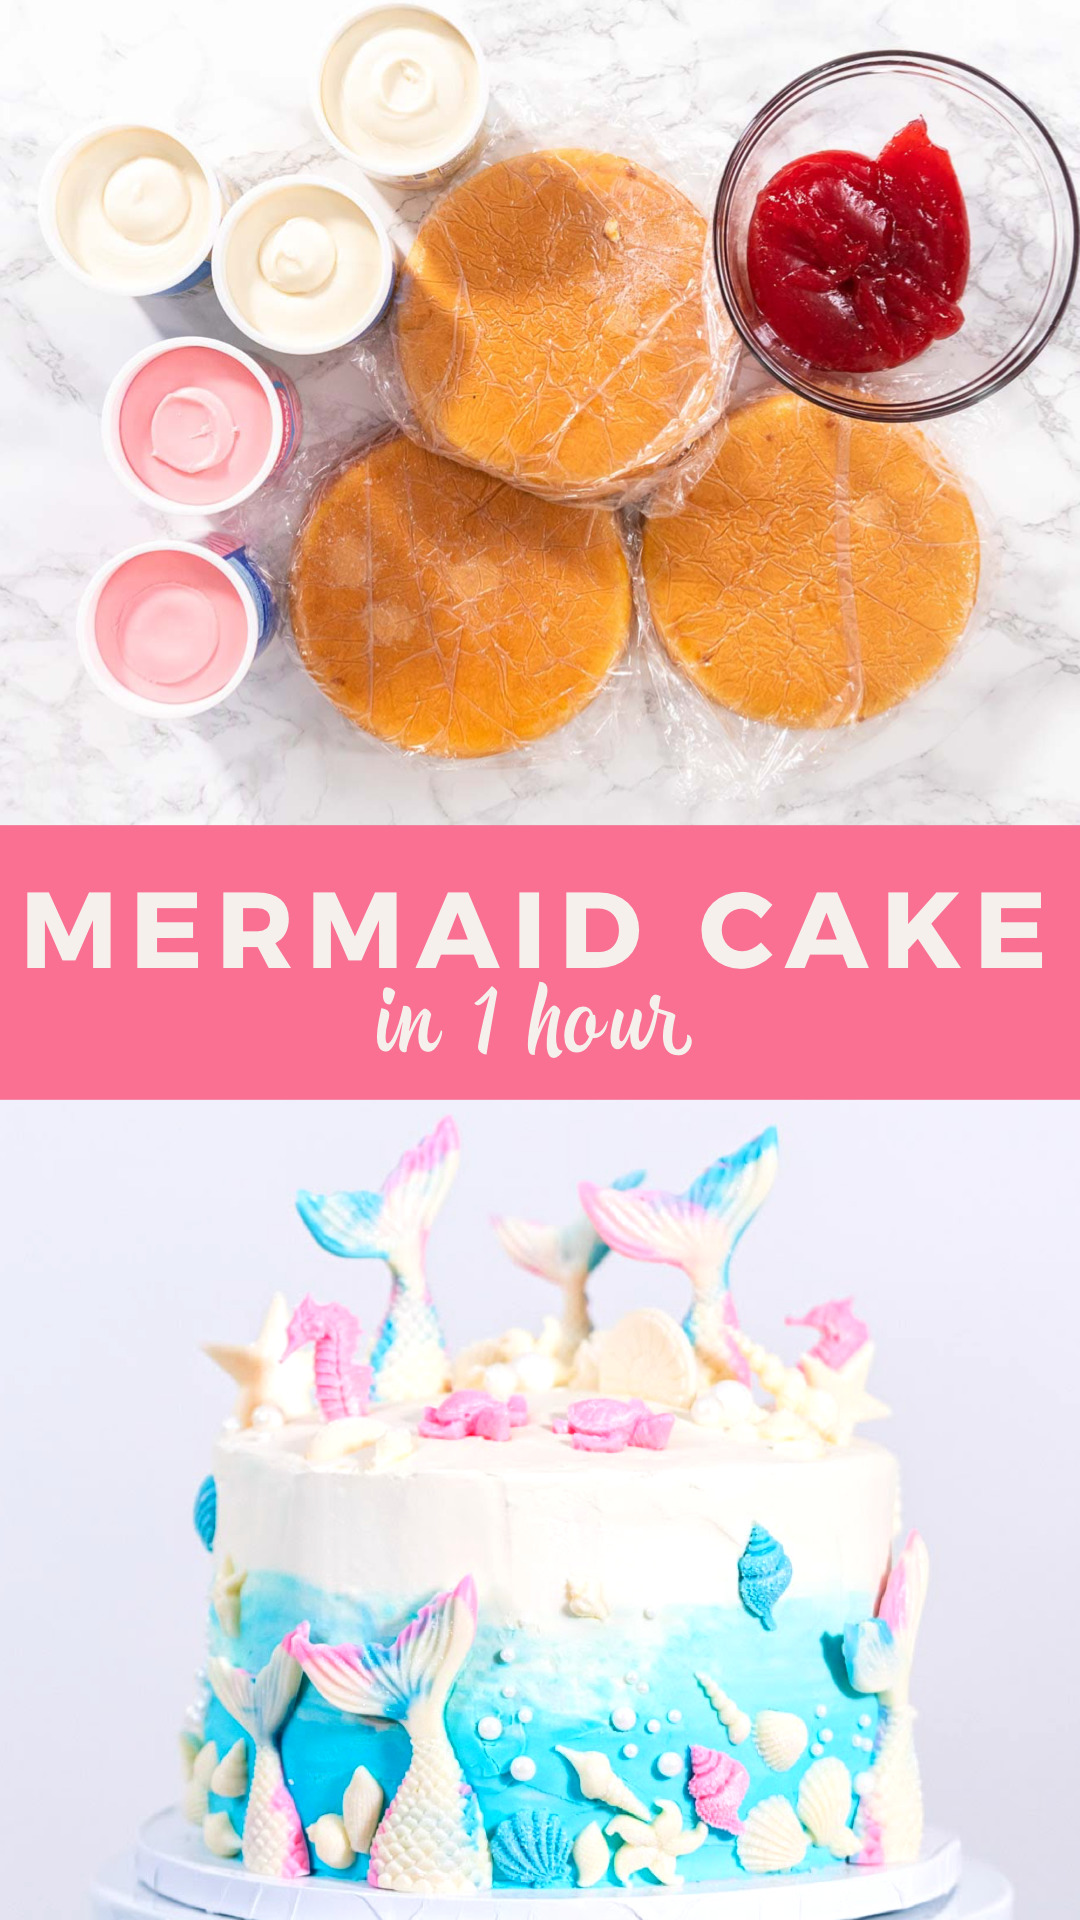
Now, I know what you may be thinking, “How in the world can I build a 3 layered, strawberry-filled, gorgeous cake in just over an hour?” Well, that’s what I’m here to help show you! The key to making such a jaw-dropping, 3 layer cake in such a short amount of time is to use mainly store-bought ingredients so that there is actually no baking involved! Just a little bit of candy making, some ingredient adjustments, and cake assembly. And best of all? You can make this whole beach-themed beauty of a cake for under $40! We all already know that you will not find anywhere that will make a custom, layered cake with filling for that kind of low price. So with all of that in mind, it’s not hard to see how building your own custom Mermaid 3 Layered Cake like this is, all the way around, a much better choice!
Cake Equipment
As I promised, there is no actual baking involved with this mermaid cake recipe. However, you will need some kitchen tools and utensils that are commonly used for baking recipes. If you do not bake often and don’t have some of these tools that I have listed, don’t panic! You can easily pick up most of this equipment, or something similar, at most grocery stores while picking up the cake ingredients.
Custom Mermaid Cake Equipment:
- Hand mixer
- Glass mixing bowls
- Baking sheets
- Silicone Spatula set
- Cake Spatula
- Revolving cake stand
- Piping bags
- Piping bag ties
- Smooth Cake Scraper
- 10 inch White Cake Drum
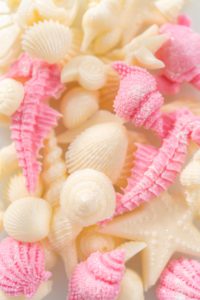
- Seashell silicone mold
- Mermaid silicone mold
- Wilton’s Candy Melt Pot
Equipment Tip:
I specifically like using my Wilton’s candy melt pot over all other melting methods for any kind of candy-making project. This melting pot keeps the chocolate at the perfect temperature through the heating process without ever overcooking the chocolate. Plus it comes with a super easy clean-up afterwards.
Magical Mermaid Inspired Ingredients
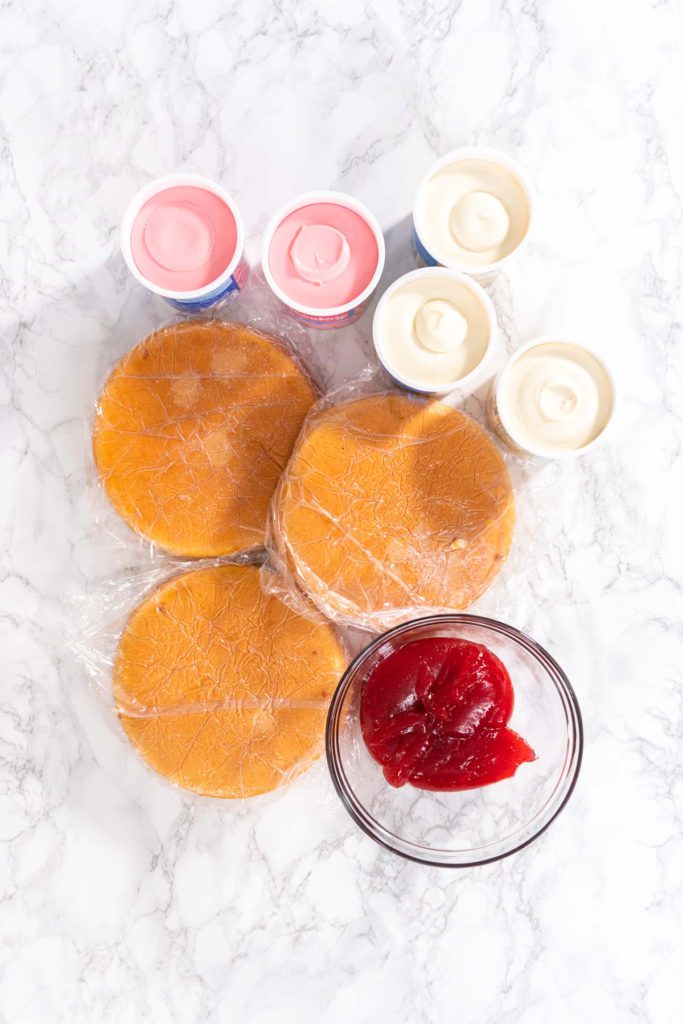
Here’s where the magic of this recipe starts. By using store-bought ingredients that are already ready to use and assemble, this cuts the prep time down immensely! And it actually helps cut out a lot of the costs too since you don’t have to bake the cakes or whip up the frostings from scratch.
Vanilla cake ingredients:
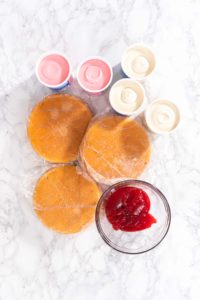
- 3 cans vanilla buttercream frosting 16 oz
- 2 cans Strawberry buttercream frosting 16 oz
- Powdered sugar 4 to 6 cups, as needed
- 3 uniced, 8-inch vanilla cake layers
- If store-bought cake layers are not frozen solid then drizzle them with cake syrup and freeze them flat. Starting this recipe with solid cakes is the preferred method for ultimate ease.
- 2 cups Strawberry cake filling
- food coloring blue
Chocolate mermaid tails and seashells:
- 2 cups Bright white Candy Melts
- 1 teaspoon Coconut oil
- ½ cup Wilton pink candy melts
- 1 tsp Coconut oil
- ½ cup Wilton Candy Melts Blue
- 1 teaspoon Coconut oil
- Food glitter
Gorgeous garnish:
Ingredient Substitutions:
- For the best results, I highly recommend the Wilton chocolate melt method but if you need to use a different method you can by using 1 cup of white chocolate chips, 1 teaspoon coconut oil, and a little bit of food coloring. Just be careful with the coconut oil because too much oil will make the chocolate too runny.
- My choice for this cake was strawberry frosting with strawberry filling but you can swap out for whatever flavors you prefer.
- To be able to make this whole cake in just an hour I used store-bought, ready-to-use ingredients. Just about any of these ingredients can be substituted for homemade recipes, like this homemade Buttercream Frosting, if you have the extra time.
- If making this recipe with homemade cake layers, make sure to freeze them solid before starting this recipe process.
How to Make A Mermaid 3 Layer Cake in 1 Hour
Now let’s get down to the heart of this recipe, making the real magic happen! This mermaid cake assembling process is overall very easy to accomplish successfully. Just keep an eye out for any special instructions or side notes that I have included so that you can make this recipe without any hassle.
Prep Tip:
Different brands of store-bought frosting have different consistencies so you might or might not need to add additional powdered sugar as instructed below. Just keep in mind that the inner frosting and crumb coat layers will need to be thick, otherwise, the cake layers will move and slide under their own weight.
Vanilla cake assembly:
- First, gather up all of your cake ingredients and all 3 of the prepared chocolate cake layers.
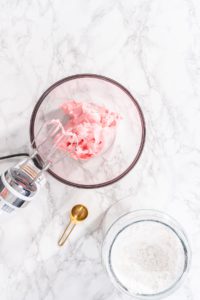
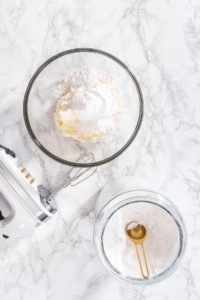
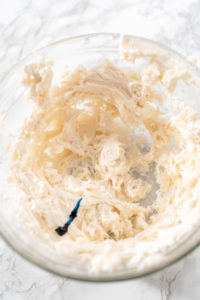
- Then, transfer both tubs of the strawberry frosting to a large glass mixing bowl and whip with the electric hand mixer until smooth, about 5 minutes. If needed, mix in small amounts of powdered sugar until the frosting is stiff.
- Remember, the frosting and crumb coat layers will need to be thick, otherwise, the cake layers will move and slide.
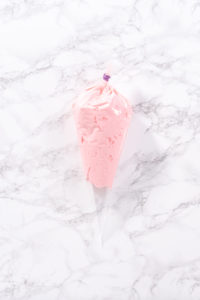
- Next, use a silicone spatula to scoop the whipped frosting into a pastry piping bag and close it off with a piping bag tie. Cut off ½ inch from the tip of the pastry bag to make an opening.
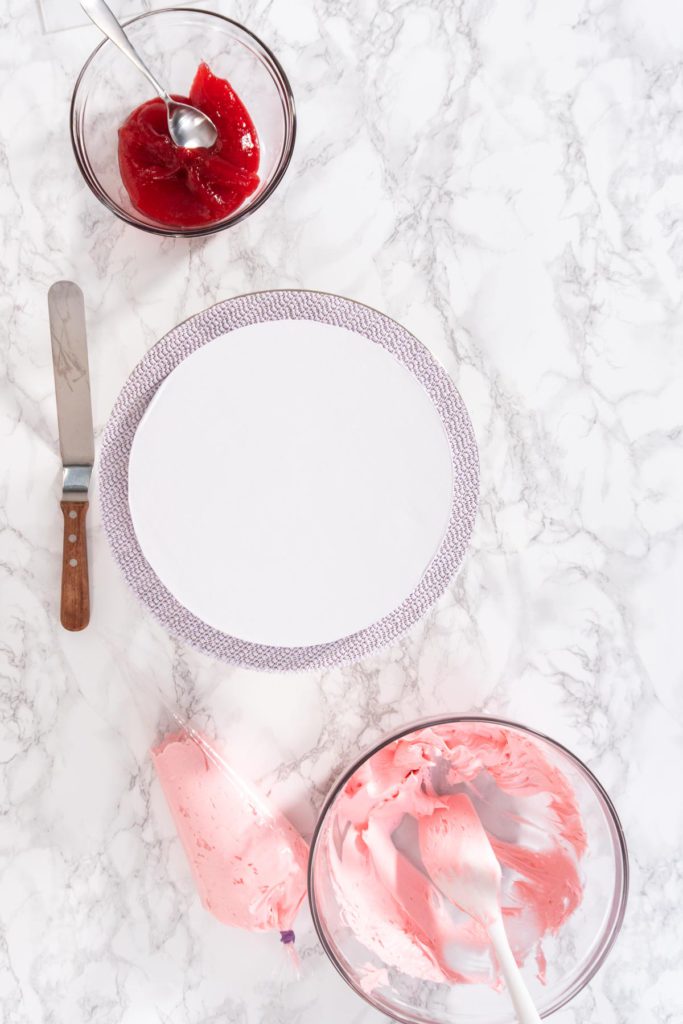
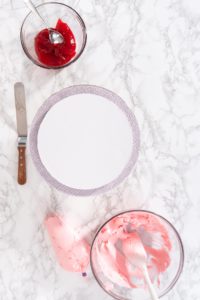
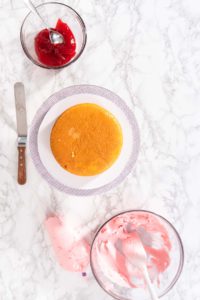
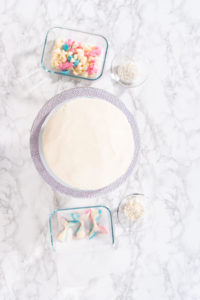
- Next, line the revolving cake stand with the 10-inch white cake drum and gather the strawberry frosting and filling.
- Then, unwrap the first cake layer and position it in the center of the cake drum.
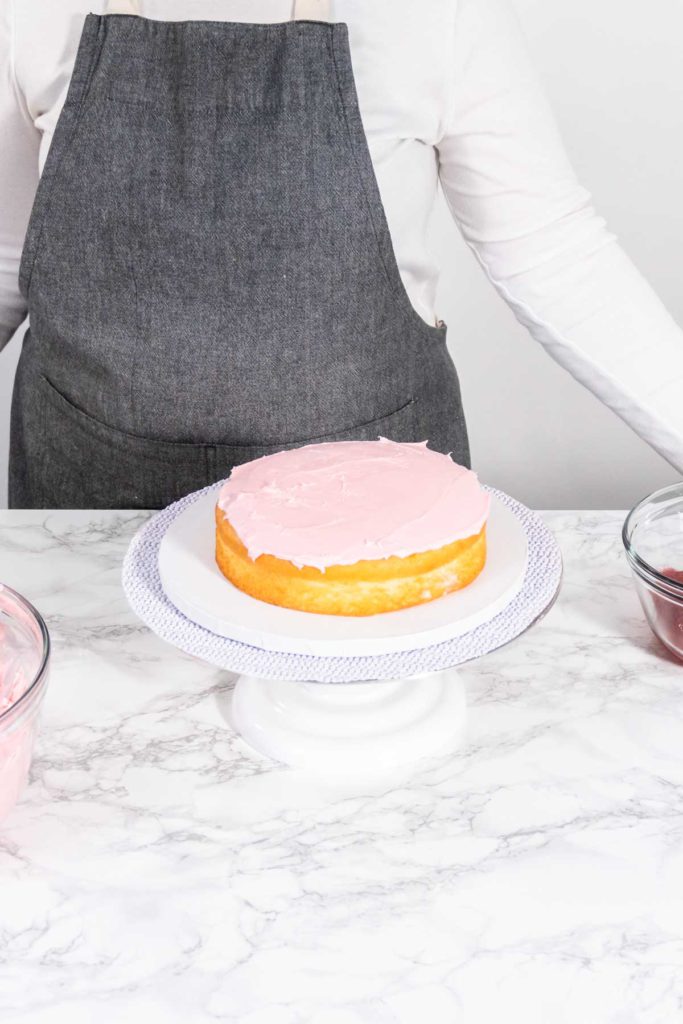
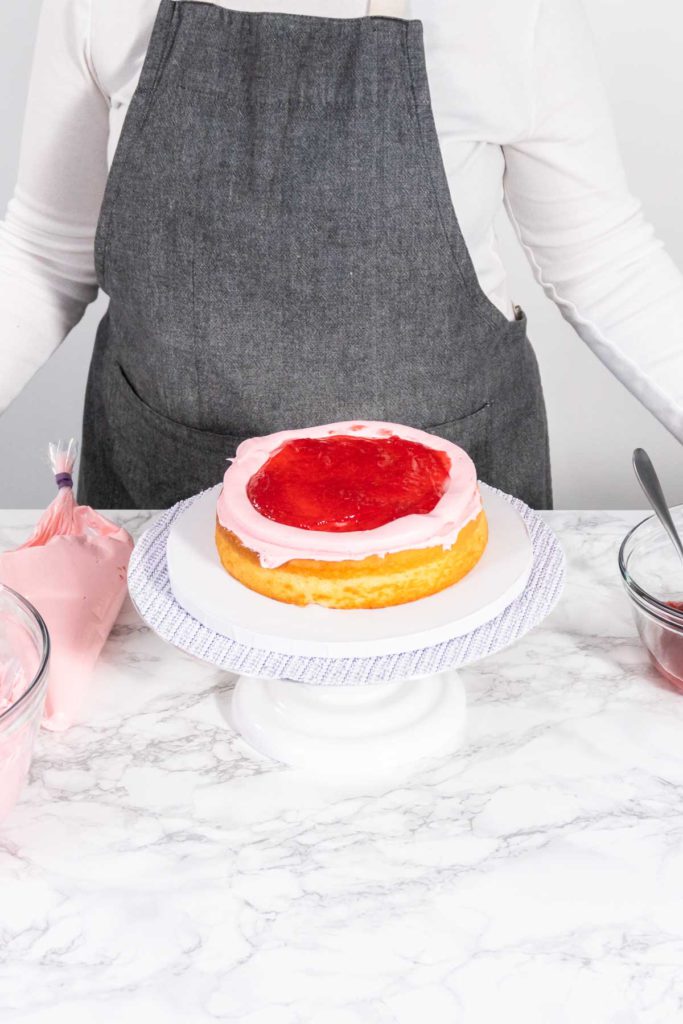
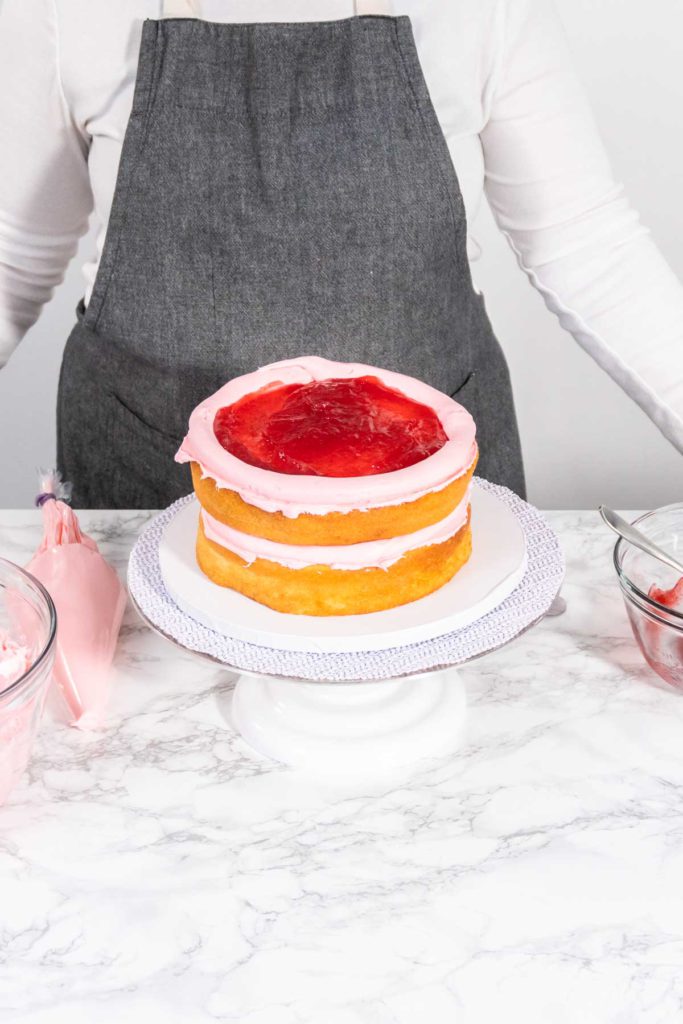
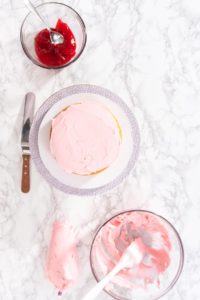
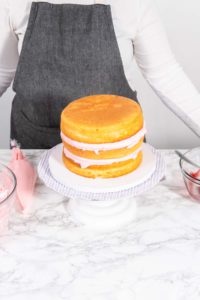
- Squeeze some strawberry frosting onto the top of the first cake layer and spread it out evenly over the top using the cake spatula. Then, squeeze a border of frosting along the top outer edge, this border will hold in the filling.
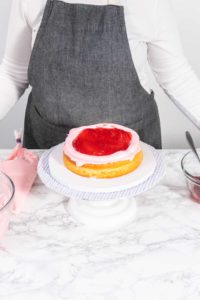
- Then, spoon the strawberry filling inside the frosting border and spread it around to fill in.
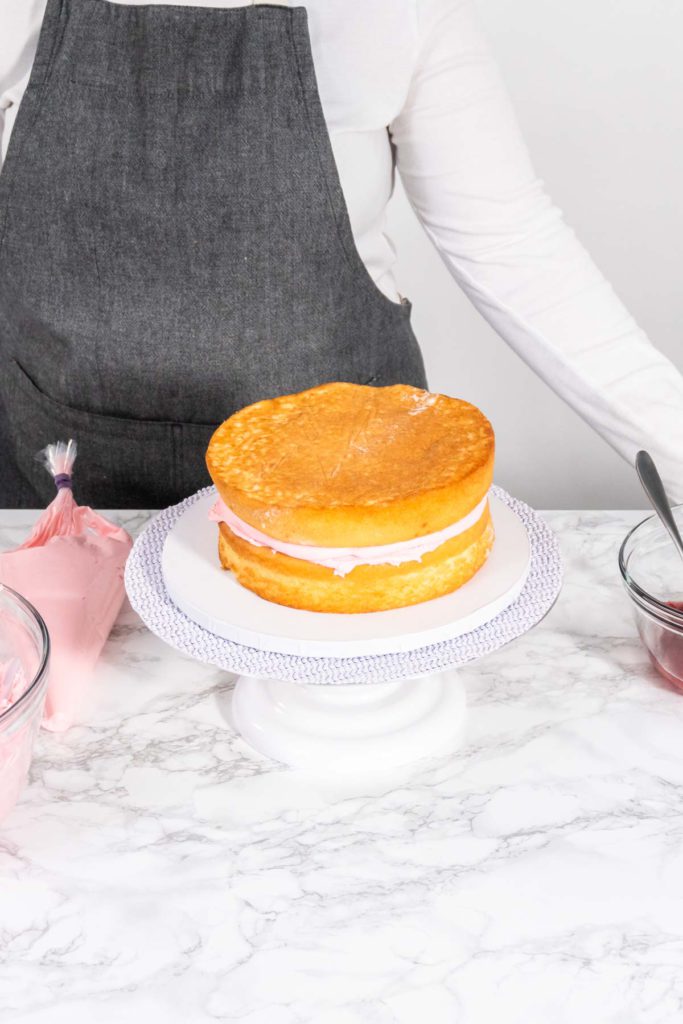
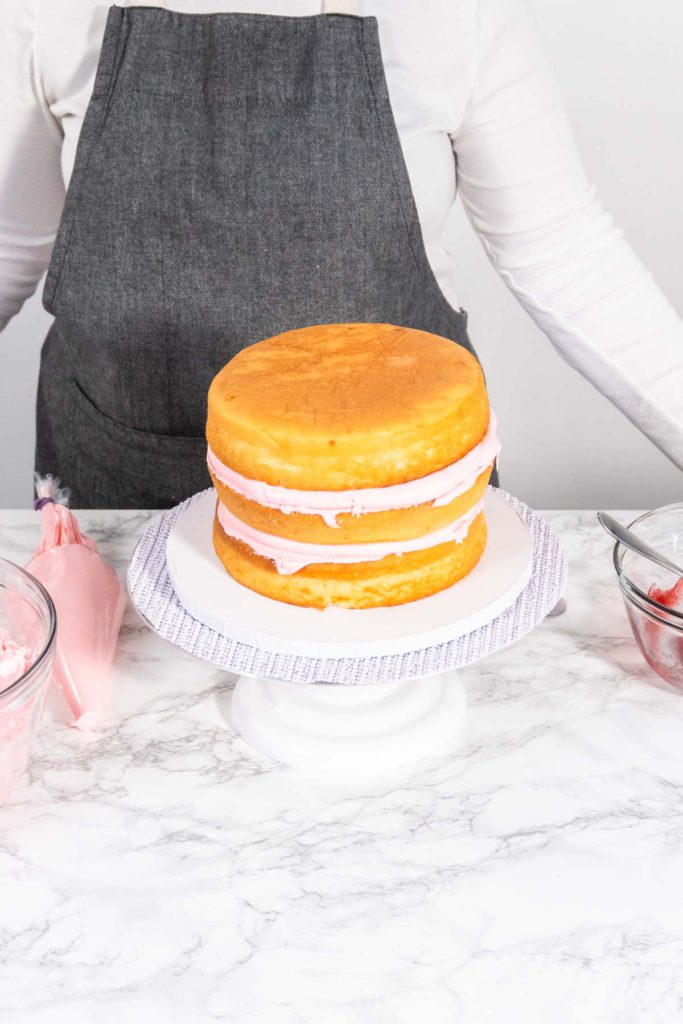
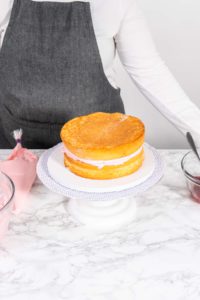
- Carefully add the second layer of vanilla cake and repeat the frosting and filling process.
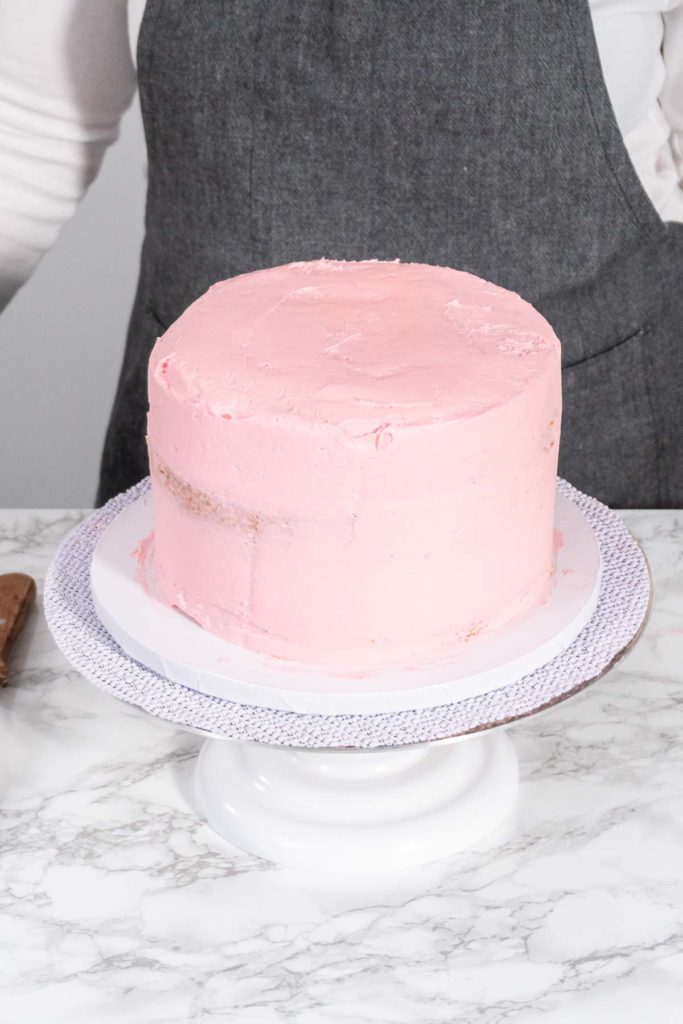
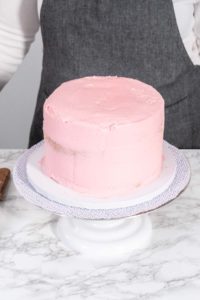
- Next, place the final layer of cake upside down to create a flat top and frost the top and sides completely. Smooth the outside layer of frosting with a cake scraper.
- Transfer the stacked cake to the refrigerator and let it chill for 30 minutes.
- Then, transfer 2 tubs of the vanilla frosting to a large mixing bowl. Gradually add in some powdered sugar and whip with the electric hand mixer until stiff, about 5 minutes.
- This crumb coat layer frosting needs to be a thick consistency, otherwise, the cake layers will start sliding around.
- In a separate mixing bowl, add the last tub of vanilla frosting. Mix in powdered sugar to make the frosting stiff.
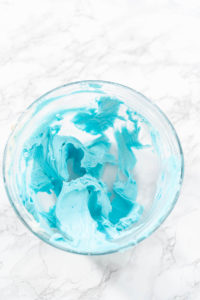
- Then, use a toothpick to add in a little bit of blue food coloring and mix until the desired color is reached.
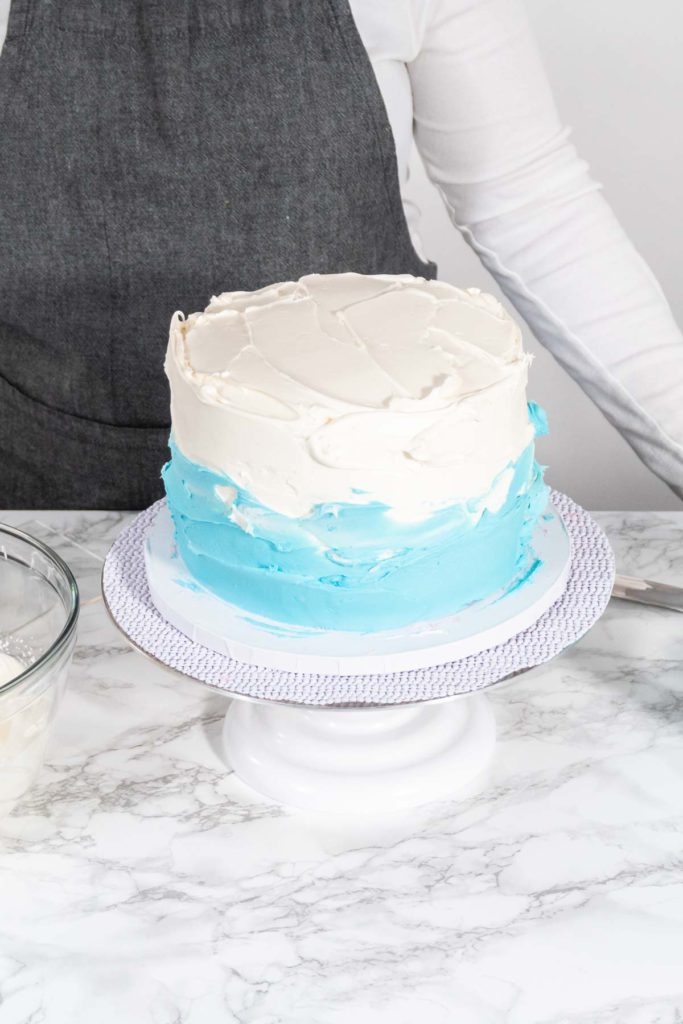
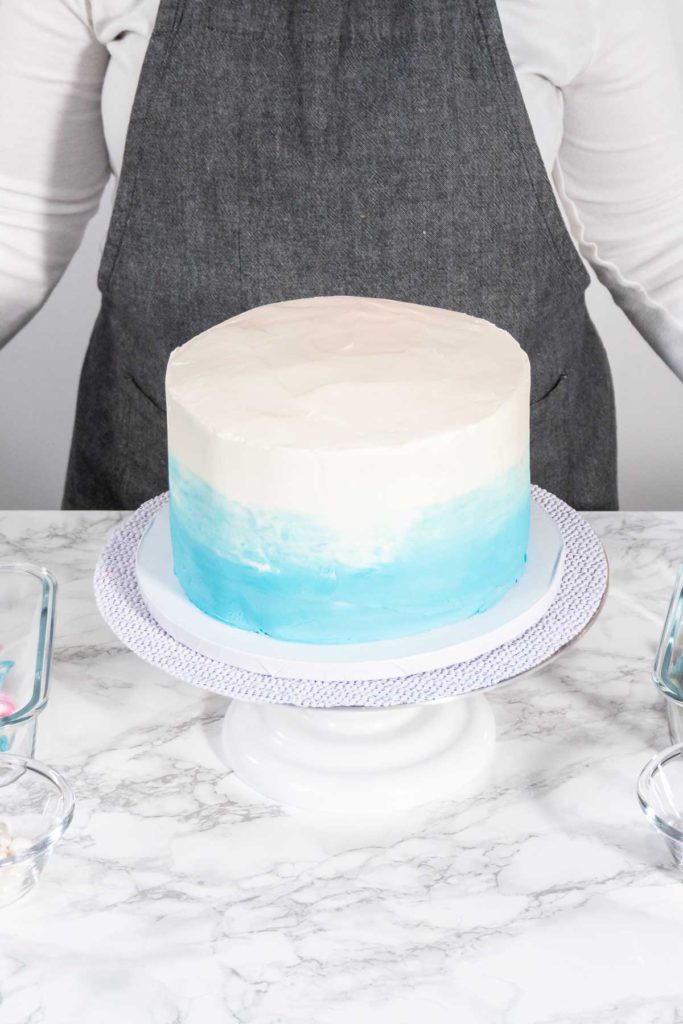
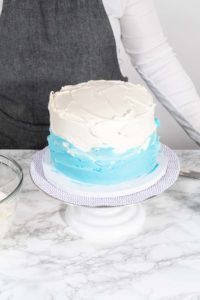
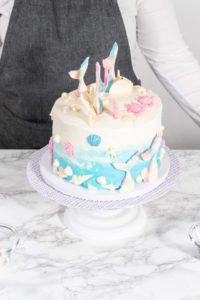
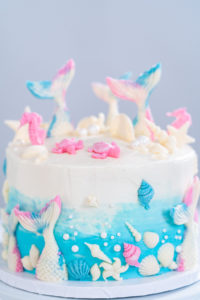
- Remove the stacked cake from the fridge and transfer it back to the revolving cake stand. Spread the white frosting over the top of the cake and down over about ⅔ of the sides. Then, spread the blue frosting along the bottom part of the cake up to meet the edge of white frosting.
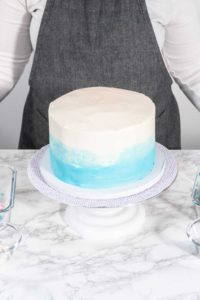
- Finally, smooth the entire outside frosting layer with the cake scraper, just barely blending the part where the blue and white frosting meet.
Making the chocolate mermaid tails and seashells:
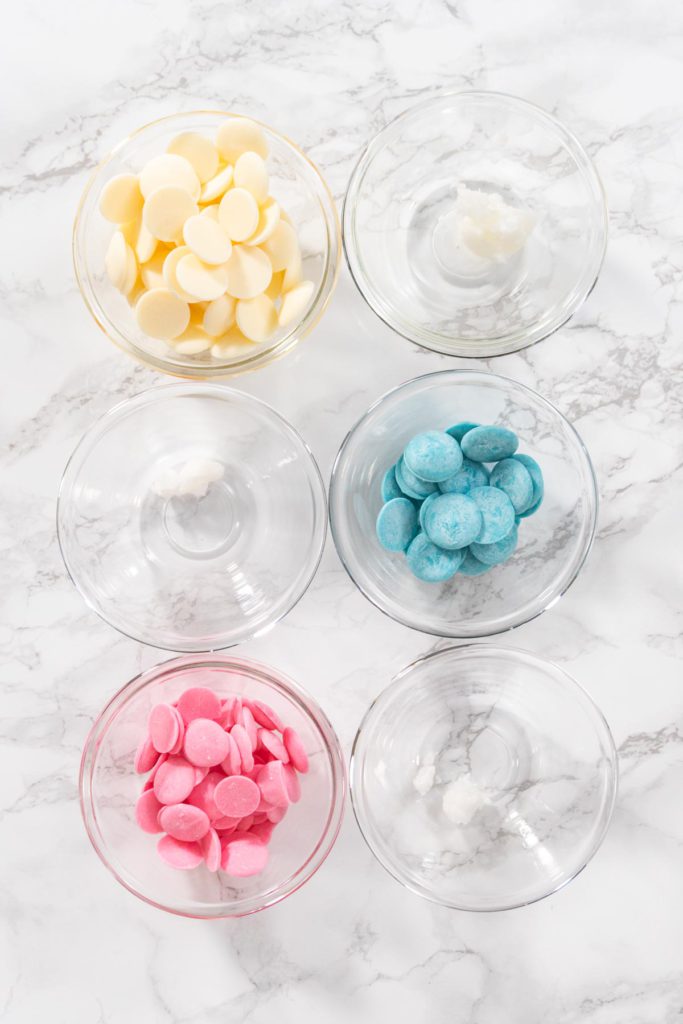
- First, measure out all of the colored candy melts and the coconut oil.
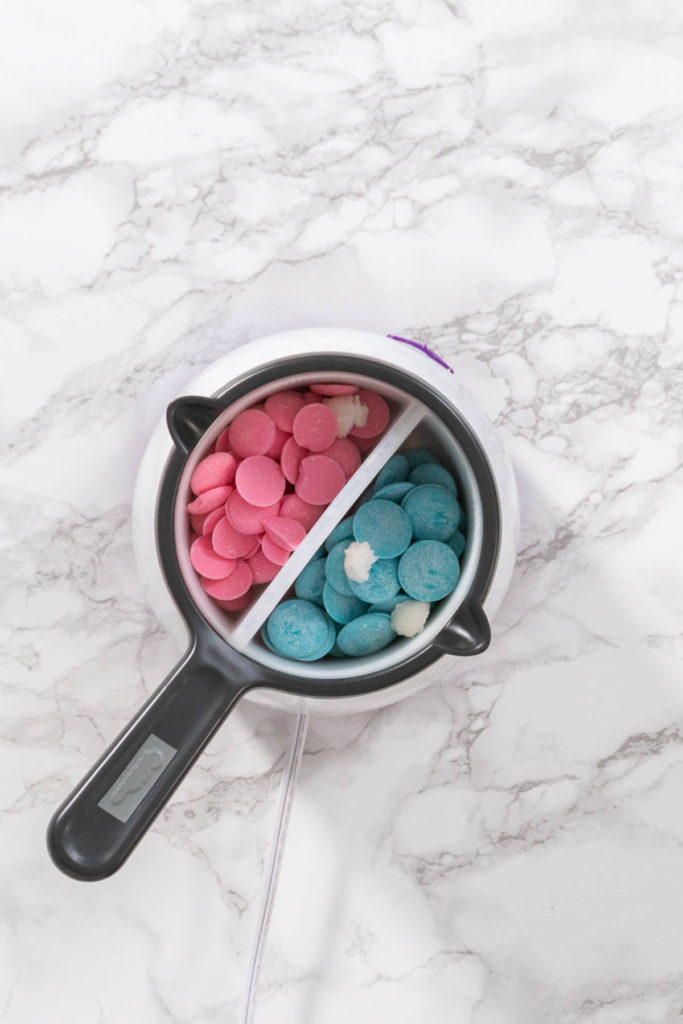
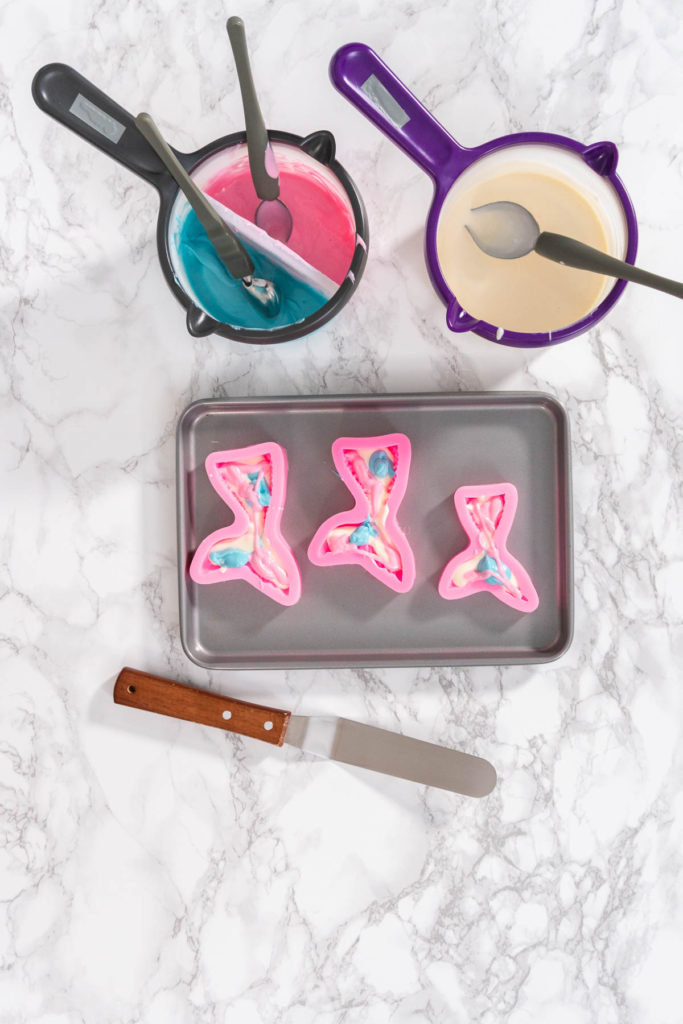
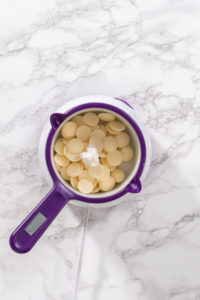
- Then, combine the bright white candy melts and the coconut oil in the candy melt pot. Melt them together on high, while stirring continuously with a heat-resistant spatula.
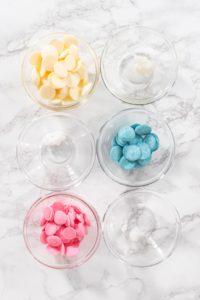
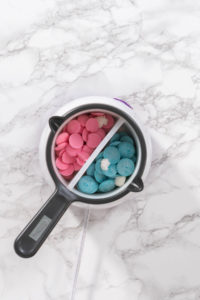
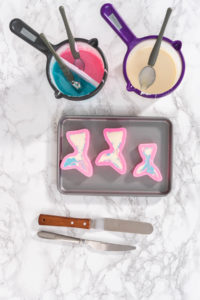
- Next, get another candy melt pot ready with a two-compartment silicone liner. Drop the pink and blue candies into the separated sections and add coconut oil to each one. Heat on high while continuously stirring.
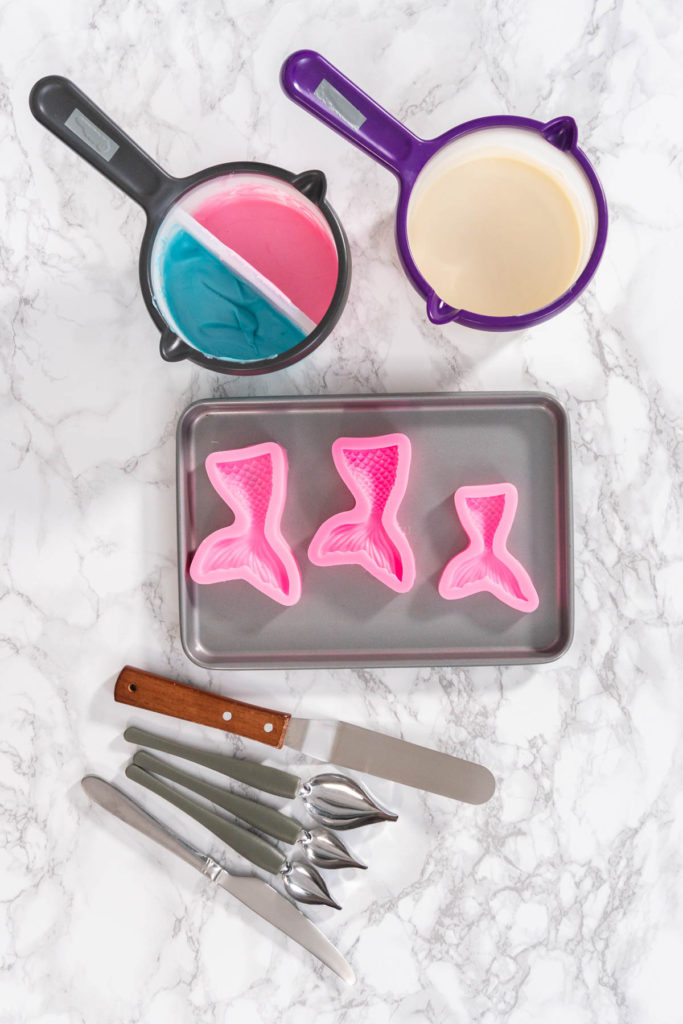
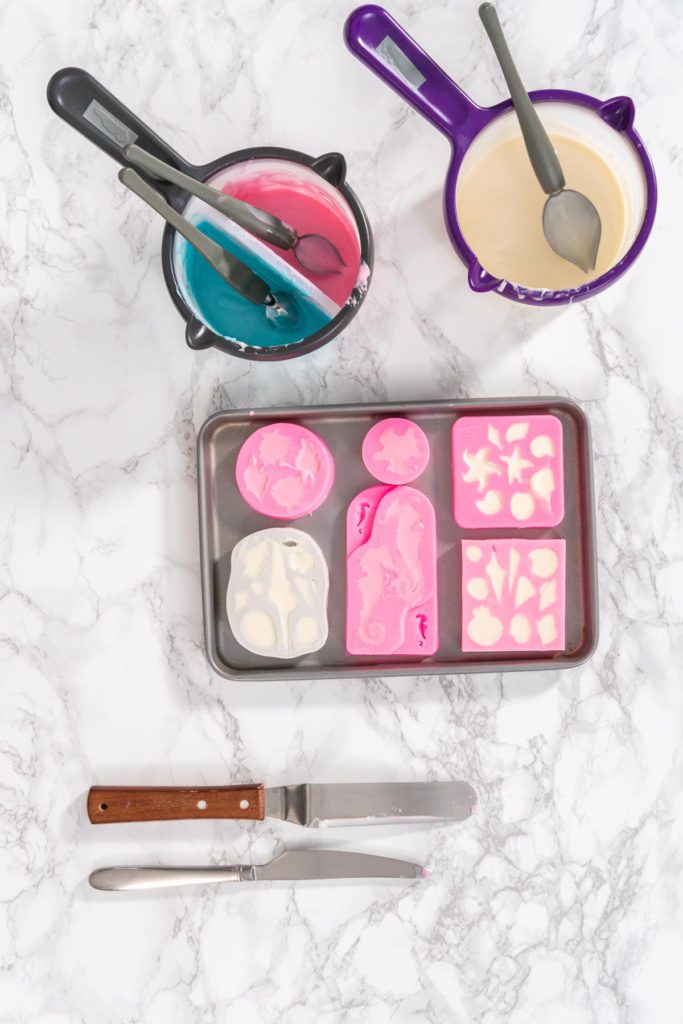
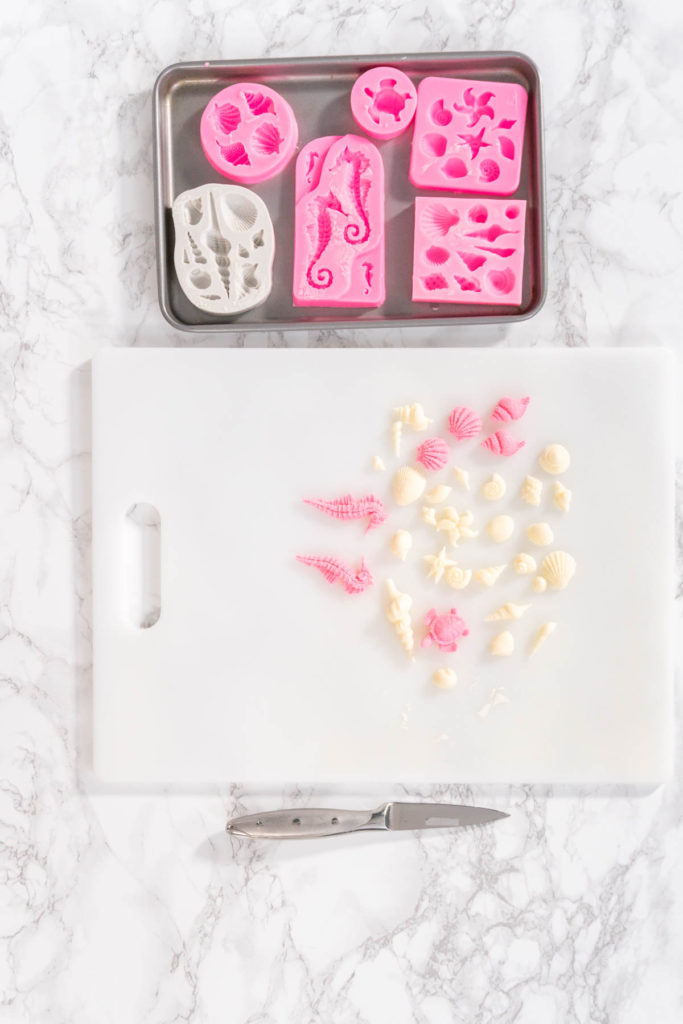
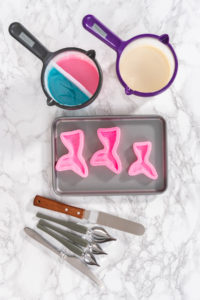
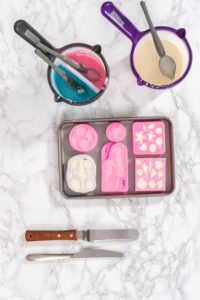
- Then, set the mermaid tail silicone mold and the seashell silicone mold on baking sheets to keep them flat and grab the other candy-making tools.
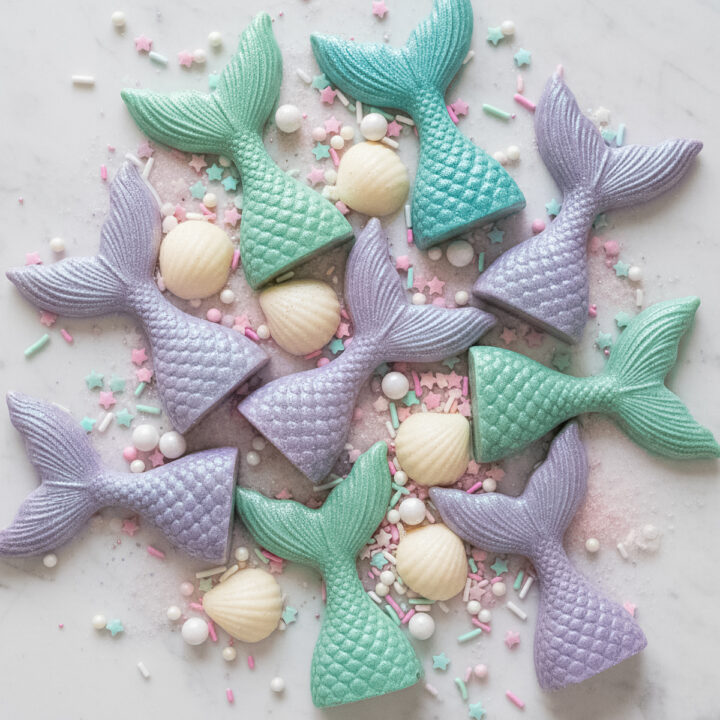
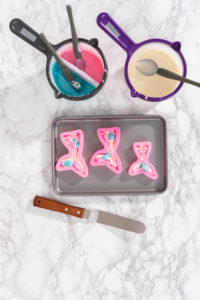
- Use separate drizzle spoons to carefully pour the white, blue, and pink melted candy into the mermaid tail mold. Tap the mold gently to remove any air bubbles.
- I like to mix the colors in the mermaid tails to give them a much more whimsical look.
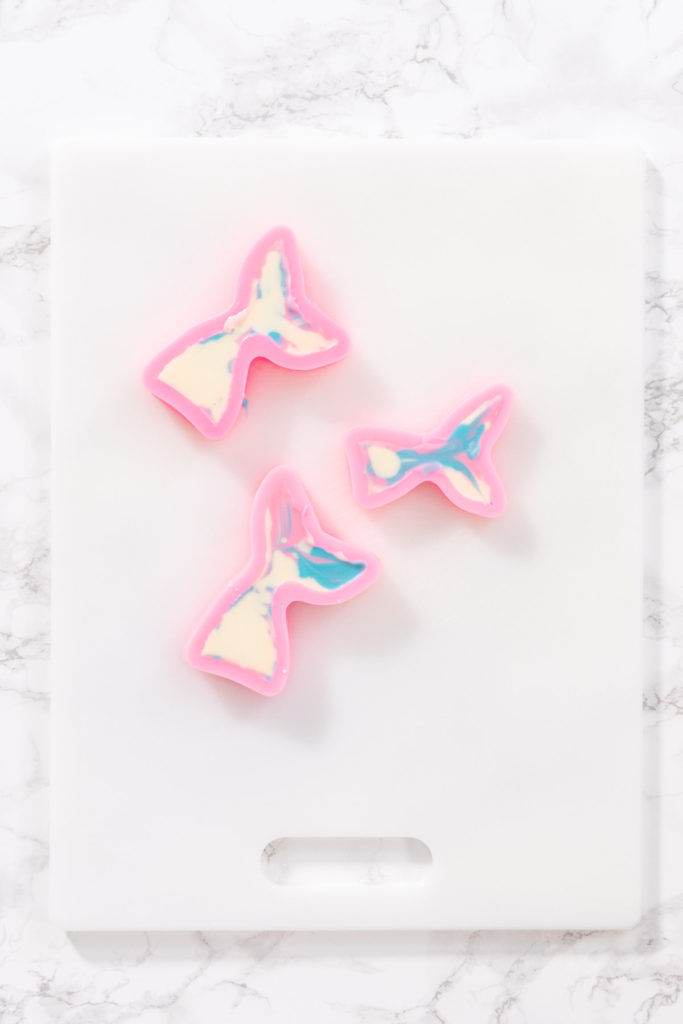
- Next, scrape off the excess melted candy using a cake spatula. Spoon the rest of the melted candy into the seashell silicone mold, tap the tray, and scrape off the excess candy.
- Then, transfer the baking sheets either to the fridge or the freezer and sit the trays completely flat. Refrigerate the candies for 15 minutes or freeze them for 5 minutes.
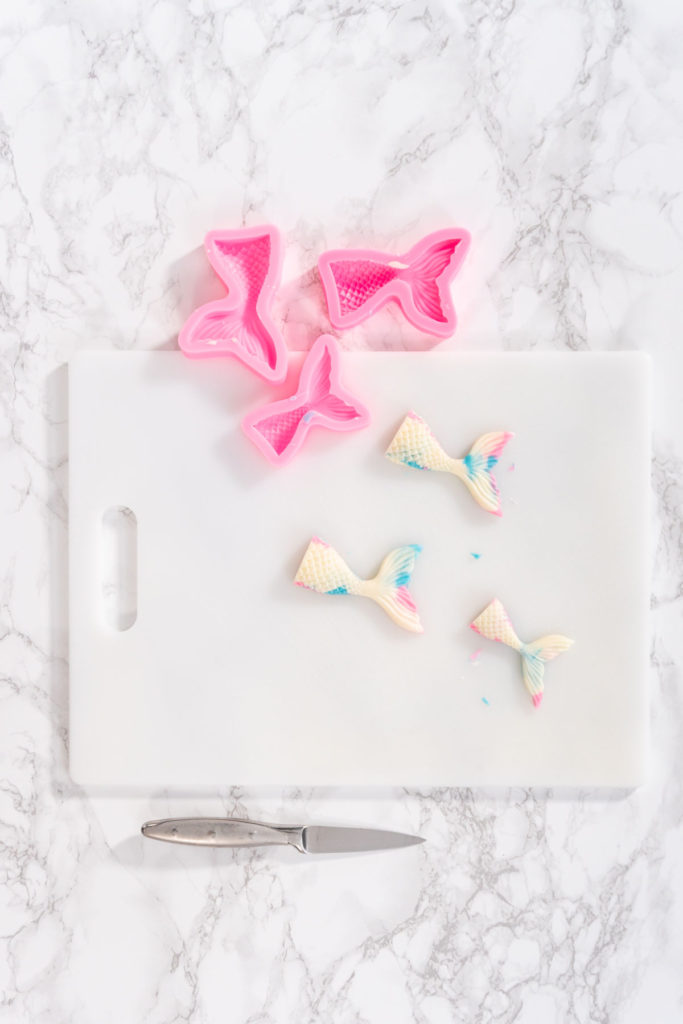
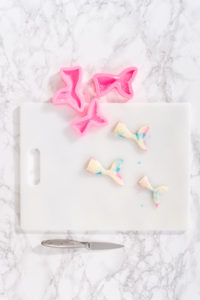
- When the chocolates have hardened completely, carefully pull the edges of the silicone molds to gently separate from the candies, then carefully pop the candies out from the molds.
- Try not to handle the chocolate candies too much, your body heat can make them start to melt.
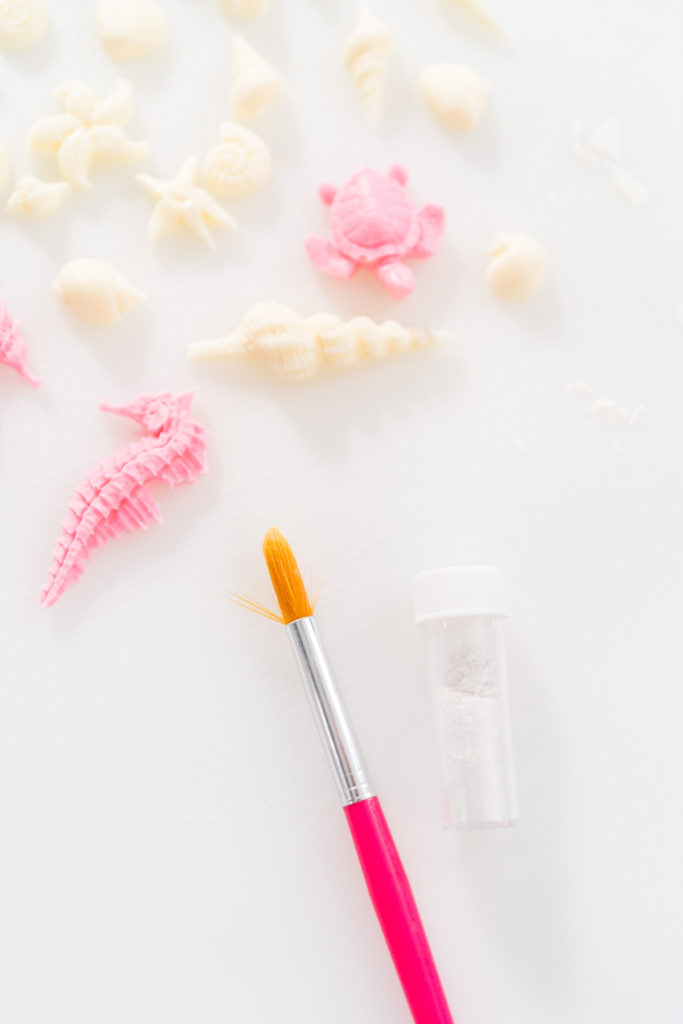
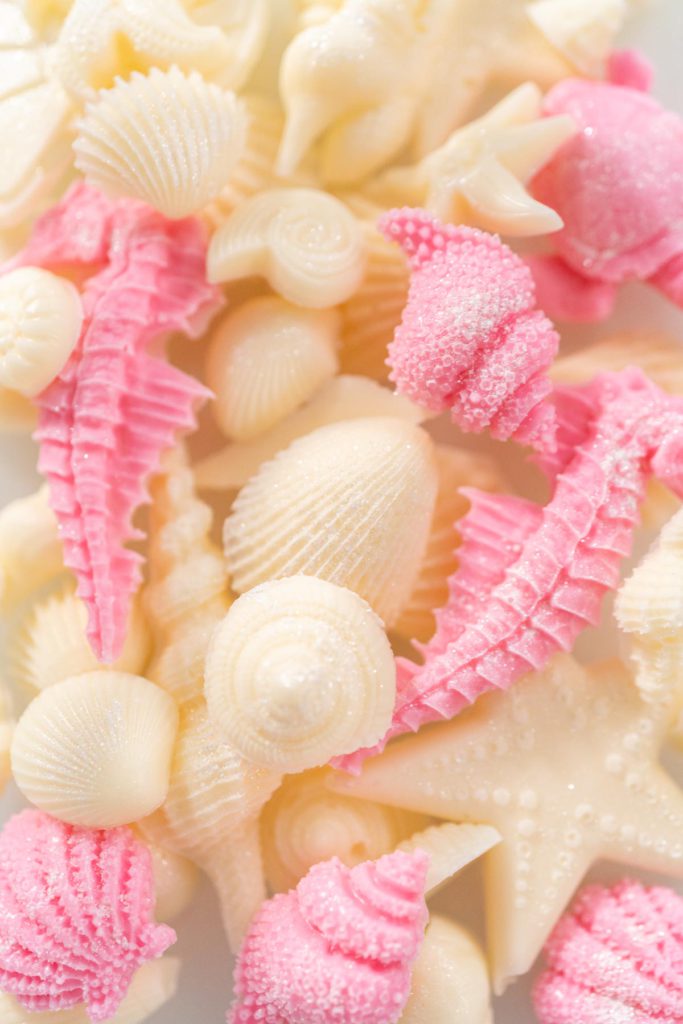
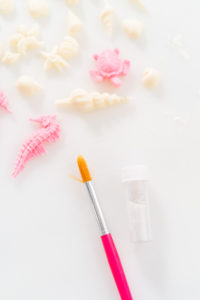
- Cut away any excess candy from the edges and use a food brush to apply the glitter dust to each of the candies.
- Refill and repeat the melting and candy-making process 3 more times.
- These homemade chocolates can be prepared ahead of time and stored until it’s time for cake decorating. Keep reading for candy storage instructions.
Garnishing with the goods:
- First, set out the freshly frosted cake and the homemade candy cake toppers.
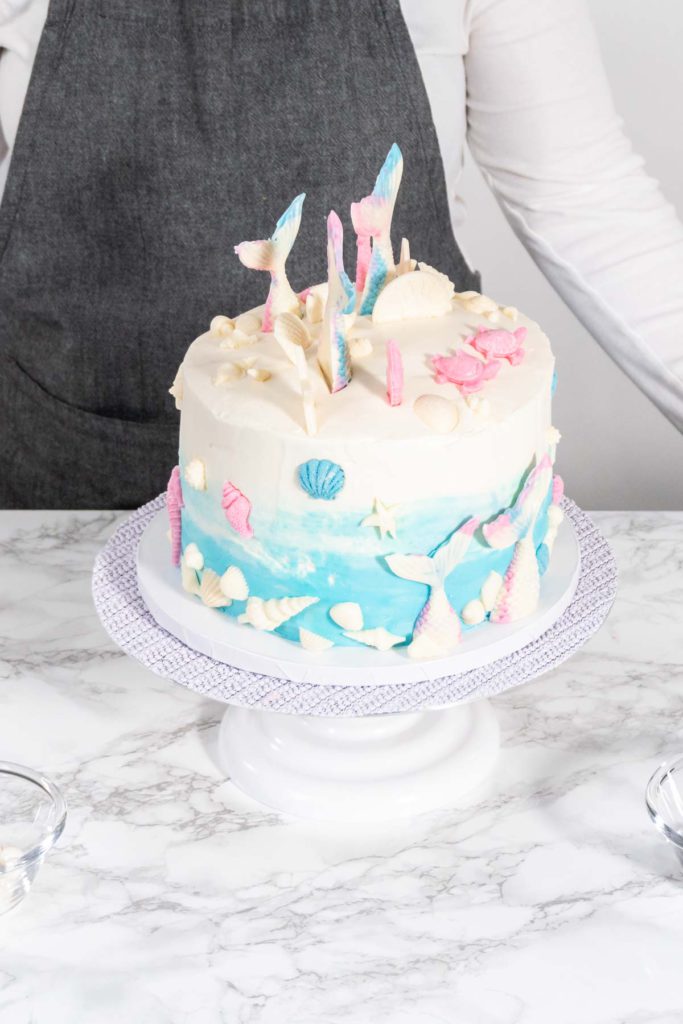
- Then, before the frosting has a chance to harden, start decorating the cake with the colorful chocolate mermaid tails.
- Finally, finish the cake decorating and assembly by adding the chocolate seashells and the sugar pearls. Serve and enjoy!
- If you need to transport the cake to a different location, then wait to add the top decorations until you’ve made it to the party destination.
Cake Storage and Transport
If you need to transport this magnificent custom mermaid cake to a different location, or if you need to store some party leftovers, you can do either of these pretty easily! Here’s how to do just that:
Cake travel:
For this masterful cake, you will need a tall cake box for transport or use a Wilton plastic cake carrier. A cake carrier is also an excellent option for storing leftover cake, as well. Remember to wait to place the chocolate decor on top of the cake until right before the party, especially if traveling with this cake.
Mermaid Theme
- DIY Mermaid Pumpkins with Glitter, Shells, and No-Carve Magic
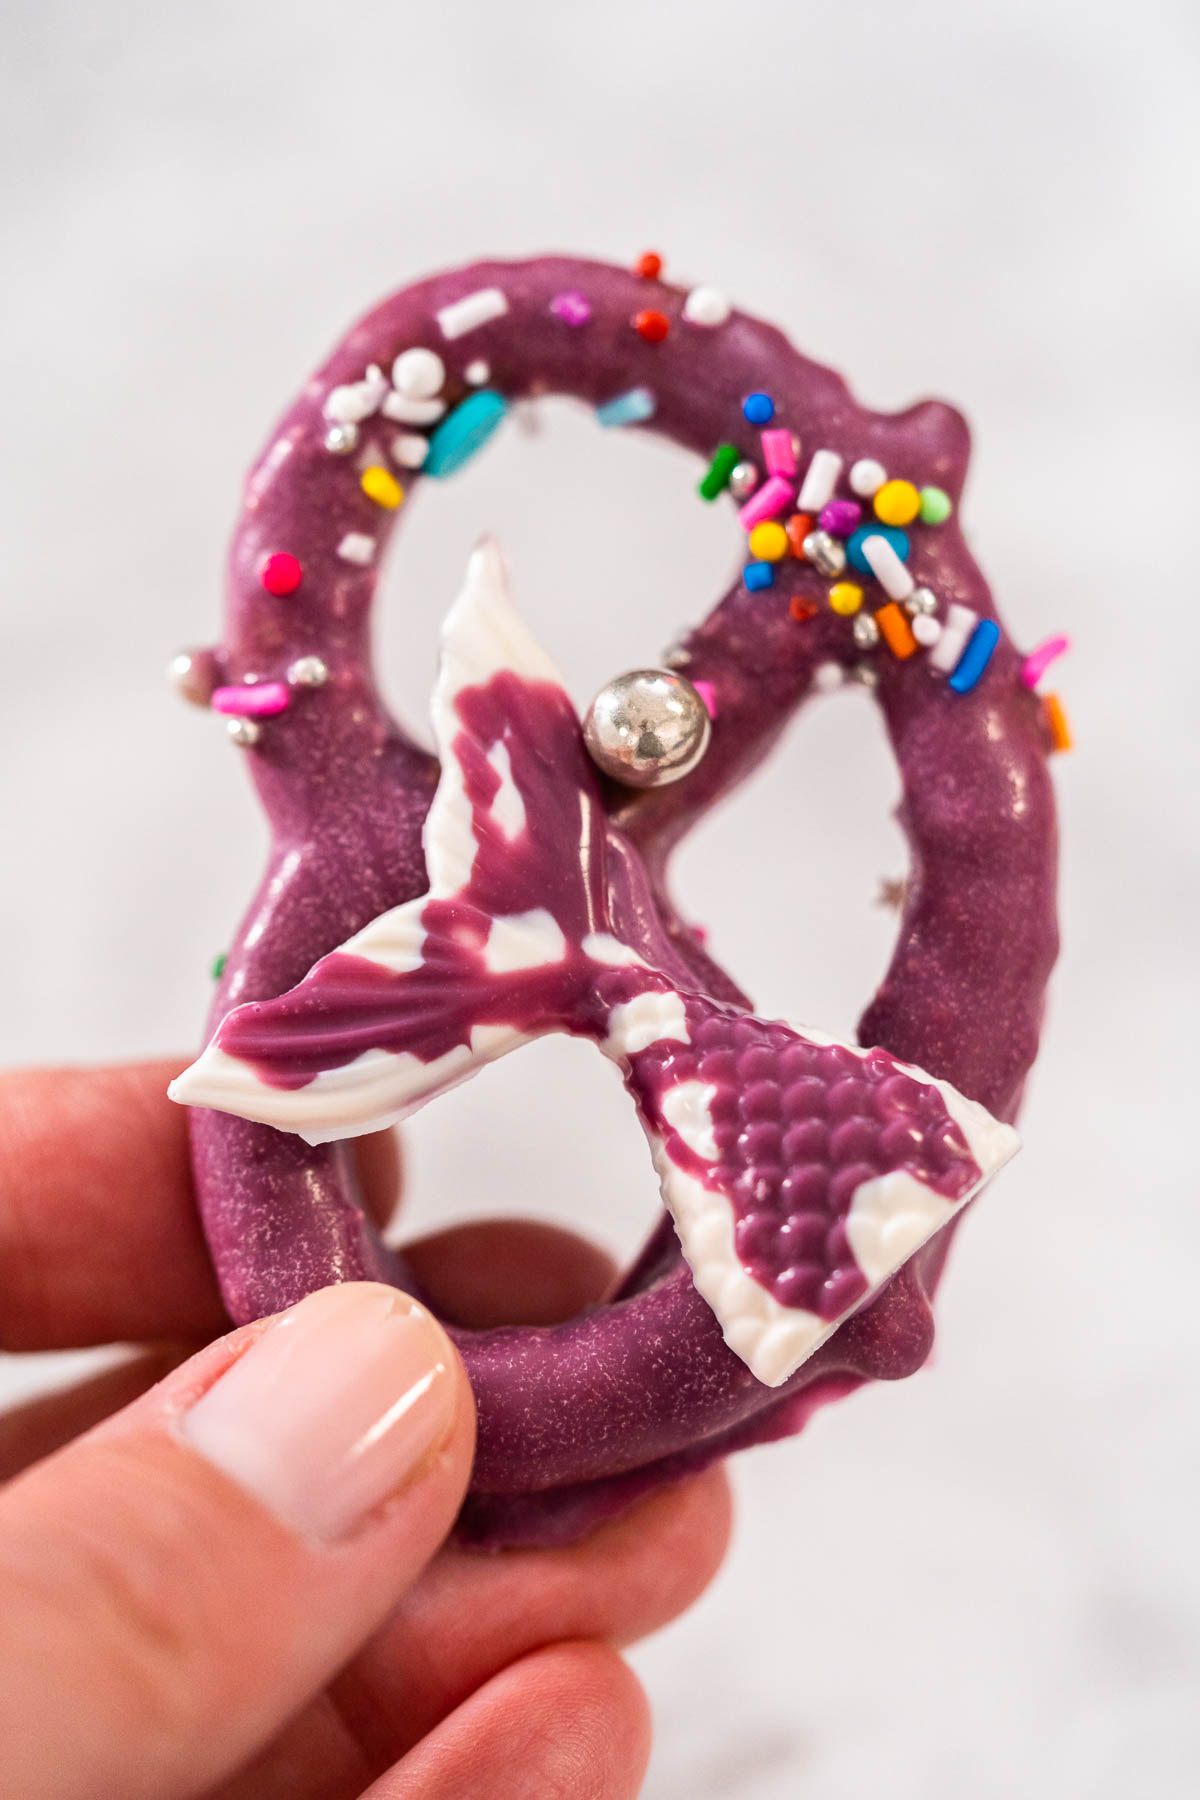
- How to Make Mermaid-Themed Chocolate Covered Pretzels
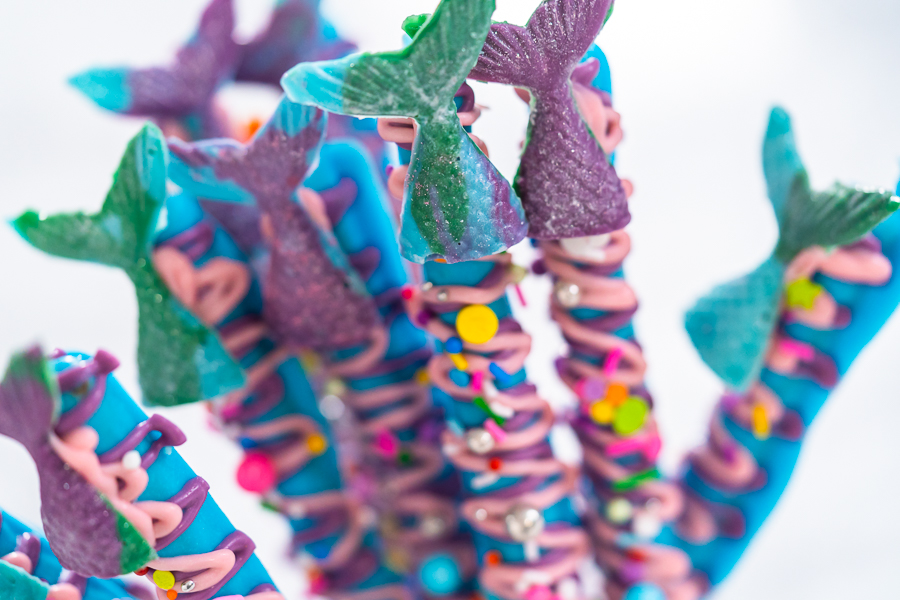
- Mermaid Pretzel Rods for Magical Under-the-Sea Parties
- Vanilla Mermaid Cupcakes – Magical Ocean-Inspired Cupcakes for Birthdays and Special Celebrations
- How to Make Mermaid Tails with Chocolate and Candy Molds
Decorated Cake Storage:
Don’t worry, you can safely save the rest to enjoy for the rest of the week, or later even! When it comes to cake storage there are a few different options you can choose from.
- You can store the cake for up to 3 days on the counter, either tightly covered or stored in an airtight cake container.
- Store in the fridge for up to 1 week, either wrapped or in an airtight container.
- Or, individual slices can be stored in the freezer for up to 3 months. Just wrap the slices in plastic food wrap, then wrap again in kitchen foil before sealing in an airtight container to avoid freezer burn.
- Don’t forget to label the date on the wrapping of the cake to keep up with freshness.
Storing homemade chocolate mermaid tails and seashells:
- Just transfer the chocolates to a rigid, airtight container and store either in the fridge for 2 weeks or in the freezer for up to 3 months.
- You can use small cuts of parchment paper or wax paper in between the layers to help keep the chocolates separated and intact.
- Always mark the date on the outside of the container to keep up with freshness.
Storing leftover store-bought buttercream frosting:
- Leftover frosting that remains in the opened, store-bought container can be safely stored in the fridge for up to 3 months.
- Always mark the date of opening on the top of the lid.
- I like to mark mine with a black sharpie.
Magical Mermaid Serving Ideas
It’s showtime! Time to show off those cake crafting skills with this jaw-dropping and downright dazzling mermaid masterpiece! Want to make the experience even more enchanting for your mermaid fan or favorite beach bum? Try adding some of these other magical homemade treats for the ultimate mermaid or fairy tale-themed celebration!
- Mermaid Cake Popsicles
- Mermaid Pretzel Rods
- Chocolate Mermaid Tails
- Mini Mermaid Chocolate Bars
- Unicorn Cake
- Unicorn Chocolate Chip Cookies
- Unicorn Meringue Pops
- Unicorn Meringue Cookies
- Unicorn Rainbow Cupcakes
This Mermaid 3 Layer Cake is perfect for making a jaw-dropping appearance at:
- Kids birthday parties
- Any beach or mermaid-themed birthday party
- Pool parties
- Beach-themed weddings or receptions
- Baby showers
Mermaid 3 layer cake
Video
Equipment
Ingredients
Cake
- 3 cans Vanilla buttercream frosting 16 oz
- 2 cans Strawberry buttercream frosting 16 oz
- Powdered sugar 4-6 cups, as needed
- 3 layers Uniced 8 inch cake layer vanilla
- 2 cups Strawberry cake filling
- food coloring blue
Mermaid tails and seashells
- 2 cups Bright white Candy Melts
- 1 teaspoon Coconut oil
- ½ cup Wilton pink candy melts
- 1 teaspoon Coconut oil
- ½ cup Wilton Candy Melts Blue
- 1 teaspoon Coconut oil
- Food glitter
Garnish
Instructions
Cake assembley
- First, gather up all of your cake ingredients and all 3 of the prepared chocolate cake layers.
- Then, transfer both tubs of the strawberry frosting to a large glass mixing bowl and whip with the electric hand mixer until smooth, about 5 minutes. If needed, mix in small amounts of powdered sugar until the frosting is stiff.Remember, the frosting and crumb coat layers will need to be thick, otherwise, the cake layers will move and slide.
- Next, use a silicone spatula to scoop the whipped frosting into a pastry piping bag and close it off with a piping bag tie. Cut off ½ inch from the tip of the pastry bag to make an opening.
- Next, line the revolving cake stand with the 10-inch white cake drum and gather the strawberry frosting and filling.
- Then, unwrap the first cake layer and position it in the center of the cake drum.
- Squeeze some strawberry frosting onto the top of the first cake layer and spread it out evenly over the top using the cake spatula. Then, squeeze a border of frosting along the top outer edge, this border will hold in the filling.
- Then, spoon the strawberry filling inside the frosting border and spread it around to fill in.
- Carefully add the second layer of vanilla cake and repeat the frosting and filling process.
- Next, place the final layer of cake upside down to create a flat top and frost the top and sides completely. Smooth the outside layer of frosting with a cake scraper.
- Transfer the stacked cake to the refrigerator and let it chill for 30 minutes.
- Then, transfer 2 tubs of the vanilla frosting to a large mixing bowl. Gradually add in some powdered sugar and whip with the electric hand mixer until stiff, about 5 minutes. This crumb coat layer frosting needs to be a thick consistency, otherwise, the cake layers will start sliding around.
- In a separate mixing bowl, add the last tub of vanilla frosting. Mix in powdered sugar to make the frosting stiff.
- Then, use a toothpick to add in a little bit of blue food coloring and mix until the desired color is reached.
- Remove the stacked cake from the fridge and transfer it back to the revolving cake stand. Spread the white frosting over the top of the cake and down over about ⅔ of the sides. Then, spread the blue frosting along the bottom part of the cake up to meet the edge of white frosting.
- Finally, smooth the entire outside frosting layer with the cake scraper, just barely blending the part where the blue and white frosting meet.
Mermaid tails and seashells
- First, measure out all of the colored candy melts and the coconut oil.
- Then, combine the bright white candy melts and the coconut oil in the candy melt pot. Melt them together on high, while stirring continuously with a heat-resistant spatula.
- Next, get another candy melt pot ready with a two-compartment silicone liner. Drop the pink and blue candies into the separated sections and add coconut oil to each one. Heat on high while continuously stirring.
- Then, set the mermaid tail silicone mold and the seashell silicone mold on baking sheets to keep them flat and grab the other candy-making tools.
- Use separate drizzle spoons to carefully pour the white, blue, and pink melted candy into the mermaid tail mold. Tap the mold gently to remove any air bubbles.I like to mix the colors in the mermaid tails to give them a much more whimsical look.
- Next, scrape off the excess melted candy using a cake spatula. Spoon the rest of the melted candy into the seashell silicone mold, tap the tray, and scrape off the excess candy.
- Then, transfer the baking sheets either to the fridge or the freezer and sit the trays completely flat. Refrigerate the candies for 15 minutes or freeze them for 5 minutes.
- When the chocolates have hardened completely, carefully pull the edges of the silicone molds to gently separate from the candies, then carefully pop the candies out from the molds.Try not to handle the chocolate candies too much, your body heat can make them start to melt.
- Cut away any excess candy from the edges and use a food brush to apply the glitter dust to each of the candies.
- Refill and repeat the melting and candy-making process 3 more times.These homemade chocolates can be prepared ahead of time and stored until it’s time for cake decorating. Keep reading for candy storage instructions.
Garnishing
- First, set out the freshly frosted cake and the homemade candy cake toppers.
- Then, before the frosting has a chance to harden, start decorating the cake with the colorful chocolate mermaid tails.
- Finally, finish the cake decorating and assembly by adding the chocolate seashells and the sugar pearls. Serve and enjoy!If you need to transport the cake to a different location, then wait to add the top decorations until you’ve made it to the party destination.
Food Photography & Video Tips from My Studio
Here’s a peek at the tools, gear, and camera setups I use to film my recipe videos and photograph food at home. Over the years, I’ve tested dozens of different setups, and now I’m sharing what actually works for me—whether I’m filming overhead shots for YouTube or styling still photos for my blog. If you’re curious about how I create the content you see here, these posts are a great place to start.







Little Mermaid Cake says
The process for three layer mermaid cake in one hour is excellent. Before your blog, it takes 3 hours to bake a 3-layer cake, after that I learn to do this in 1 hour. Plenty of love. I can't thank you enough.
Arina says
Thank you so much for your kind words! I'm thrilled to hear that my blog post on the process for making a three-layer mermaid cake in one hour has been helpful to you. It's amazing how much time can be saved with the right techniques and tips. I'm glad I could contribute to making your baking experience more efficient and enjoyable. Your feedback and appreciation mean a lot to me. Happy baking and keep spreading the love with your delicious creations!