|
This post contains affiliate links.
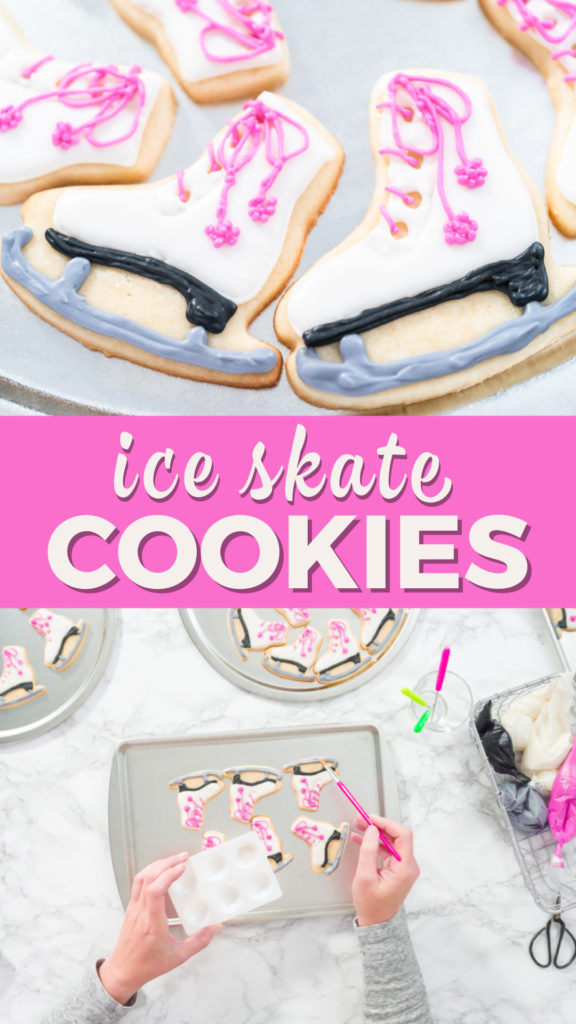
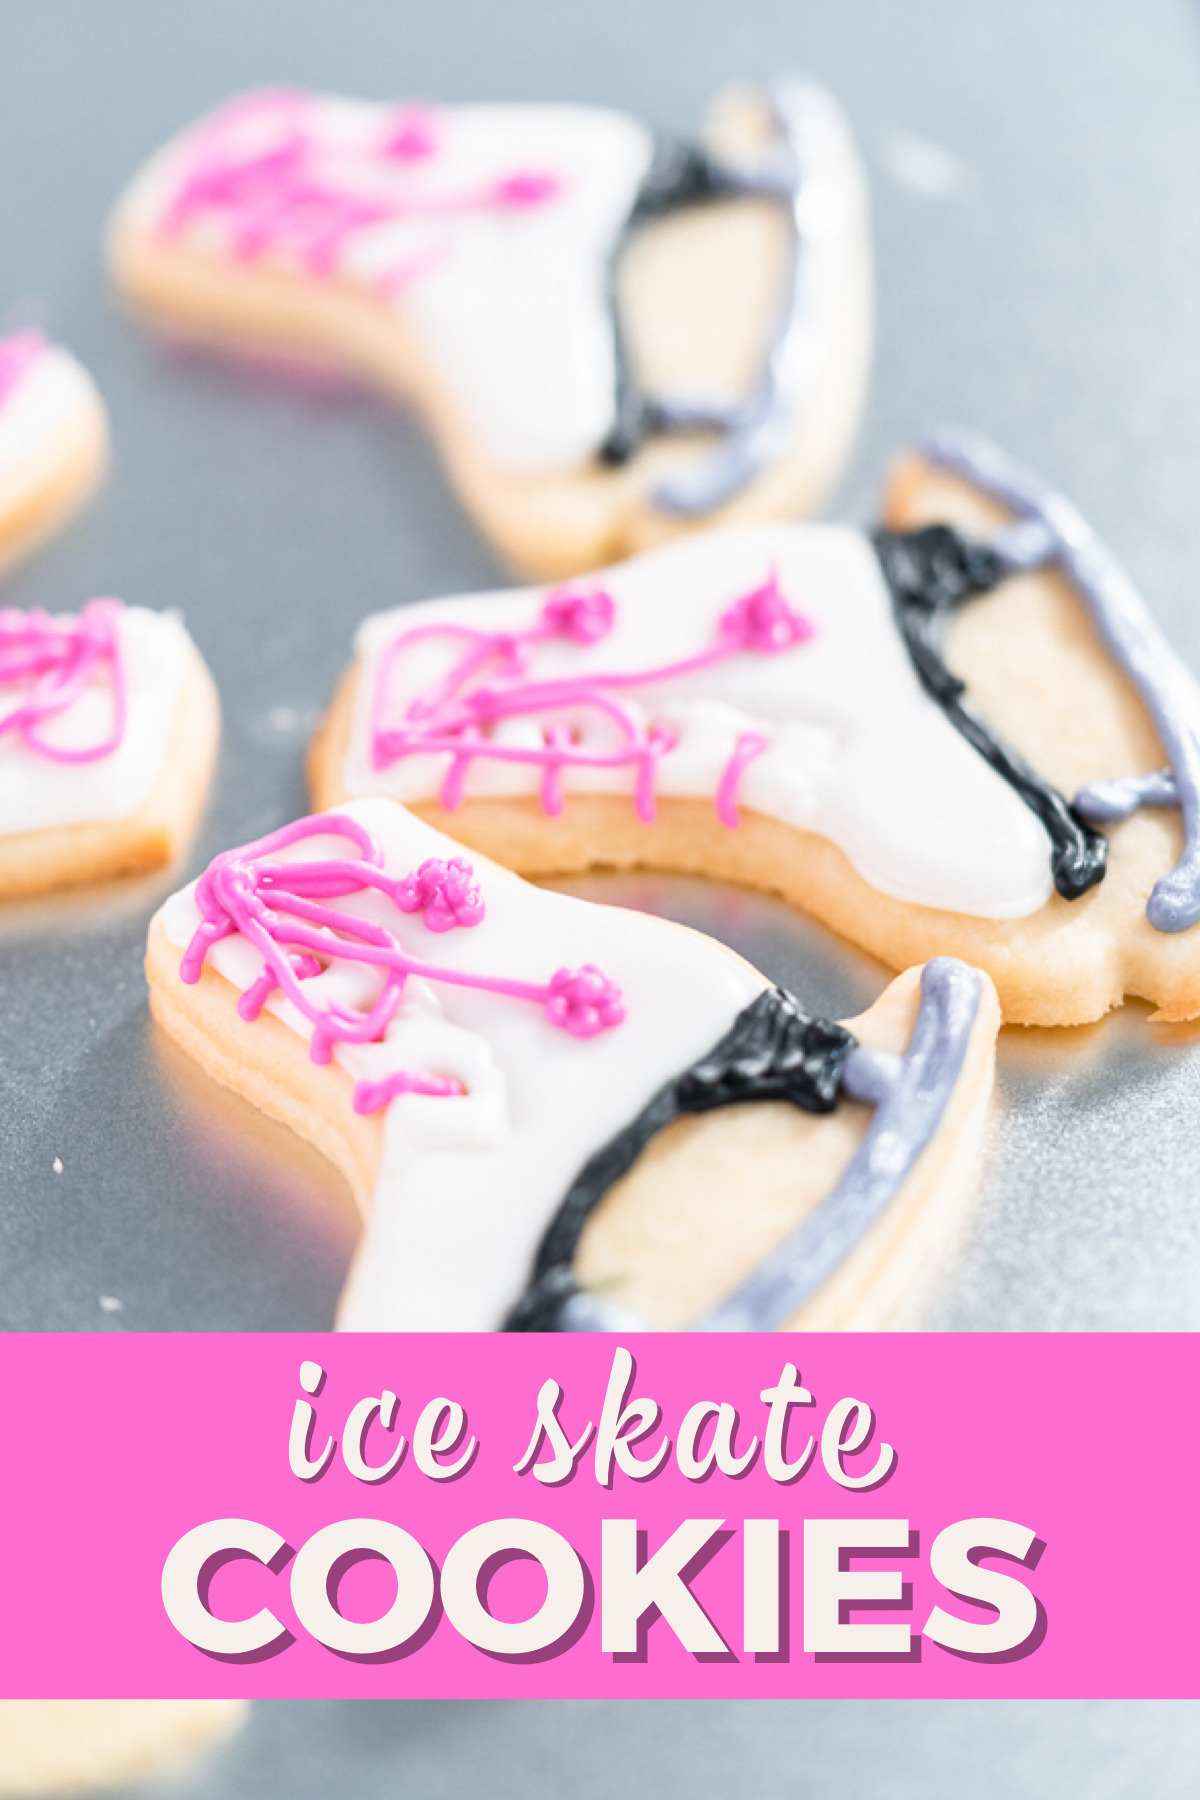
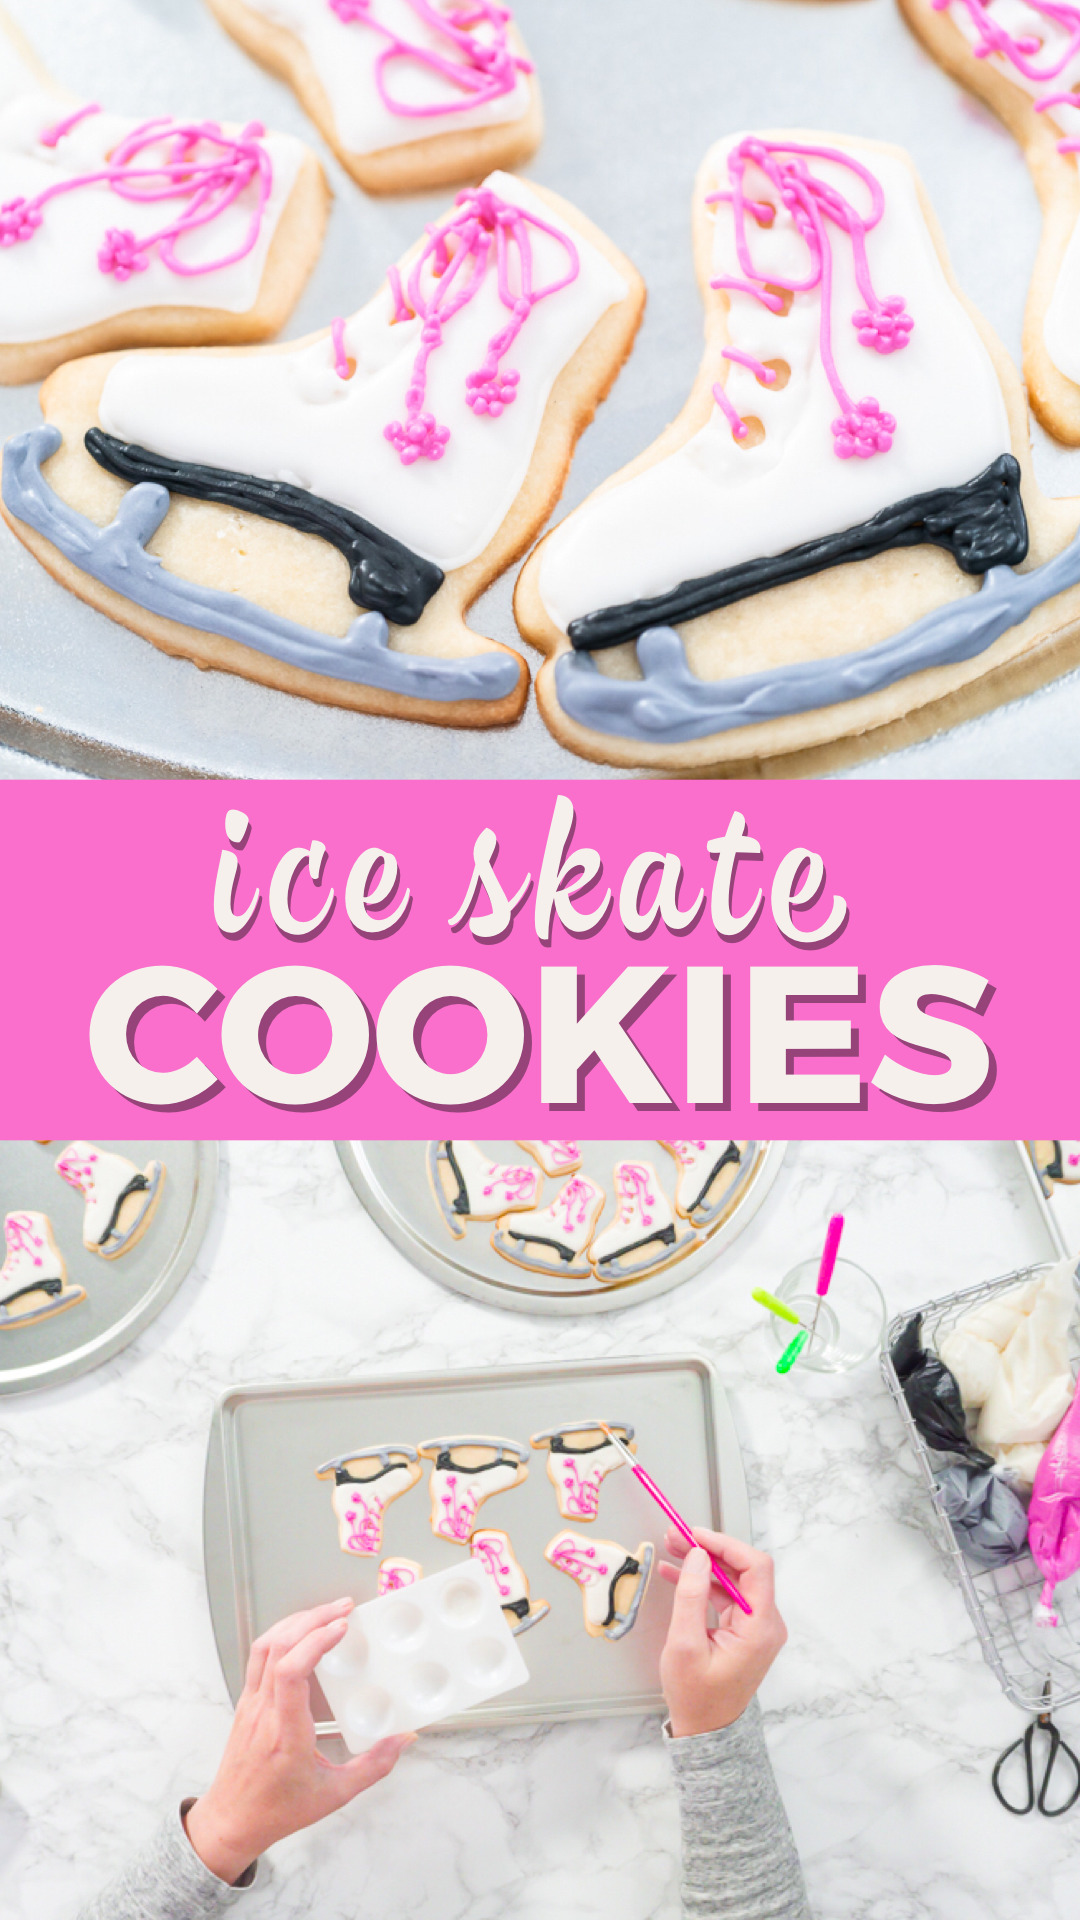
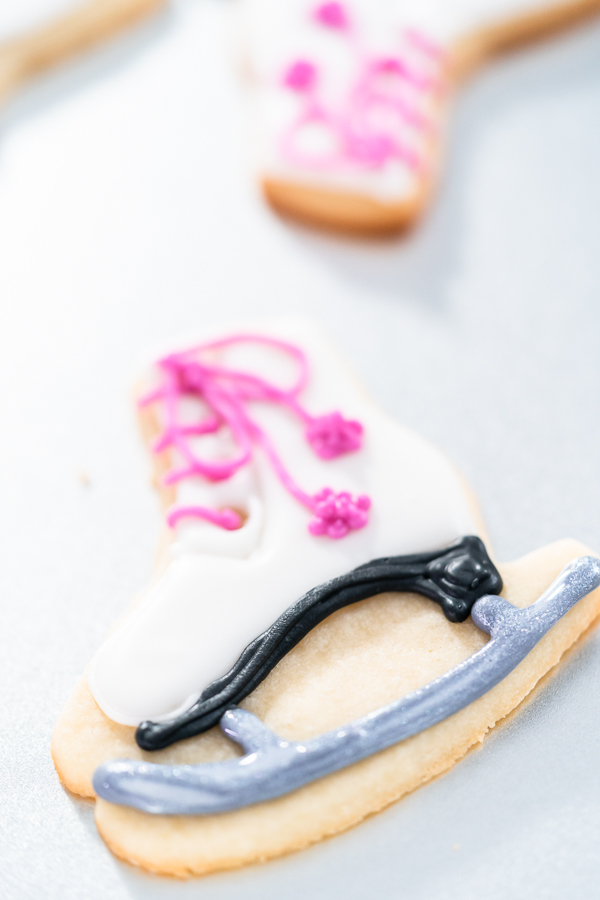
There’s something magical about blending two of my favorite worlds—baking and figure skating! These Ice Skate Sugar Cookies were inspired by my daughter, Sophia, who has been gliding across the ice since she was five. When she turned six, I wanted to create something that captured her sparkle, her love for skating, and, of course, her love of sweets.
That’s how these adorable pink-laced cookies came to life. They became the highlight of her skating-themed birthday party on ice — and her entire team devoured them before the cake was even cut! I paired them with my Funfetti Cake with Homemade Lollipops and served them alongside Hot Chocolate with Marshmallows for the perfect winter party spread. If you love this theme, you’ll also enjoy my Snowflake Cookies with Royal Icing, Chocolate Ginger Sugar Cookies, or Peppermint Fudge in Cookie Cutters — each one adds a cozy, festive touch to any skating or holiday celebration!
Why You’ll Love This Recipe
- Perfect for skating lovers – great for birthdays, competitions, or winter parties.
- Soft, buttery sugar cookie base that holds its shape perfectly.
- Glossy royal icing that makes every cookie look like it came from a boutique bakery.
- Customizable – switch icing colors to match your skates, team colors, or party theme.
Personal Tip: I chill the dough twice — once before rolling and again after cutting. It’s my secret to keeping those perfect skate shapes in the oven!
Tools That Make It Easier
- Kitchen mixer: Creams butter and sugar to perfection.
- Adjustable rolling pin: Helps me roll dough evenly for consistent cookies.
- Ice skate cookie cutter: A must for that signature shape.
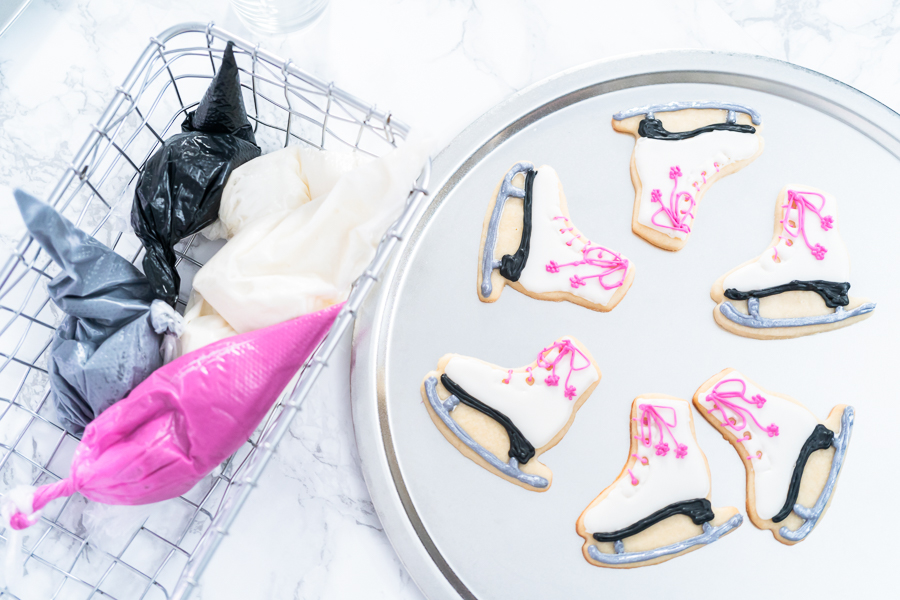
- Piping bags & scribe needle: For clean, detailed royal icing work.
- 3-tier cooling rack: Perfect for drying large batches without cluttering my workspace.
Personal Tip: When I’m working on intricate designs, I keep a small fan nearby — it helps the icing crust just enough to prevent colors from bleeding.
What You’ll Need From Your Pantry
Sugar Cookies
- 1 cup unsalted butter, room temperature
- ⅔ cup sugar
- 1 egg
- 1 teaspoon vanilla extract
- ½ teaspoon salt
- 2 ½ cups flour
Royal Icing
- 1 lb confectioners’ sugar
- 3 tablespoon meringue powder
- 6 tablespoon warm water
- 1 teaspoon vanilla extract
- Pink and black food coloring
- Optional: edible glitter dust for that extra sparkle
Before You Start: My Quick Tip
- Use light-colored baking sheets for even browning.
- Keep royal icing covered with plastic wrap touching the surface.
- Chill cookies after outlining to keep colors from blending.
- For gifts, package cookies in clear cellophane bags with ribbons — they look stunning on party tables or as thank-you treats.
Related Recipes to Try:
- Funfetti Cake with Homemade Lollipops
- Chocolate Ginger Sugar Cookies
- How to Decorate Snowflake Cookies with Royal Icing
Latest Video
Let’s Make It Together
- Whisk flour and salt in a bowl.
- In a large bowl, beat butter and sugar until creamy.
- Add vanilla and egg, and mix until smooth.
- Gradually mix in the dry ingredients until the dough forms.
- Once stiff, knead lightly by hand, shape into a ball, and flatten into a disk.
- Wrap in plastic wrap and chill for 2 hours.
- Preheat the oven to 350°F.
- Roll out to ¼ inch thick, cut with an ice skate cookie cutter.
- Place on a lined baking sheet and chill again for 10 minutes.
- Bake 8–10 minutes, cool on the sheet, then transfer to a rack.
Personal Tip: If your dough cracks after chilling, let it rest for 15 minutes before rolling — it’ll soften just enough to handle.
Decorating with Royal Icing
- Mix sugar and meringue powder.
- Add warm water one spoon at a time, then vanilla.
- Beat 5–7 minutes until glossy.
- Divide and tint colors.
- Prepare thicker icing for outlines, thinner for flooding.
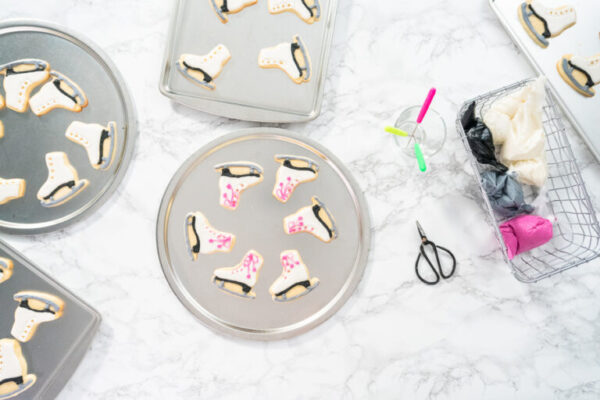
- Pipe outlines first, then fill in the centers.
- Use a needle tool to smooth and pop air bubbles.
- Let dry completely — ideally for 1–2 days.
Personal Tip: I use a craft heat gun about 10 inches away to gently set the icing surface — it prevents caving and adds a beautiful shine.
Fun Variations
- Mini Skates: Make bite-size versions for party favors!
- Holiday Skates: Use red and green icing for Christmas.
- Competition Edition: Match team colors or event themes.
- Sparkly Skates: Brush edible shimmer dust on blades for a frosty touch.
Storage & Freezing
- Store cookies in airtight containers for up to 1 week.
- Freeze at any stage — dough, baked, or decorated.
- For decorated cookies, freeze flat first, then layer with parchment and wrap tightly.
Personal Tip: I always label each batch with the date and occasion — it helps when I bake ahead for competitions or holidays.
More Recipes You’ll Love from My Kitchen
If you loved these cookies, here are more sweet ideas from my blog that pair beautifully with them:
- Sugared Cranberries and Rosemary for elegant dessert décor
- Winter Wonderland Funfetti Cake with Lollipops
- Christmas Cookie Cutter Peppermint Fudge
- Hot Cocoa Bombs for cozy movie nights
- Lemon Cranberry Bundt Cake for festive gatherings
- Gingerbread Biscotti for gifting or dunking in coffee
These cookies aren’t just fun to make — they’re personal. Every time I bake them, I’m reminded of Sophia’s laughter on the ice and the sparkle in her eyes when she saw her own “skates” turned into cookies. Whether for birthdays, holidays, or just a cozy weekend in the kitchen, these ice skate sugar cookies bring joy, creativity, and sweetness to every celebration.
Ice skate cookies
Equipment
Ingredients
Royal icing
- 1 lbs Confectioner’s Sugar
- 3 tbs Meringue Powder
- 6 tbs Warm Water
- 1 teaspoon Vanilla Extract
- Food Coloring pink, black
- Glitter Dust
Instructions
Sugar Cookies
- In a medium bowl, whisk together the flour and salt.
- In a large bowl, use a stand mixer to beat the butter and sugar until creamy and smooth.
- Mix in the vanilla extract and egg until fully combined.
- Gradually add the dry ingredients to the wet mixture, beating until the dough comes together.
- Once the dough becomes stiff, finish kneading it gently by hand.
- Shape the dough into a ball, then flatten it into a ¾-inch thick disk.
- Wrap the dough tightly in plastic wrap and chill in the fridge for 2 hours.
- Preheat the oven to 350°F.
- On a lightly floured surface, roll out the dough to ¼ inch thick and cut into shapes using cookie cutters.
- Place the cutouts on a baking sheet lined with parchment paper or a silicone mat.
- Chill the shaped cookies in the fridge for 5–10 minutes before baking to help them hold their shape.
- Bake for 8–10 minutes, cool on the baking sheet briefly, then transfer to a wire rack to finish cooling.
Royal Icing
- In a large bowl, combine the confectioners’ sugar and meringue powder.
- Add warm water, one spoonful at a time, mixing on low speed.
- Stir in the vanilla extract and keep mixing until the icing looks glossy.
- Continue beating on low speed for 5–7 minutes, then tint with desired colors.
- Spoon into piping bags.
- Decorate your cooled cookies.
Notes
- If the dough has been chilled for more than 2 hours, let it sit on the counter for about 15 minutes before rolling it out.
- Each icing color needs two consistencies: one thicker for outlines and edges, and one thinner for flooding. Add a little more water to thin the icing as needed.
- For thicker icing, snip just a small opening in the piping bag—about 1/16 inch. For thinner icing, make it slightly larger, around ⅛ inch. You can always cut more if needed.
- After decorating, use a craft heat gun about 10 inches away to help set the icing and prevent it from caving in.
- I like to let my cookies air dry in a cool place for about two days before packaging.
- You can freeze the dough or cookies (decorated or undecorated) at any stage. For decorated cookies, freeze them slowly—place on a baking sheet for 30 minutes, then stack similar shapes with parchment between layers. Wrap in Press’n Seal, then aluminum foil, label with the date, and they’ll stay fresh for up to 4 months.
Nutrition
From My Kitchen to Yours
More Cookies Recipes
I’ve Got Answers
My cookies spread while baking — what went wrong?
They likely got too warm before baking. Always chill your cutouts for 10 minutes before they go in the oven.
Can I skip meringue powder?
I wouldn’t recommend it — it’s what helps the icing dry glossy and smooth.
How do I store cookies for gifting?
Once the icing is dry, place cookies in individual bags, add a little paper shred for cushion, and store at room temperature.
Can I reuse leftover icing?
Absolutely! Keep it in an airtight container in the fridge for up to a week. Re-whip gently before using.
Pin It For Later
Food Photography & Video Tips from My Studio
Here’s a peek at the tools, gear, and camera setups I use to film my recipe videos and photograph food at home. Over the years, I’ve tested dozens of different setups, and now I’m sharing what actually works for me—whether I’m filming overhead shots for YouTube or styling still photos for my blog. If you’re curious about how I create the content you see here, these posts are a great place to start.
















Leave a Reply