• Skip to primary navigation
  • Skip to main content
  • Skip to primary sidebar
Arina Photography
  • Home
  • Recipies
  • Services
    • Video recipes production
    • Food photography production
  • Learn food photography
    • Food Photography Equipment
    • Stock Photography
  • Generic selectors
    Exact matches only
    Search in title
    Search in content
    Post Type Selectors
    Search in posts
    Search in pages
You are here: Home / Recipes / Baking / Baking hacks / How to Soften Butter on the Counter

How to Soften Butter on the Counter

Tweet
Share
Share
Pin
Email
0 Shares
Jump to Recipe Print Recipe
PIN IT

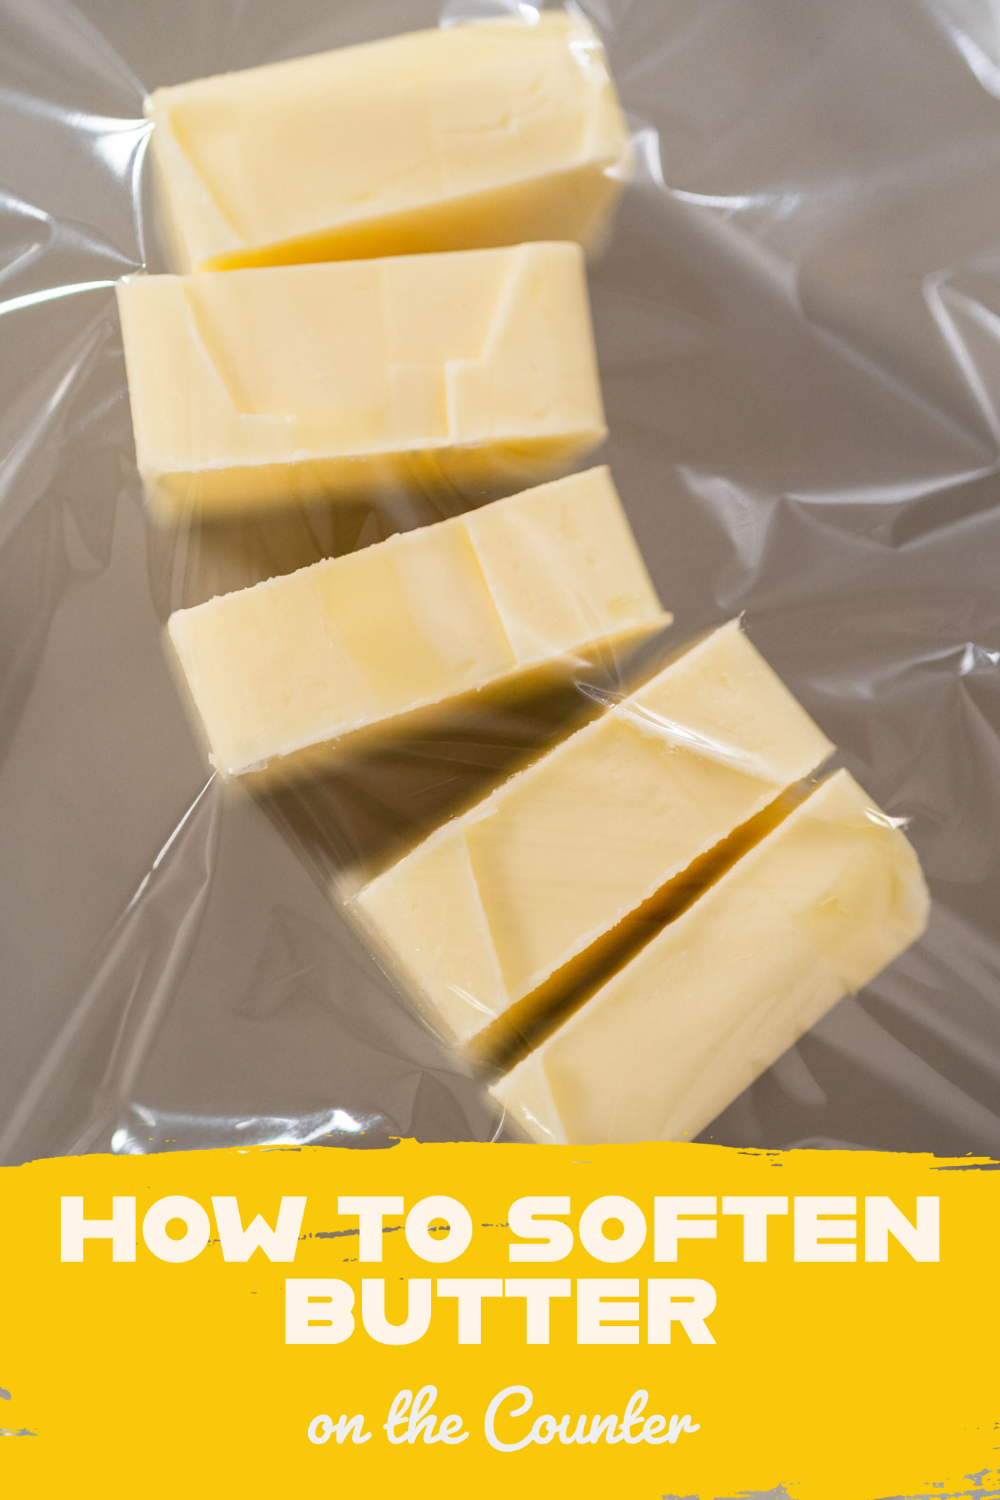
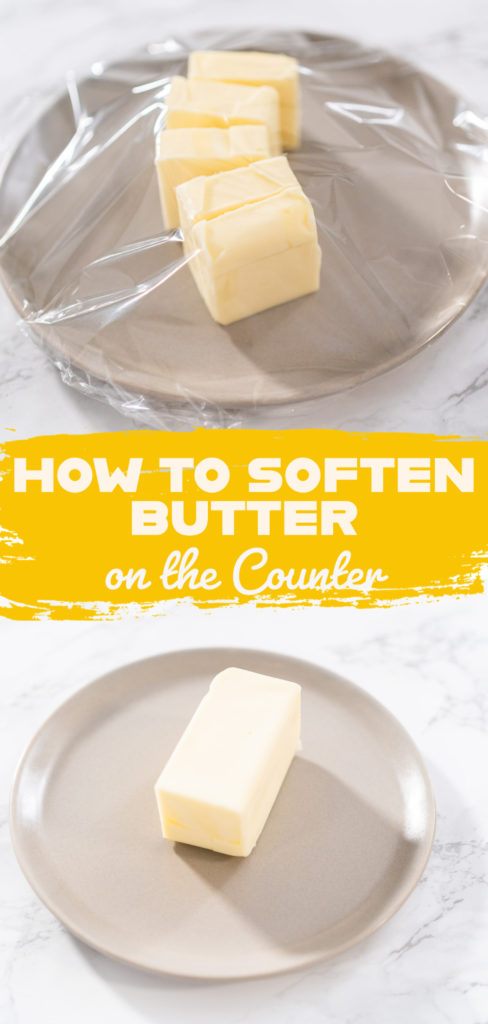
Now let’s go over my personal favorite method for softening butter! I like to cut the butter into small cubes and leave them on the counter to soften in the warmest part of my house. This method usually takes about 30 minutes so it’s perfect if I’m not in a rush to start a baking recipe. With this method, I don’t have to worry about accidentally melting the butter or dealing with a messy clean-up afterward.

Split Pea Soup
Trending
Split Pea Soup

PIN IT

Equipment:

  • Small plate
  • Food wrap
PIN IT

How to Soften Butter Cubes on the Counter Quickly: 

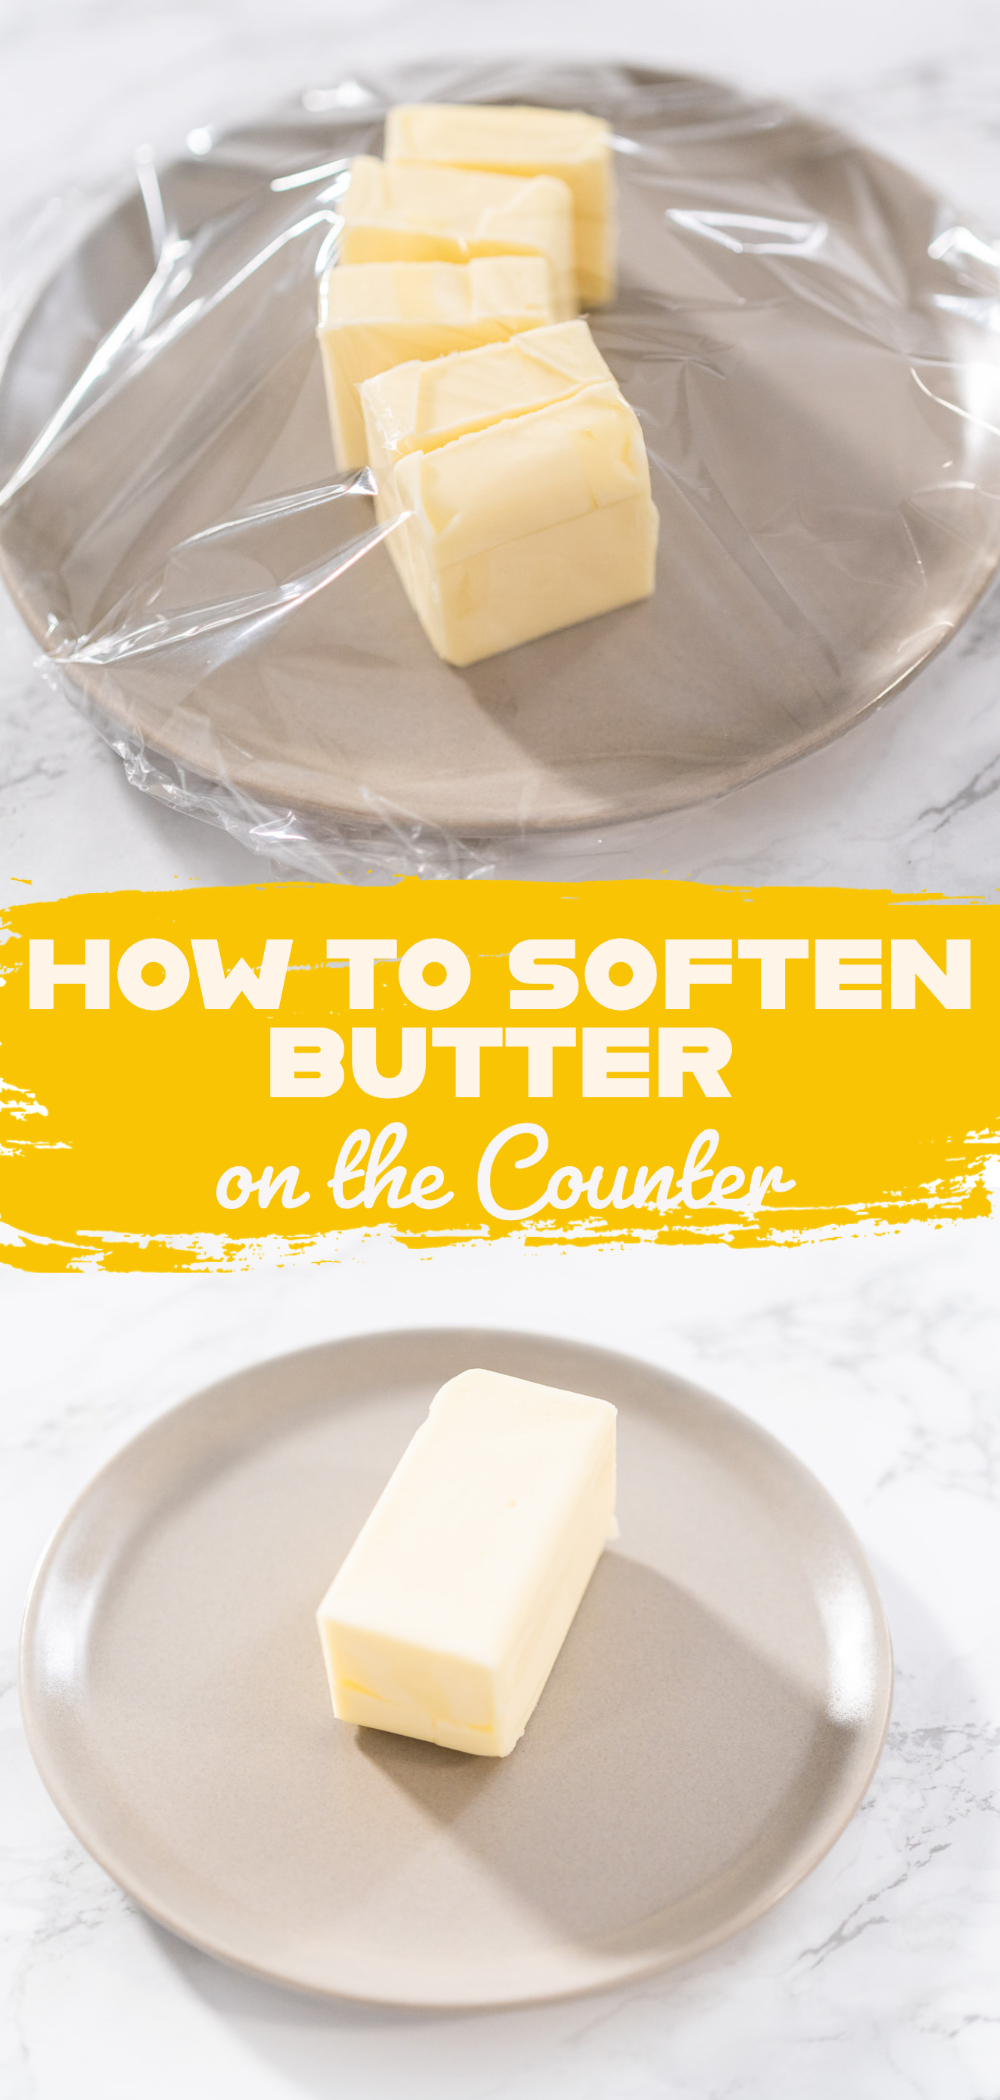
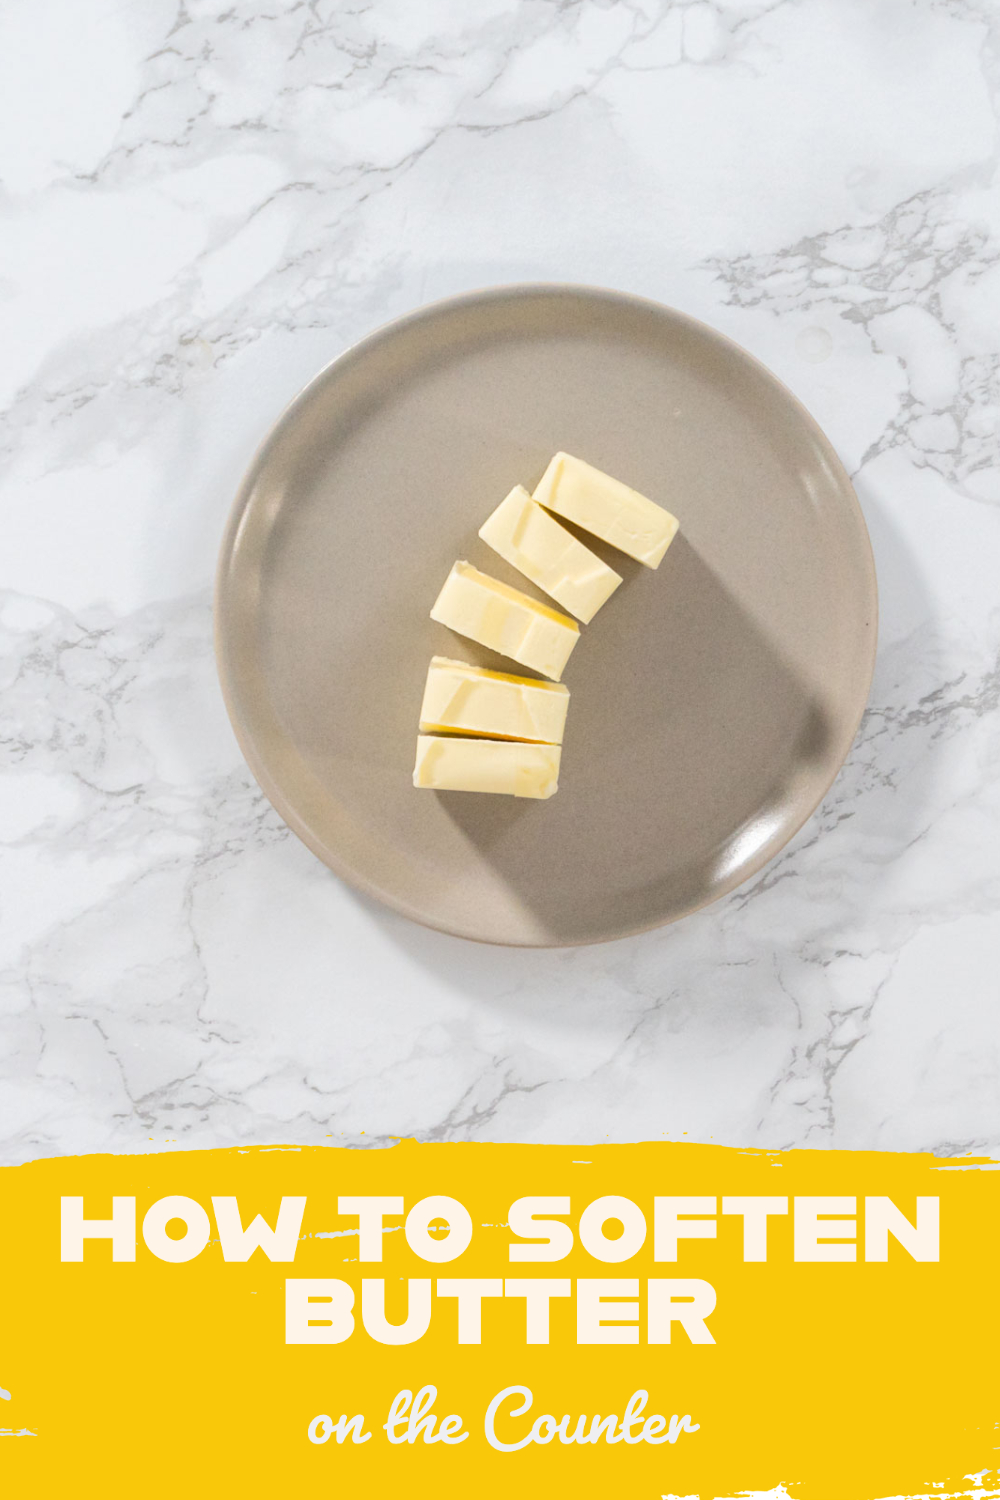
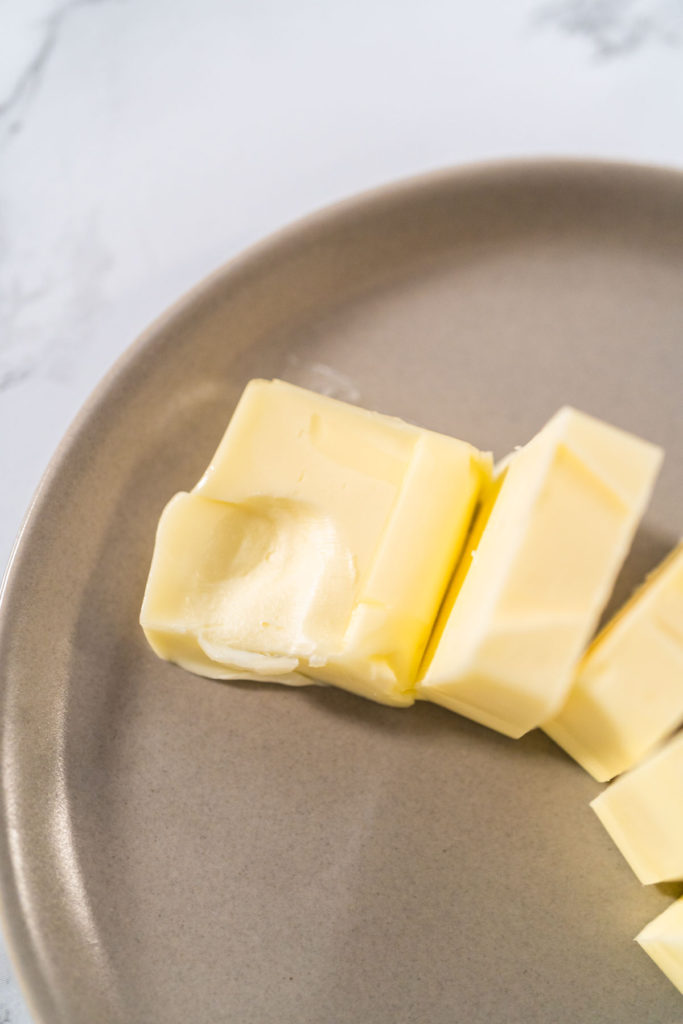
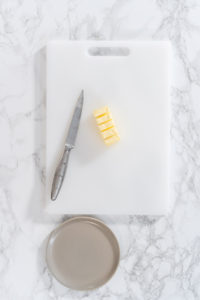
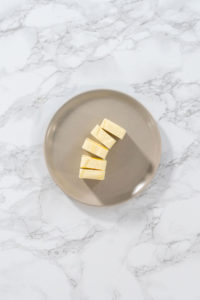
  1. First, cut the butter into small cubes.
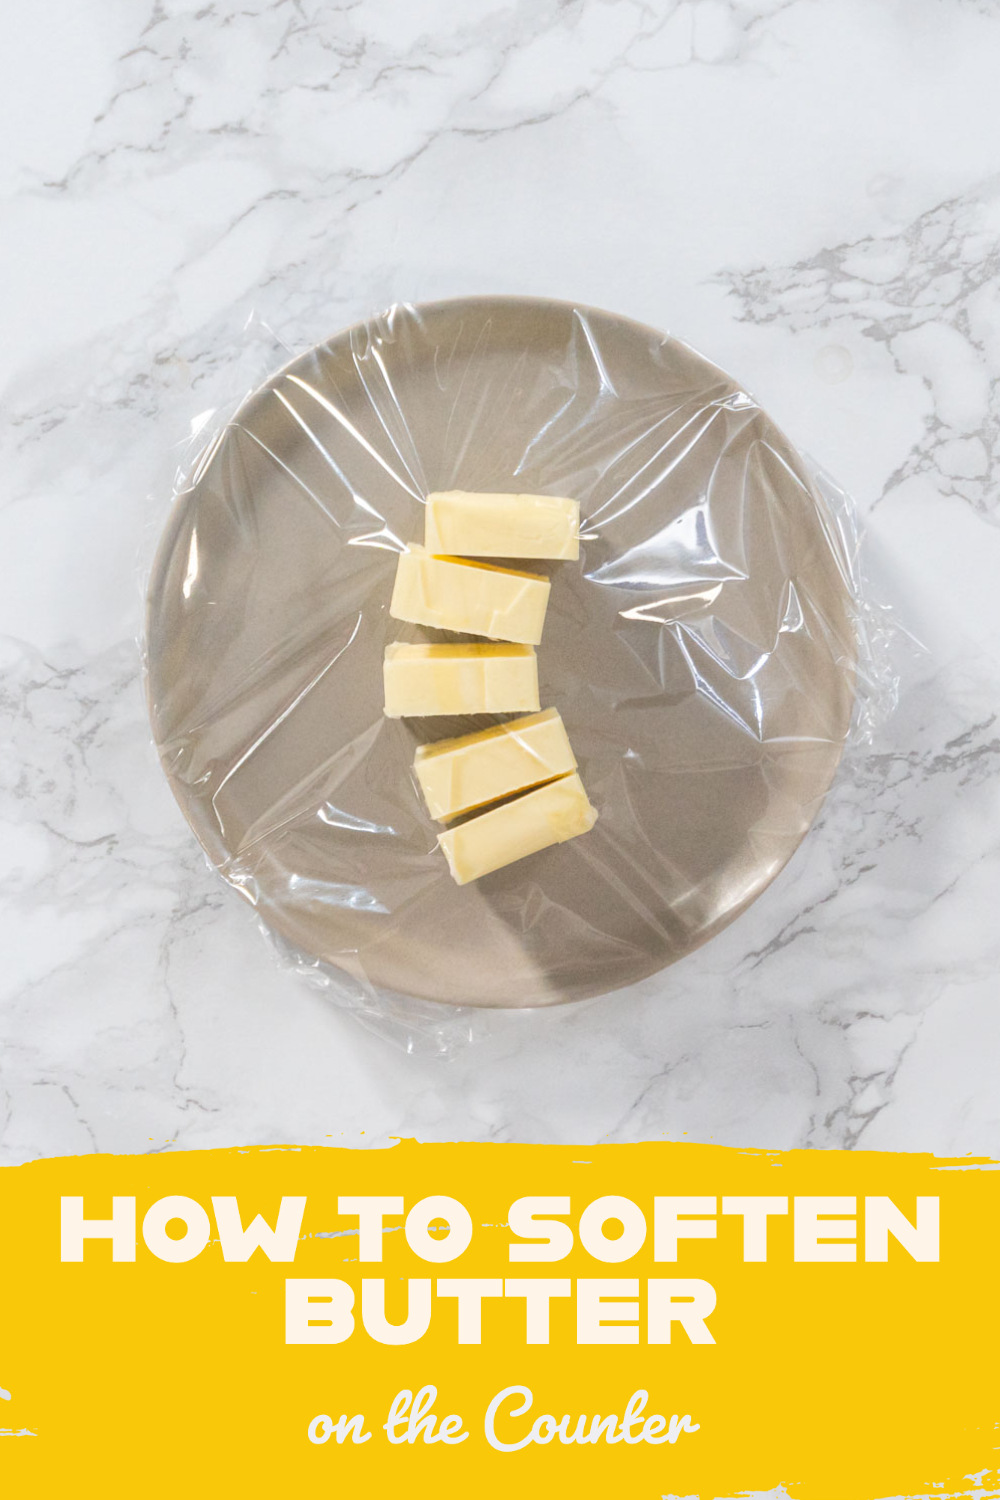
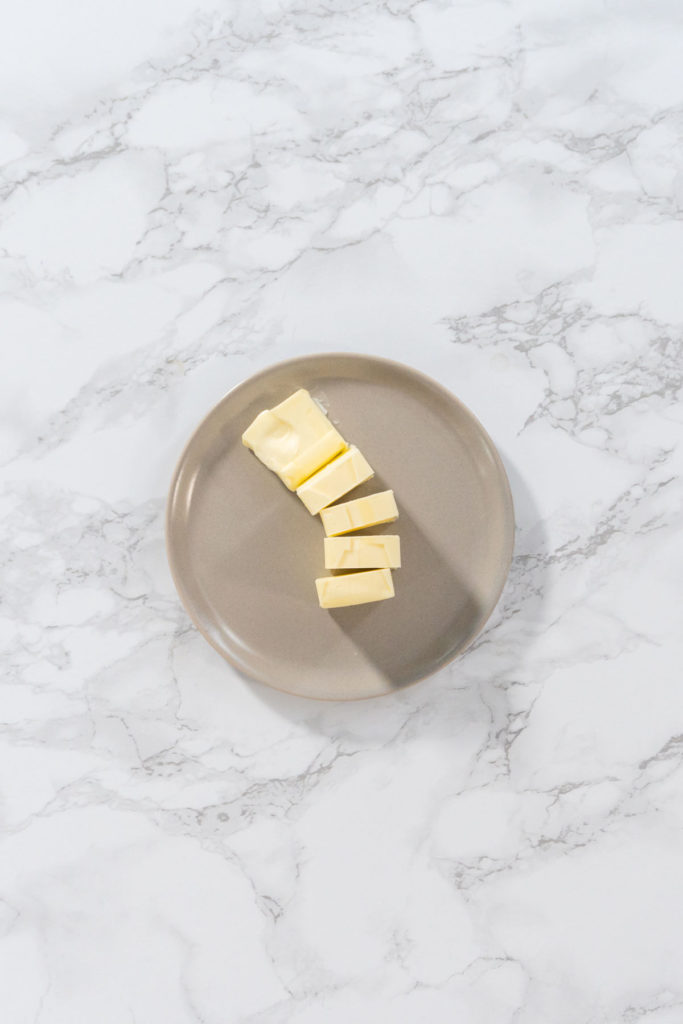
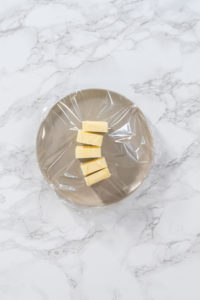
  2. Then, spread the butter slices on a small plate and cover with food wrap.
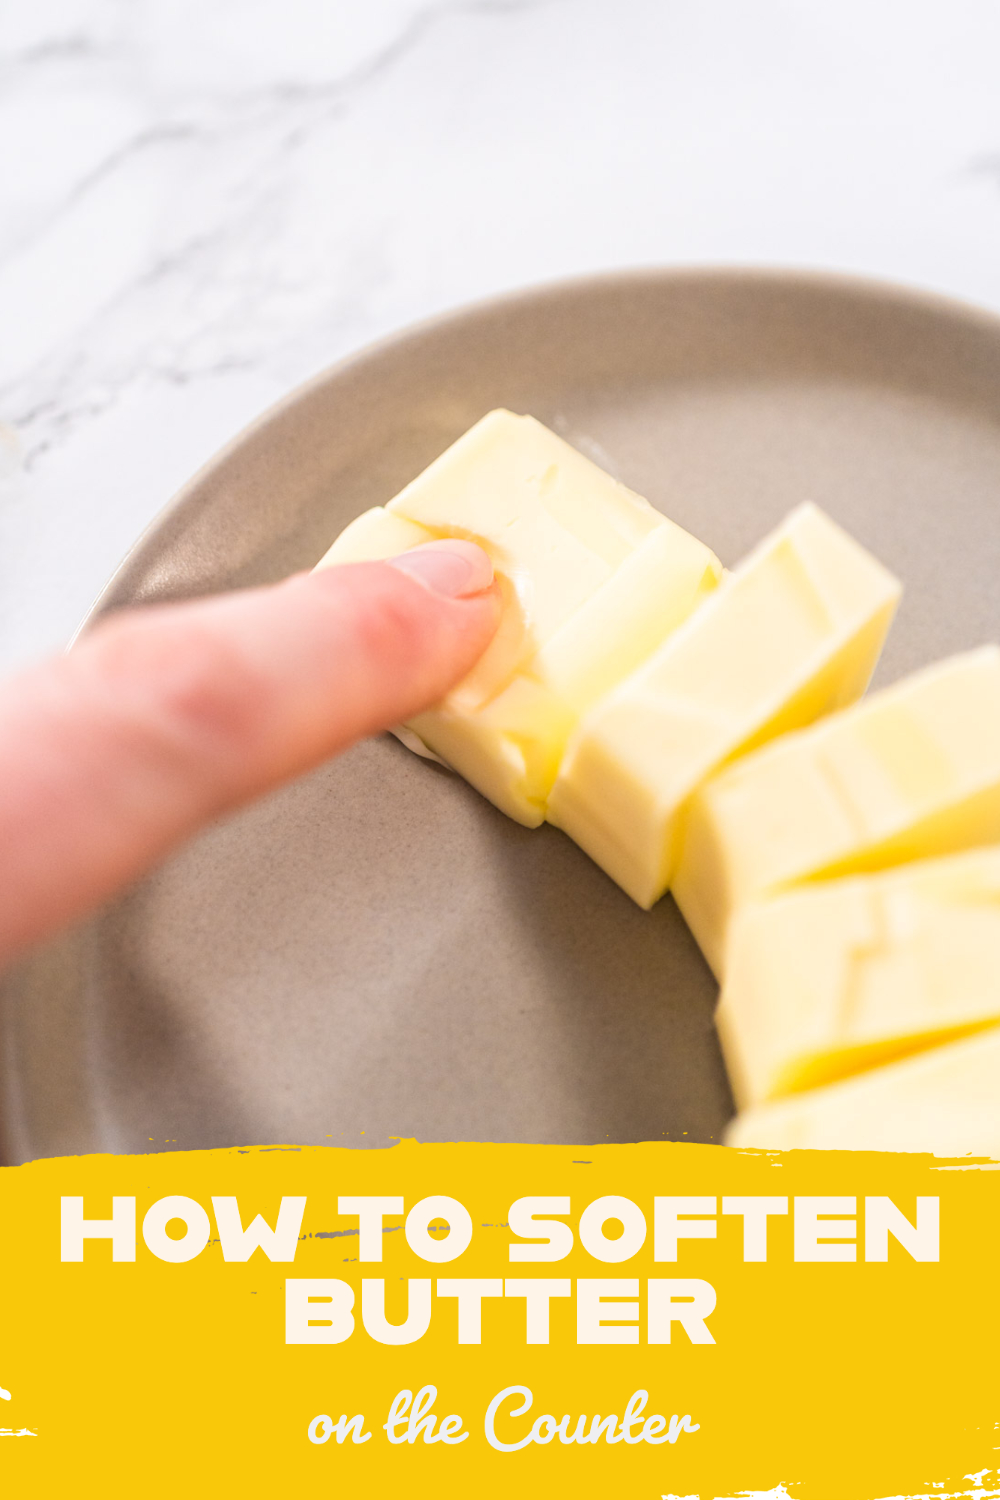
  3. Put the plate of sliced butter in the warmest place in your house and let it sit until the butter is softened all the way through, about 30 minutes depending on the temperature of the room. 
    1. The warmest room in my house is the laundry room.
    2. During the summer I just put the plate of butter in direct sunlight which usually only takes 5-10 minutes to soften the butter.
PIN IT

Butter- Softening Method Specs:

How long does this method take? 30 minutes – Time varies based on room temperature.

Level of messiness/clean-up: This method does not leave much of a mess behind so look forward to an easy clean-up!

Will his method soften the butter all the way through? Yes!

PIN IT
PIN IT

How to Soften Butter on the Counter

PIN IT
Arina Habich
Print Recipe Pin Recipe
Prep Time 30 minutes mins
Total Time 30 minutes mins
Course Kitchen hacks

Equipment

  • Food wrap
  • Plate

Ingredients
  

  • 1 stick unsalted butter

Instructions
 

  • First, cut the butter into small cubes.
    PIN IT
  • Then, spread the butter slices on a small plate and cover with food wrap.
    PIN IT
  • Put the plate of sliced butter in the warmest place in your house and let it sit until the butter is softened all the way through, about 30 minutes depending on the temperature of the room.
    The warmest room in my house is the laundry room.
    During the summer I just put the plate of butter in direct sunlight which usually only takes 5-10 minutes to soften the butter.
    PIN IT
Keyword butter, how to, kitchen hacks
Tried this recipe?Let us know how it was!

PIN IT
What is in my toolbox?
Equipment to Create Food Photos, Videos, and Stock Footage I get many questions pertaining to my equipment, so here’s my complete list of things I use on a daily basis when doing shoots. It’s important to remember that this list will constantly be changing and evolving, because I think it’s important to advance my equipment…

Read More

PIN IT
3 ways camera setup for Tasty-style video recipes
How to make food videos with an overhead camera for YouTube and Instagram This post may contain affiliate links. Please see my full discl…
PIN IT
Best camera for cooking videos
How to figure out the best camera for your recipe videos! Before you start selecting cameras to produce your cooking videos, take a step back, be honest with yourself, and ask: do you need to use this camera for a hobby or for business? If you want to do this just for a hobby, then…

Read More

PIN IT
How to Soften Butter on the CounterHow to Soften Butter on the CounterHow to Soften Butter on the CounterHow to Soften Butter on the CounterHow to Soften Butter on the Counter
Tweet
Share
Share
Pin
Email
0 Shares

Filed Under: Baking hacks, How to soften butter, Kitchen hacks

Previous Post: « How to shoot cooking videos with two cameras

Reader Interactions

Leave a Reply Cancel reply

Your email address will not be published. Required fields are marked *

Primary Sidebar

  • Email
  • Facebook
  • Instagram
  • Pinterest
  • YouTube

My blog is dedicated to giving you a glimpse of my busy kitchen through the lens of my camera. I break down my process for making the perfect food for any occasion and explain the art of how I manage to capture all of it on camera, plus some of my secrets for how I capture high-quality recipe videos for my food blogger and brand clientele. Let me show you how to become a master of recipes! Read More…

Latest Recipes

How to Soften Butter on the Counter

I’m Sorry, Sugar Cookies

Dying Easter Eggs With Food Coloring

Unicorn Rainbow Buttercream Frosting

Skull sugar cookies

Chocolate Mermaid Tails

Candy Corn Fudge

DIY Unicorn party bags

Red Candy Apples

Unicorn Hot Chocolate Mix

Halloween Pretzel Rods

Halloween party table decoration ideas

Unicorn Rainbow Cupcakes

DIY Panda Pumpkin

Black Candy Apples

How to shoot cooking videos with two cameras

How shoot cooking videos with one camera

Storage Systems for Photography and Videography

Best camera for cooking videos

8 Things That Stock Videographers and Photographers Forget, and How to Work with Them

My favorite cooking videos tools

Copyright · Arina Photography © 2025

x