Comprehensive Tutorial: How to Grease a Bundt Pan the Right Way for Flawless Chocolate Bundt Cake Release
This post contains affiliate links.
Hey there, baking friends! If you've ever baked a chocolate Bundt cake, you know the sheer joy of turning it out perfectly from the pan. However, that joy can quickly turn into frustration if your cake sticks. Properly greasing a Bundt pan is crucial to ensure your cake slides out smoothly, showcasing its beautiful shape and intricate details.
When I first started baking Bundt cakes, I struggled with this step. I tried various methods, but it wasn't until I found the perfect combination of tools and ingredients that I achieved consistently flawless results. Trust me, there's nothing worse than putting all that effort into baking a delicious cake only to have it ruined during the release. For some additional tips, check out my Bundt Cake Baking Hacks.
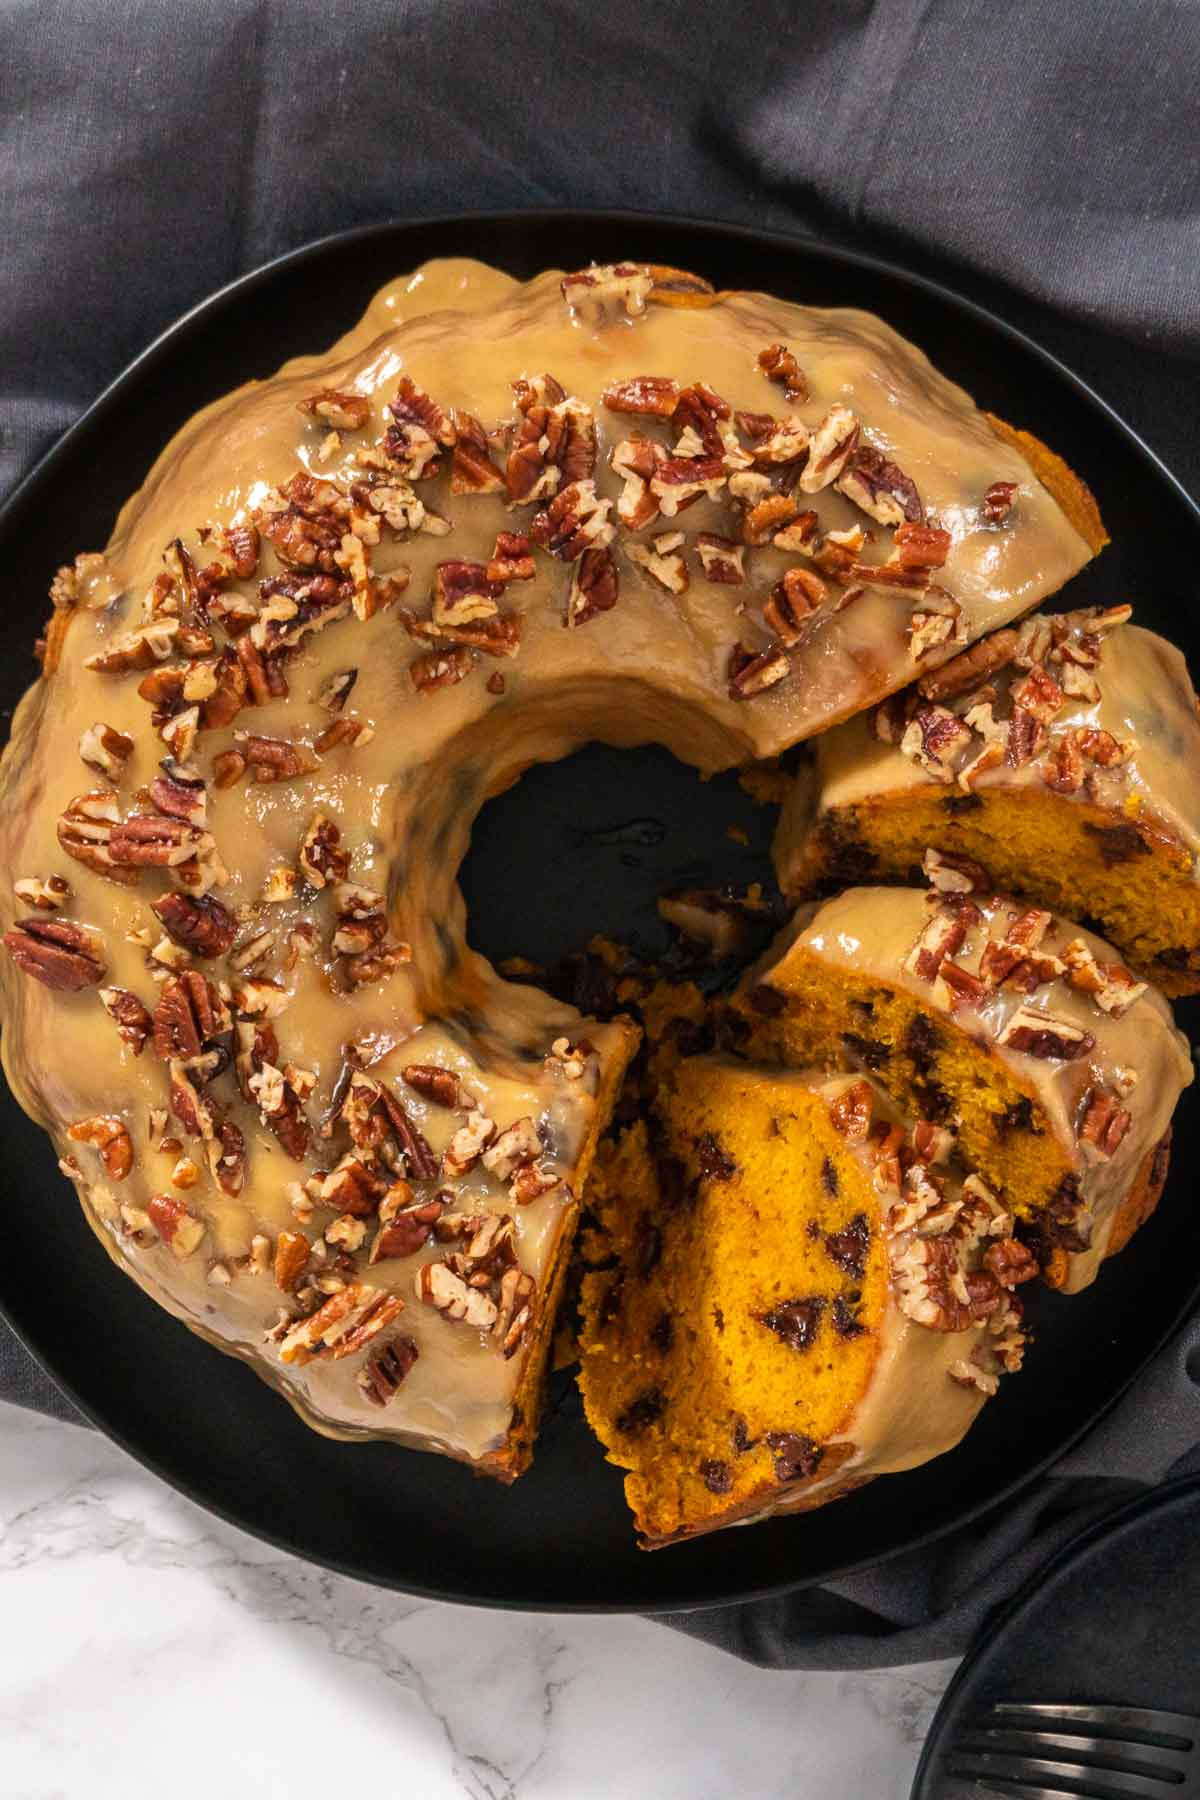
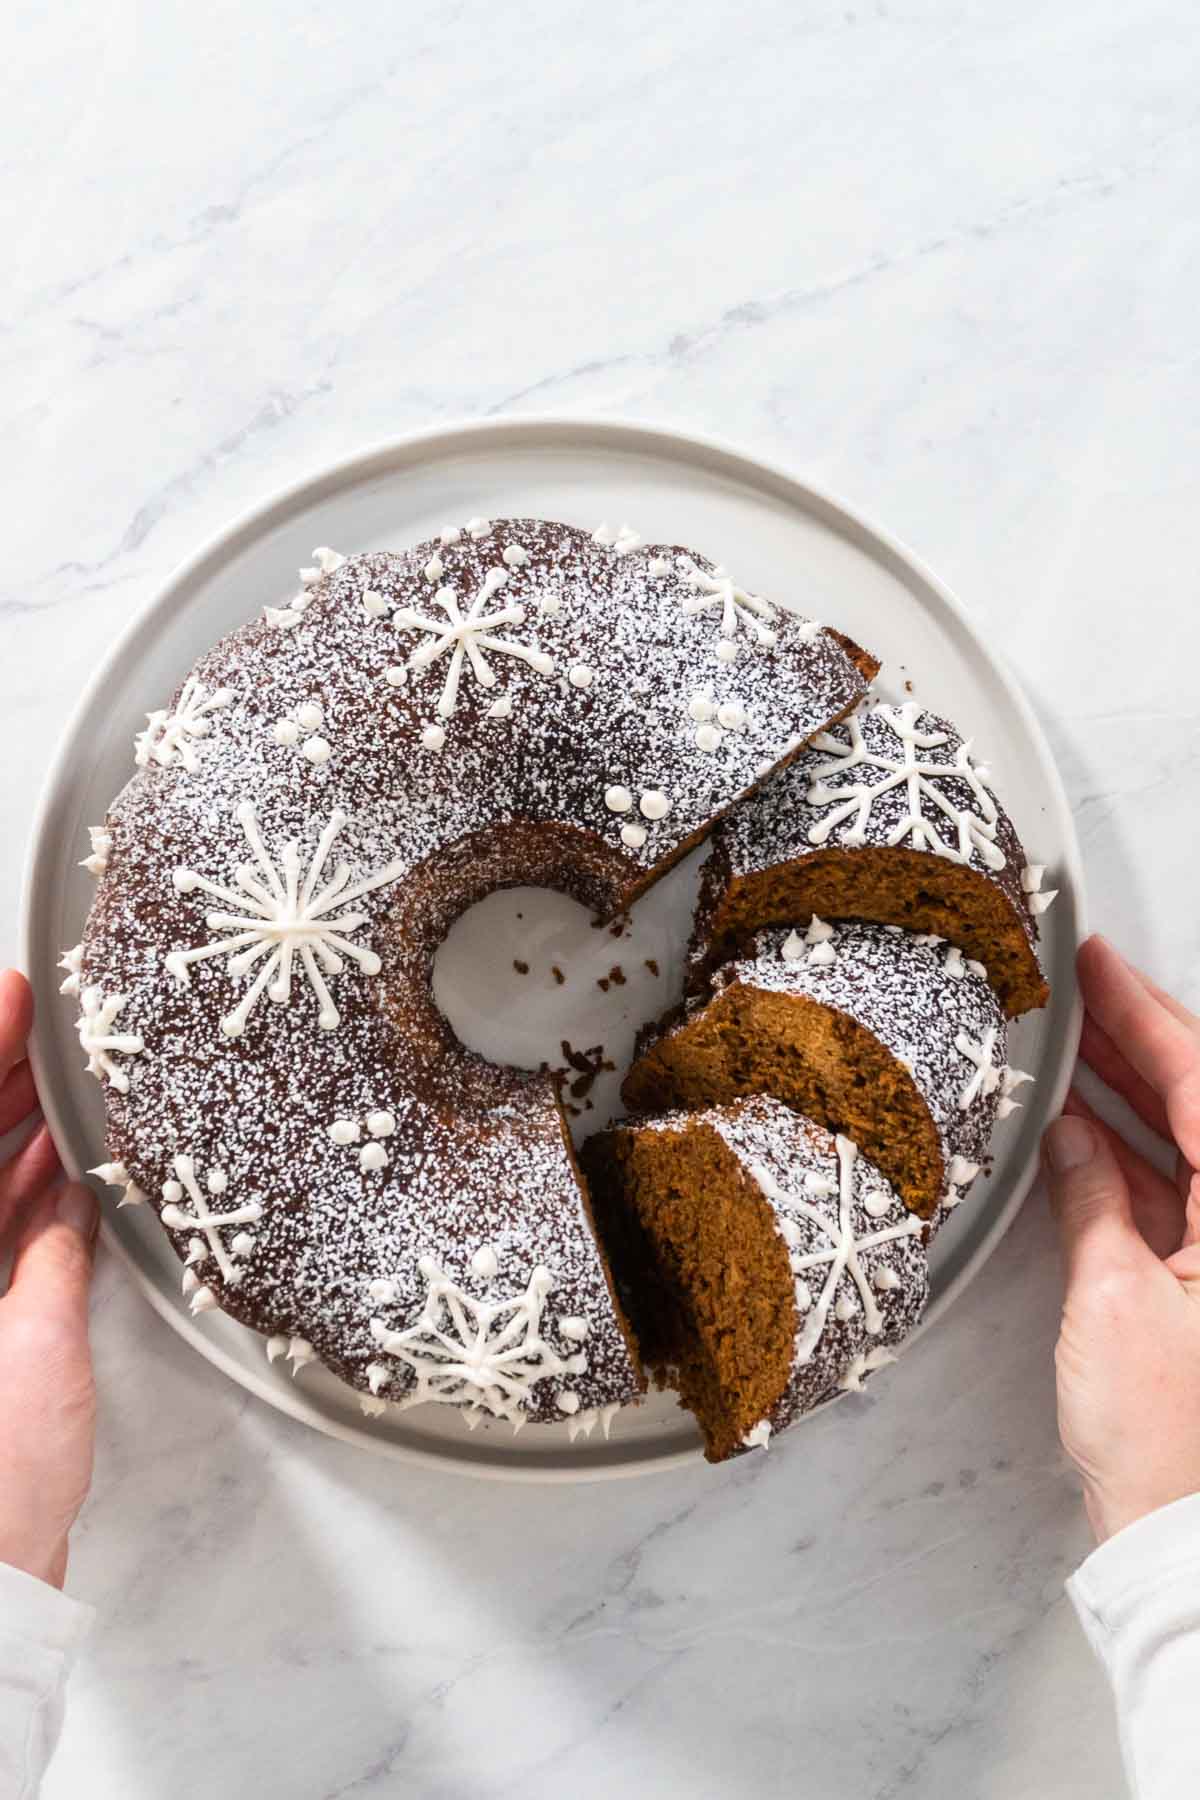
In this post, I'll share my tried-and-true method for greasing a Bundt pan, especially tailored for a rich and decadent chocolate Bundt cake. You'll need a few simple materials: vegetable shortening and unsweetened cocoa powder. These ingredients work wonders together to prevent sticking and add a lovely touch of chocolate flavor to the crust. If you're curious about other delightful Bundt cake recipes, you might enjoy my Gingerbread Bundt Cake With Caramel Filling or my Christmas Chocolate Bundt Cake with Chocolate Frosting.
We'll also go over the essential equipment you'll need, including measuring spoons, a glass mixing bowl, a Bundt cake pan, a sifter, and disposable vinyl gloves. Having the right tools makes the process so much easier and more efficient, ensuring every nook and cranny of your pan is properly prepared. For a comprehensive list of equipment, visit my Bundt Cake Baking Tools and Equipment post.
By following these steps, you'll be able to create stunning Bundt cakes that come out of the pan perfectly every time. So, let's dive into the details and make sure your next chocolate Bundt cake is a showstopper! And if you ever run into trouble, my guide on How to Remove a Bundt Cake from a Bundt Pan is just a click away.
Equipment
- Measuring spoons Measuring spoons are essential for accurately measuring small quantities of ingredients. In this recipe, they ensure you use the precise amount of vegetable shortening and unsweetened cocoa powder needed to properly grease the Bundt pan. Accurate measurements help maintain consistency and prevent over- or under-greasing.
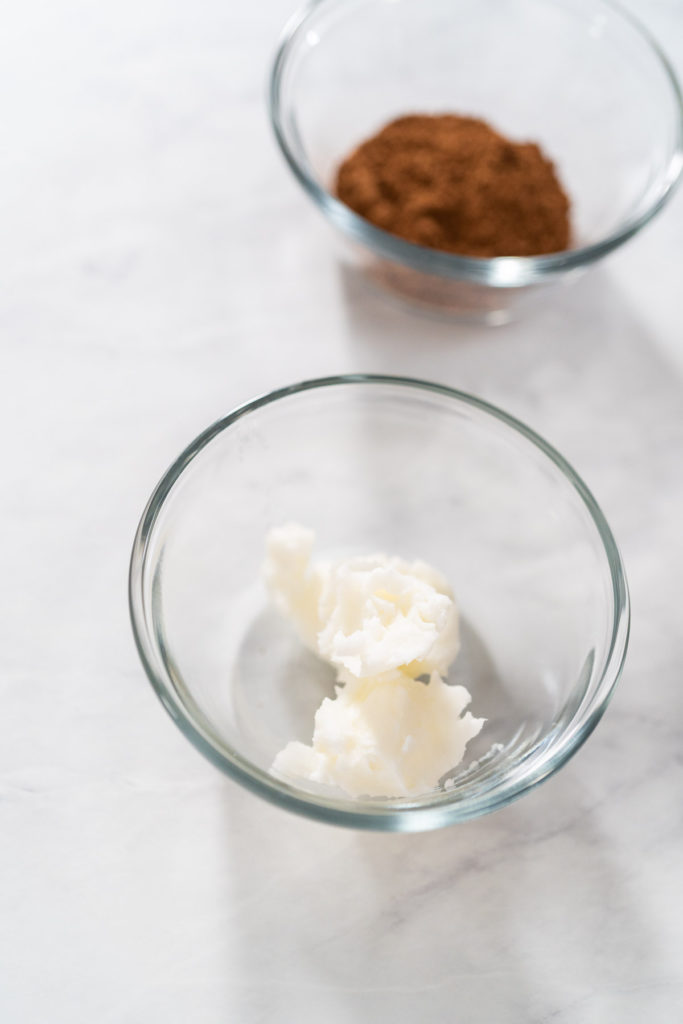
- Glass mixing bowl A glass mixing bowl is used to hold and work with ingredients. For this recipe, it serves as a container for the vegetable shortening, making it easy to scoop and apply. The bowl’s smooth surface helps ensure you get every bit of shortening, reducing waste and mess.
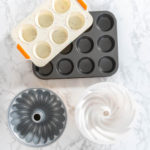
- Bundt cake pan The Bundt cake pan is the star of this recipe. Its unique design and intricate details require special attention when greasing to prevent the cake from sticking. Properly preparing the pan ensures that your chocolate Bundt cake comes out beautifully and intact, showcasing its classic shape.
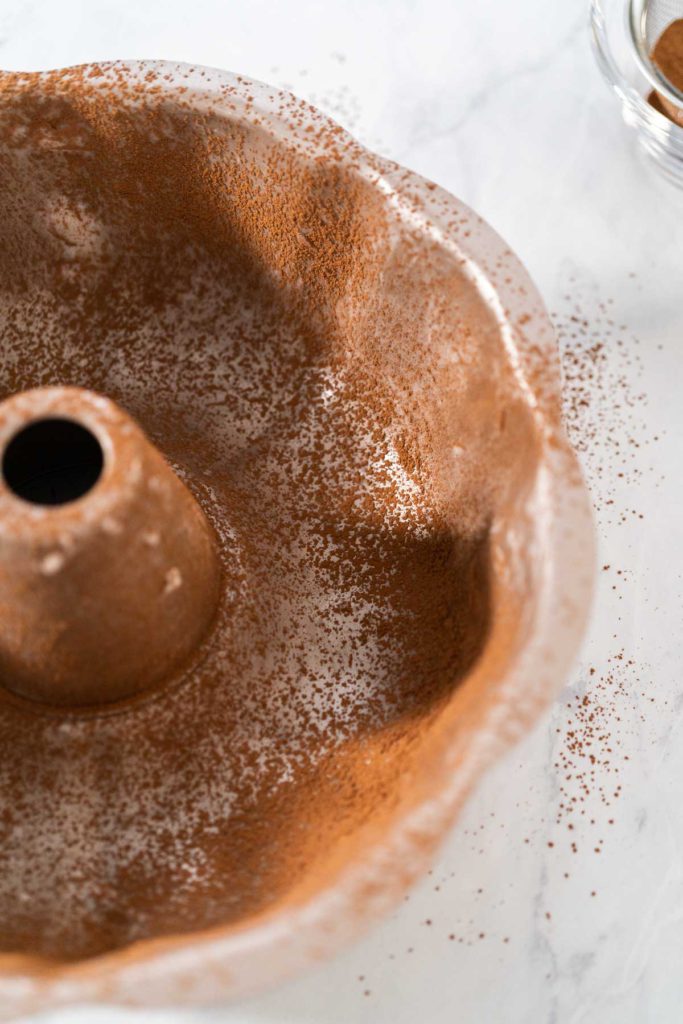
- Sifter A sifter is used to evenly distribute dry ingredients by breaking up clumps and aerating them. In this recipe, it’s used to sift unsweetened cocoa powder over the greased Bundt pan. This step ensures a light, even coating of cocoa powder, which helps prevent sticking and adds a subtle chocolate flavor to the cake's crust.
- Disposable Vinyl Gloves Disposable vinyl gloves are a handy tool for applying vegetable shortening. They keep your hands clean and allow you to easily reach all the nooks and crannies of the Bundt pan. Using gloves ensures a thorough and even application of shortening, which is crucial for the cake’s release. Alternatively, you can use a ziplock bag as a makeshift glove by placing it over your hand. This method works just as well and provides a practical substitute if you don't have gloves on hand.
Materials
- 1 tbsp Vegetable shortening For a healthier option, you can substitute vegetable shortening with coconut oil. Coconut oil is a great alternative that provides healthy fats and a subtle coconut flavor, which complements chocolate beautifully. Another option is olive oil, which adds a rich texture while being a heart-healthy choice.
- 1 tbsp unsweetened cocoa powder For a different flavor profile, you can substitute unsweetened cocoa powder with cacao powder. Cacao powder is less processed and retains more nutrients, offering a slightly more intense chocolate flavor. If you're looking for a non-chocolate option, try using almond flour to create a unique and nutty coating for your Bundt pan.
Instructions
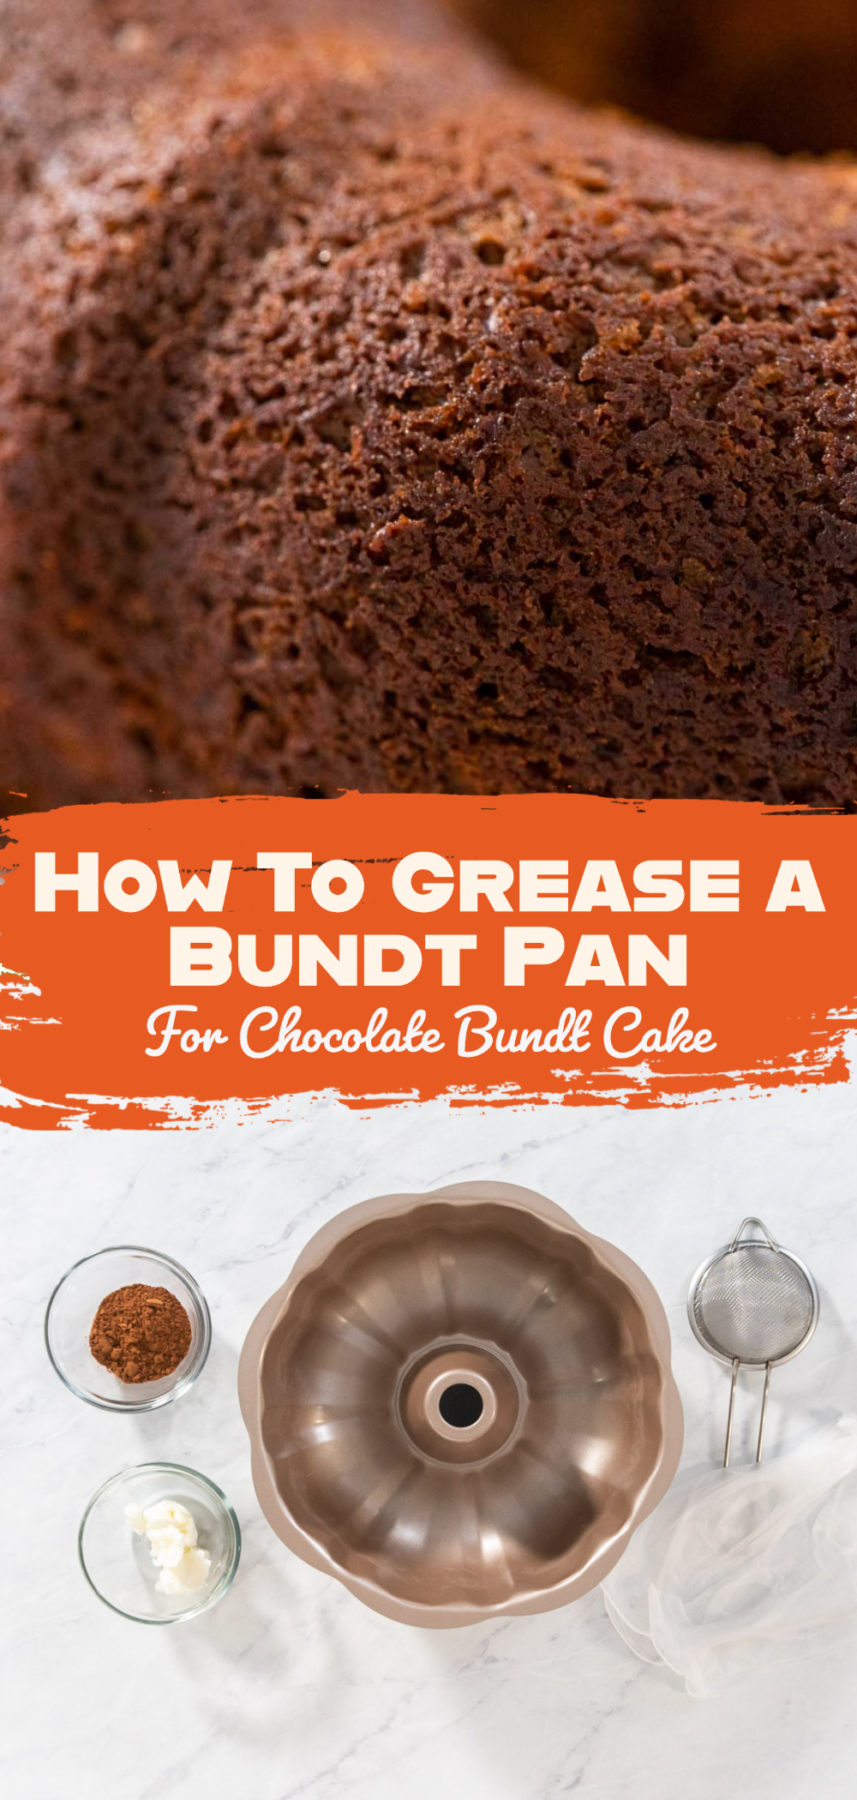
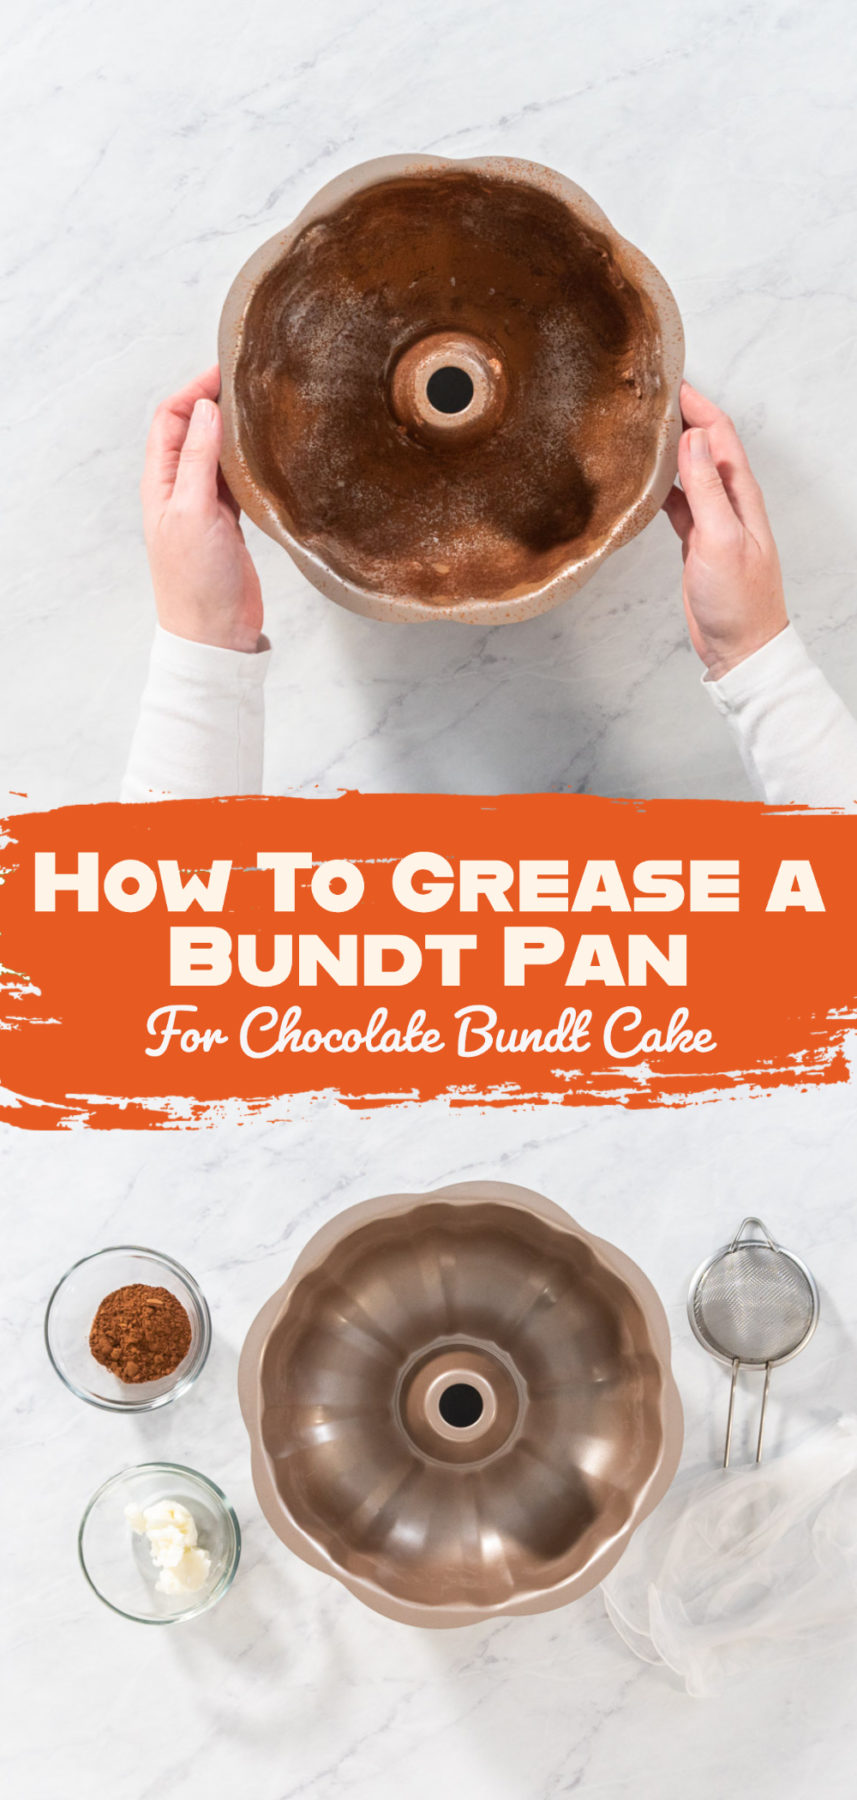
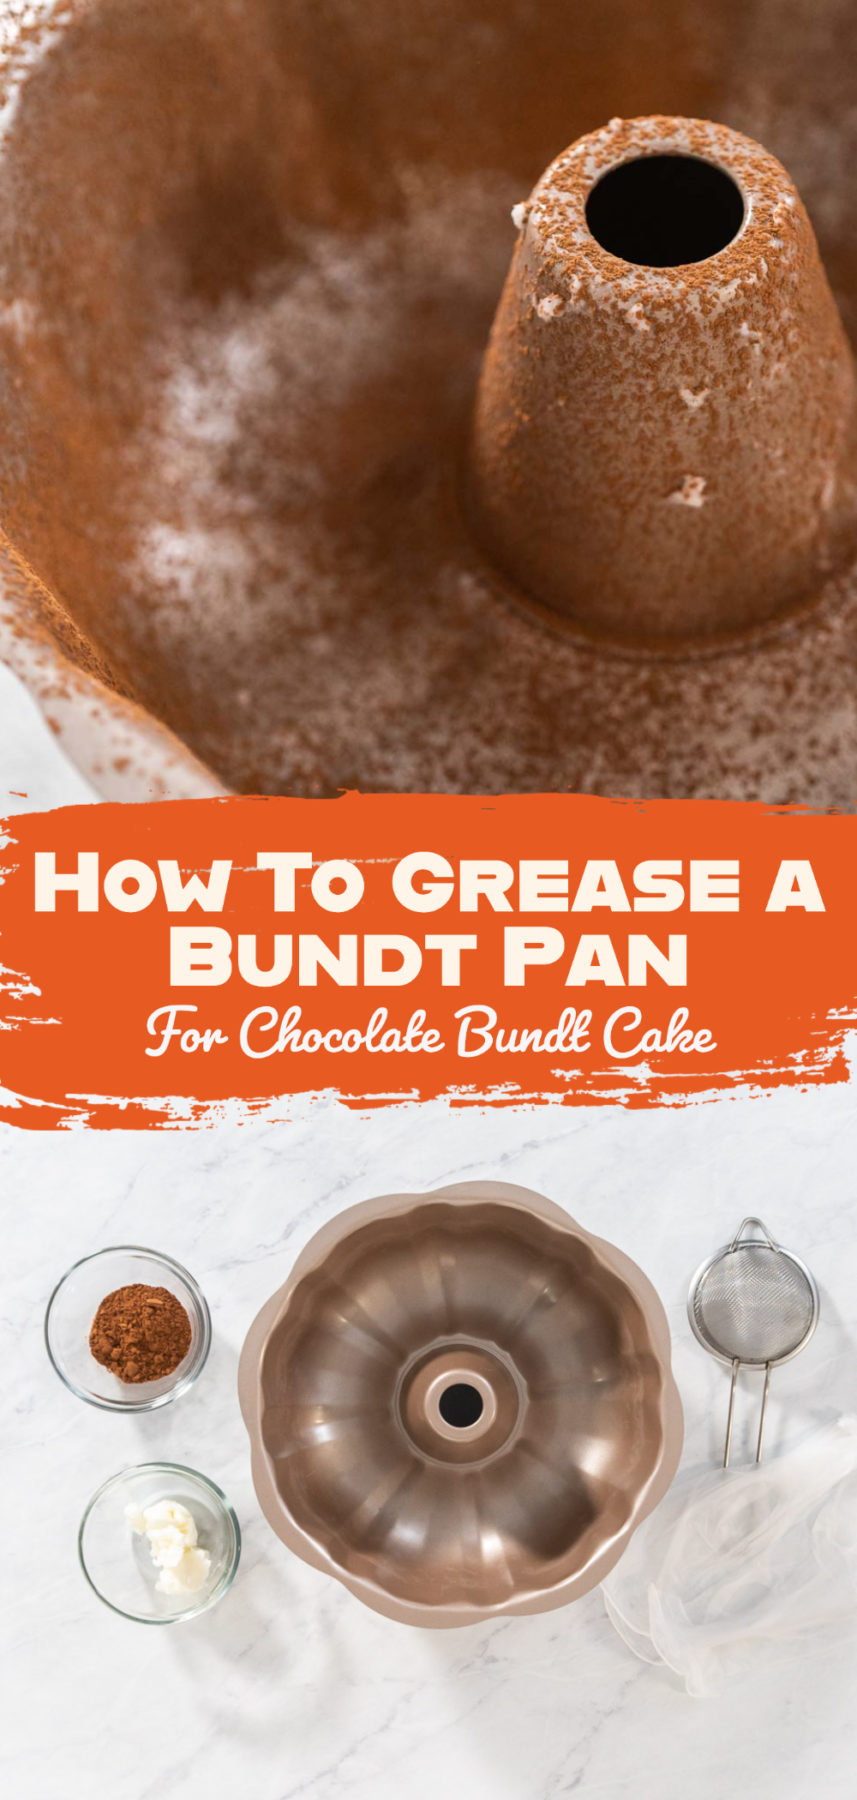
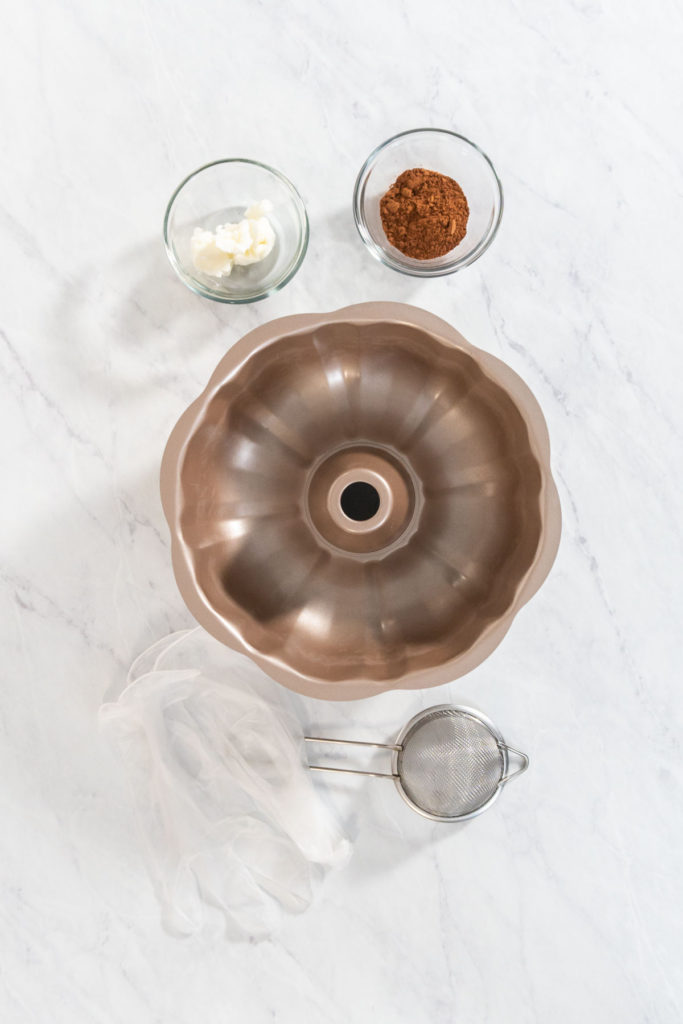
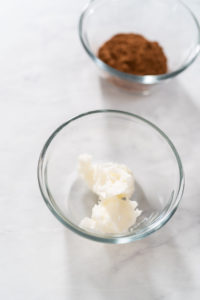
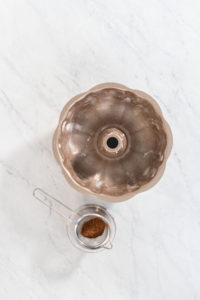
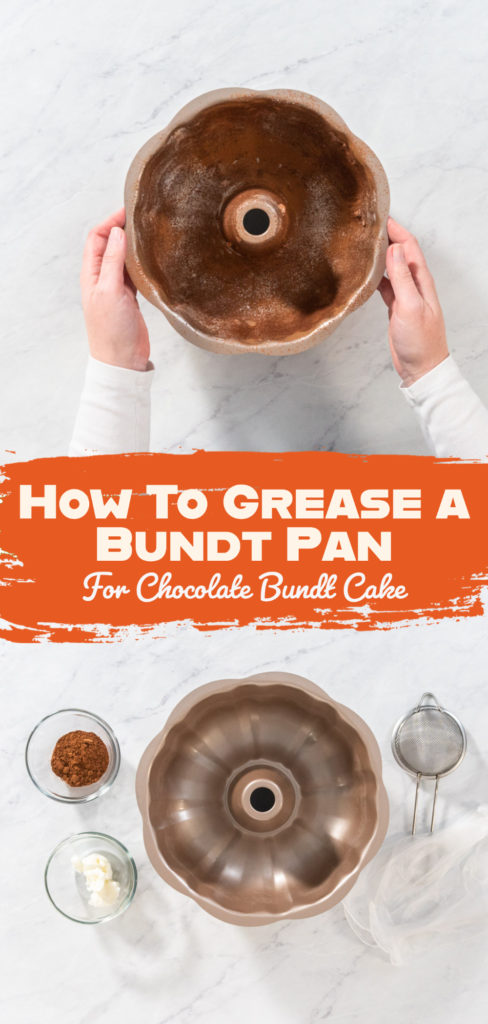
- Measure and prepare ingredients using measuring spoons. Ensure you have 1 tablespoon of vegetable shortening and 1 tablespoon of unsweetened cocoa powder ready.
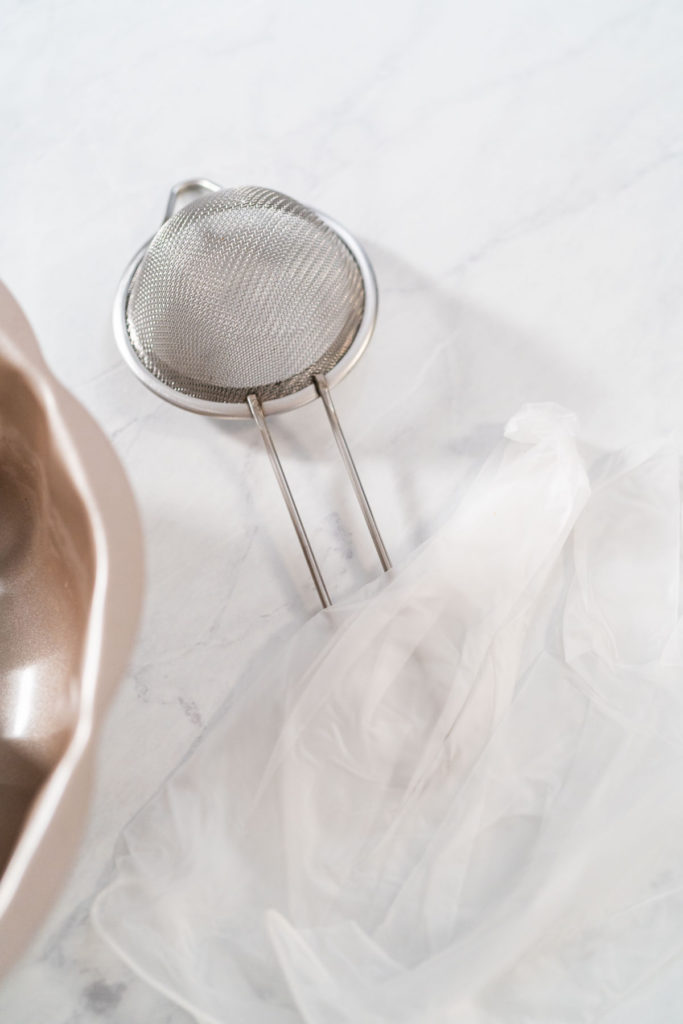
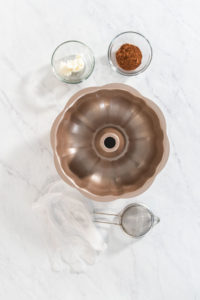
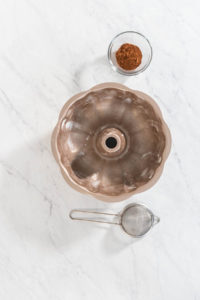
- Get ready disposable vinyl gloves, a sifter, and a Bundt cake pan.
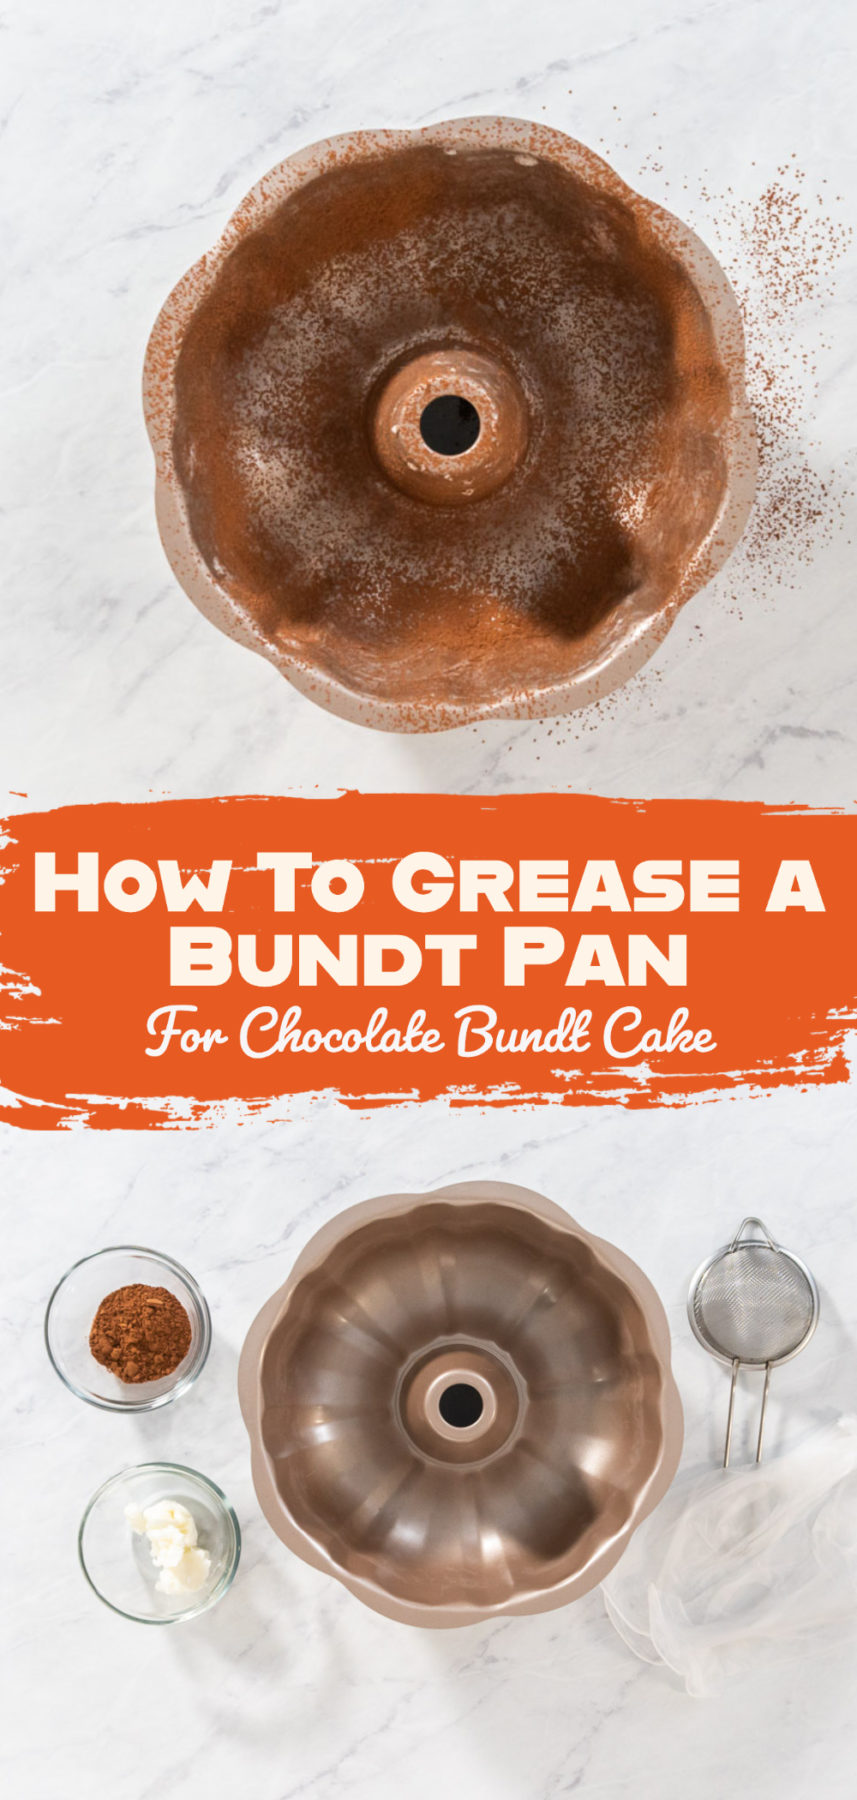
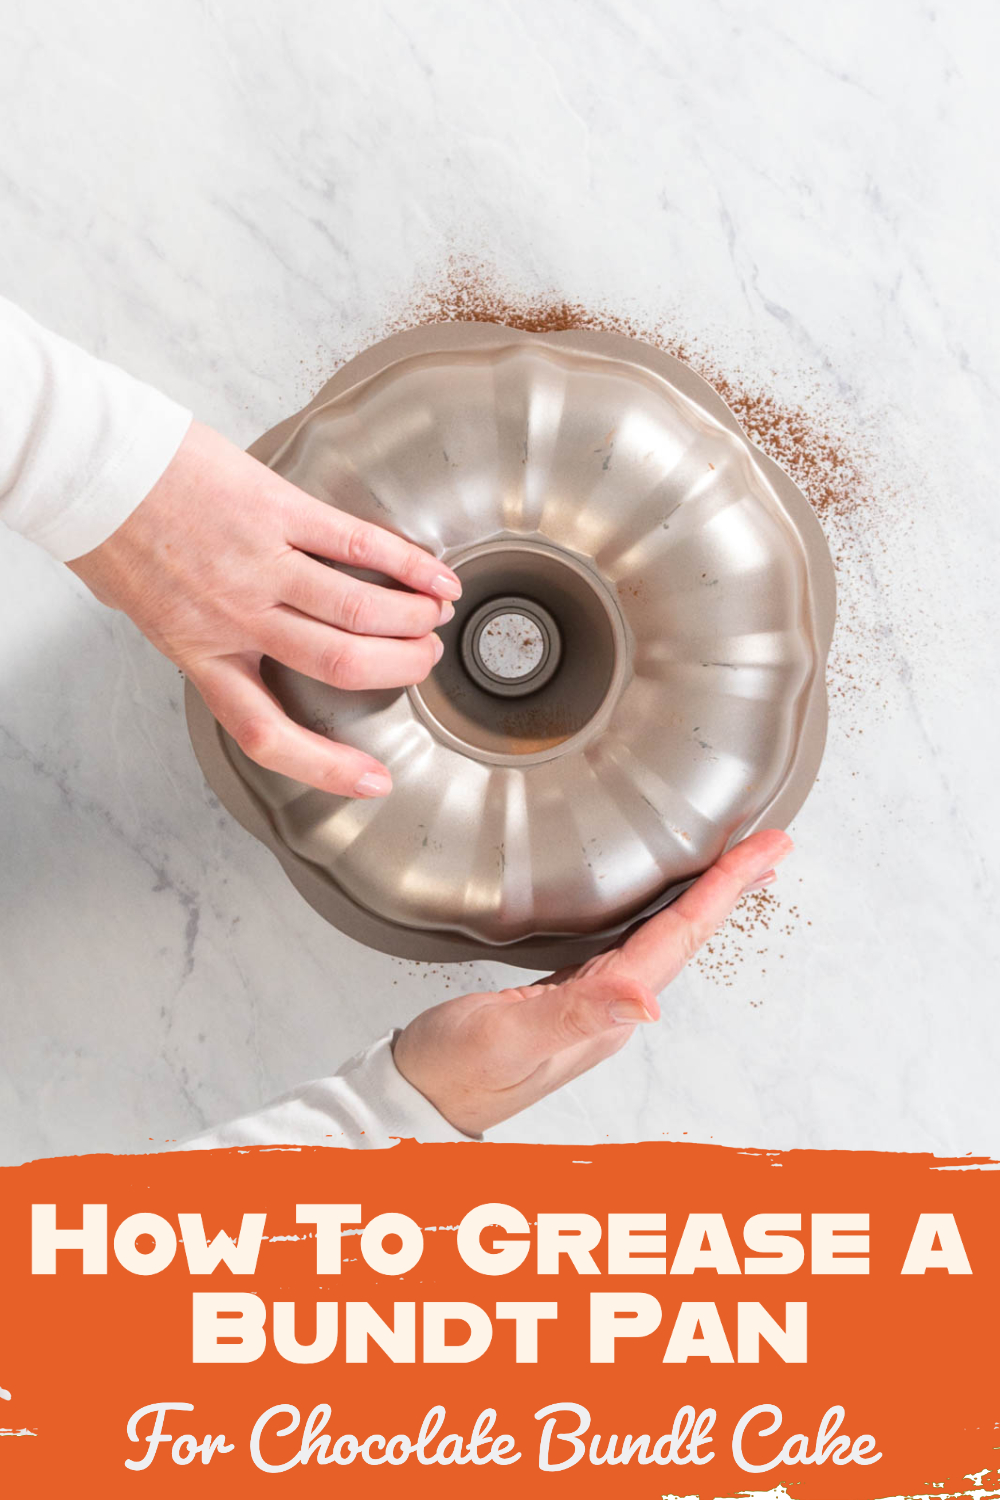
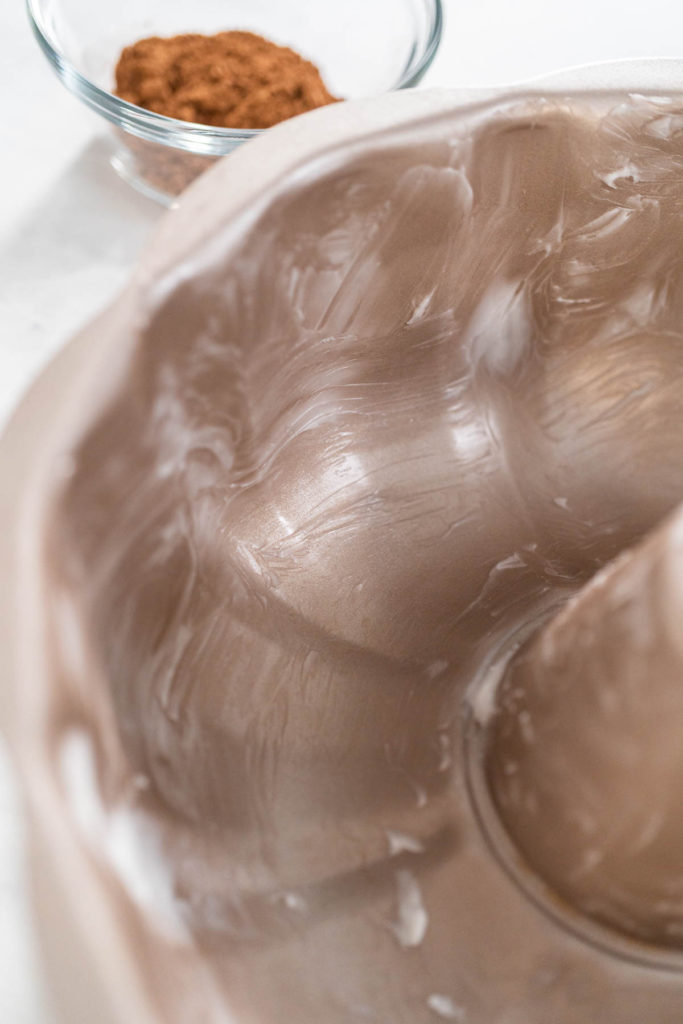
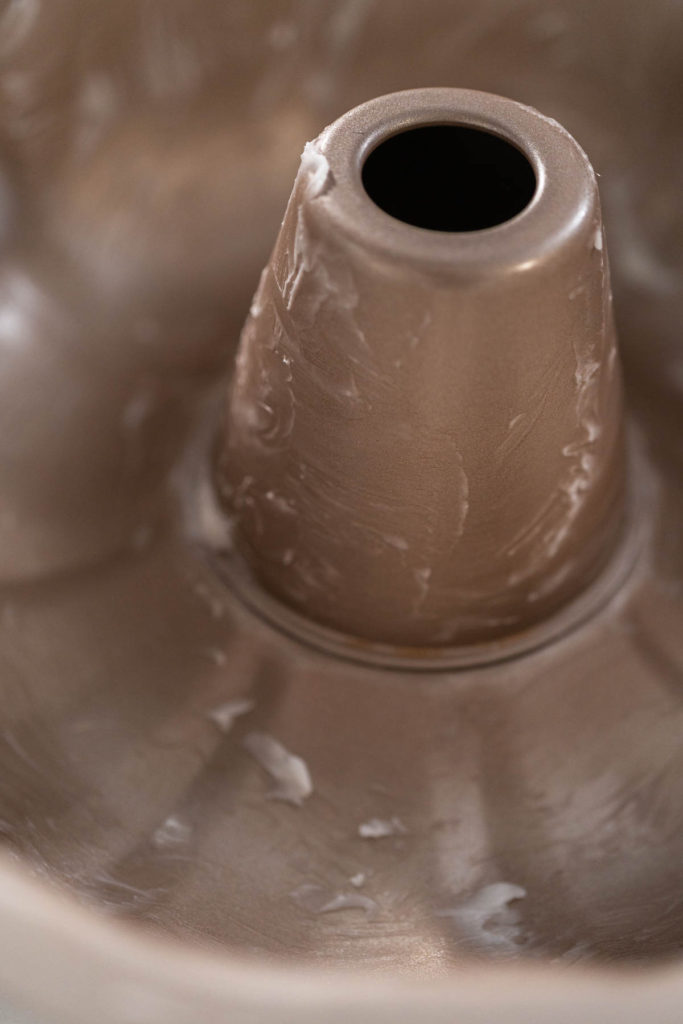
- Generously grease the Bundt cake pan with 1 tablespoon of vegetable shortening, ensuring no bold spots are left.
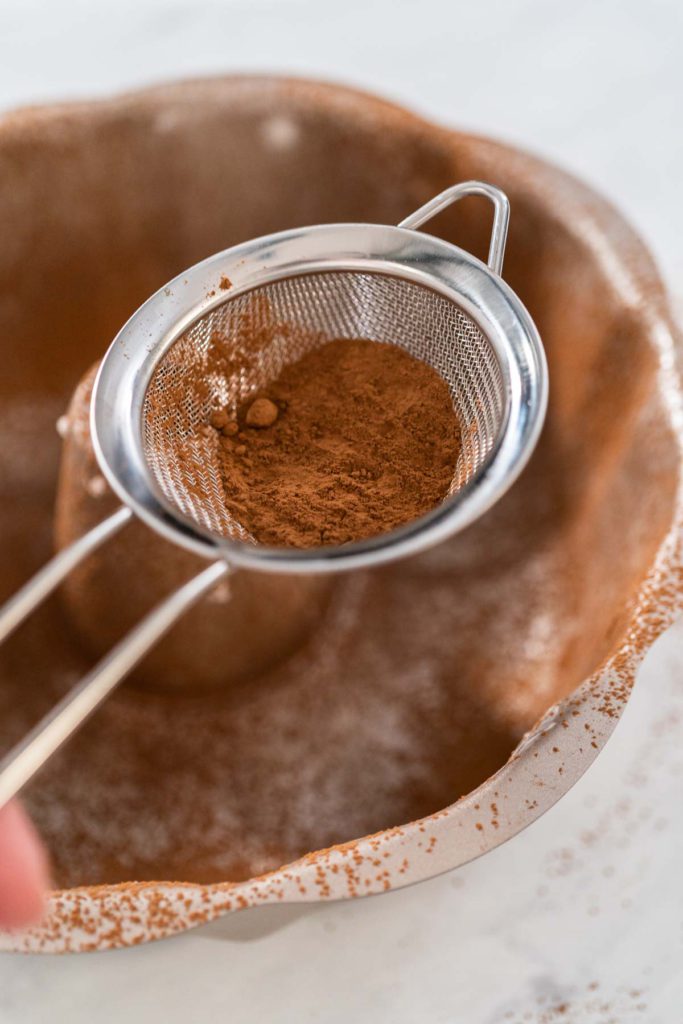
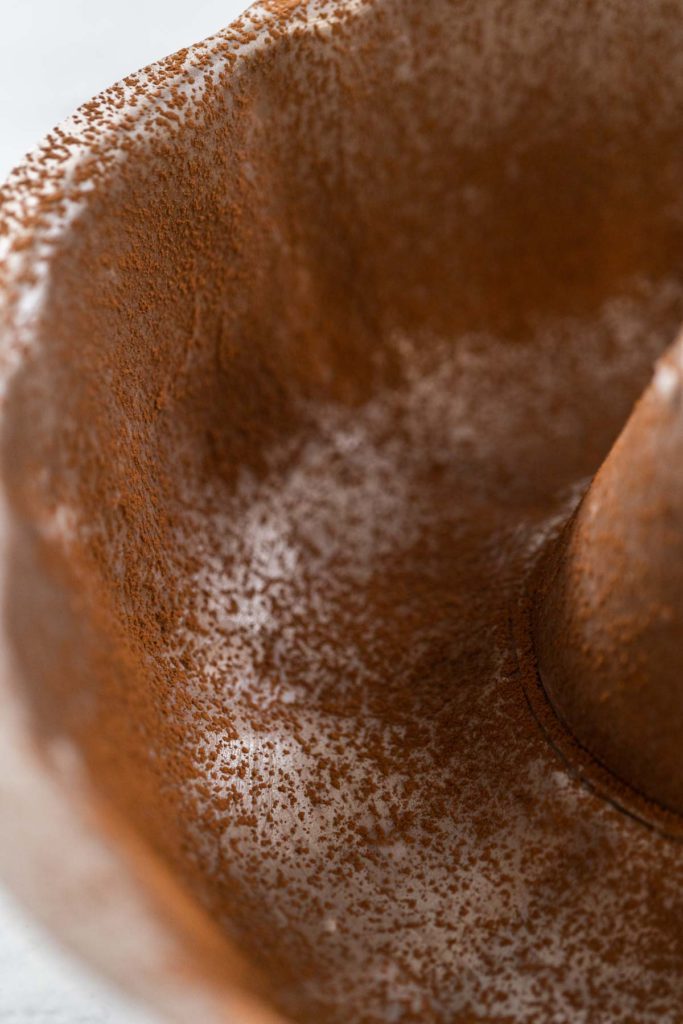
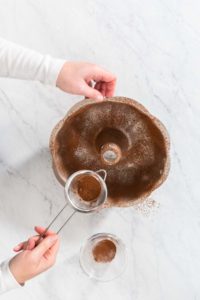
- Transfer 1 tablespoon of unsweetened cocoa powder into the sifter.
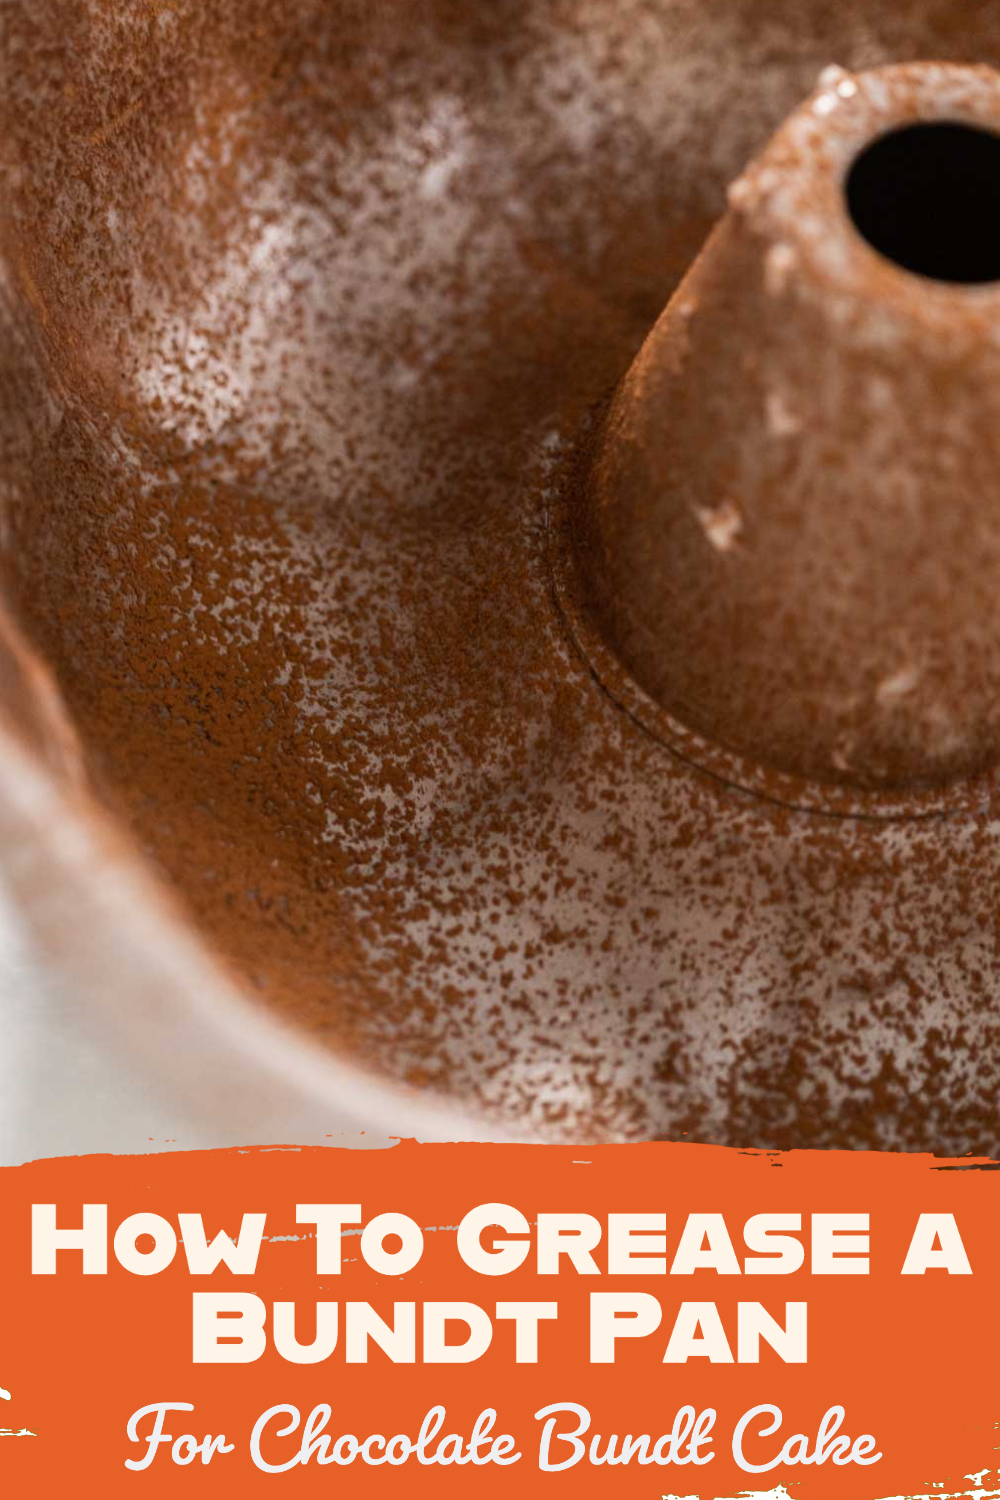
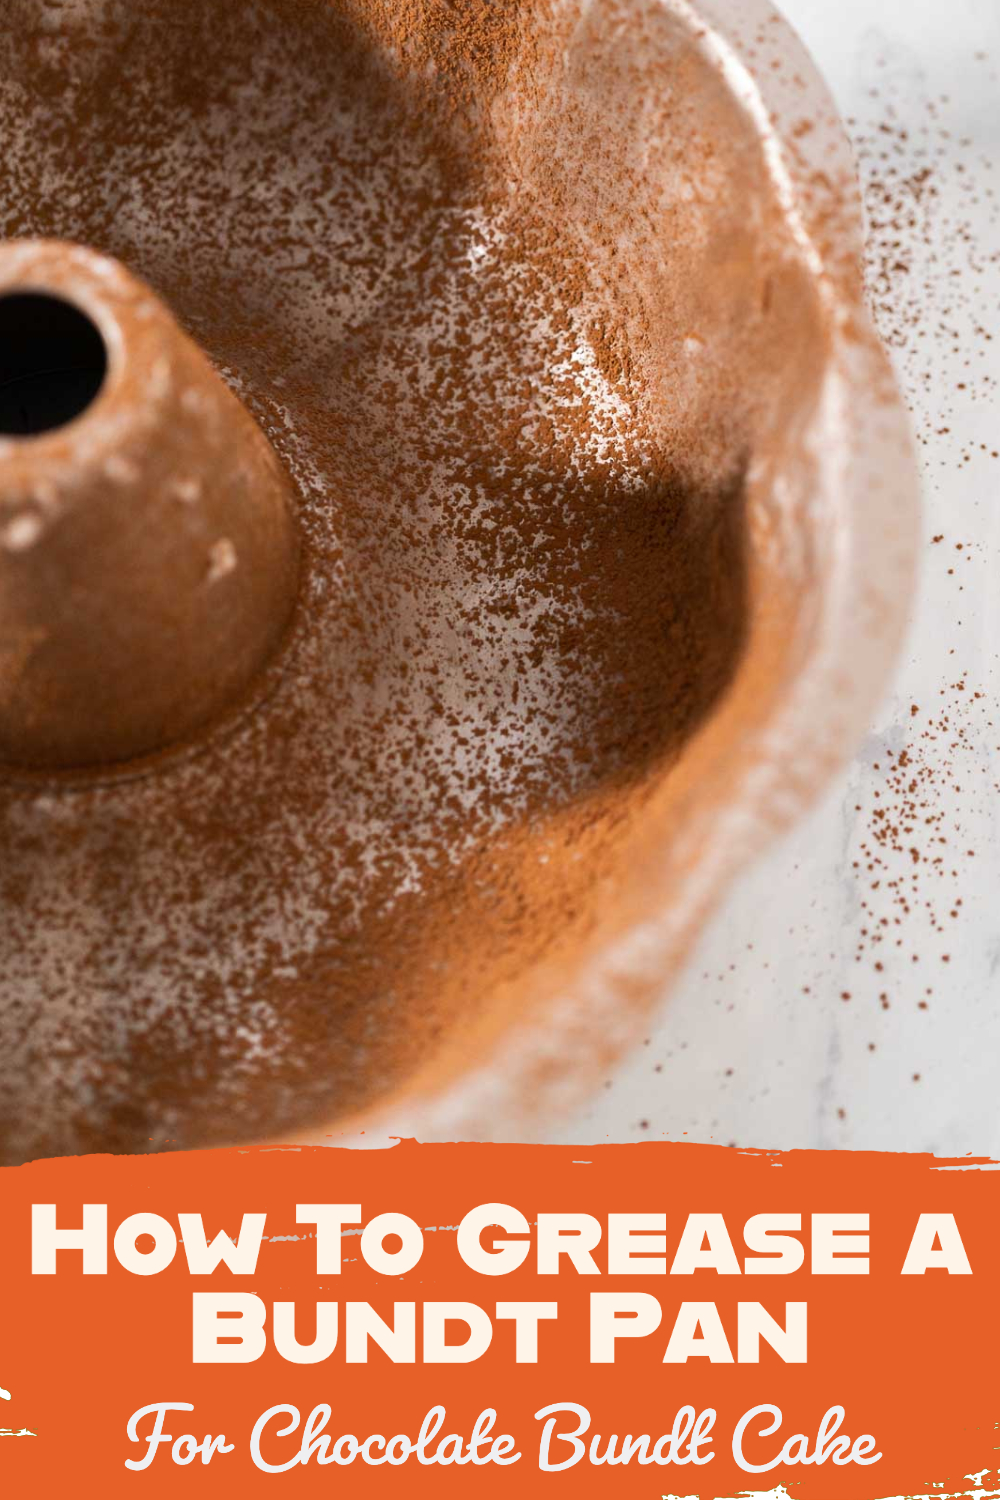
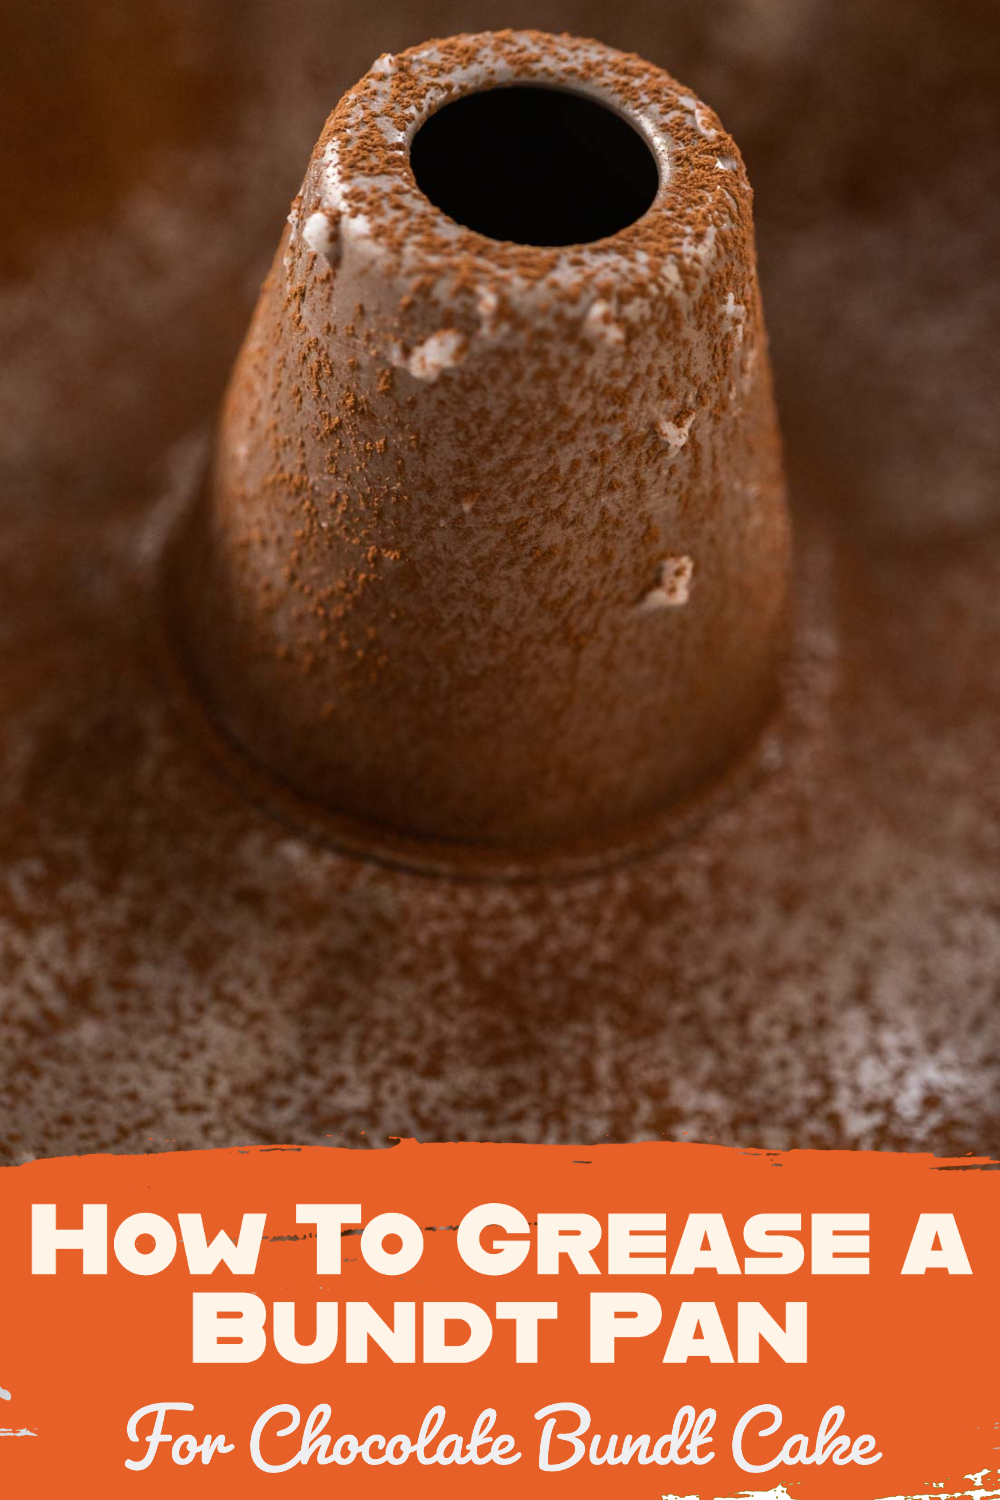
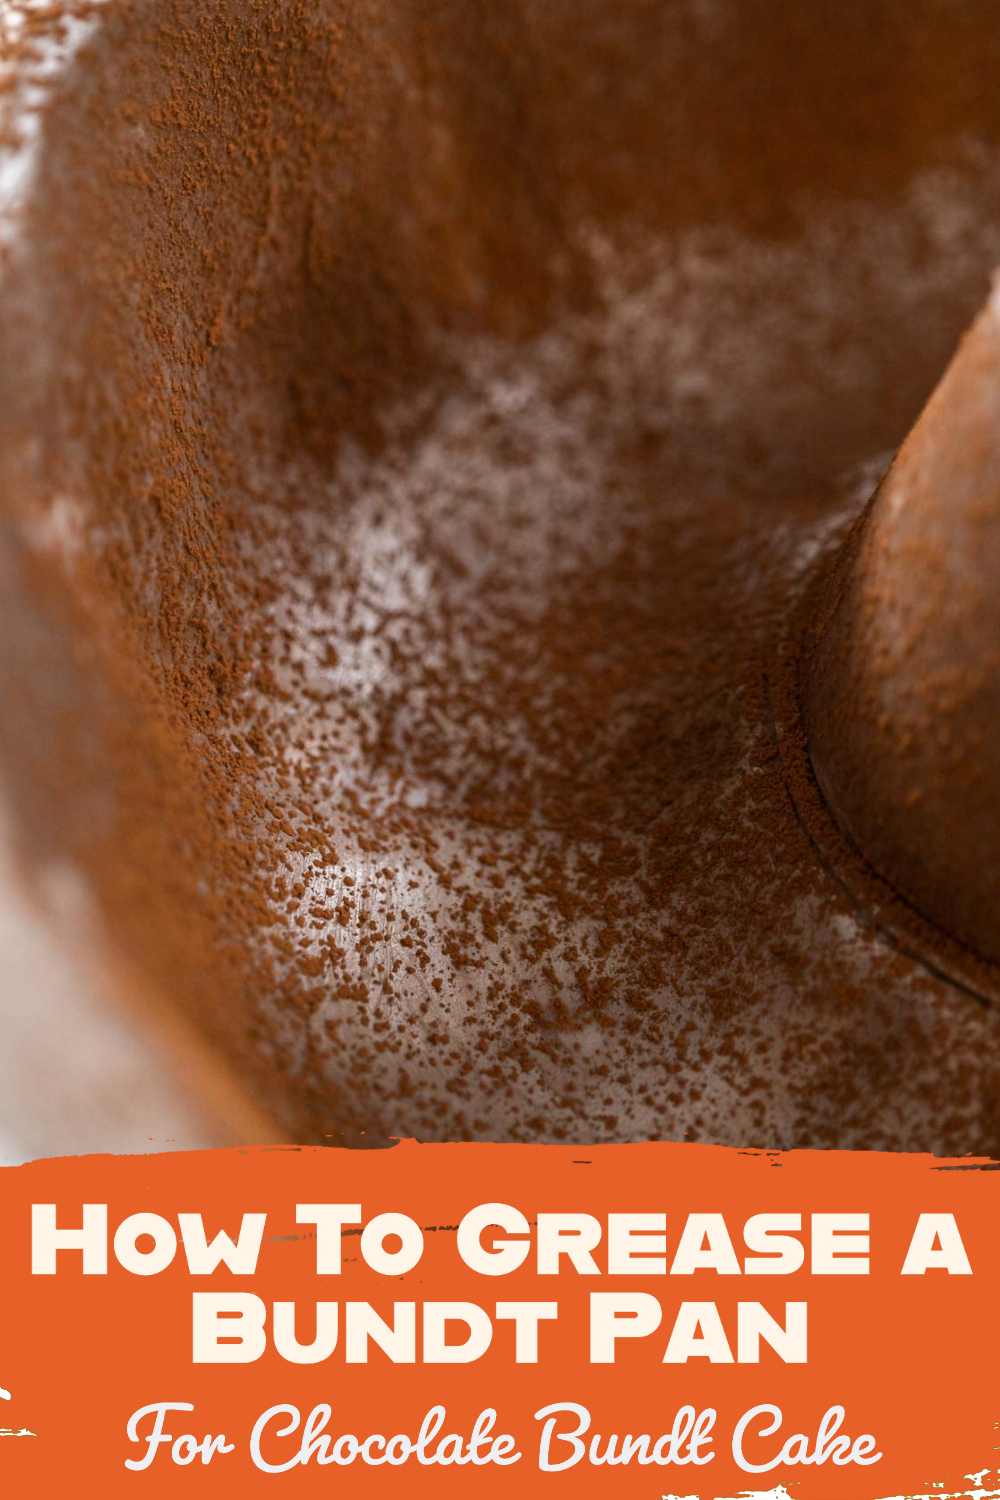
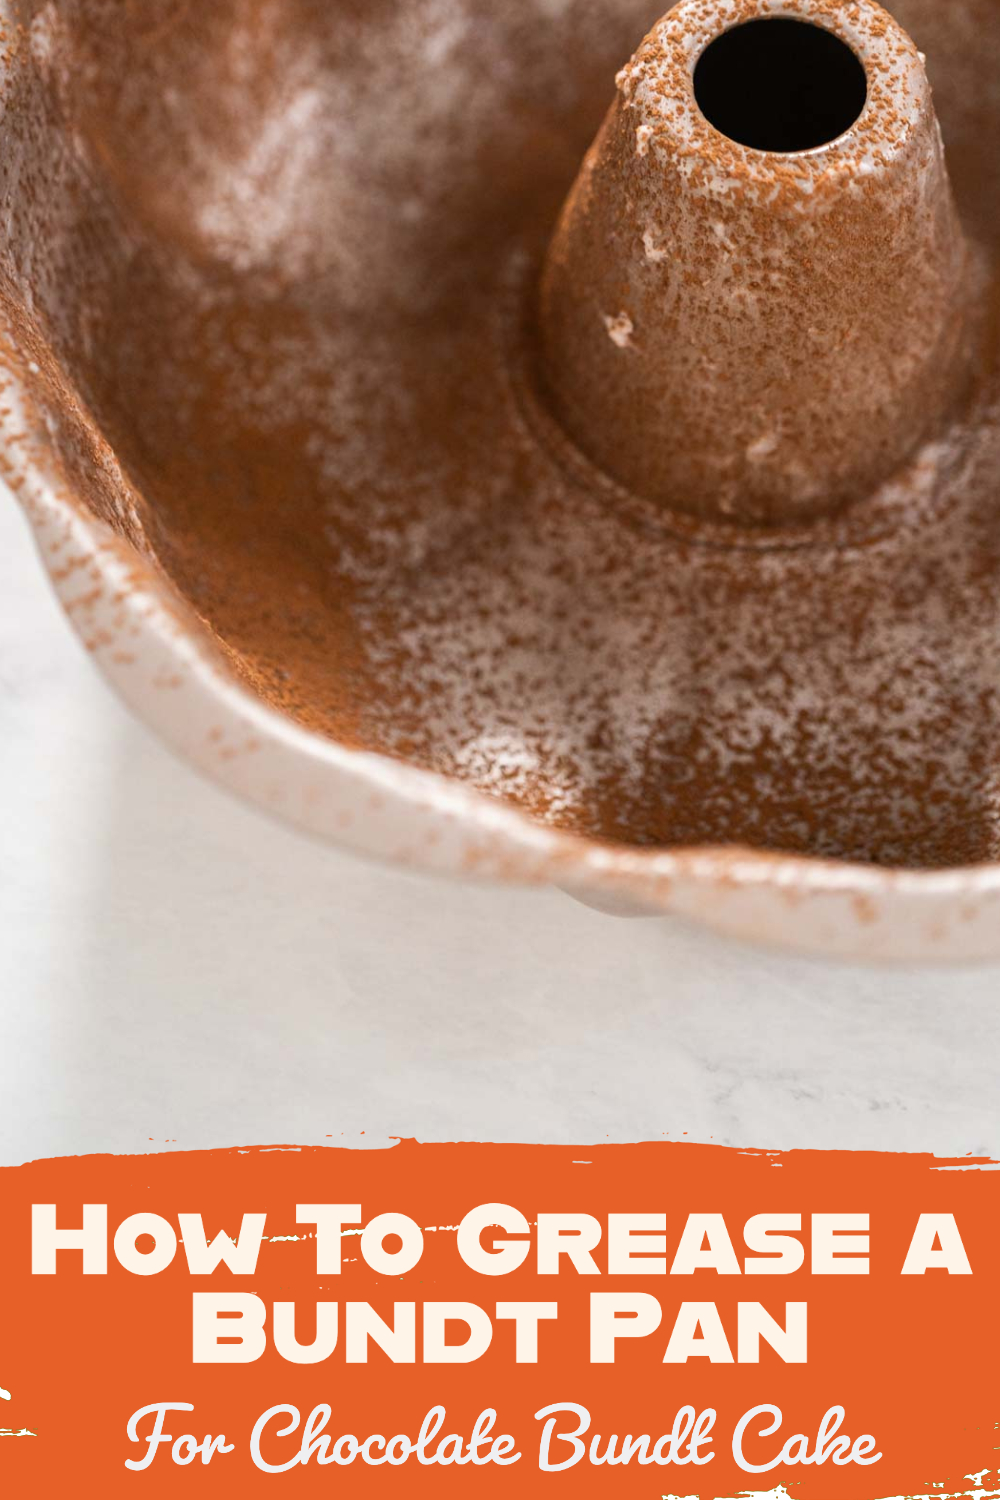
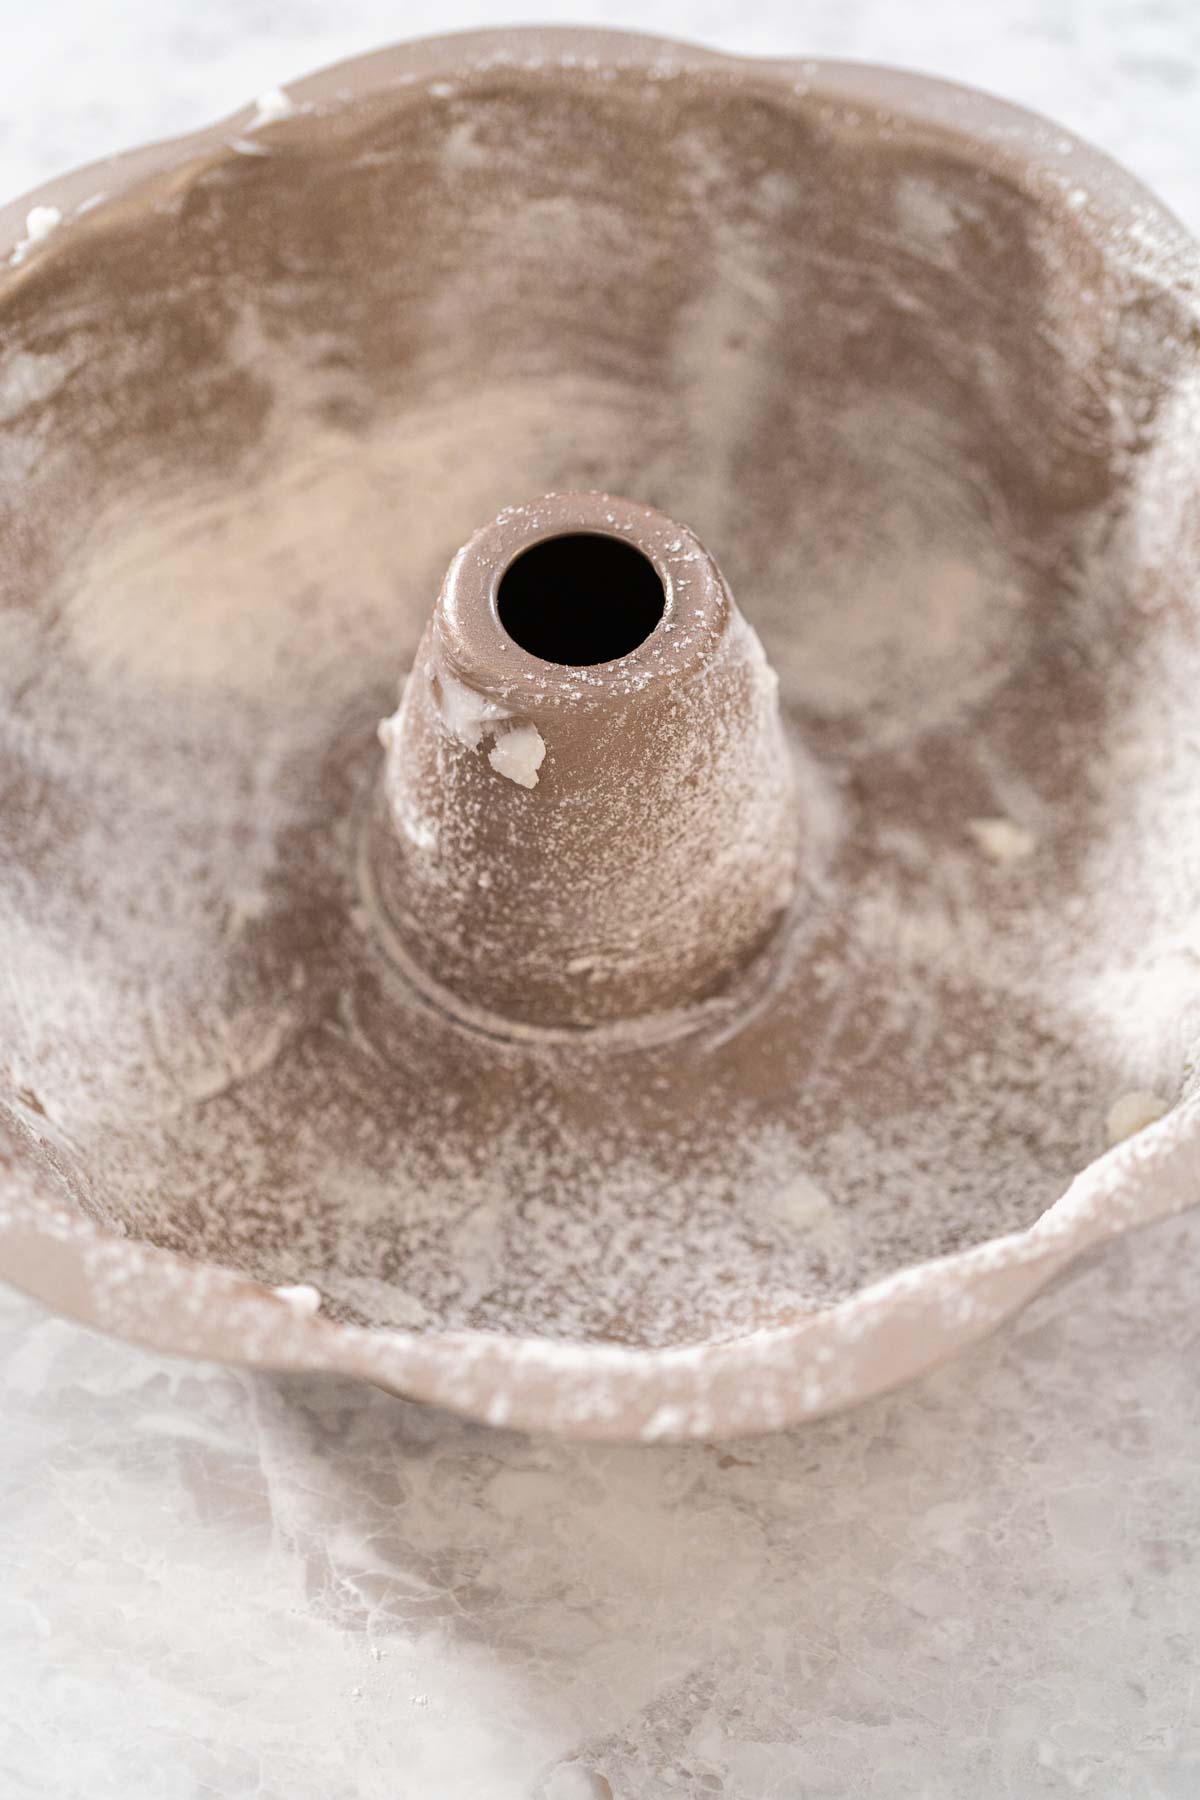
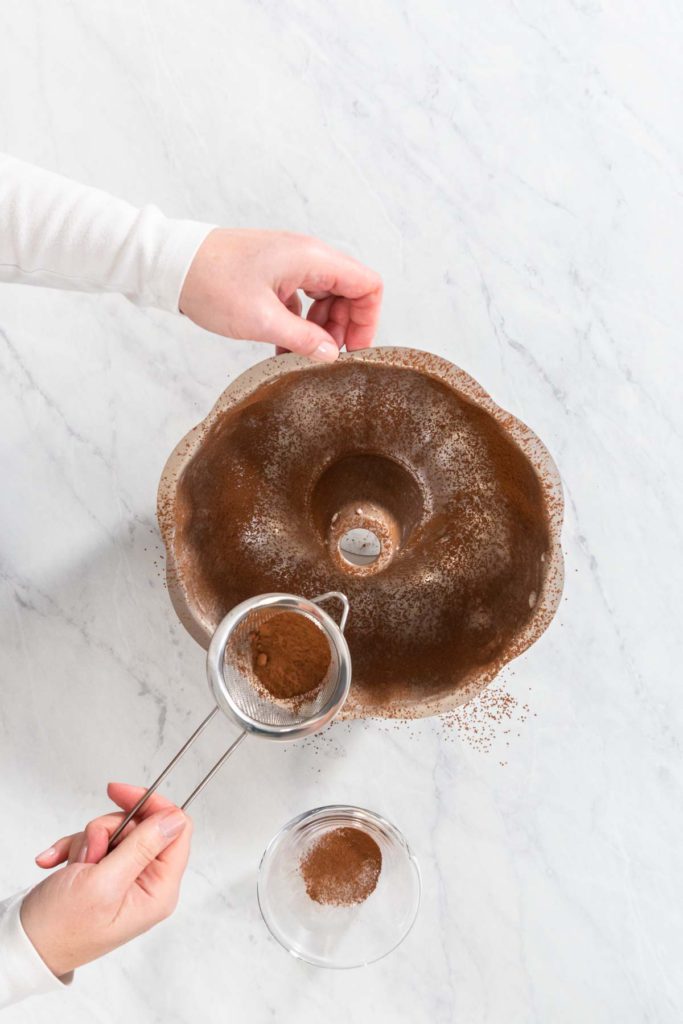
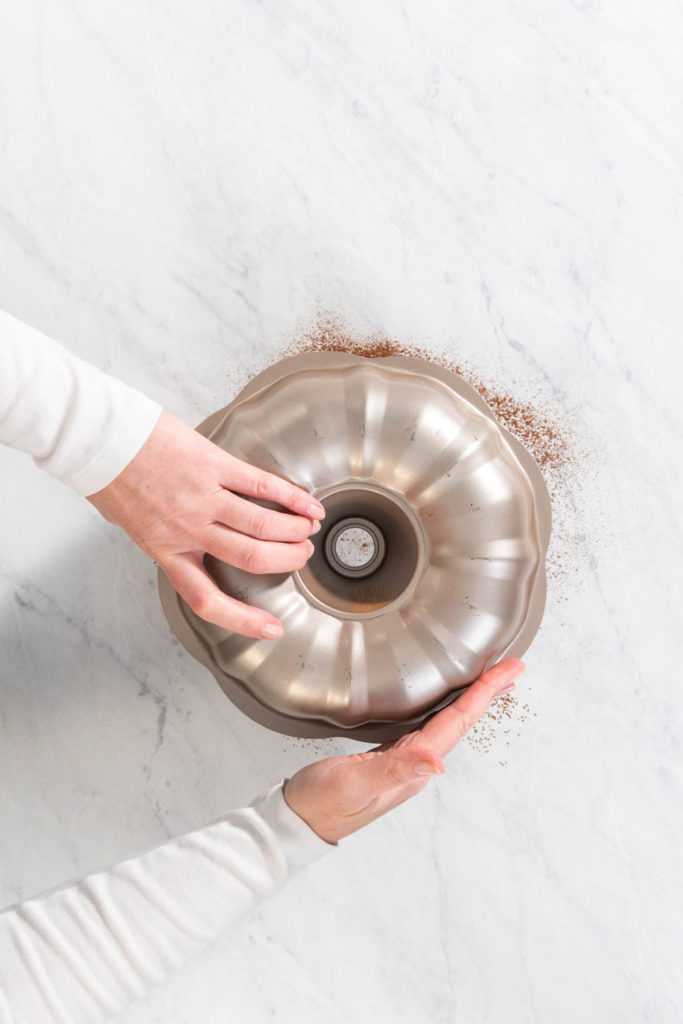
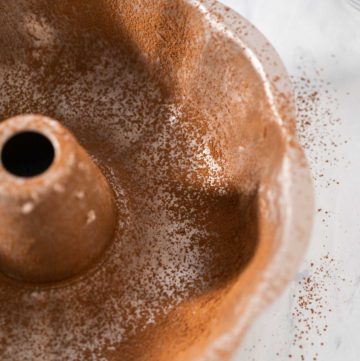
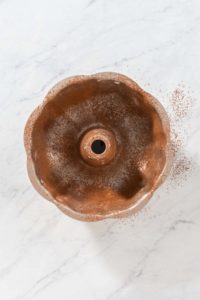
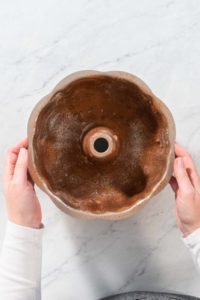
- Sift the cocoa powder over the greased Bundt cake pan.
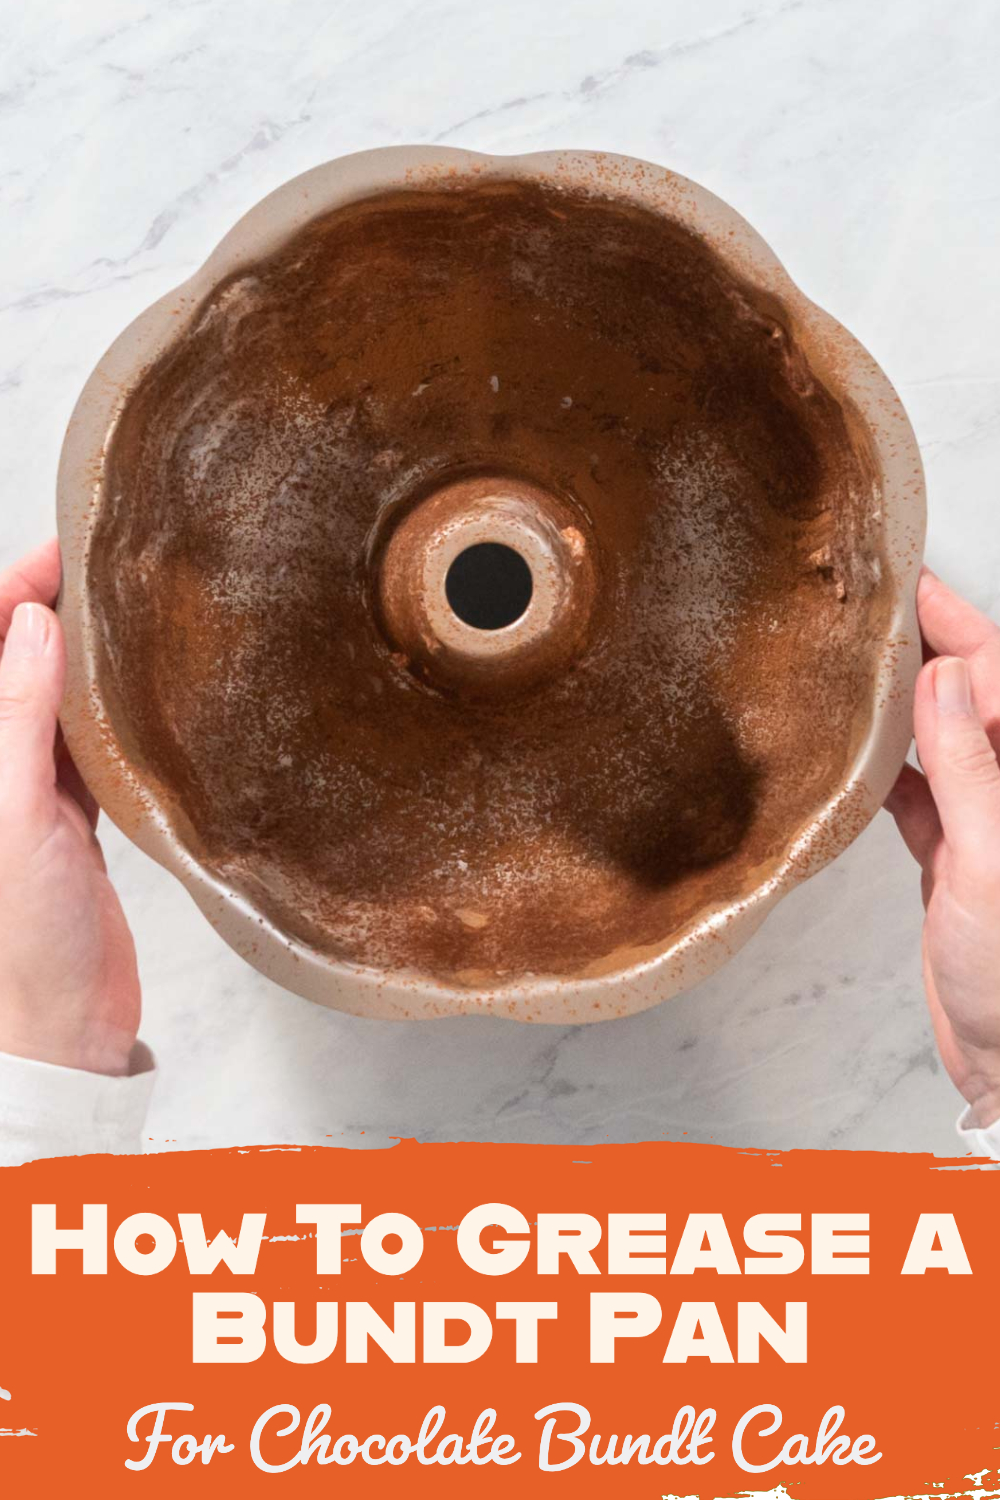
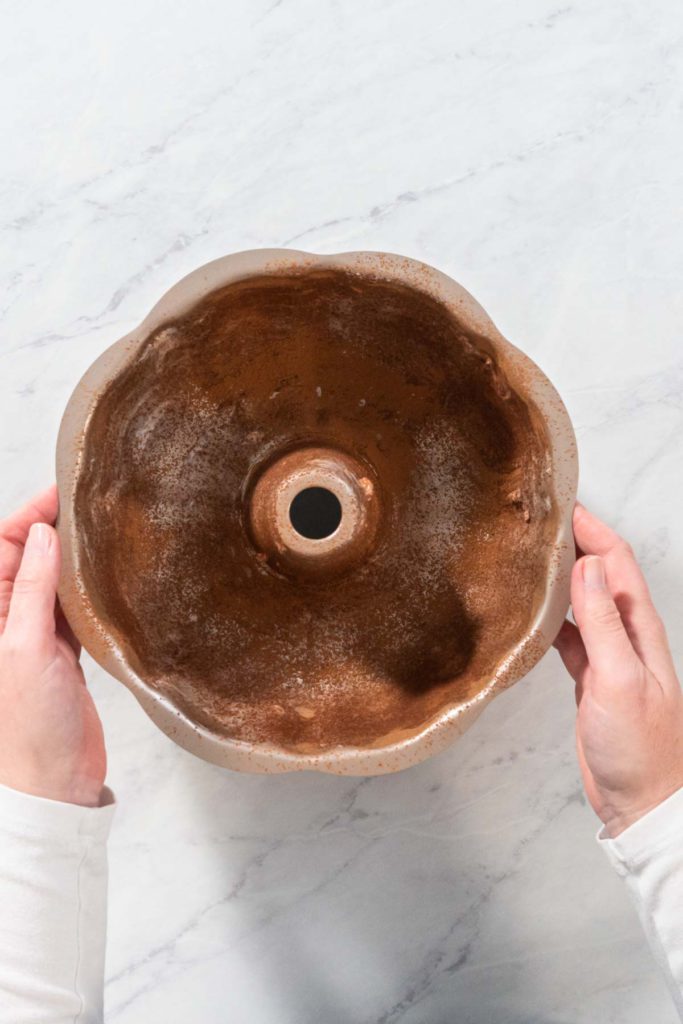
- Make sure you cover all parts of the Bundt pan evenly.
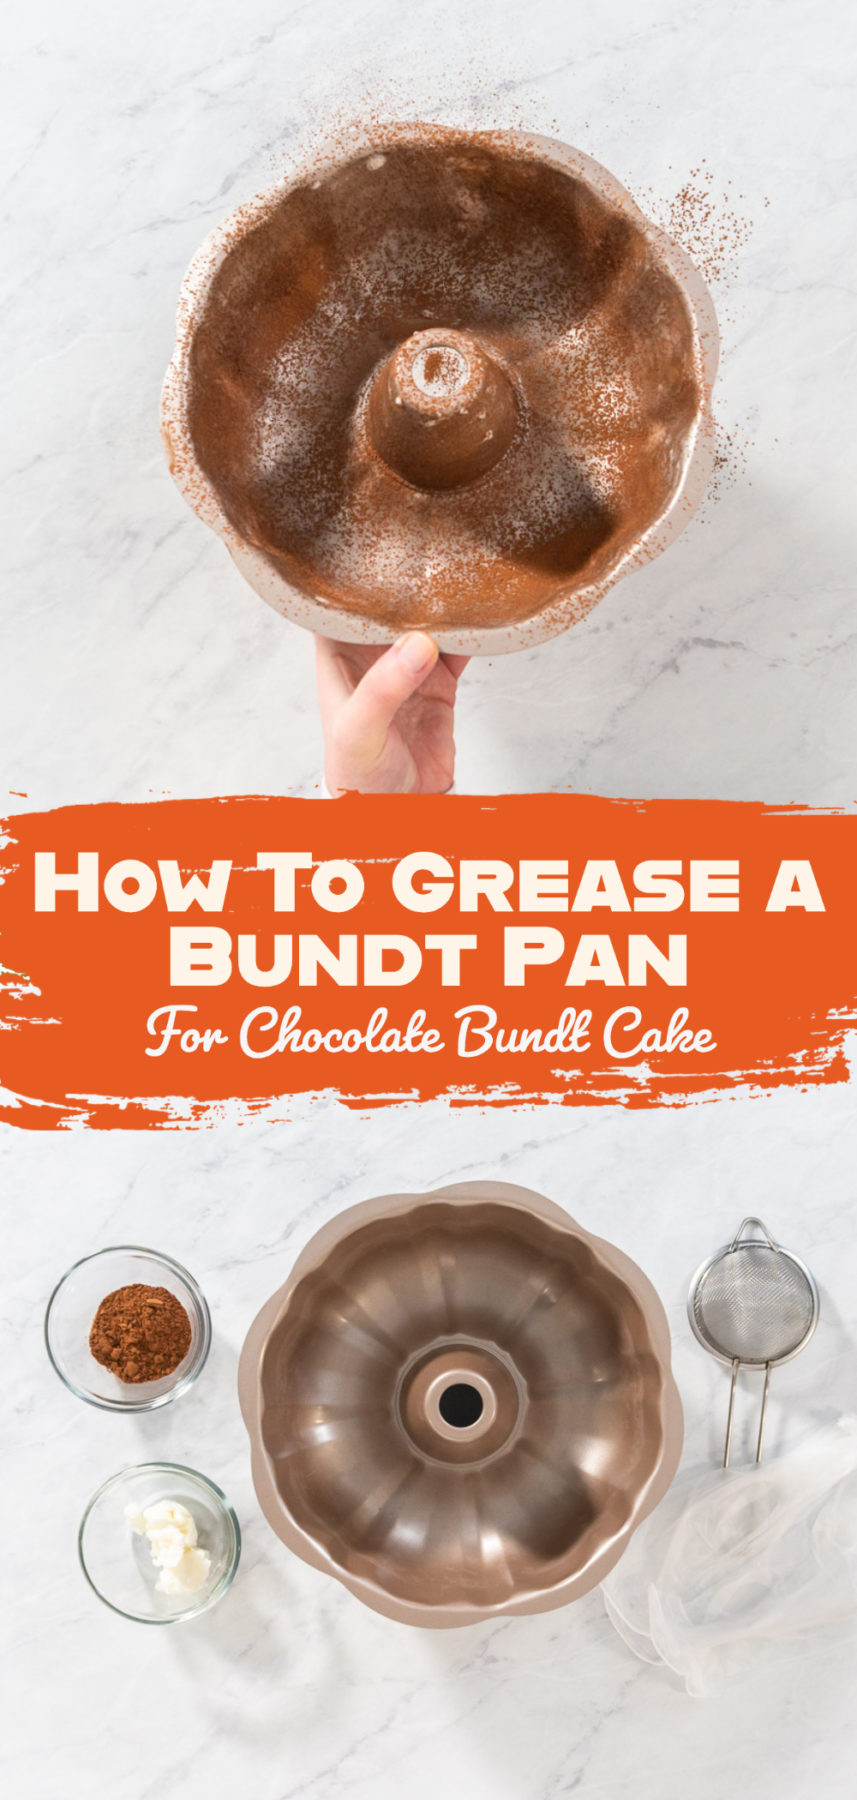
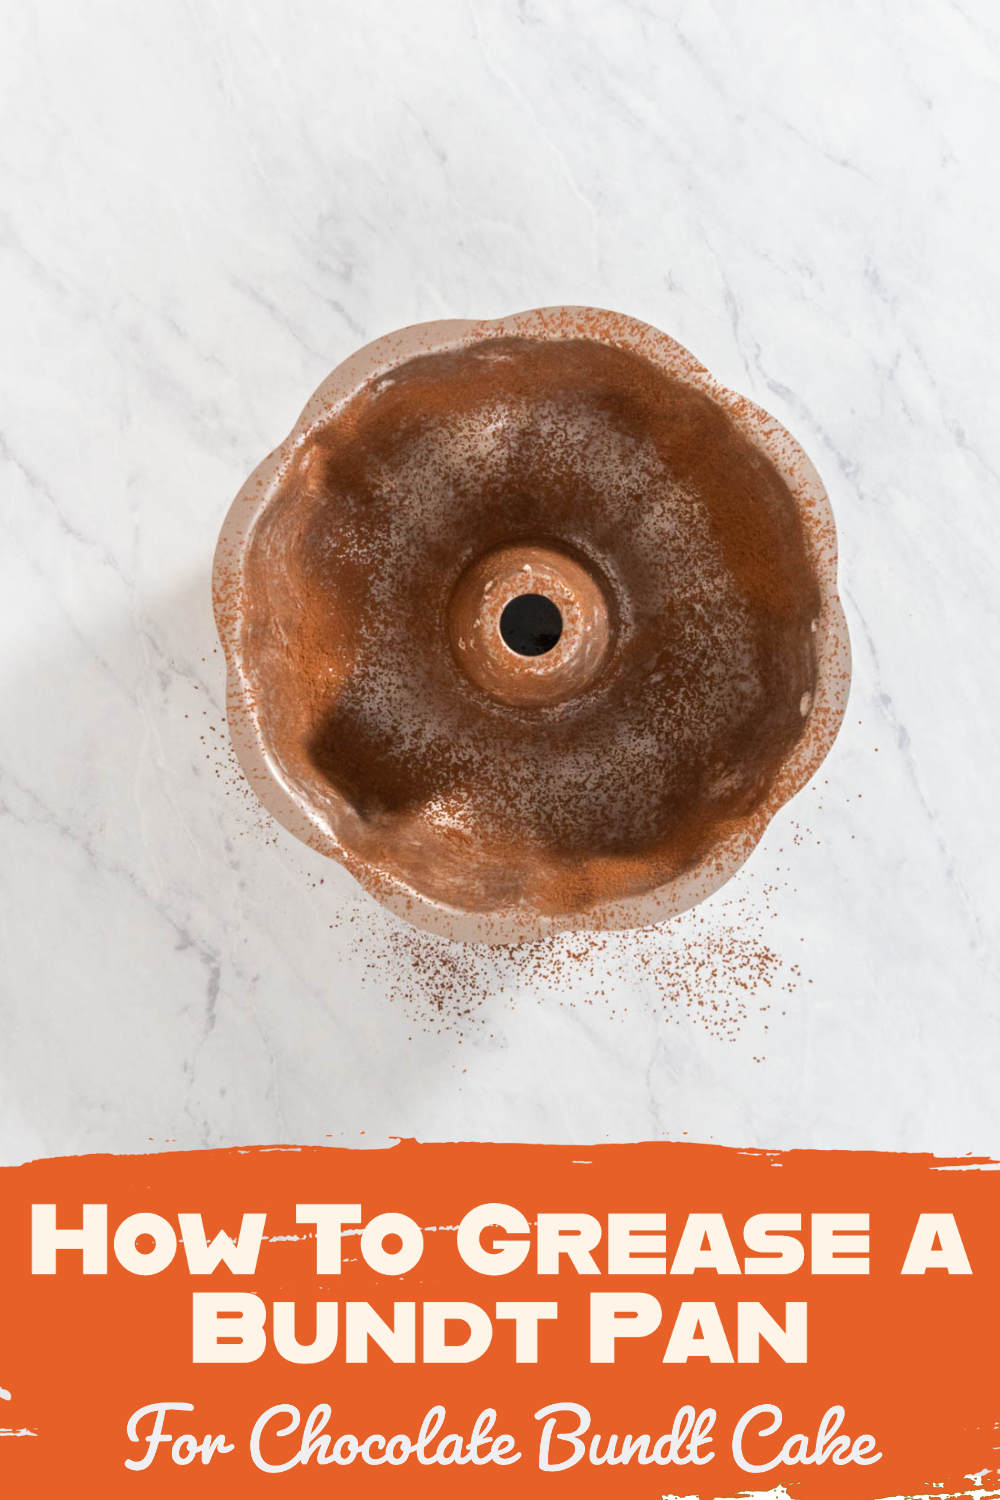
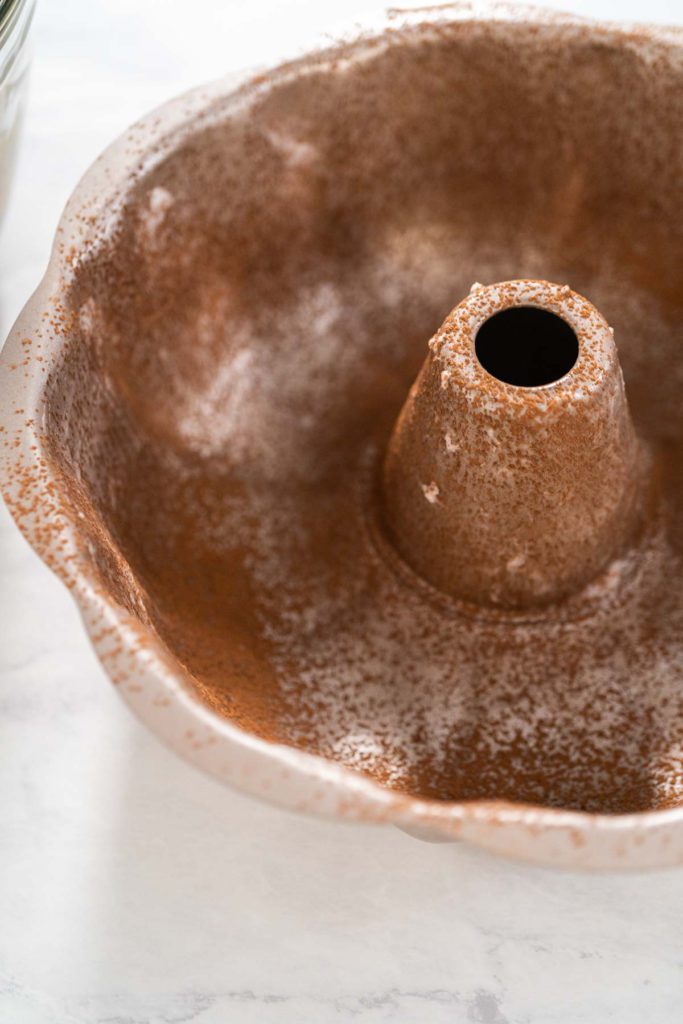
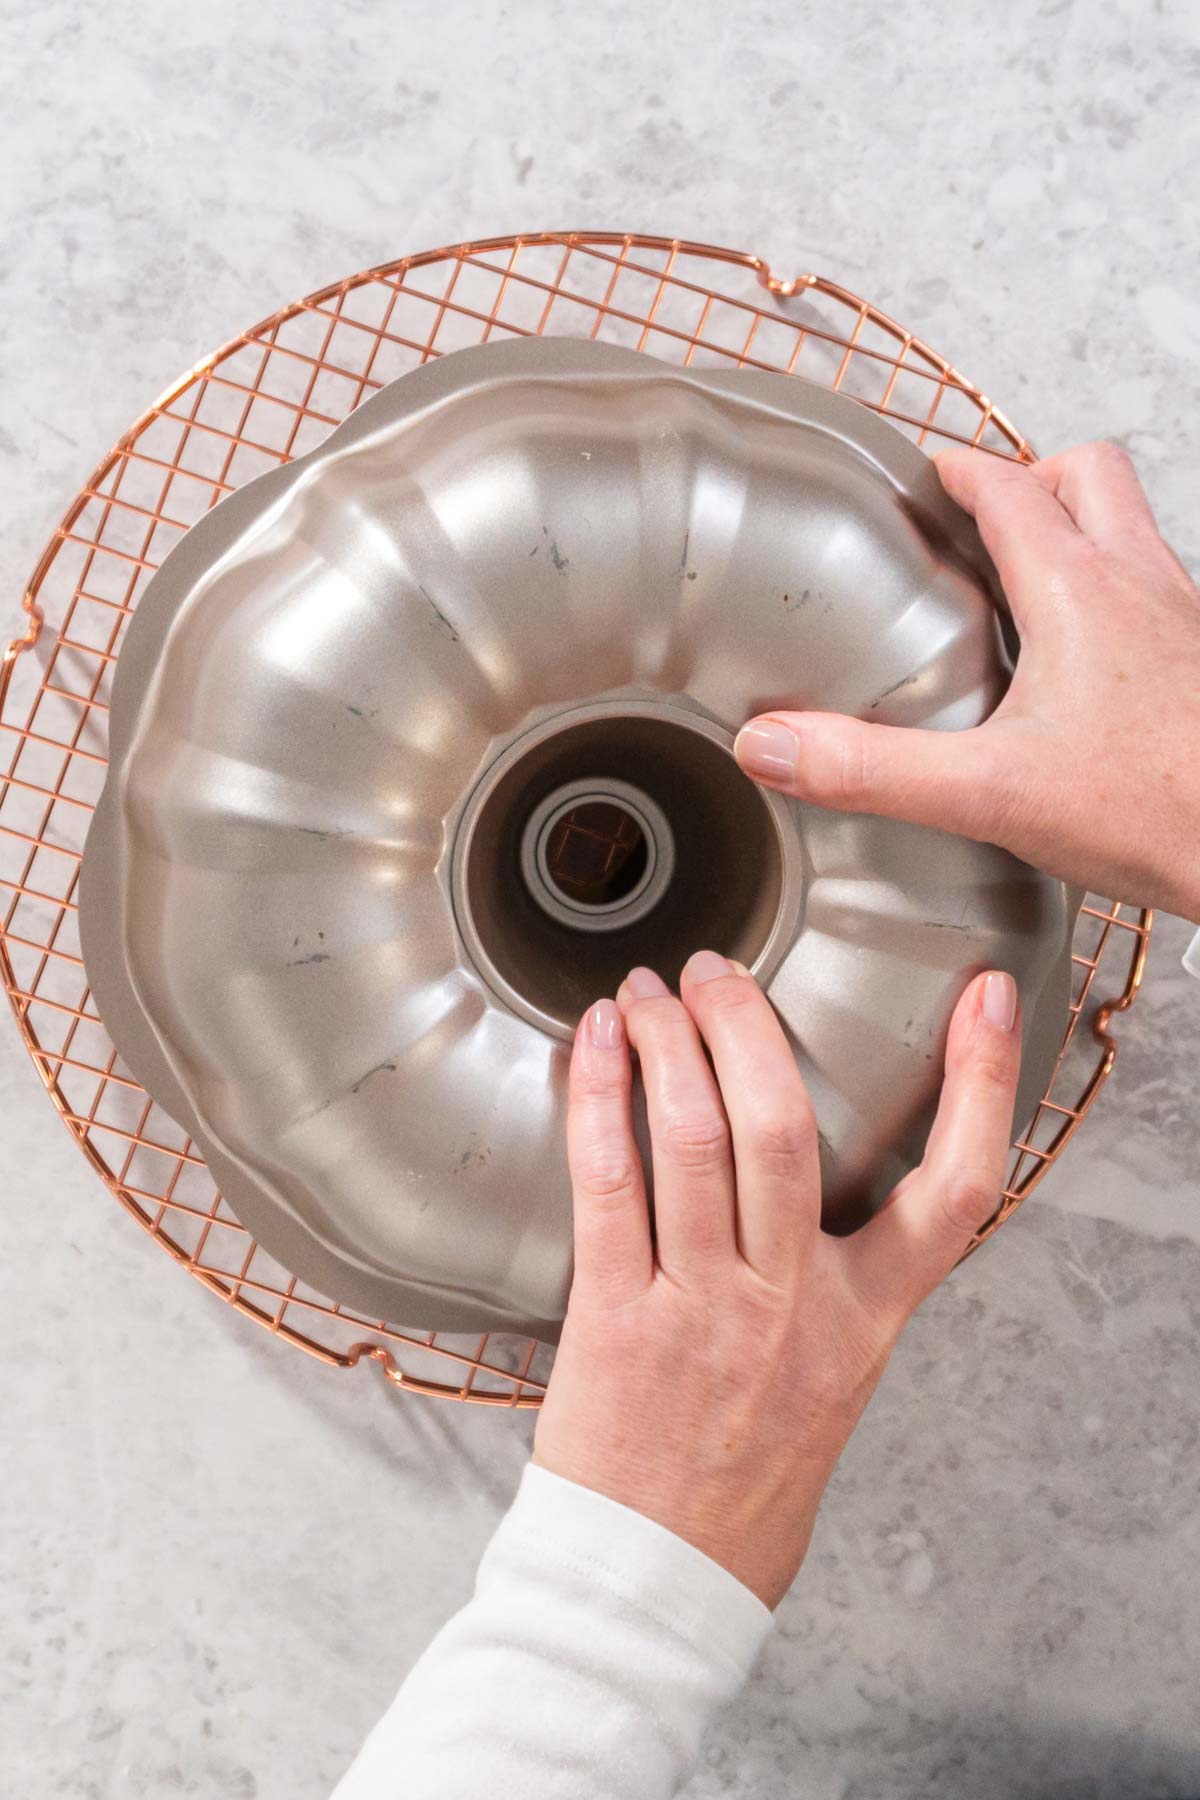
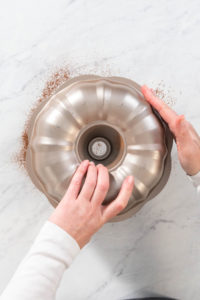
- Flip the pan over and lightly tap on the Bundt pan to shake off excess cocoa powder.
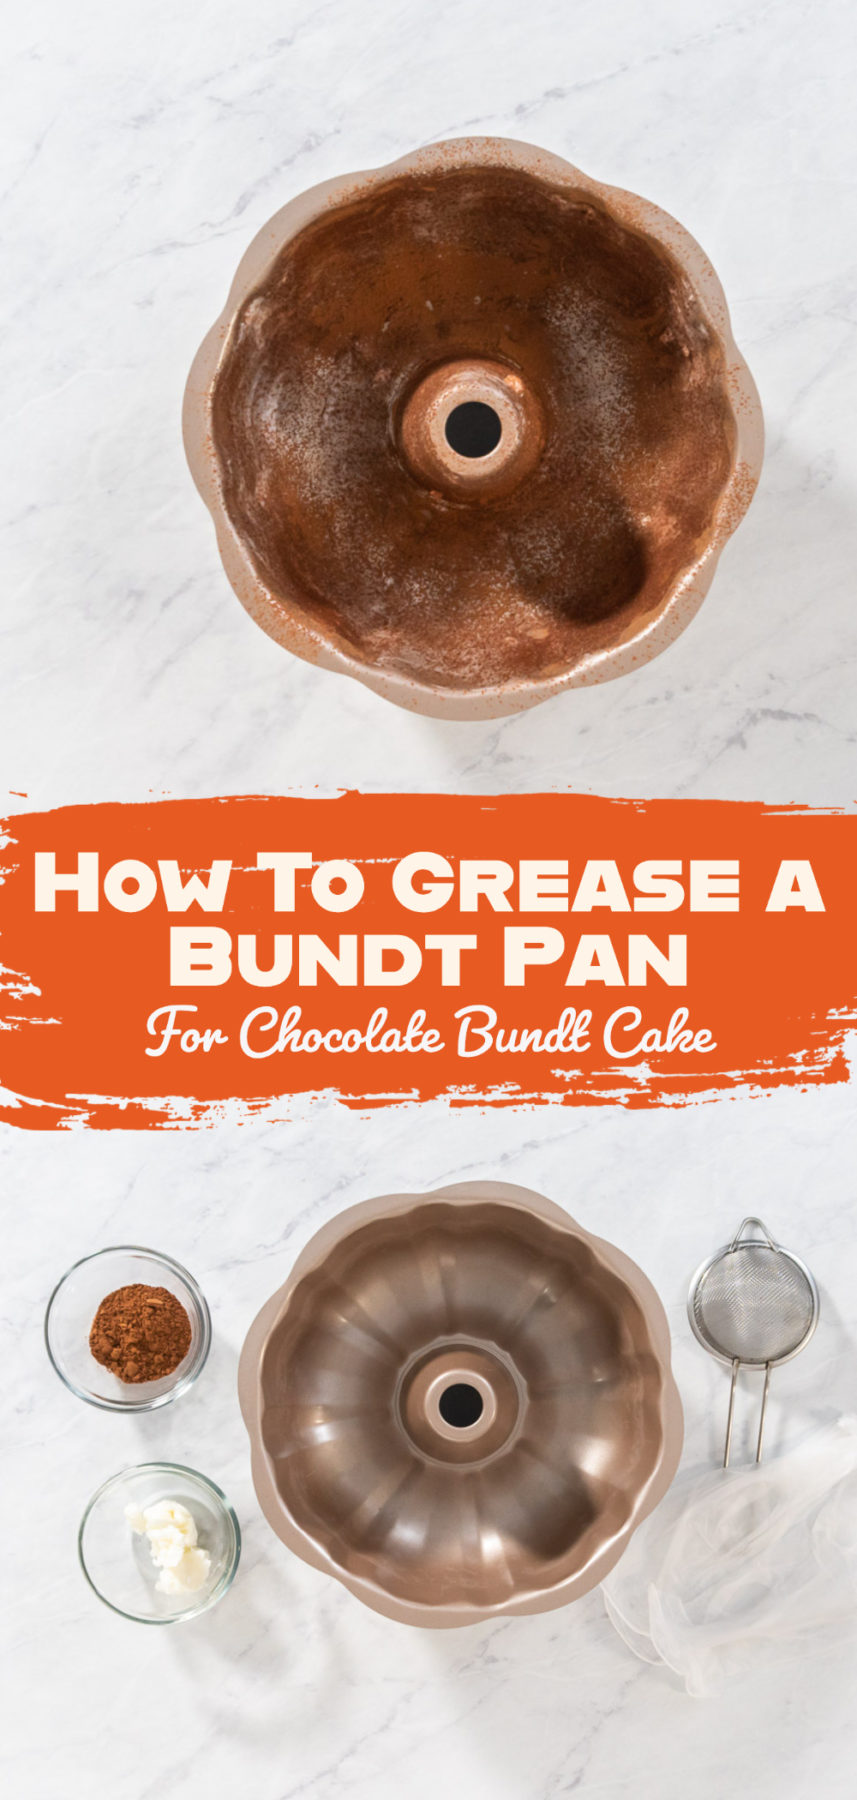
- Your Bundt pan is ready for baking.
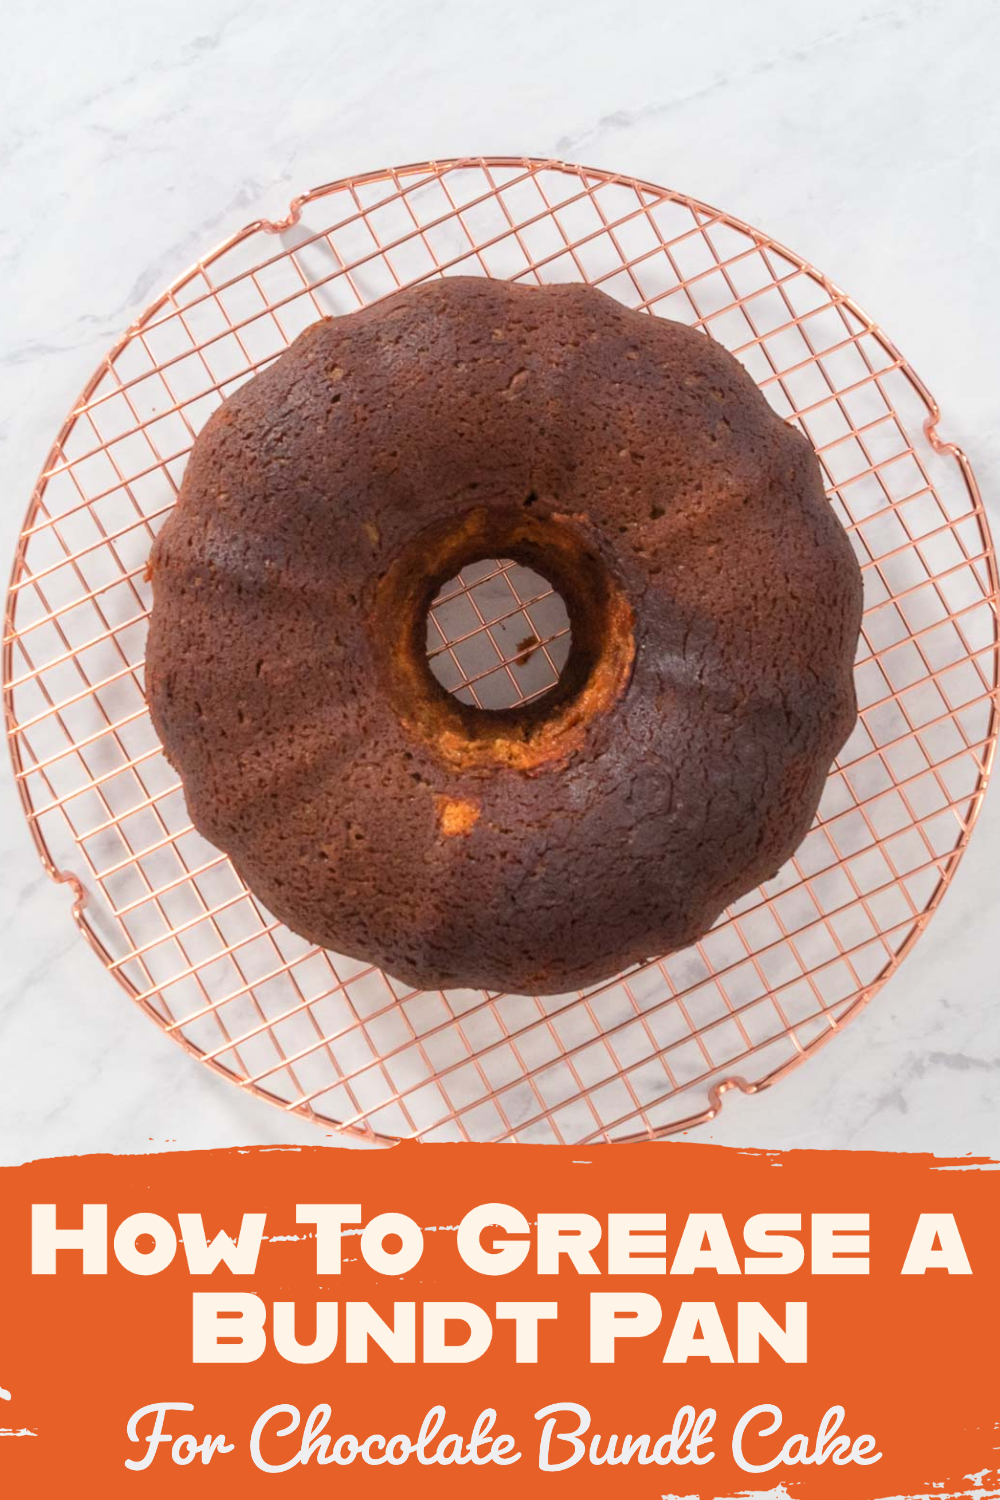
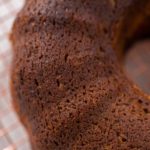
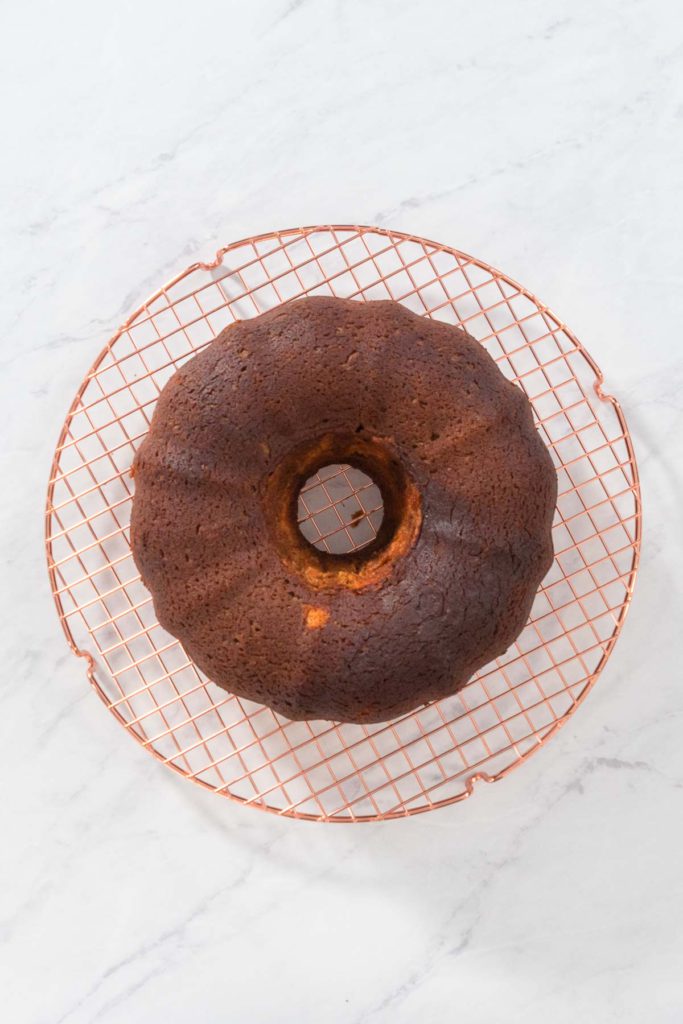
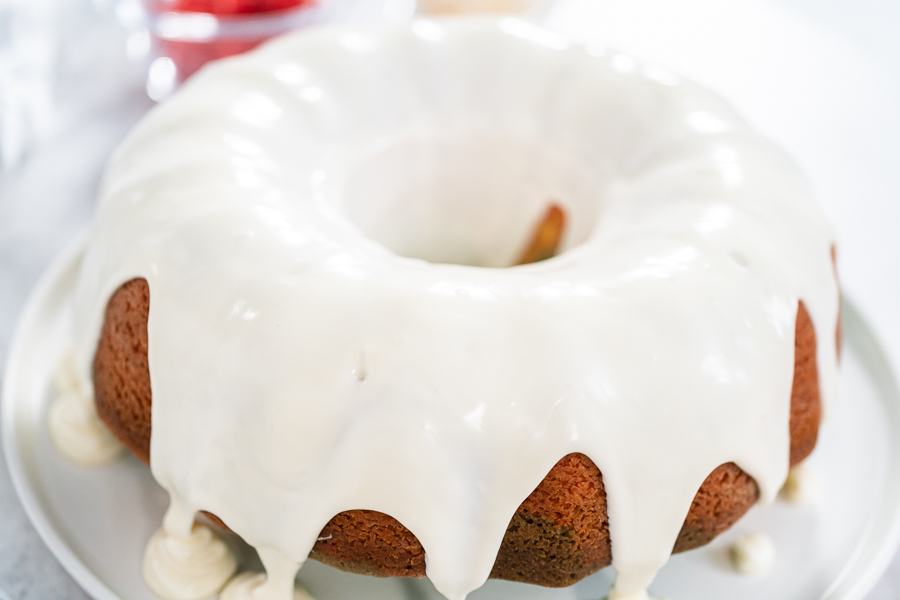
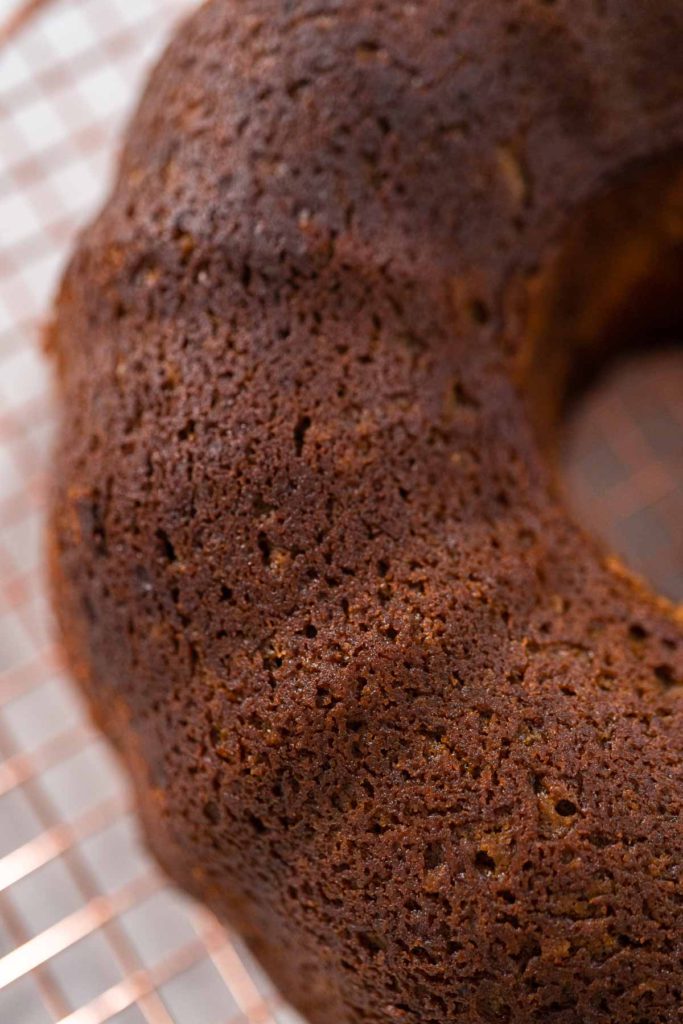
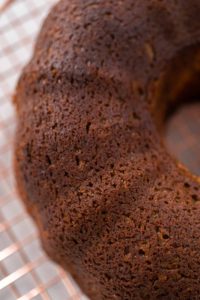
- Here is a chocolate Bundt cake that I baked after following these steps.
Tips and Tricks
Common Mistakes to Avoid When Greasing a Bundt Pan
Avoid these common pitfalls to ensure your Bundt cake comes out perfectly every time. First, don't skimp on the grease—use enough vegetable shortening to thoroughly coat every crevice. Another mistake is forgetting to cover the center tube; it's easy to miss, but vital for a clean release. Lastly, using only flour can leave a white residue on your cake, so opt for unsweetened cocoa powder for chocolate cakes.
Additional Tips for Ensuring an Even Coating
For a flawless finish, use disposable vinyl gloves to apply the vegetable shortening. This allows you to get into all the nooks and crannies of the pan without missing a spot. Make sure the pan is completely dry before greasing, as moisture can cause the shortening to slide off. Use a sifter to evenly distribute the cocoa powder over the shortening. Tap the pan gently to ensure an even coating, and don't be afraid to add more if needed.
Troubleshooting Tips for Stuck Cakes
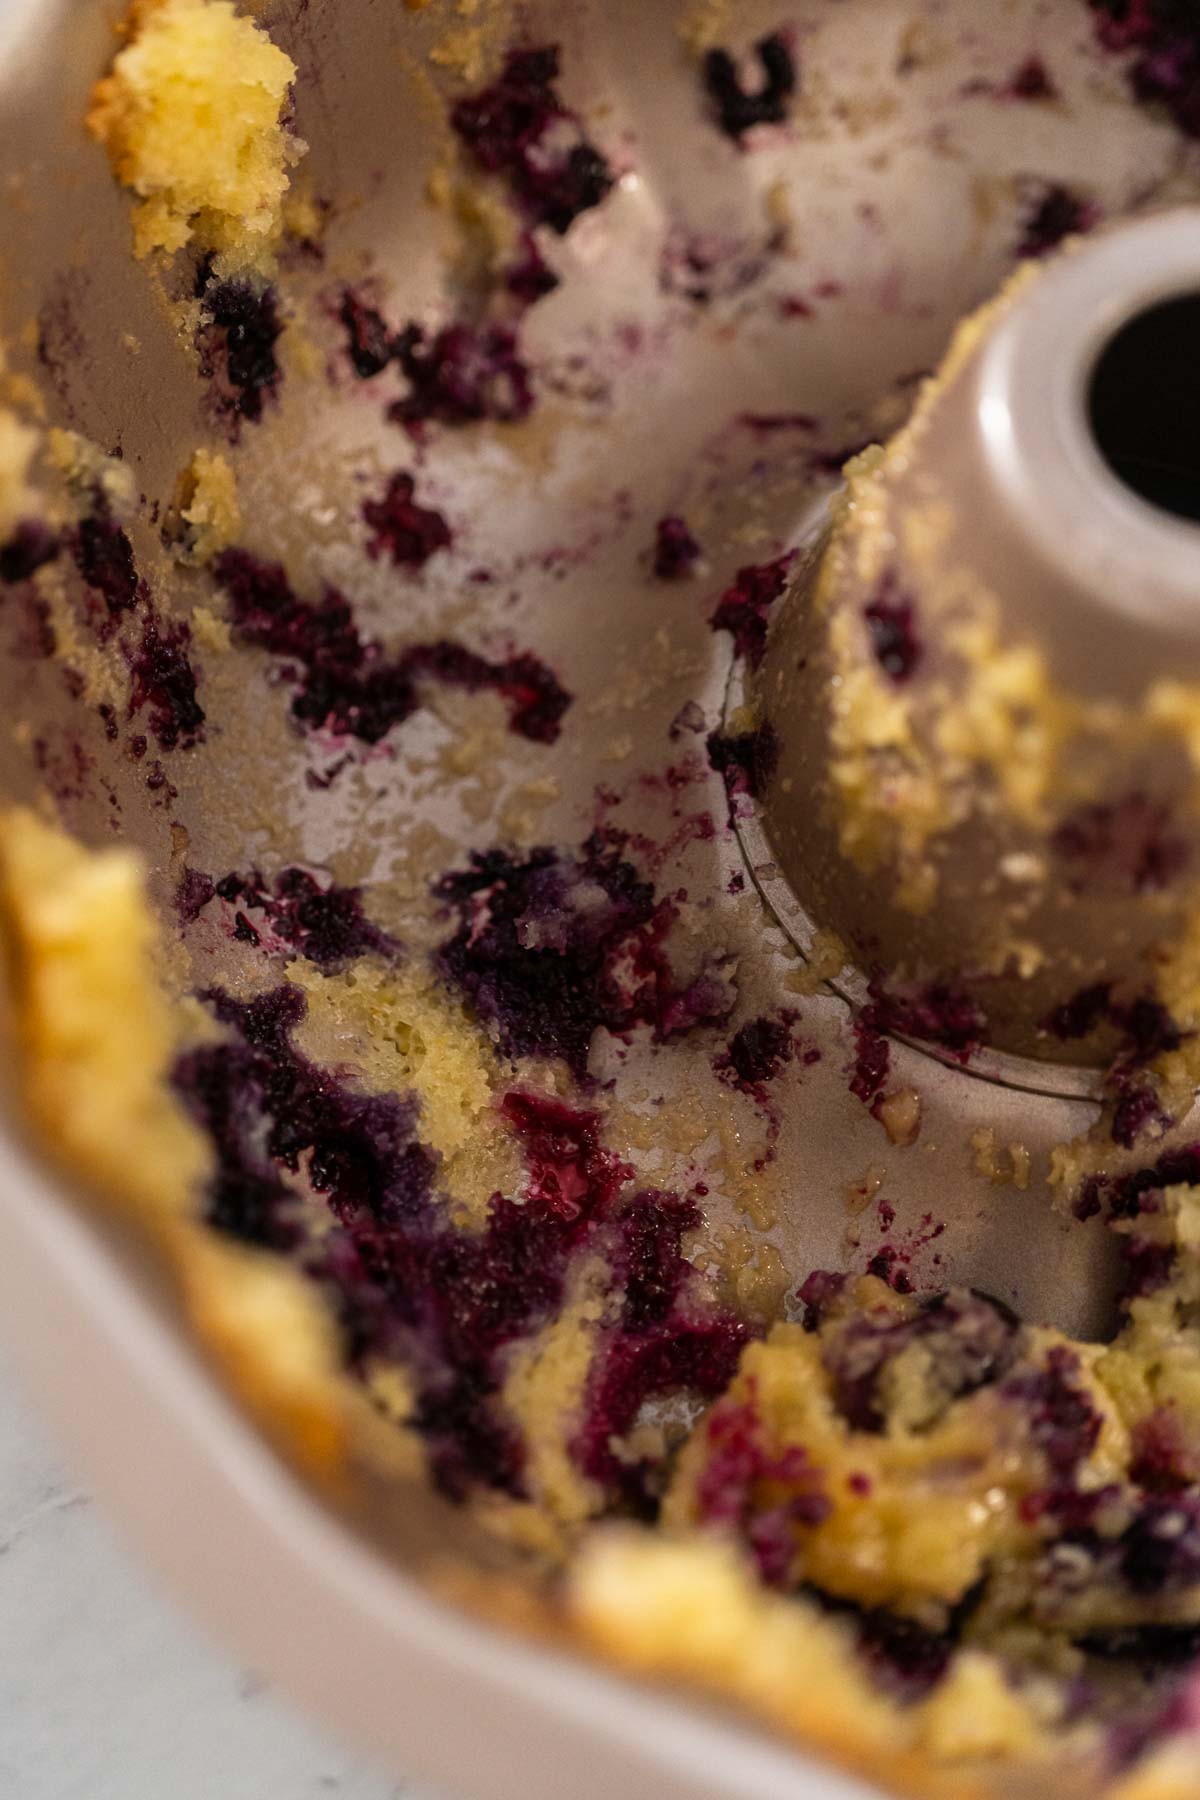
Even with the best preparation, sometimes cakes still stick. If this happens, don’t panic. Place a damp towel over the inverted pan for 15 minutes; the steam will help release the cake. If that doesn't work, gently run a plastic knife around the edges to loosen any stubborn spots. For more detailed guidance, refer to my post on How to Remove a Bundt Cake from a Bundt Pan.
By following these tips and tricks, you can avoid common mistakes and ensure your Bundt cakes always turn out beautifully.
Bundt Cakes
Conclusion
Properly greasing a Bundt pan is an essential step to ensure your chocolate Bundt cake releases flawlessly and looks stunning. By using vegetable shortening and unsweetened cocoa powder, you can achieve an even, non-stick coating that enhances the flavor and appearance of your cake.
I hope these tips and step-by-step instructions help you avoid the frustration of a stuck cake and instead enjoy the satisfaction of a perfectly baked Bundt cake. Give this method a try, and you'll be rewarded with a beautifully shaped, delicious chocolate Bundt cake that's sure to impress. Happy baking!
How To Grease a Bundt Pan For Chocolate Bundt Cake
Ingredients
- 1 tablespoon Vegetable shortening
- 1 tablespoon unsweetened cocoa powder
Instructions
- Measure and prepare ingredients using measuring spoons.
- Get ready disposable vinyl gloves, a sifter, and a Bundt cake pan.
- Generously grease the Bundt cake pan with the vegetable shortening, ensuring no bold spots are left.
- Transfer 1 tablespoon of unsweetened cocoa powder into the sifter.
- Sift cocoa powder over the greased Bundt cake pan.
- Make sure you cover all parts of the Bundt pan.
- Flip over and lightly tap on the Bundt pan to shake off excess cocoa powder.
- Your Bundt pan is ready for baking.
- Here is a chocolate Bundt cake that I baked after.
Food Photography & Video Tips from My Studio
Here’s a peek at the tools, gear, and camera setups I use to film my recipe videos and photograph food at home. Over the years, I’ve tested dozens of different setups, and now I’m sharing what actually works for me—whether I’m filming overhead shots for YouTube or styling still photos for my blog. If you’re curious about how I create the content you see here, these posts are a great place to start.








Leave a Reply