|
This post contains affiliate links.
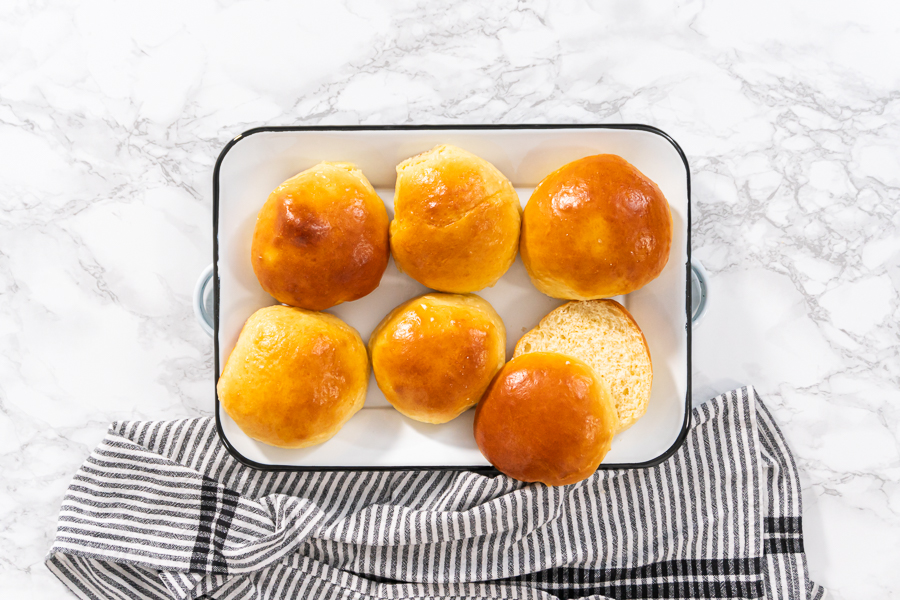
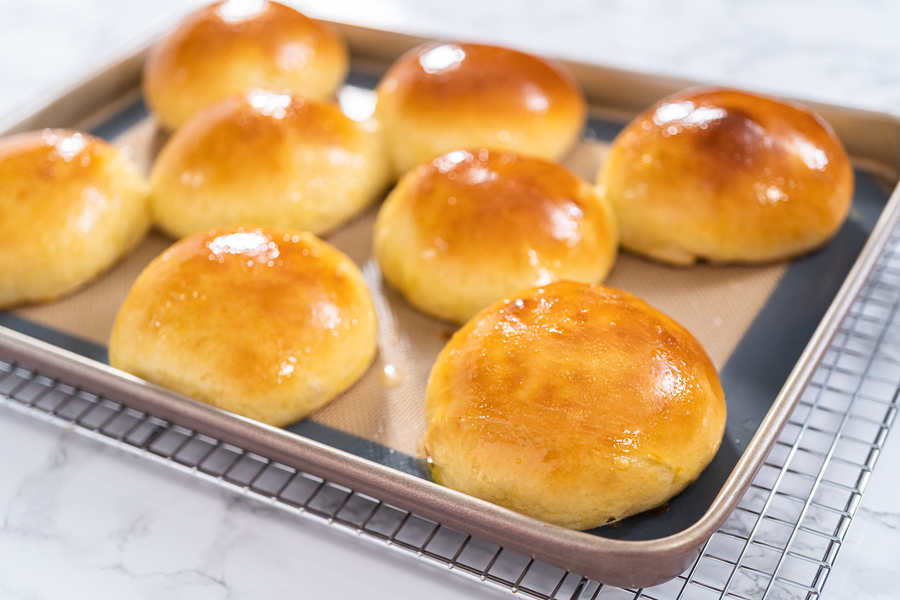
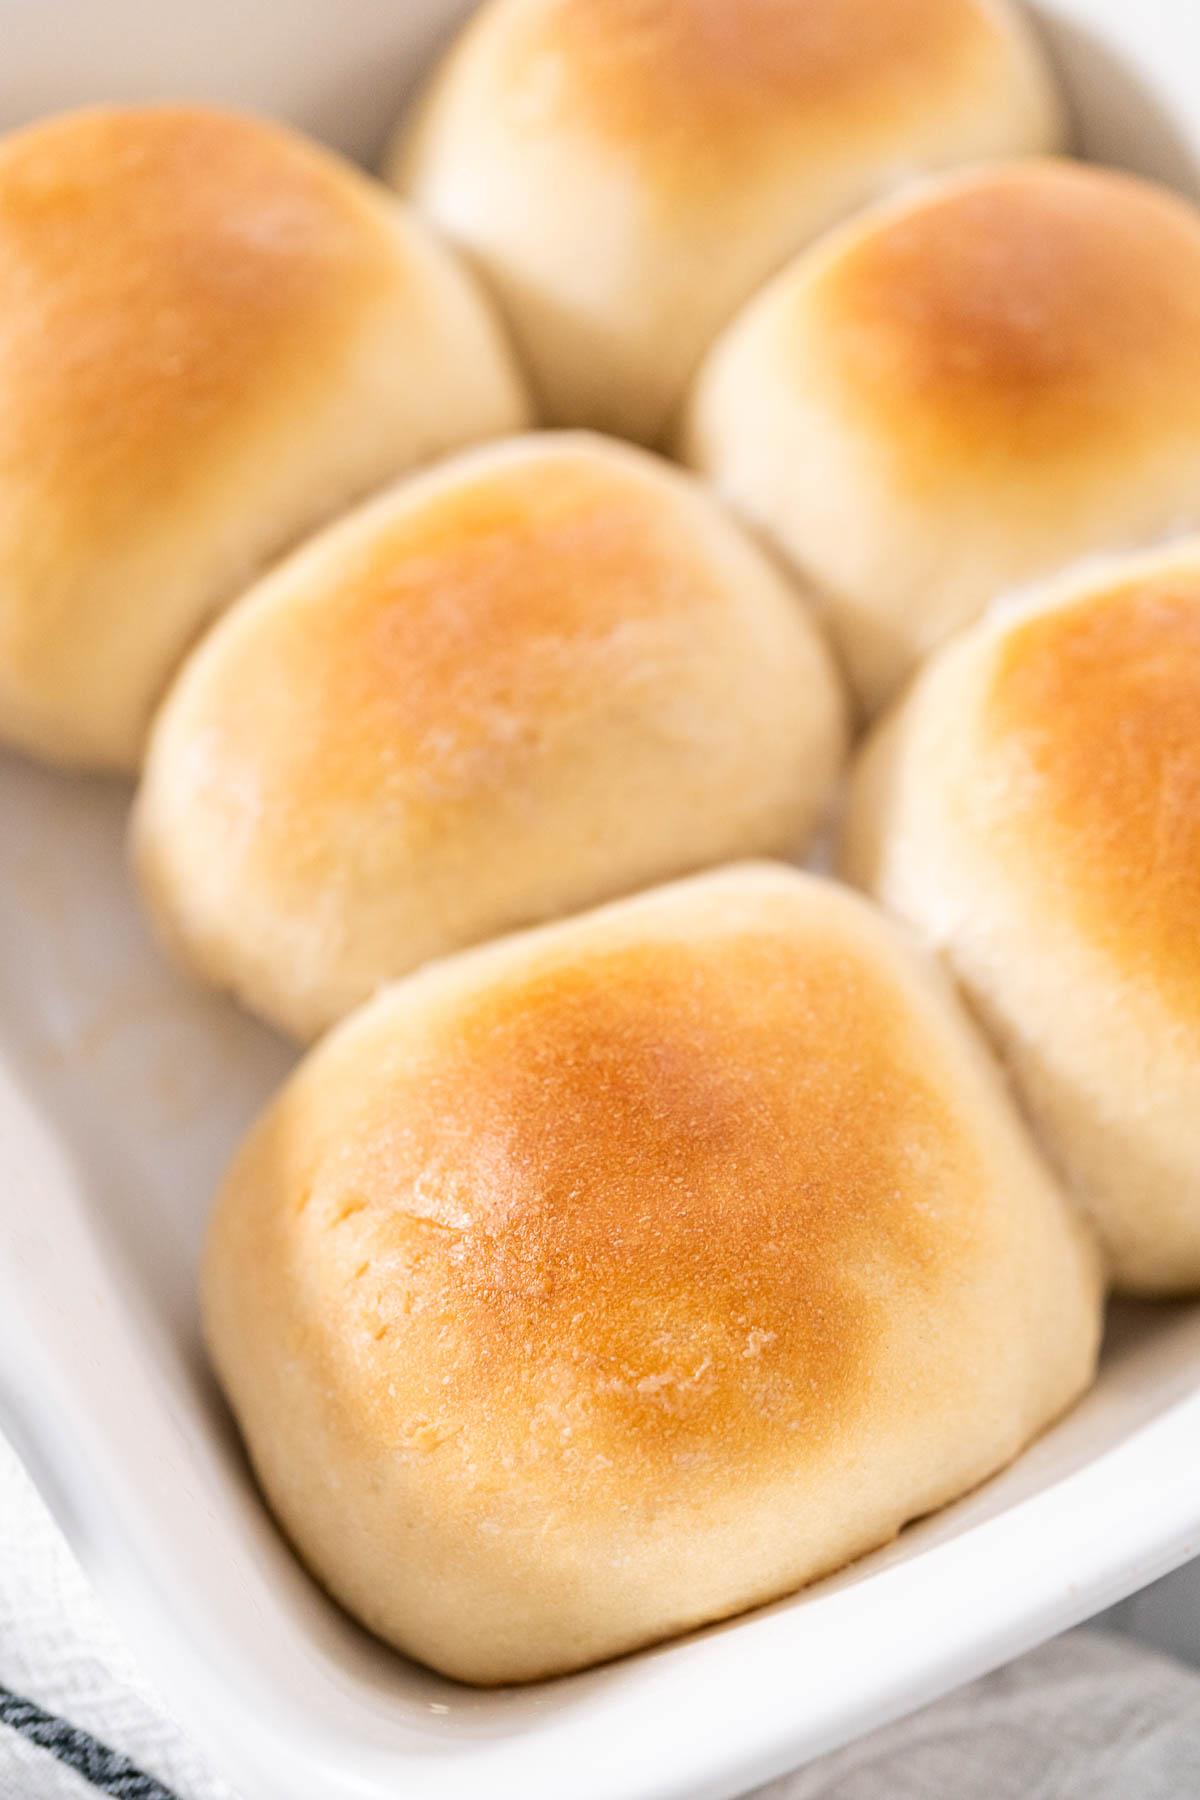
There’s nothing quite like the smell of homemade brioche filling the kitchen — it’s buttery, warm, and instantly comforting. These Giant Brioche Buns are one of my favorite recipes to make when I want something special but familiar. Whether I’m using them for Pulled Pork Sandwiches, Egg Salad Sandwiches, or just as dinner rolls, they never disappoint.
I first made these buns while testing recipes for a summer cookout shoot, and they were such a hit that I now bake them year-round. There’s just something about their soft, slightly sweet texture that makes any meal feel like an occasion.
Why You’ll Love These Buns
- Soft and fluffy inside, golden outside: That perfect bakery-style texture you can achieve right at home.
- Great for any occasion: From breakfast sandwiches to BBQ burgers.
- Make-ahead friendly: They freeze beautifully.
- Versatile flavor: Slightly sweet, buttery, and perfect with both sweet and savory fillings.
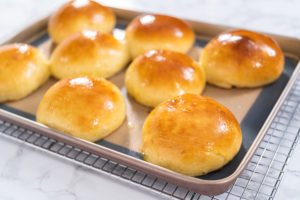
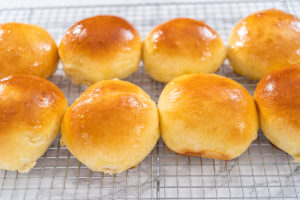
Personal Tip: I always brush the tops with melted butter right out of the oven. It gives that glossy bakery finish and keeps the buns extra soft.
Watch how I make this recipe
Tools That Make It Easier
- Baking sheet: For even browning.
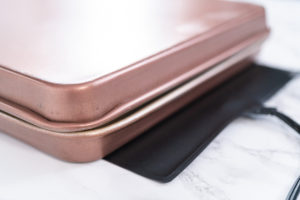
- Silicone mat: Non-stick and easy cleanup.
- KitchenAid mixer: Helps knead the dough evenly.
- Glass mixing bowl: Perfect for watching the dough rise.
- Kitchen towels & food wrap: Keep the dough moist during proofing.
- Bench scraper: For dividing dough into even portions.
- Heating mat: My secret weapon for cold kitchens.
- Silicone brush: For applying egg glaze and butter.
Personal Tip: I like to use a heating pad on low under the bowl during proofing — it keeps the temperature steady and ensures a perfect rise.
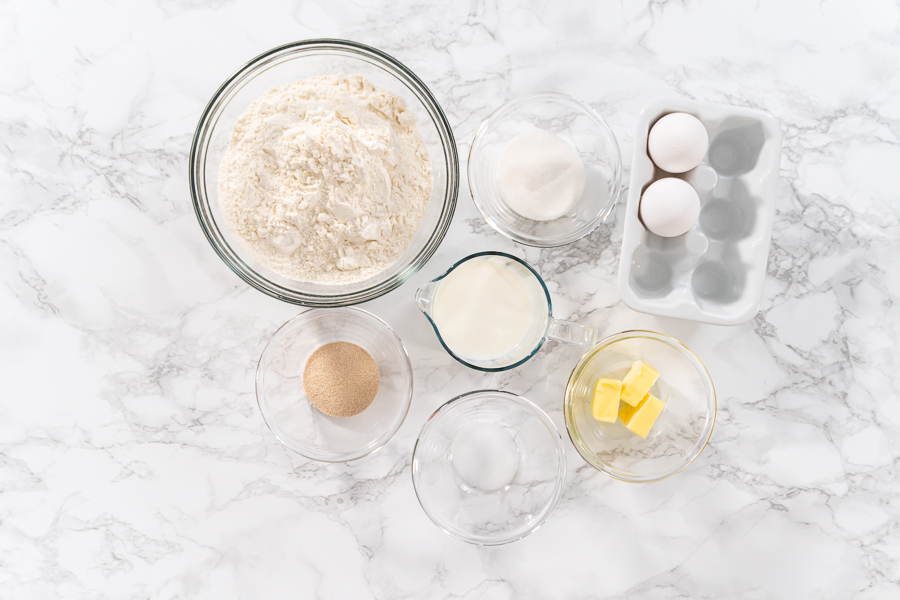
What You’ll Need From Your Pantry
Tangzhong
- 2 tablespoon bread flour
- ¼ cup milk
- 2 tablespoon water
Brioche Dough
- ¾ cup warm milk (100–105°F)
- 2 ½ tablespoon sugar
- 1 tablespoon active dry yeast
- 3 ¼ cups bread flour
- 1 ½ teaspoon salt
- 1 egg + 1 yolk
- 3 tablespoon unsalted butter, room temperature
Glaze
Toppings
- Sesame seeds or poppy seeds (optional)
Before You Start: My Quick Tip
- Proofing tip: If your kitchen runs cold, I always rest my dough on a heating pad set to low. It creates the perfect environment for the dough to rise consistently.
- Soft crust secret: Brush melted butter over the buns right after baking — it locks in moisture and gives them that signature shine.
- Flavor boost: Add a small pinch of nutmeg or lemon zest to the dough for a subtle aromatic note.
- Batch tip: When I make a big batch, I freeze half after shaping. They bake up perfectly fresh when needed.
- Timing: Start early in the day so the dough has plenty of time to rise slowly — it develops a better flavor and texture.
Latest Video
Let’s Make It Together
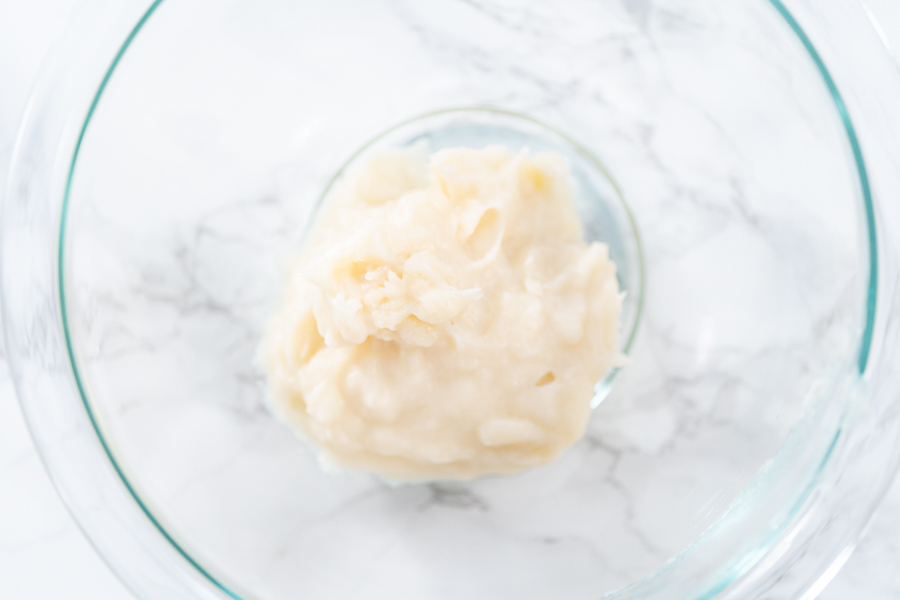
1. Make the Tangzhong:
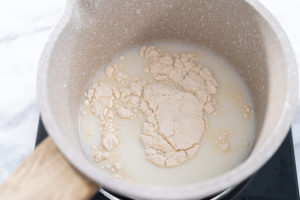
In a small saucepan, whisk together flour, milk, and water over medium heat until smooth and thick. Cool completely.
2. Prepare the Dough:
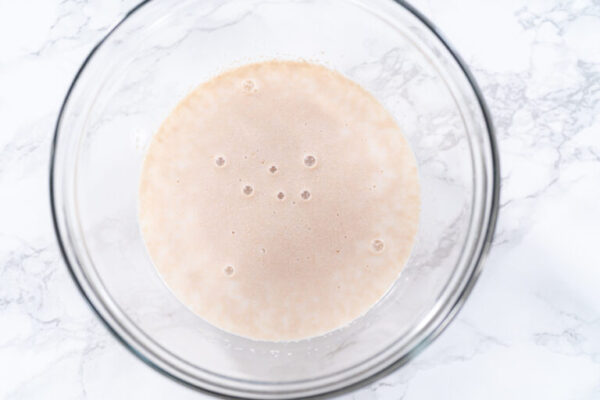
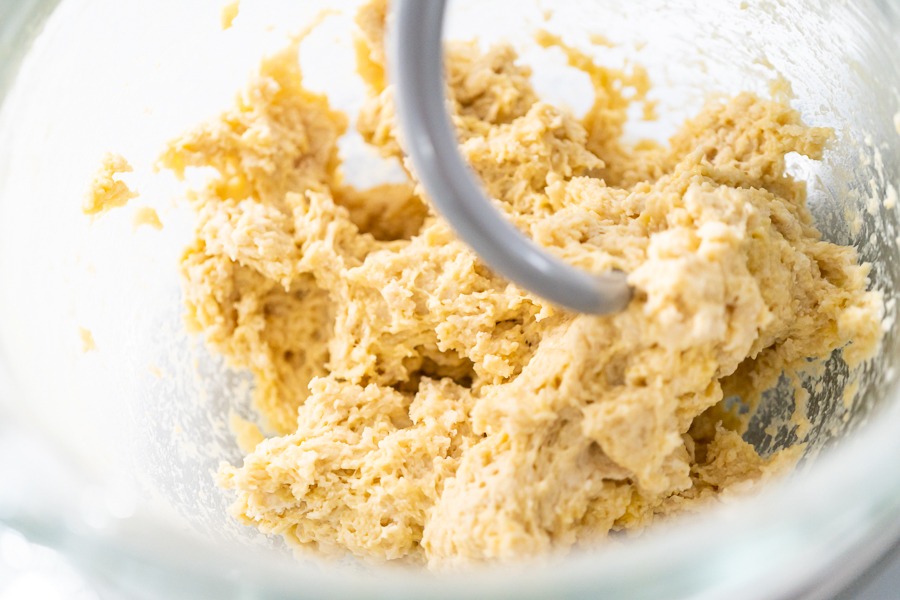
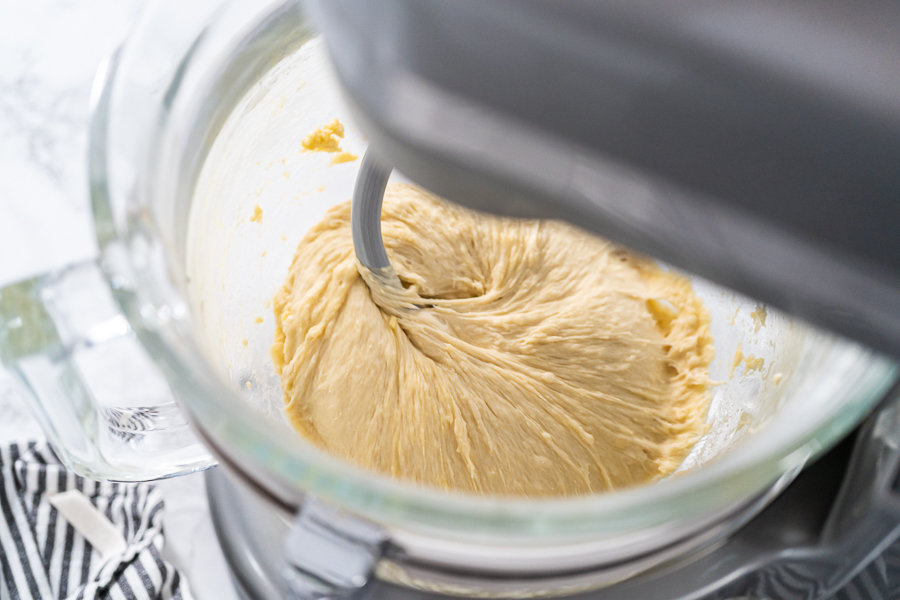
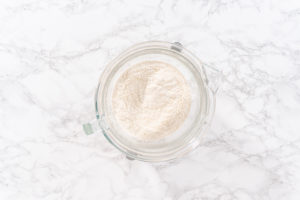
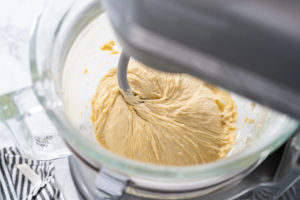
Whisk warm milk, sugar, and yeast together; let it sit 10 minutes until foamy. In a mixer bowl, combine flour and salt. Add the yeast mixture, then the Tangzhong, followed by eggs. Slowly add butter while kneading for 10 minutes.
3. First Rise:
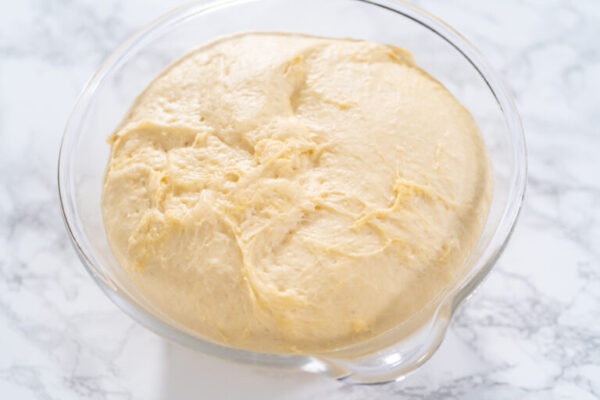
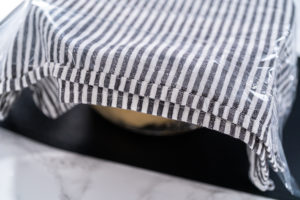
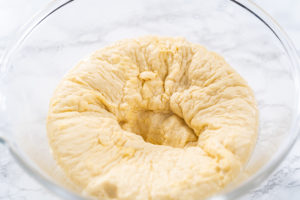
Transfer to a greased bowl, cover with a towel and wrap, and place on a heating mat for about 2 hours or until doubled.
4. Shape:
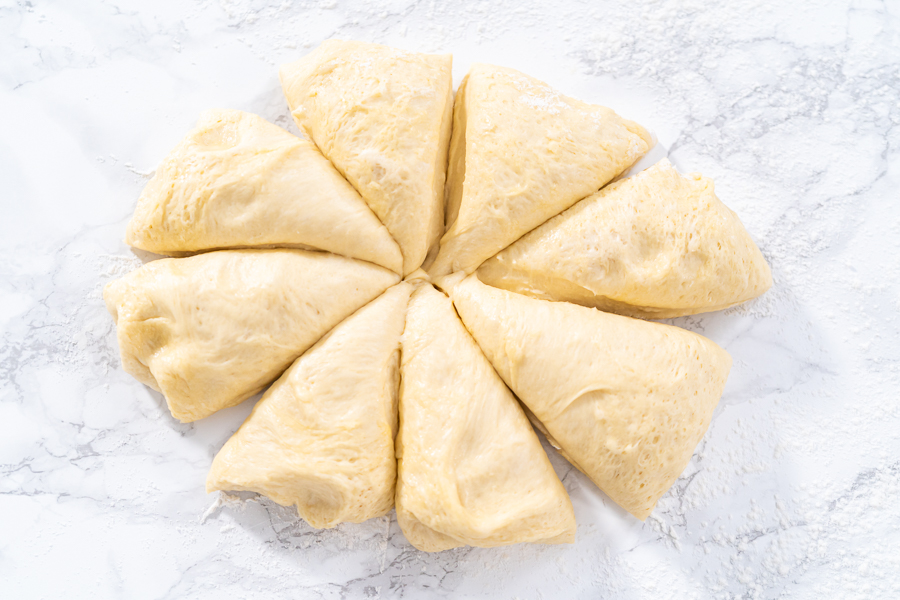
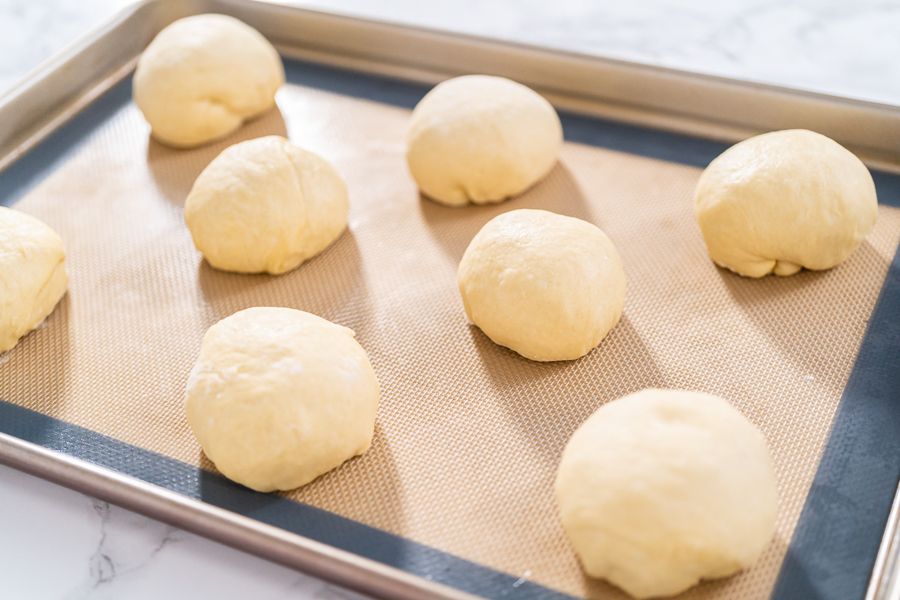
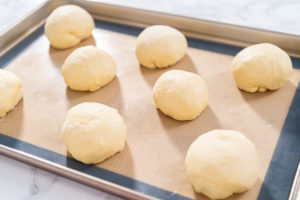
Punch down, divide into 8 equal portions, and roll into balls. Place on a silicone mat-lined baking sheet. Cover and let rise 1 hour.
5. Bake:
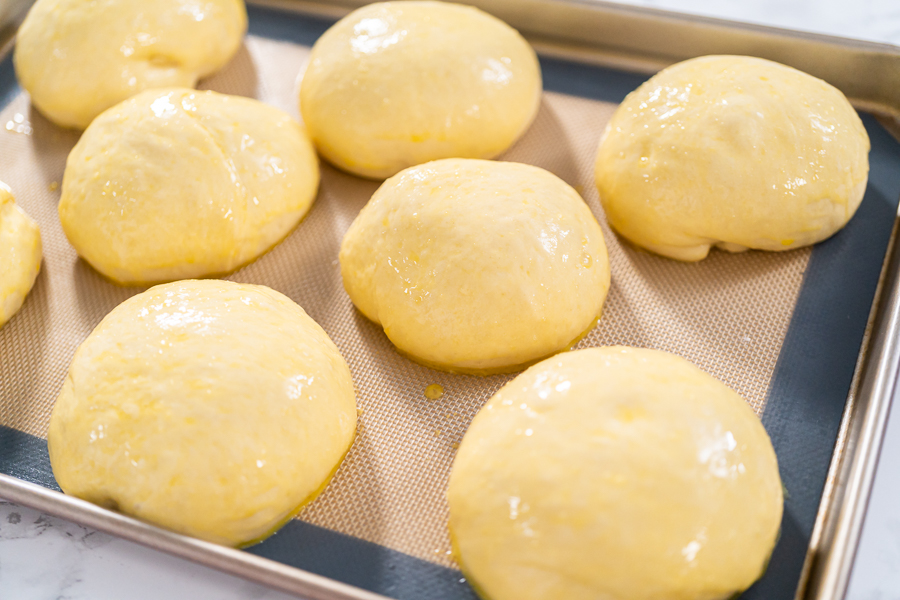
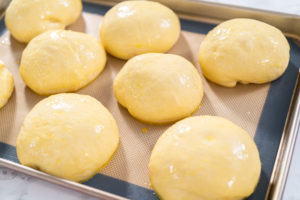
Preheat to 375°F. Brush with egg glaze and bake 15–18 minutes until golden. Brush with melted butter while warm.
Personal Tip: Always let them cool for at least 1 hour before slicing — that’s how you get that perfect, airy texture inside.
Recipe variations
- Mini Brioche Sliders: Divide the dough into 12 portions for perfect party-sized buns.
- Sweet Brioche Buns: Add 1 teaspoon vanilla and top with pearl sugar for a breakfast twist.
- Garlic Butter Buns: Mix minced garlic into melted butter and brush after baking.
- Cheesy Brioche Rolls: Add shredded cheddar or mozzarella into the dough for a savory version.
- Whole Wheat Brioche: Swap half of the bread flour with whole wheat flour for a heartier flavor.
Personal Tip: For breakfast, I love using leftover buns for French toast — it’s rich, fluffy, and so indulgent!
Storage Tips
Store in an airtight container for up to 3 days or freeze for 1 month. Reheat in the oven for a few minutes before serving.
Personal Tip: I like to slice them before freezing — it makes sandwich prep super quick on busy days.
My Favorite Ways to Enjoy Them
- Turn extras into Mini Bread Bowls for Soup or Garlic Toasts.
- With Pulled Pork Sandwiches or Instant Pot Chicken Breast.
- As the base for Homemade Breakfast Sandwiches.
- With Instant Pot Potato Salad or Coleslaw for BBQ dinners.
Every time I bake these Giant Brioche Buns, I’m reminded that homemade bread doesn’t have to be complicated — just a little patience and love go a long way. The smell alone makes it worth it, and that first warm bite? Pure bliss.
Giant brioche buns
Video
Equipment
Ingredients
Tangzhong
- 2 tablespoon bread flour
- ¼ cup milk
- 2 tablespoon water
Brioche dough
- ¾ cup milk lukewarm
- 2 ½ tablespoon sugar
- 1 tablespoon active dry yeast
- 3 ¼ cups bread flour
- 1 ½ teaspoon salt
- 1 egg
- 1 egg yolk
- 3 tablespoon unsalted butter room temperature
Glaze
- 1 egg
- 1 tablespoon water
- 2 tablespoon unsalted butter melted
Toppings
Instructions
Tangzhong
- In a small saucepan over medium heat, whisk together bread flour, milk, and water until the mixture thickens and becomes smooth.
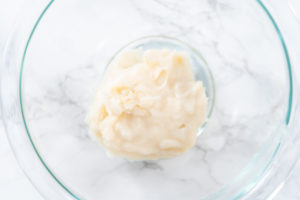
- Remove from heat and let it cool to room temperature.
Brioche Dough
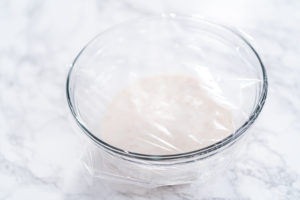
- In a glass bowl, whisk together warm milk (about 100–105°F / 38–40°C), sugar, and yeast. Cover with plastic wrap and let it sit for 10 minutes until foamy.
- In a stand mixer bowl, combine bread flour and salt.
- Using the paddle attachment on low speed, slowly pour in the yeast mixture.
- Add the cooled tangzhong and mix until combined.
- Add the eggs and continue mixing on low speed until everything is fully incorporated.
- Switch to the dough hook attachment and, on low speed, add butter in three additions.
- Knead on low speed for about 10 minutes until the dough is smooth and elastic.
- Transfer the dough to a greased glass bowl, cover with a kitchen towel and then plastic wrap, and place it on a heating pad for about 2 hours, or until doubled in size.
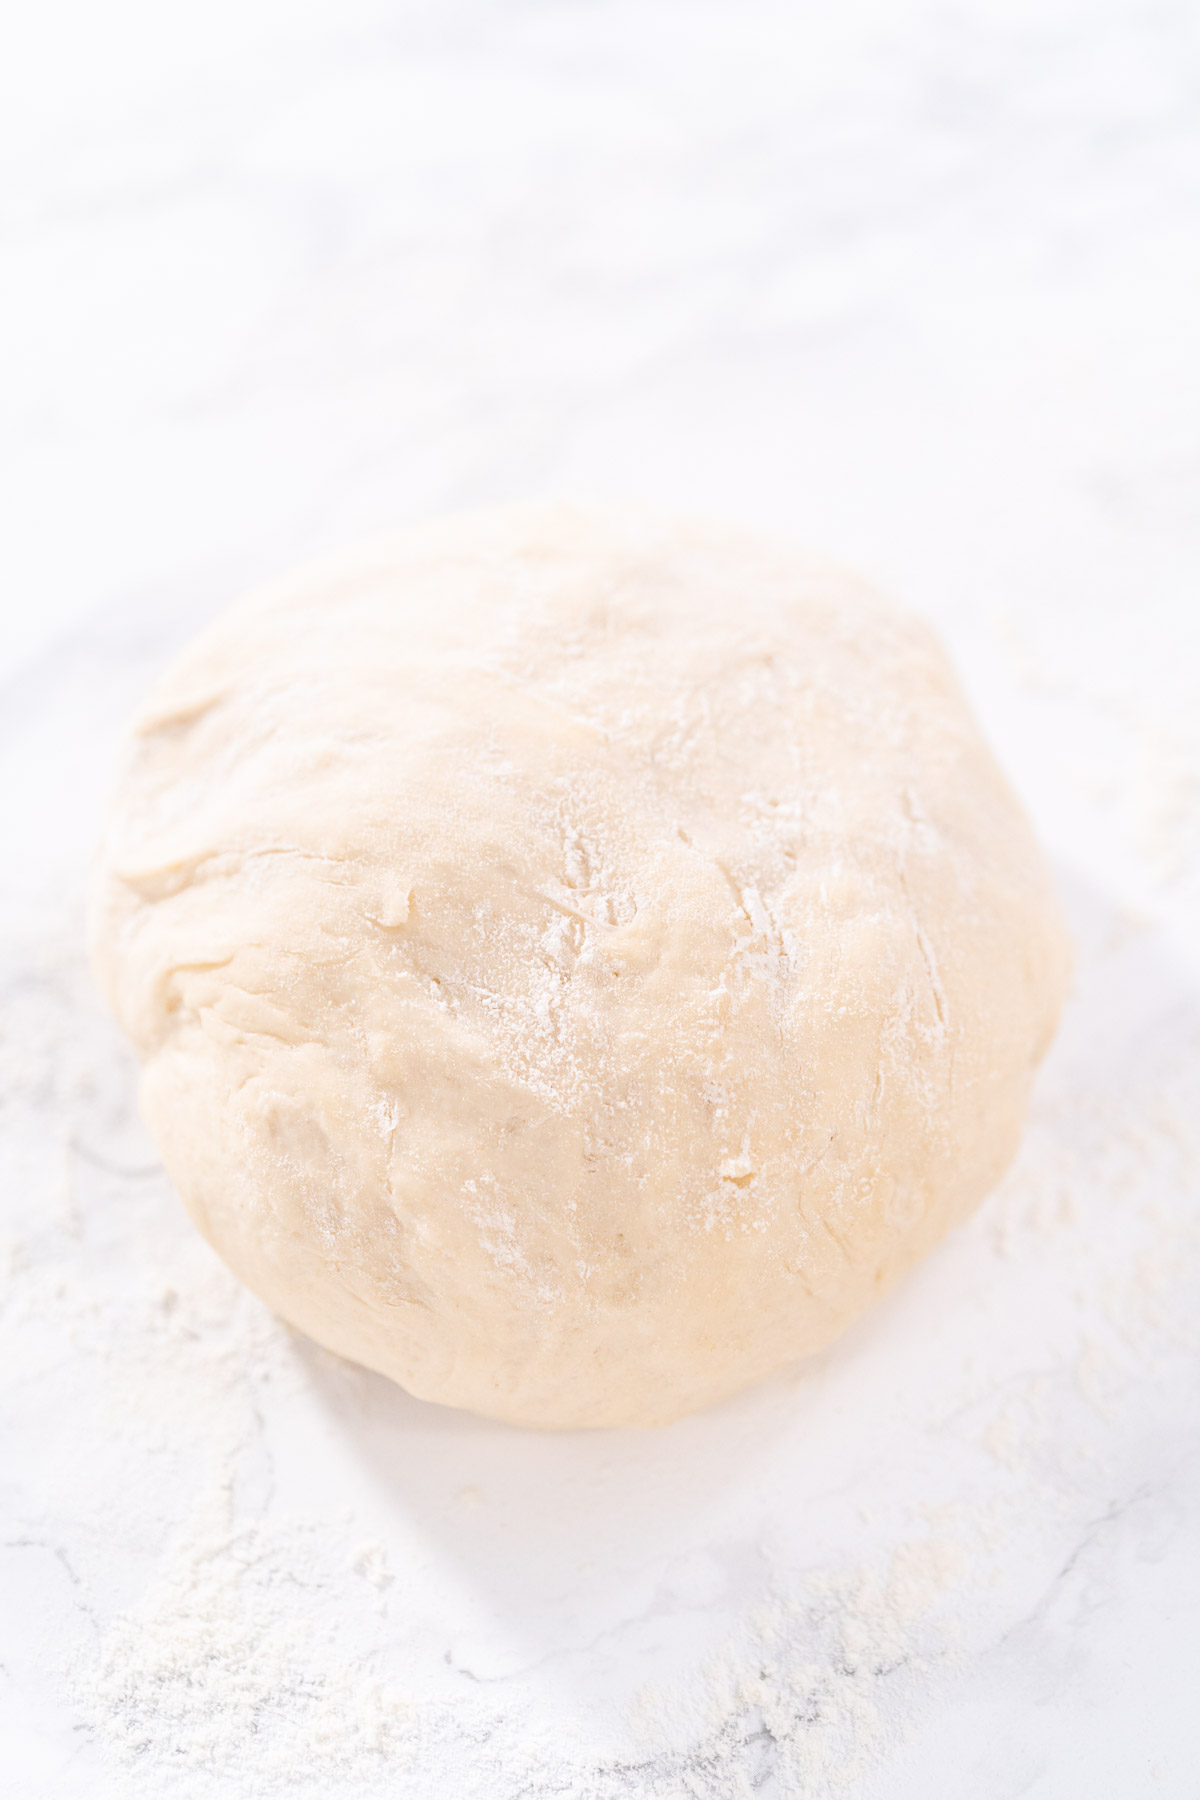
- Punch down the dough to release the air.
- Lightly flour your work surface and place the dough on it. Using a bench scraper, divide the dough into 8 equal pieces.
- Shape each piece into a ball and place them on a baking sheet lined with a silicone mat.
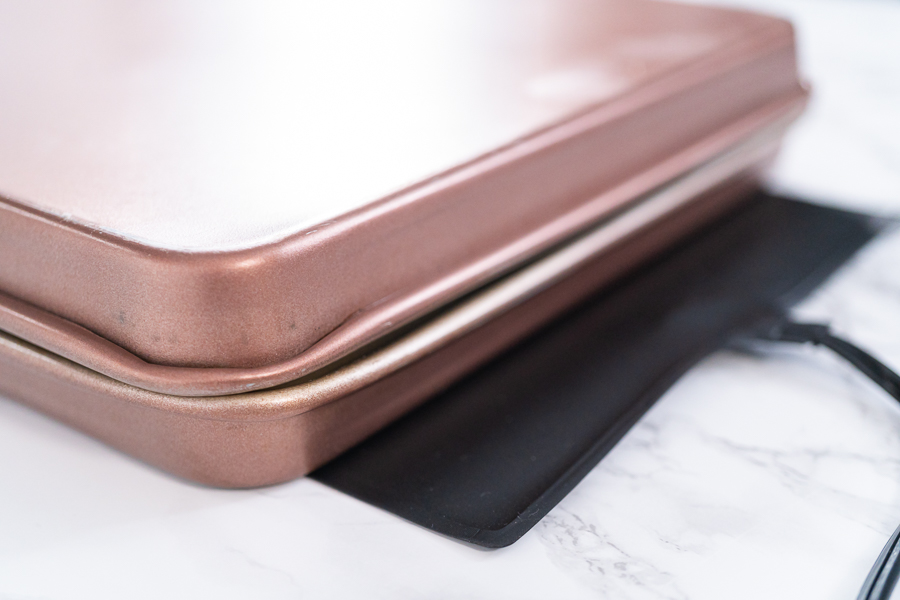
- Cover with another baking sheet and let the dough rise on the heating pad for 1 hour.
- Preheat the oven to 375°F / 190°C.
- Brush the tops of the buns with egg glaze.
- Bake for 15–18 minutes, until golden brown.
- Remove from the oven, brush with melted butter, and top with sesame or poppy seeds if desired.
- Transfer to a wire rack and let cool completely for about 1 hour.
Glaze
- In a small bowl, whisk together the egg and water.
Notes
Nutrition
From My Kitchen to Yours
More bread recipes
I’ve Got Answers
Can I make the dough ahead of time?
Yes! Let it rise once, then refrigerate overnight. Shape and rise again before baking.
Why are my buns dense?
They might not have risen long enough — be patient and keep them in a warm spot until doubled.
Can I skip Tangzhong?
I wouldn’t — it’s what makes the texture soft, pillowy, and irresistible.
Can I make smaller buns?
Of course! Divide the dough into 12 portions and reduce baking time to 12 minutes.
Pin It For Later
Food Photography & Video Tips from My Studio
Here’s a peek at the tools, gear, and camera setups I use to film my recipe videos and photograph food at home. Over the years, I’ve tested dozens of different setups, and now I’m sharing what actually works for me—whether I’m filming overhead shots for YouTube or styling still photos for my blog. If you’re curious about how I create the content you see here, these posts are a great place to start.







Leave a Reply