How to make a DIY Panda Pumpkin with kids!
This post contains affiliate links.
One of the absolute best things about the fall season (or getting ready for it) is the fun fall activities that you can do with the whole family! My daughter and I have a special tradition of making our own DIY-painted pumpkins a little before the actual season starts.
This tradition started for us due to my stock photography business and trying to have my stock photos ready well before the actual holiday comes around. Lucky for us, many craft stores (like Hobby Lobby and Michael’s) start selling foam pumpkins at the beginning of August!
This is perfect for my daughter and me to keep our tradition going while getting some cute and cozy photos for my stock photography business. My daughter and I first tried a DIY Unicorn Pumpkin, and we absolutely loved it! The following year we made a DIY Mermaid Pumpkin, and I knew that we would forever be hooked.
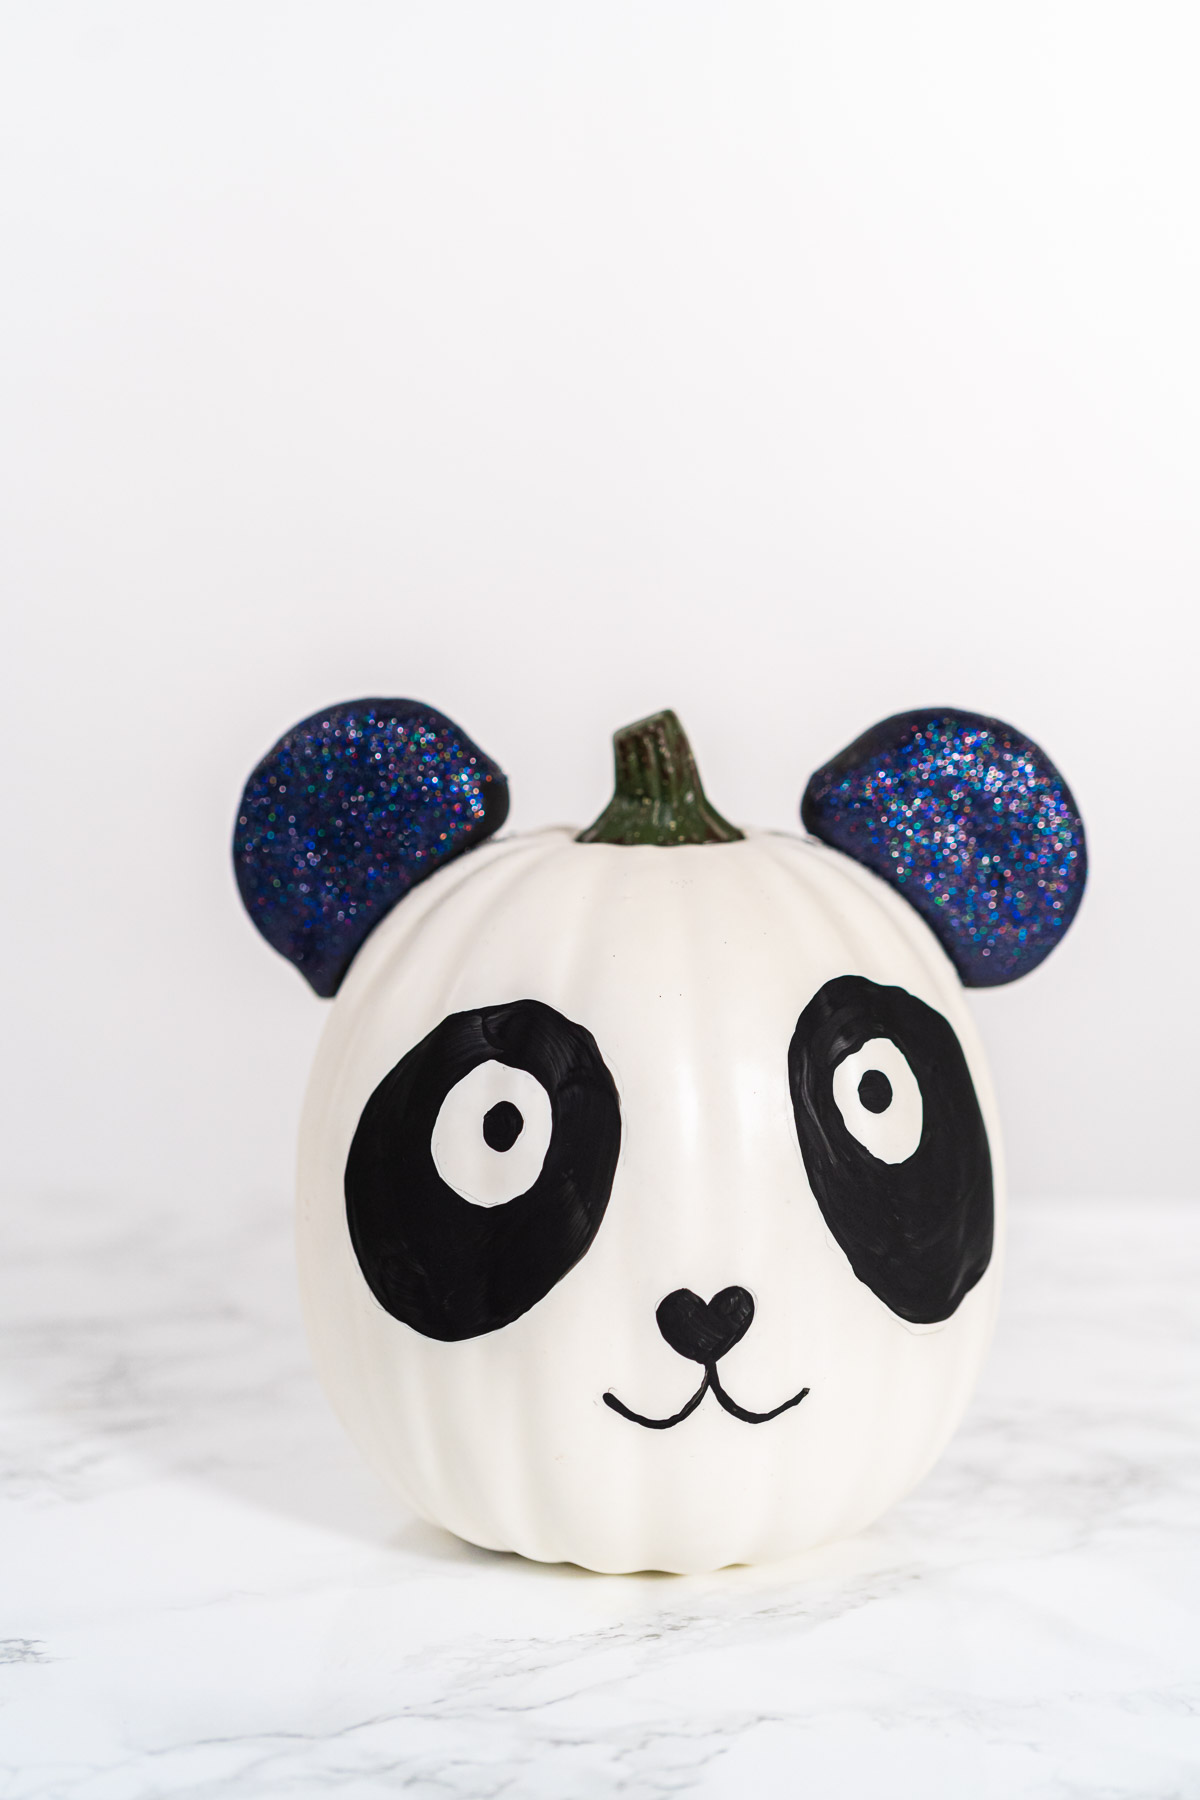
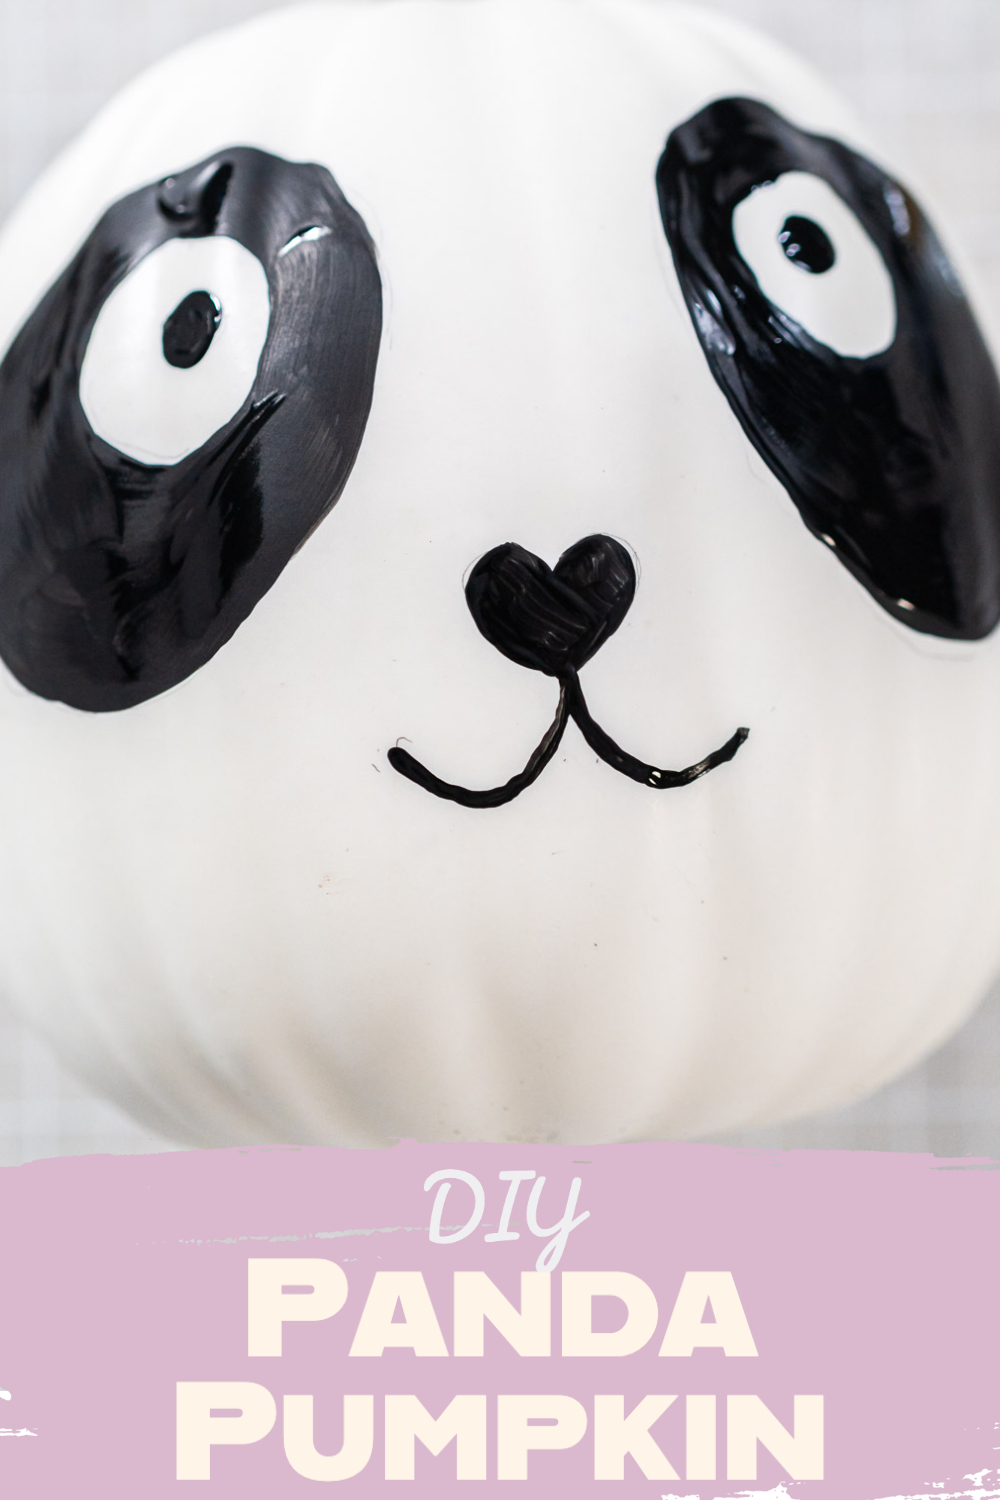
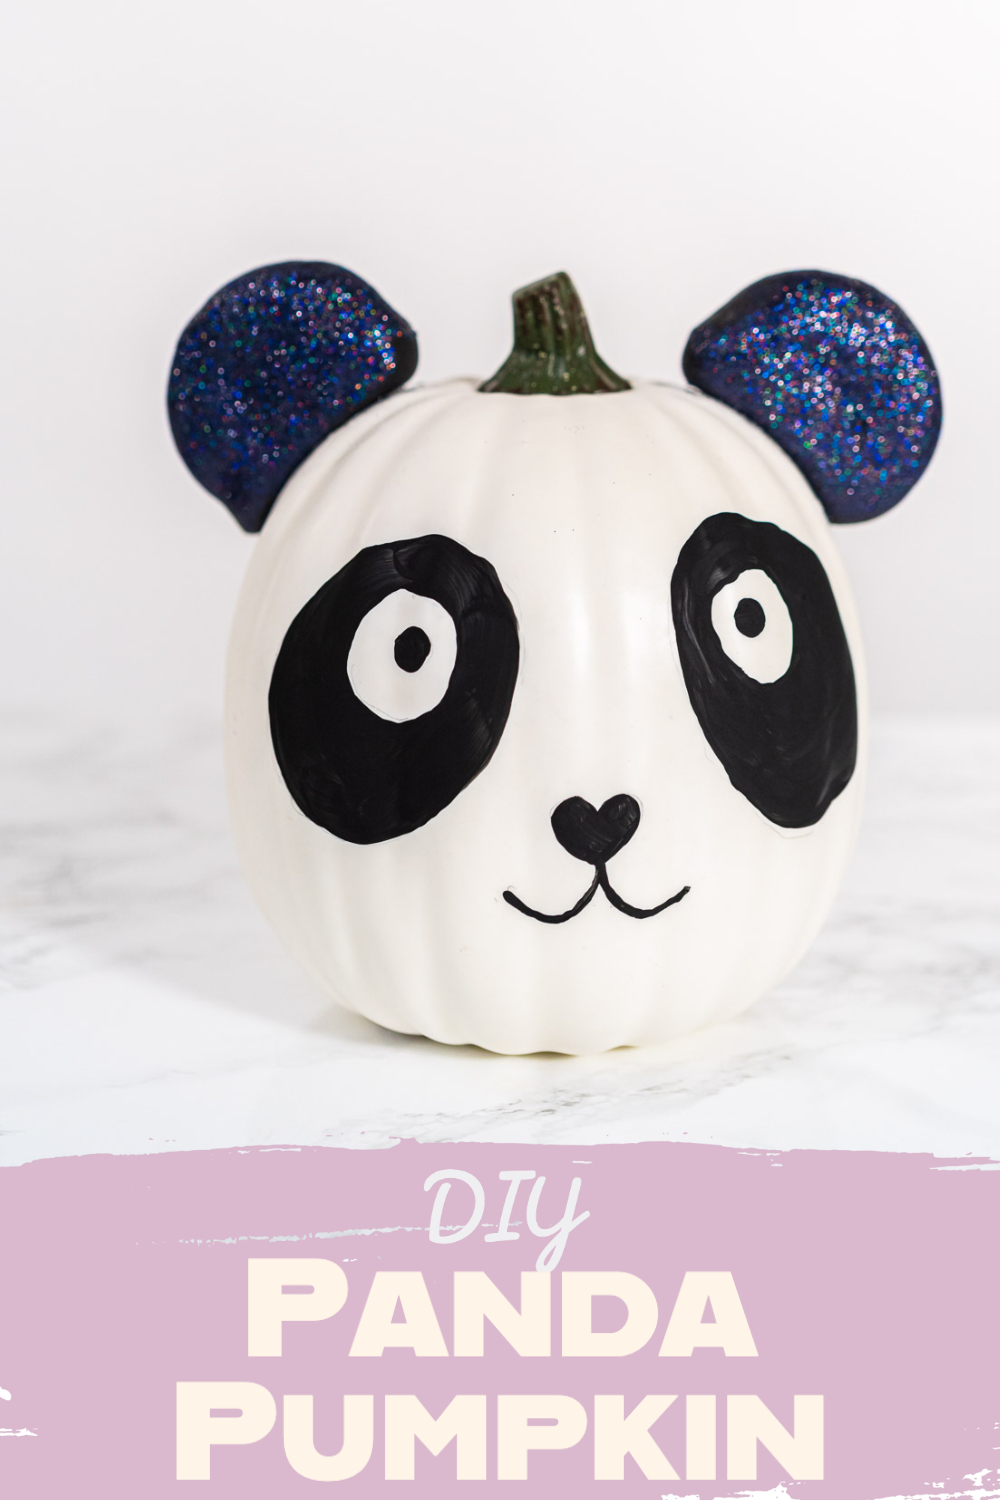
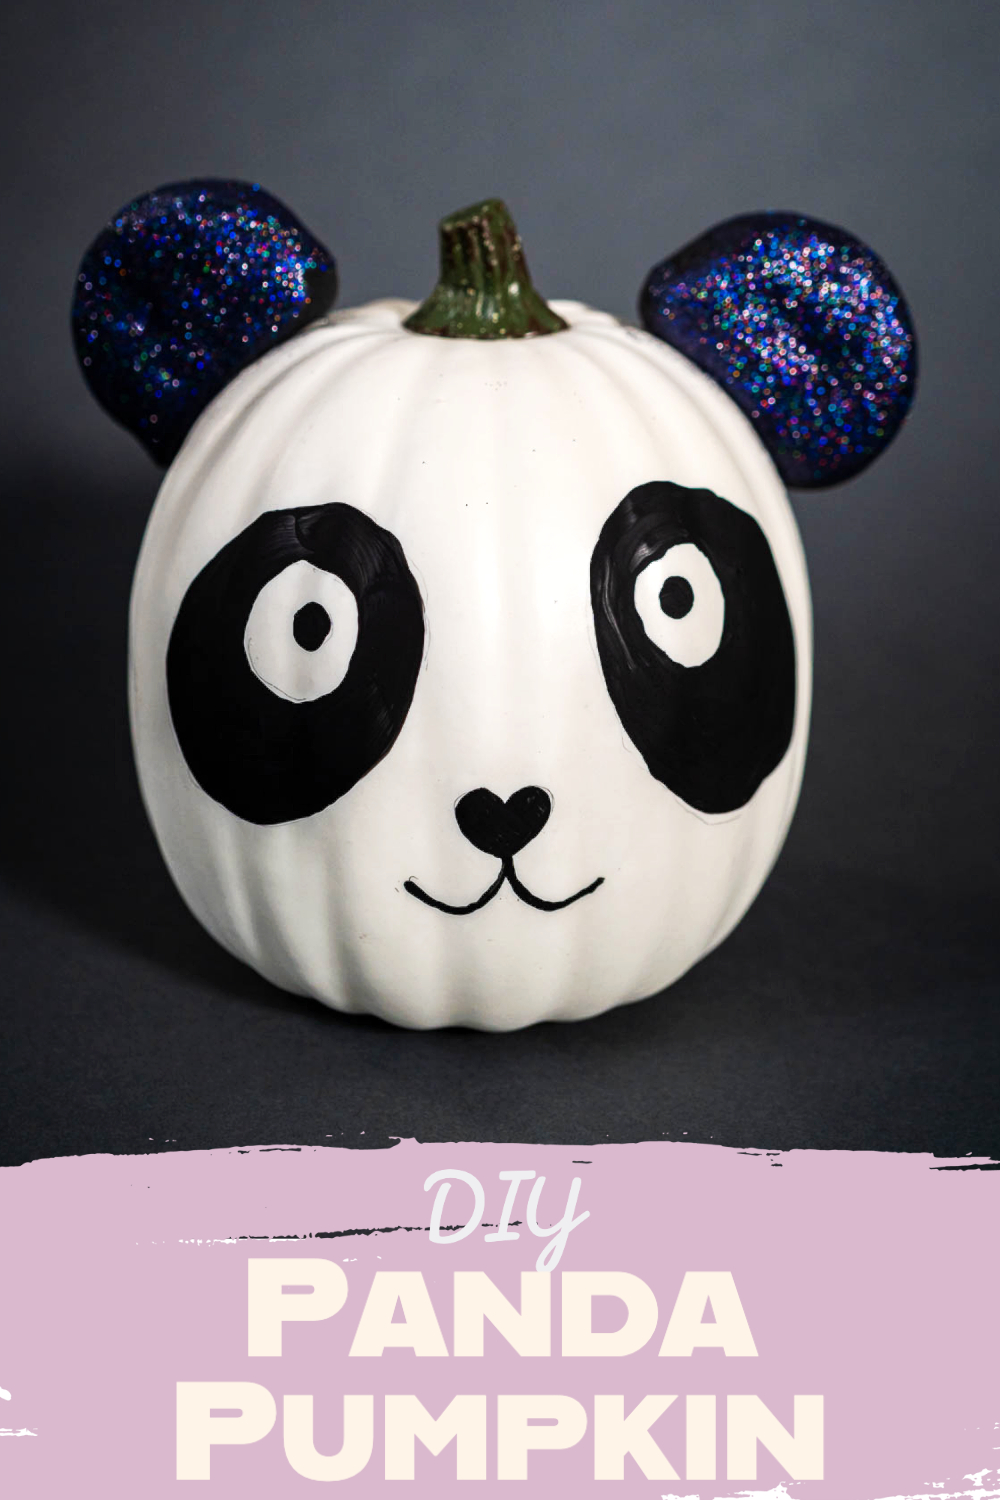
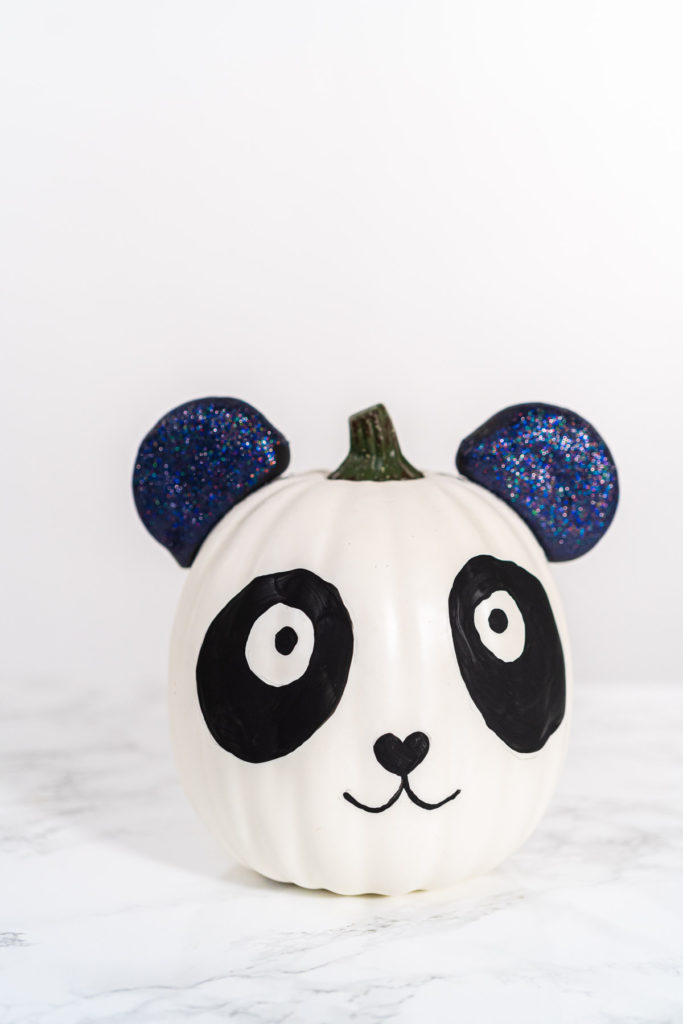
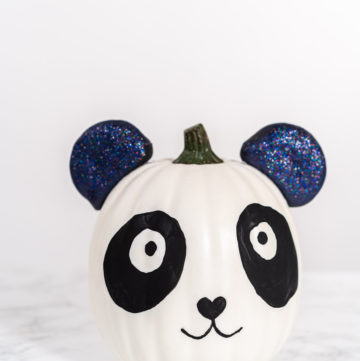
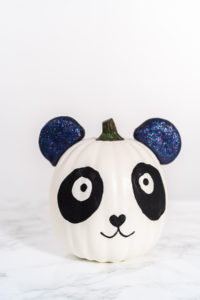
We continued the tradition this year with our adorable DIY Panda Pumpkin! This cutie turned out just as charming as our previous painted pumpkins and just as easy! Unlike actual pumpkins, these painted pumpkins can be saved and stored away for decorating next year or can later be sanded gently with fine sandpaper and repainted with a new design.
This is an excellent pumpkin decorating option with no carving needed! Perfect for parents who don’t want to deal with pumpkin guts, kids too young to carve jack o’ lanterns, or for kids who prefer a light, magical approach to Halloween instead of the scary stuff.
This is a perfect weekend project to do with the kids since it will be stretched out over a couple of days for drying time. Just grab the supplies, some kid-friendly Halloween movies, and some hot chocolate, and you’re ready for the perfect fall weekend! Here’s how to make a DIY Panda Pumpkin!
Painted Pumpkin Craft Supplies
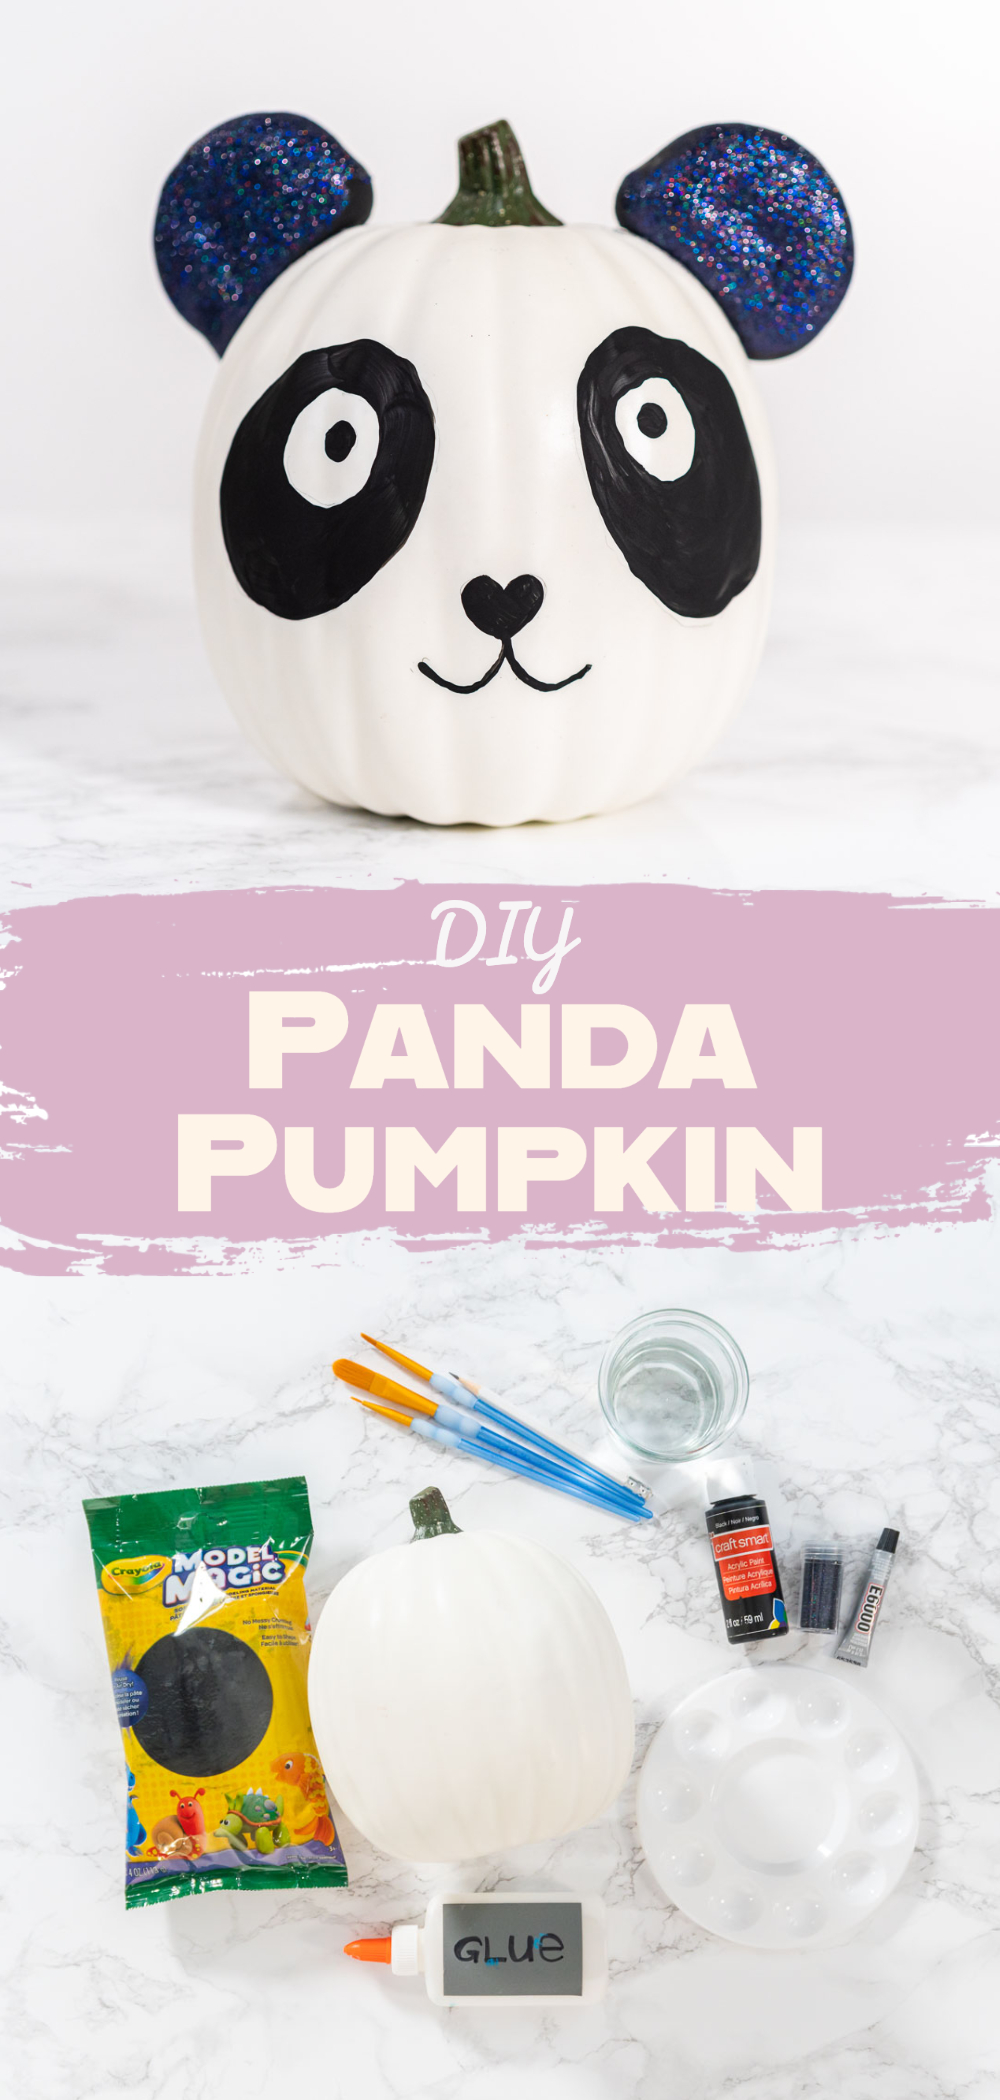
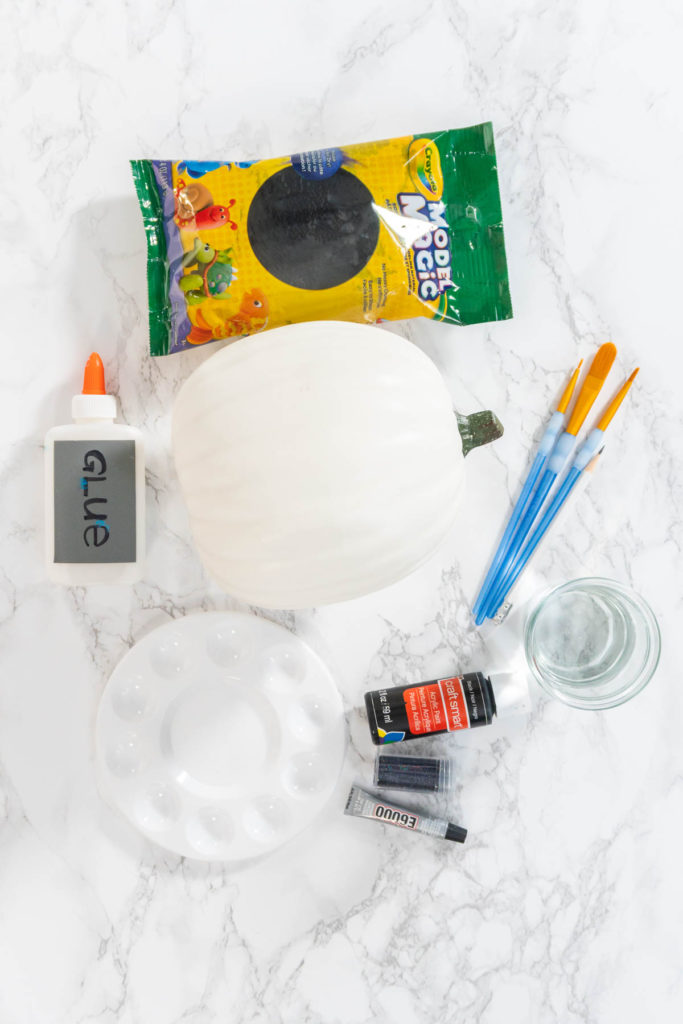
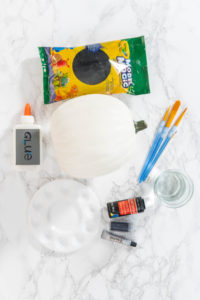
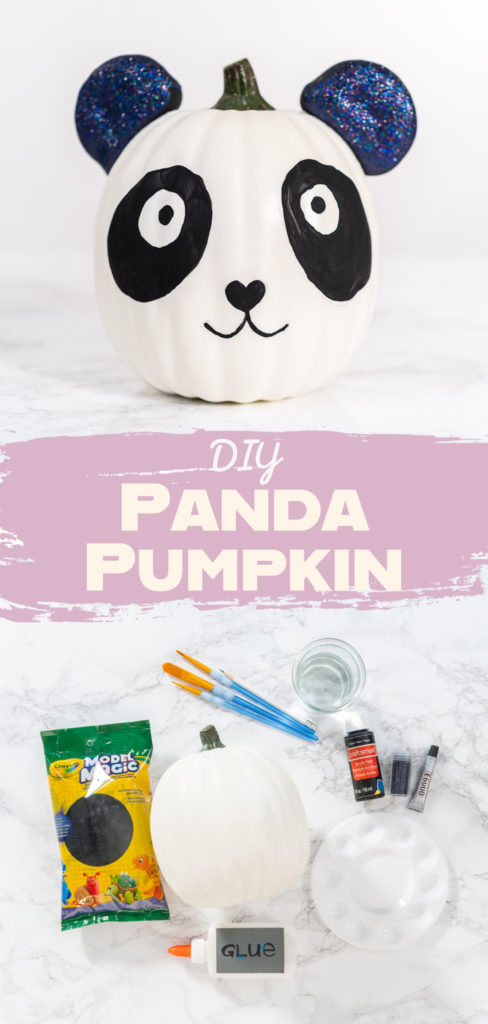
Let’s start this fall family project by rounding up the craft gear and supplies. There’s not a ton of stuff needed here so you can be sure this will be one of the most affordable activities of the season! Here’s what you need to make a DIY panda pumpkin:
Equipment:
Materials:
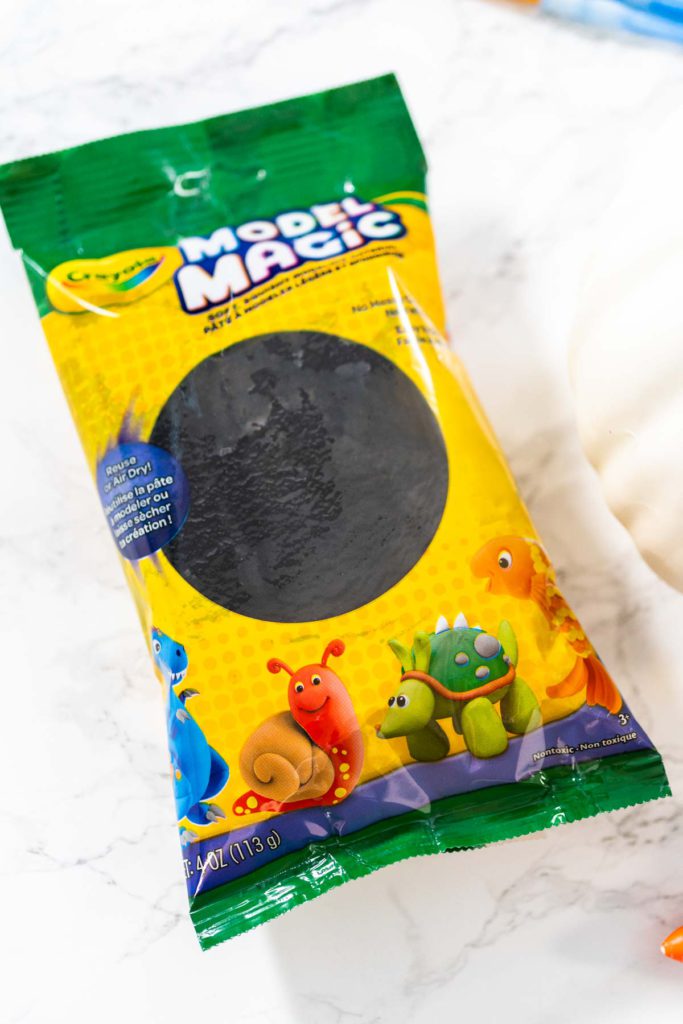
- 1 package Modeling clay black
- 1 White craft pumpkin 7 inch
- 1 E600 glue
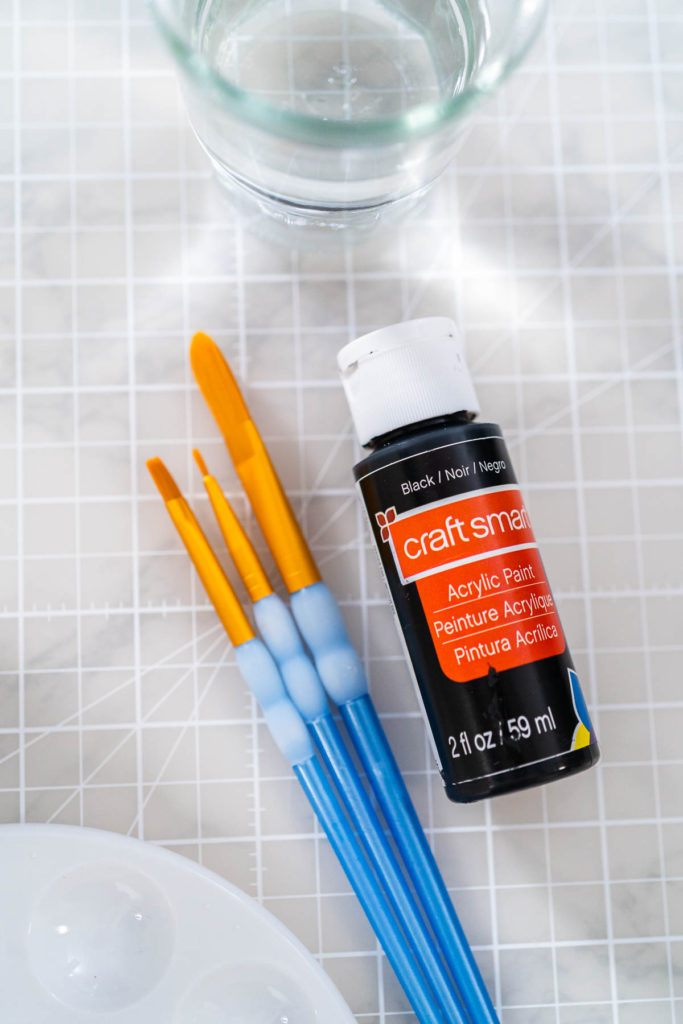
- 1 Acrylic paint black
- 1 Glue
- 1 Black craft glitter
How to Make a DIY Panda Pumpkin
Now it’s time to brew up some family fun! Just keep in mind that the dry times will take a couple of days so this project will be worked on in small intervals over those days, making it perfect for the weekend! Here’s how to make a DIY panda pumpkin:
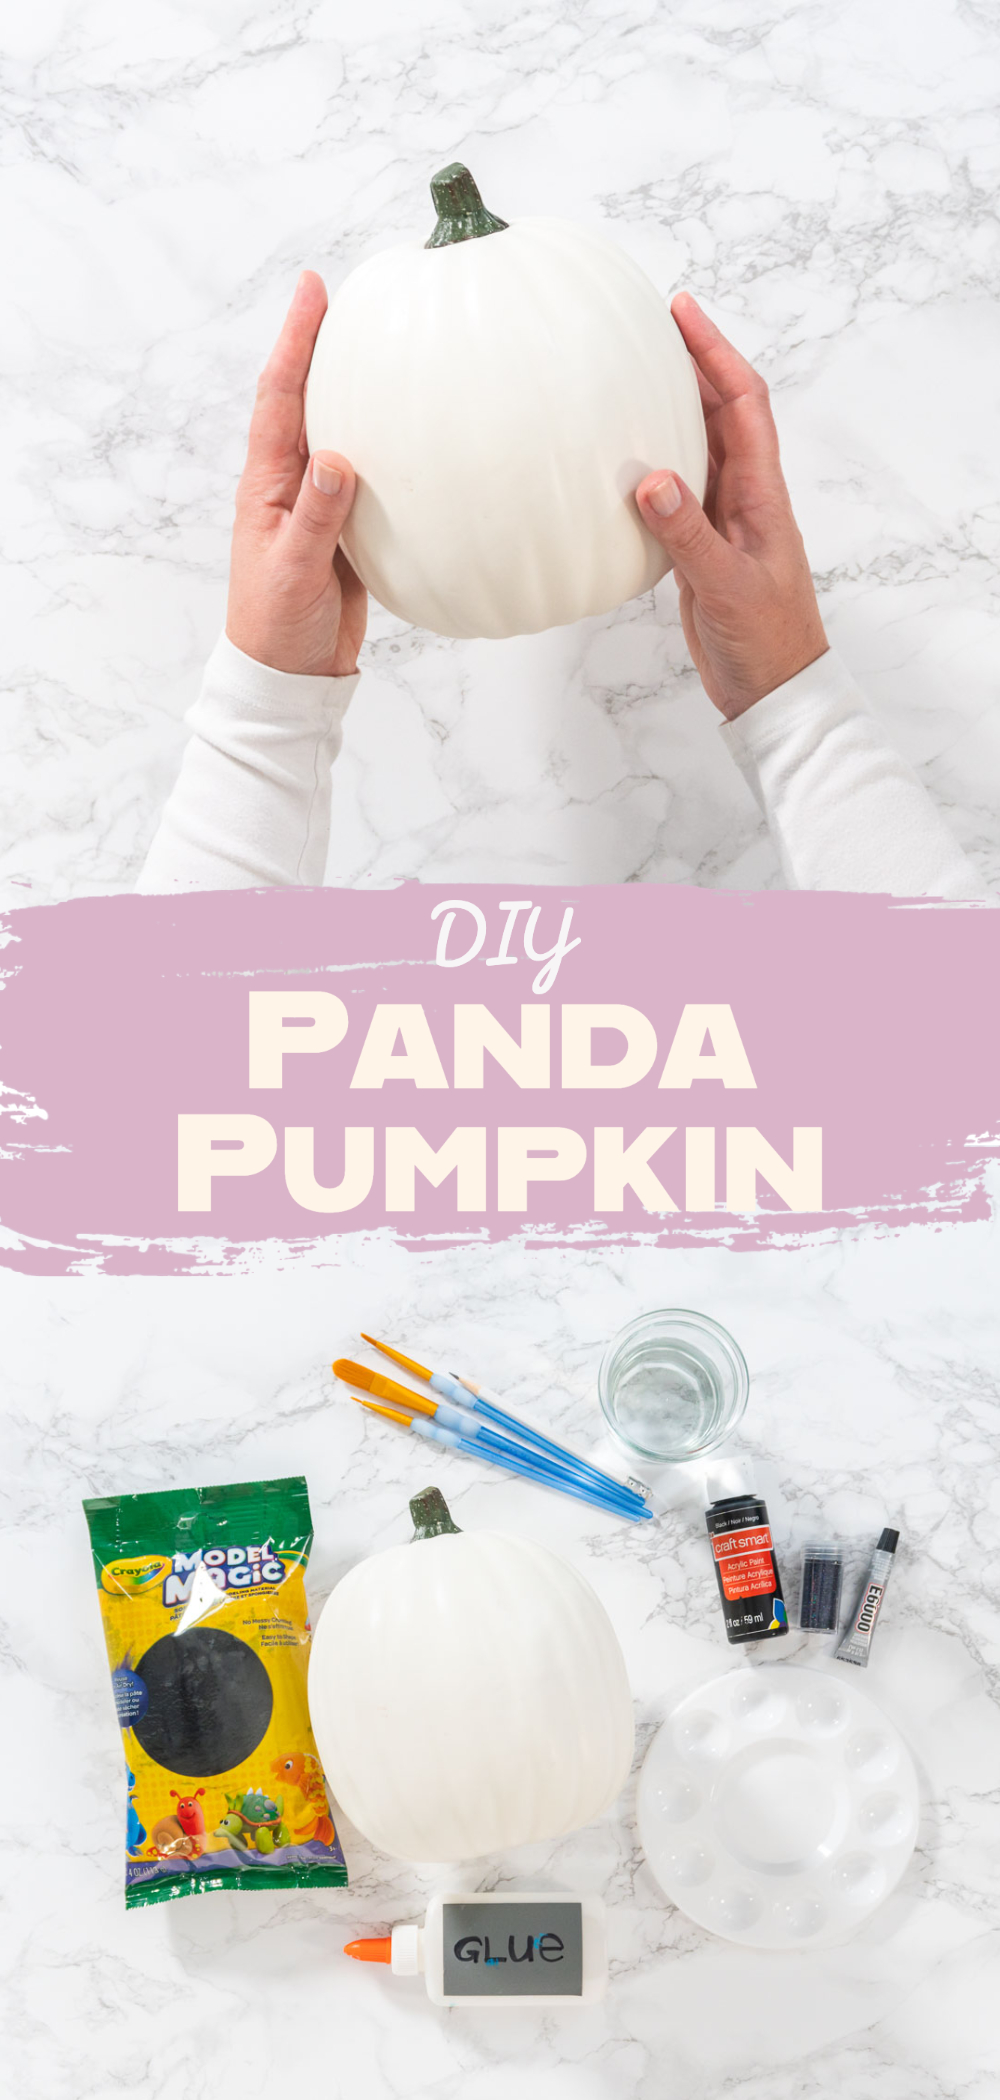
- First, gather up all of the pumpkin craft supplies.
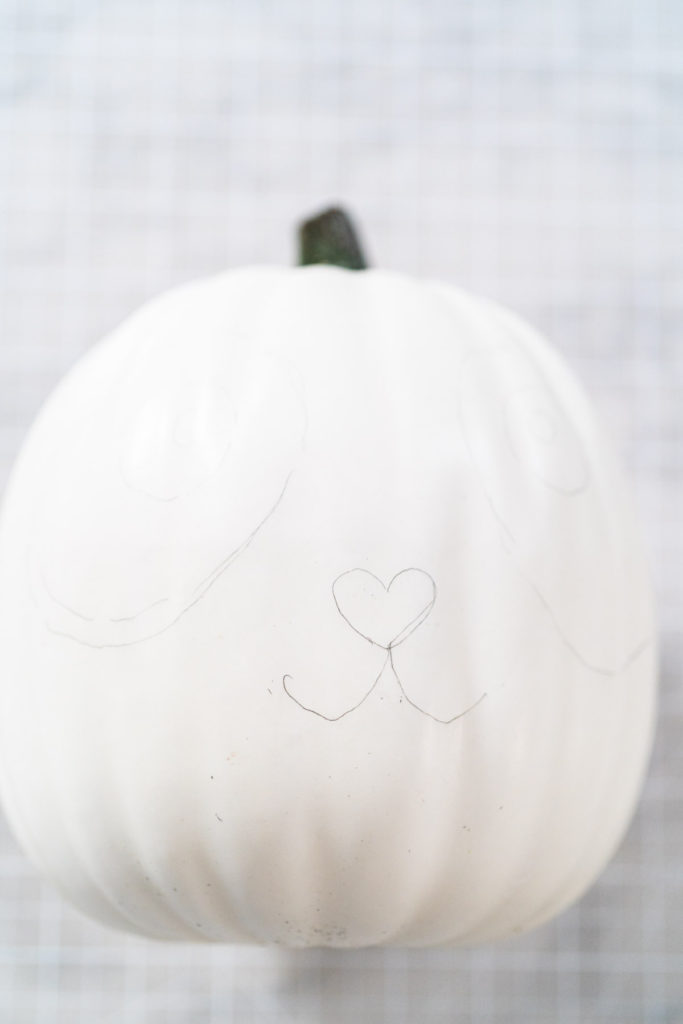
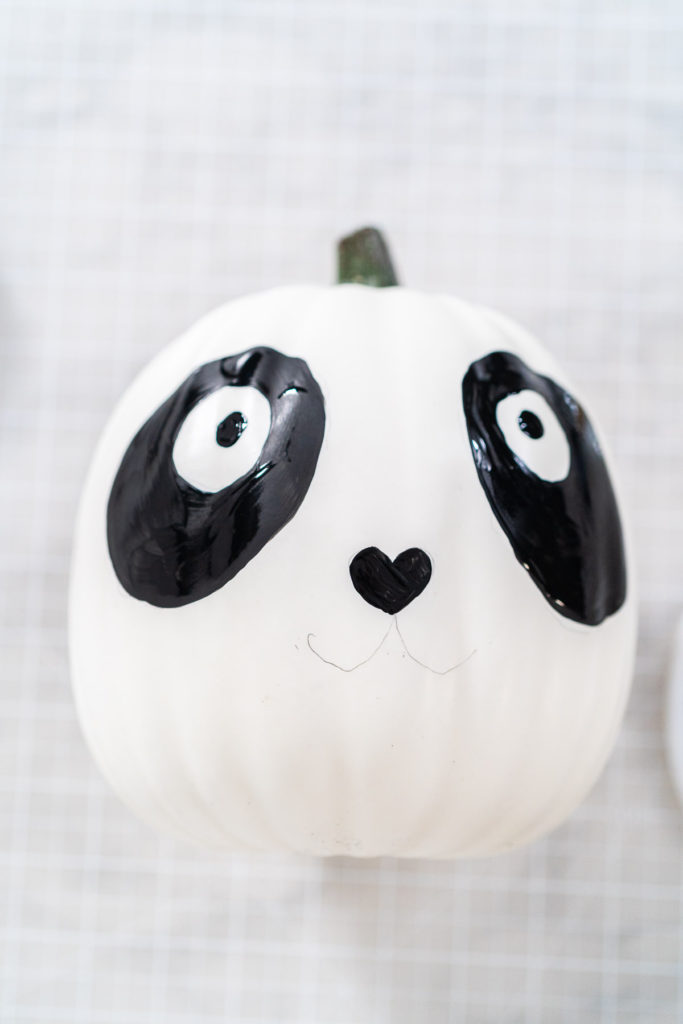
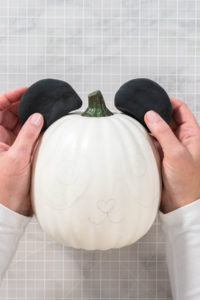
- Next, use the pencil to lightly draw a panda face onto the foam craft pumpkin. Use the block eraser to take away any unwanted pencil lines or to fix the drawing.
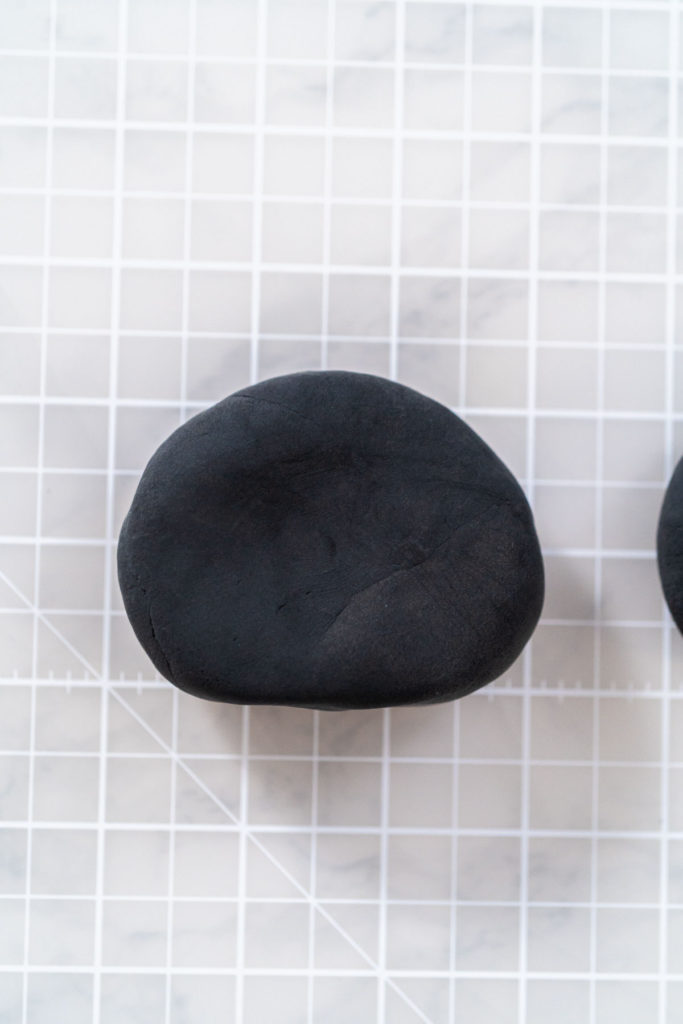
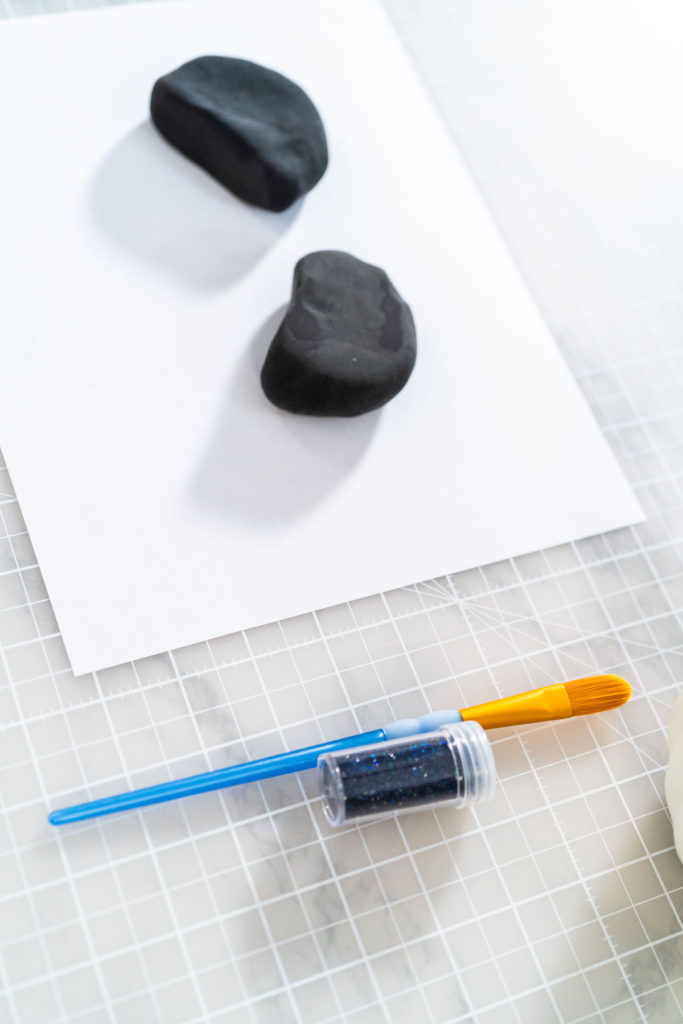
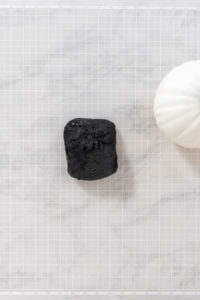
- Then, grab the black modeling clay.
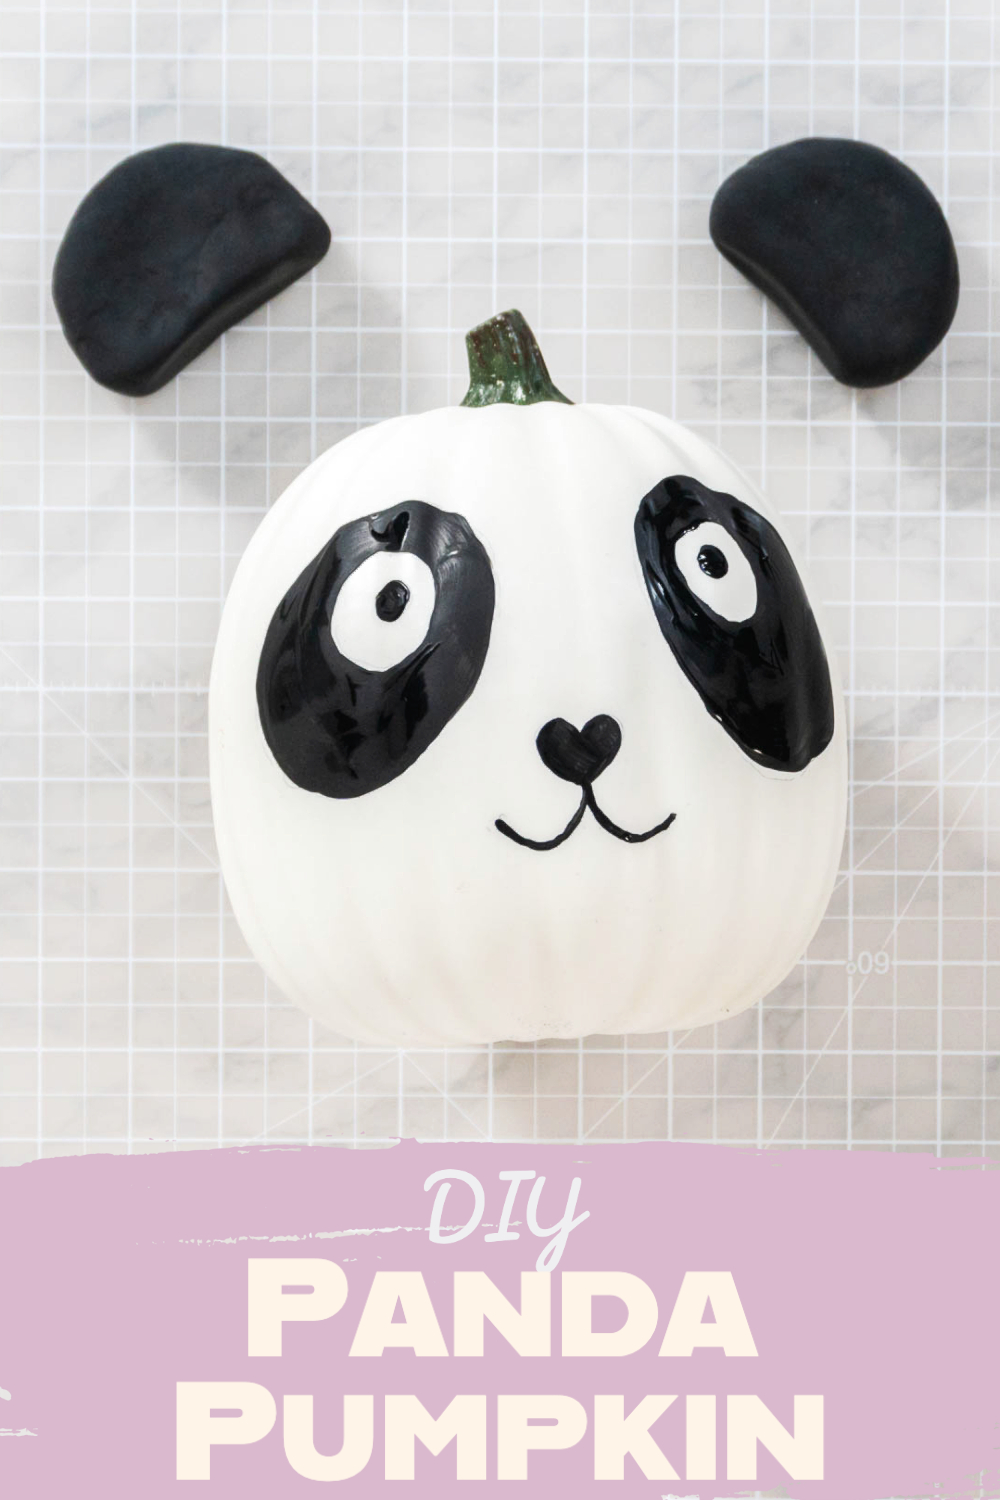
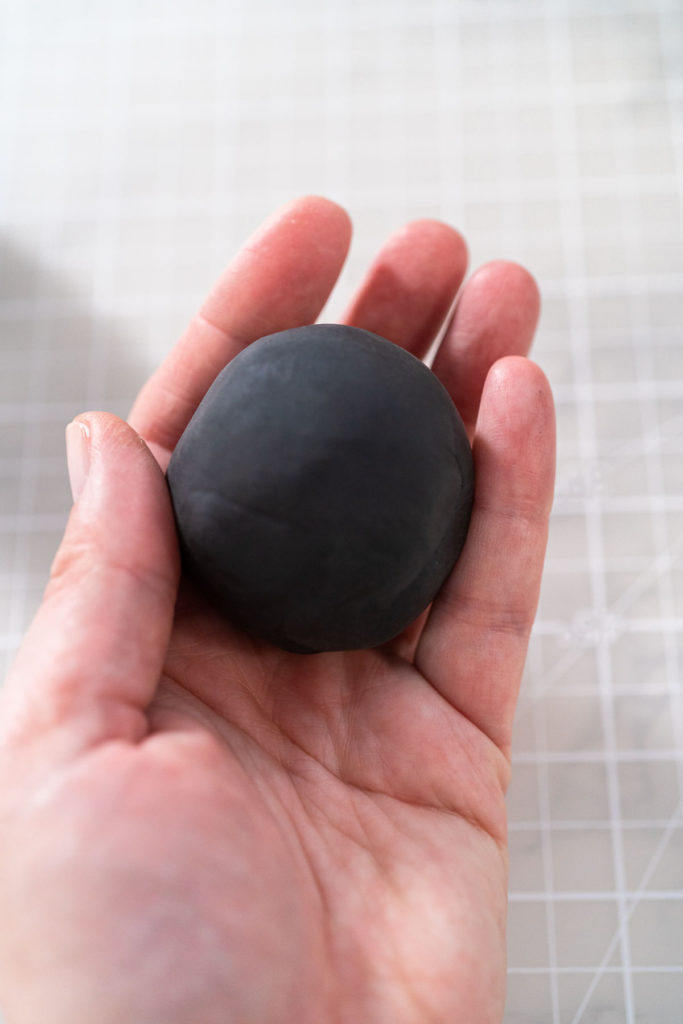
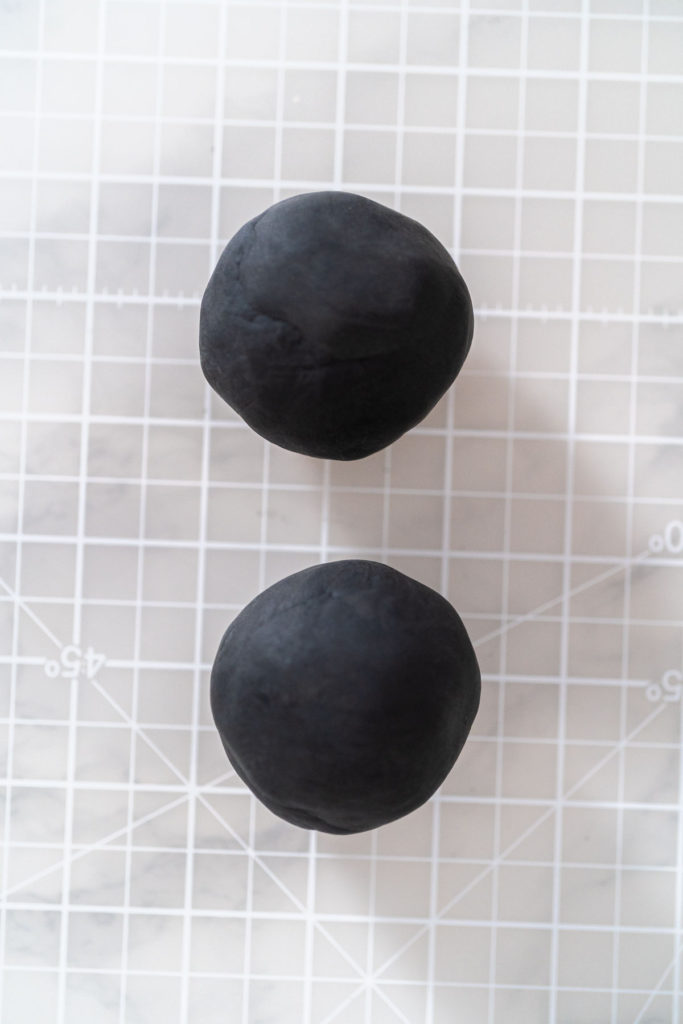
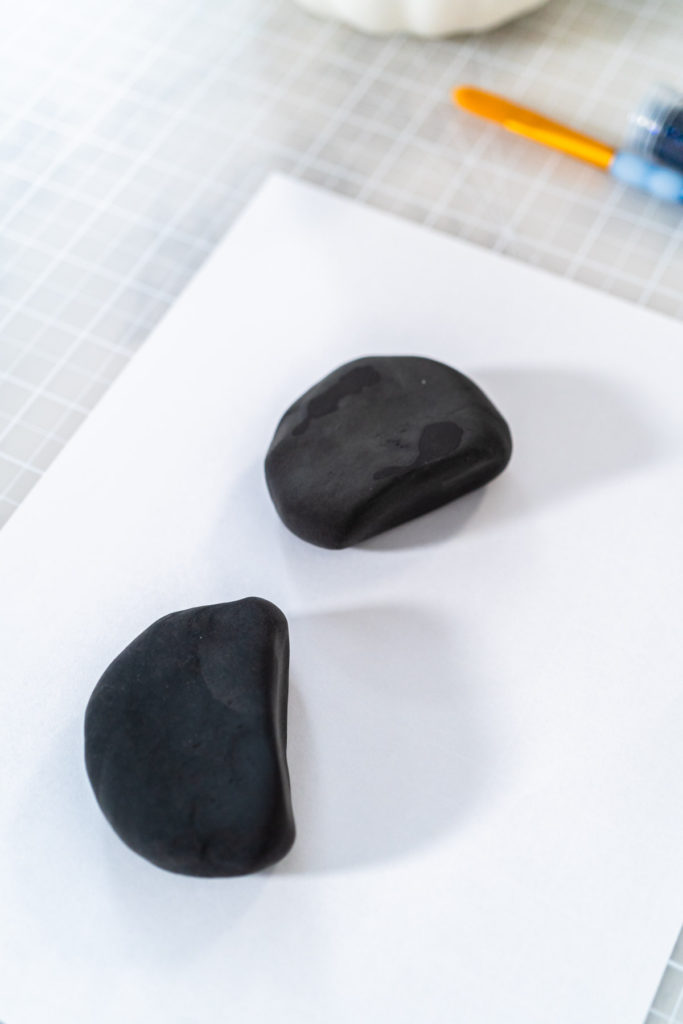
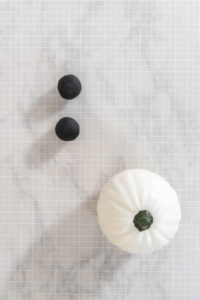
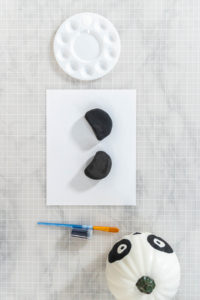
- Take 2 large chunks of the clay and roll them into 2 separate balls.
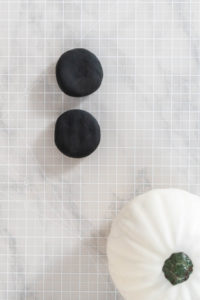
- Press them lightly with the palm of your hand to create ear shapes.
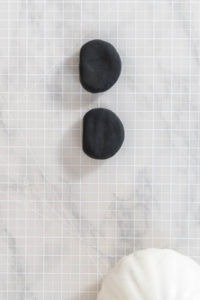
- Then, flatten one end of each ear so that they will fit along the edge of the pumpkin.
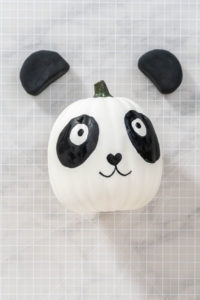
- Check to make sure the ears will fit nicely against the pumpkin. Then, set them aside to dry for 2 days, flipping every 12 hours. The clay needs to dry from all sides.
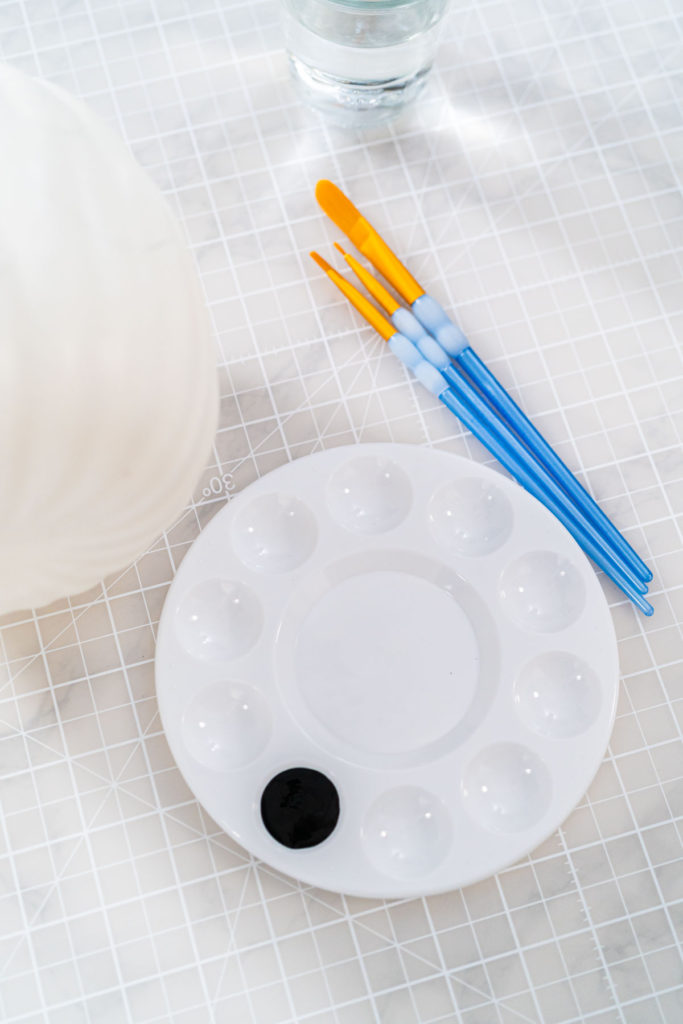
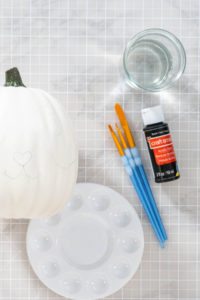
- While the panda ears are drying, grab the pumpkin and painting materials.
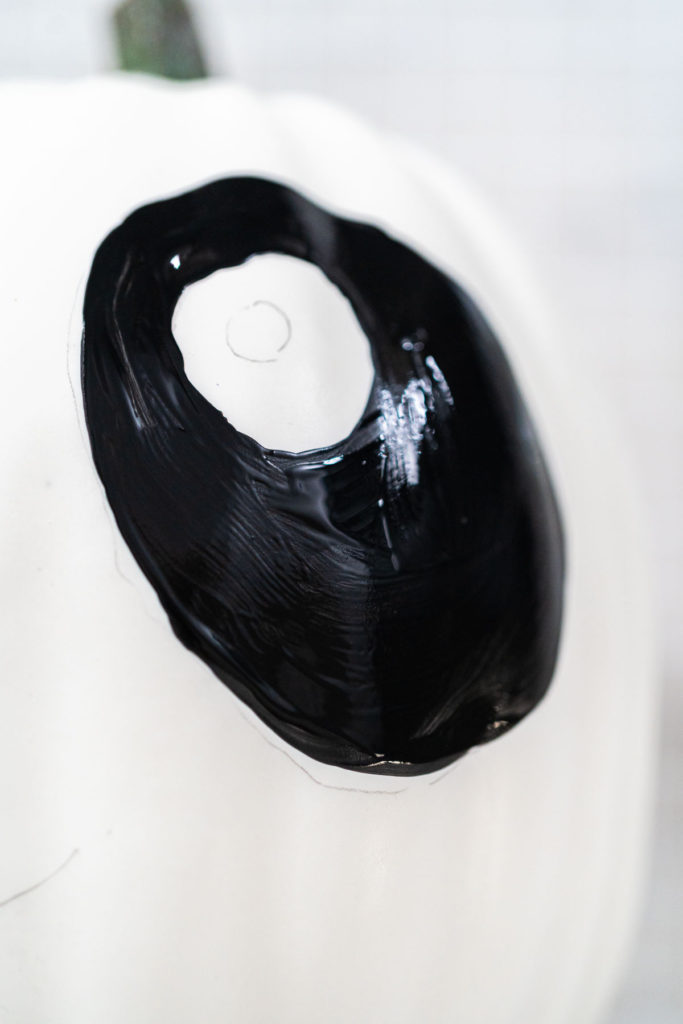
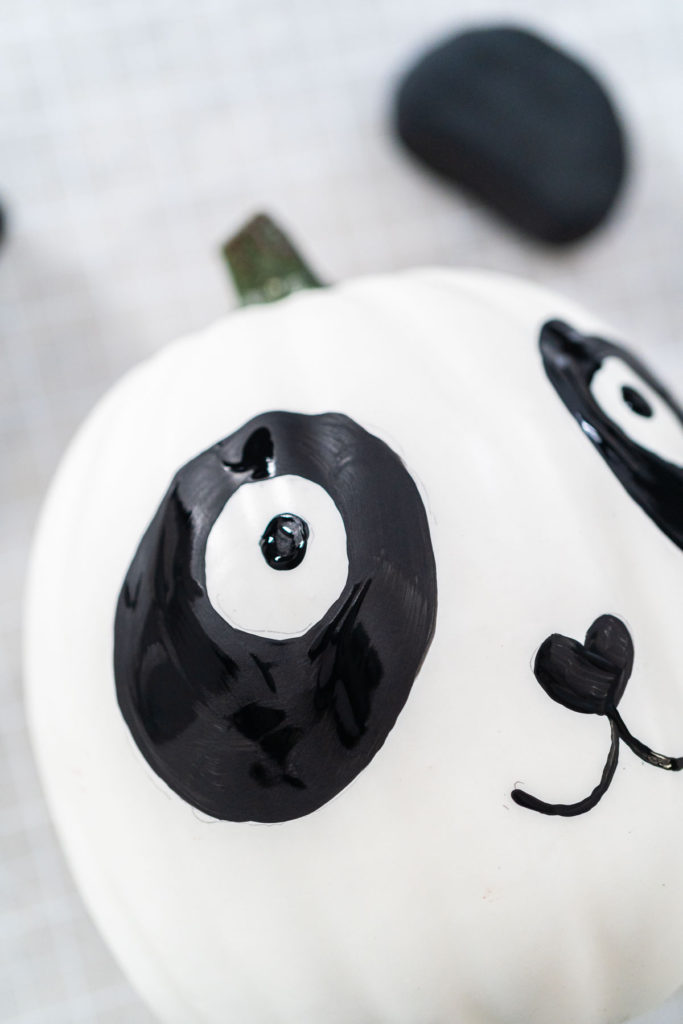
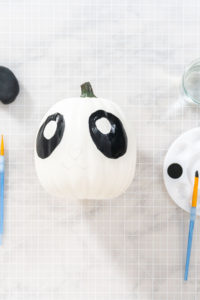
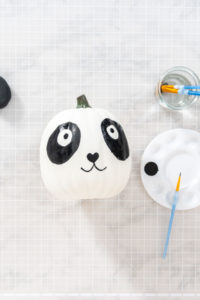
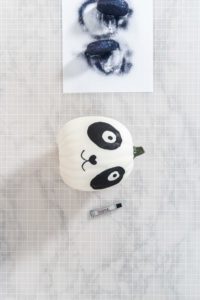
- Start by using the bigger paintbrush to paint the black part of the eyes. Do not dip the brush in the water first, just dip it straight into the paint.
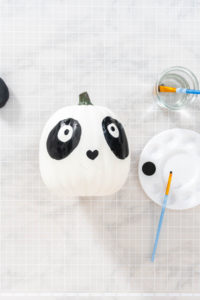
- Next, use a medium paint brush to paint the nose and eye pupils.
- Then, use a smaller brush to paint the panda's mouth.
- Set the painted pumpkin aside to dry while the ears finish drying.
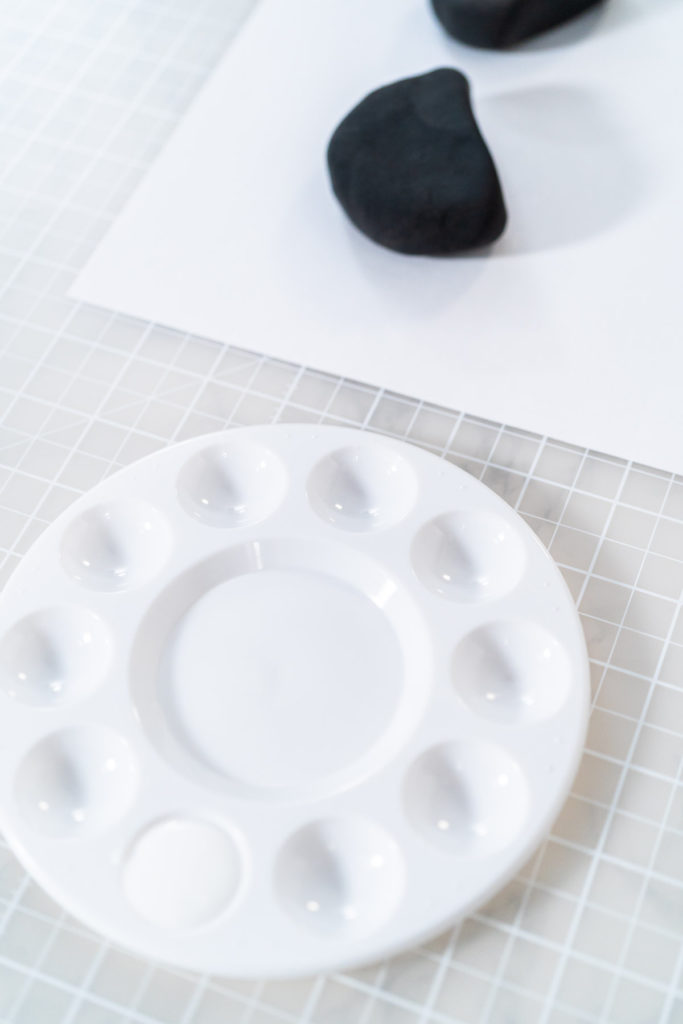
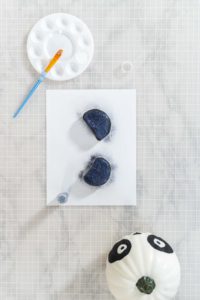
- After everything is dry, fill one section of the pallet with white school glue.
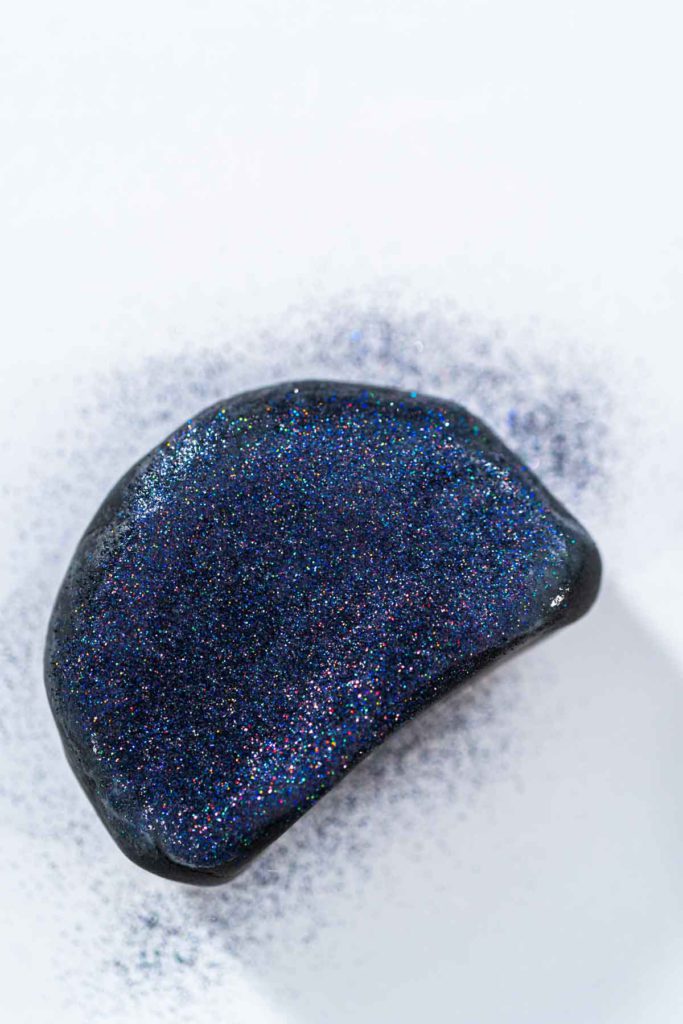
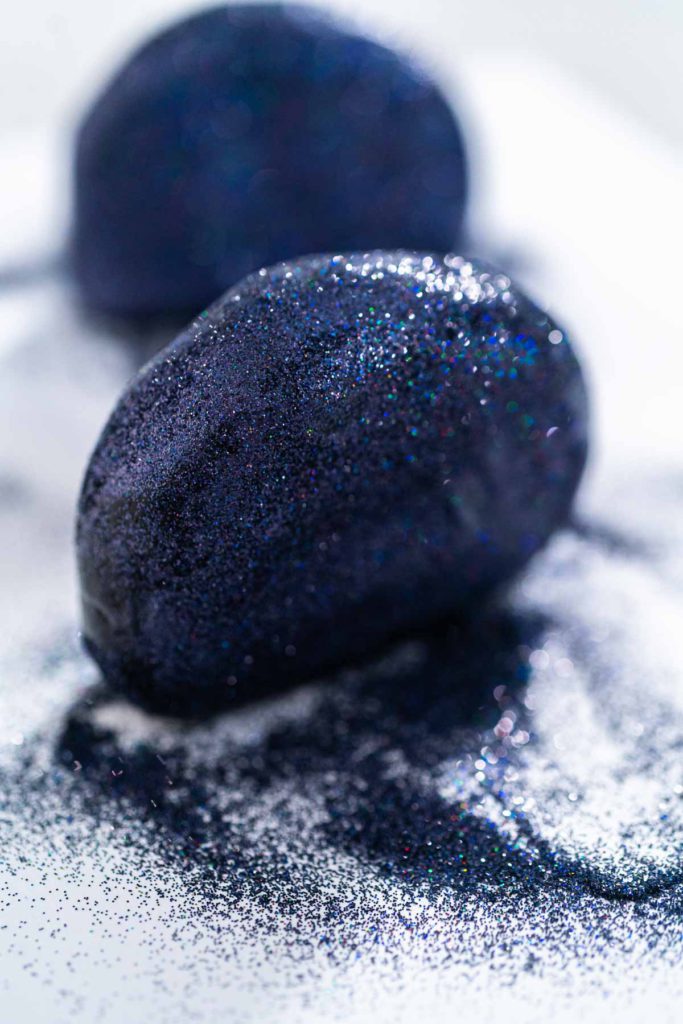
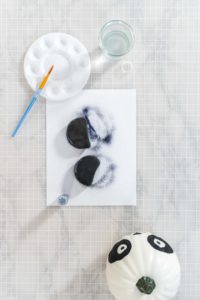
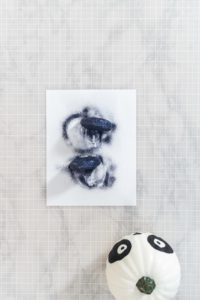
- Then, lightly brush the ears with glue and immediately sprinkle them with the black glitter. Let them dry for 10 minutes and flip.
- Repeat the gluing and glittering process for the other side of the ears and let dry for 10 minutes.
- Next, repeat the glue and glitter process for the edges of the ears. Let them dry for 10 minutes.
- Then, grab the E600 glue.
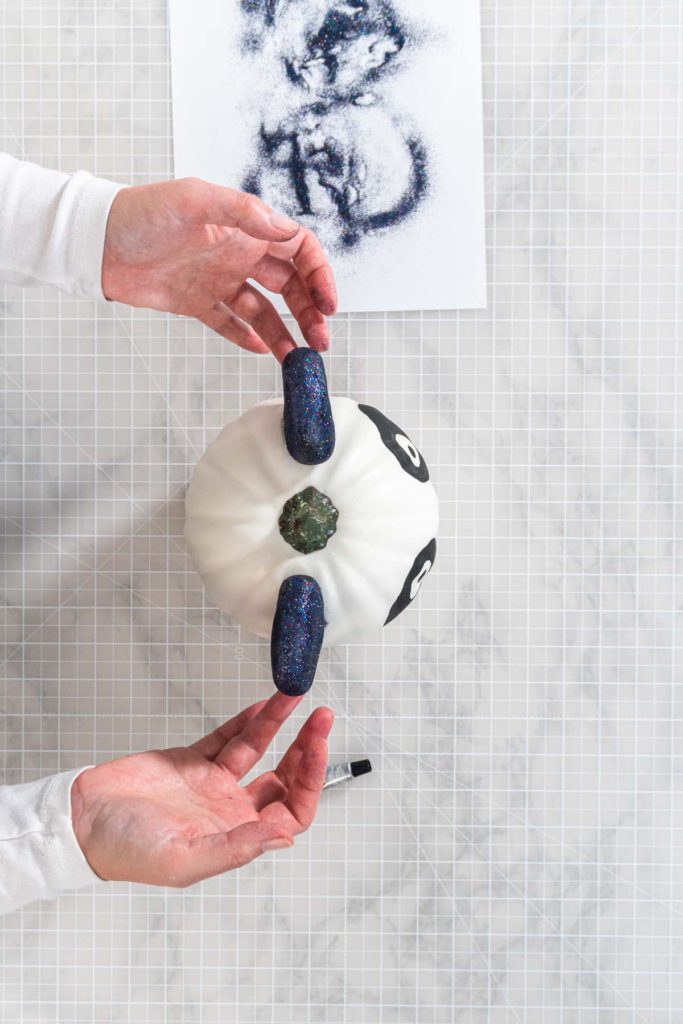
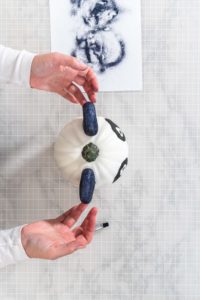
- Use it to secure the completely dry ears to the panda pumpkin head.
- Finally, you have a perfect panda pumpkin to decorate with!
More Pumpkin Fun
Loved this simple kid-friendly Halloween activity? Stick around and check out more DIY pumpkin projects, some events that would be perfect to make these pumpkins for, and some cozy fall comfort food recipes!
More DIY Pumpkins:
Perfect Pumpkin Decor for Fall Events:
Use these DIY painted pumpkins to add cute and cozy fall decor to any of these events or places to add undeniable fall charm:
- Add some fall decor to your kiddo’s bedrooms
- Adorable fall baby announcements
- Charming fall wedding decor
- Mess-free fall or Halloween party decor
- Decorating fall baby showers
Fun Fall Recipes:
- Baked Apples
- Caramel Apple Slices
- Fruit S’mores
- Grilled S’mores
- Pumpkin Bread with Vanilla Glaze
- Caramel-Topped Banana Bread
- Apple Butter
- Unicorn Hot Chocolate Mix
- Orange Candy Apples
- Red Candy Apples
- Black Candy Apples
DIY Panda Pumpkin
Ingredients
- 1 package Modeling clay black
- 1 White craft pumpkin 7 inch
- 1 E600 glue
- 1 Acrylic paint black
- 1 Glue
- 1 Paint Brushes & Pallets
- 1 Black craft glitter
Instructions
- First, gather up all of the pumpkin craft supplies.
- Next, use the pencil to lightly draw a panda face onto the foam craft pumpkin. Use the block eraser to take away any unwanted pencil lines or to fix the drawing.
- Then, grab the black modeling clay.
- Take 2 large chunks of the clay and roll them into 2 separate balls.
- Press them lightly with the palm of your hand to create ear shapes.
- Then, flatten one end of each ear so that they will fit along the edge of the pumpkin.
- Check to make sure the ears will fit nicely against the pumpkin. Then, set them aside to dry for 2 days, flipping every 12 hours. The clay needs to dry from all sides.
- While the panda ears are drying, grab the pumpkin and painting materials.
- Start by using the bigger paintbrush to paint the black part of the eyes. Do not dip the brush in the water first, just dip it straight into the paint.
- Next, use a medium paint brush to paint the nose and eye pupils.
- Then, use a smaller brush to paint the panda's mouth.
- Set the painted pumpkin aside to dry while the ears finish drying.
- After everything is dry, fill one section of the pallet with white school glue.
- Then, lightly brush the ears with glue and immediately sprinkle them with the black glitter. Let them dry for 10 minutes and flip.
- Repeat the gluing and glittering process for the other side of the ears and let dry for 10 minutes.
- Next, repeat the glue and glitter process for the edges of the ears. Let them dry for 10 minutes.
- Then, grab the E600 glue.
- Use it to secure the completely dry ears to the panda pumpkin head.
- Finally, you have a perfect panda pumpkin to decorate with!
Food Photography & Video Tips from My Studio
Here’s a peek at the tools, gear, and camera setups I use to film my recipe videos and photograph food at home. Over the years, I’ve tested dozens of different setups, and now I’m sharing what actually works for me—whether I’m filming overhead shots for YouTube or styling still photos for my blog. If you’re curious about how I create the content you see here, these posts are a great place to start.







Leave a Reply