Discover an alternative to royal icing by decorating cookies with a simple and delicious melted chocolate icing recipe
This post contains affiliate links.
I have always loved baking gingerbread cookies, especially during the holiday season. As I shared in my previous blog post "Gingerbread Cookies with Royal Icing," there's something about the warm and comforting aroma of freshly baked gingerbread cookies that brings a smile to my face. But, as much as I loved baking gingerbread cookies, I always struggled with decorating them. The traditional royal icing recipe that I used always took forever to dry, and I would often end up with a mess on my hands. That was until I discovered chocolate icing as an alternative.
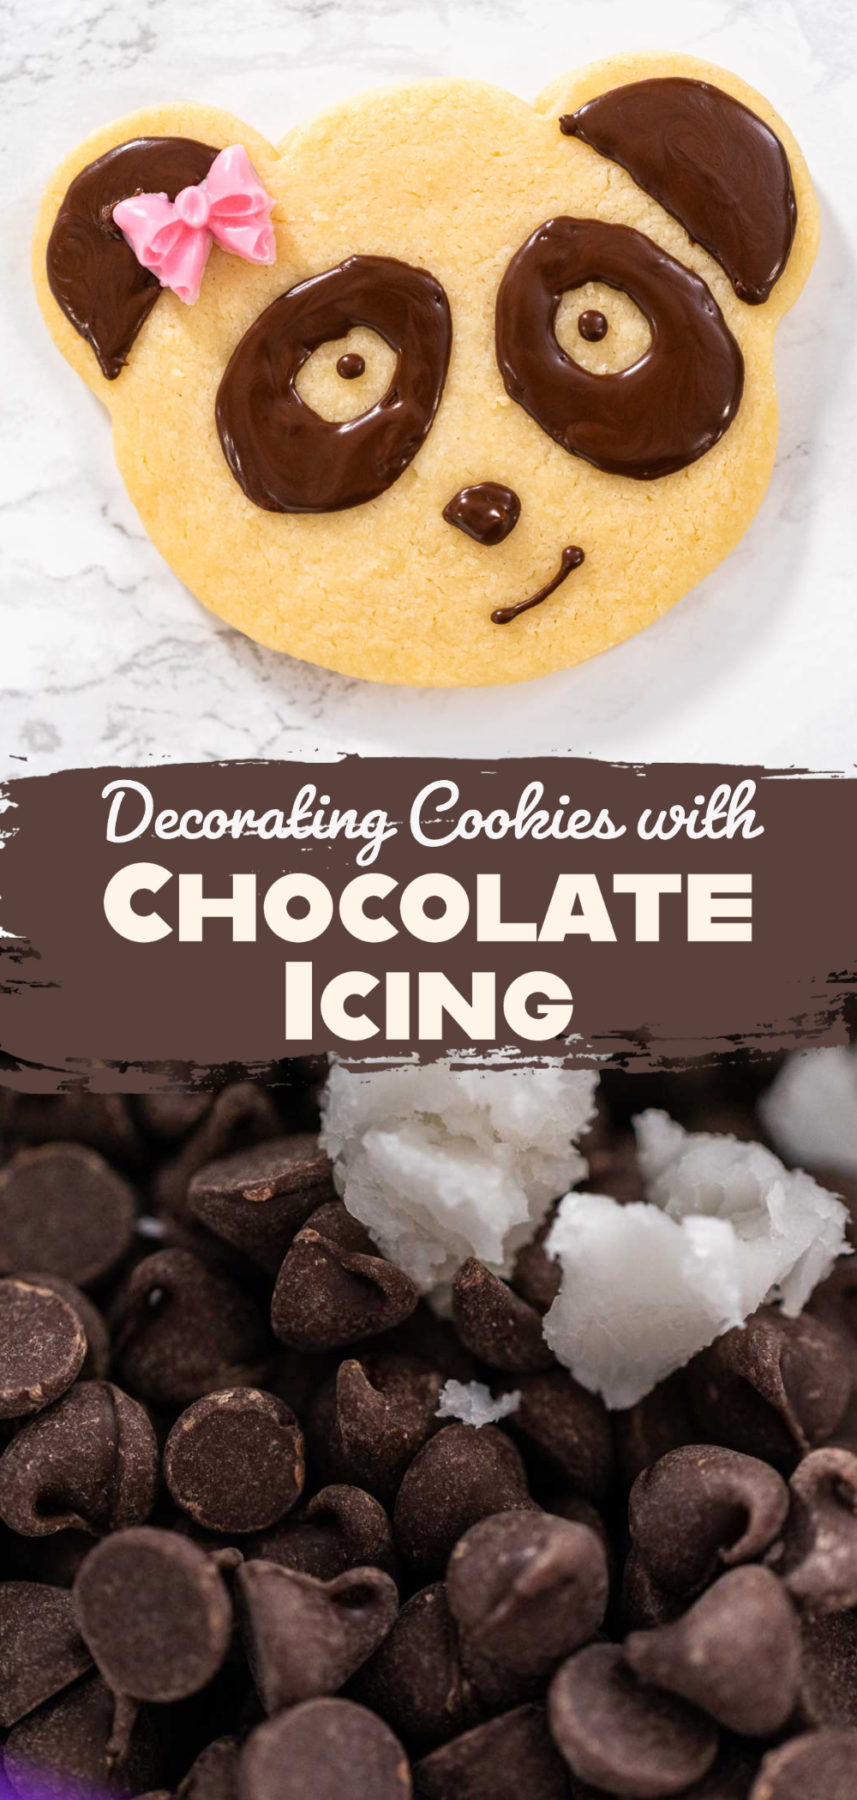
Decorating cookies with chocolate icing is not only delicious, but it's also incredibly easy to make. Unlike traditional royal icing, chocolate icing dries much faster, making it the perfect option for those who are short on time. You can use this recipe to decorate a variety of cookies, including classic sugar cookies, shortbread cookies, and gingerbread cookies. The rich and smooth texture of the chocolate icing will complement the flavors of these cookies perfectly.
Sugar cookies decorated with chocolate icing are a popular treat that can often be found at Starbucks during the Christmas season. But, the benefits of using chocolate icing don't stop there. Not only is it easy and fast to make, but it also has a long history of being a popular choice for cookie decoration. Chocolate icing has been used for centuries by bakers, and it's a beloved recipe among many.
If you're like me and have always wanted to decorate your cookies like a pro but were intimidated by the long drying time of traditional royal icing, look no further than this recipe for chocolate icing. Not only is it easy to make, but it also dries much faster, making it the perfect option for those who want to decorate their cookies quickly.
Are you tired of waiting for traditional royal icing to dry before you can package your cookies for gifting or selling? Try using chocolate icing instead! Not only does it have a delicious and rich flavor, but it also dries much faster, making it the perfect option for those who are short on time or want to make a quick turnaround. It's a simple and delicious way to decorate your cookies that is perfect for both home bakers and professional chefs. Give it a try and see for yourself how easy and delicious decorating cookies with chocolate icing can be.
Making chocolate icing is a breeze with this simple recipe. With just a few basic tools and ingredients, you can create delicious and smooth icing that is perfect for decorating cookies. This recipe doesn't require any fancy equipment, and it's a great alternative for those who are short on time.
EQUIPMENT
- Measuring Cup
- Measuring spoons
- Spatulas
- Wilton candy melting pot
- Royal icing piping bags
- Needle Modelling Tool
- Drying rack
INGREDIENTS
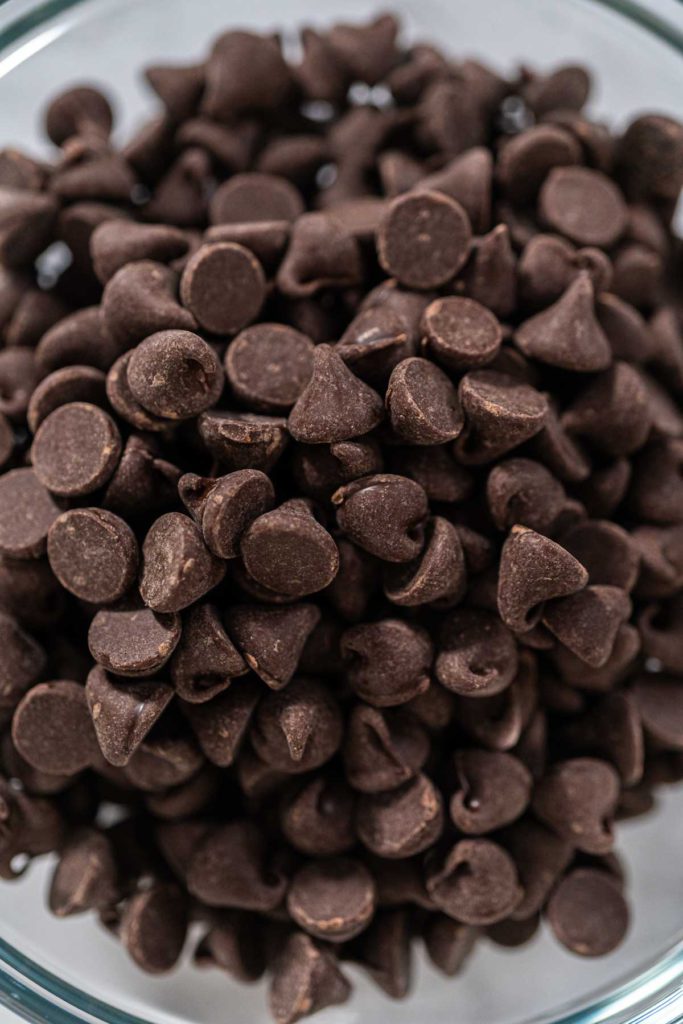
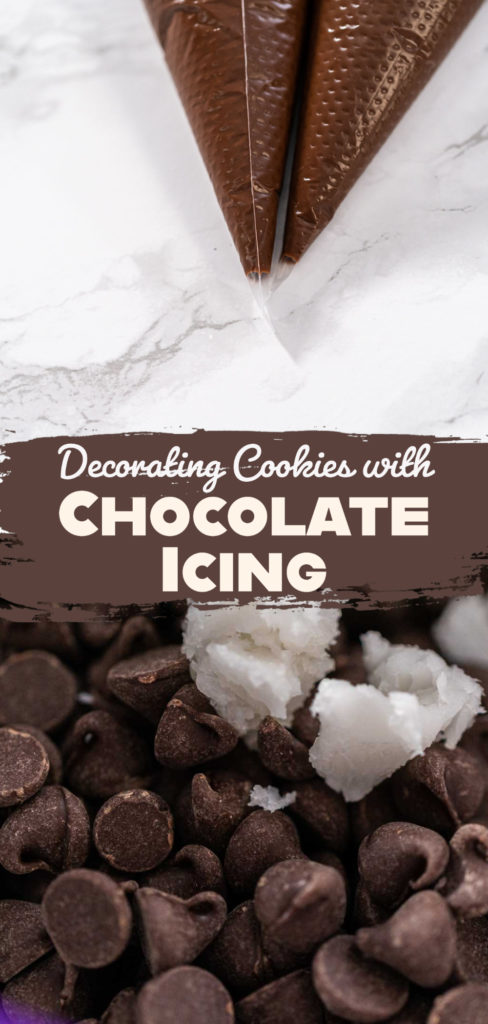
- 1 ½ cups Semi-Sweet Chocolate Chips
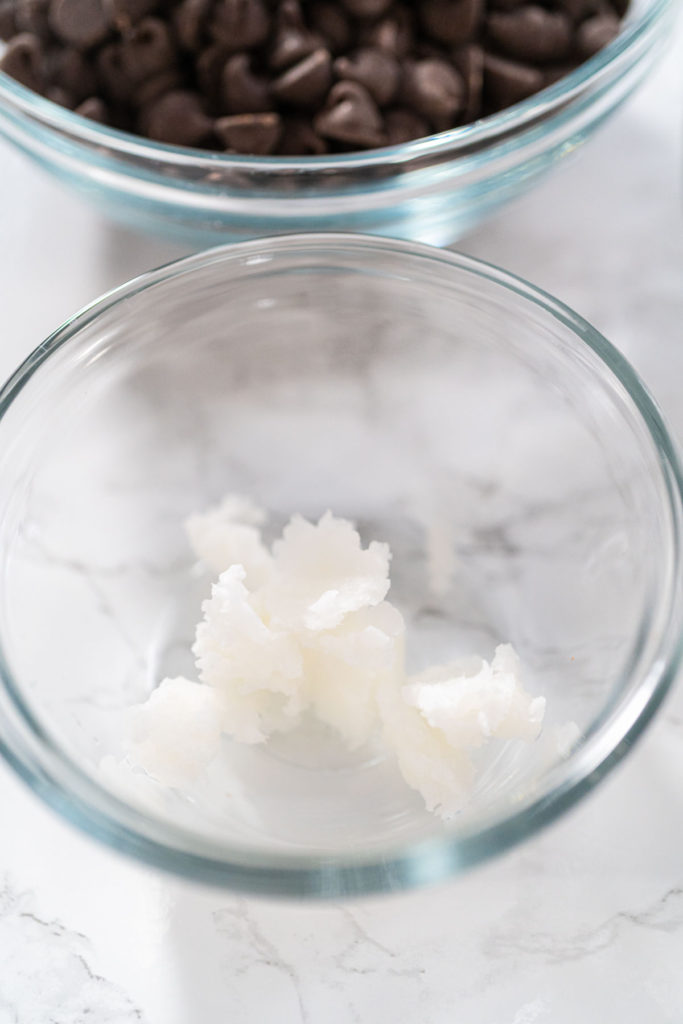
- 2 tbsp coconut oil
Making Chocolate Icing
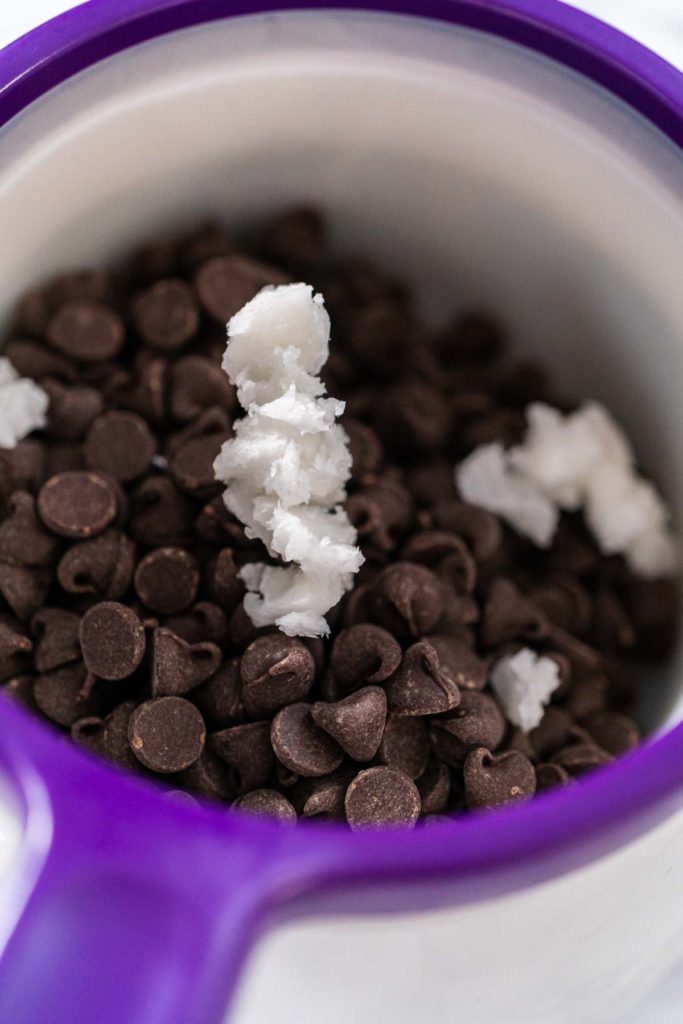
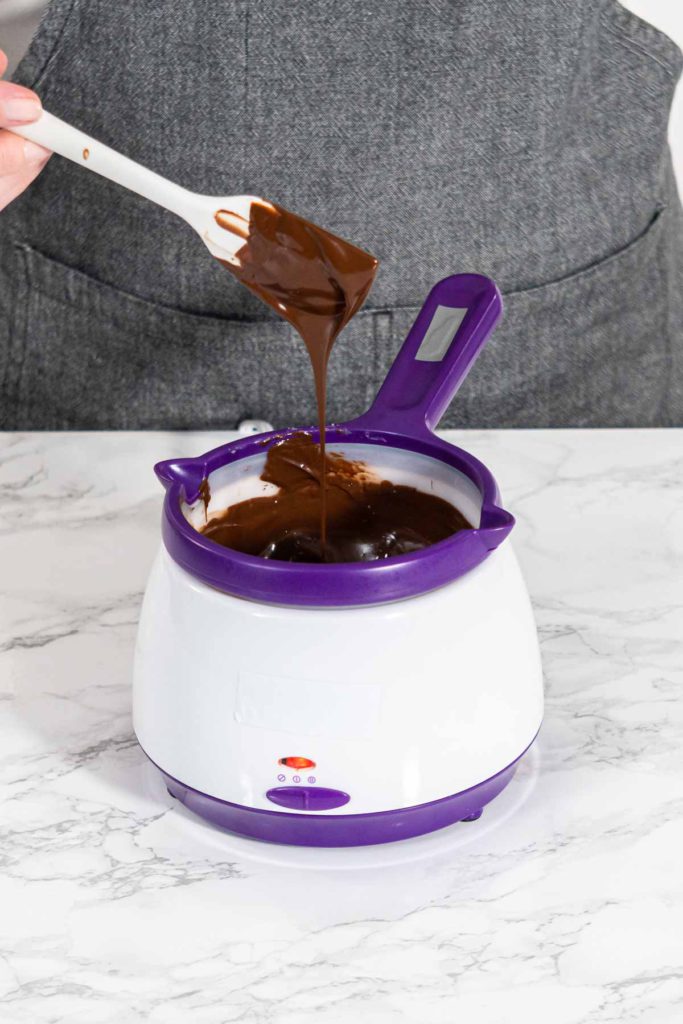
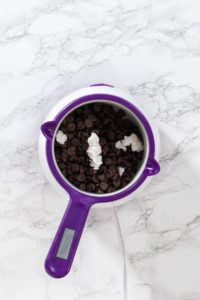
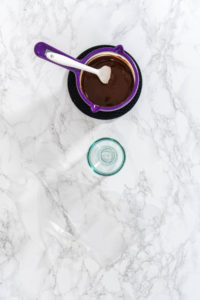
- Add chocolate chips and coconut oil into the candy melting pot.
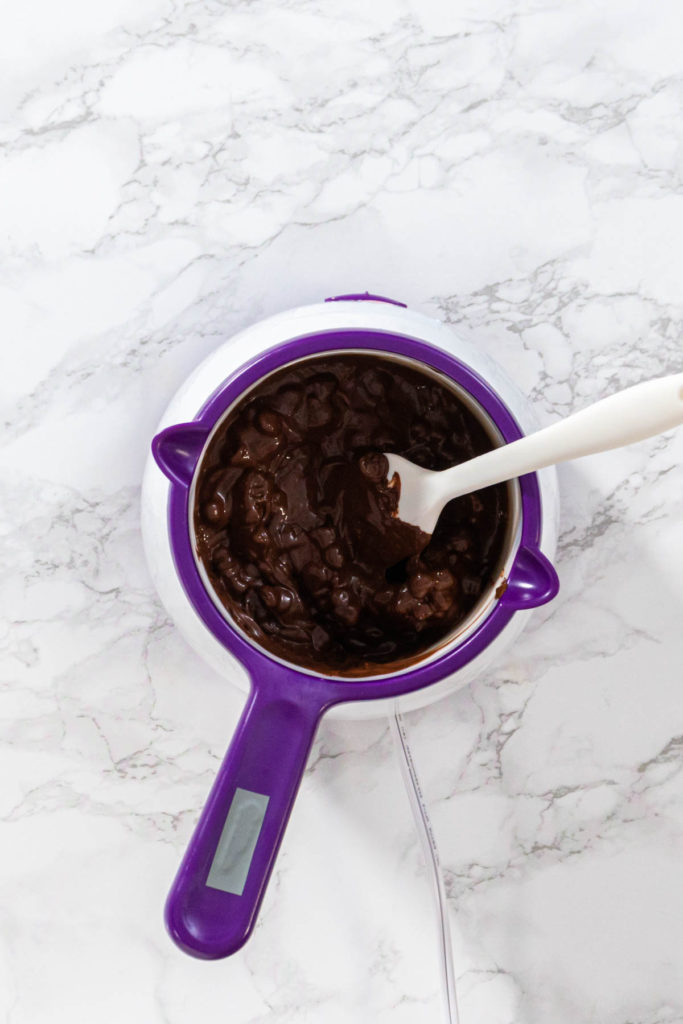
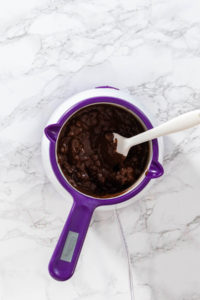
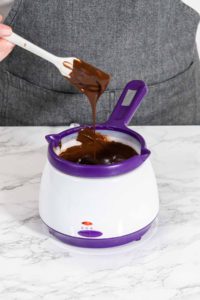
- Turn the pot on high heat and mix regularly until all chocolate chips are melted and the melted chocolate reaches a smooth consistency.
- If the chocolate is too thick, add more coconut oil, ½ teaspoon at a time.
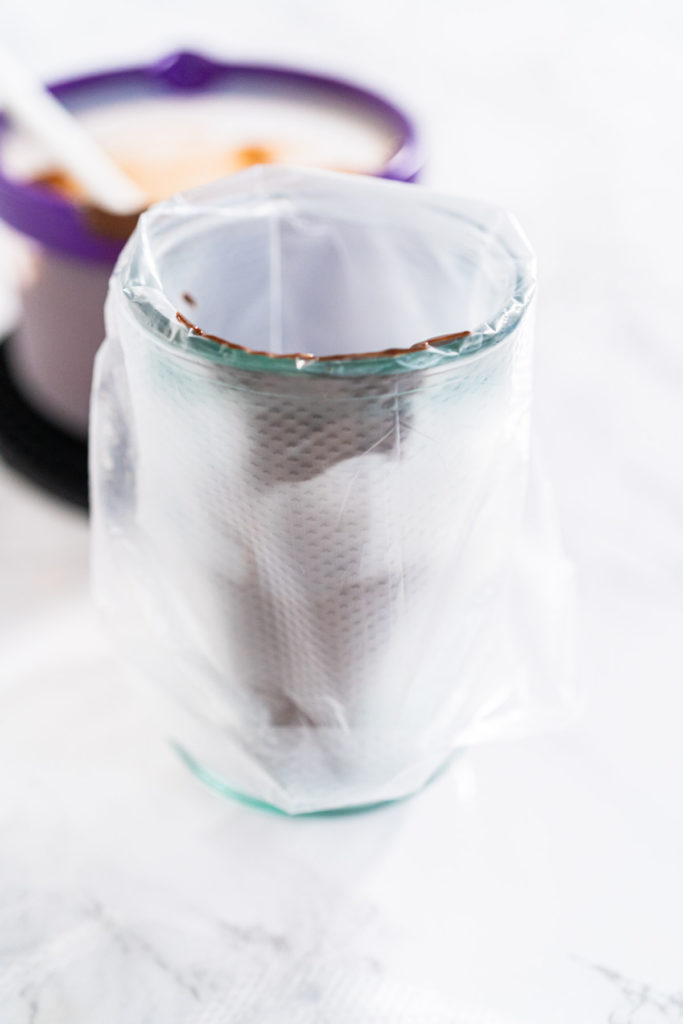
- Prepare a royal icing piping bag over a tall glass.
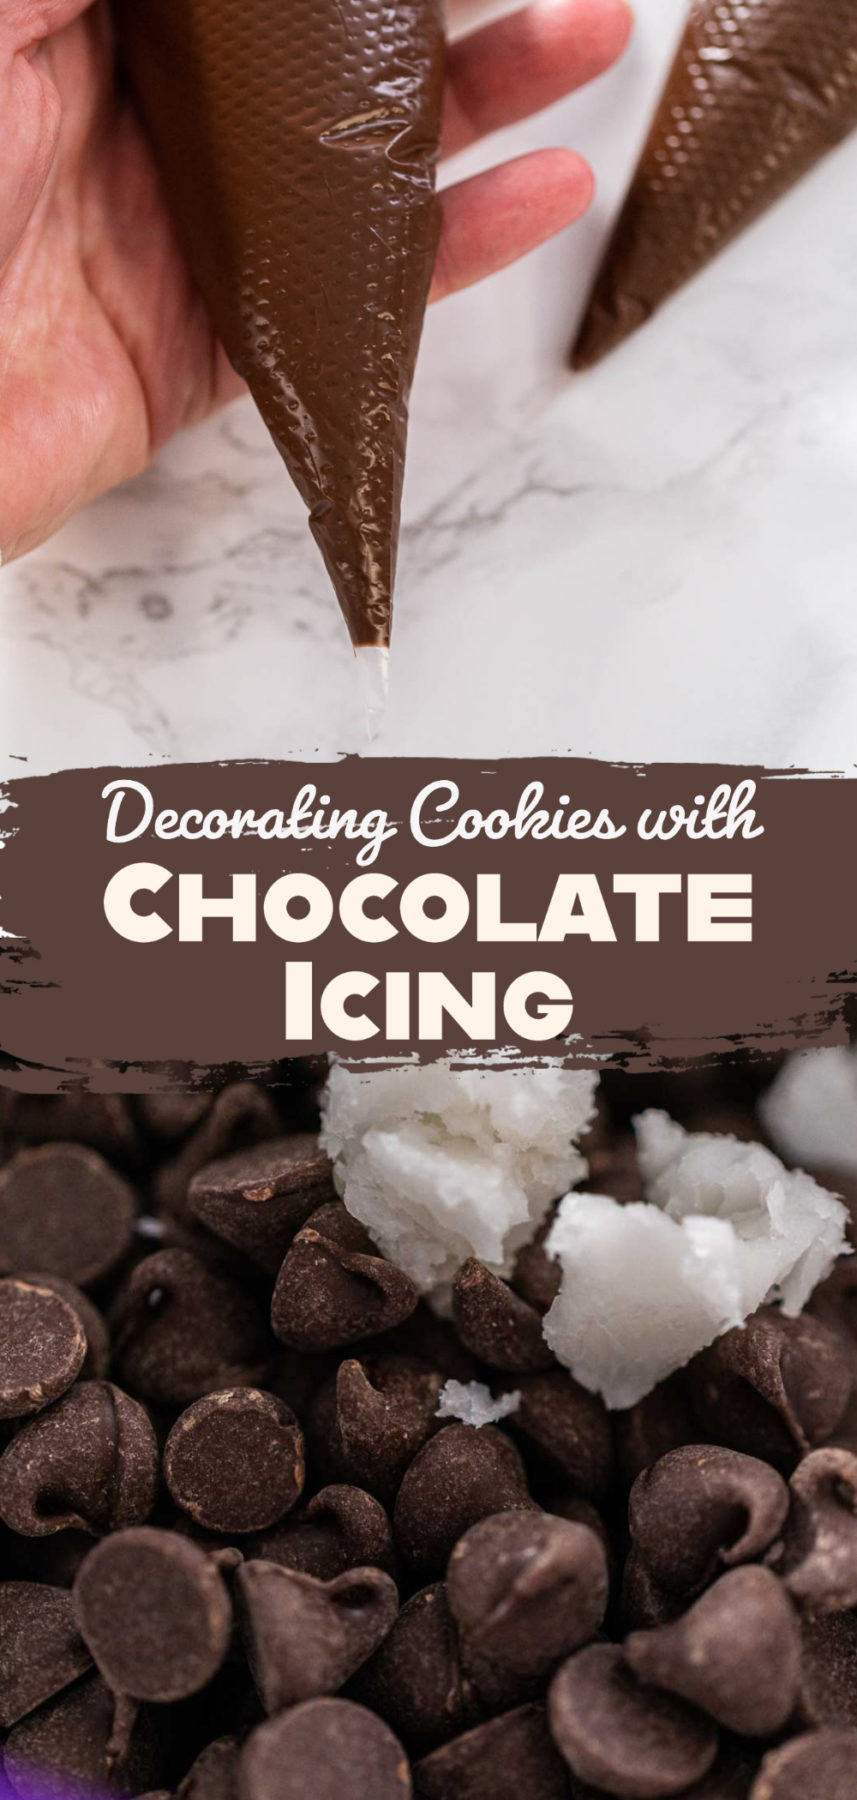
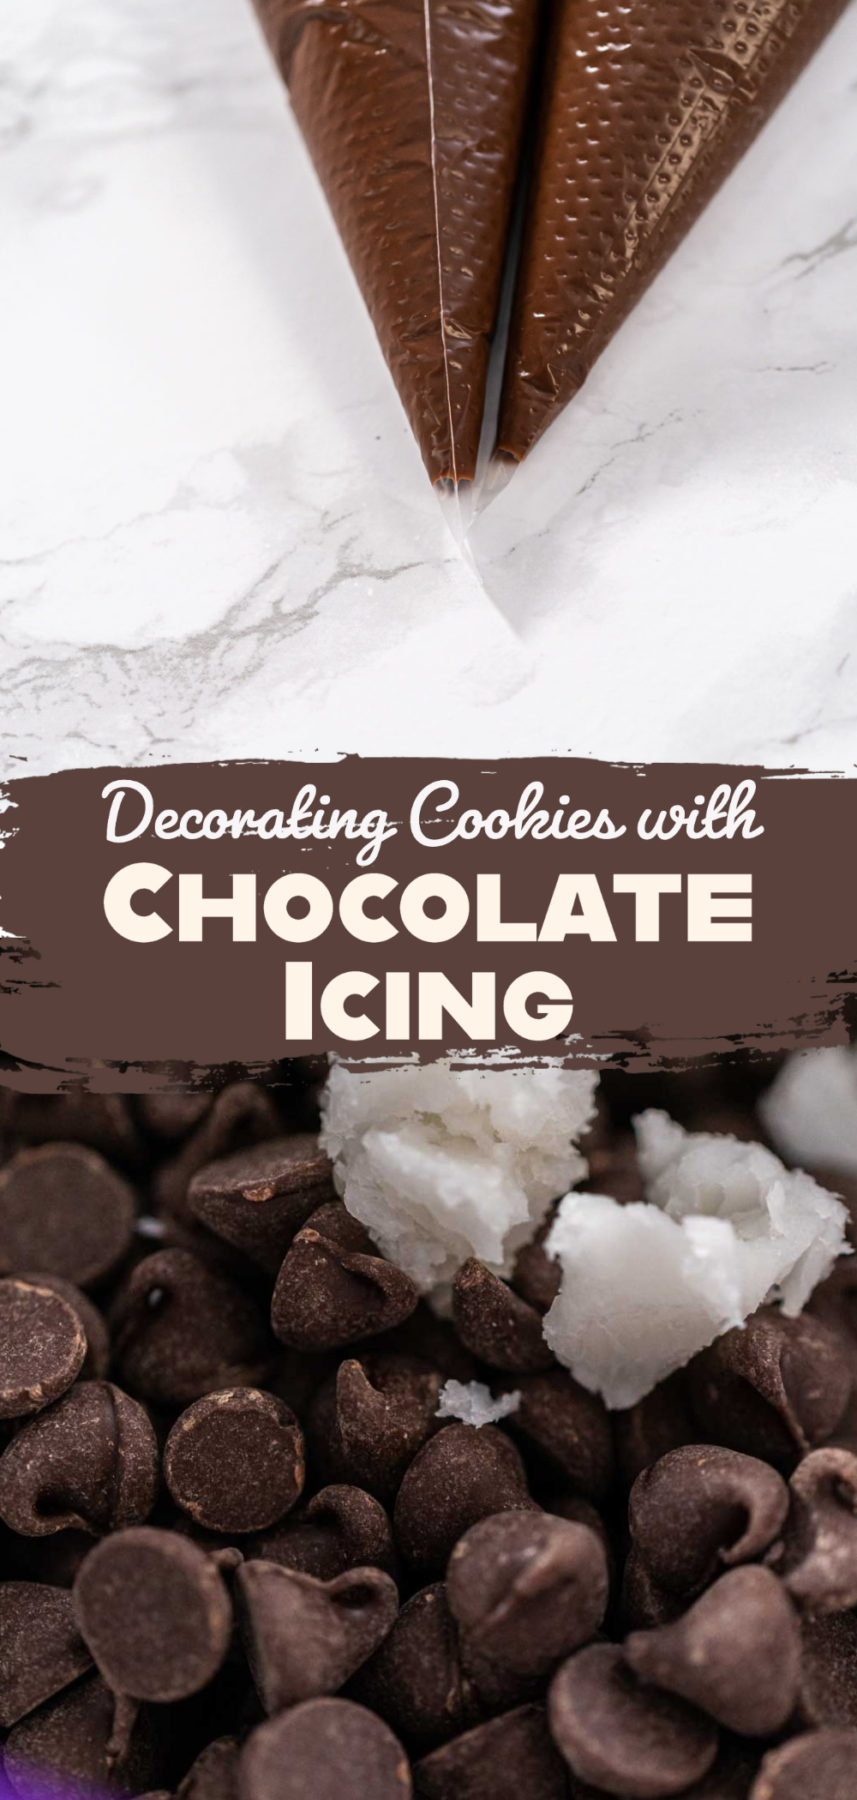
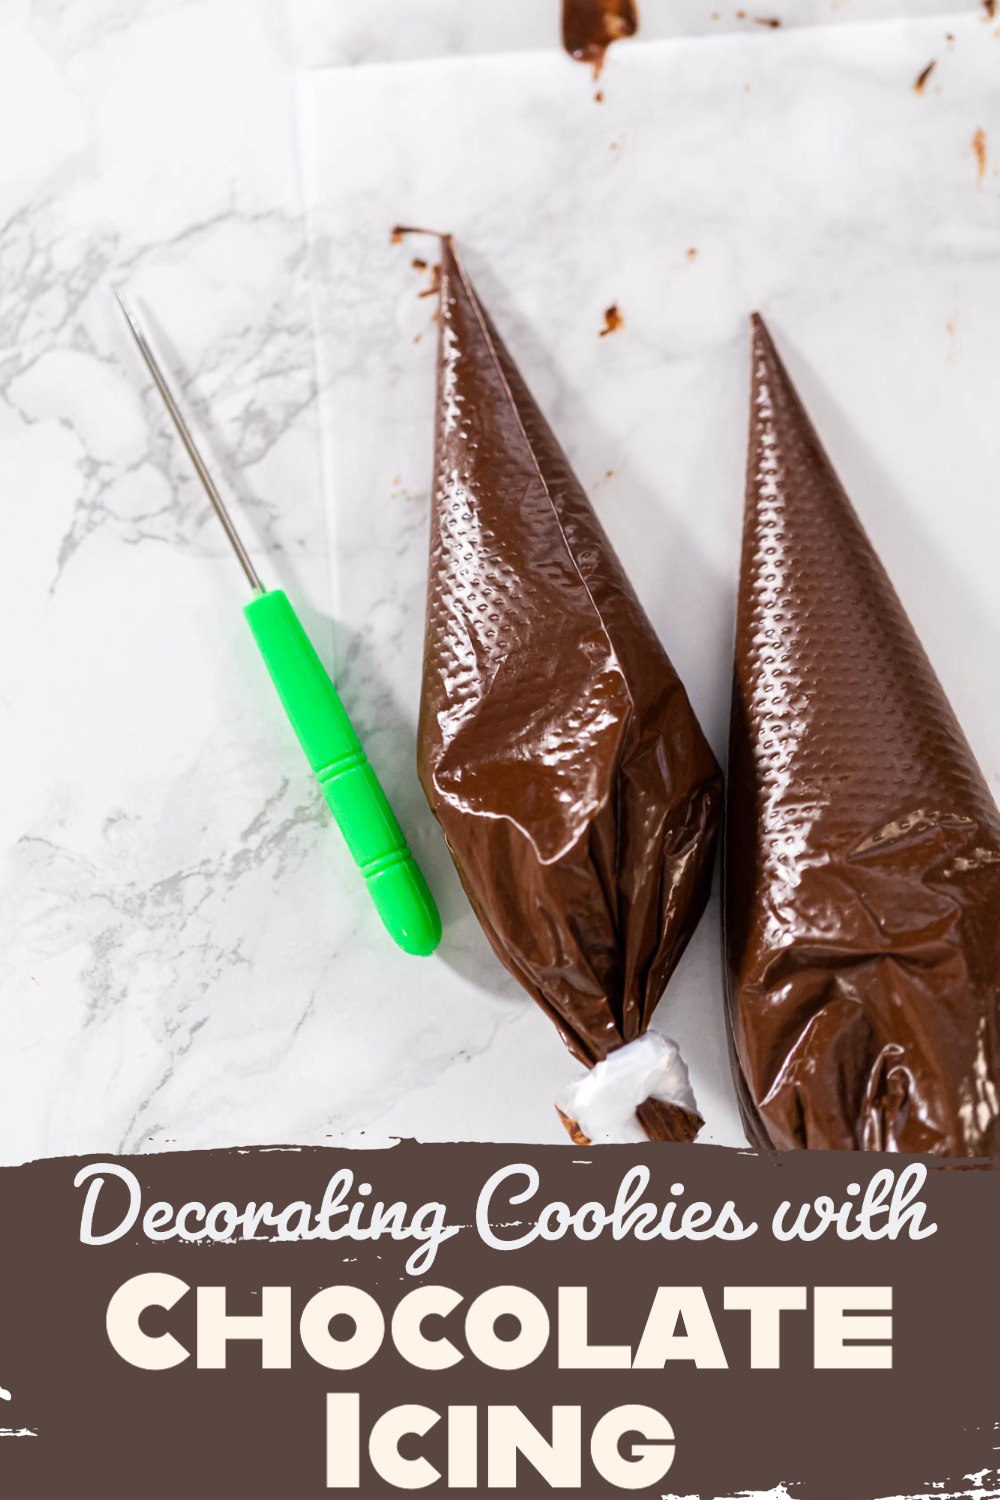
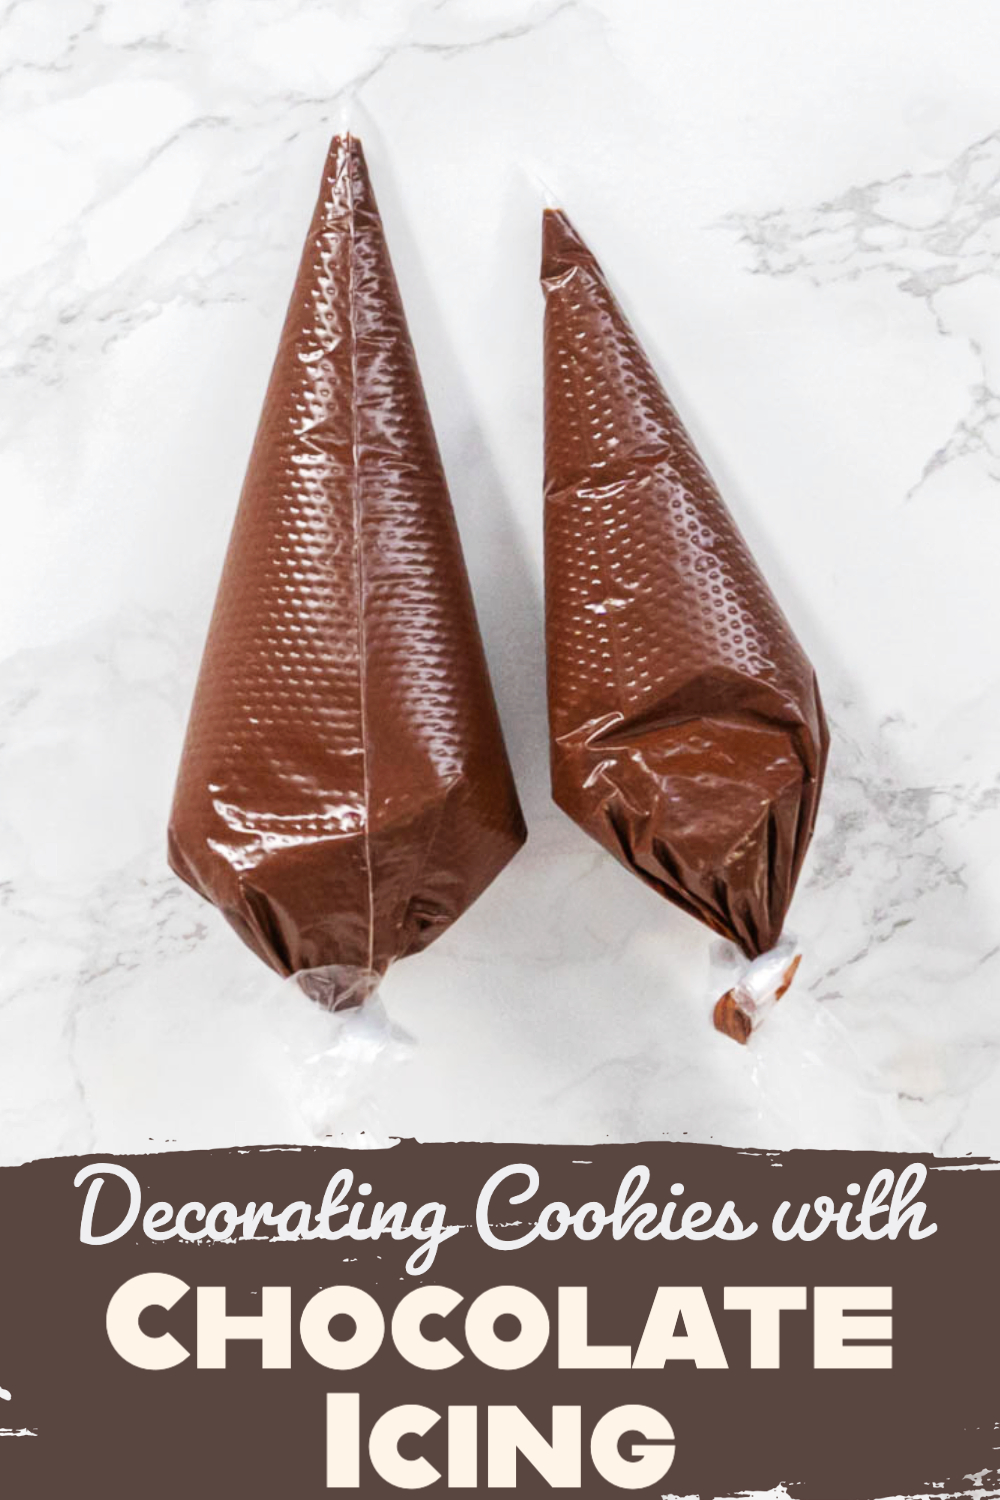
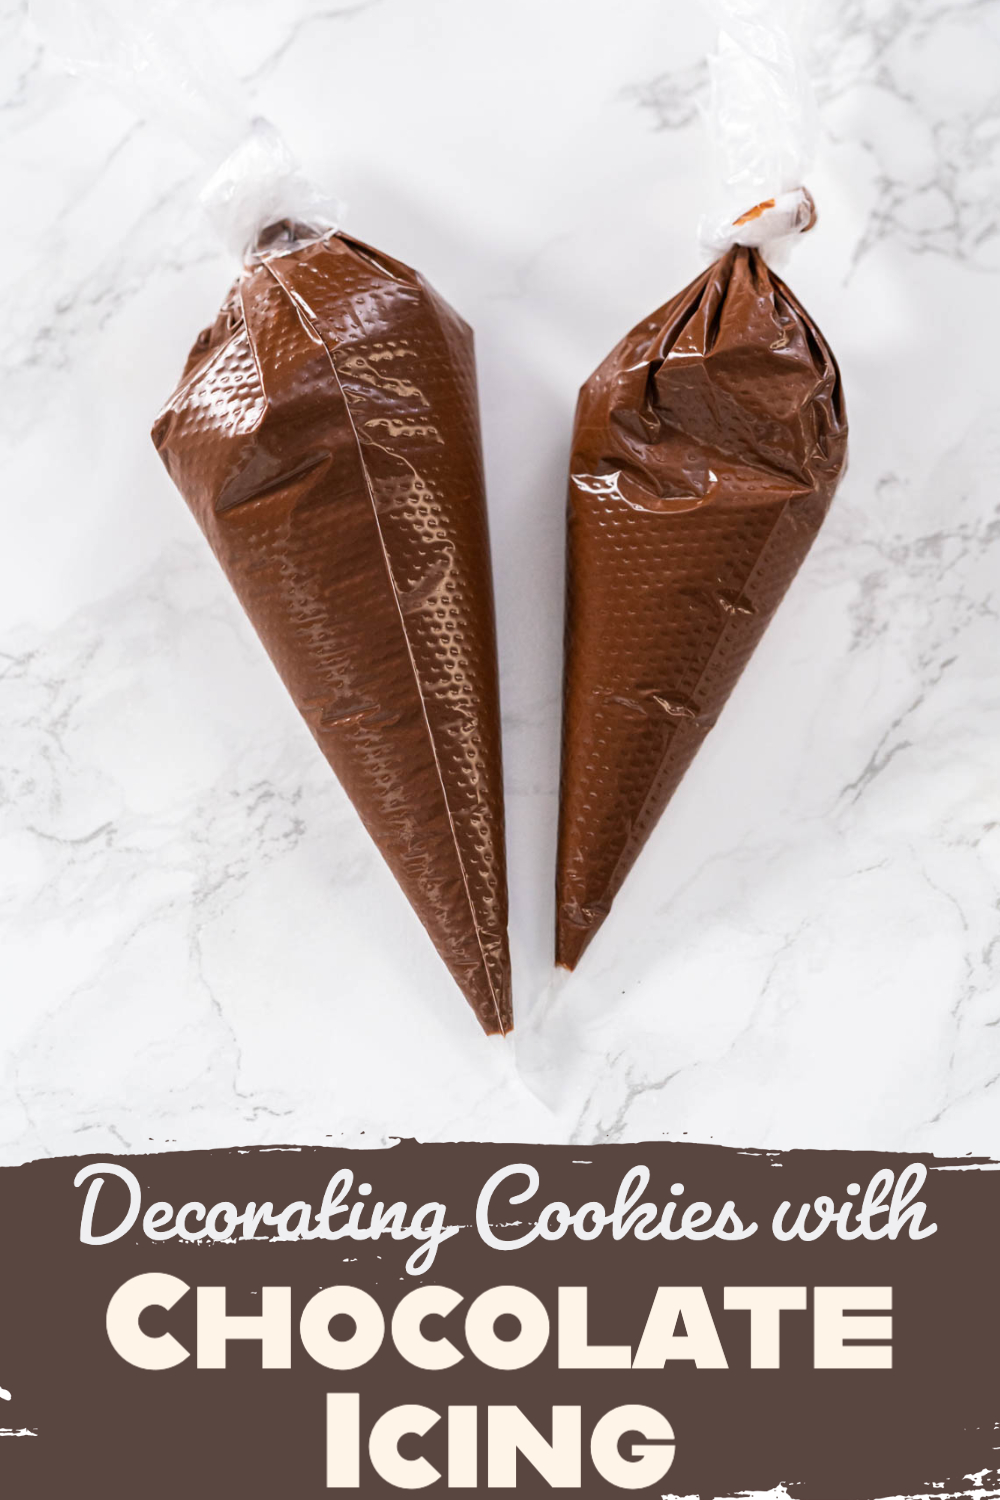
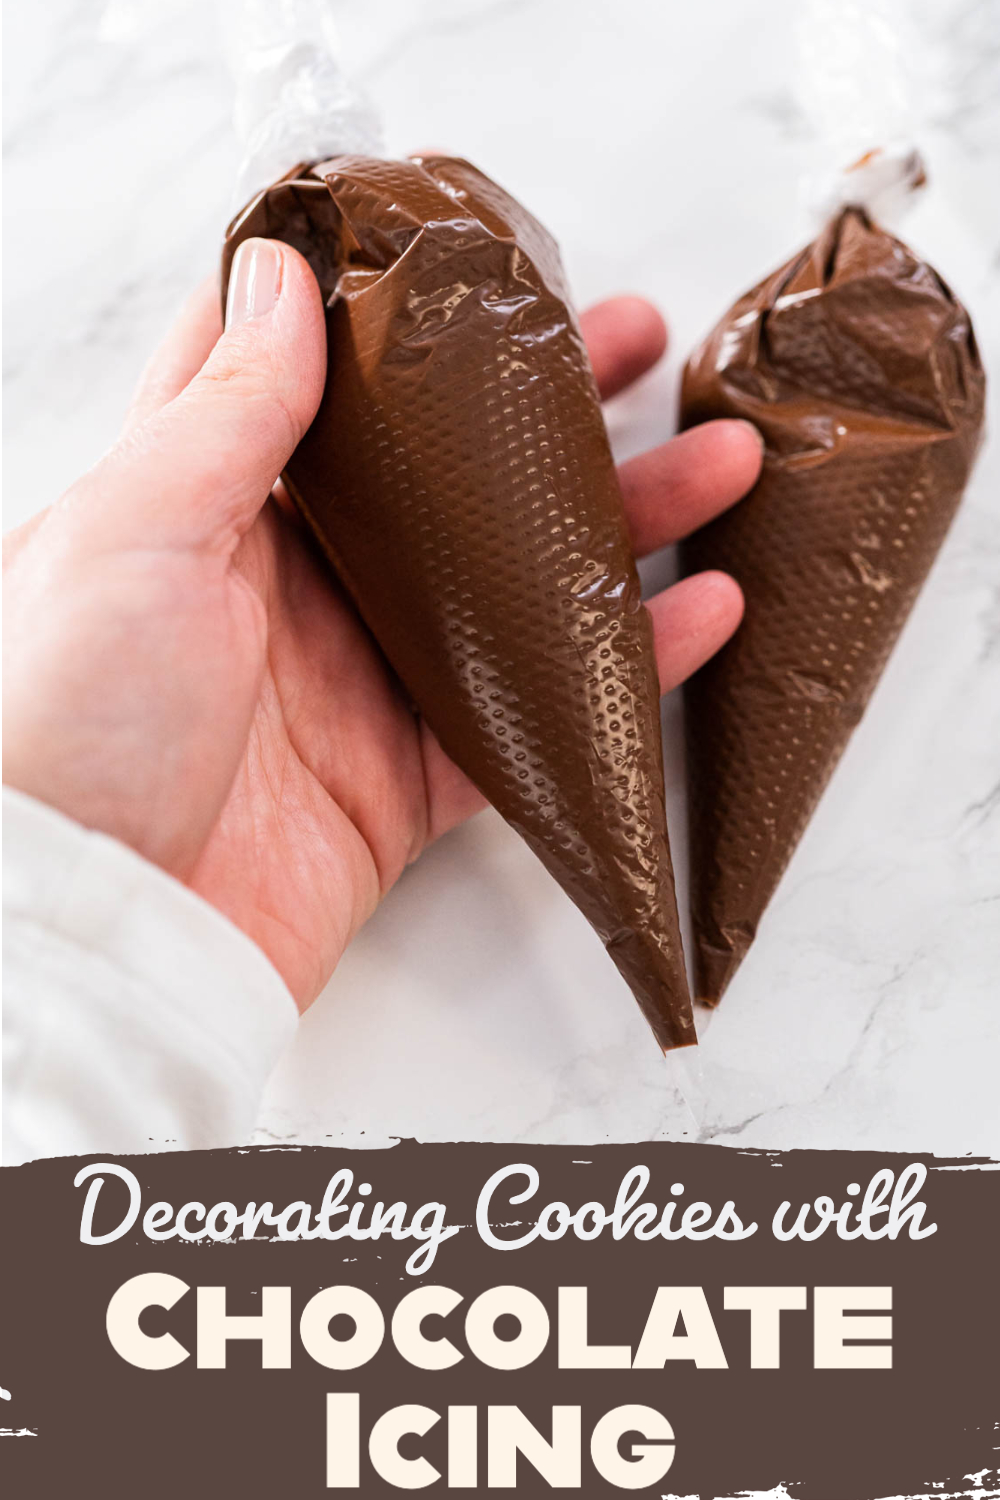
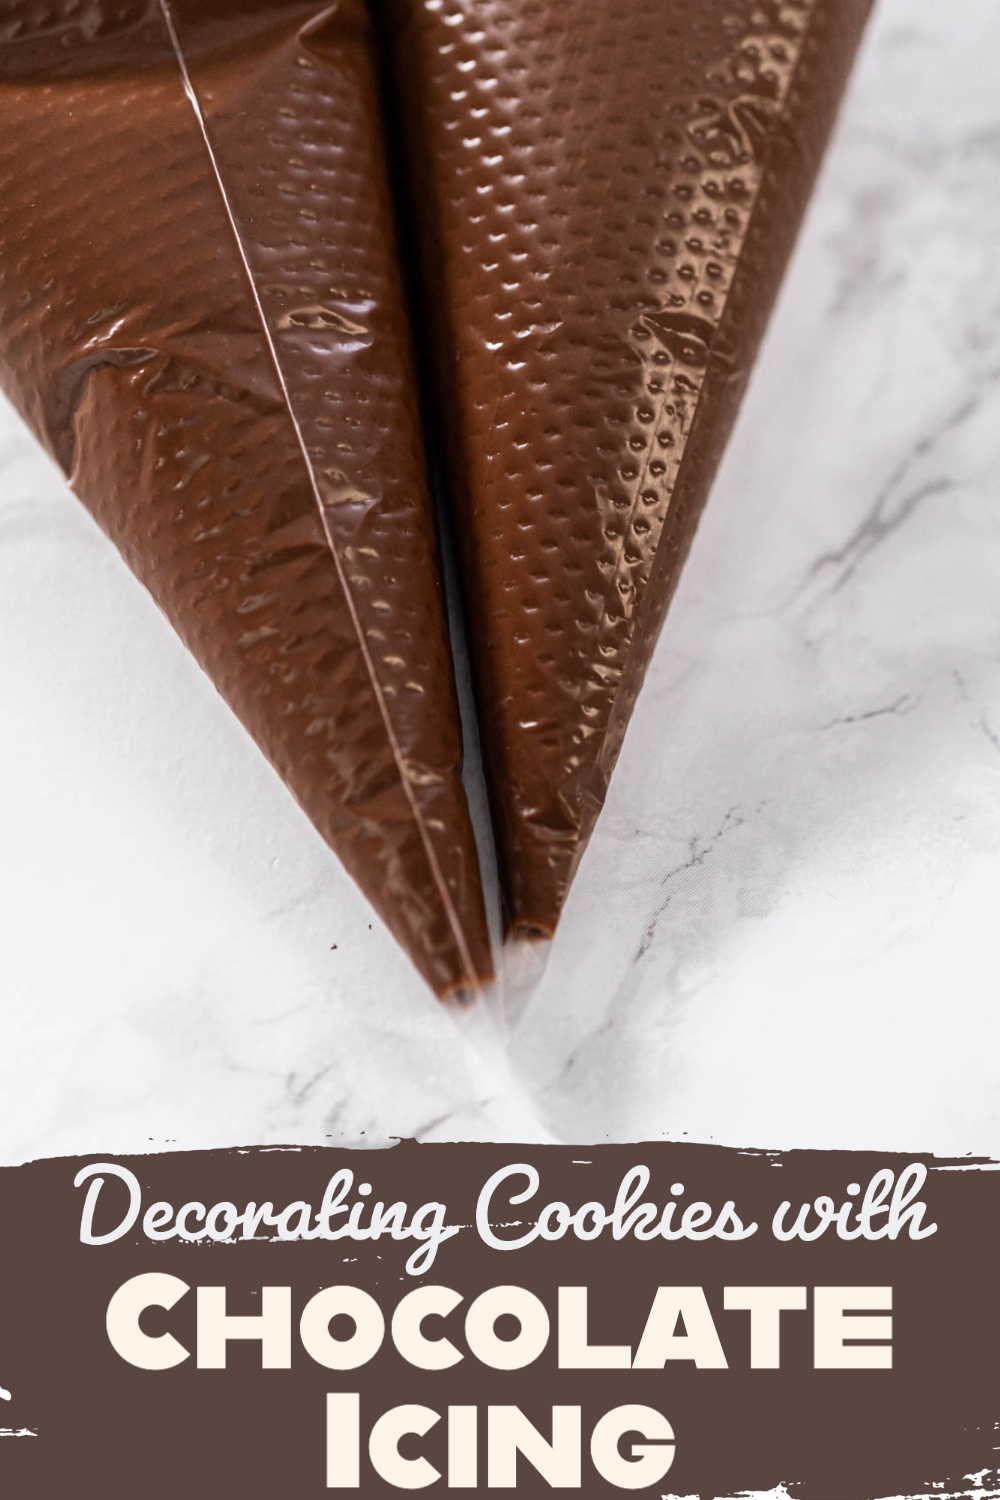
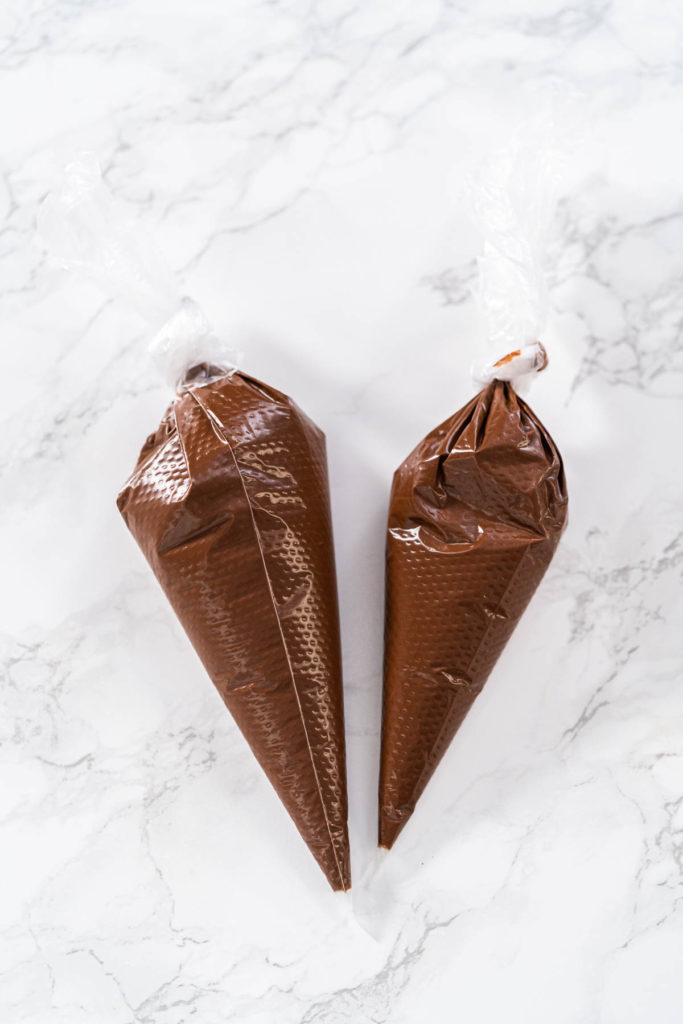
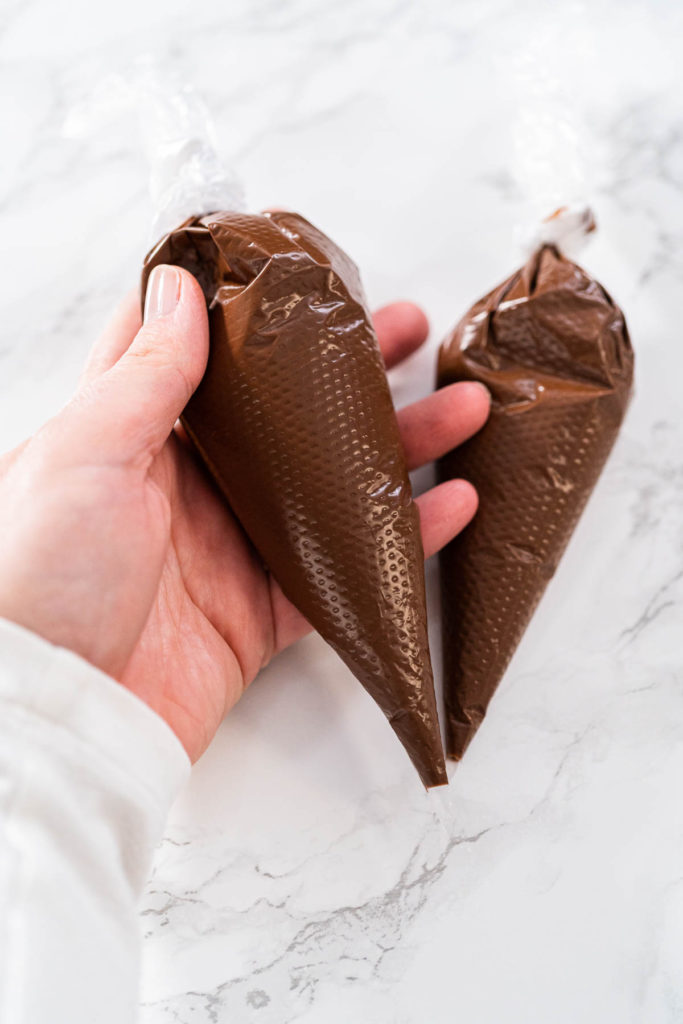
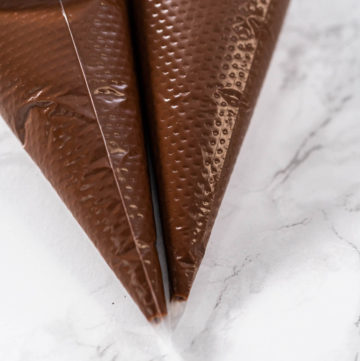
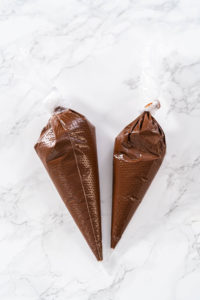
- Split the melted chocolate into 2 piping bags.
- Cut 1 mm from the end of Bag 1, which will be used for edging.
- Cut 2-3 mm from the end of Bag 2, which will be used for filling.
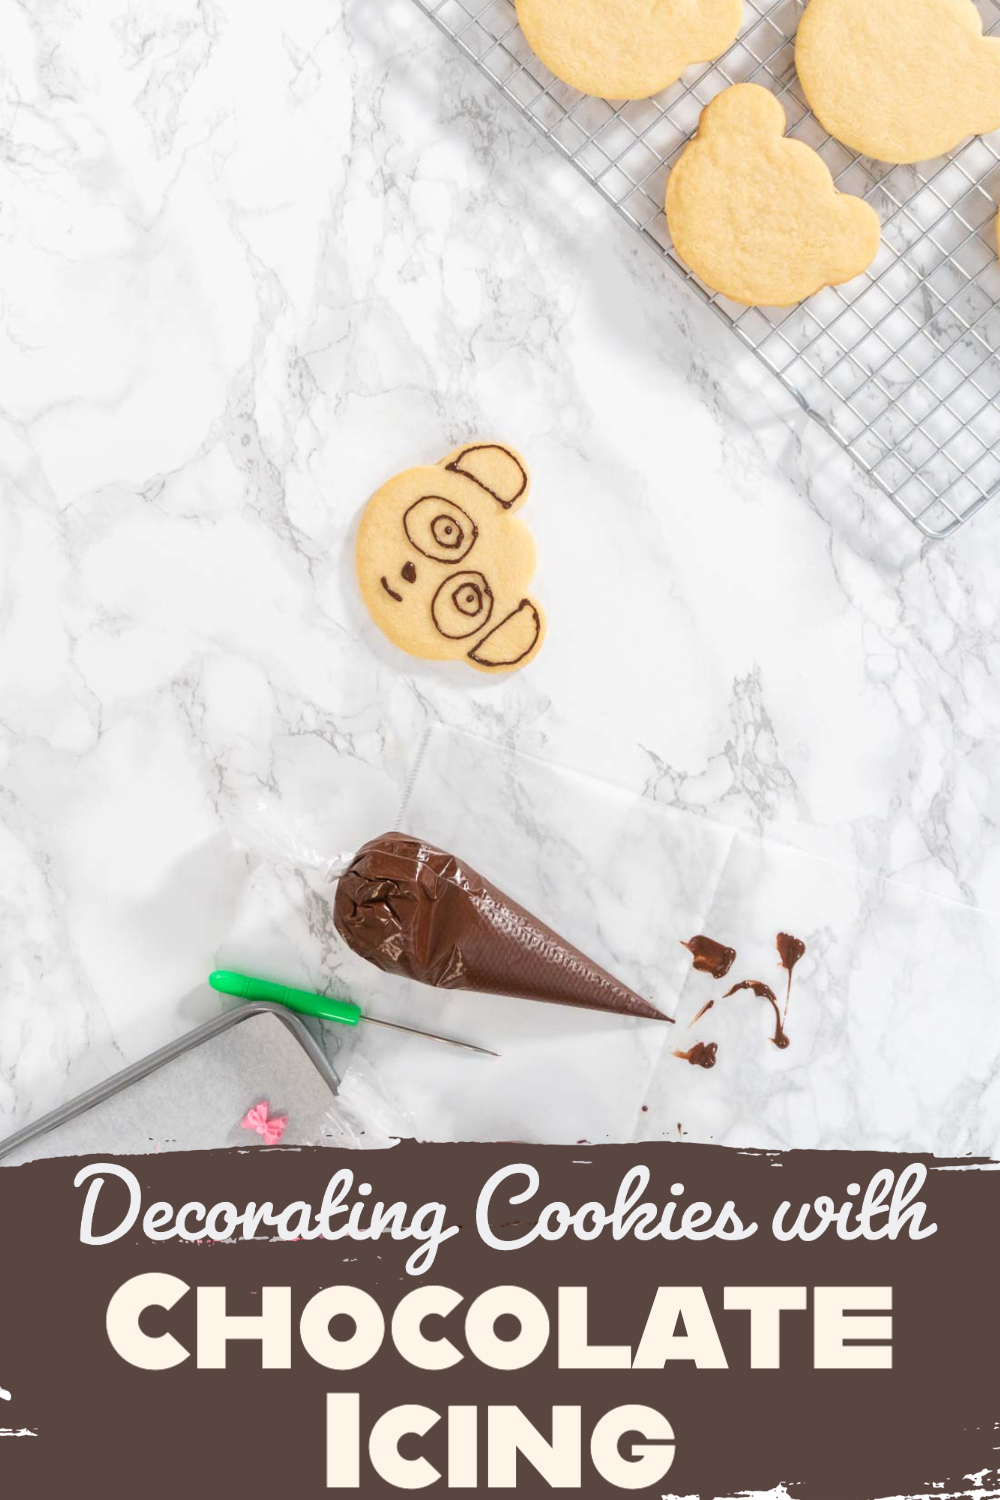
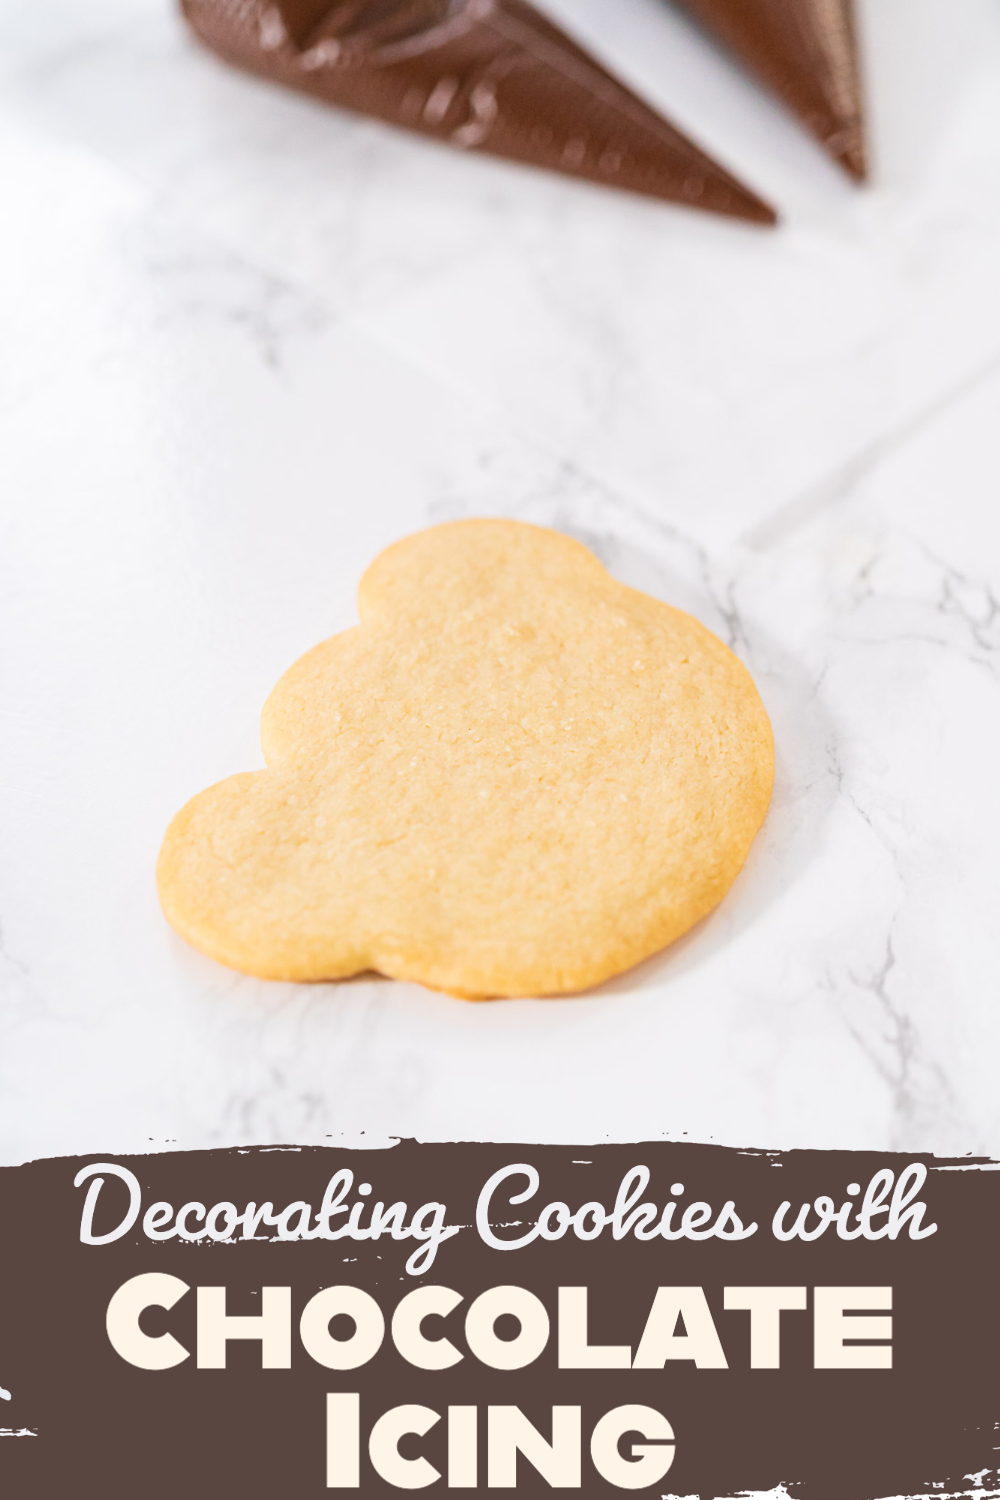
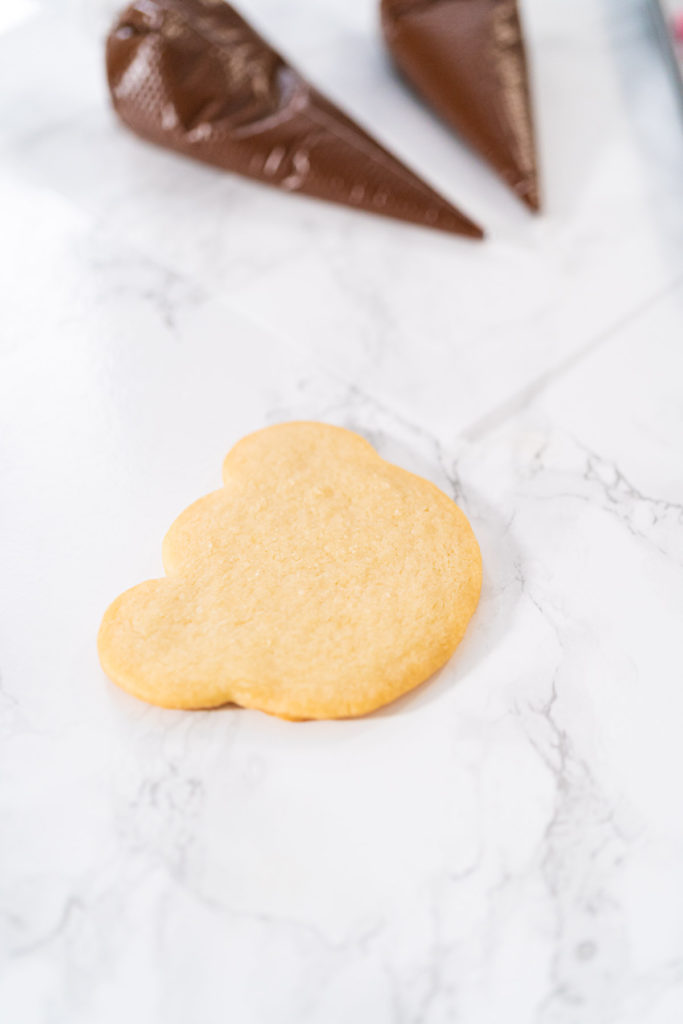
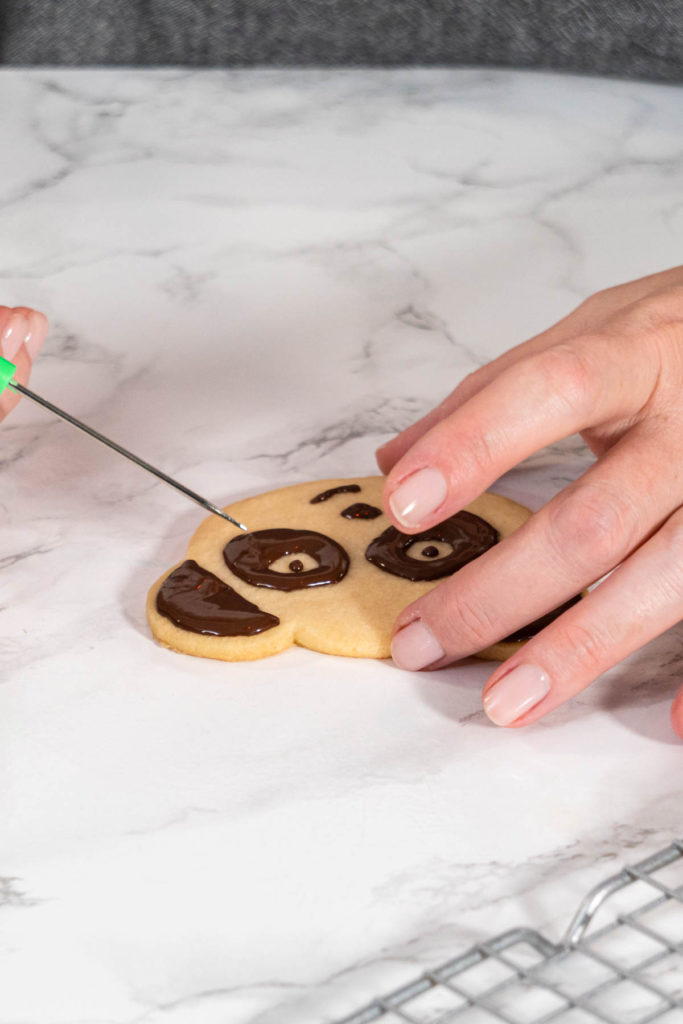
- Use Bag 1 to draw an outline around the cookie.
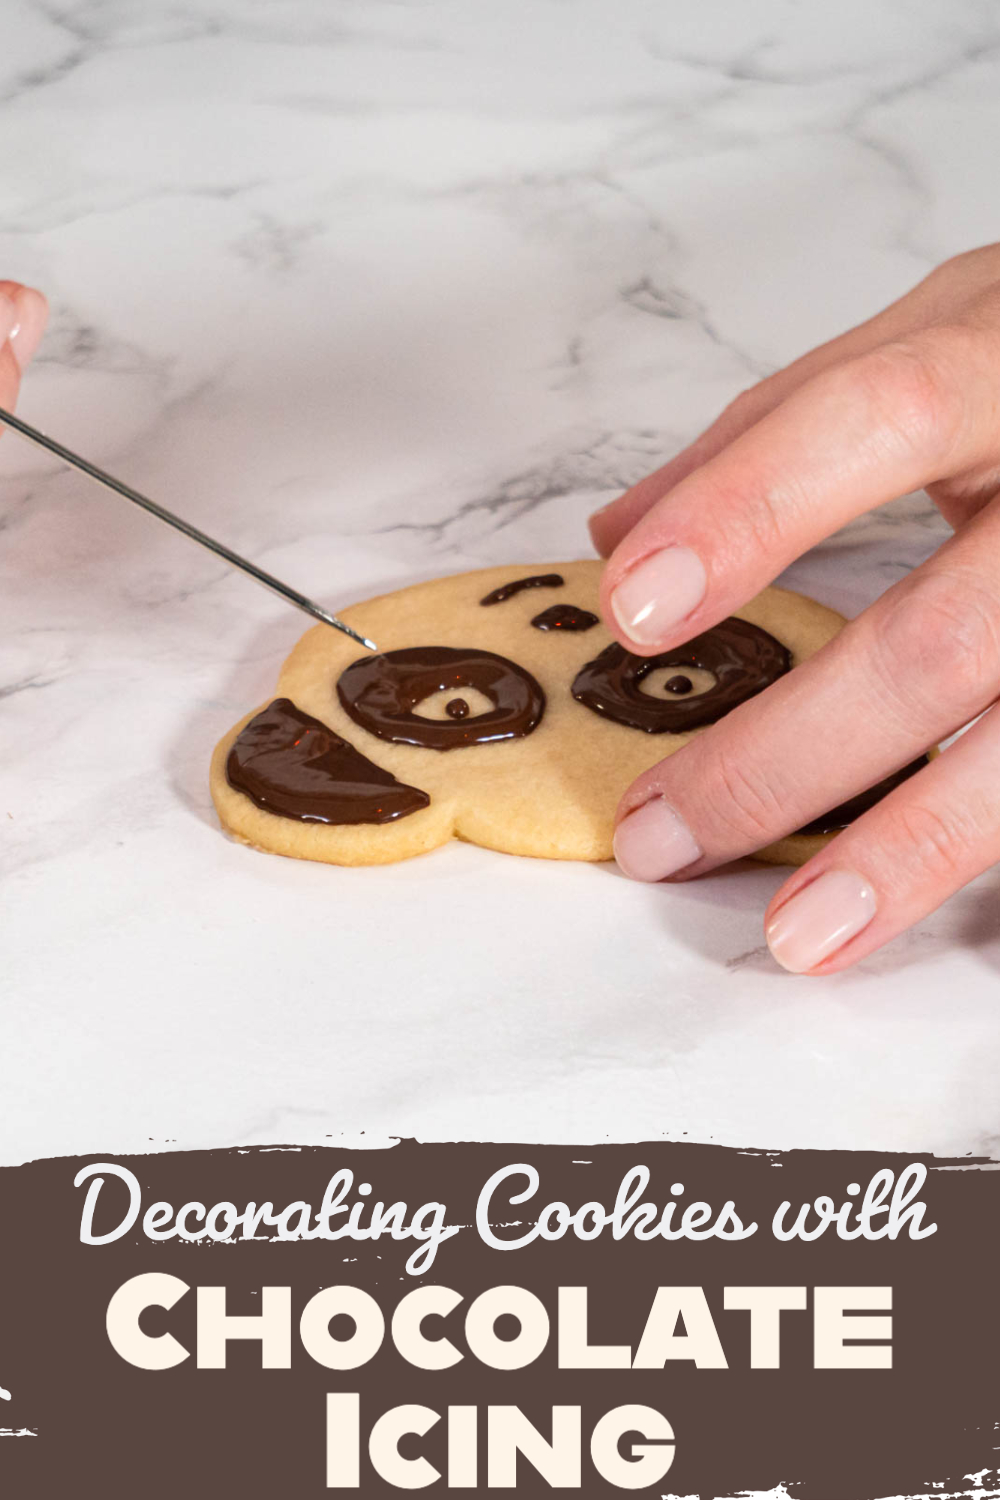
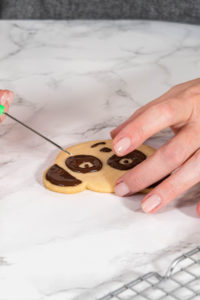
- Use Bag 2 to fill in areas and spread the chocolate icing with the needle tool.
- Tap the cookie gently on the table to level the chocolate icing and create a smooth surface.
- Let the icing fully harden for 30-60 minutes before packaging.
How to store chocolate icing
Storing chocolate icing is important in order to maintain its texture, taste, and appearance. Here are a few tips on how to store it properly:
Countertop
Chocolate icing can be stored at room temperature, on the countertop, for up to 3 days. Make sure to keep it in an airtight container to prevent it from drying out or absorbing any unwanted odors. If you are in a warm climate, it's recommended to place it in a cool area of the kitchen or in a pantry. Don't forget to write the date of preparation on the container or plastic bag to keep track of the freshness.
Refrigerator
Chocolate icing can be stored in the refrigerator for up to 7 days. Make sure to keep it in an airtight container to prevent it from absorbing any unwanted odors or moisture. Before using the icing, take it out of the refrigerator and let it sit at room temperature for at least 20 minutes to allow it to soften up. Don't forget to write the date of preparation on the container or plastic bag to keep track of the freshness.
Freezer
Chocolate icing can be stored in the freezer for up to 6 months. Make sure to keep it in a ziplplastic bag. Before using the icing, take it out of the freezer and let it thaw at room temperature for at least 30 minutes. Keep in mind that freezing and thawing icing can affect its texture, so it's best to use it for cookies. Don't forget to write the date of preparation on the plastic bag to keep track of the freshness.
It's important to note that if your icing has any signs of spoilage, such as discoloration, bad smell or mold, it should be thrown away to avoid any food contamination. To melt chocolate icing, use the same method as making chocolate icing, in a candy melting pot or double boiler.
More Cookies Recipes
Cookies ideas for chocolate icing
Cut out cookies are a classic and versatile treat that can be decorated in many different ways. One popular option is to decorate them with chocolate icing. Here are a few similar cut out cookie ideas that can be decorated with chocolate icing:
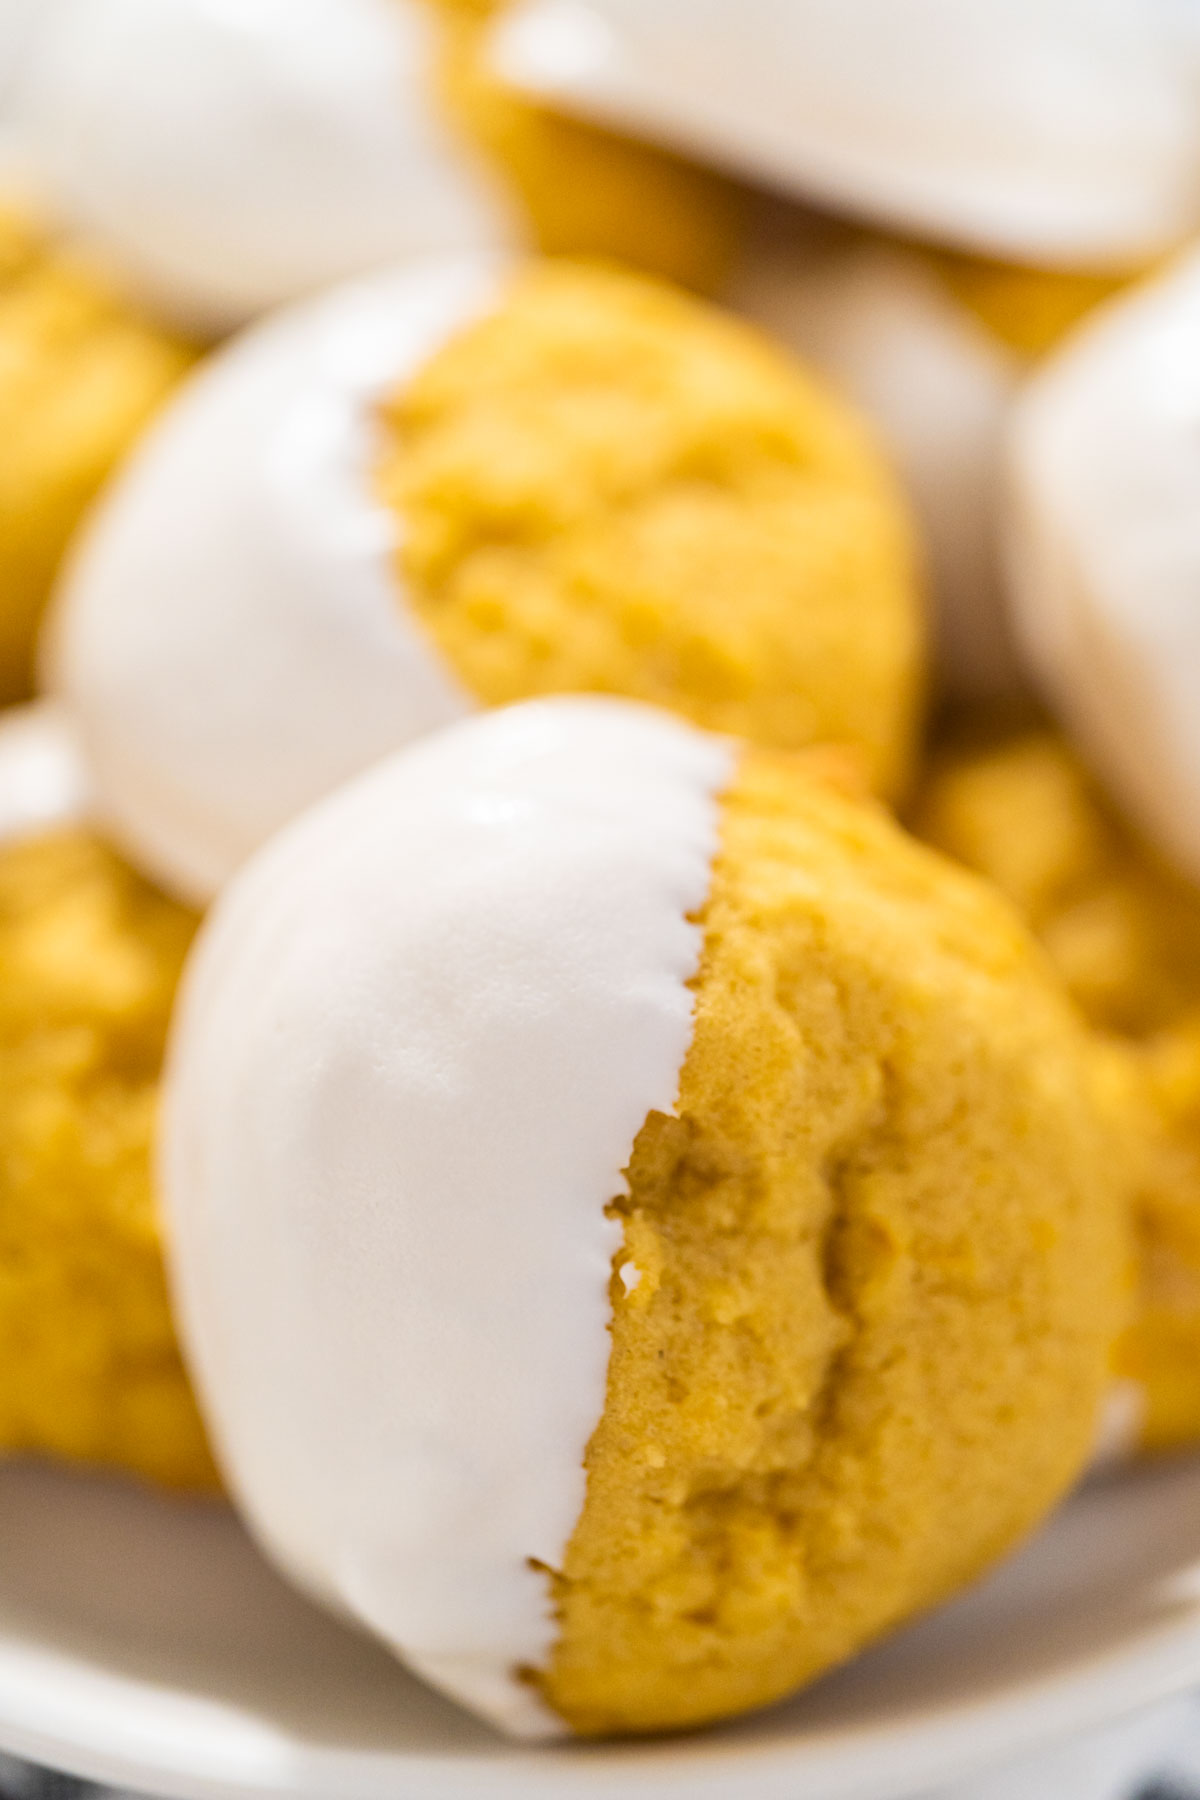
- Classic sugar cookies: These are a classic and timeless cut out cookie that can be decorated with chocolate icing in a variety of ways.
- Gingerbread cookies: These cookies have a warm and comforting flavor and can be decorated with chocolate icing for a unique twist on the traditional gingerbread cookie.
- Shortbread cookies: These cookies have a buttery and crumbly texture that pairs well with the rich and smooth chocolate icing.
- Spiced cookies: Add a bit of cinnamon, nutmeg, or other spices to the dough to give it an extra depth of flavor and a cozy, holiday feel.
In conclusion, there are many different types of cut out cookies that can be decorated with chocolate icing. From classic sugar cookies to gingerbread and spiced cookies, you can experiment with different flavors and textures to create unique and delicious treats. Chocolate icing is a great way to add a special touch and a delicious flavor to your cut out cookies, and it dries much faster than traditional royal icing. So, give it a try and see for yourself how easy and delicious decorating cut out cookies with chocolate icing can be.
Decorating Cookies with Chocolate Icing
Video
Equipment
Ingredients
- 1 ½ cups Semi-Sweet Chocolate Chips
- 2 tablespoon coconut oil
Instructions
- Wilton Candy Melts potAdd chocolate chips and coconut oil into the candy melting pot.
- Turn the pot on high heat and mix regularly until all chocolate chips are melted and the melted chocolate reaches a smooth consistency.
- If the chocolate is too thick, add more coconut oil, ½ teaspoon at a time.
- Prepare a royal icing piping bag over a tall glass.
- Split the melted chocolate into 2 piping bags.Cut 1 mm from the end of Bag 1, which will be used for edging.Cut 2-3 mm from the end of Bag 2, which will be used for filling.
- Use Bag 1 to draw an outline around the cookie.
- Use Bag 2 to fill in areas and spread the chocolate icing with the needle tool.
- Tap the cookie gently on the table to level the chocolate icing and create a smooth surface.
- Let the icing fully harden for 30-60 minutes before packaging.
Nutrition
Food Photography & Video Tips from My Studio
Here’s a peek at the tools, gear, and camera setups I use to film my recipe videos and photograph food at home. Over the years, I’ve tested dozens of different setups, and now I’m sharing what actually works for me—whether I’m filming overhead shots for YouTube or styling still photos for my blog. If you’re curious about how I create the content you see here, these posts are a great place to start.
















Leave a Reply